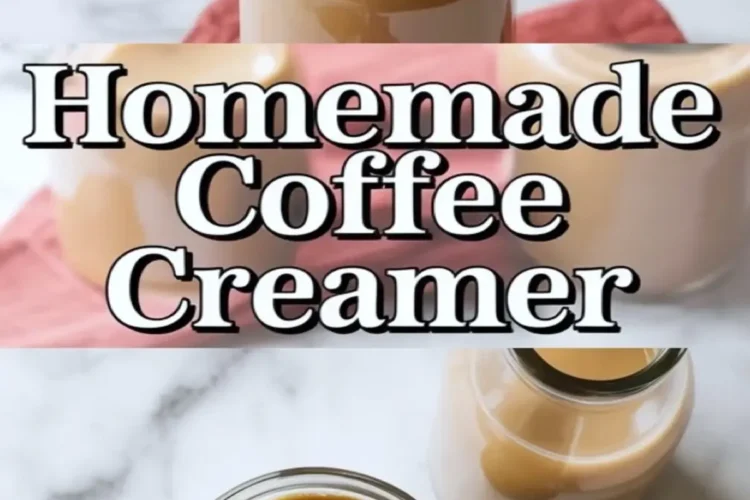
Homemade Coffee Creamer gives you full control over sweetness, texture, and flavor with just cream, milk, condensed milk, and vanilla. This homemade coffee creamer recipe works as a diy coffee creamer, a healthy coffee creamer variation, or even a diy sugar free coffee creer with small swaps, and it creates a smooth homemade coffee cream that blends cleanly into hot coffee without oily separation.
The balance of one cup heavy cream to one cup whole milk creates body without heaviness. That ratio matters because cream alone feels thick and coats the tongue, and milk alone feels thin and disappears too fast.
Following a special diet?
Every recipe on this site can be converted to gluten-free, vegan, dairy-free, keto, nut-free or egg-free with adjusted ratios so nothing falls flat.
Try the Recipe Converter →Sweetened condensed milk binds the fat and water together through sugar concentration. I tested lower amounts, and the texture turned flat, so half a cup gives the right viscosity and gentle sweetness.
Gentle heat keeps the dairy stable and prevents grainy edges. Medium low heat warms the base slowly, and that slow warm up keeps the mixture smooth.
For a cake pairing idea, I often serve coffee with a slice of Blueberry Coffee Crumb Cake because the crumb topping echoes the creamy texture in the cup.
WHAT YOU NEED AND WHY
Heavy cream gives structure and richness. Look for cream with at least 35 percent fat because lower fat cream feels watery in hot coffee.
Whole milk softens the density of the cream and keeps the texture pourable. Two percent milk works, yet whole milk creates a fuller mouthfeel that holds up better.
Sweetened condensed milk adds sweetness and body in one step. It dissolves easily in warm dairy and prevents separation, which saves time.
Vanilla extract rounds the flavor and removes any flat dairy note. A small pinch of salt sharpens sweetness and makes the creamer taste balanced.
For seasonal flavor ideas, I sometimes look back at my Pumpkin Coffee Creamer Recipe because it shows how spice blends shift the base without changing the ratio.
KEY TECHNIQUE SPOTLIGHT
Low and steady heat makes this coffee creamer recipe reliable. The mixture should steam lightly yet never bubble, and that visual cue tells you the dairy proteins stay intact.
Stirring often keeps the bottom from scorching. A thin film on the saucepan means the heat runs too high, so lower it immediately.
If you want a lighter healthy coffee creamer, replace half the cream with more milk and reduce the condensed milk slightly. The texture will thin a bit, yet it still blends well.
For espresso drinks, I pair this creamer with my Coffee Cupcakes with Espresso Buttercream because both share the same vanilla base note.
HOW TO MAKE IT STEP BY STEP
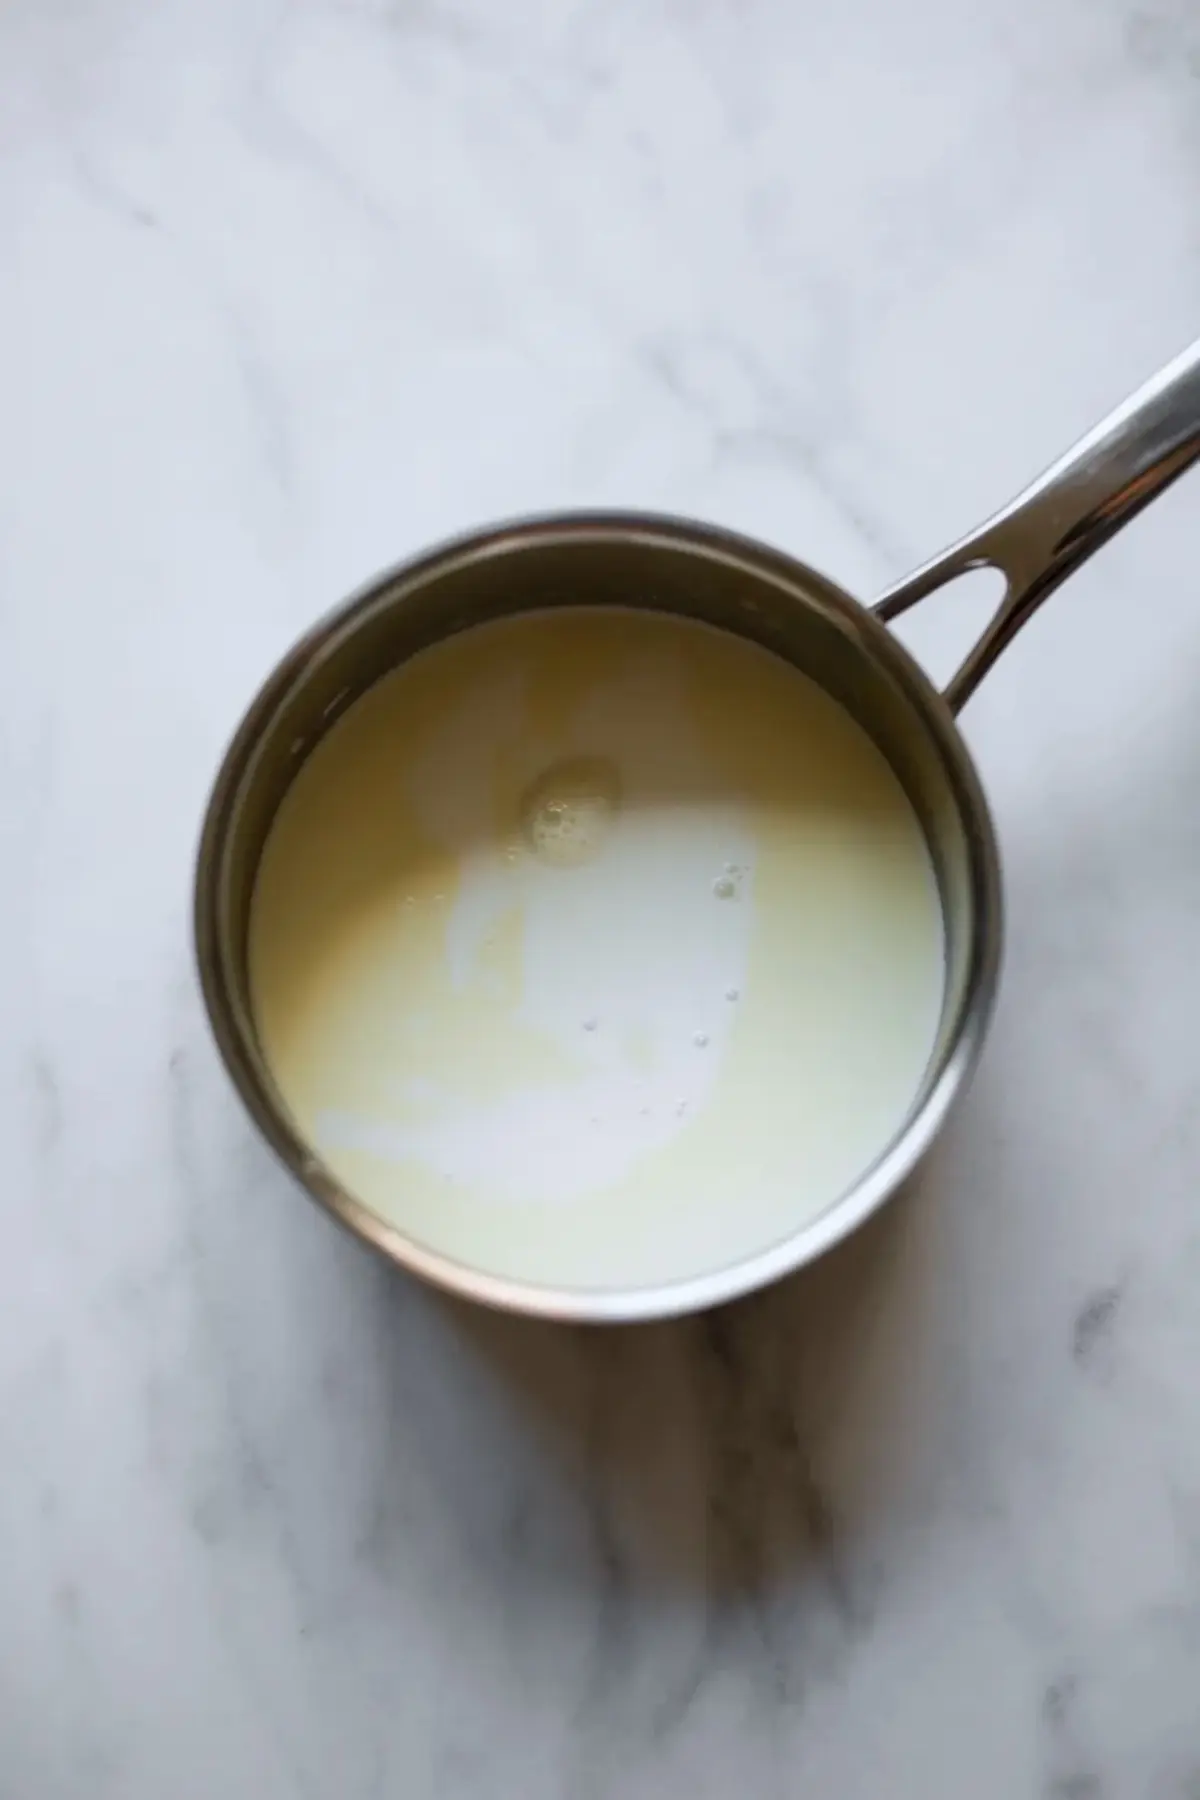
Combine cream and milk in a saucepan and warm over medium low heat. The liquid should feel hot to the touch on the outside of the pan yet show no bubbles.
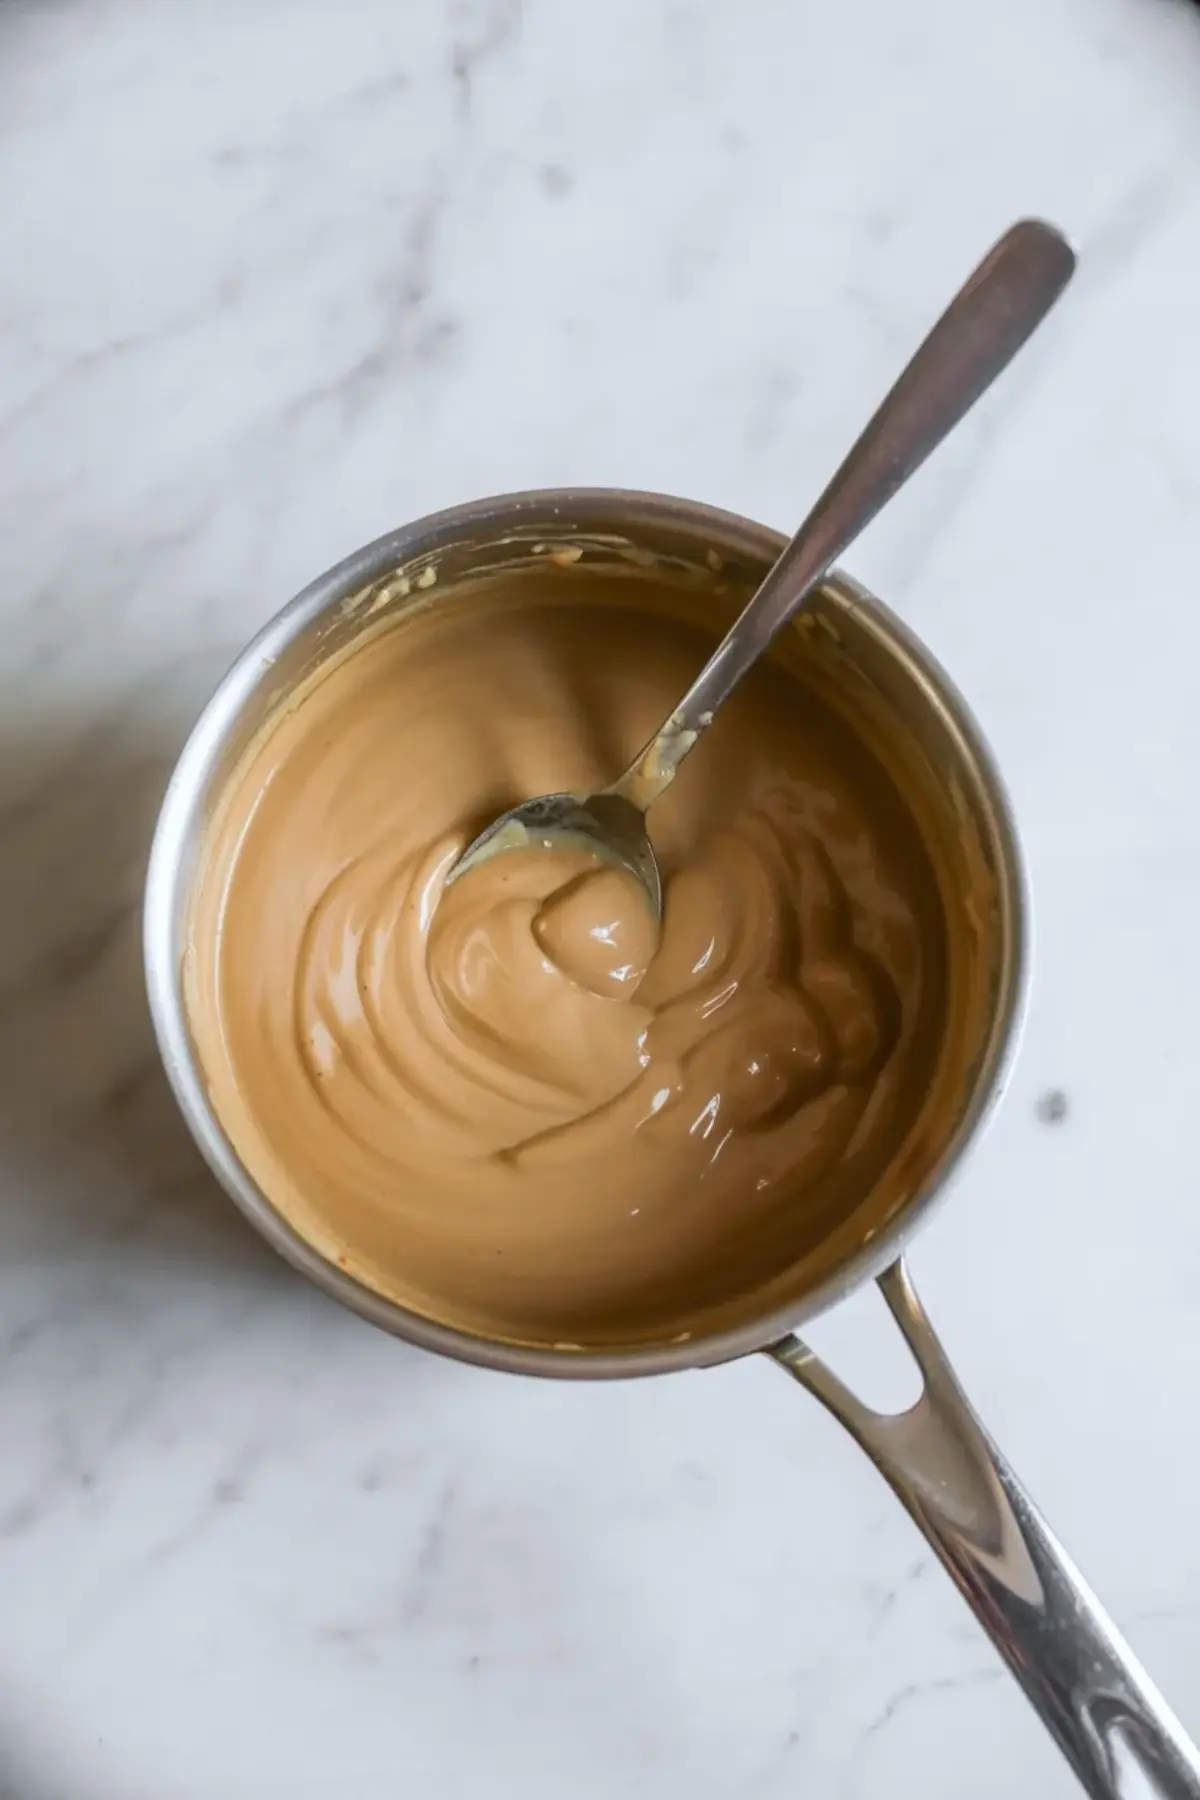
Pour in the sweetened condensed milk and stir until fully dissolved. The mixture will look slightly thicker and glossy.
Remove the pan from heat once everything blends smoothly. Stir in vanilla and salt and taste carefully.
Transfer the creamer into a clean glass jar and let it cool before sealing. Chill for at least thirty minutes so the texture settles.
I often make a double batch and use it through the week with Cinnamon Coffee Cake Muffins because morning routines move fast.
HOW TO TELL IT IS DONE
The creamer is ready when it coats the back of a spoon lightly. It should pour smoothly without clumps or oily streaks.
A boiled mixture smells slightly cooked and may separate later. A gently heated mixture smells sweet and clean.
Trust texture more than time. Five minutes of careful warming usually works, yet your stove matters.
TROUBLESHOOTING AND STORAGE
If the creamer separates, shake the jar well before each use. Natural fat rise happens, and it corrects easily.
If it tastes too sweet, reduce condensed milk by two tablespoons next time. If it tastes thin, increase cream by two tablespoons.
Store the creamer in the fridge up to seven days in a sealed jar. Freezing works in small portions, though the texture may change slightly after thawing.
WAYS TO CHANGE IT
For a diy sugar free coffee creamer, replace condensed milk with three tablespoons powdered erythritol and blend well. The texture stays close, though sweetness feels cleaner.
Add one teaspoon cinnamon for a warm note. Add one tablespoon cocoa powder for a mocha version.
Stir in almond extract for a bakery style flavor. Small changes shift the profile quickly, so measure carefully.
PRACTICAL TIPS AND HOW TO SERVE
Use a heavy bottom saucepan to prevent scorching. Shake before each pour to keep the texture even.
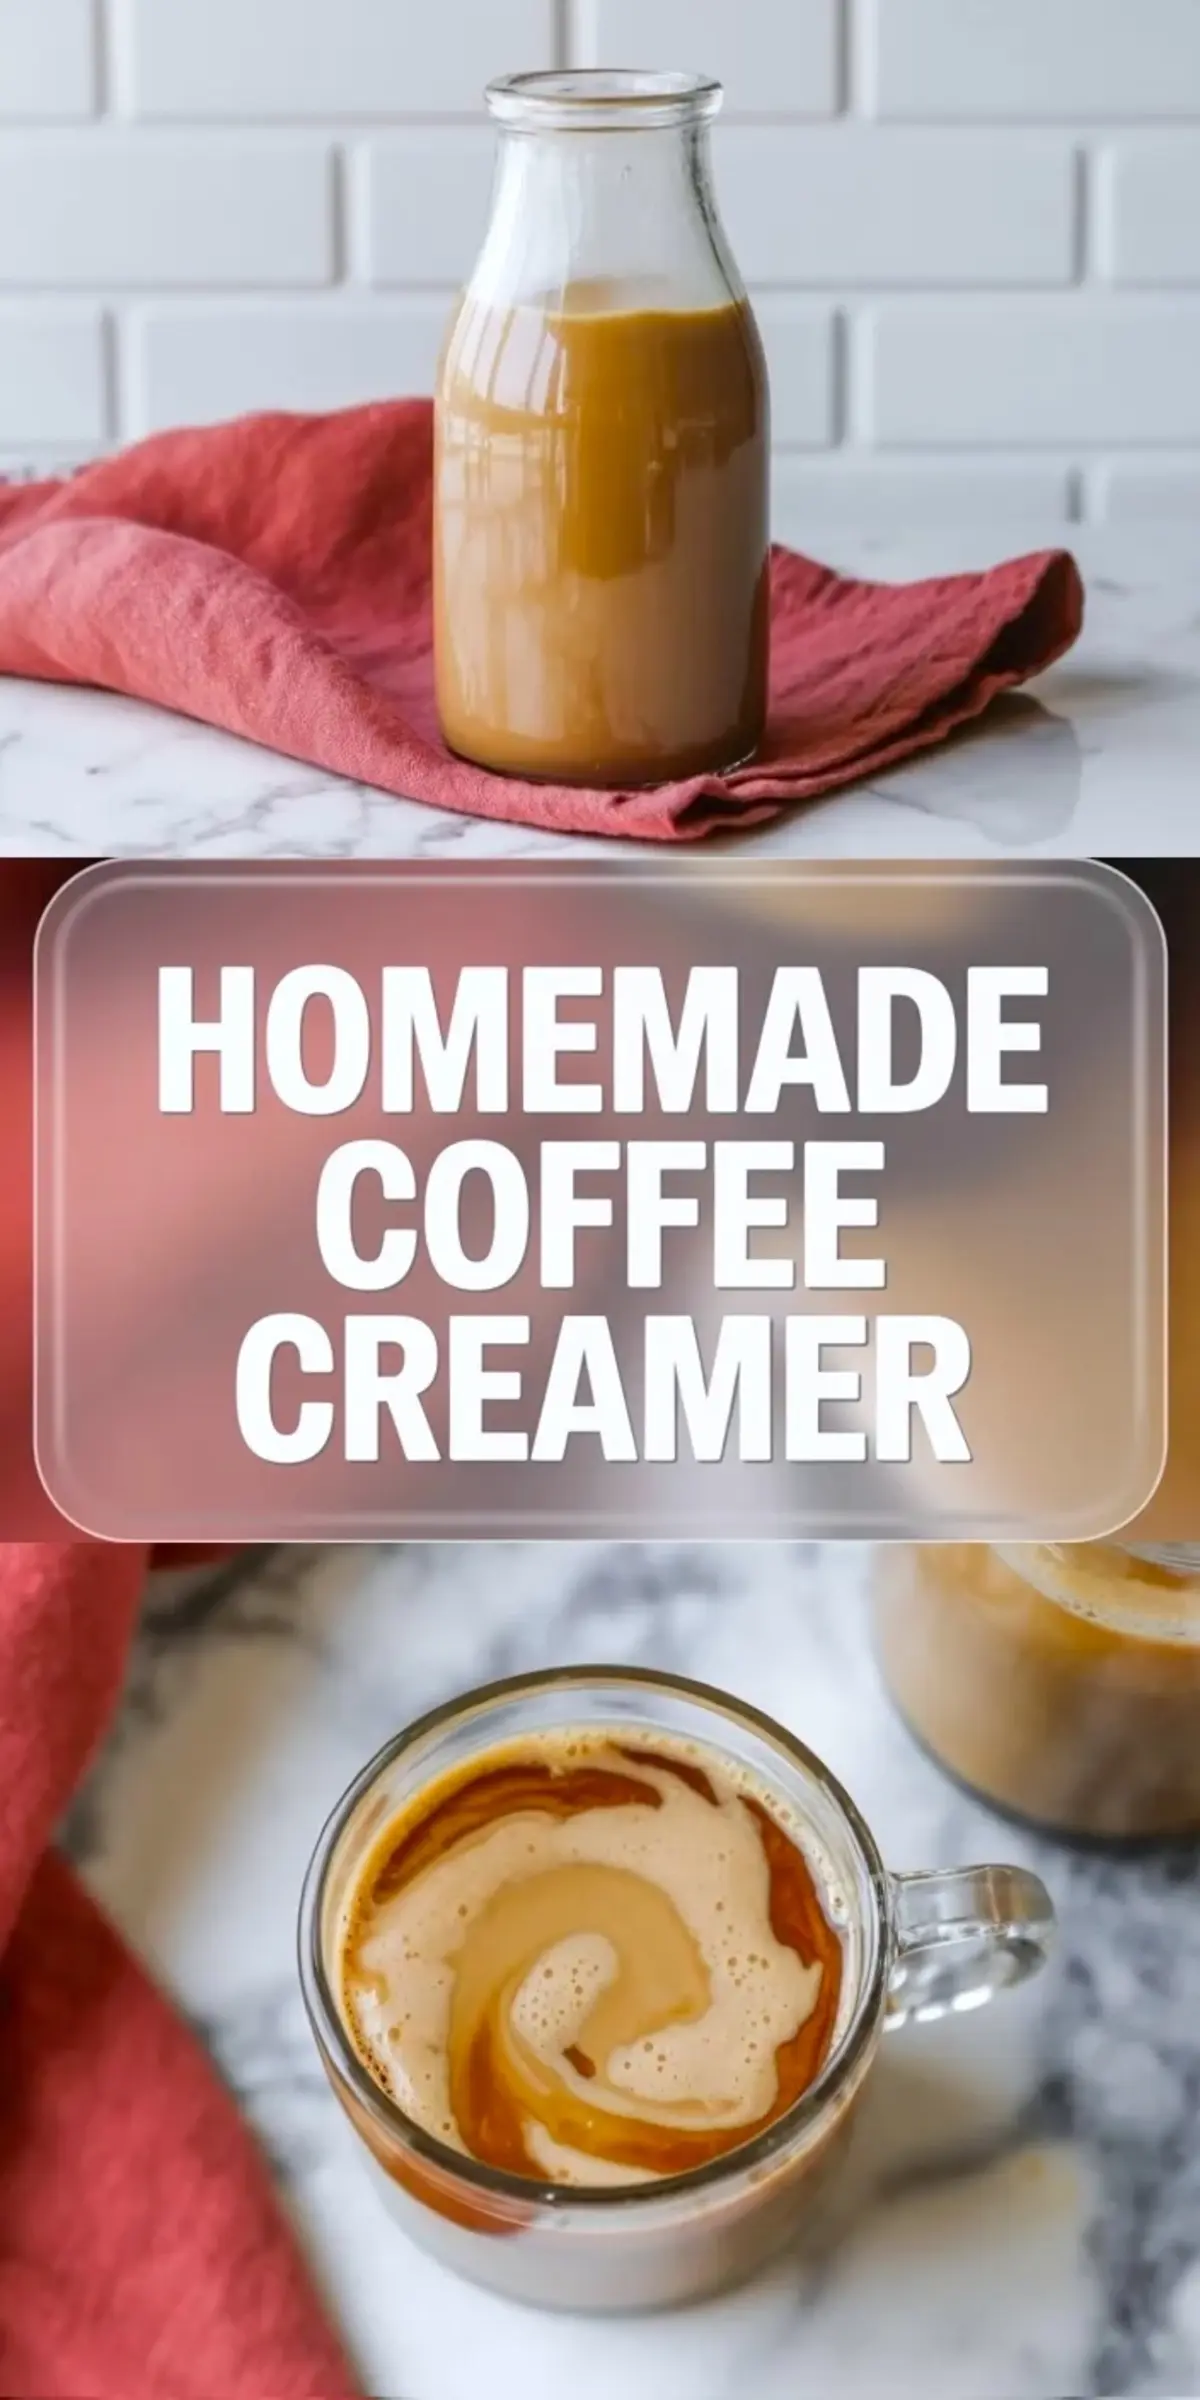
Serve in drip coffee, cold brew, or espresso. I use it most often in morning coffee with a slice of crumb cake or a simple butter cookie.
SAVE THIS RECIPE

Save this homemade coffee creamer to your Pinterest board so you can skip store bottles next week. Share in the comments how you flavor your diy coffee creamer or ask any questions so we can all learn from each other.
Homemade Coffee Creamer
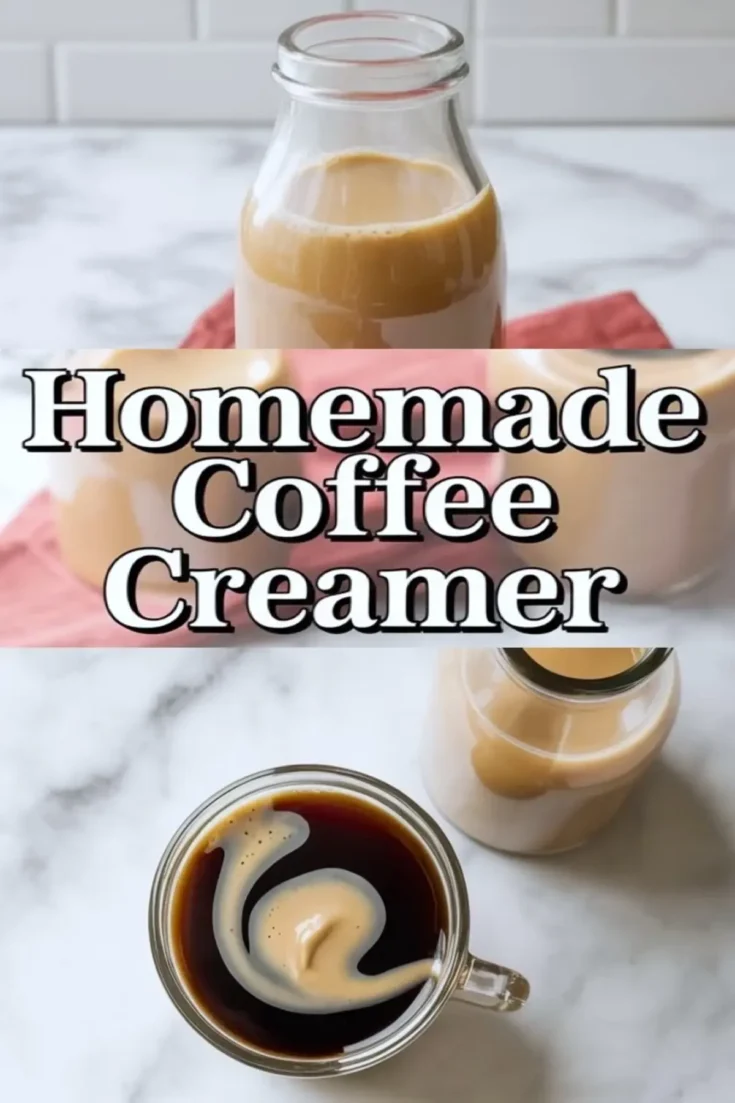
This smooth and flavorful homemade coffee creamer is simple to make with just a few ingredients. Skip store-bought bottles and try this easy coffee creamer recipe for better flavor and control over sweetness. This homemade coffee creamer recipe works with dairy or non-dairy bases and can be customized to fit your taste. Looking for lighter options? Try a healthy coffee creamer variation or make your own diy sugar free coffee creamer at home. This quick diy coffee creamer is perfect for daily coffee and stores well in the fridge for the week.
Ingredients
- 1 cup heavy cream
- 1 cup whole milk
- ½ cup sweetened condensed milk
- 1 teaspoon vanilla extract
- Pinch of salt
Instructions
HEAT DAIRY BASE: Combine the heavy cream and whole milk in a medium saucepan and place over medium-low heat, stirring often to warm the mixture gently without allowing it to boil.
ADD SWEETENER: Pour in the sweetened condensed milk and continue stirring until fully dissolved and evenly blended with the warmed dairy.
REMOVE FROM HEAT: Take the saucepan off the heat once the mixture is smooth and heated through to prevent scorching or separation.
FINISH FLAVORING: Stir in the vanilla extract and a small pinch of salt, mixing well so the flavor is evenly distributed.
COOL AND STORE: Allow the creamer to cool slightly, then transfer it to a clean glass jar or bottle with a tight-fitting lid.
CHILL AND USE: Refrigerate until completely chilled, then shake gently before each use to keep the texture smooth and consistent.
Notes
Store homemade coffee creamer in the refrigerator for up to 7 days. Adjust sweetness by reducing or increasing the sweetened condensed milk. Shake before using, as natural separation can occur.
Nutrition Information
Yield
16Serving Size
1Amount Per Serving Calories 90Total Fat 7gSaturated Fat 4gUnsaturated Fat 3gCholesterol 22mgSodium 21mgCarbohydrates 5gSugar 6gProtein 2g