
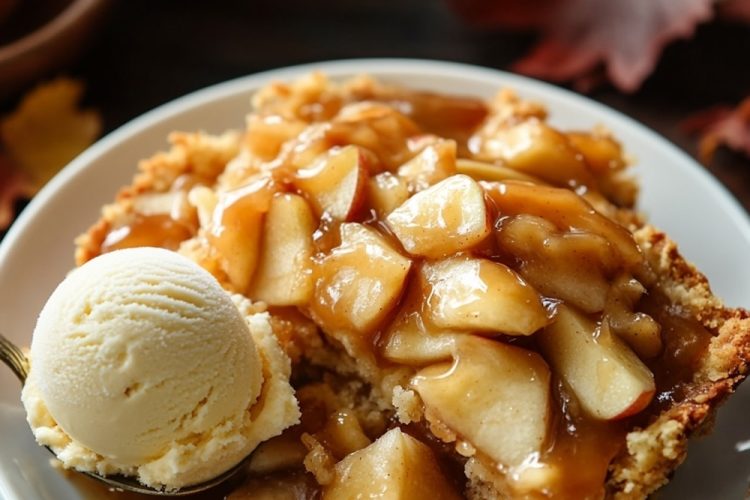
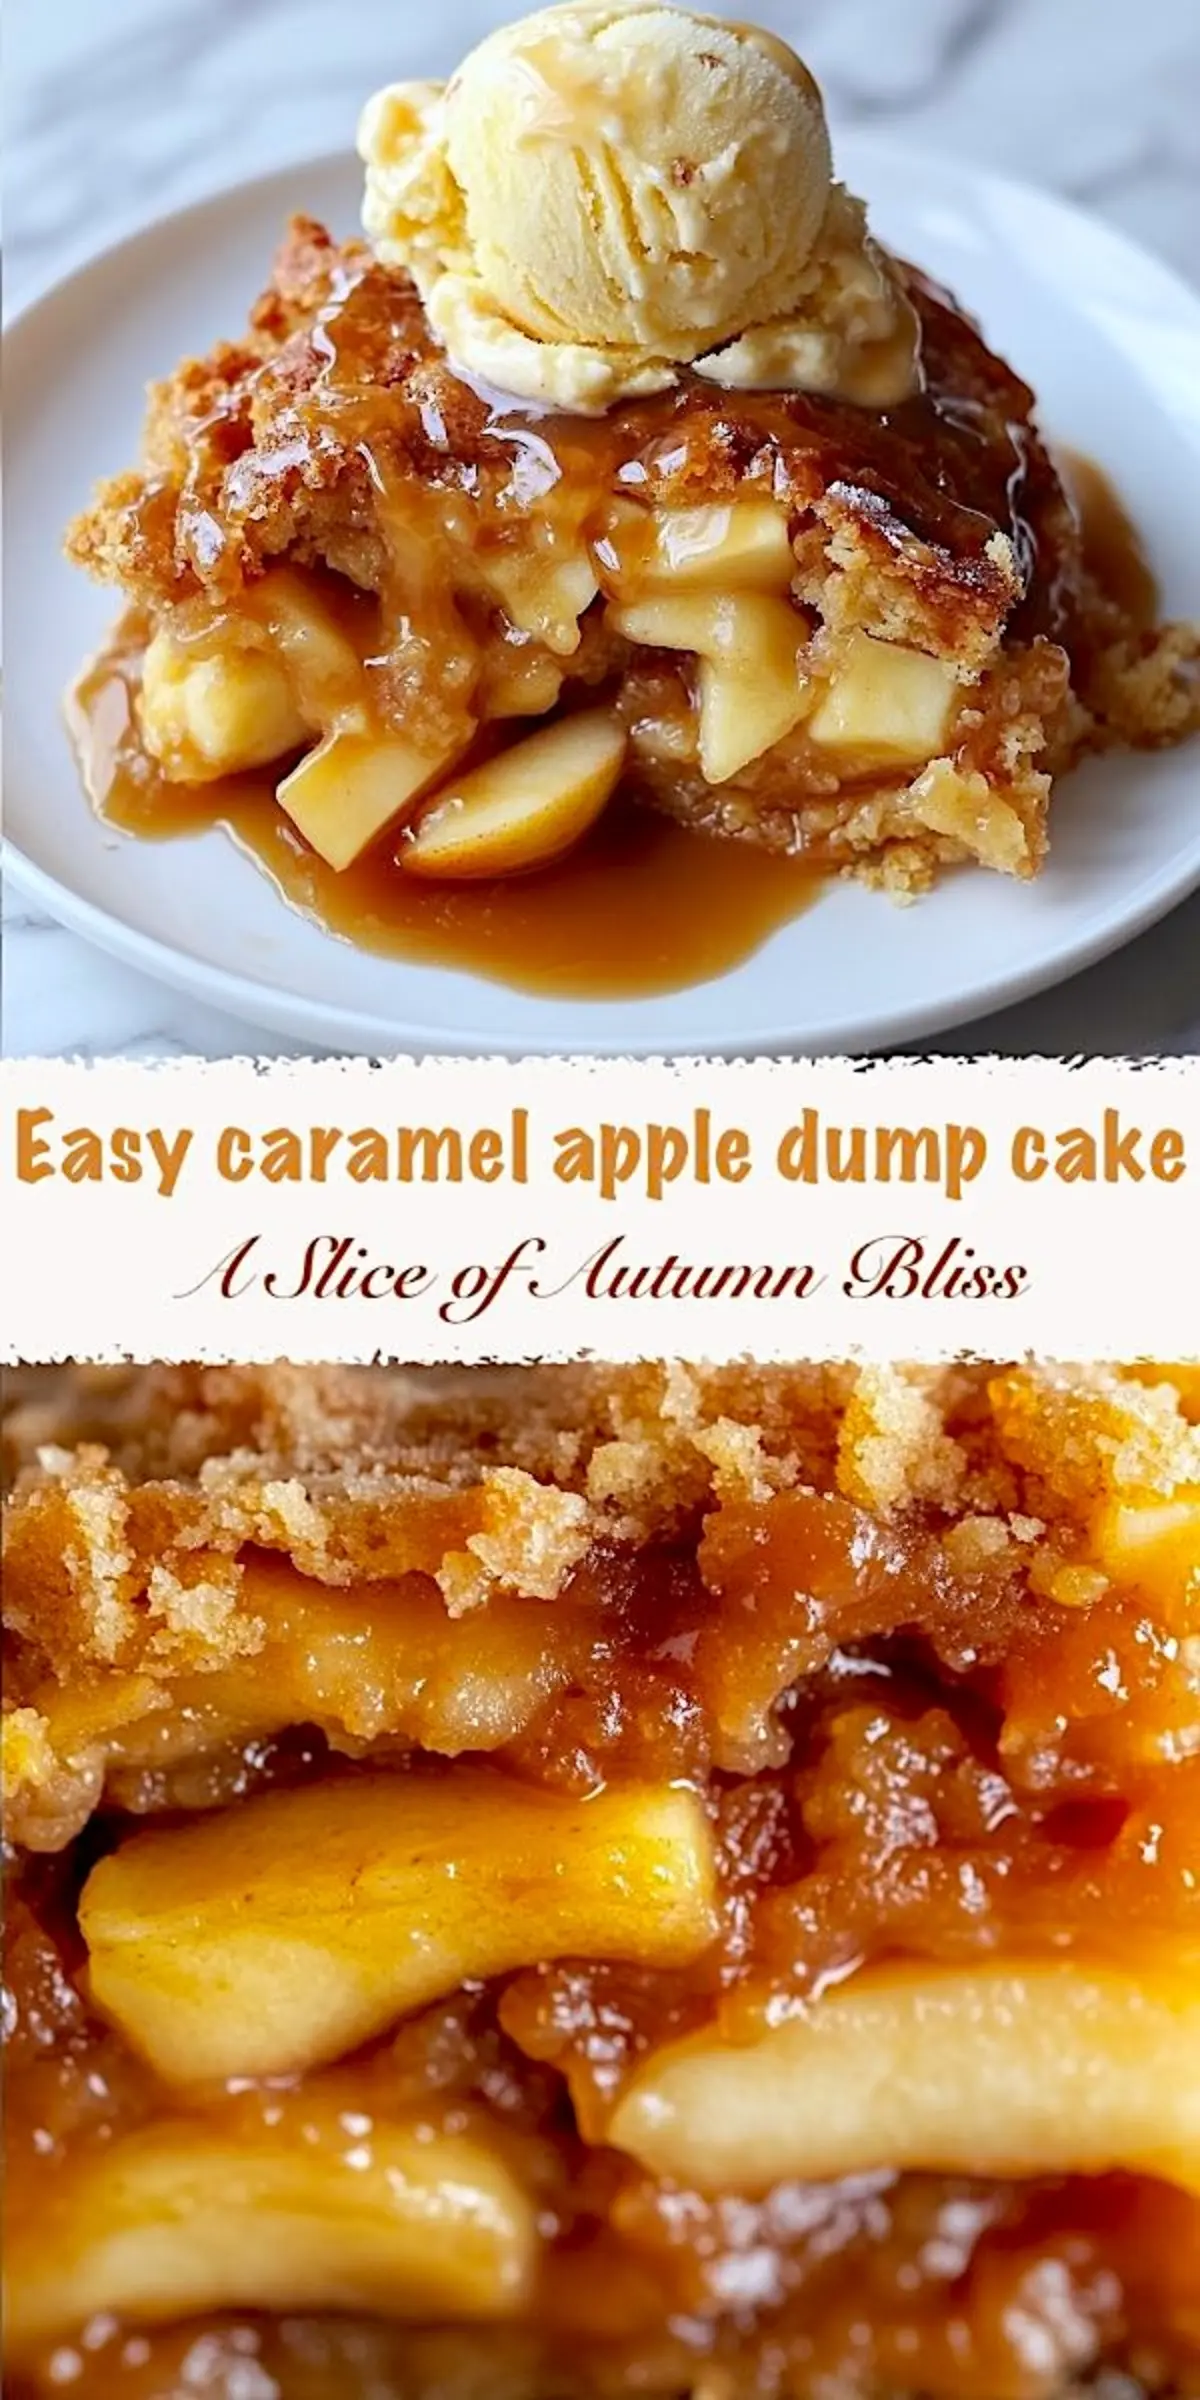
To make caramel apple dump cake with fresh apples, toss 5 to 6 peeled, sliced apples with ½ cup sugar, 1 tablespoon lemon juice, and 1 teaspoon cinnamon, spread them in a greased 9×13 inch dish, drizzle an 11 ounce jar of caramel sauce over the top, sprinkle on a 15.25 ounce box of yellow cake mix, and pour ½ cup melted butter evenly across. Bake at 350°F (175°C) for 45 to 50 minutes until the top is golden and the apples bubble underneath; it serves 10 and takes about 1 hour in total.
Short on time? Swap the fresh apples for one 20 ounce can of apple pie filling and it becomes a 4 ingredient dessert: pie filling, caramel, cake mix, and butter. There is no batter and no mixing bowl for the cake. The butter turns the dry mix into a crisp, golden lid over soft, caramel coated apples.
From the Community: “I made this today, and I must say, it kicks Butt!! Forget cobbler or crisp. This is my goto now. Turned out perfect.” (Amy)
Following a special diet?
Every recipe on this site can be converted to gluten-free, vegan, dairy-free, keto, nut-free or egg-free with adjusted ratios so nothing falls flat.
Try the Recipe Converter →Pan Size, Oven Temperature, and Servings
- Pan: one greased 9×13 inch baking dish
- Oven: 350°F (175°C)
- Time: 15 minutes prep, 45 to 50 minutes baking, 10 minutes cooling
- Servings: 10
- Fresh apple layer: 5 to 6 medium apples, ½ cup granulated sugar, 1 tablespoon lemon juice, 1 teaspoon cinnamon (optional)
- Canned apple layer: 1 (20 oz) can apple pie filling, no sugar or lemon needed
- Caramel: 1 (11 oz) jar caramel sauce or homemade caramel
- Topping: 1 box (15.25 oz) yellow cake mix and ½ cup melted unsalted butter, plus ¼ cup pecans or walnuts if you like
- Leftovers: about 2 days in the fridge
Fresh Apples vs Canned Apple Pie Filling
I have made this cake both ways with good results, and each choice gives a different dessert. Here is how they compare.
- Prep: fresh apples need peeling, slicing, and a toss with sugar, lemon, and cinnamon. Canned filling goes straight from the can into the dish.
- Texture: fresh apples keep a slightly firmer structure and a gentle bite after baking. Canned filling is softer, so the finished cake tastes smoother and creamier.
- Flavor: fresh Granny Smith or Honeycrisp apples bring a bright, tart edge against the caramel. Canned filling is already sweetened and spiced.
- Best for: fresh apples in apple picking season or when you want the brightest flavor; canned filling on a busy afternoon.

If you want the shortcut texture with homemade flavor, my homemade apple pie filling can stand in for the can. Either way, the caramel threads through every spoonful, so the cake never tastes plain.
How to Make Caramel Apple Dump Cake with Fresh Apples
Heat the oven to 350°F (175°C) and grease a 9×13 inch baking dish. Toss the apple slices with the sugar, cinnamon, and lemon juice in a large bowl until coated, then spread them evenly over the bottom of the dish. For the canned version, skip the sugar and lemon and simply spread the pie filling in the dish.
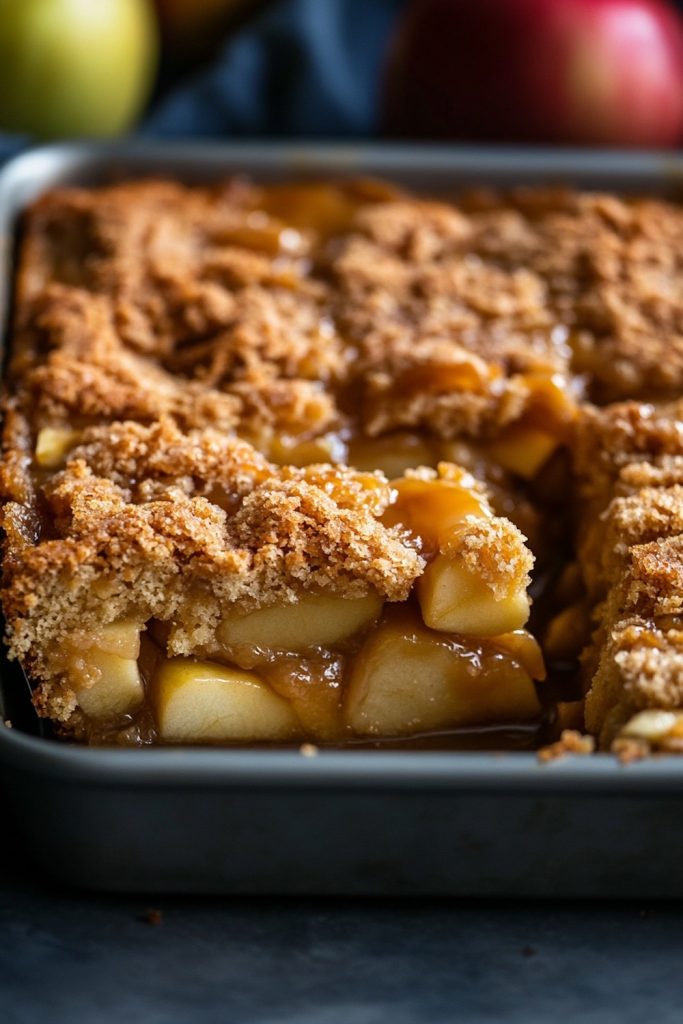
Drizzle the caramel sauce evenly over the apples. A little extra cinnamon over the caramel is optional. Sprinkle the whole box of dry cake mix over the top in an even layer, then drizzle the melted butter slowly across the entire surface. Add the chopped nuts now if you are using them.
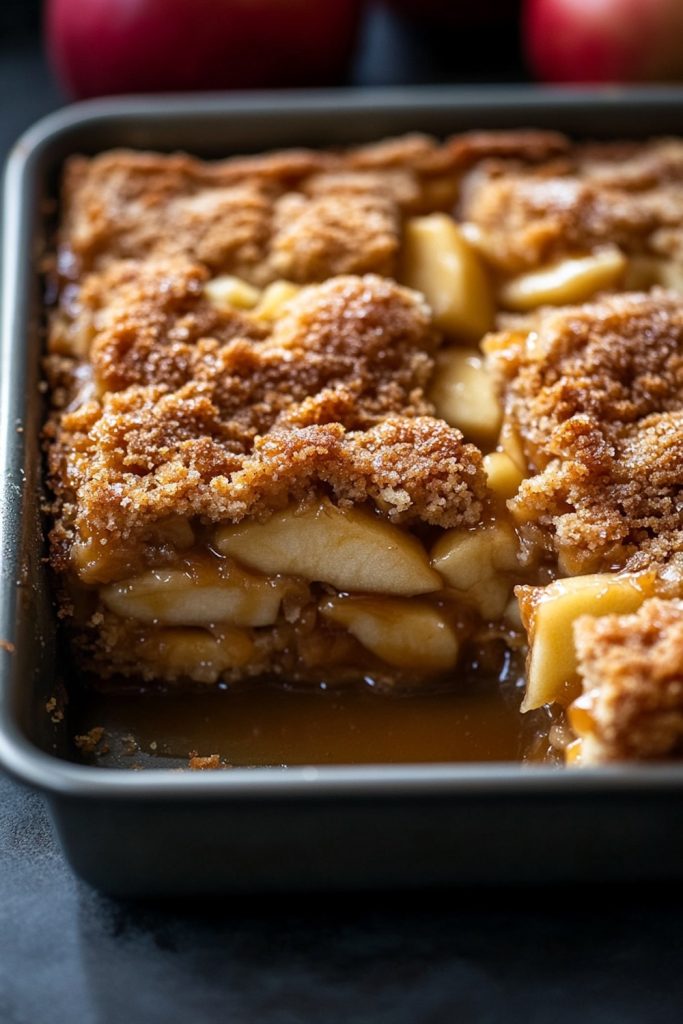
Bake for 45 to 50 minutes, until the top is golden brown and crisp and the apple layer is bubbling at the edges. Let it cool for 10 minutes before serving. I learned the hard way that molten caramel straight from the oven burns, and the short rest also helps everything settle.
Classic Sprinkle or Layered Cake Mix?
There are two ways to build the top, and both are written into the recipe card.
- Classic dump cake: all the cake mix goes over the caramel and apples at once. Butter soaks in from above and apple juices rise from below, giving a crisp, golden crust over a soft, gooey base. Some of the mix settles into the caramel, which is part of the charm.
- Layered effect: sprinkle half the cake mix over the apples, add the caramel, then top with the rest of the mix. The caramel acts as a buffer, so the mix does not sink into the fruit. You get a more distinct top crust, a slightly firmer base, and slices that hold their shape.
I tried both for a neighborhood potluck and nobody could agree on a favorite. Rustic lovers chose the classic; others preferred the tidier layered slices.
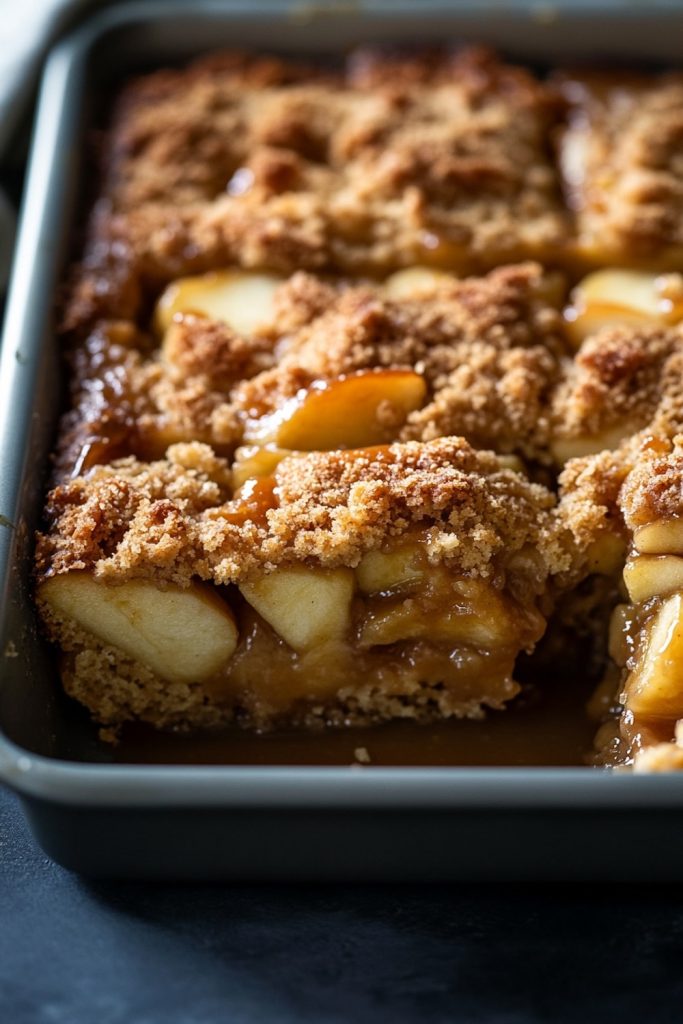
Jarred Caramel, Homemade Caramel, or Caramel Bits
A good store bought jar of caramel sauce works perfectly here, and it is the reason this dessert is so quick. If you have a little more time, a batch of homemade caramel sauce made with butter, sugar, and cream lets you control the sweetness and salt. Homemade caramel sometimes thickens more, which adds a slight chew to the finished cake. Salted caramel is another favorite of mine, because the salt cuts through the sweetness.
Some recipes use caramel bits instead of sauce. This one is written for an 11 ounce jar of caramel sauce, which spreads into an even, gooey layer over the apples, and I have not tested it with caramel bits.
Dusty Spots, Pale Tops, and Sunken Cake Mix
- Dry, powdery patches on top: the butter did not reach every part of the cake mix. Drizzle it slowly and evenly, or lay thin pats of cold butter across the whole surface.
- Pale or soft topping: it needs the full 45 to 50 minutes. Wait for a golden brown, crisp top and bubbling at the edges.
- Cake mix sank into the apples: use the layered method so the caramel sits between the fruit and the top layer of mix.
- Apples firmer than you expected: that is the nature of fresh apples, which keep a gentle bite. For a softer, creamier filling, use canned apple pie filling.
- Burned tongue: give it the 10 minute rest. The caramel is far hotter than the topping looks.
Ice Cream, Whipped Cream, and Next Day Leftovers
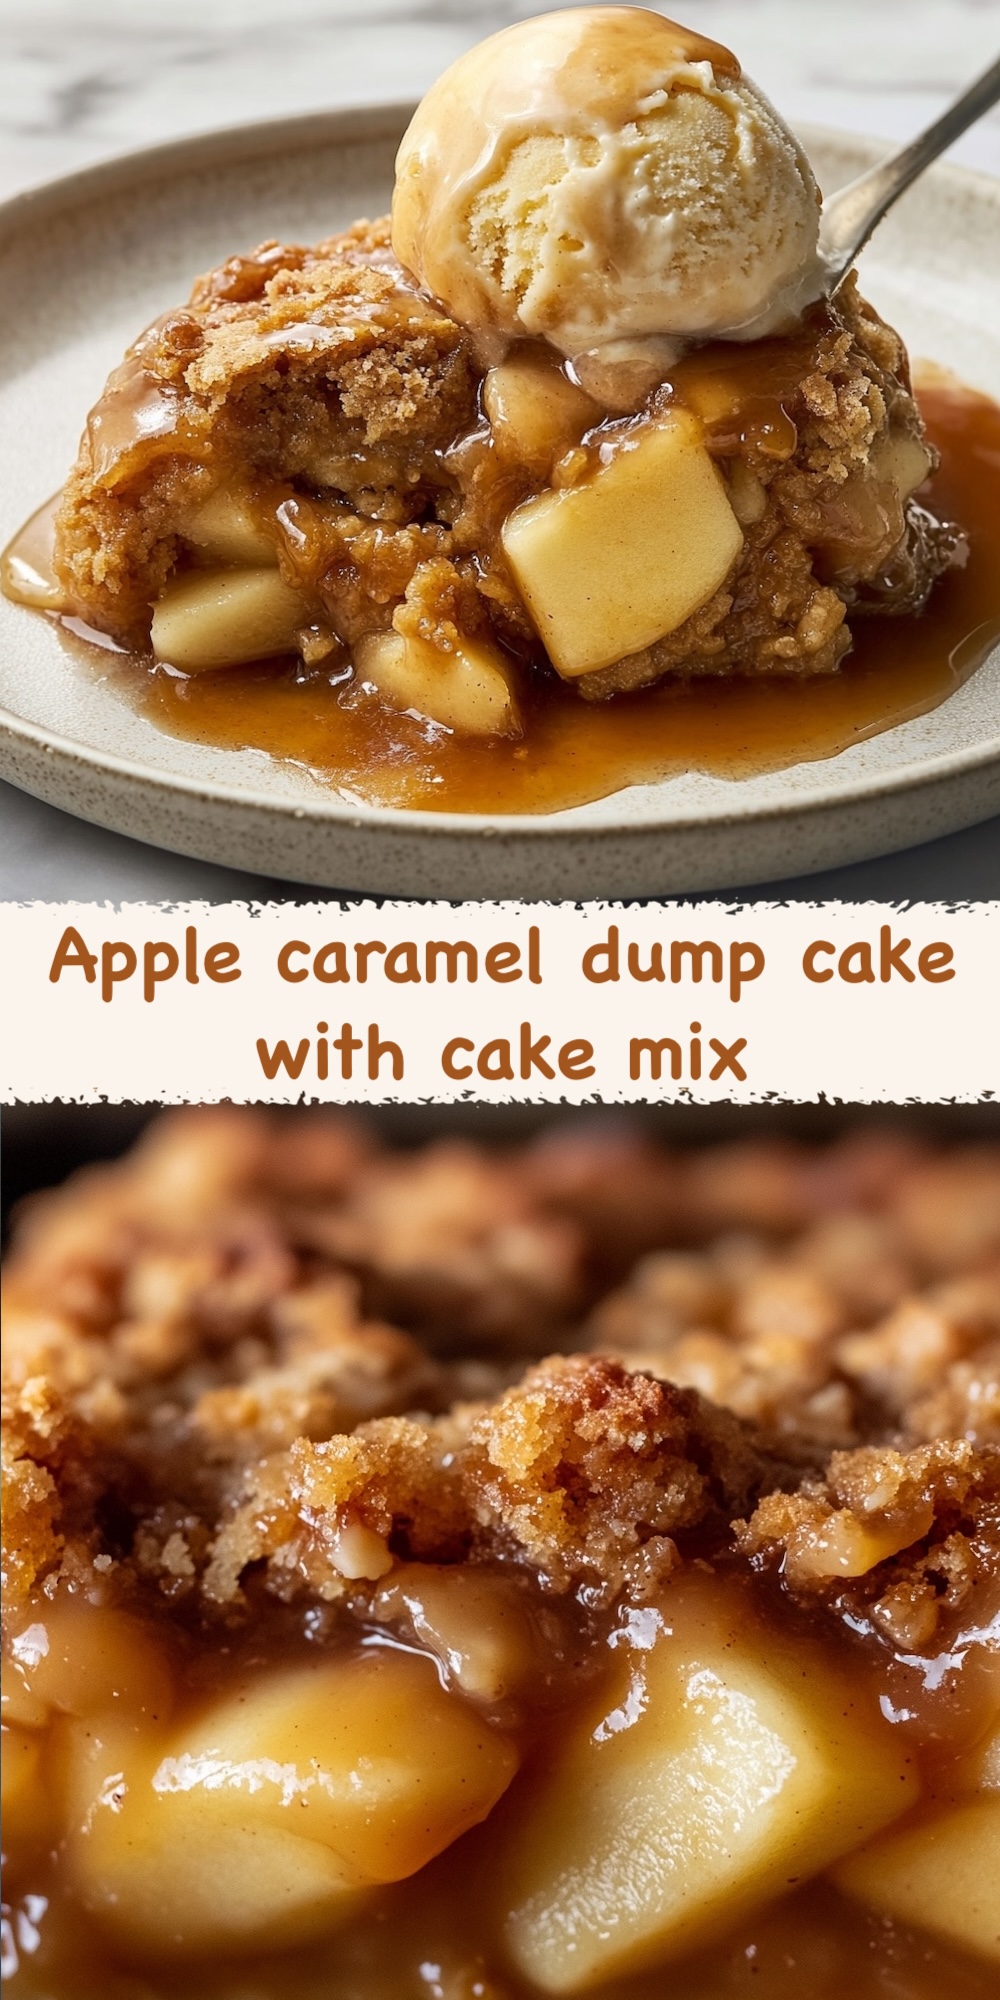
A warm scoop with vanilla ice cream is how I serve it most often; the hot and cold contrast is hard to beat. Whipped cream is a lighter choice that still lets the apple and caramel stand out, and a sprinkle of cinnamon sugar at the table adds more spice.
Leftovers keep for about 2 days in the fridge. A quick burst in the microwave brings back the fresh baked feel, and a second spoonful of caramel never hurts. Because it bakes in under an hour from pantry staples, it is an easy addition to a Thanksgiving dessert table next to a caramel apple pie or a pumpkin pie dump cake.
More Caramel and Apple Dump Cakes
If caramel is your favorite part, try my caramel dump cake, which puts the caramel front and center. The same sauce pairs well with peanut butter in this caramel peanut butter dump cake, and the caramel pecan dump cake brings a toasty, nutty crunch. For another fall fruit, the pear dump cake uses the same easy layering, and if you would rather have an oat topping than cake mix, my easy apple crisp is the one to bake.
What Bakers Ask Before Making It
Can you make apple dump cake with fresh apples?
Yes. Use 5 to 6 medium peeled, sliced apples tossed with ½ cup sugar, 1 tablespoon lemon juice, and 1 teaspoon cinnamon, then layer and bake as usual.
What is the 4 ingredient version?
The canned version: one 20 ounce can of apple pie filling, an 11 ounce jar of caramel sauce, a 15.25 ounce box of yellow cake mix, and ½ cup melted butter.
Do you stir a dump cake?
No. The apples, caramel, dry cake mix, and butter go in as separate layers, and the butter soaks into the mix as it bakes.
What size pan do I need?
A greased 9×13 inch baking dish, which gives 10 servings.
Which apples are best for dump cake?
Granny Smith or Honeycrisp. Both hold their shape and keep a tart edge against the sweet caramel.
How do I store leftover caramel apple dump cake?
Cover it and refrigerate for about 2 days, then reheat portions in the microwave before serving.
If you bake it, tell me in the comments whether you went with fresh apples or canned filling, and which topping method won at your table.
Caramel Apple Dump Cake Recipe
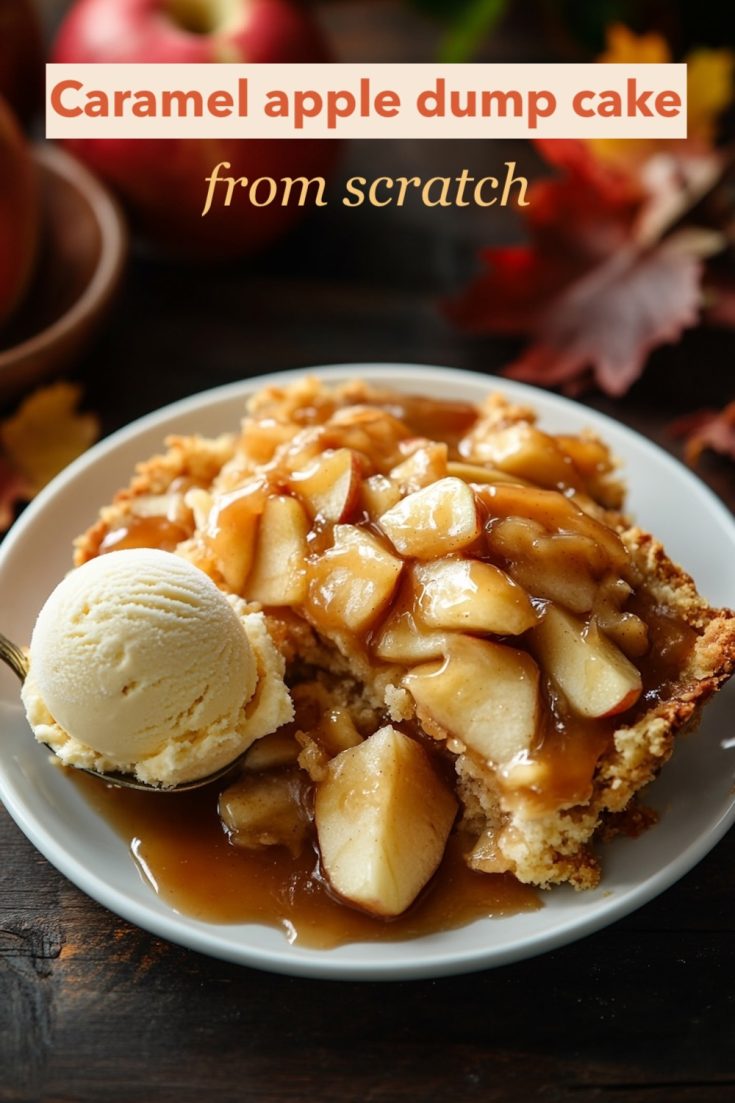
This caramel apple dump cake is an easy fall dessert made with fresh apples or canned apple pie filling, a jar of caramel sauce, yellow cake mix, and melted butter. It bakes at 350°F in a 9x13 inch dish for 45 to 50 minutes and serves 10, with soft caramel coated apples under a crisp, golden cake topping. The dry cake mix is sprinkled over the apples and caramel and never stirred, so the melted butter turns it into a buttery crust. Make it as an apple dump cake with fresh apples for a bright, tart bite, or use canned filling for a 4 ingredient shortcut for Thanksgiving or a weeknight. Serve warm with vanilla ice cream and keep leftovers in the fridge for 2 days.
Ingredients
- WITH FRESH APPLES:
- 5-6 medium apples (Granny Smith or Honeycrisp work well), peeled and sliced
- 1/2 cup granulated sugar
- 1 tsp cinnamon (optional)
- 1 tbsp lemon juice
- WITH CANNED APPLES:
- 1 (20 oz) can apple pie filling
- 1 (11 oz) jar caramel sauce (or homemade caramel)
- 1 box yellow cake mix (15.25 oz)
- 1/2 cup unsalted butter, melted
- 1/4 cup chopped pecans or walnuts (optional, for crunch)
- Vanilla ice cream or whipped cream (optional, for serving)
Instructions
- PREHEAT THE OVEN: Preheat your oven to 350°F (175°C) and grease a 9x13-inch baking dish.
- PREPARE THE APPLE FILLING: For fresh apples, toss the apple slices with sugar, cinnamon, and lemon juice in a large bowl until well coated, then spread them evenly across the bottom of the prepared baking dish. For canned apples, skip the sugar and lemon and simply pour the canned apple pie filling into the dish, spreading it out evenly.
- ADD THE CARAMEL LAYER: Drizzle the caramel sauce evenly over the apples. For extra cinnamon flavor, sprinkle a little cinnamon over the caramel layer if desired.
- TOP WITH CAKE MIX: For a classic dump cake, sprinkle the entire box of dry cake mix evenly over the caramel and apples. Alternatively, to create a layered effect, sprinkle half of the cake mix over the apples, add the caramel sauce, then top with the remaining cake mix.
- ADD THE BUTTER: Drizzle the melted butter evenly over the cake mix. For more even coverage, you can also slice cold butter and place it in an even layer across the top. If using, sprinkle chopped nuts over the top for added texture and flavor.
- BAKE: Place the baking dish in the preheated oven and bake for 45–50 minutes, or until the top is golden brown and crisp and the apple layer is bubbling underneath.
- COOL AND SERVE: Let the cake cool for 10 minutes before serving. Serve warm with a scoop of vanilla ice cream or a spoonful of whipped cream if desired.
Notes
For fresh apples, Granny Smith or Honeycrisp hold their shape best. For canned apple pie filling, skip the sugar and lemon juice. For a layered top, sprinkle half the cake mix over the apples, add the caramel, then top with the remaining mix. To avoid dry, powdery spots, drizzle the butter slowly and evenly or lay thin slices of cold butter over the whole surface. Let the cake rest for 10 minutes before serving, because the caramel is very hot. Store leftovers covered in the refrigerator for about 2 days and reheat in the microwave.
Nutrition Information
Yield
10Serving Size
1Amount Per Serving Calories 450Total Fat 15gSaturated Fat 8gTrans Fat 0gUnsaturated Fat 6gCholesterol 31mgSodium 418mgCarbohydrates 79gFiber 4gSugar 53gProtein 3g

Hi Heather (and anyone else wondering about layering tips)!
Thank you for bringing up such a great point! If your cake mix is sinking to the bottom or not forming a proper crust, here are a few key tips to ensure perfect results every time:
Ultimately, the classic dump cake method works best if you ensure an even distribution of butter and control excess liquid in the apple layer. I hope these tips help you get that perfect buttery crust every time! Let me know if you give them a try—I’d love to hear how it turns out! 😊
HI can you make this in advance and bake it the following day?
Hi Heather,
Thank you for asking! While it’s best to bake this cake fresh, you can prep parts of it ahead. I recommend preparing the apple filling and storing it in the fridge. When you’re ready to bake, assemble the cake (adding the caramel, cake mix, and butter) just before putting it in the oven. This ensures the topping stays crisp and golden. I hope that helps, and I’d love to hear how it turns out for you! 😊