I learned to make chocolate ice cream during a spontaneous weekend. I felt curious about trying a homemade recipe that mirrored the velvety sweets I used to enjoy at my grandmother’s table. My first few attempts turned out softer than expected, yet the flavor always satisfied me.

Following a special diet?
Every recipe on this site can be converted to gluten-free, vegan, dairy-free, keto, nut-free or egg-free with adjusted ratios so nothing falls flat.
Try the Recipe Converter →Your kitchen holds the power to create something delightful with everyday ingredients. This recipe brings a gentle warmth to any gathering, especially when you share it with friends who appreciate a genuine chocolate treat.
Ingredients for Homemade Chocolate Ice Cream

I pay close attention to each component, starting with two cups of heavy cream and a cup of whole milk to produce a smooth base. My addition of three-quarter cup granulated sugar amplifies sweetness and pairs well with a half-cup unsweetened cocoa powder for a balanced flavor. Four large egg yolks deliver a velvety texture.
Half a cup of semi-sweet chocolate chips can deepen that cocoa richness if you crave even more indulgence. One teaspoon of vanilla extract wraps these elements in a mellow note. A dash of cocoa powder or a drizzle of melted chocolate stands by as an optional garnish that invites extra pizzazz.
Creating the Cocoa Blend (Step 1)
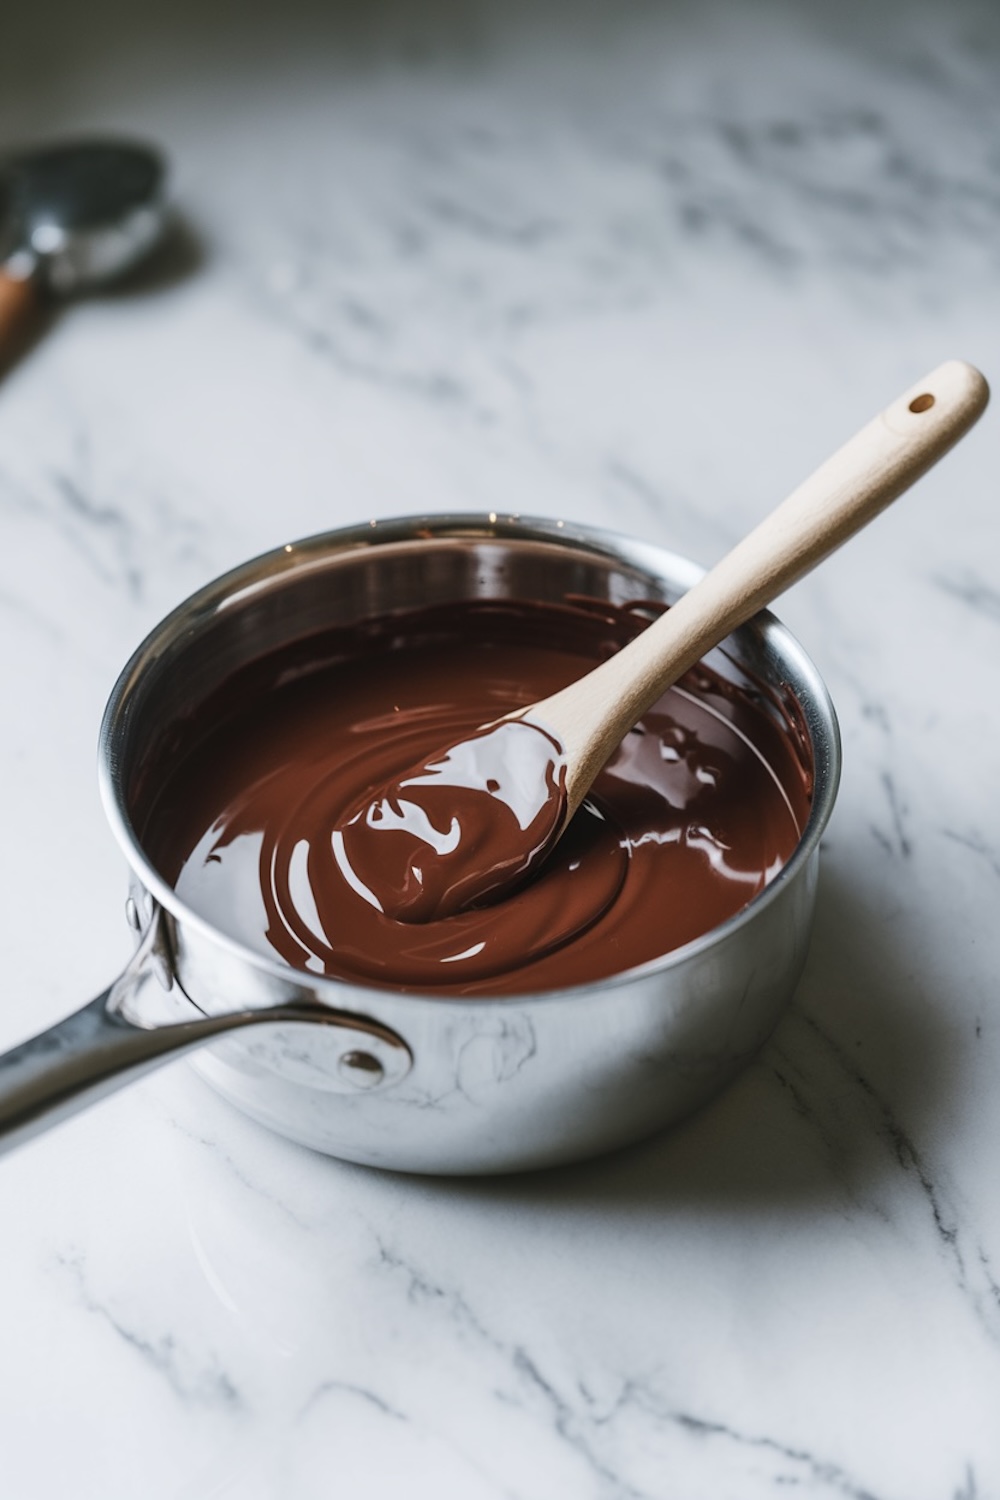
I warm a mixture of heavy cream, milk, sugar, and cocoa powder in a medium saucepan over medium heat. This approach dissolves the sugar while blending everything into a uniform liquid. My arm never stops stirring because constant motion keeps it from scorching. Gentle heat prevents unwanted clumps. My first time doing this, I absentmindedly stepped away, and the scorching taught me to remain watchful. Nothing tastes more comforting than a cocoa base warmed just right.
Tempering the Egg Yolks (Step 2)
I whisk four egg yolks in a separate bowl until they appear smooth. A slow stream of the warm chocolate liquid moves into the yolks. This step keeps the eggs from turning grainy. I learned the hard way that rushing can ruin the consistency. A quiet, measured approach stabilizes the mixture. A return of the tempered eggs to the saucepan completes the process. The silkiness that results can define the difference between mediocre and magical ice cream.
Cooking the Custard (Step 3)
I stir continuously over low heat until the liquid thickens. A gentle swirl with a wooden spoon signals the moment it coats the back of that spoon, which means the custard is ready. My habit is to stay present and watch the texture develop. Overcooking makes it grainy, while undercooking leaves it runny. Stirring in chocolate chips when I remove it from the heat adds a luxurious finish. A touch of vanilla extract brings a soft aromatic boost.
Chilling the Mixture (Step 4)
I usually pour the custard into a bowl, cover the surface with plastic wrap, and let it cool to room temperature. My fridge sets the stage for at least four hours of chilling, though overnight rest enriches the flavor. Patience rewards you here. My father once snuck into the fridge for a taste in the middle of the night, and I spotted a suspicious chocolate smear on his lip in the morning. The aroma can be hard to resist, even before freezing.
Churning and Freezing (Step 5)
I rely on my ice cream maker to bring in that lovely, airy texture. The chilled mixture goes into the machine, and I follow the manufacturer’s instructions. The result emerges thick and creamy. A freezer-safe container then helps me store it for final firming. Without a machine, I settle the mix in a container and freeze it, stirring every 30 minutes for around three hours. My arm feels the workout, but that consistent stirring disperses ice crystals and preserves the smooth finish.
Serving with Toppings (Step 6)
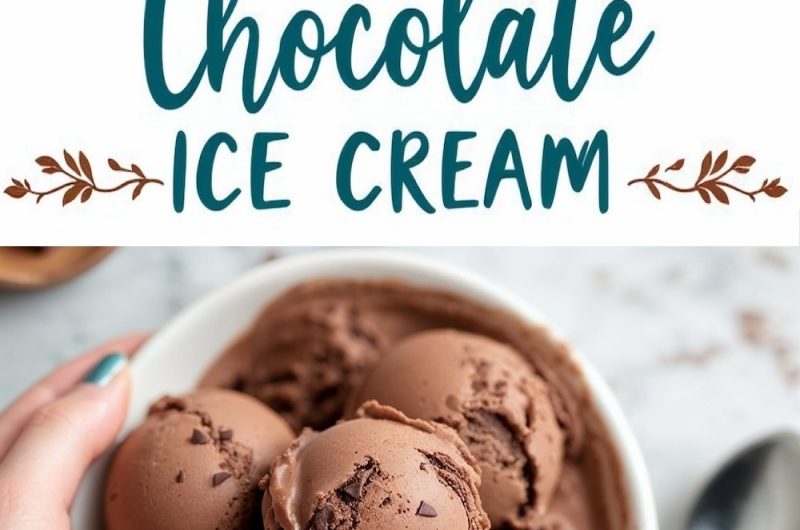
I scoop this creation into bowls or cones. I sometimes dust the top with cocoa powder or drizzle melted chocolate for a finishing flourish. My friend once joked that my freezer belongs in a dessert shop because the toppings never end. Chocolate chunks or shavings can keep the crunch element alive. A quiet moment with a bowl of this ice cream tastes heavenly on a hot afternoon.
A Personal Take on Flavor Additions
I explored new flavors by adding a small pinch of sea salt. That pinch coaxed even deeper notes from the cocoa. My neighbor once experimented with chili powder for a subtle kick. I found that move too wild for my taste, yet I admire the fearless attitude. A swirl of peanut butter creates an extra treat for those who appreciate an added layer of comfort. Small changes bring surprising outcomes, so feel free to follow your instincts.
Pairing Suggestions with Other Chocolate Recipes
I enjoy pairing this ice cream with Chocolate Caramel Turtle Brownies. The contrast of chewy caramel with creamy ice cream sets a sweet stage. My best friend discovered that a scoop of this chocolate ice cream on top of these Chocolate Peanut Butter Puppy Chow Clusters can heighten a dessert spread.
Another recent experiment involved placing a cool scoop beside Chocolate Mousse Brownies to balance their dense nature. A crumbly wedge of Flourless Chocolate Cake also tastes unforgettable with this homemade ice cream. My own sweet tooth loves these pairings, and my guests never complain about extra chocolate.
Tips for Maximum Freshness and Storage
I store leftover ice cream in a sealed container, which keeps it fresh for about two weeks. A layer of plastic wrap on the surface halts ice crystals from creeping in. My sister usually devours everything within days, so freezer burns rarely become an issue. A slight softening on the counter for a few minutes readies each scoop for easy serving. An extra drizzle of melted chocolate or a whipped topping can turn a plain bowl into a special affair.
Pin This Homemade Chocolate Ice Cream Recipe for Later
I invite you to save this recipe on your Pinterest board. This ensures you always have a fuss-free approach to a homemade dessert close at hand. My kitchen experiments brought me joy, and I hope your spoonful of creamy chocolate ice cream does the same for you.
Homemade Chocolate Ice Cream Recipe
Course: Cake Ideas4
servings20
minutes4
hours250
kcalIngredients
2 cups heavy cream
1 cup whole milk
3/4 cup granulated sugar
1/2 cup unsweetened cocoa powder (high-quality works best for a rich flavor)
4 large egg yolks
1/2 cup semi-sweet chocolate chips (optional, for extra creaminess)
1 teaspoon pure vanilla extract
Cocoa powder (for dusting) – optional
Melted chocolate (to drizzle on top) – optional
Chocolate chunks or shavings – optional
Steps
- Step 1: Mix the Cocoa Base
- In a medium saucepan, whisk together the heavy cream, milk, sugar, and cocoa powder. Heat over medium heat, stirring constantly, until the mixture is warm and the sugar has completely dissolved. Do not let it boil.
- Step 2: Temper the Egg Yolks
- In a separate bowl, whisk the egg yolks until they’re smooth and slightly pale.
- Slowly pour about 1/2 cup of the warm chocolate mixture into the egg yolks, whisking constantly to prevent the eggs from curdling.
- Gradually pour the egg mixture back into the saucepan, continuing to whisk.
- Step 3: Cook the Custard
- Cook the mixture over low heat, stirring constantly with a wooden spoon or spatula. You’ll know it’s ready when it thickens enough to coat the back of the spoon. This should take about 5-7 minutes.
- Remove from heat and stir in the chocolate chips (if using) until melted and smooth. Then add the vanilla extract.
- Step 4: Chill the Mixture
- Pour the custard into a bowl and cover the surface with plastic wrap to prevent a skin from forming. Let it cool to room temperature, then refrigerate for at least 4 hours or overnight for the best flavor.
- Step 5: Churn and Freeze
- If you have an ice cream maker, pour the chilled mixture into the machine and churn according to the manufacturer’s instructions. If you don’t have one, pour the mixture into a freezer-safe container and freeze. Stir it every 30 minutes for about 3 hours to break up ice crystals and ensure a creamy texture.
- Step 6: Serve with Toppings
- Scoop your homemade chocolate ice cream into bowls or cones and garnish with your favorite toppings—dust it with cocoa powder, drizzle melted chocolate over the top, or sprinkle with chocolate chunks.