I remember my first attempt at combining brownies with mousse during a late-night cooking spree. My best friend had asked for a two-layer dessert that combined smooth texture with a bit of chew. That request gave me the spark.
A chocolate mousse brownie came to mind, and I plunged into my kitchen without a second thought.
Following a special diet?
Every recipe on this site can be converted to gluten-free, vegan, dairy-free, keto, nut-free or egg-free with adjusted ratios so nothing falls flat.
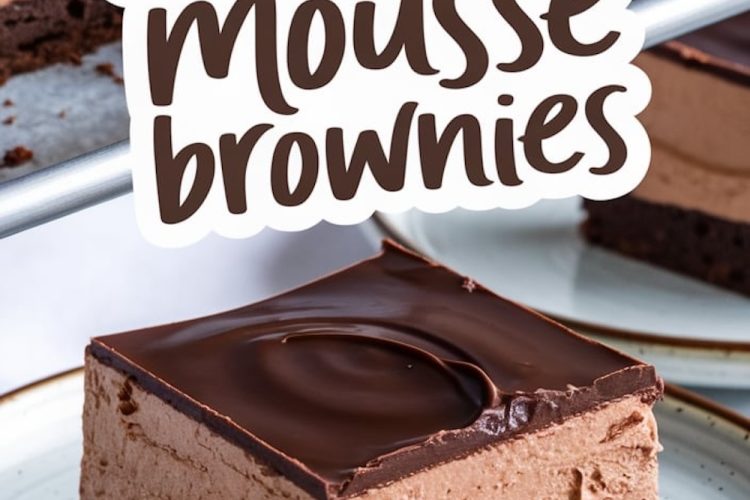
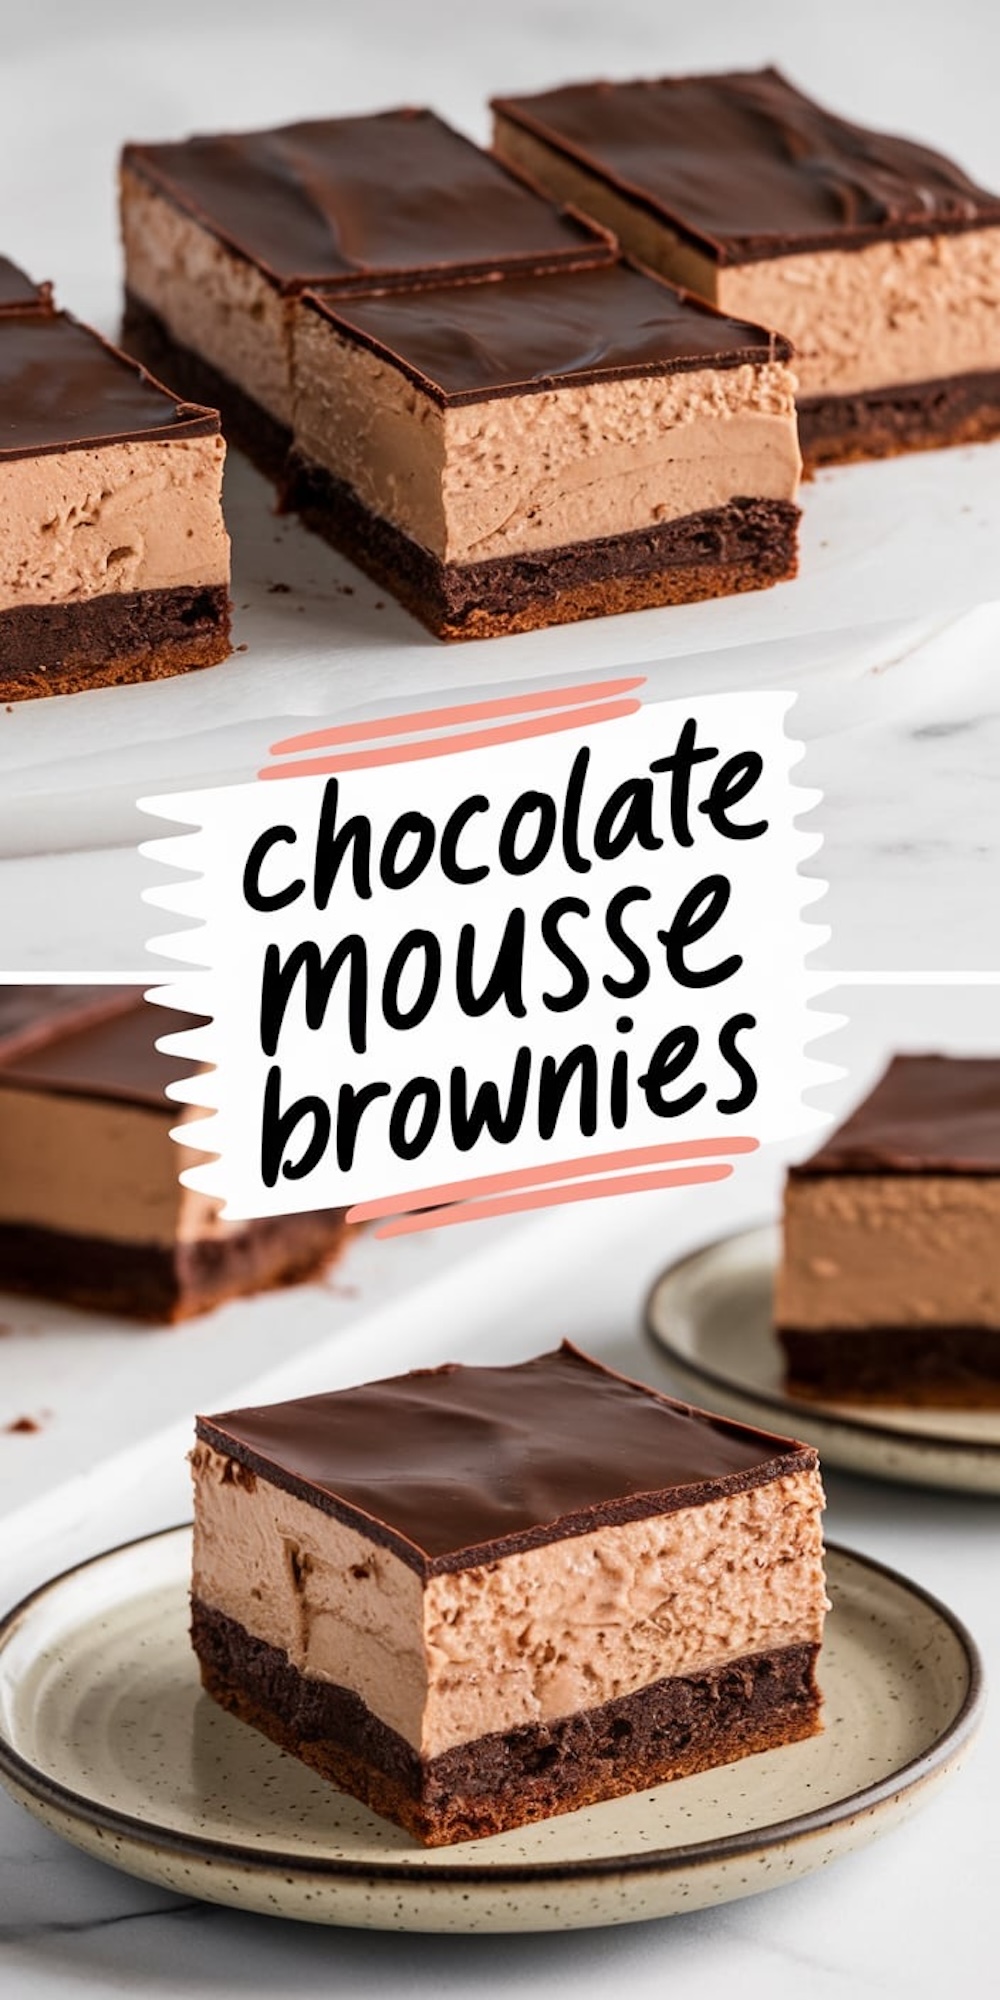
Try the Recipe Converter →My initial effort had lumps in the mousse and a crust that refused to bake evenly, but my love of chocolate kept me inspired. Today, these brownies feature three distinctive layers: a fudgy base, an airy middle, and a glossy finish. Each layer fits together, bringing indulgence with every bite.
Ingredient Tips for the Brownie Base
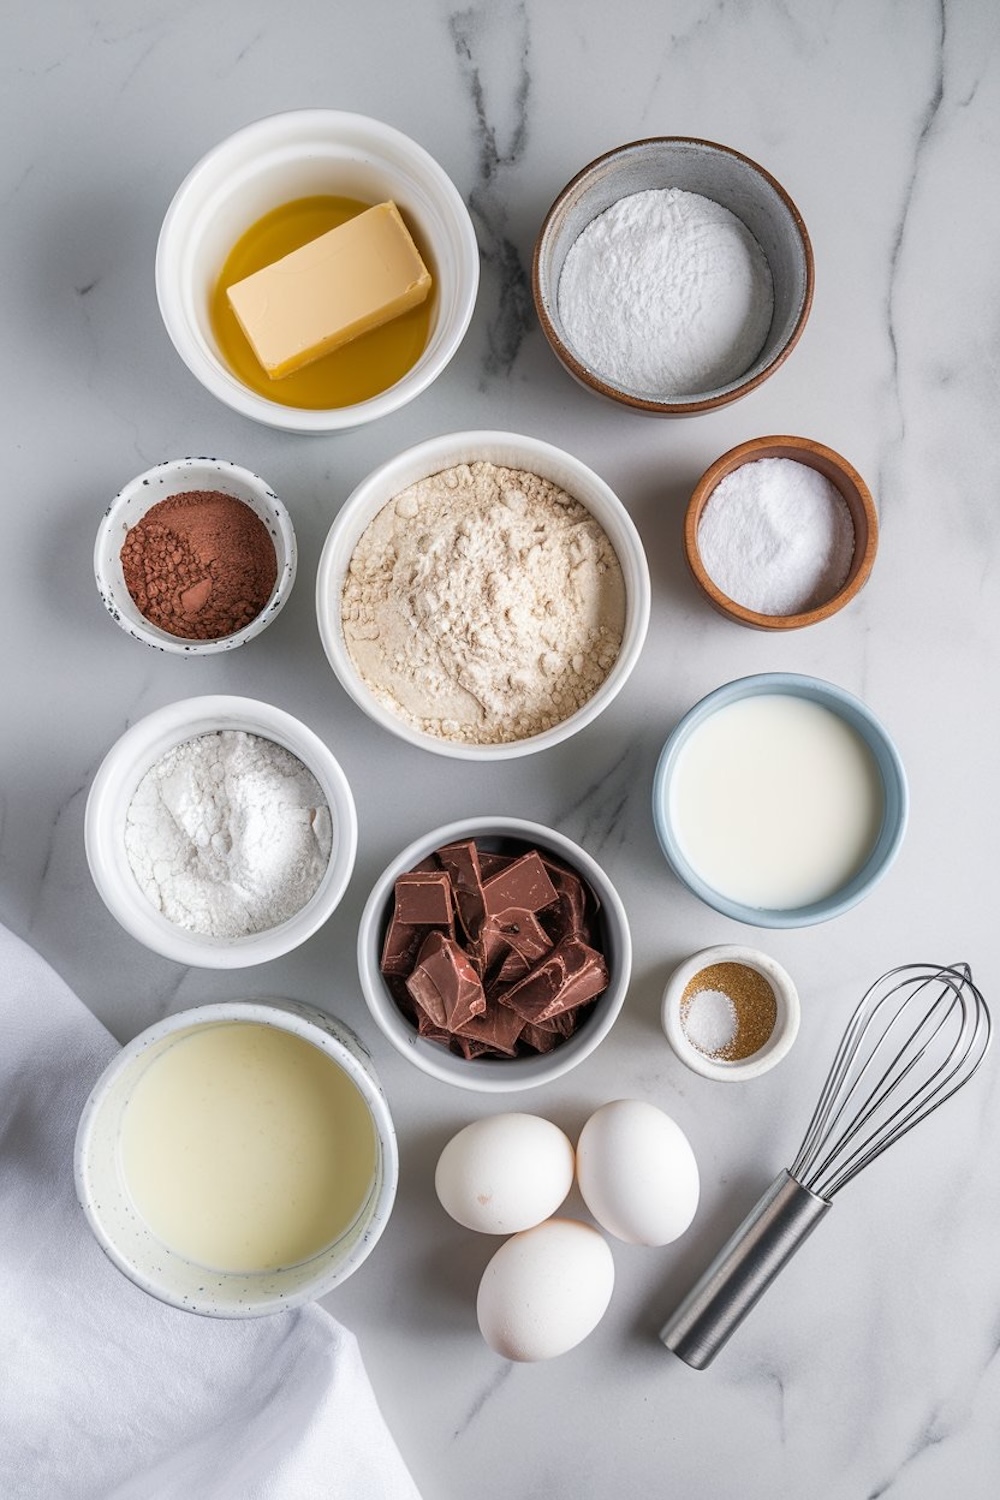
I always double-check my pantry before grabbing ingredients. Rich cocoa and fresh butter create a deep flavor that stays on the palate. The combination of granulated sugar and a bit of salt balances the sweetness. A spoon of vanilla extract also adds a pleasing aroma.
My mother once said that fresh baking powder and careful measuring define the success of any brownie recipe. My own experience with trial and error supports that idea.
Even a small miscalculation in flour or cocoa can change the texture from moist to dry. I rest easy knowing I’ve stocked the right amounts of cocoa powder, flour, and sugar.
Mixing and Baking the Brownie Layer
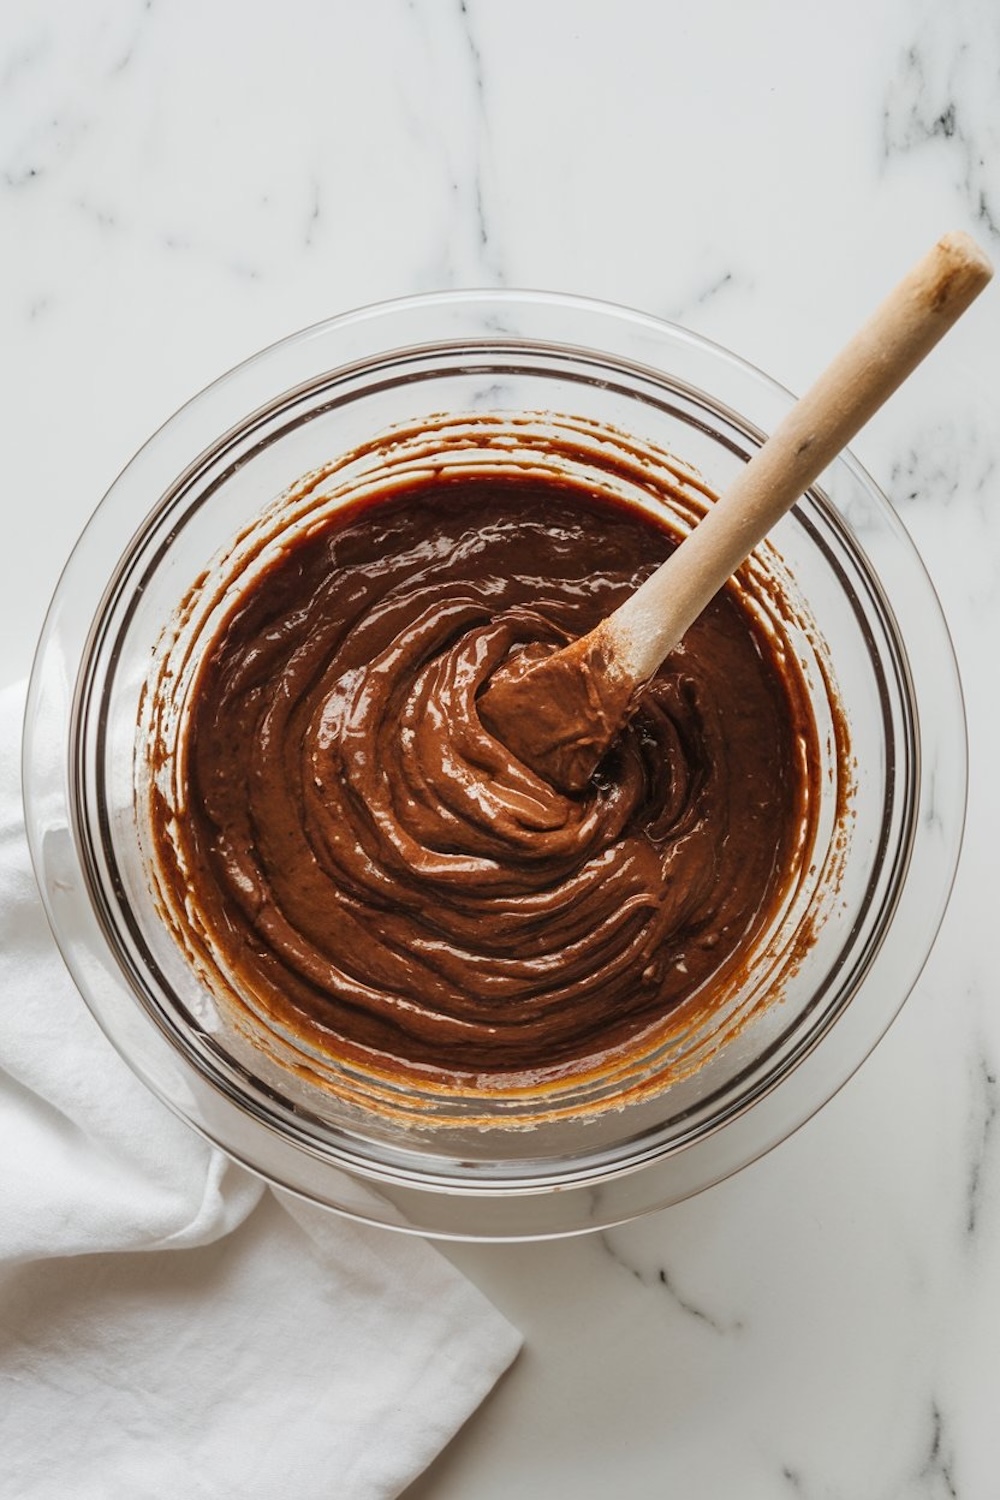
I start with a mixing bowl where I blend melted butter and sugar. Eggs and vanilla join next. A whisk turns the batter silky. Cocoa powder, flour, salt, and baking powder follow. This step never exceeds a gentle fold because overmixing can turn the brownie base dense.
A spatula helps combine everything into a dark, fragrant batter. The oven stays at 350°F (175°C), and my trusty 8×8-inch baking pan awaits a parchment lining.
The batter pours in smoothly, and I spread it into the corners with measured strokes. Twenty minutes is my usual bake time, but I keep an eye on the center. A toothpick with a few moist crumbs is the hallmark of success. I let the brownie layer cool inside the pan on a wire rack.
Creating the Velvety Chocolate Mousse
I chop semisweet chocolate into fine pieces and let them rest in a heatproof bowl. My small saucepan warms milk until light wisps of steam rise. That hot milk flows over the chopped chocolate.
I count a few seconds, then stir until the mixture transforms into a dark, glossy pool. The aroma often reminds me of weekend visits to my grandmother’s house, where a simmering chocolate pot signalled something special was on the way.
I wait for this mixture to cool to room temperature. Meanwhile, I whip heavy cream and powdered sugar in a separate bowl until soft peaks form. Then I fold in the cooled chocolate blend.
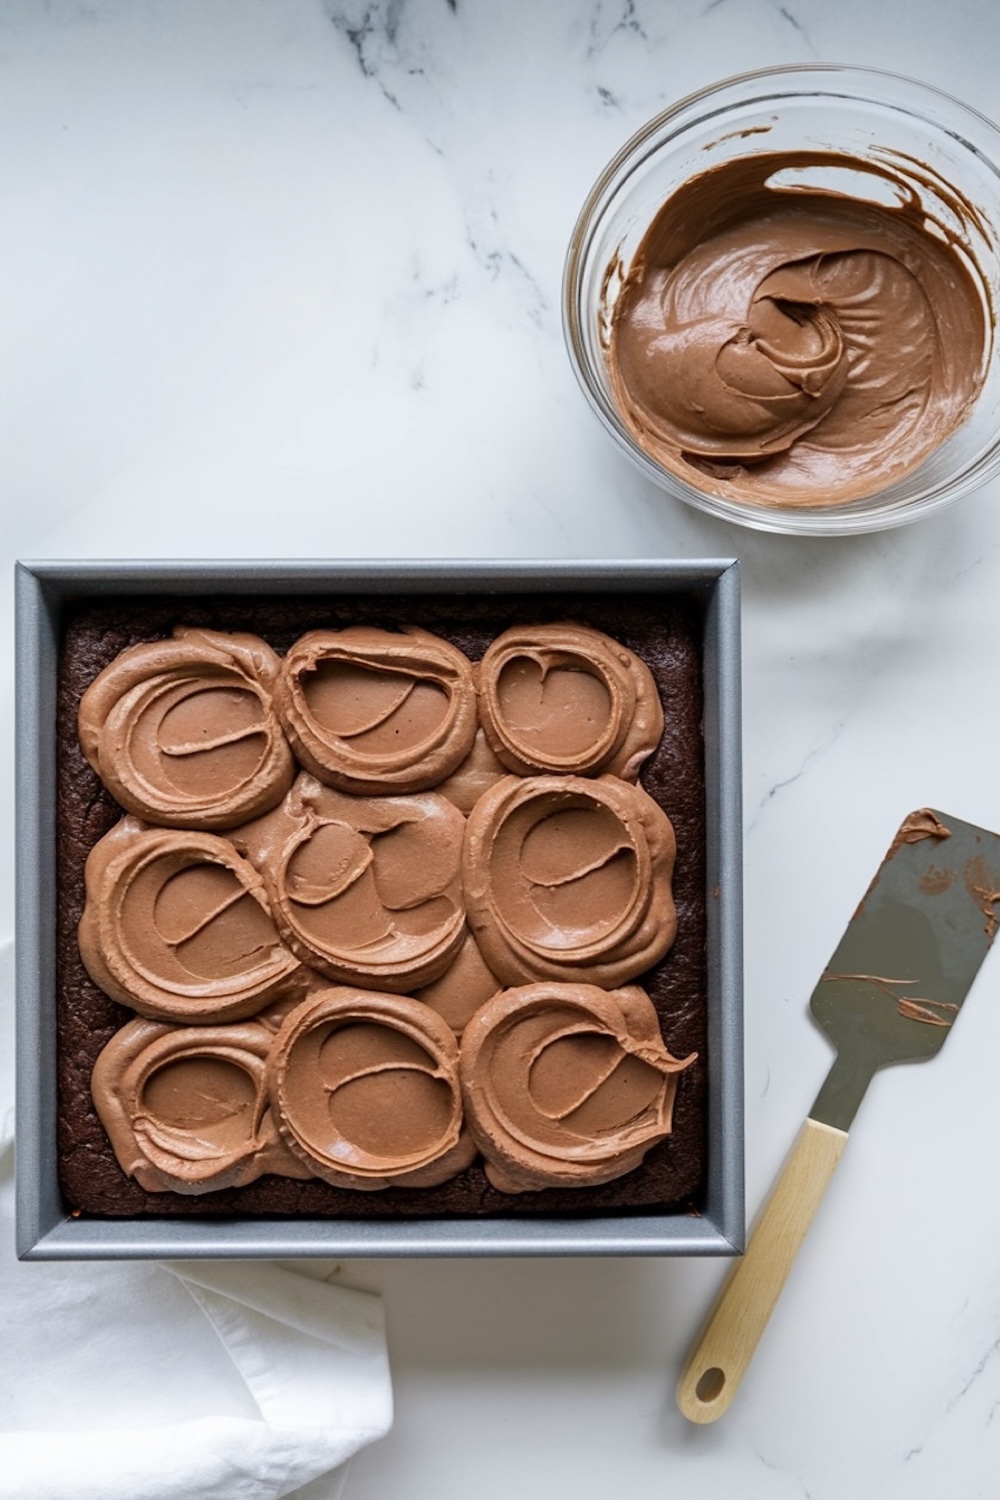
The chocolate mousse keeps its airy nature with gentle scoops and turns. I stop as soon as there are no visible streaks. That smooth mousse slides across the cooled brownie base and spreads into a thick layer. The pan goes into the fridge for a couple of hours.
Finishing With a Glossy Ganache
I refuse to rush through ganache. My approach involves chopping more semisweet chocolate, placing it in a heatproof bowl, and warming heavy cream in a small saucepan. Right before boiling, the cream meets the chocolate.
A few minutes of rest allows the heat to soften every bit. A spoon or spatula then creates a thick, silky sauce. I enjoy the act of drizzling this sauce on top of the chilled mousse layer.
My daughter sometimes helps by trying to swirl patterns with an offset spatula. Even coverage is the goal. The final step involves returning the pan to the fridge for an hour. Patience ensures the ganache forms a firm cap on the surface.
Serving and Personal Reflections
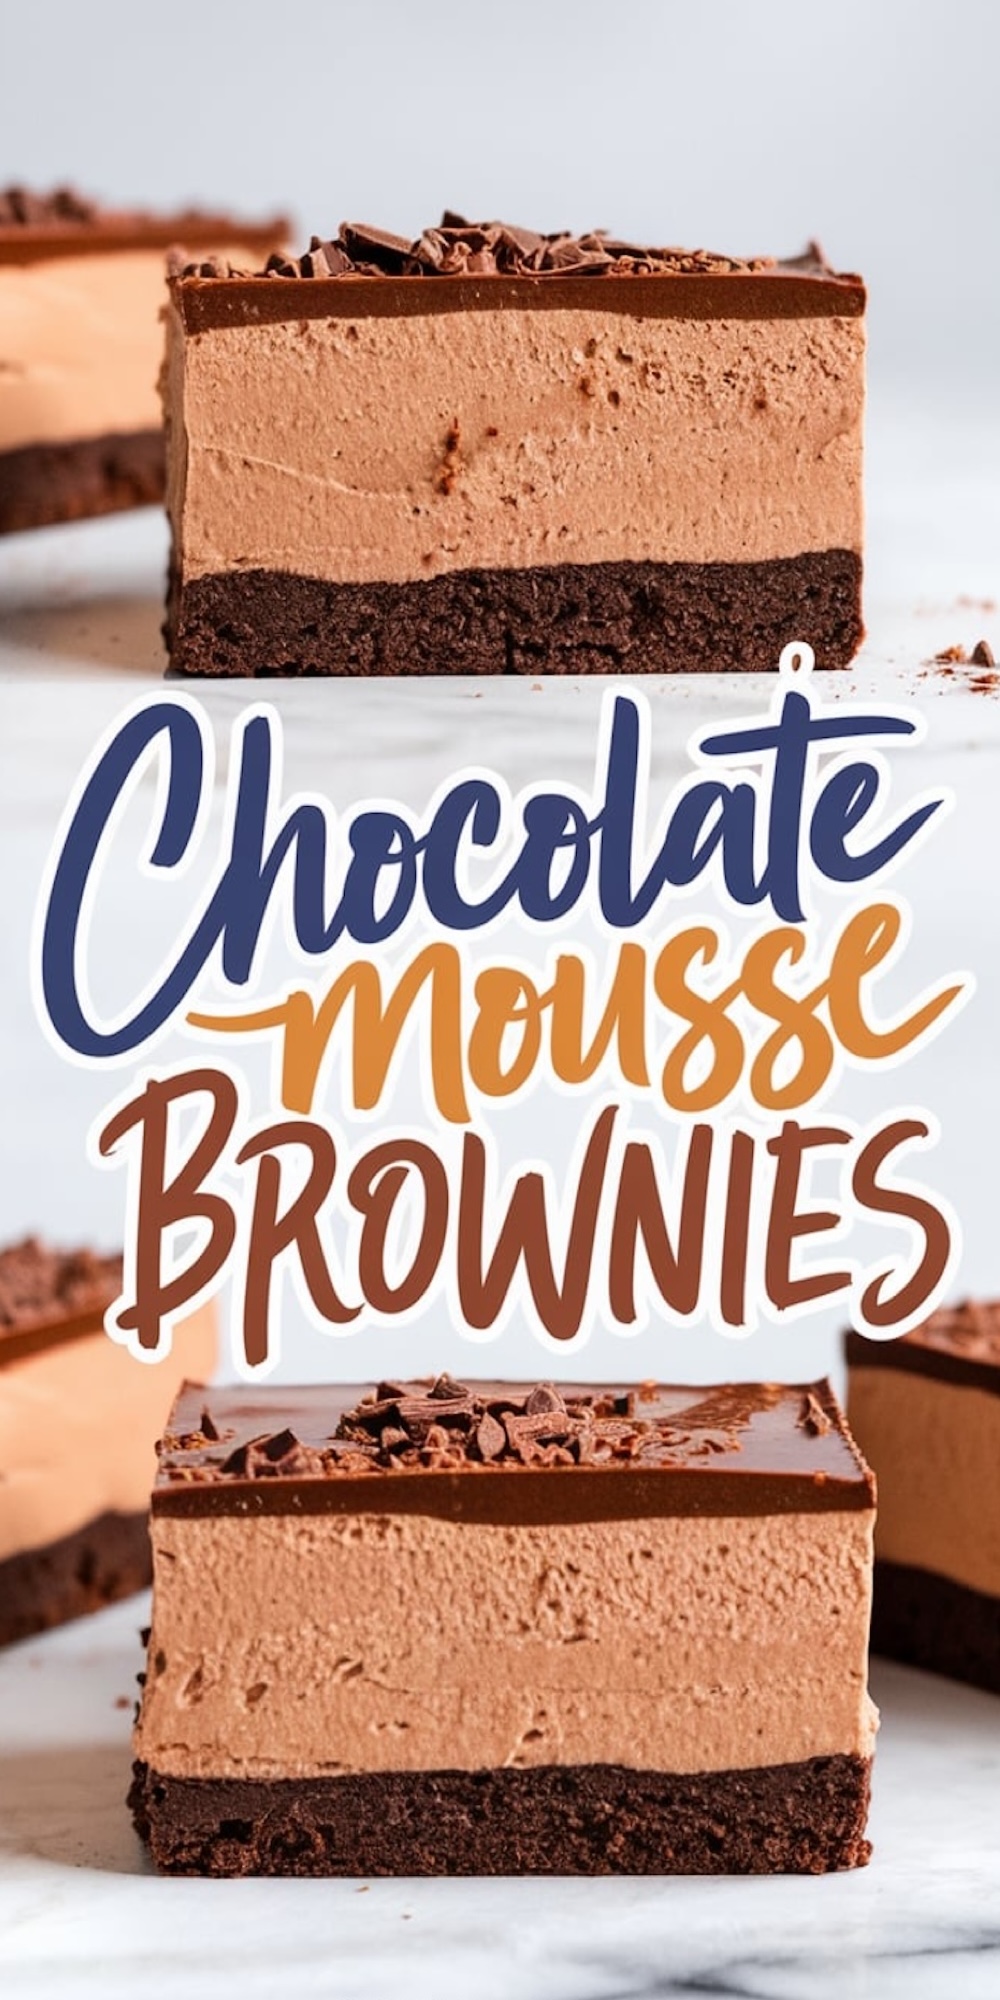
I usually slice these brownies with a warm knife for cleaner edges. Each bar shows distinct bands of color: dark brown, lighter chocolate, and a glossy top. My first taste always takes me back to the encouraging words of my best friend who believed I could merge fudge-like brownies with airy mousse.
A single piece can satisfy a strong chocolate craving, yet I have friends who always ask for seconds.
Those who love intense chocolate might pair this dessert with a cup of coffee. A dollop of whipped cream or a few fresh berries can offer a contrasting flavor. I have tested a few plating tricks over the years, but nothing beats a simple square on a white plate.
Extra Inspiration: More Chocolate Creations
I sometimes bake these brownies side by side with Classic Fudgy Brownies for variety. My sweet tooth seems to appreciate the contrast in textures.
My kids have begged me to include gooey centers too, so I keep a backup recipe for Chocolate Lava Cake on standby. On birthdays, I switch to a lighter treat by whipping up Chocolate Buttercream Frosted Cupcakes.
Those cupcakes add an airy lift to the spread. Chocolate is close to my heart, and each dessert offers a different way to celebrate it.
Pin These Chocolate Mousse Brownies For Later
I love to share a good dessert discovery. My personal tradition is to keep a record on Pinterest so I can return to the recipe any time. A saved pin also proves handy when friends request a chocolate treat on short notice.
Clicking that pin reminds me how a well-chosen dessert can bring people together. Sharing these brownies with family or neighbors adds an extra layer of happiness to each gathering.
A friend in another city once told me she pinned this recipe after a single mention, and she still thanks me every time she bakes it.
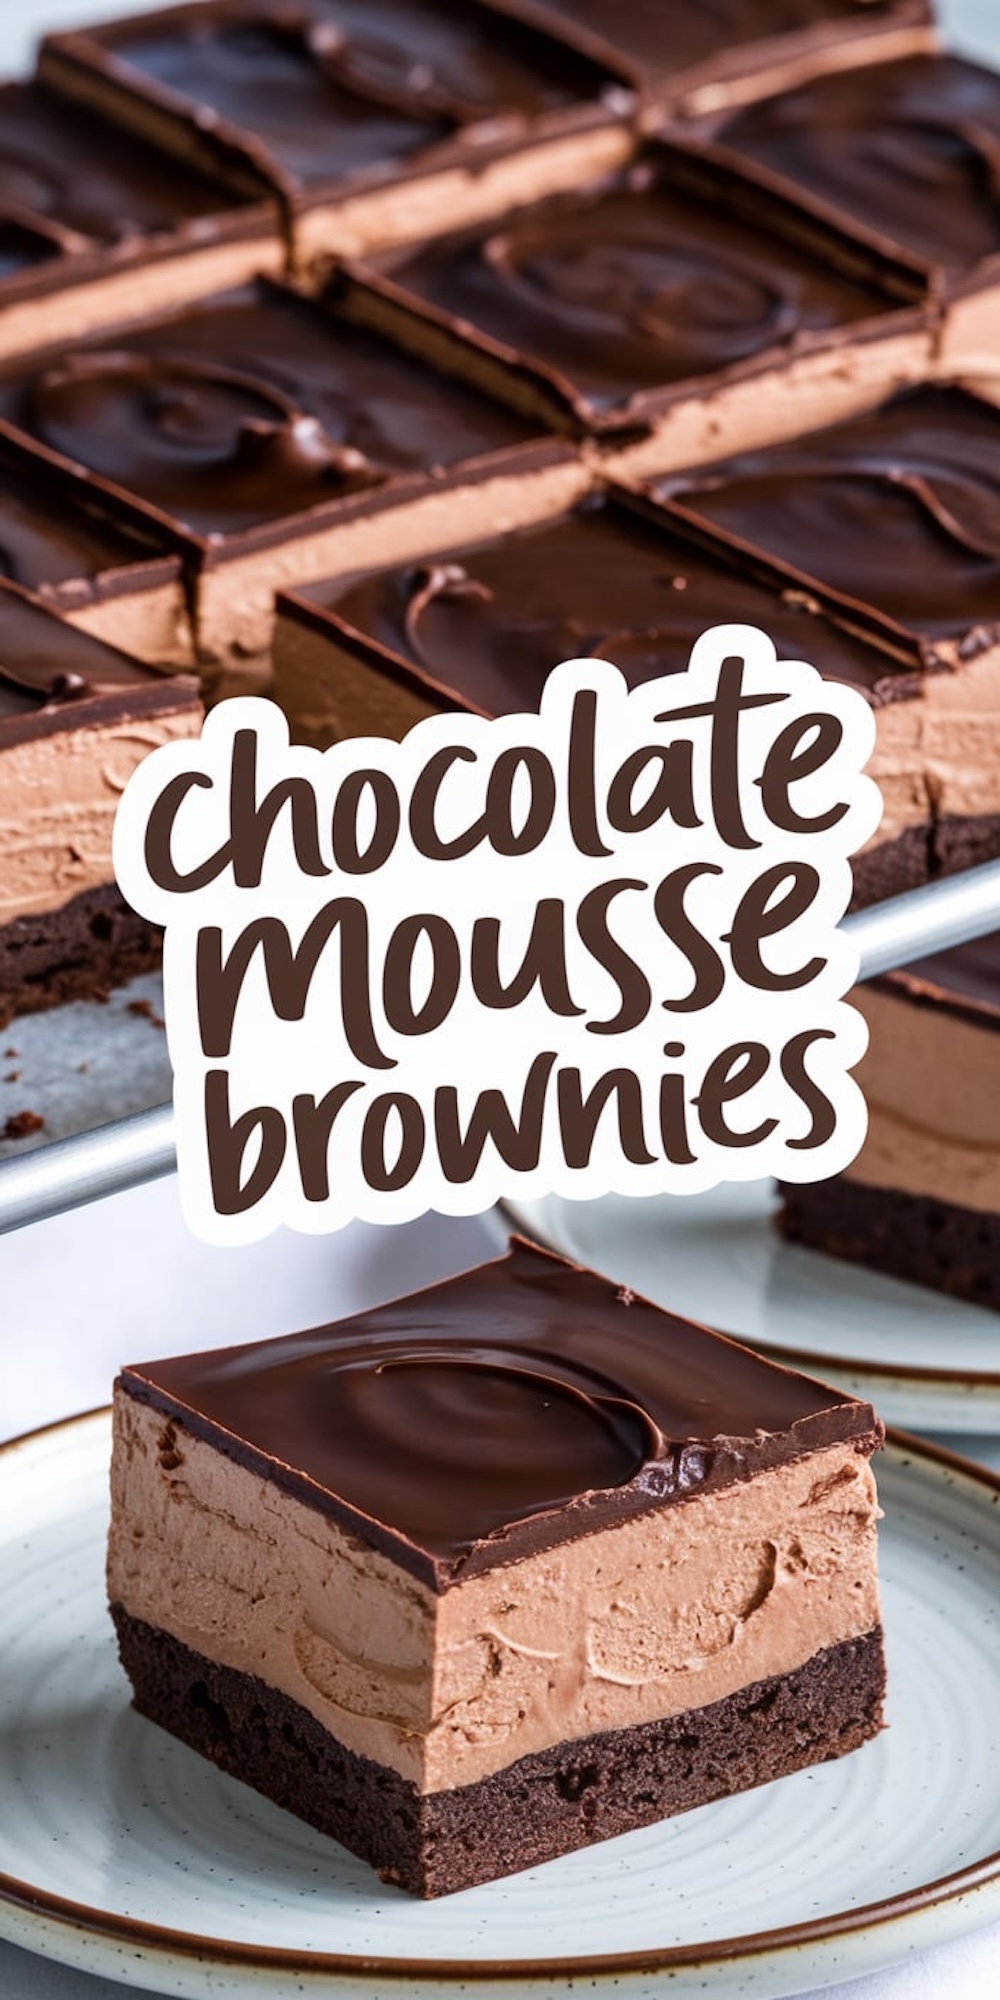
Chocolate Mousse Brownies Recipe
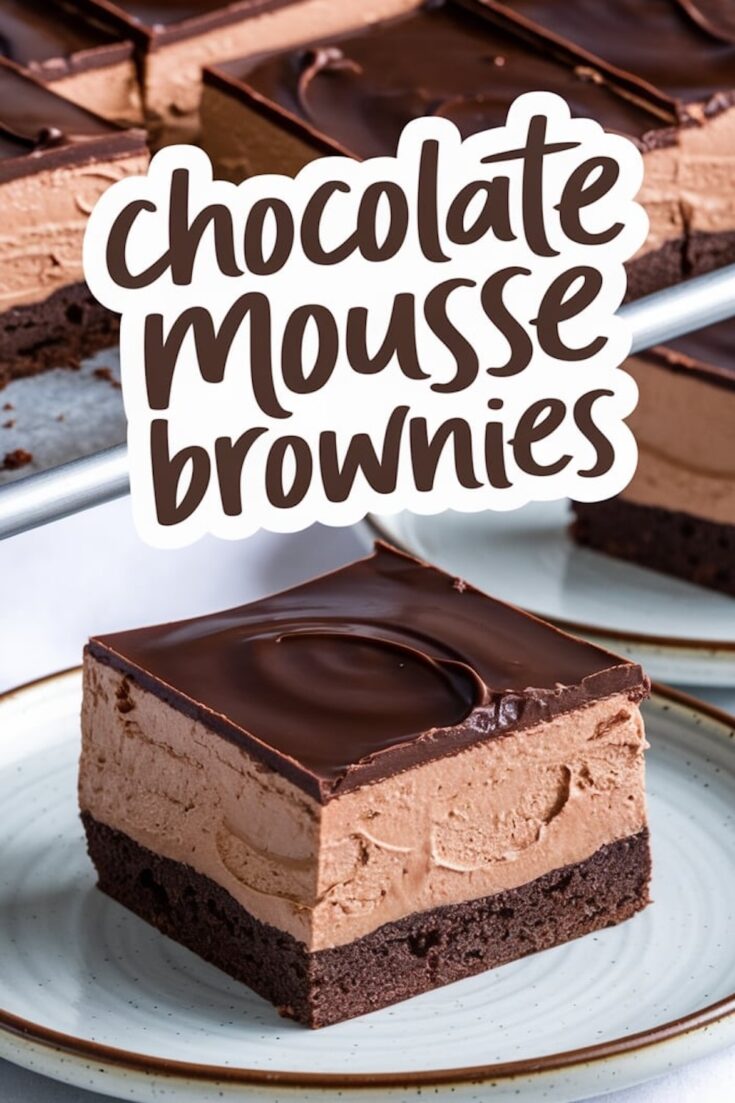
This Chocolate Mousse Brownies Recipe combines rich fudgy brownies with a silky smooth chocolate mousse topping. The perfect dessert for anyone who loves decadent textures and deep cocoa flavor. These layered brownie desserts work for holidays or weekend bakes and make great Thanksgiving desserts easy or Christmas desserts easy. The mousse sets beautifully over a homemade brownie base, making every bite irresistible. Serve chilled with your favorite brownie toppings or a dusting of cocoa. One of the most satisfying easy chocolate desserts for gifting or gatherings.
Ingredients
- FOR THE BROWNIE BASE:
- 1/2 cup (115g) unsalted butter, melted
- 1 cup (200g) granulated sugar
- 2 large eggs
- 1 tsp vanilla extract
- 1/3 cup (40g) unsweetened cocoa powder
- 1/2 cup (65g) all-purpose flour
- 1/4 tsp salt
- 1/4 tsp baking powder
- FOR THE CHOCOLATE MOUSSE:
- 1 1/2 cups (350ml) heavy whipping cream, chilled
- 8 oz (225g) semisweet chocolate, finely chopped
- 3 tbsp (45ml) milk
- 2 tbsp (25g) powdered sugar
- FOR THE GANACHE TOPPING:
- 4 oz (115g) semisweet chocolate, finely chopped
- 1/2 cup (120ml) heavy cream
Instructions
- PREPARE THE PAN: Preheat the oven to 350°F (175°C) and line an 8x8-inch (20x20 cm) square baking pan with parchment paper, leaving a slight overhang on the sides for easy removal.
- MAKE THE BROWNIE BATTER: In a large bowl, whisk together the melted butter, granulated sugar, eggs, and vanilla extract until smooth and well combined.
- ADD DRY INGREDIENTS: Sift in the cocoa powder, flour, salt, and baking powder. Gently fold the dry mixture into the wet ingredients just until no streaks remain. Do not overmix.
- BAKE THE BROWNIE LAYER: Pour the batter into the prepared pan and smooth the top with a spatula. Bake for 20 to 25 minutes until a toothpick inserted into the center comes out with a few moist crumbs. Let the brownie base cool completely in the pan.
- MAKE THE MOUSSE BASE: Heat the milk in a small saucepan over low heat until just steaming. Pour it over the chopped chocolate in a heatproof bowl. Let it sit undisturbed for 2 minutes, then stir until fully melted and smooth. Let the mixture cool to room temperature.
- WHIP THE CREAM: In a separate bowl, beat the chilled heavy cream and powdered sugar until soft peaks form.
- FOLD TO COMBINE: Stir a spoonful of whipped cream into the cooled chocolate mixture to loosen it. Gently fold the remaining whipped cream into the chocolate until fully blended and airy. Avoid deflating the mousse.
- ASSEMBLE MOUSSE LAYER: Spread the chocolate mousse evenly over the cooled brownie base using a spatula. Refrigerate the pan for at least 2 hours, or until the mousse is set.
- MAKE THE GANACHE: Place the chopped chocolate in a heatproof bowl. Heat the heavy cream in a small saucepan until it begins to simmer. Pour the hot cream over the chocolate and let sit for 2 to 3 minutes. Stir until smooth and glossy.
- ADD GANACHE TOPPING: Pour the ganache over the chilled mousse layer and smooth the surface with an offset spatula. Return the pan to the refrigerator for 1 hour, or until the ganache is firm.
- SLICE AND SERVE: Once fully set, lift the dessert out of the pan using the parchment overhang. Slice with a clean, sharp knife, wiping between cuts for neat edges.
Notes
If the melted chocolate cools too much before folding, it can seize or stiffen. Stir a small amount of whipped cream into the chocolate first to loosen it, then fold in the rest gently. Store leftovers covered in the refrigerator for up to 4 days. For clean slices, run the knife under hot water and wipe dry before each cut.
Nutrition Information
Yield
9Serving Size
1Amount Per Serving Calories 726Total Fat 44gSaturated Fat 27gUnsaturated Fat 17gCholesterol 142mgSodium 229mgCarbohydrates 71gFiber 4gSugar 52gProtein 9g
Not sure what went wrong with the mousse, as soon as I added the melted, cooled chocolate, to the whipped cream, it hardened. Was impossible to not deflate the whipped cream as I tried to mix in the now chocolate chunks.
Very disappointing and a waste of good chocolate and heavy cream.
Won’t be trying this again.
Hi Megan,
I’m really sorry to hear this happened — I know how disappointing it is to see good ingredients not come together the way they should. It sounds like the chocolate may have cooled too much or seized when added to the whipped cream, which can definitely make it turn chunky and hard to fold in.
One tip that’s helped me: when combining melted chocolate with whipped cream, the chocolate should be just cool enough that it won’t melt the cream, but still fluid and smooth—if it gets too cold, it will firm up when it hits the colder cream. Sometimes, I also temper the temperature difference by first folding a small scoop of whipped cream into the melted chocolate to lighten it up before adding the rest — this helps prevent seizing.
I really appreciate you taking the time to share your experience, and I’ll add a note in the recipe to clarify that part.
—Emma
Hi, I was wondering what type of chocolate to use. Are chocolate chips okay to use, that’s all that is available to me. Thank you.
Hi! Chocolate chips will definitely work if that’s what you have. I’ve made these brownies with semi-sweet chips before when I ran out of baking chocolate, and they still turned out rich and fudgy. Just try to melt them gently since chips often have stabilizers that make them a little slower to melt smoothly. If you’re mixing them into the batter without melting, they’re totally fine as is
hey! i’m making this today for easter and just wanted to make sure it’ll be fine in the fridge overnight ?? thank you ! i’m so excited to try this 🩷
Hi there! Yes, you’re totally fine to make this a day ahead and chill it overnight. I actually recommend it — the mousse firms up beautifully, and the flavors get even better by the next day. Just make sure it’s covered well in the fridge 🧊🍫 Hope it’s a hit for Easter!
Can I make the brownie and chocolate mousse the night before and let it chill in the fridge overnight? And then add the ganache the next day?
Yes, that should work well. You can bake the brownie layer, add the mousse, and let it chill overnight, then add the ganache the next day once the mousse is fully set. I would keep the pan covered in the fridge overnight so the mousse stays fresh and smooth.
Hey is this fine to make the day before and leave in fridge overnight
Absolutely, Alyssa — this is actually one of those desserts that works really well when made ahead. Letting it chill overnight in the fridge gives the mousse plenty of time to set up nicely, and the flavors meld together even more by the next day. Just make sure it’s covered well to keep the texture fresh and the ganache smooth. I usually make mine the evening before if I’m serving it for something special the next day 🍫🧊
Hi Emma,
I have not made these yet but I intend to. If I wanted to bake these in a 9 x 13 pan, would I double or triple the recipe? What adjustment do I need to make for baking time?
Thank you,
Sandy
Hi Sandy 😊,
A 9 × 13 pan is roughly eighty percent larger than an 8 × 8, so I’d double every component of the recipe to keep the layers in proportion. Bake the brownie layer at 350 °F and start checking at twenty-four minutes; in my oven it finishes closer to twenty-six or twenty-eight, and a loose foil tent helps if the edges darken faster than the center.
For the mousse, a full double gives a slightly taller bite, while one-and-three-quarters times the listed amounts will match the photo more closely. Either way, plan on an extra fifteen to twenty minutes of chill time before the mousse sets. I’d also prepare a double batch of ganache, pour just enough to cover the mousse, and save the rest in the fridge for future desserts since it reheats smoothly.
If you’re using a glass pan, reduce the oven temperature to 325 °F to prevent tough edges. Once the ganache is firm, chilling the whole tray overnight makes slicing easier; warm a sharp knife under hot water, wipe it dry, and cut with steady strokes.
Enjoy scaling up the recipe, and share how it turns out when you have a moment.
Emma
Can this be frozen?
Hi Marlyn, I would skip freezing this one if you want the mousse texture at its best. The recipe is written to chill until set and serve cold, so the fridge is the safer choice here.
Is 3 T. of heated milk really enough to melt 8 oz of chocolate. I’m a little worried I’m going to ruin it.
That’s a great question, Tanya. Yes, 3 tablespoons of heated milk is just enough if the chocolate is finely chopped and the milk is hot (just shy of boiling). I’ve done it this way many times and it melts down beautifully, especially if you let it sit for a minute or two before stirring. Just be sure not to overheat the milk, or it can scorch the chocolate. You’ve got this!
I’ve tried the mousse recipe 5 times and each time it seems apparent that 3T of warmed milk is not enough to melt 8 oz of chocolate. No matter what I try it is still clumpy and never melts all the way
Thanks for sharing that, Nikki. I appreciate the honest feedback. You’re right, 3 tablespoons can feel like a stretch depending on the chocolate you’re using. The key is making sure it’s finely chopped and that the milk is steaming hot (not just warm). Even then, if it’s still clumpy, you can absolutely add a bit more milk a spoonful at a time until it smooths out. I’ll add a note to the recipe so others can adjust more easily too. You’re not alone in running into that!