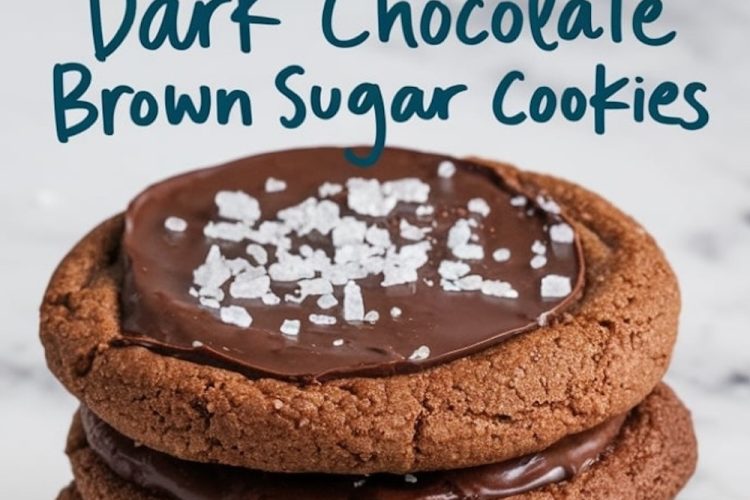
I remember my first batch of dark chocolate brown sugar cookies like it happened yesterday. My hands shook a little as I folded in that soft butter and watched cocoa swirl with sugar. I loved the sweet smell of melting butter that filled my kitchen. That early curiosity led me to experiment with a pinch of salt, the best vanilla extract I could find, and a crunchy finish. Now I keep a jar of these cookies on the counter, always ready to share with friends and family. You might find yourself sneaking one in the late evening, just to get that extra chocolate fix.
Following a special diet?
Every recipe on this site can be converted to gluten-free, vegan, dairy-free, keto, nut-free or egg-free with adjusted ratios so nothing falls flat.
Try the Recipe Converter →Why Brown Sugar Adds Deep Flavor
Brown sugar transforms ordinary dough into something richer. Dark brown sugar has molasses that adds subtle caramel notes to each bite. I noticed how this choice of sugar created a soft, almost fudge-like crumb. It also balanced the bitterness of unsweetened cocoa. You will want to mix dark brown sugar with a little granulated sugar for texture. My friend once told me that this blend captures the essence of a classic fudge brownie in cookie form. I trust her words because I saw guests at her party devour every morsel with content smiles.
Gathering Essential Ingredients for Rich Cookies

Butter, dark brown sugar, and cocoa need to be at the ready before you begin. I take my butter out of the refrigerator about an hour ahead of time. Softened butter mixes smoothly, which helps the sugars disperse evenly.
A dash of salt gives a bold contrast to the dark chocolate base. A bit of baking soda helps the cookies puff slightly, creating those lovely cracks on top. I place my flour, cocoa powder, and baking soda together in one bowl for a quick, fluid process. In a separate bowl, I keep my eggs and vanilla handy, making sure each egg is room temperature.
My Personal Baking Routine
I like to preheat my oven to 350°F. My mother taught me to be consistent with that routine, so the heat levels remain even. I line two baking sheets with parchment paper, which avoids sticking. That step also makes cleanup easier, and I appreciate any trick that cuts down on scrubbing. Mixing the butter and sugars with a hand mixer or stand mixer gives me that classic creamy texture.
I never rush this stage because a well-creamed mixture sets the stage for flawless cookies. I add eggs one at a time. I stir after each egg, then pour in the vanilla. I love how the scent of vanilla lingers, giving a hint of sweetness before the cocoa arrives.
Shaping the Dough and Initial Bake
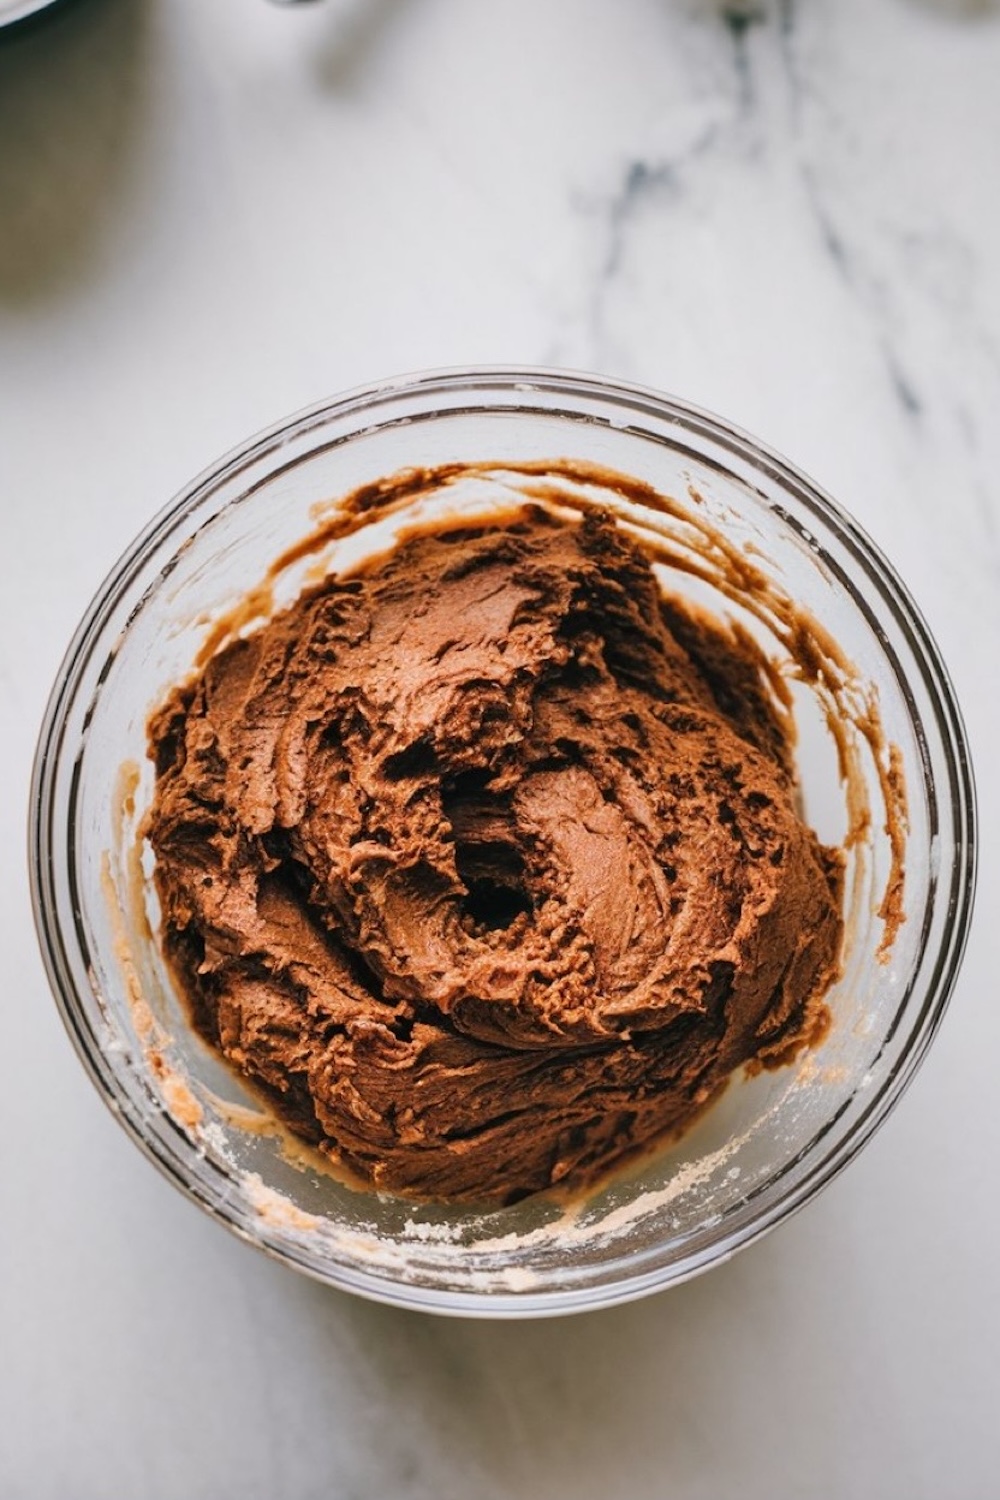
I measure out the dry mixture in stages to keep the dough light. I find it best to pause after each addition to see how the dough feels. A thick but pliable dough signals success. I scoop two tablespoons of dough for each cookie, then roll them into neat balls. My father always teased me for measuring so carefully, but these steps ensure consistency.
I place the dough on the parchment-lined sheets, leaving enough room for the dough to spread. Ten to twelve minutes in the oven usually does the trick. I observe the edges for firmness. The centers appear just slightly soft, which yields that coveted chewy texture.
Cool and Prepare for Extra Chocolate Magic
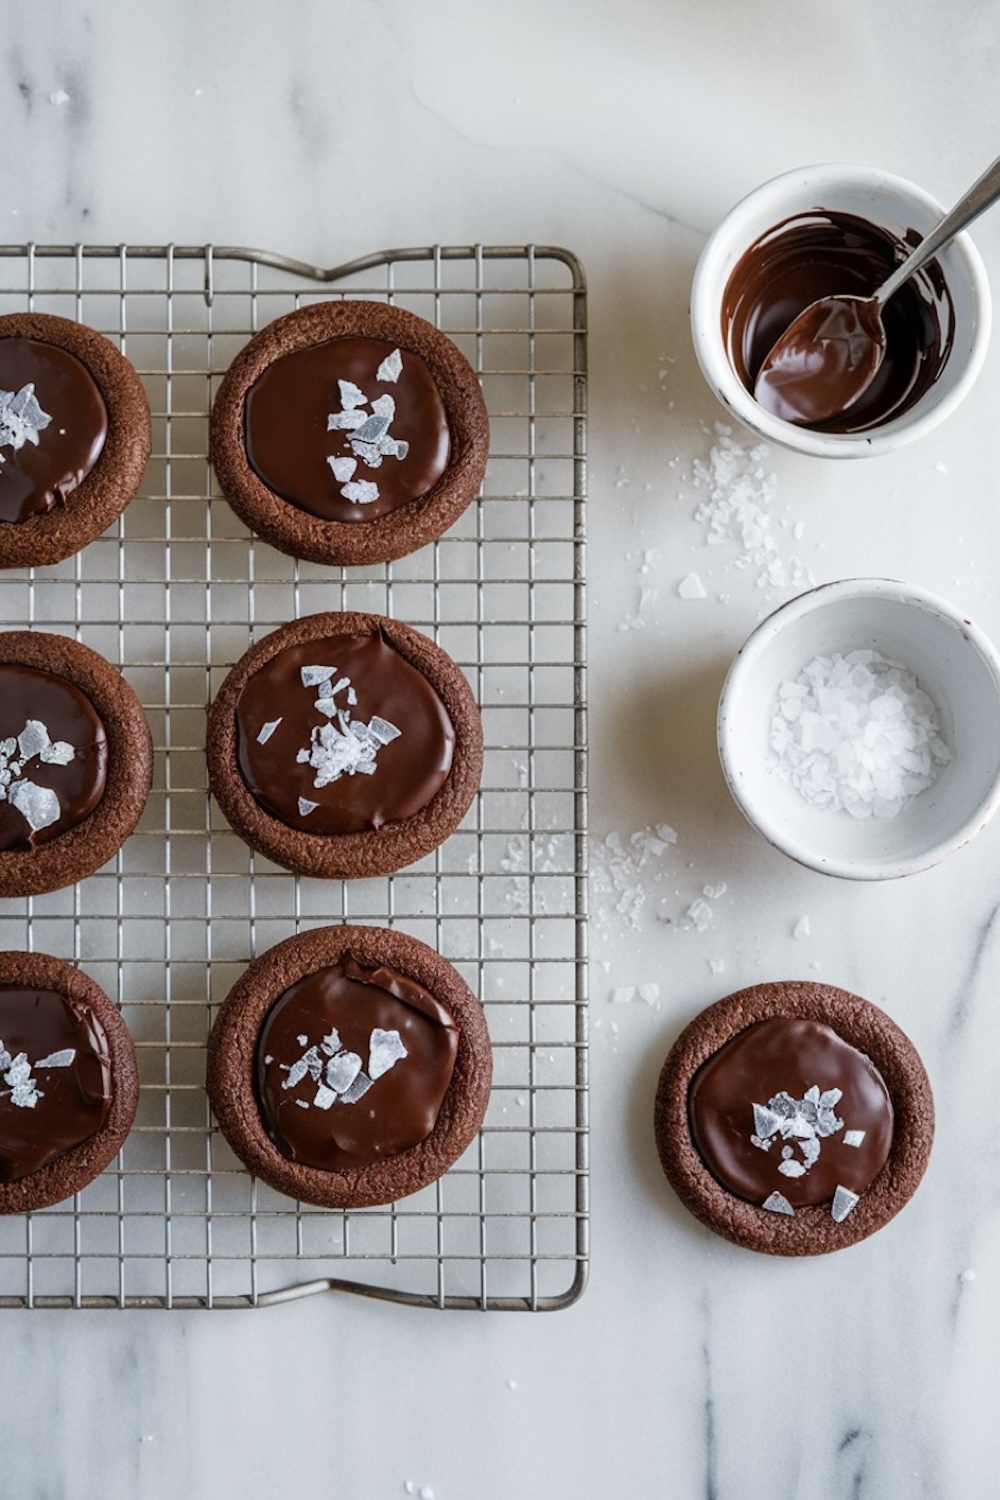
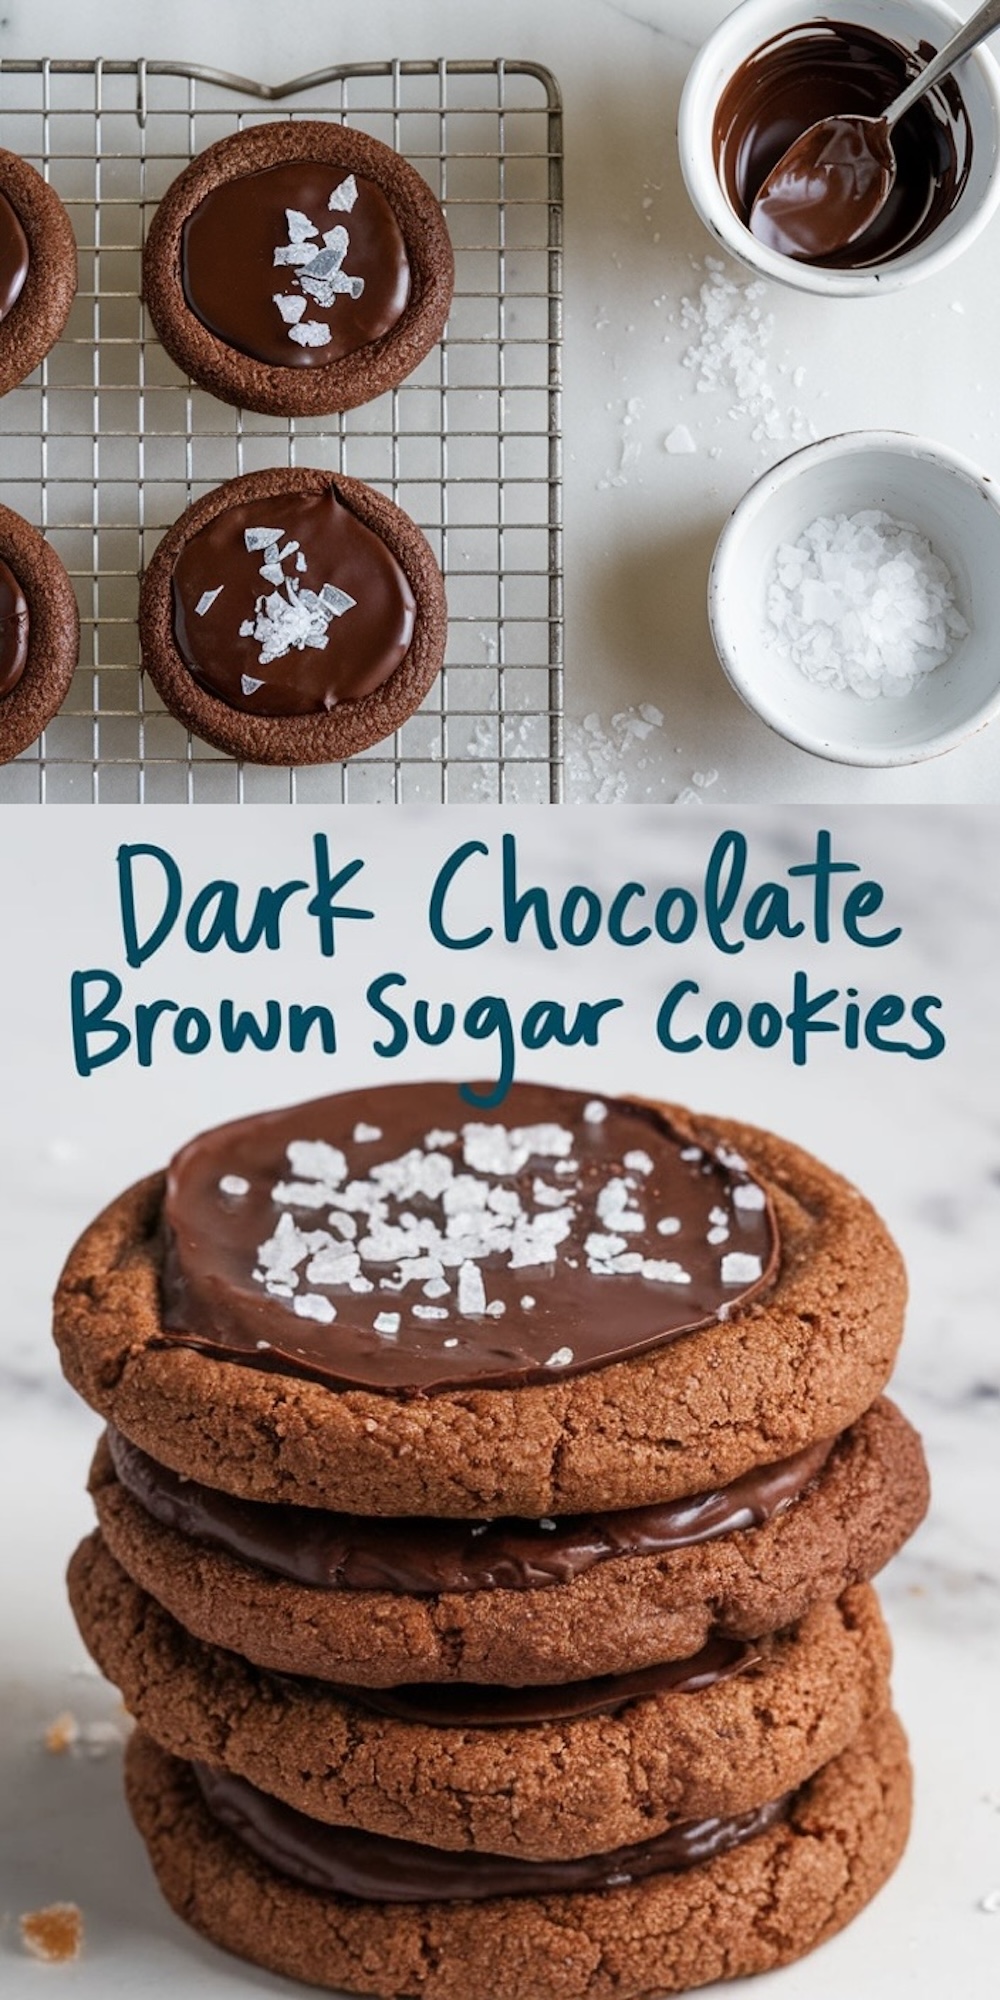
I allow the cookies to cool on the tray for about five minutes. I noticed that moving them too early can lead to cracks or breaks. Transferring them to a rack afterward completes the process. I let them cool entirely before the next phase. My favorite step involves melting dark chocolate in a microwave-safe bowl, stirring at short intervals. This melted chocolate coats the top of each cookie. Some might drizzle the chocolate in artistic lines, but I prefer a generous layer.
Crunchy Layers Elevate Each Bite
I sometimes crave a surprise crunch in my chocolate cookies. My cousin suggests crushed salted pretzels, which adds a touch of salty contrast. You might try crispy rice cereal for a lighter crunch or candied pecans for a nutty twist. Toffee bits bring sweet shards, while crushed honeycomb adds a delicate shatter. I place these crunchy options in small bowls on the countertop. I spoon melted chocolate onto the cooled cookies, press the chosen crunch into the gooey surface, then spread an extra teaspoon of chocolate for a cohesive topping.
Sea Salt Sprinkles for a Final Flourish
A small pinch of flaky sea salt intensifies the chocolate flavor. I learned that tip from a friend who baked professionally. She told me that just a few flakes deliver a contrast that people never forget. Salt brightens the dark cocoa notes and makes each bite more interesting. I suggest sprinkling the salt while the chocolate remains soft. This approach secures the flakes in place. A quick chill in the refrigerator helps everything set. If you are in a warm kitchen, that brief chill saves the day.
Where These Cookies Shine Best
These dark chocolate brown sugar cookies suit casual coffee breaks and special celebrations. My coworkers often request them for birthdays. I find that they pair well with fresh fruit or even a scoop of vanilla ice cream. My mother dunks hers in a cold glass of milk. That is her sweet tradition.
I love sharing them with company after a hearty meal. A single bite satisfies that craving for something sweet and rich without going overboard. I keep a plastic container of them hidden in my cupboard for unexpected visitors. They remain chewy for a few days, though my house never leaves a cookie uneaten for long.
Storage Tips for Ongoing Freshness
I keep them in an airtight container to maintain softness. A small piece of bread or a sheet of parchment paper can help preserve the chewy bite. Friends have told me that these cookies freeze surprisingly well. I sometimes store a sealed batch in my freezer and pull a few out whenever I want a homemade treat in minutes.
A quick thaw brings back the chocolate aroma in no time. My sister finds that warming them gently in a low oven refreshes the texture. That approach also makes the chocolate topping slightly soft, which feels especially indulgent.
This recipe embraces a blend of dark chocolate, brown sugar, and a crunchy surprise. I still recall the day I first stirred these ingredients together. That memory reminds me why baking feels so special: it rewards me with flavor and that sense of satisfaction when I share with others. You can shape your own traditions by adding your favorite crunchy layer or adjusting the baking time. Experimenting might inspire a creative twist on the classic cookie. I hope these suggestions spark an urge to stock up on cocoa and sugar. You deserve a sweet reward. Let the aroma fill your home, and enjoy the warm comfort each bite provides.

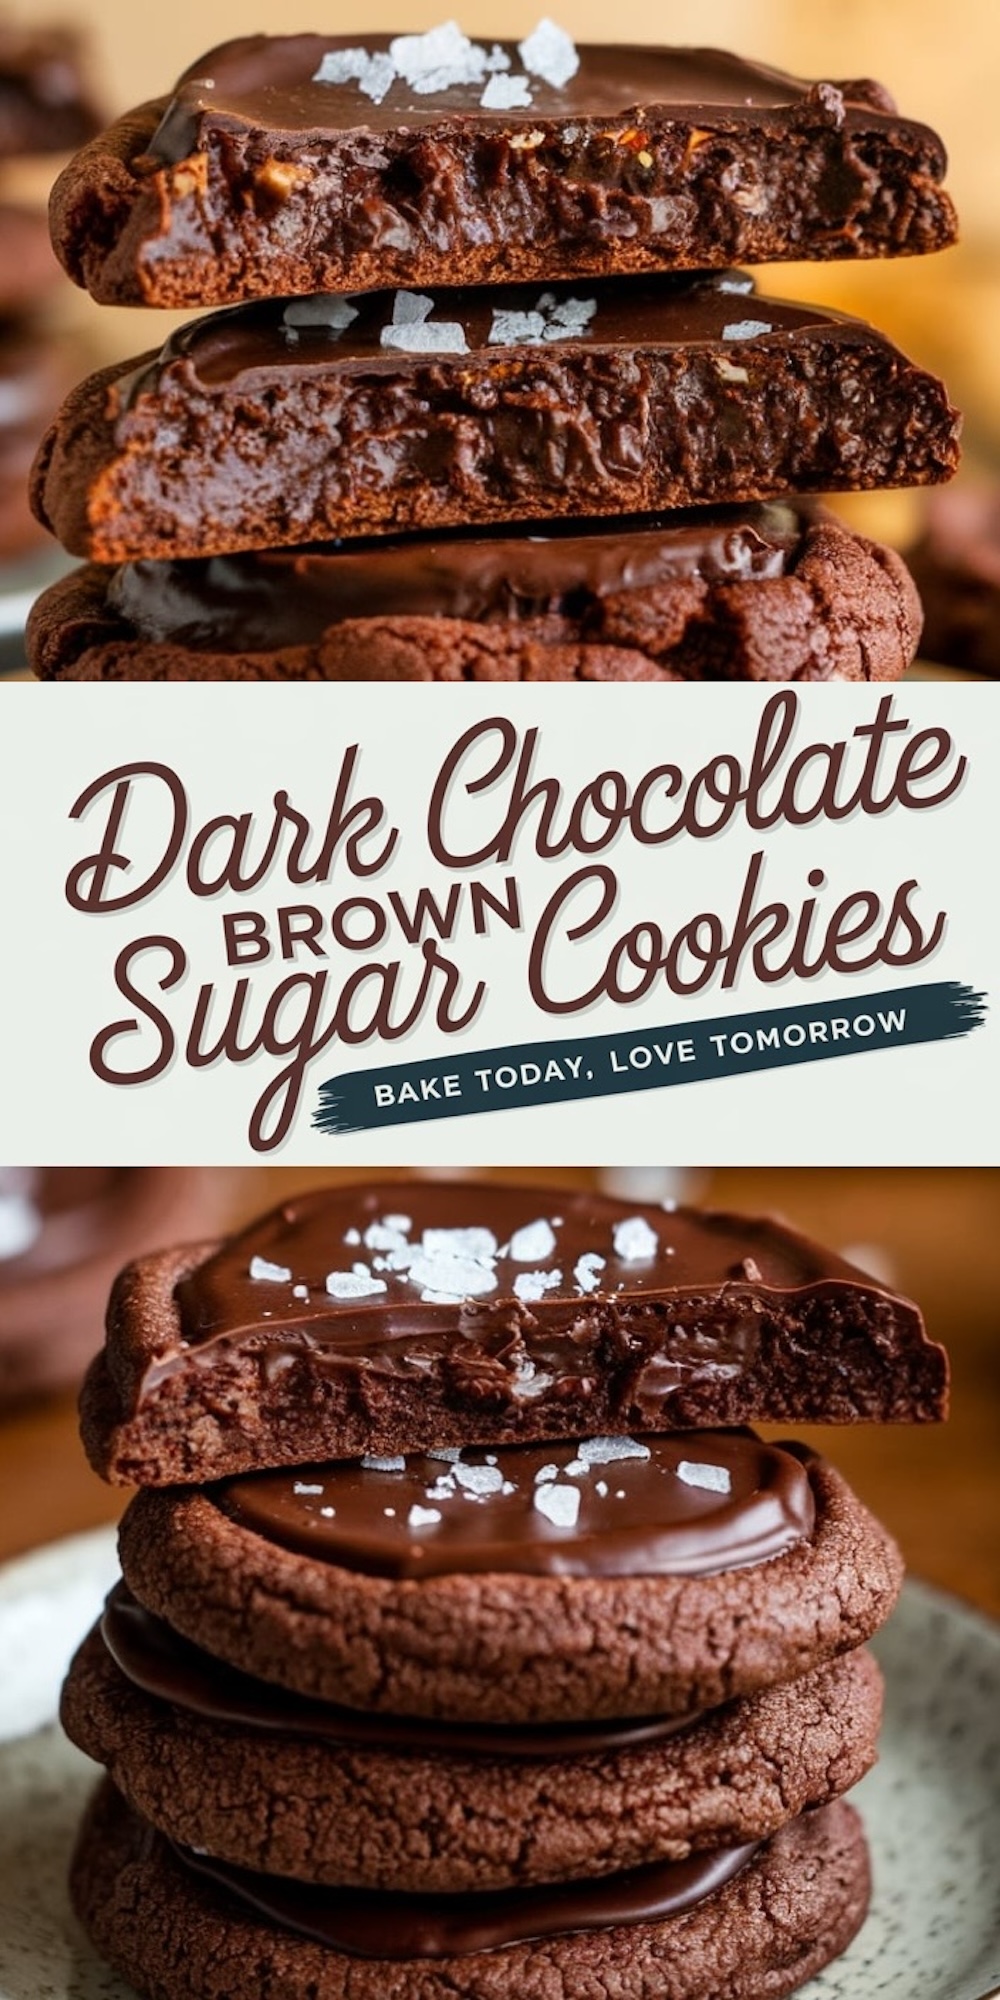
Dark Chocolate Brown Sugar Cookies
Course: Chocolate Desserts, Cookies20
servings15
minutes12
minutes220
kcalIngredients
- For the Cookies:
1 cup (225g) unsalted butter, softened
1 1/4 cups (250g) packed dark brown sugar
1/4 cup (50g) granulated sugar
2 large eggs
2 tsp pure vanilla extract
2 cups (250g) all-purpose flour
1/2 cup (50g) unsweetened cocoa powder
1 tsp baking soda
1/2 tsp salt
- For the Topping:
8 oz (225g) dark chocolate, chopped (or chocolate chips)
Flaky sea salt, for sprinkling
- For the Crunchy Layer – optional (Choose One)
1/2 cup crushed salted pretzels
1/2 cup crispy rice cereal (like Rice Krispies)
1/2 cup crushed candied pecans or almonds
1/2 cup toffee bits
1/2 cup crushed honeycomb
Steps
- Step 1: Prep the Cookie Dough
- Preheat your oven to 350°F (175°C) and line two baking sheets with parchment paper.
- In a medium bowl, whisk together the flour, cocoa powder, baking soda, and salt. Set aside.
- In a large bowl, cream together the butter, dark brown sugar, and granulated sugar until fluffy (about 2-3 minutes).
- Add the eggs, one at a time, mixing well after each addition. Stir in the vanilla extract.
- Gradually add the dry ingredients to the wet ingredients, mixing until just combined.
- Step 2: Bake the Cookies
- Scoop out about 2 tablespoons of dough per cookie and roll into balls. Place them on the prepared baking sheets, leaving 2 inches between each cookie.
- Bake for 10-12 minutes, until the edges are set and the centers look slightly underbaked.
- Remove from the oven and let the cookies cool on the baking sheet for 5 minutes before transferring to a wire rack to cool completely.
- Step 3: Add the Crunchy Layer – optional
- Once the cookies are completely cooled, melt the dark chocolate in the microwave in 30-second intervals, stirring between each, until smooth.
- Sprinkle your chosen crunchy layer (crushed pretzels, crispy rice, etc.) on top of each cookie. Gently press the crunch into the surface of the cookie so it sticks.
- Spoon 1-2 teaspoons of melted chocolate over the crunchy layer and spread evenly using the back of a spoon.
- Step 4: Finish with Sea Salt
- While the chocolate is still wet, sprinkle a pinch of flaky sea salt on top of each cookie.
- Let the chocolate set completely before serving. (You can speed this up by popping the cookies in the fridge for 10-15 minutes.)