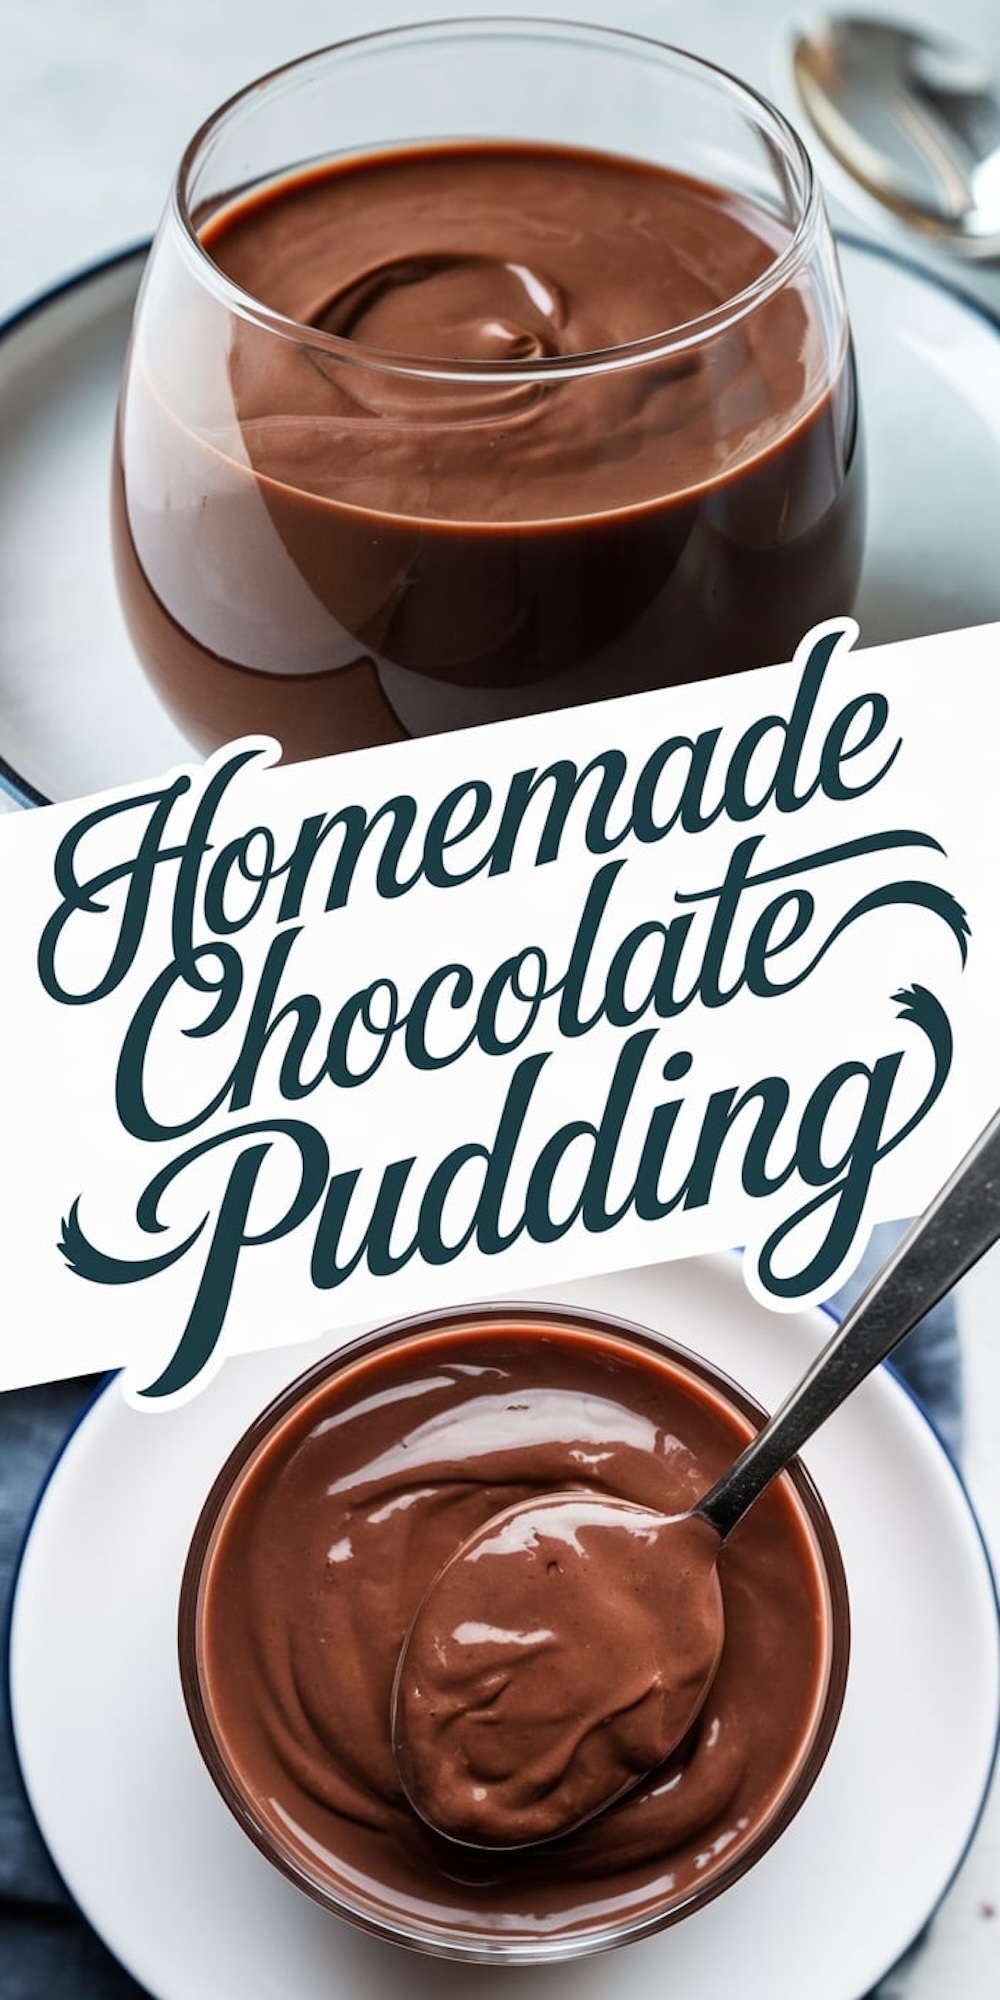
I once stood in my grandmother’s kitchen with chocolate smudges on my fingertips, feeling a wave of sweet nostalgia. This homemade chocolate pudding recipe brings that sensation back every time. My journey with this dessert has been filled with experiments and happy accidents.
That unassuming saucepan can transform simple ingredients into a velvety delight that invites you to savor every spoonful. You might recall all sorts of quick-fix options on store shelves, but your heart will sing when you discover how easy it is to craft your own from scratch. Keep reading for ingredients, technique, and a few personal reflections that might inspire you to pull out your favorite whisk today.
Following a special diet?
Every recipe on this site can be converted to gluten-free, vegan, dairy-free, keto, nut-free or egg-free with adjusted ratios so nothing falls flat.
Try the Recipe Converter →Rich Ingredients for Silky Goodness
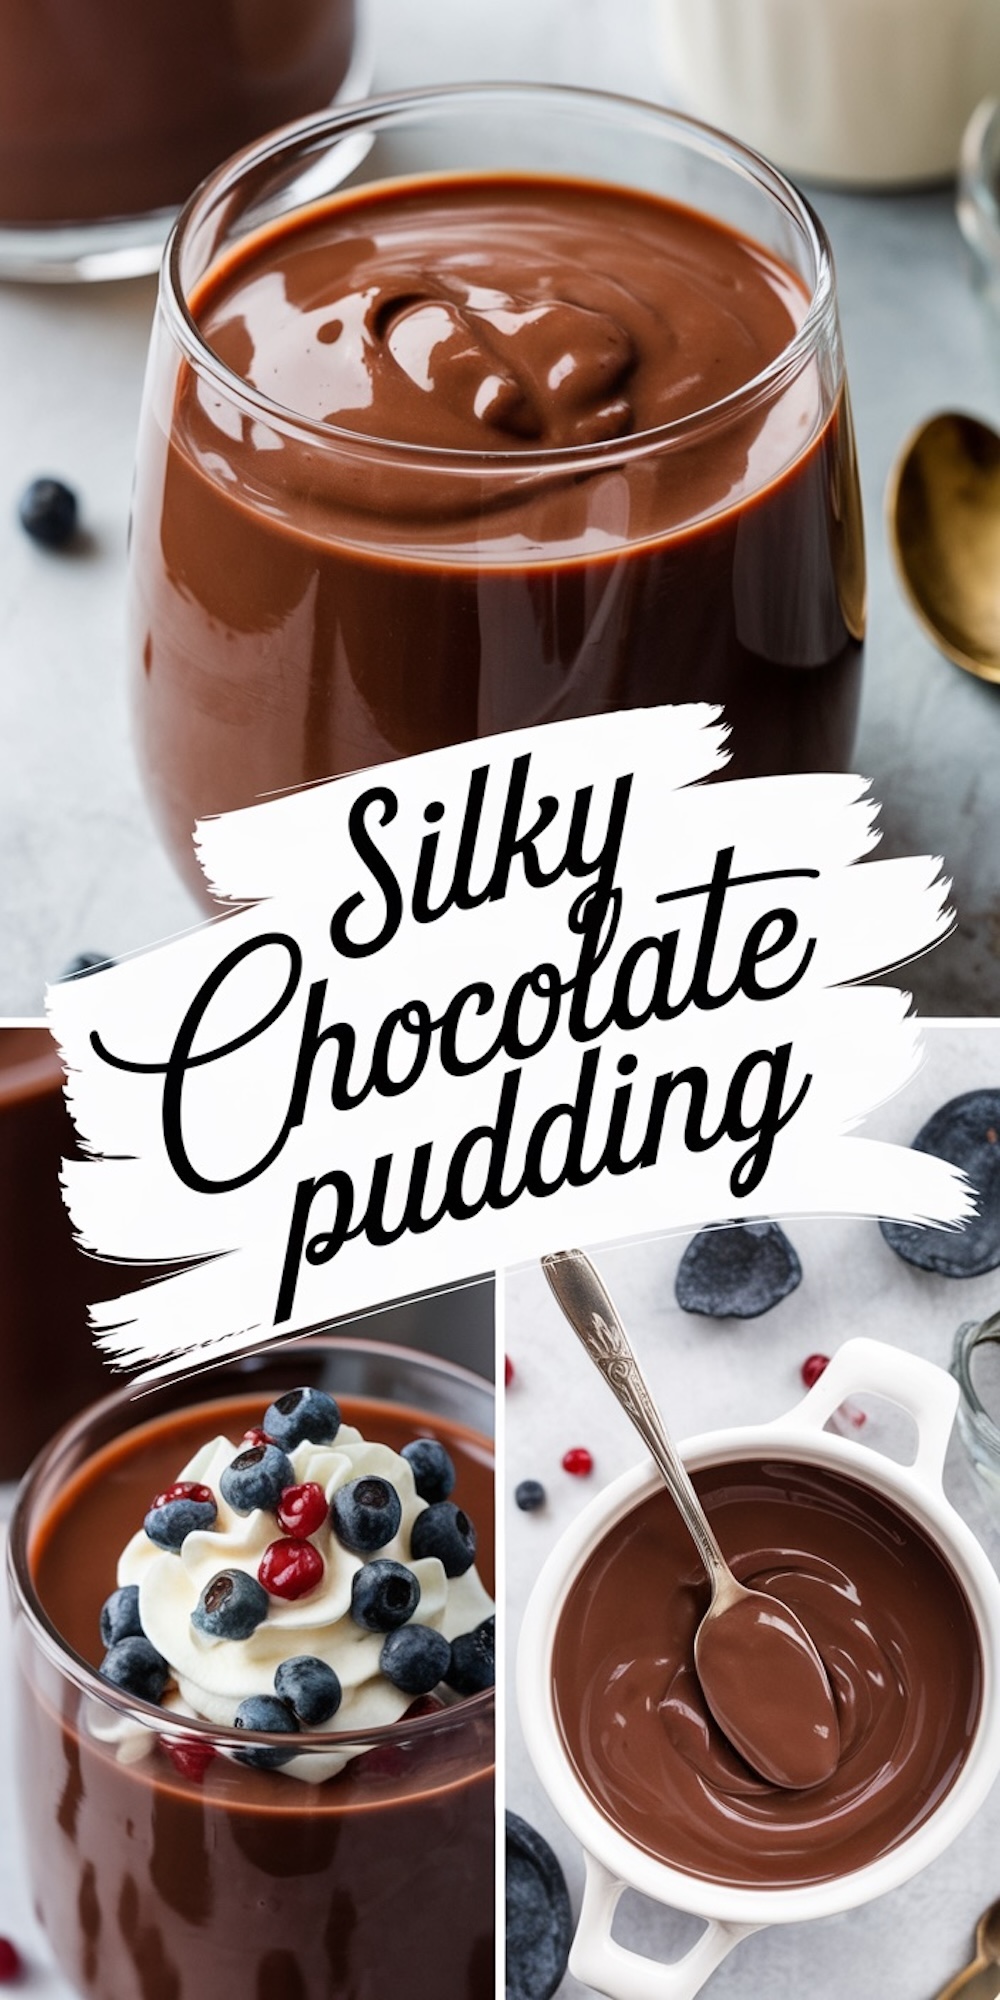
Chocolate pudding often depends on a balanced blend of whole milk, sugar, cocoa powder, and a small amount of cornstarch. A light pinch of salt in the mix highlights the cocoa flavors. I enjoy semisweet chocolate in this recipe because it adds deep flavor and smooth texture. My grandmother always insisted that the best vanilla extract would boost the taste, and a pat of real butter would lock in richness.
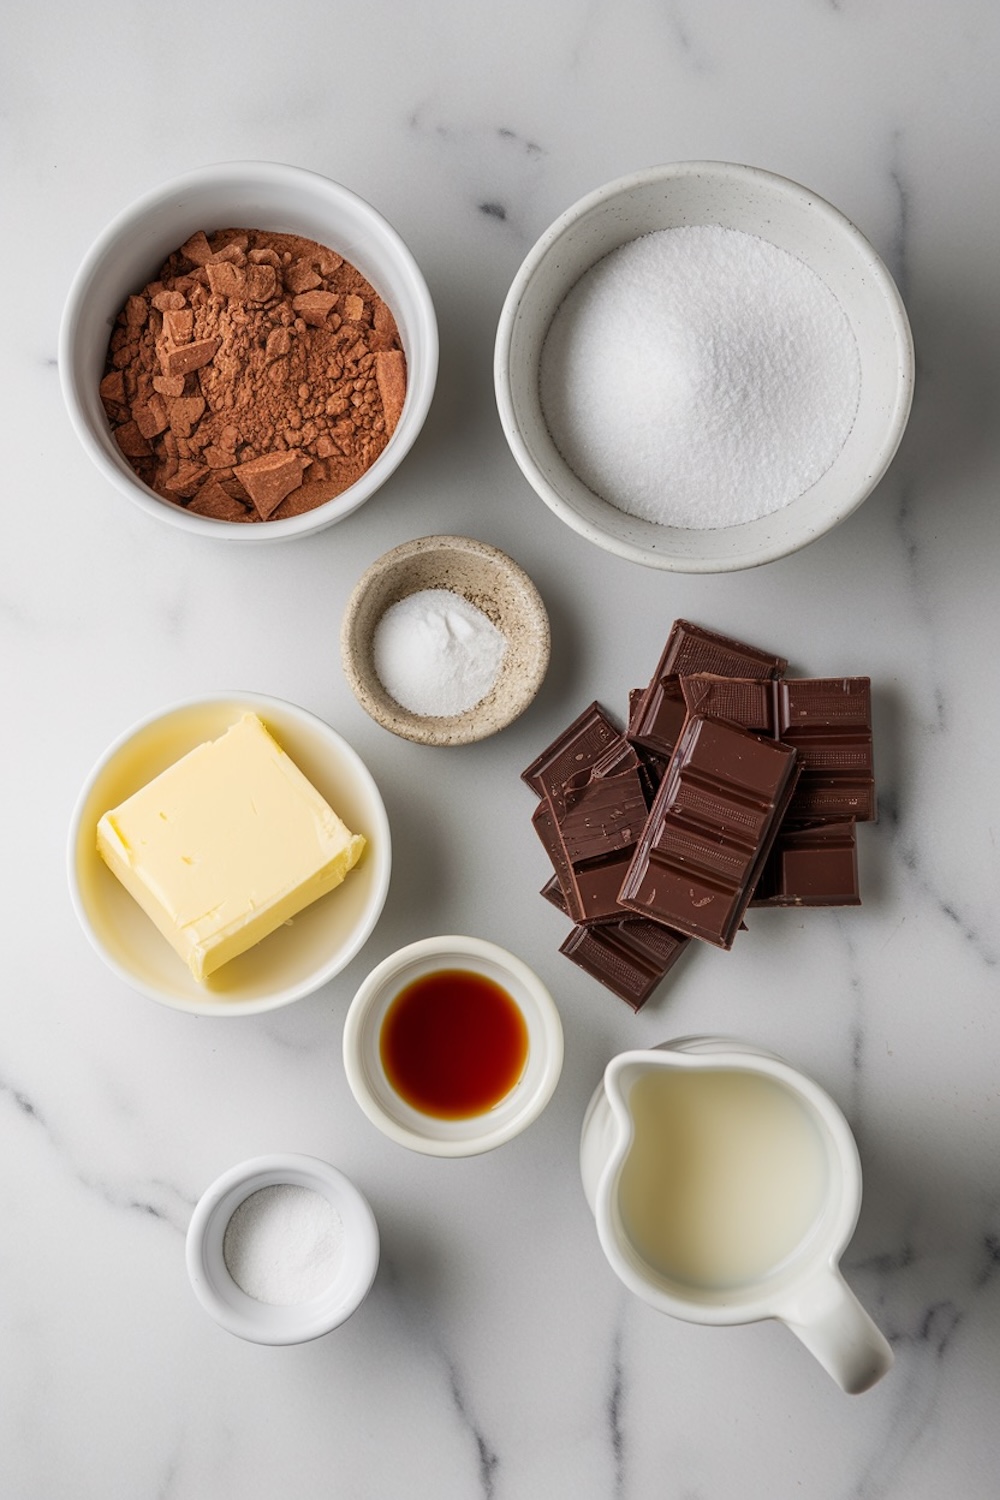
Chopped chocolate melts effortlessly in warm pudding, though chocolate chips work well if that’s what you have. Adjust the sweetness level to your preference, but I find the proportions in the recipe deliver a mellow yet indulgent depth of flavor.
Stirring the Dry Ingredients for a Smooth Start
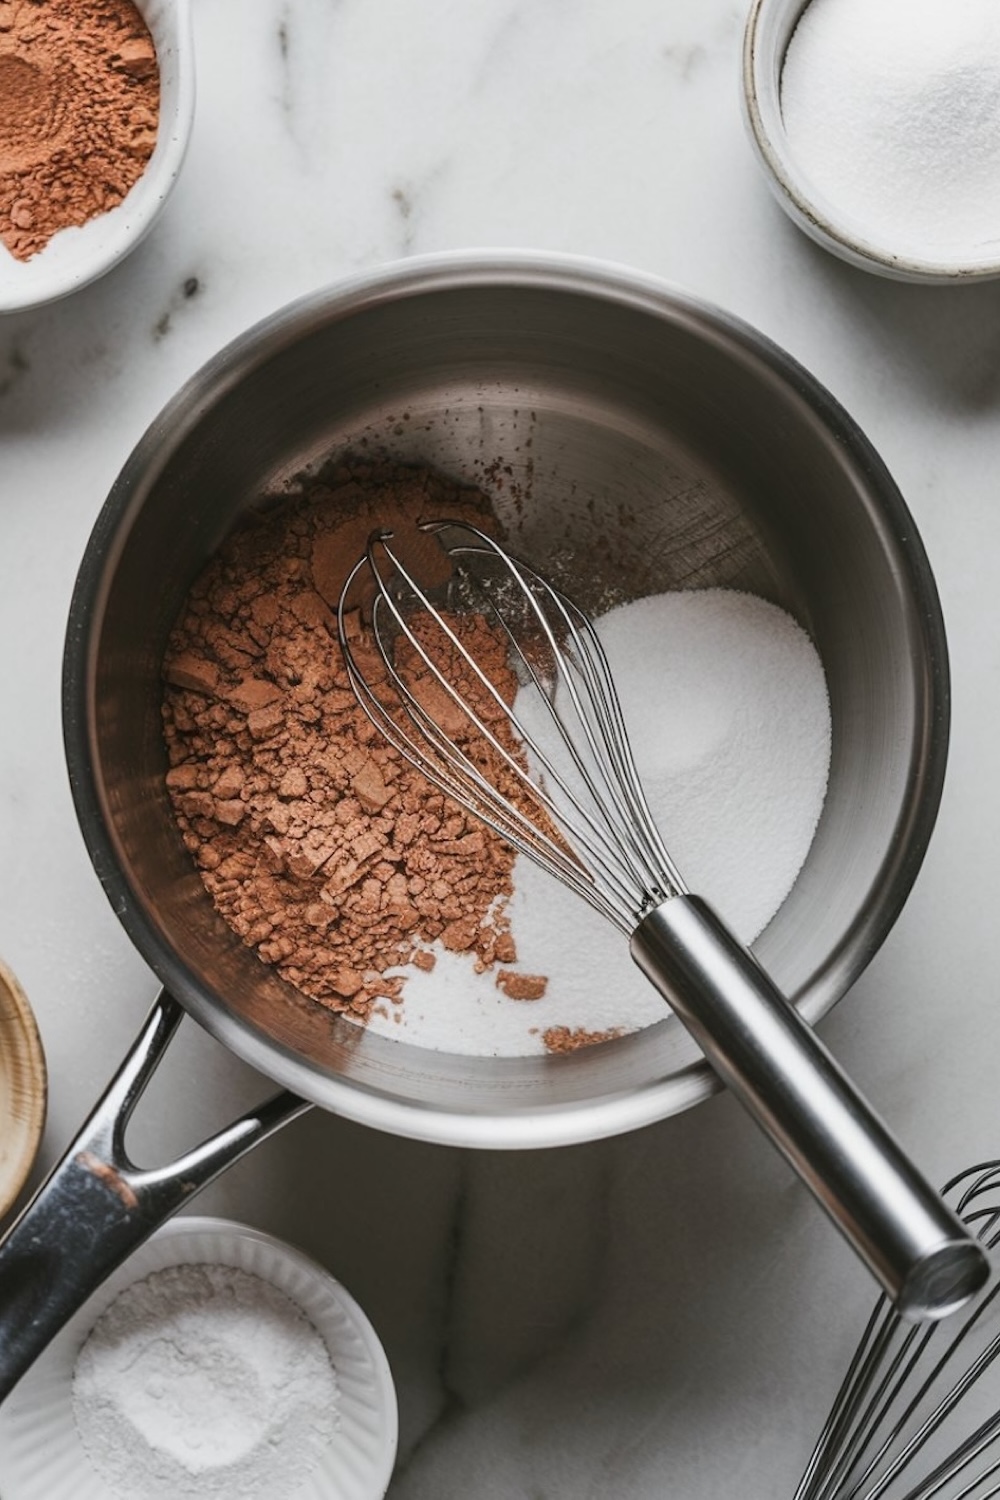
I begin by measuring sugar, cocoa powder, cornstarch, and salt into a medium saucepan. This step sets the foundation for smooth pudding. My younger self would sometimes toss these ingredients into a bowl and whisk haphazardly, but I learned that patience avoids any lumps later. A few moments of careful blending combines the dry elements evenly. That small investment of time pays off when I add the milk and watch the powdery mixture dissolve into a uniform base.
Warming the Milk and Thickening the Pudding
Milk enters the saucepan gradually, and I whisk slowly to keep each spoonful of liquid from creating pockets of dryness. I used to rush and dump all the milk in at once. That approach tested my patience when lumps formed. Now I add it in a gentle stream, watching the dry mixture relax into a creamy consistency. Medium heat is my favorite setting on the stove because it prevents scorching.
The pudding thickens as steam rises, and you can see it transform. I keep a close eye on it because a few seconds too long on the stove can lead to over-thickening. I want the mixture to feel silky, not stiff. The aroma drifts through my kitchen and makes me want to dip a spoon right away.

Finishing Touches with Chocolate, Butter, and Vanilla
Once the mixture has thickened, I move the saucepan off the heat and fold in semisweet chocolate. The warmth melts each piece, and I often sneak a small taste to ensure it’s smooth. Then I swirl in a bit of butter. This final flourish creates a glossy sheen that catches the light if I photograph the pudding for social media. A splash of vanilla extract at the end elevates the flavor profile.
Each addition complements the chocolate and ties everything together in a balanced way. That combination of chocolate, butter, and vanilla means that every spoonful delivers richness without feeling heavy.

Personal Serving Tips and Fun Pairings
I remember the first time I served this pudding to friends. We sat around my living room, spoons in hand, discussing everything from childhood memories to weekend plans. It’s warm and comforting right off the stove, but chilling it reveals a creamy firmness that’s perfect for layering with whipped cream or crumbled cookies.
My nephew even uses it as a filling for mini pies, adding fresh berries on top for a pop of color. I like to top mine with a dollop of whipped cream and a dash of cocoa powder. The casual finishing touches make every serving feel like a hug in dessert form.
Chilling and Storing for Later
I suggest pouring the pudding into small cups or bowls before slipping them into the fridge. A simple piece of plastic wrap on the surface stops the dreaded pudding skin. My sister swears that she secretly loves that skin, but I prefer a smooth top. Once chilled, the pudding keeps nicely for a few days, though I rarely see any leftovers last that long. A day or two in the fridge won’t harm the taste, and the texture remains indulgent. I sometimes whip up a double batch just to enjoy a quick chocolate treat any night of the week.
Chocolate Mousse vs. Chocolate Pudding: What’s the Difference?
I often get asked this question.
So let me explain.
Chocolate mousse and chocolate pudding differ primarily in texture and preparation. Chocolate mousse has light and airy texture, achieved by folding whipped cream or beaten egg whites into melted chocolate. This process results in a fluffy, delicate dessert that’s often served chilled to preserve its cloud-like consistency.
In contrast, chocolate pudding has a creamier, denser texture, resembling a rich custard. It is made by cooking a mixture of milk or cream with sugar, chocolate, and a thickener such as cornstarch or egg yolks. This cooking technique ensures the pudding is smooth and thick, perfect for those who enjoy a more substantial chocolate experience.
The flavor of chocolate mousse is typically more intense, due to the higher ratio of chocolate and the absence of starchy thickeners, which allows the chocolate to stand out. Pudding, however, might taste milder because the chocolate is combined with milk and a thickener, which can dilute its richness.
For a classic take on chocolate mousse that highlights its luxurious texture and rich chocolate flavor, consider trying this easy chocolate mousse recipe.
More Chocolate Inspiration
I gravitate toward chocolate desserts, so I love keeping a few recipes bookmarked. If you need another indulgent dip, glance at my Chocolate Chip Cannoli Dip. That recipe transforms sweet ricotta and chocolate chips into a thick delight.
My friend Lilly raves about these Chocolate Caramel Turtle Brownies (Hi Lilly!) because each bite has a sweet caramel surprise and a satisfying crunch. For a playful twist, check out the Chocolate Peanut Butter Puppy Chow Clusters since they combine chocolate, peanut butter, and cereal in fun little bites.
Here you can explore all sorts of ways to celebrate your chocolate cravings.
Save This Creamy Chocolate Pudding on Pinterest
I love collecting recipe ideas in one place, and Pinterest has become my kitchen companion. You could pin this recipe to your chocolate-lovers board or dessert favorites folder. I sometimes scroll through pins late at night and dream about the next sweet experiment. Pinning this recipe helps others find a fast, reliable way to bring homemade chocolate pudding into their own kitchens.

Creamy Homemade Chocolate Pudding Recipe
Course: Cake Ideas4
servings10
minutes10
minutes250
kcalIngredients
2 ½ cups whole milk
½ cup granulated sugar
3 tablespoons unsweetened cocoa powder
2 tablespoons cornstarch
Pinch of salt
3 ounces semisweet chocolate, chopped (or use chocolate chips)
1 teaspoon pure vanilla extract
1 tablespoon unsalted butter
Steps
- Step 1: Mix the Dry Ingredients
In a medium saucepan, whisk together the sugar, cocoa powder, cornstarch, and salt. This ensures that your pudding is smooth and free of any clumps. - Step 2: Add the Milk
Gradually whisk in the milk, making sure there are no lumps. I like to add the milk slowly and stir as I go to create a silky base. - Step 3: Heat and Stir
Place the saucepan over medium heat and cook the mixture, stirring constantly with a whisk or a wooden spoon. As it heats, it will start to thicken—this takes about 5-7 minutes. Be patient here; you don’t want it to boil, just gently bubble. - Step 4: Melt the Chocolate
Once the pudding has thickened, remove it from the heat and stir in the chopped semisweet chocolate. The heat from the pudding will melt the chocolate into a silky mixture. - Step 5: Add the Butter and Vanilla
Stir in the vanilla extract and butter for extra richness and a glossy finish. At this point, the pudding will look and smell absolutely irresistible! - Step 6: Chill the Pudding
Pour the pudding into individual ramekins or a large bowl. Press a piece of plastic wrap directly onto the surface of the pudding to prevent a skin from forming. Refrigerate for at least 2 hours or until fully chilled.
Can I use strong coffee in place of half of the milk for mocha and to fill cupcakes?
Absolutely, Marianne! Replacing half the milk with strong coffee will enhance the mocha flavor beautifully. Just ensure the coffee is cooled before adding it to prevent uneven thickening. For filling cupcakes, this swap will add a rich, sophisticated touch. You could even dissolve a bit of instant espresso powder into the coffee for an extra boost! Let me know how it goes!
May I use 2% milk instead of whole milk
Yes — 2% milk should work, but the pudding will be a little lighter and less rich than with whole milk. If you want to keep it closer to the original texture, you can add a small extra bit of chocolate at the end.