
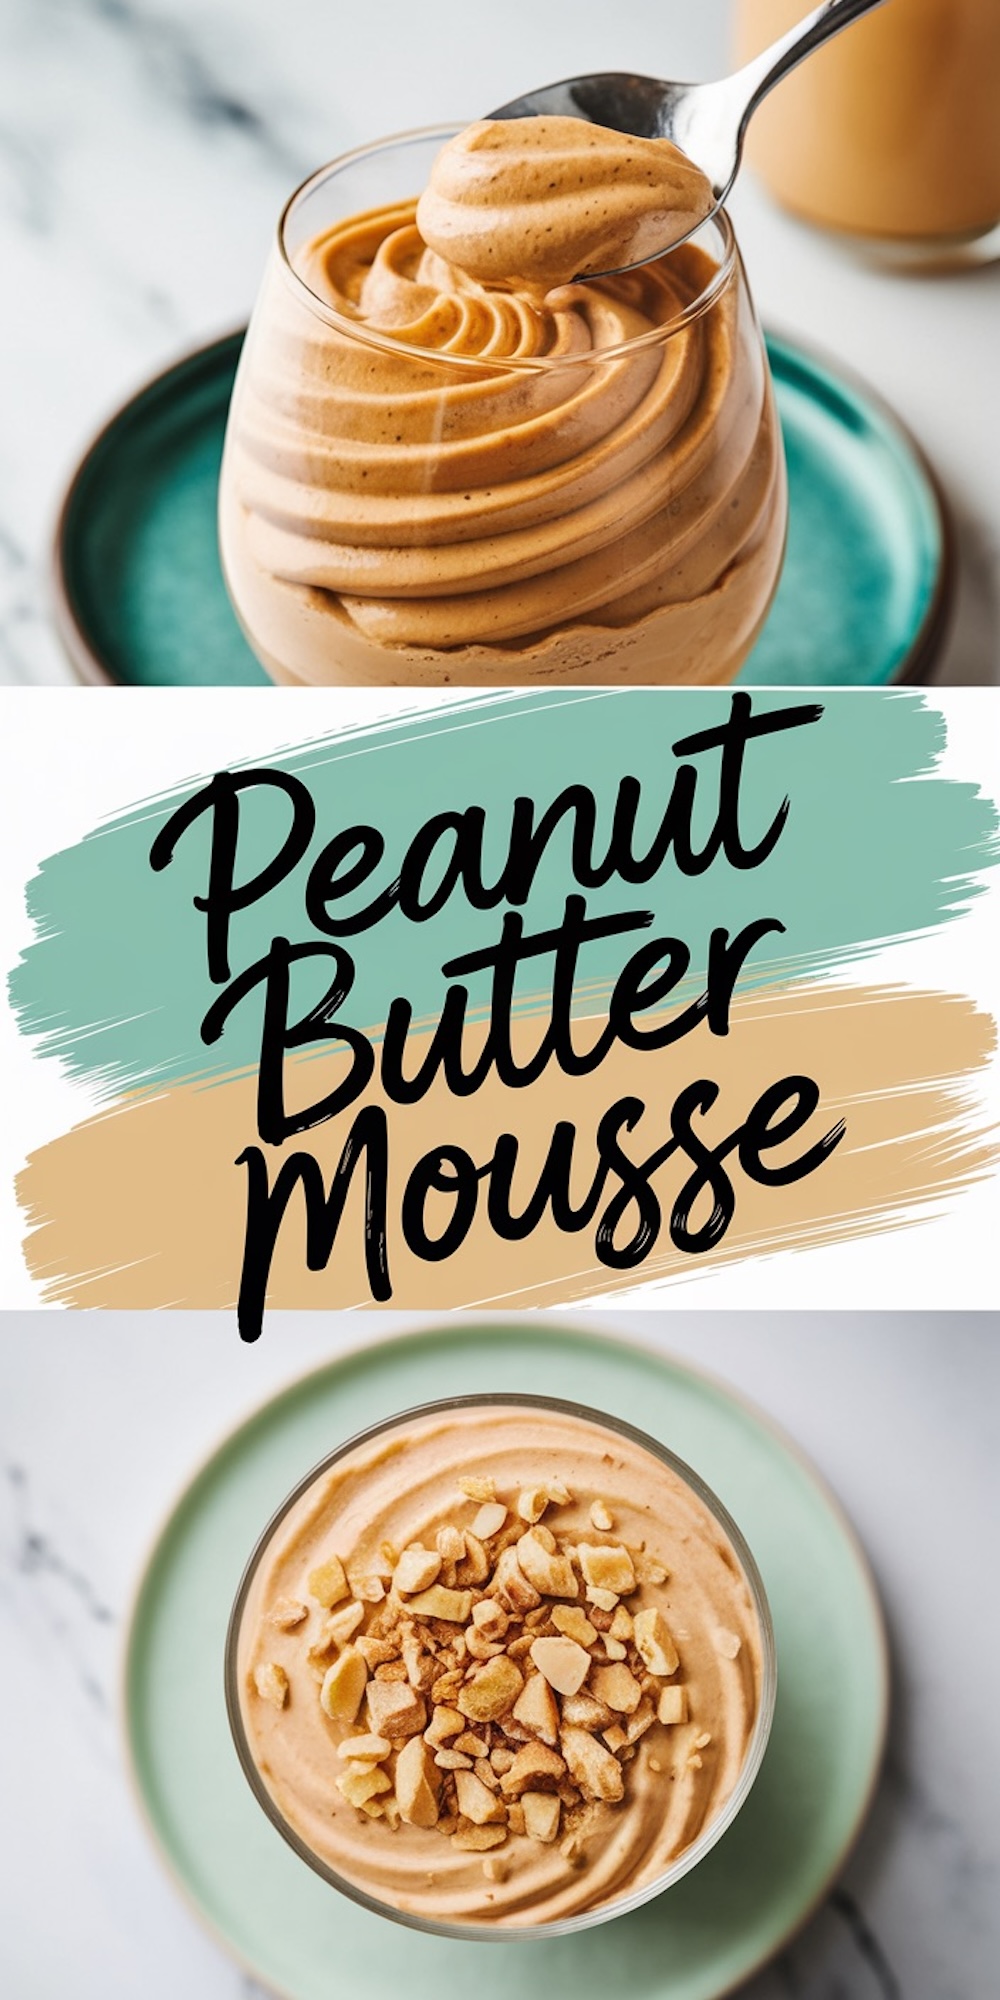
I first tasted this peanut butter mousse at a friend’s gathering. I remember the smooth texture and the gentle sweetness that lingered on my tongue. I enjoyed the crunchy peanut bits scattered across the top, which reminded me that desserts can be fun yet uncomplicated.
Following a special diet?
Every recipe on this site can be converted to gluten-free, vegan, dairy-free, keto, nut-free or egg-free with adjusted ratios so nothing falls flat.
Try the Recipe Converter →I wanted to recreate that experience in my own kitchen. I experimented with a few combinations until I found this version that satisfies my craving for sweet creaminess and savory crunch. You might find that same delight as you whip this up in your own space.
Why Peanut Butter Mousse With Crunchy Peanuts Deserves Attention
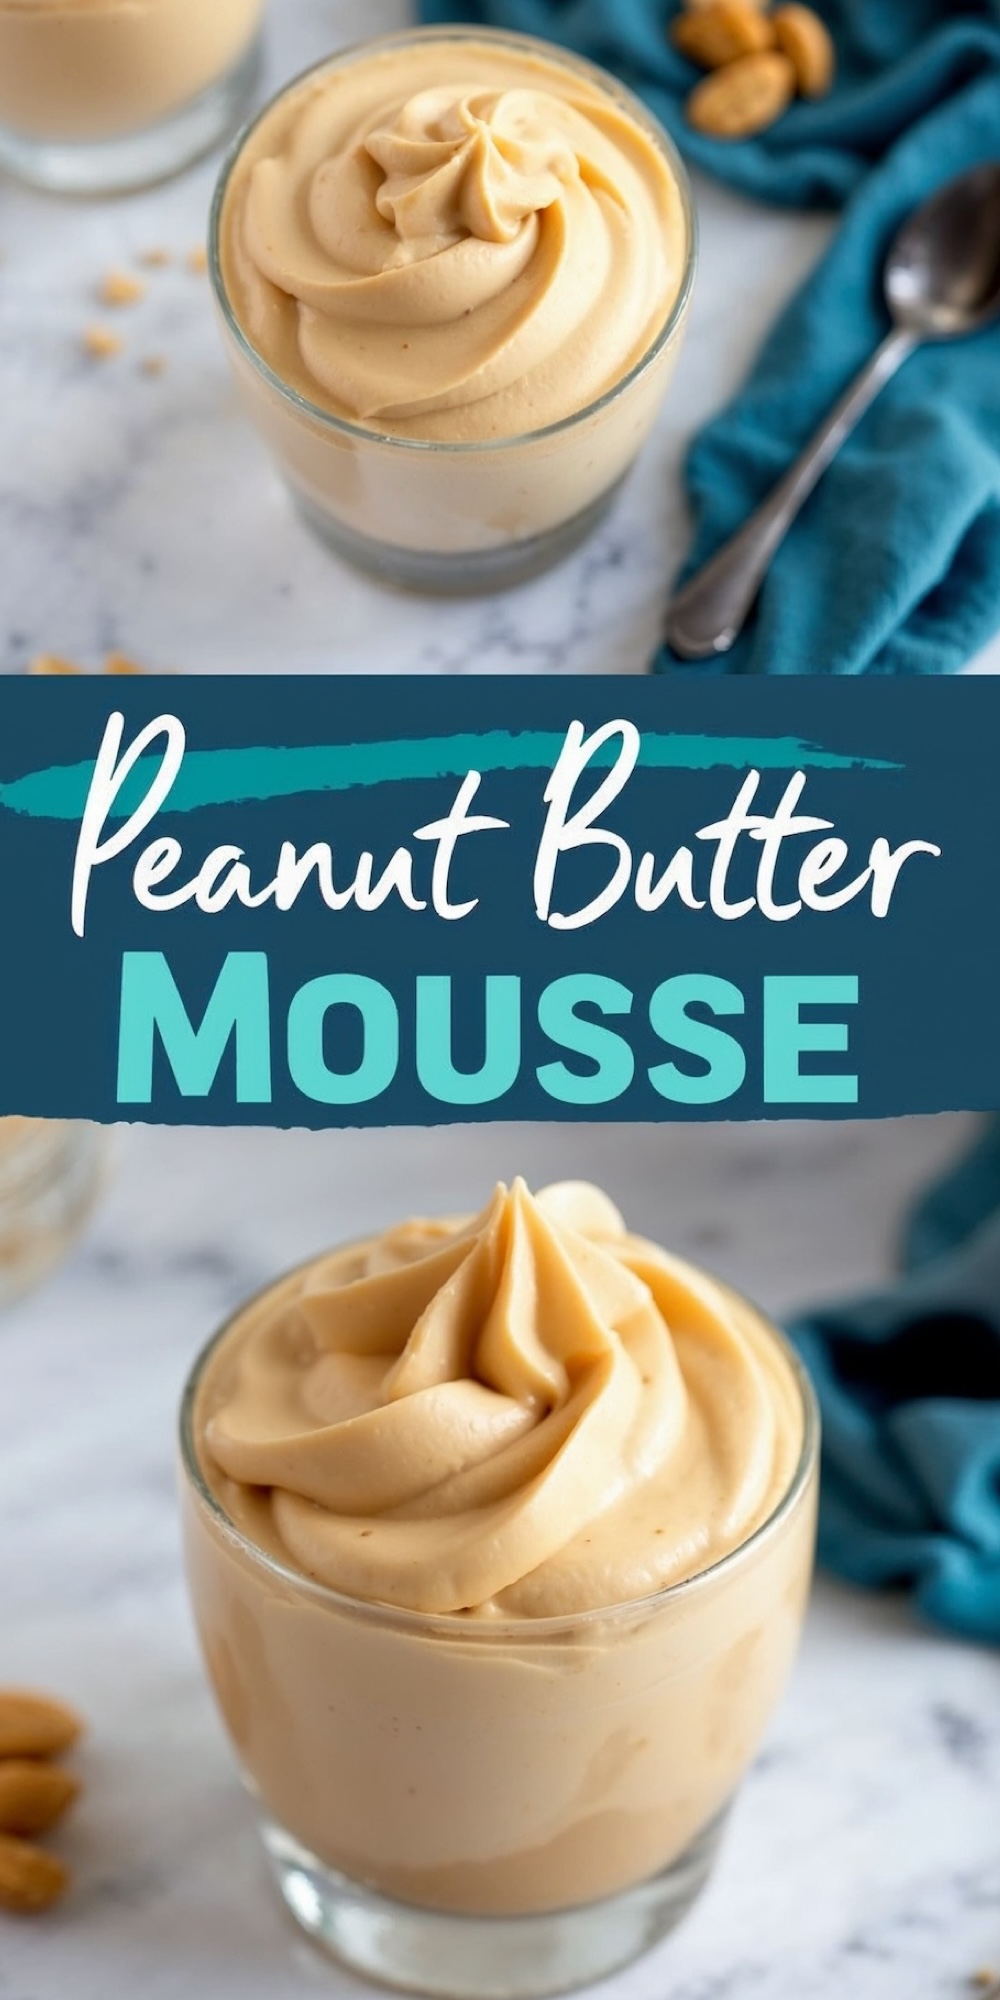
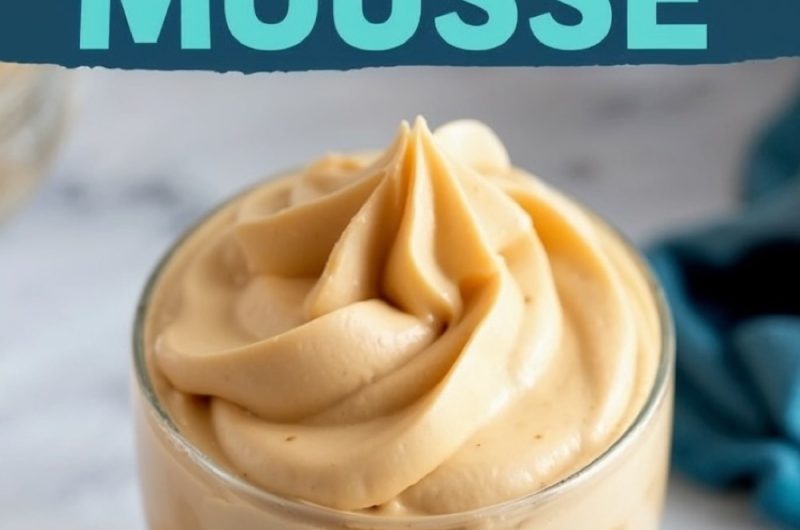
This peanut butter mousse recipe appeals to people who love that balance of salty and sweet. The whipped cream provides an airy base, while the creamy peanut butter gives a rich and indulgent taste.
The crunchy peanuts add a welcome textural twist that breaks the softness, so every bite feels interesting. I have shared this dish at family dinners and casual brunches, and the positive reactions keep me coming back to the kitchen. You can present it in simple cups or fancy dessert glasses, which makes it flexible enough for a dinner party or a quick treat for yourself.
Key Ingredients That Make the Peanut Butter Mousse Stand Out
The foundation for this treat lies in heavy whipping cream. This ingredient becomes fluffy and stable once you whip it properly, giving the final dish its soft body. The creamy peanut butter then merges with powdered sugar to amplify that sweet nutty taste. I use unsweetened peanut butter if I crave a more savory finish, but I switch to sweetened peanut butter when I want a candy-like edge.
I suggest you choose what suits your palate. The vanilla extract brings a mellow aroma that complements the peanut butter’s distinct essence. The chopped roasted peanuts, either salted or unsalted, lend an extra boost of texture and flavor. I sometimes prefer salted peanuts because I enjoy that slight salt bite with each spoonful.
Whipping the Cream for an Airy Texture
I place my mixing bowl in the freezer for a few minutes before I pour the cold heavy whipping cream. This step helps the cream hold its shape better. I learned that trick when I was new to baking, and it still helps me achieve reliable results.
I whisk until I see stiff peaks form, which tells me the cream has enough volume. The key is to stop once the cream stands up on its own. Overwhipping can make the cream grainy and unpleasant. I keep a close eye on it to protect that velvety consistency.
Combining Peanut Butter, Sugar, and Vanilla Extract
I start by softening the peanut butter if it feels too thick. A few seconds in the microwave often works wonders. I then stir in the powdered sugar and vanilla extract until it’s smooth and easy to handle. If I sense that the mixture seems too sweet, I use a bit less sugar the next time.
Some friends adore a sugary mousse, while others prefer a gentle sweetness. That’s why I emphasize tasting as you go. You get to decide how indulgent you want your dessert. My own preference shifts from time to time, depending on my mood.
Folding in the Whipped Cream Carefully
I introduce the whipped cream to the peanut butter mixture in increments. I do this gently to maintain the soft, airy nature I worked so hard to achieve. I remember a friend once bragging about how quickly they could merge the cream, but rushing can knock out the air and deflate your mousse.
Slow, deliberate strokes with a spatula work best for me. I watch for streaks of white or tan and stir until they disappear. The final mousse should look pale and fluffy with no lumps or bubbles.
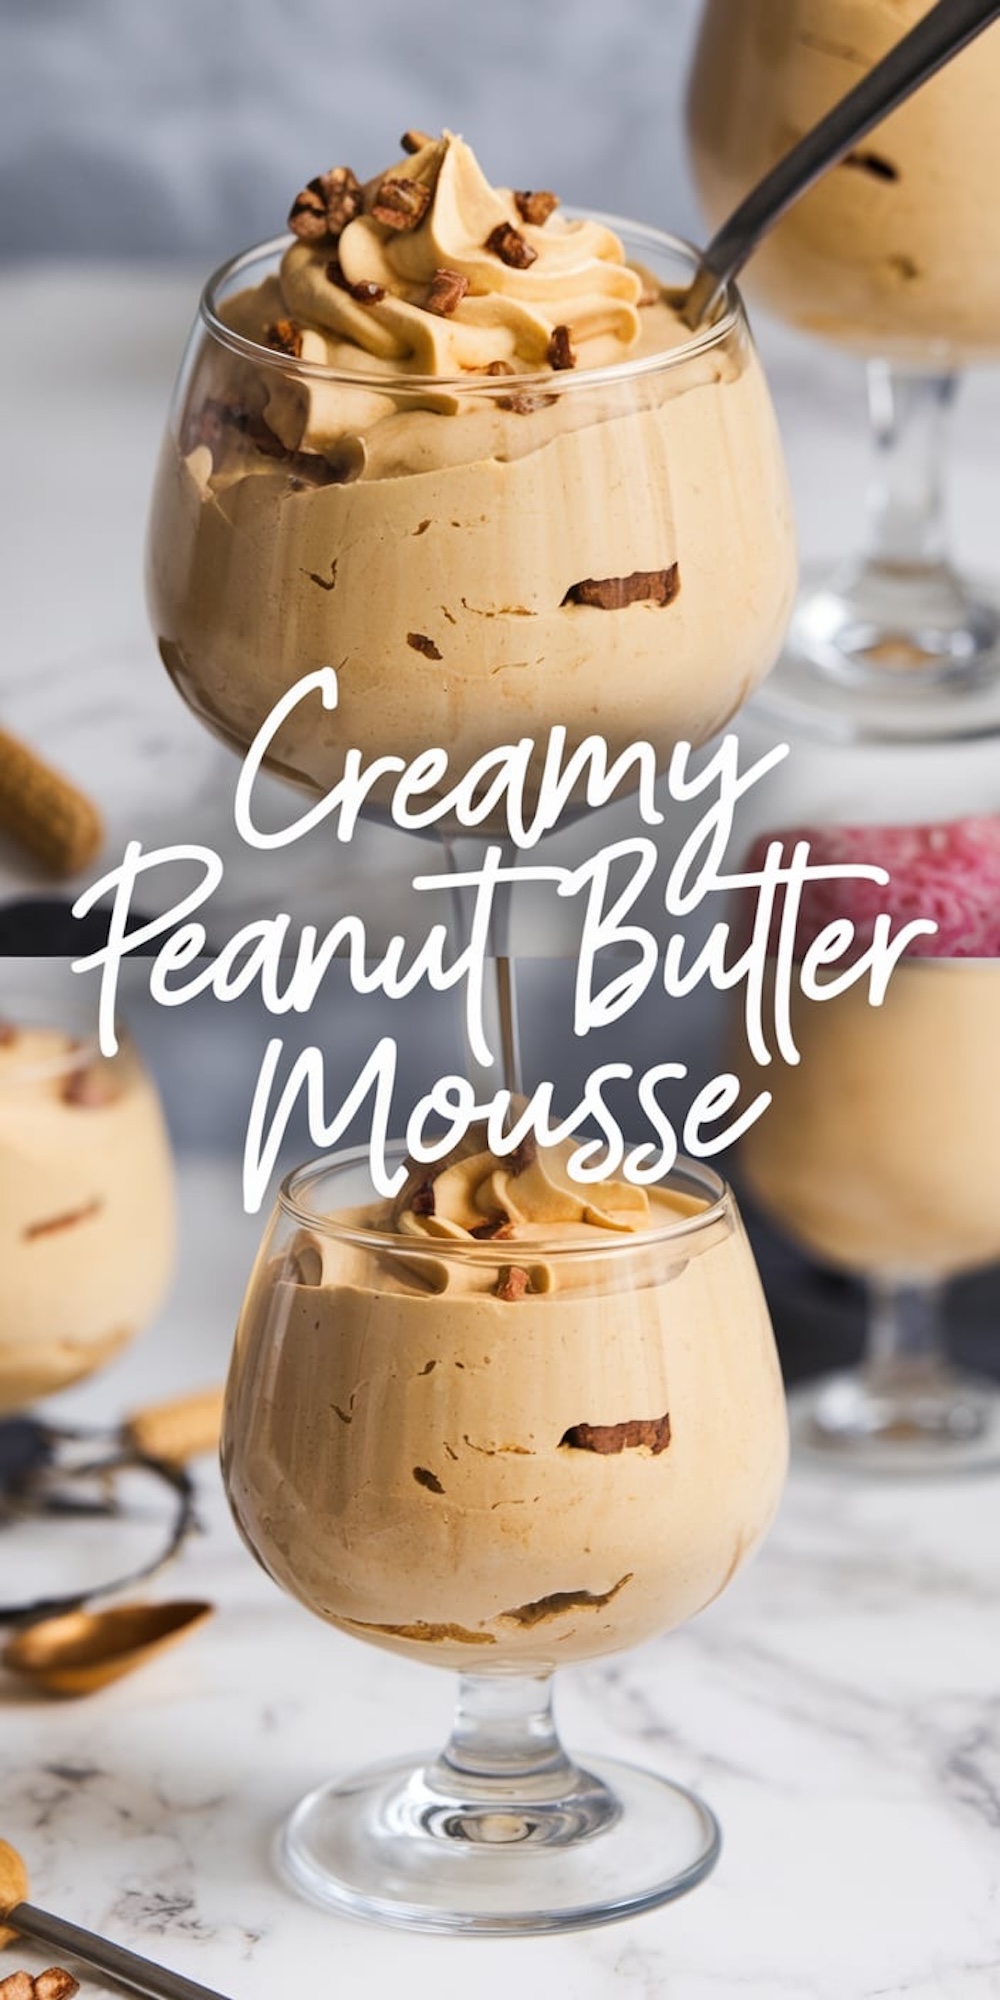
Arranging Layers With Crunchy Peanuts
I like to decide how to assemble this dessert based on my guests. Some of my friends enjoy a single, solid serving of mousse. Others ask for layers of chopped peanuts in between to get more crunch in every spoonful.
I sometimes keep an extra bowl of peanuts on the side, allowing everyone to sprinkle as much or as little as they wish. I tried adding chocolate chips once, but I found that it overpowered the peanut flavor. However, a drizzle of melted chocolate on top often strikes the right balance of sweet and bitter notes.
Chilling the Mousse and Serving Suggestions
I refrigerate the mousse for at least two hours so that it sets to a firm yet creamy consistency. I’ve gone as long as overnight, and the texture remains stable. That’s why I like preparing this dessert in advance.
I find it convenient for busy weekends or last-minute gatherings. I also suggest covering each serving glass with plastic wrap if you plan to store it for an extended time. This step prevents any strong odors in the fridge from creeping into the dessert, and it keeps the top layer from drying out.
Personal Stories and Tips for Best Results
I often think of my grandmother as I whip up sweets in my kitchen. She believed in mixing desserts by hand, and that approach remains my fallback if I lose power or if I don’t have my electric mixer handy. My arms feel the burn, but the reward is always worth it.
I keep a playful attitude when I cook. If I see a chance to try a fun garnish, I embrace it. A pinch of flaky sea salt before serving creates a surprising flavor shift. I also tested some crushed graham crackers once, and that pleased my younger cousins. You might discover your own twist that elevates this peanut butter mousse to your personal preference.
Serving Occasions and Variations
This dish fits quiet nights on the couch just as well as potlucks with friends. I sometimes spoon it into mini cups for a tasting party, letting guests try other desserts. You could even layer it with strawberry jam to form a peanut butter and jelly-inspired mousse.
A bit of fruit preserves adds brightness to the nutty profile. I once tried a swirl of melted dark chocolate on top. I found the bitterness contrasted nicely with the sweet peanut butter, so I kept that as a repeat topping. You have room to explore subtle shifts without stepping away from the simple structure of this dessert.
Final Thoughts on Peanut Butter Mousse With Crunchy Peanuts
I believe you will find this peanut butter mousse easy to prepare and delightful to taste. The whipped cream offers a gentle texture, the peanut butter provides its iconic nutty depth, and the chopped peanuts supply a crunchy finish. I appreciate that you can adjust the sweetness and saltiness based on personal preferences. I hope this dessert becomes a go-to treat in your recipe collection, just as it did in mine.
I see it as a satisfying, fuss-free dessert with a comforting flavor. I also love how it draws smiles from friends and family at every gathering. I hope your experience echoes that same warm delight.
Peanut Butter Mousse with Crunchy Peanuts
Course: Cake Ideas4
servings15
minutes2
hours320
kcalIngredients
- For the Mousse:
1 cup heavy whipping cream (cold)
1/2 cup creamy peanut butter (unsweetened or sweetened, based on preference)
1/4 cup powdered sugar (adjust to taste)
1 teaspoon vanilla extract
- For the Crunchy Peanut Layers
1/3 cup salted or unsalted roasted peanuts, chopped (adjust the saltiness based on your peanut butter)
- Optional Toppings
A drizzle of melted chocolate
A sprinkle of flaky sea salt (if you’re into that sweet-and-salty vibe)
Steps
- Step 1: Whip the Cream
In a large, cold mixing bowl, pour the heavy whipping cream. Using an electric mixer or a hand whisk, whip the cream until stiff peaks form. Be careful not to overwhip, or you’ll end up with butter. Set it aside. - Step 2: Prepare the Peanut Butter Mixture
In a separate bowl, mix the peanut butter, powdered sugar, and vanilla extract until smooth and creamy. If your peanut butter is too thick, warm it slightly in the microwave (about 10-15 seconds) to make it easier to mix. - Step 3: Fold in the Whipped Cream
Gently fold the whipped cream into the peanut butter mixture in three batches. Use a spatula to mix slowly, ensuring you don’t deflate the airy texture. The mixture should be smooth and light. - Step 4: Assemble the Mousse
Decide how you’d like to layer your mousse:Classic Mousse: Pour the mousse directly into serving glasses.
Layered Mousse: Sprinkle a layer of chopped peanuts at the bottom of the glass before adding the mousse. For extra crunch, add another layer of peanuts in the middle. - Step 5: Chill
Cover the glasses with plastic wrap and refrigerate the mousse for at least 2 hours, or until it’s set and firm. - Step 6: Garnish and Serve
Just before serving, top the mousse with chopped peanuts, a drizzle of melted chocolate, or even a pinch of flaky sea salt. Serve chilled and enjoy!
Can you sub heavy cream with cottage cheese or 1/2 heavy cream and 1/2 cottage cheese ?
I would not replace the heavy cream fully with cottage cheese here because the whipped cream is what gives the mousse its light texture. A half-and-half swap would make it much denser. If you want to experiment, keep the heavy cream and blend in a small amount of smooth cottage cheese, but the original version will give you the best mousse texture.