

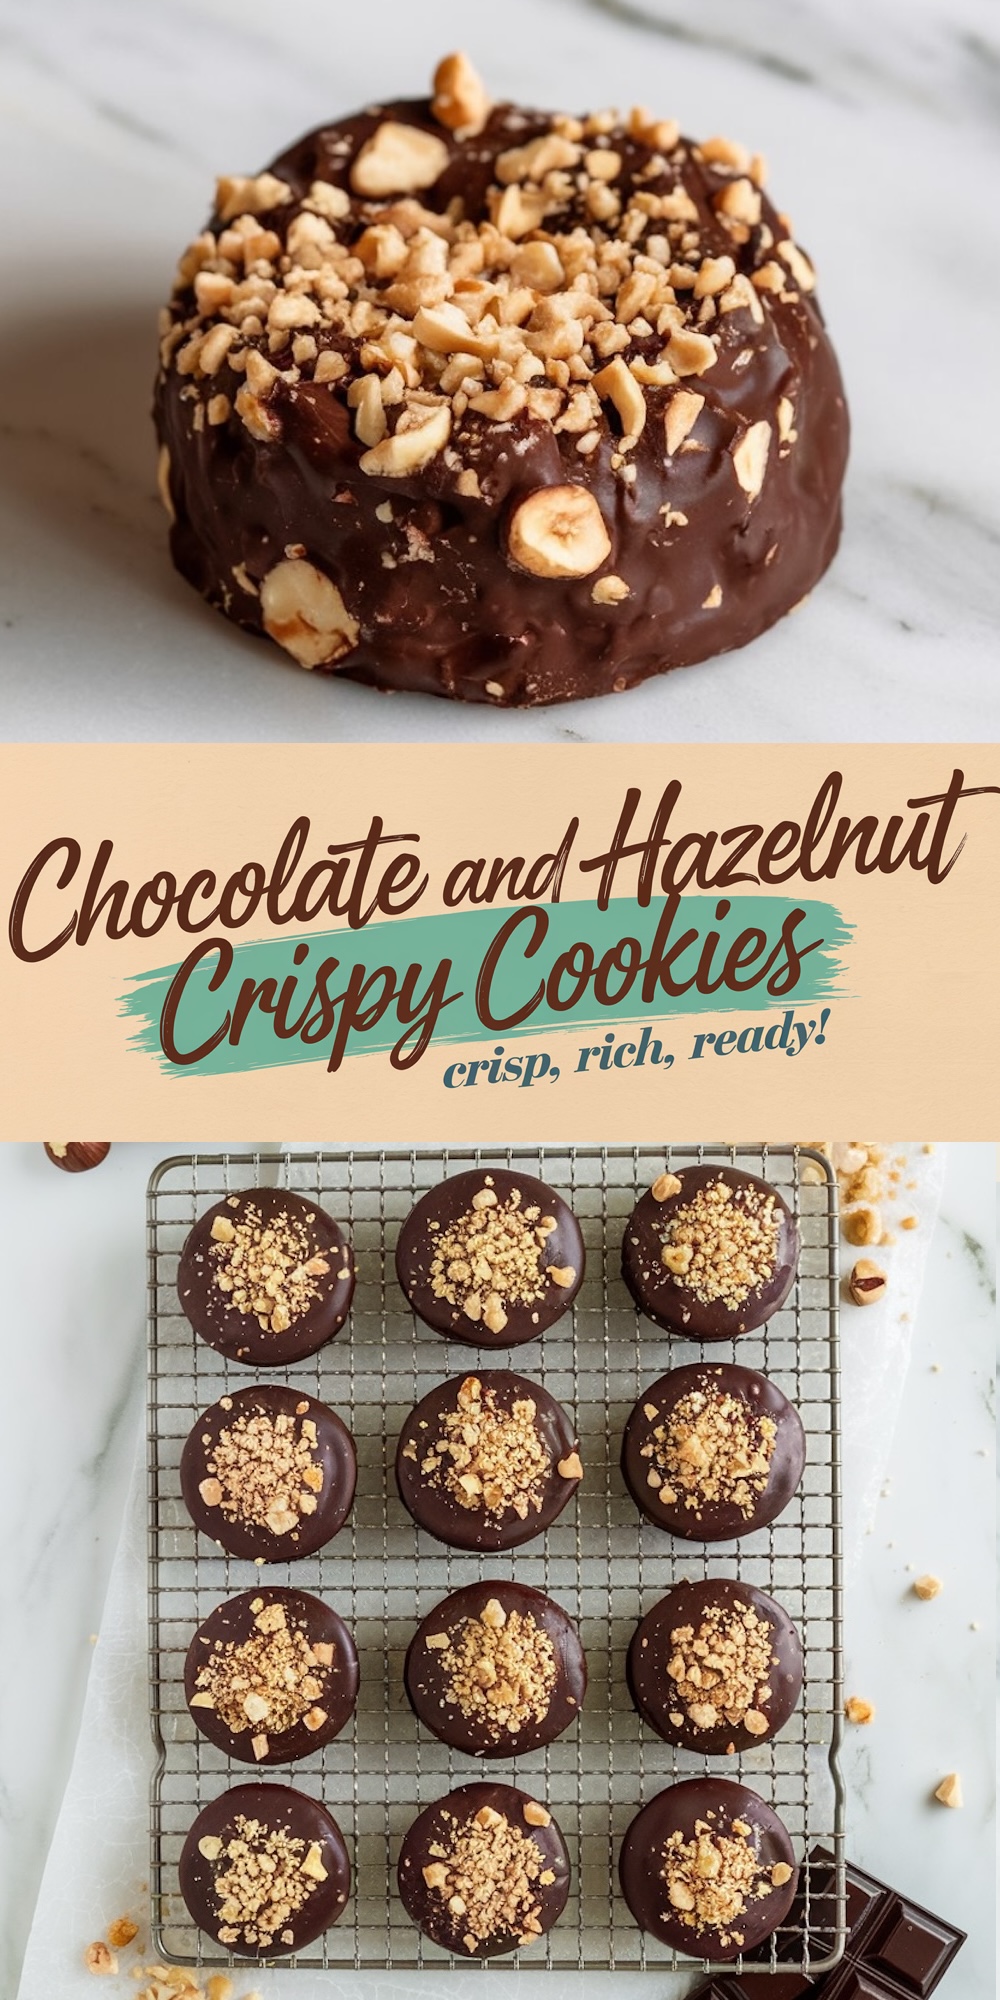
These chocolate hazelnut crunch cookies are chewy cocoa cookies packed with toasted hazelnuts, dipped in a dark chocolate shell and topped with more chopped nuts. Prep takes about 20 minutes, they bake for 10 to 12, and one batch makes 18 cookies.
The crunch comes from roasting every hazelnut before it touches the dough. Raw hazelnuts taste flat and a little chalky. Ten minutes in the oven turns them sweet, toasty and crisp, and that is the flavor people notice first.
Following a special diet?
Every recipe on this site can be converted to gluten-free, vegan, dairy-free, keto, nut-free or egg-free with adjusted ratios so nothing falls flat.
Try the Recipe Converter →I bake these every December. They remind me of the Ferrero Rocher boxes my grandfather passed around after dinner: the same toasted nut smell, the same snap of chocolate. In a cookie tin they stand out next to frosted and powdered cookies, and they sit nicely beside chocolate hazelnut thumbprint cookies if you want a hazelnut theme.
Hazelnuts, Cocoa and a Dark Chocolate Shell
- Makes: 18 cookies, each from a tablespoon of dough
- Time: 20 minutes prep, 10 to 12 minutes baking, plus cooling and setting
- Hazelnuts: about 2 cups in total, 1½ cups (190 g) roughly chopped for the dough and ½ cup (60 g) finely chopped for the top
- Coating: 8 oz (225 g) semi-sweet or dark chocolate, with 1 tablespoon coconut oil or shortening if you want a smoother shell
- Keeps: 5 days in an airtight tin, or 3 months in the freezer
Roasting and Skinning the Hazelnuts
Spread all the hazelnuts on one baking sheet and roast them at 350°F (175°C) for 10 to 12 minutes, stirring halfway. They are ready when they smell nutty and the skins crack and darken. Tip them straight into a clean kitchen towel, fold it over, and rub hard while they are still hot. Heat and steam loosen the skins; once the nuts cool, the skins cling again.
You do not need every bit of skin off. Most of it is enough, because the papery skin is what tastes bitter. Let the nuts cool, then chop 1½ cups roughly for the dough and ½ cup finely for the topping. Uneven pieces in the dough are good: big chunks give crunch, small bits spread the flavor.
Short on time? Skinned, already roasted hazelnuts work. Warm them for 4 or 5 minutes anyway to wake the flavor up.
Why Cocoa Goes in the Dough and Chocolate Stays on Top
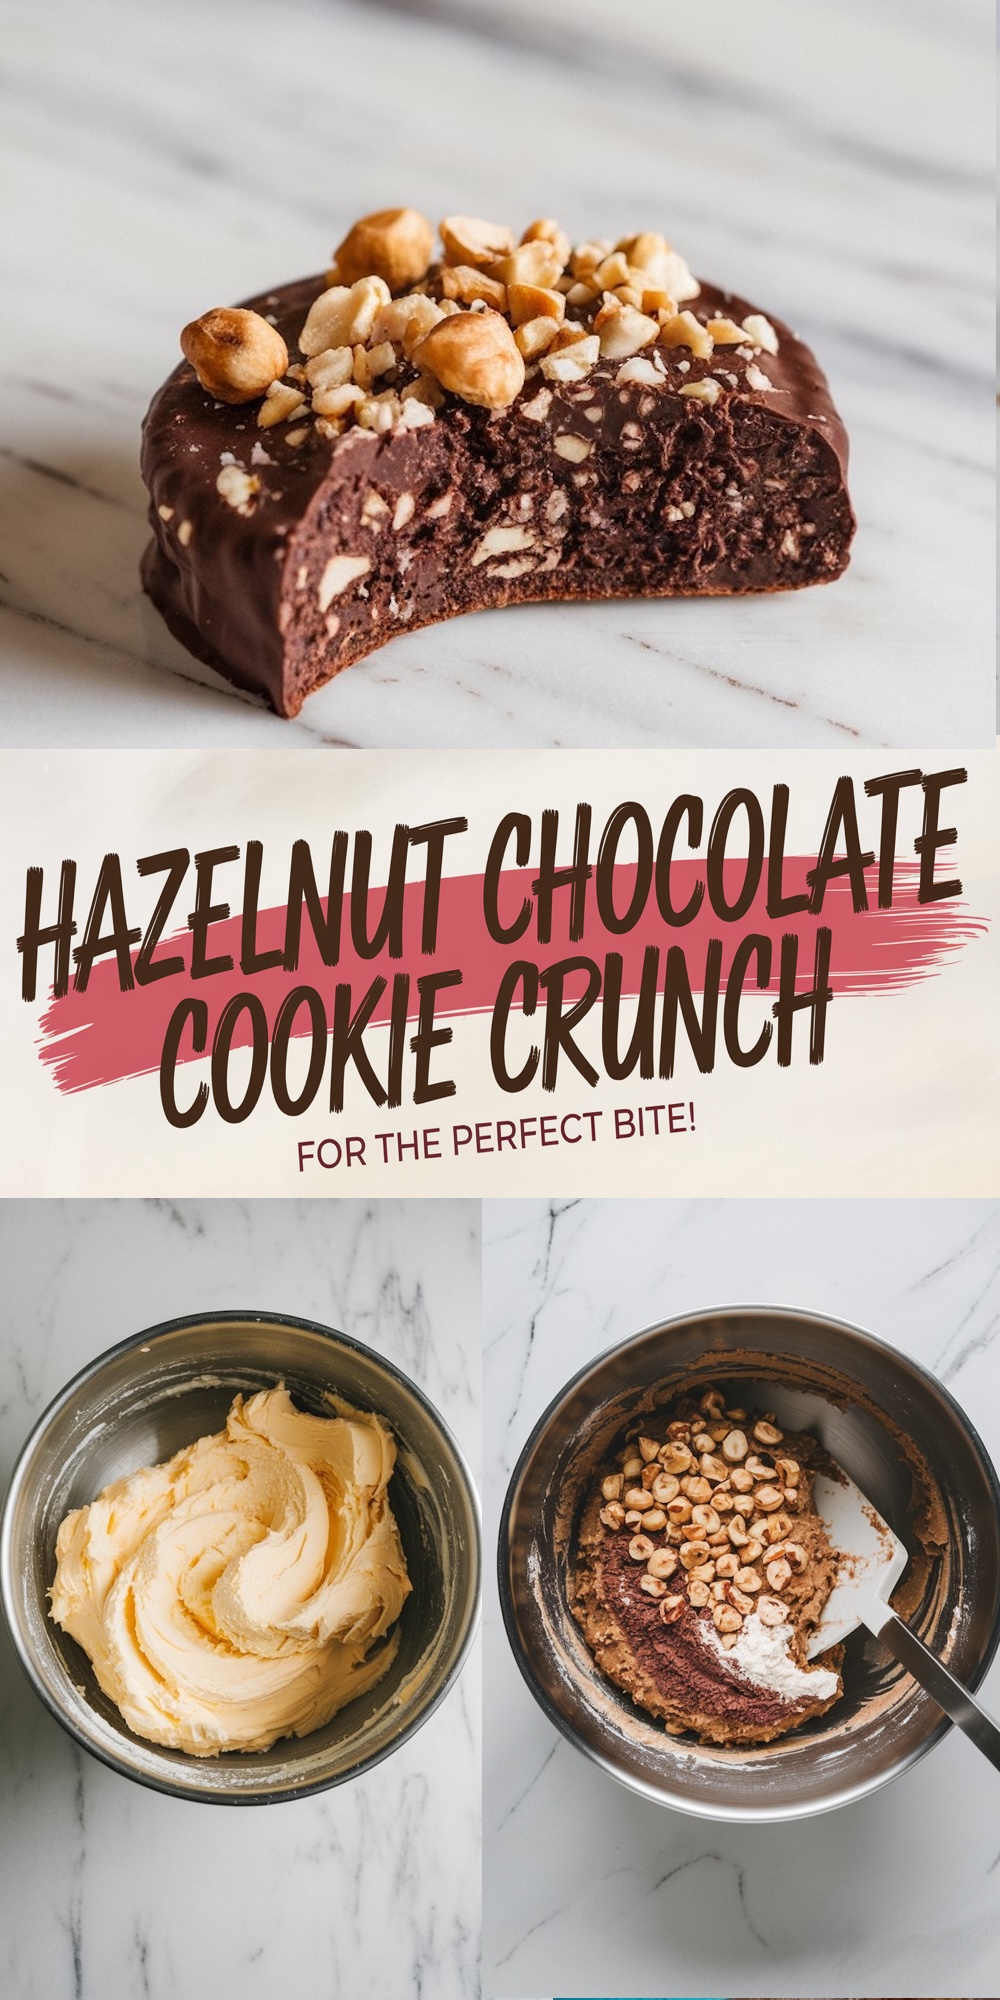
The dough gets its chocolate flavor from 2 tablespoons of cocoa powder, not melted chocolate. Cocoa adds flavor without adding fat or liquid, so the cookies stay chewy and hold a flat shape for dipping. All 8 ounces of chocolate go into the coating, where you get the snap and the shine.
Whisk the flour, cocoa, baking powder and salt in one bowl. In a bigger bowl, beat the soft butter with the granulated and brown sugar for 2 to 3 minutes, until it looks pale and fluffy. The brown sugar keeps the centers soft and brings out the toasted nut flavor. Beat in the egg and vanilla, then stir in the dry mix until no streaks of flour remain. Fold in the hazelnuts last.
This dough holds more nuts than flour, so it feels crumbly. That is normal. Squeeze each tablespoon in your palm first so it sticks together, then roll it into a ball.
How Flat to Press Them and When to Pull Them
Press each ball into a disc about ½ inch thick on a lined baking sheet. These cookies barely spread, so a ball stays a thick dome that bakes unevenly and is awkward to coat. A flat disc bakes through and gives the chocolate a wide surface to cling to.
Bake at 350°F for 10 to 12 minutes. A cocoa dough hides browning, so look at the surface instead: the edges should look dry and matte, and the centers should have lost their shine but still feel soft when you touch them. They firm up as they cool. Move them to a wire rack and let them cool completely before dipping, or the chocolate slides off and melts into the crumb.
Dipping for a Glossy Shell That Sets Firm
Melt the chopped chocolate with the coconut oil in 30-second bursts in the microwave, stirring after each one. Stop when a few small lumps are left and keep stirring; the warm chocolate melts them. Dip each cooled cookie so it is fully coated, let the extra drip back into the bowl, and set it on parchment or a rack.
Sprinkle the finely chopped hazelnuts on while the chocolate is still wet. Leave the cookies at room temperature to set, or put them in the fridge for about 10 minutes. The same melt-and-dip method works for chocolate covered Oreos and chocolate dipped toffee cookies if you are making a mixed box.
When the Chocolate Shell Goes Wrong
- Streaky or dull chocolate: it got too hot. Melt in shorter bursts next time and finish by stirring, not heating.
- Coating too thick: stir in the full tablespoon of coconut oil or shortening, and let each cookie drip for a few seconds before you set it down.
- White film after chilling: condensation from a long stay in the fridge. Keep it to 10 minutes, then let them finish at room temperature.
- Nuts will not stick: the chocolate set first. Dip and top two or three cookies at a time.
Packing Them for Gift Tins and Cookie Exchanges

Once the chocolate is fully set, layer the cookies in an airtight tin with parchment between each layer. They keep well at room temperature for 5 days. For longer, freeze the dipped cookies in a single layer until hard, then move them to a freezer bag for up to 3 months. Thaw them in the closed container so moisture does not bead on the chocolate.
For holiday baking, that gives you a simple plan: bake and dip them up to 5 days before a cookie exchange, or a few weeks ahead if you freeze them. Readers in the UK sometimes search for these as chocolate hazelnut biscuits, and they travel just as well in a biscuit tin.
For a gift box with contrast, pair them with soft chocolate chip cookies, powdery chocolate crinkle cookies or pistachio chocolate sandwich cookies. If you have hazelnuts left over, chocolate hazelnut truffles are a good use for them.
Hazelnut Cookie Questions

Can I coat them in Nutella instead of chocolate?
You can spread a little on top, but Nutella never sets firm, so the cookies stick together in a tin. Use real chocolate if you plan to stack or gift them.
Can I use almonds instead of hazelnuts?
Yes. Roast and chop almonds the same way and use the same amounts. The cookies taste milder and less like a Ferrero Rocher.
Should I dip the whole cookie or just the top?
The recipe coats each cookie fully, which gives the firmest shell for stacking. Dipping only the tops works too and leaves you with extra chocolate.
Why did my cookies turn out dry?
Usually they baked a minute or two too long. Pull them as soon as the centers lose their shine, even if they still feel soft.
Pin These for Your December Cookie Box
Save this chocolate hazelnut crunch cookies recipe to your Christmas cookie or edible gifts board so it is there when tin season starts. If you swap the chocolate or the nuts, tell me in the comments how it went. For a bigger hazelnut project, my chocolate hazelnut cake uses the same toasted nut idea.
Chocolate Hazelnut Crunch Cookies

These chocolate hazelnut crunch cookies are chewy cocoa cookies made with toasted hazelnuts, butter, brown sugar and a dark chocolate coating. The recipe makes 18 cookies with about 20 minutes of prep and 10 to 12 minutes in the oven, and each one gets a glossy chocolate shell and a topping of finely chopped hazelnuts. Roast the hazelnuts first and rub off the skins while they are hot; that gives the crunch and the deep nutty flavor. Use them for a Christmas cookie box, a holiday cookie exchange, edible gifts or a cookie platter next to chocolate chip cookies. Swap almonds for hazelnuts if you like. Store in an airtight tin for 5 days or freeze for up to 3 months.
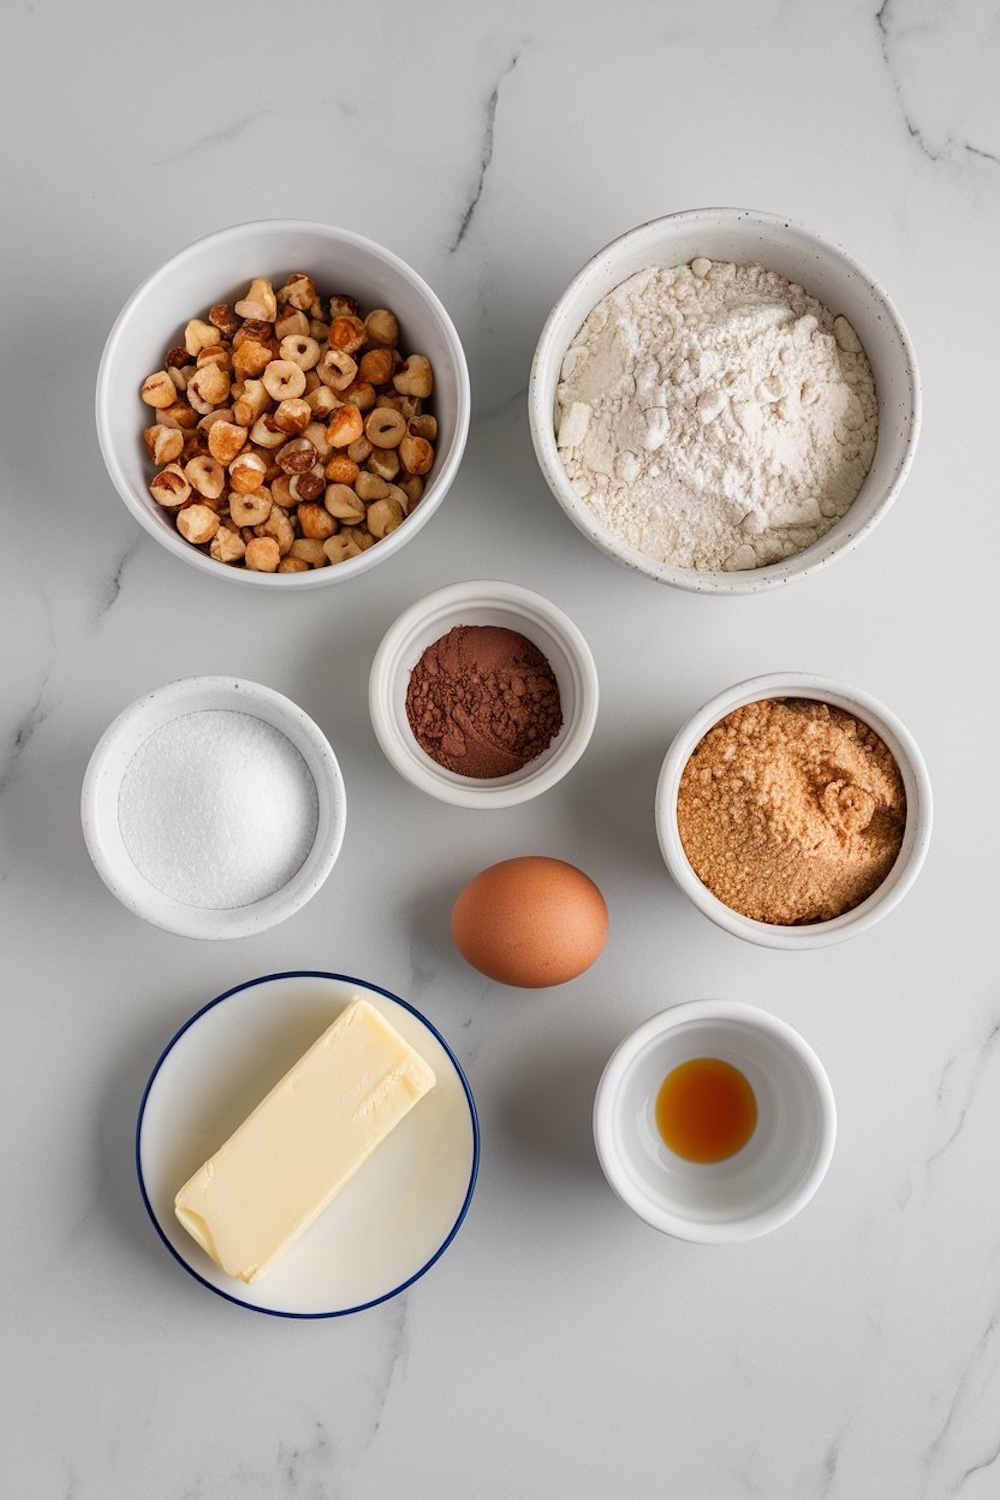
Ingredients
- For the Cookies:
- 1 ½ cups (190g) hazelnuts, toasted and roughly chopped
- 1 cup (120g) all-purpose flour
- 2 tablespoons (15g) cocoa powder
- 1 teaspoon baking powder
- ¼ teaspoon salt
- ½ cup (115g) unsalted butter, softened
- ½ cup (100g) granulated sugar
- ½ cup (100g) brown sugar, packed
- 1 large egg
- 1 teaspoon vanilla extract
- For the Chocolate Coating:
- 8 oz (225g) semi-sweet or dark chocolate, chopped
- 1 tablespoon coconut oil or shortening (optional, for smoother coating)
- ½ cup (60g) roasted hazelnuts, finely chopped (for topping)
Instructions
- Step 1: Toast the Hazelnuts
Preheat your oven to 350°F (175°C).
Spread the hazelnuts on a baking sheet and toast them in the oven for 10–12 minutes, stirring halfway through. Once toasted, allow them to cool, then roughly chop them. Set aside ½ cup of chopped hazelnuts for topping later. - Step 2: Make the Cookie Dough
In a medium bowl, whisk together the all-purpose flour, cocoa powder, baking powder, and salt.
In a large bowl, cream together the softened butter, granulated sugar, and brown sugar until light and fluffy, about 2-3 minutes. Add the egg and vanilla extract and mix until smooth.
Gradually add the dry ingredients into the wet ingredients and stir until fully combined. Fold in the toasted hazelnuts. - Step 3: Shape and Bake the Cookies
Line a baking sheet with parchment paper or a silicone baking mat.
Scoop tablespoon-sized portions of dough and roll them into balls, then gently flatten them with the palm of your hand to form discs.
Bake in the preheated oven for 10–12 minutes, or until the edges are set. Let the cookies cool completely on a wire rack. - Step 4: Coat the Cookies
In a microwave-safe bowl, melt the chopped chocolate and coconut oil (if using) in 30-second intervals, stirring between each until smooth.
Dip each cooled cookie into the melted chocolate, ensuring it's fully coated. Place the dipped cookie on a wire rack or parchment paper.
While the chocolate is still wet, sprinkle each cookie with the reserved chopped hazelnuts. Allow the chocolate to set completely at room temperature or speed up the process by placing the cookies in the fridge.
Notes
Toast all the hazelnuts at once (1 1/2 cups for the dough plus 1/2 cup for the topping) and rub off the skins in a towel while they are still hot. The dough is crumbly because it holds a lot of nuts; squeeze each tablespoon in your palm before rolling and pressing it into a disc. Pull the cookies when the edges look dry and matte and the centers have lost their shine. Dip only completely cooled cookies, and stop melting the chocolate while a few lumps remain, then stir until smooth so it sets glossy. Chill dipped cookies no longer than 10 minutes. Store with parchment between layers for up to 5 days, or freeze for up to 3 months.
Nutrition Information
Yield
18Serving Size
1Amount Per Serving Calories 63Total Fat 3gSaturated Fat 2gTrans Fat 0gUnsaturated Fat 1gCholesterol 12mgSodium 64mgCarbohydrates 7gFiber 0gSugar 1gProtein 1g

This looks so good! What a great combination of flavors!
Thank you, Suzanne! I completely agree. Chocolate and hazelnuts are such a timeless duo. I love how the roasted hazelnuts bring everything to life in this one. Let me know if you give them a try!
Thanks for sharing! Does it keep long?
You’re so welcome, Vanessa! These keep well for about 5 days in an airtight container at room temperature. If you want to prep ahead, I freeze them (fully dipped) and they hold beautifully. Just layer with parchment if you stack them.
I wish there was a print button on this sight,so many beautiful recipes 😍
Hi Helen, thank you for the lovely note. I just added a print button to that recipe page. You should be able to print it out easily now. Let me know if there’s anything else you’d like to see.
Hi, any suggestions to make them GF?
Hi Ngaio, I’ve had good luck turning these into gluten-free cookies. Swap the cup of all-purpose flour for the same weight of a 1:1 gluten-free baking blend (Bob’s Red Mill blue bag or King Arthur Measure for Measure both work for me). If your blend doesn’t already include xanthan gum, stir in ¼ teaspoon. The dough runs a bit softer, so chill it for about 20 minutes before scooping. Bake for roughly the same time, maybe a minute longer; pull them once the edges look set. For extra hazelnut flavor you can replace up to half the flour blend with hazelnut meal. Hope that helps
How many does this single recipe make?
Oops, never mind, I just saw it!
Hi Lynn 😊
Glad you spotted the yield line. For easy reference, the batch makes about 18 medium cookies when you scoop with a level tablespoon; shaping them larger gives closer to a dozen. I like to freeze a few dough rounds for later bake straight from frozen and they come out great.
I dont use ready choclate bar for making the dip, can u help with using coco powder for making the dip
Hi Chandni, yes you can use cocoa powder instead of a chocolate bar for the dip. Since cocoa is unsweetened and doesn’t have cocoa butter, you’ll need to add both sugar and a bit of fat. I’d suggest mixing 3 tablespoons cocoa powder with 1 ½ tablespoons melted butter (or coconut oil) and 1 ½ to 2 tablespoons powdered sugar. Stir until smooth, then use it the same way as the melted chocolate. It won’t set quite as glossy, but it will still taste great.
Just made these and I have a question. It seems like they spread out more than expected and are a lot paler. Is the measurement for cocoa correct? Only 2 tbsps? The cookies are not frosted yet, but they taste great!
Thanks
Hi Anette! Thanks for trying the recipe, and I’m really glad you liked the flavor. The 2 tablespoons of cocoa is correct as written — it’s kept light on purpose to let the hazelnut and chocolate frosting stand out without overwhelming the cookie.
If they spread more than expected, a few things might be the cause:
• Very soft butter or warm dough can lead to more spreading
• A cooler oven can slow the set time, making them spread before they firm up
The lighter color is normal with this amount of cocoa, but if you’d prefer a deeper color or slightly richer base, you can add another tablespoon of cocoa next time. It won’t throw off the texture. Let me know how they turn out once frosted 😊
I had the same problem – look and taste great but very flat. I’m going to drizzle melted chocolate over them.
i tried the recipe but it turned out that the cookies become wide and thin when baked. can you help me, if I missed something the process.
Hey, hey… When cookies turn out wide and thin like that, it’s usually a sign that the butter was either too soft or the dough didn’t get enough chill time. I’ve had batches do the same when I skip that quick rest in the fridge. Even just 30 minutes helps a lot.
Another thing to check is how the flour was measured. If it’s a little under (especially if you’re scooping straight from the bag), the dough won’t have enough structure and can spread too much in the oven. I usually go with the spoon-and-level method or weigh it out to be safe.
Flat results – not like the photos
I was really looking forward to these, but unfortunately, they didn’t turn out like the beautiful, thick cookies in the photo. Mine came out flat.
I’m a very experienced baker. I weighed all ingredients in grams and used a digital thermometer to make sure the butter was “softened” to the proper temperature. I followed every direction down to the letter, so it was disappointing to see them spread so much.
I noticed other comments about thin cookies as well. Issues cited as butter temperature or needing to chill the dough when others complain about flattening. However, the recipe itself doesn’t mention a chilling step at all. If chilling is necessary to achieve the thick texture shown in the photos, it really should be added to the instructions!
As written, the recipe seems to have a structural issue – potentially too little flour or too much leavening – that causes excessive spreading. Bummer.
Thank you for the detailed feedback. You’re right that the recipe does not include a chilling step, and it also instructs you to flatten the dough before baking. I’m reviewing the method and ratios because the cookies should match the photos without relying on an unstated step.