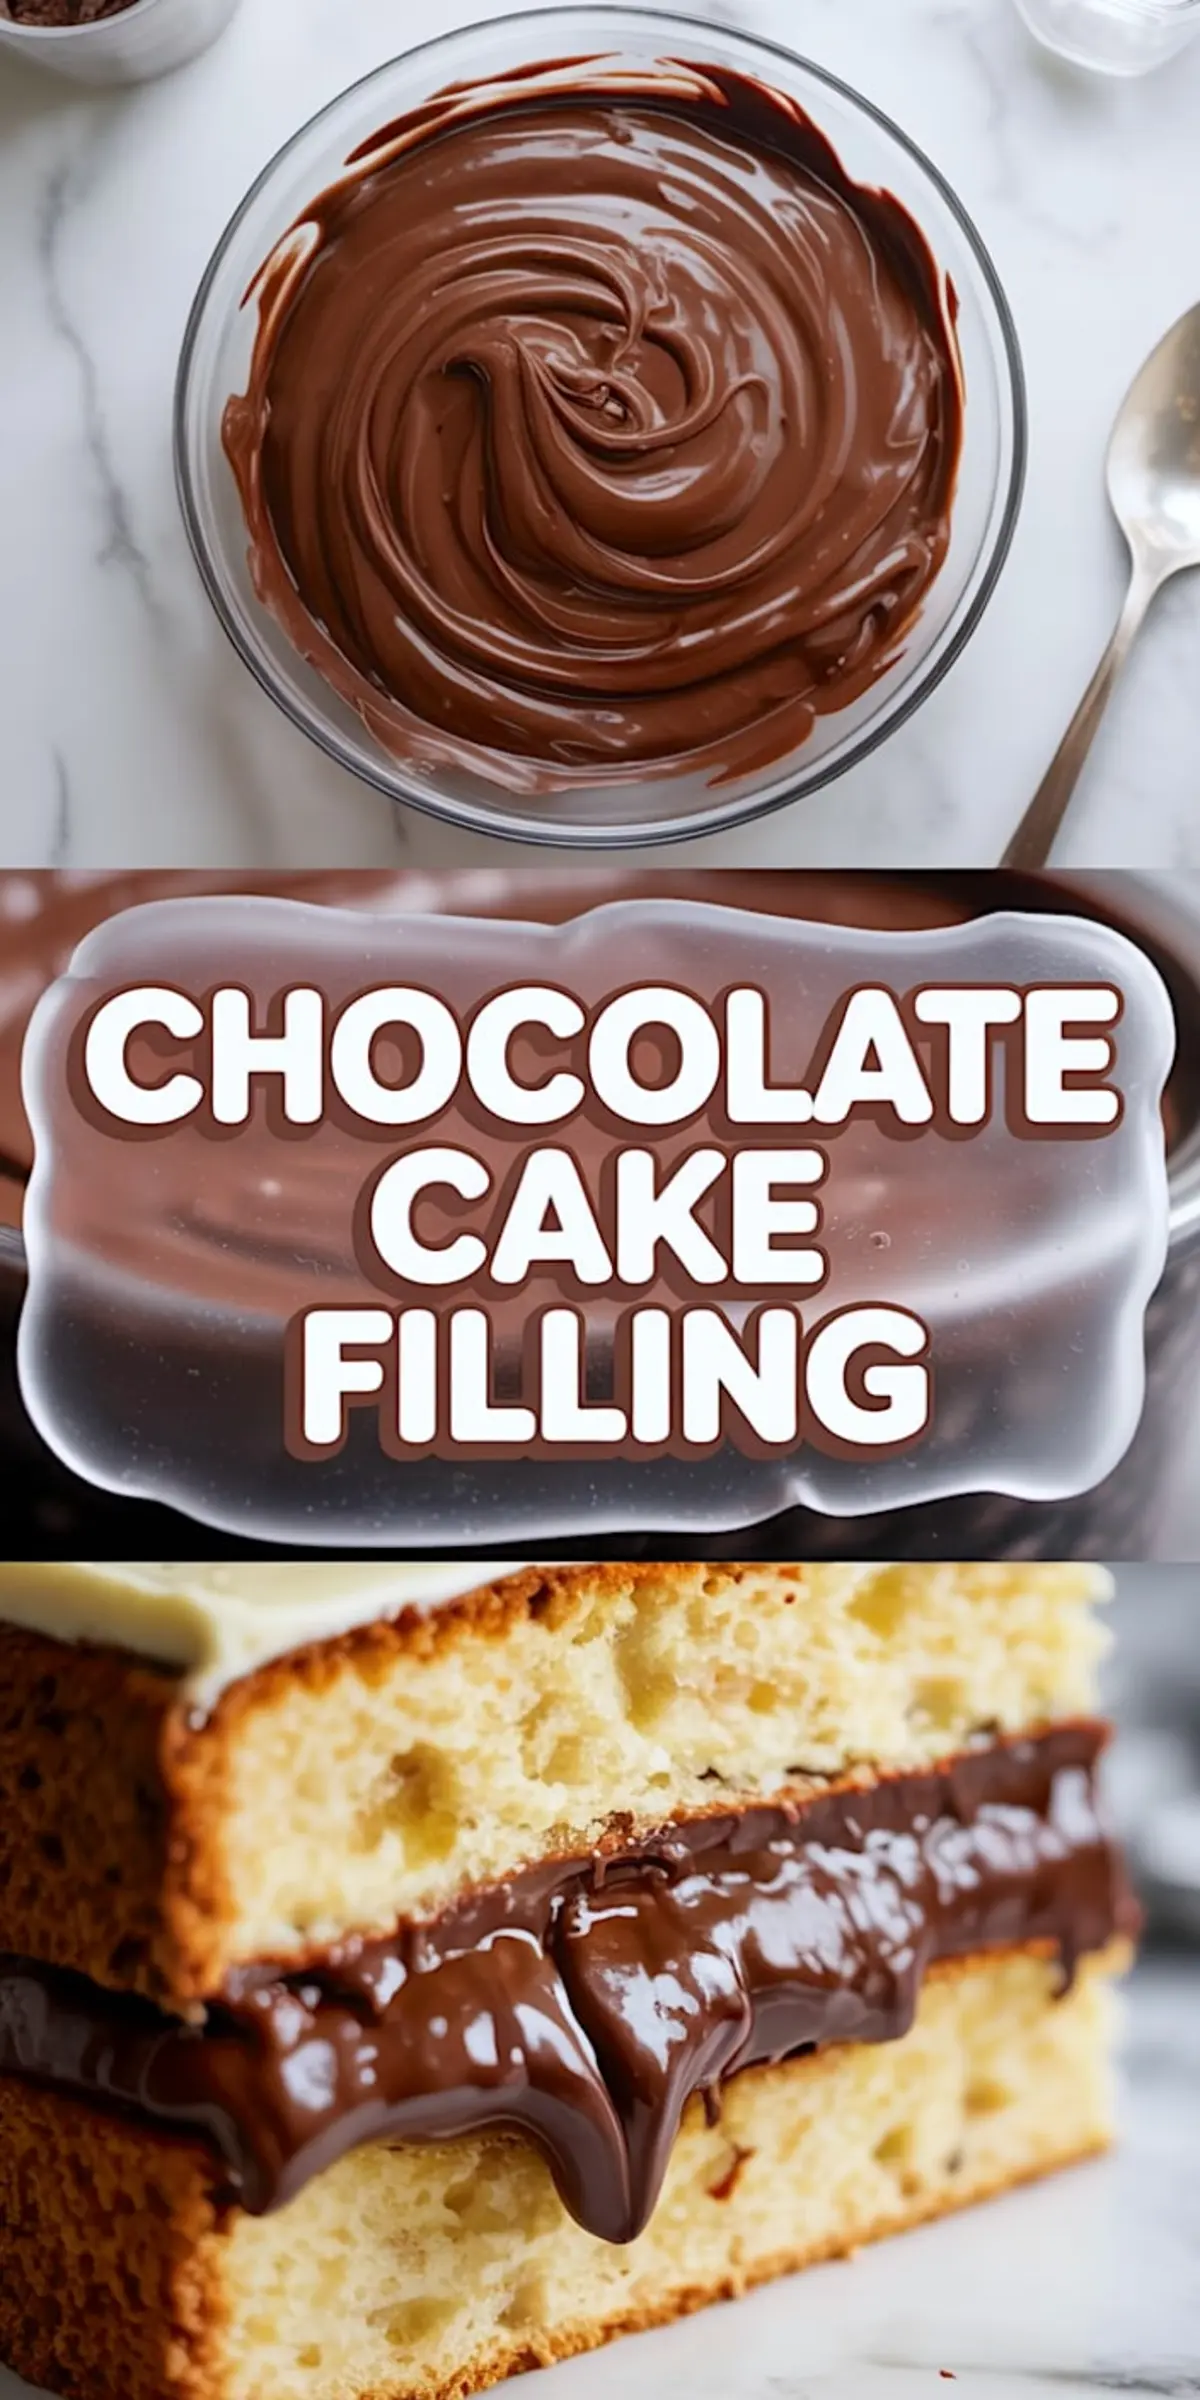
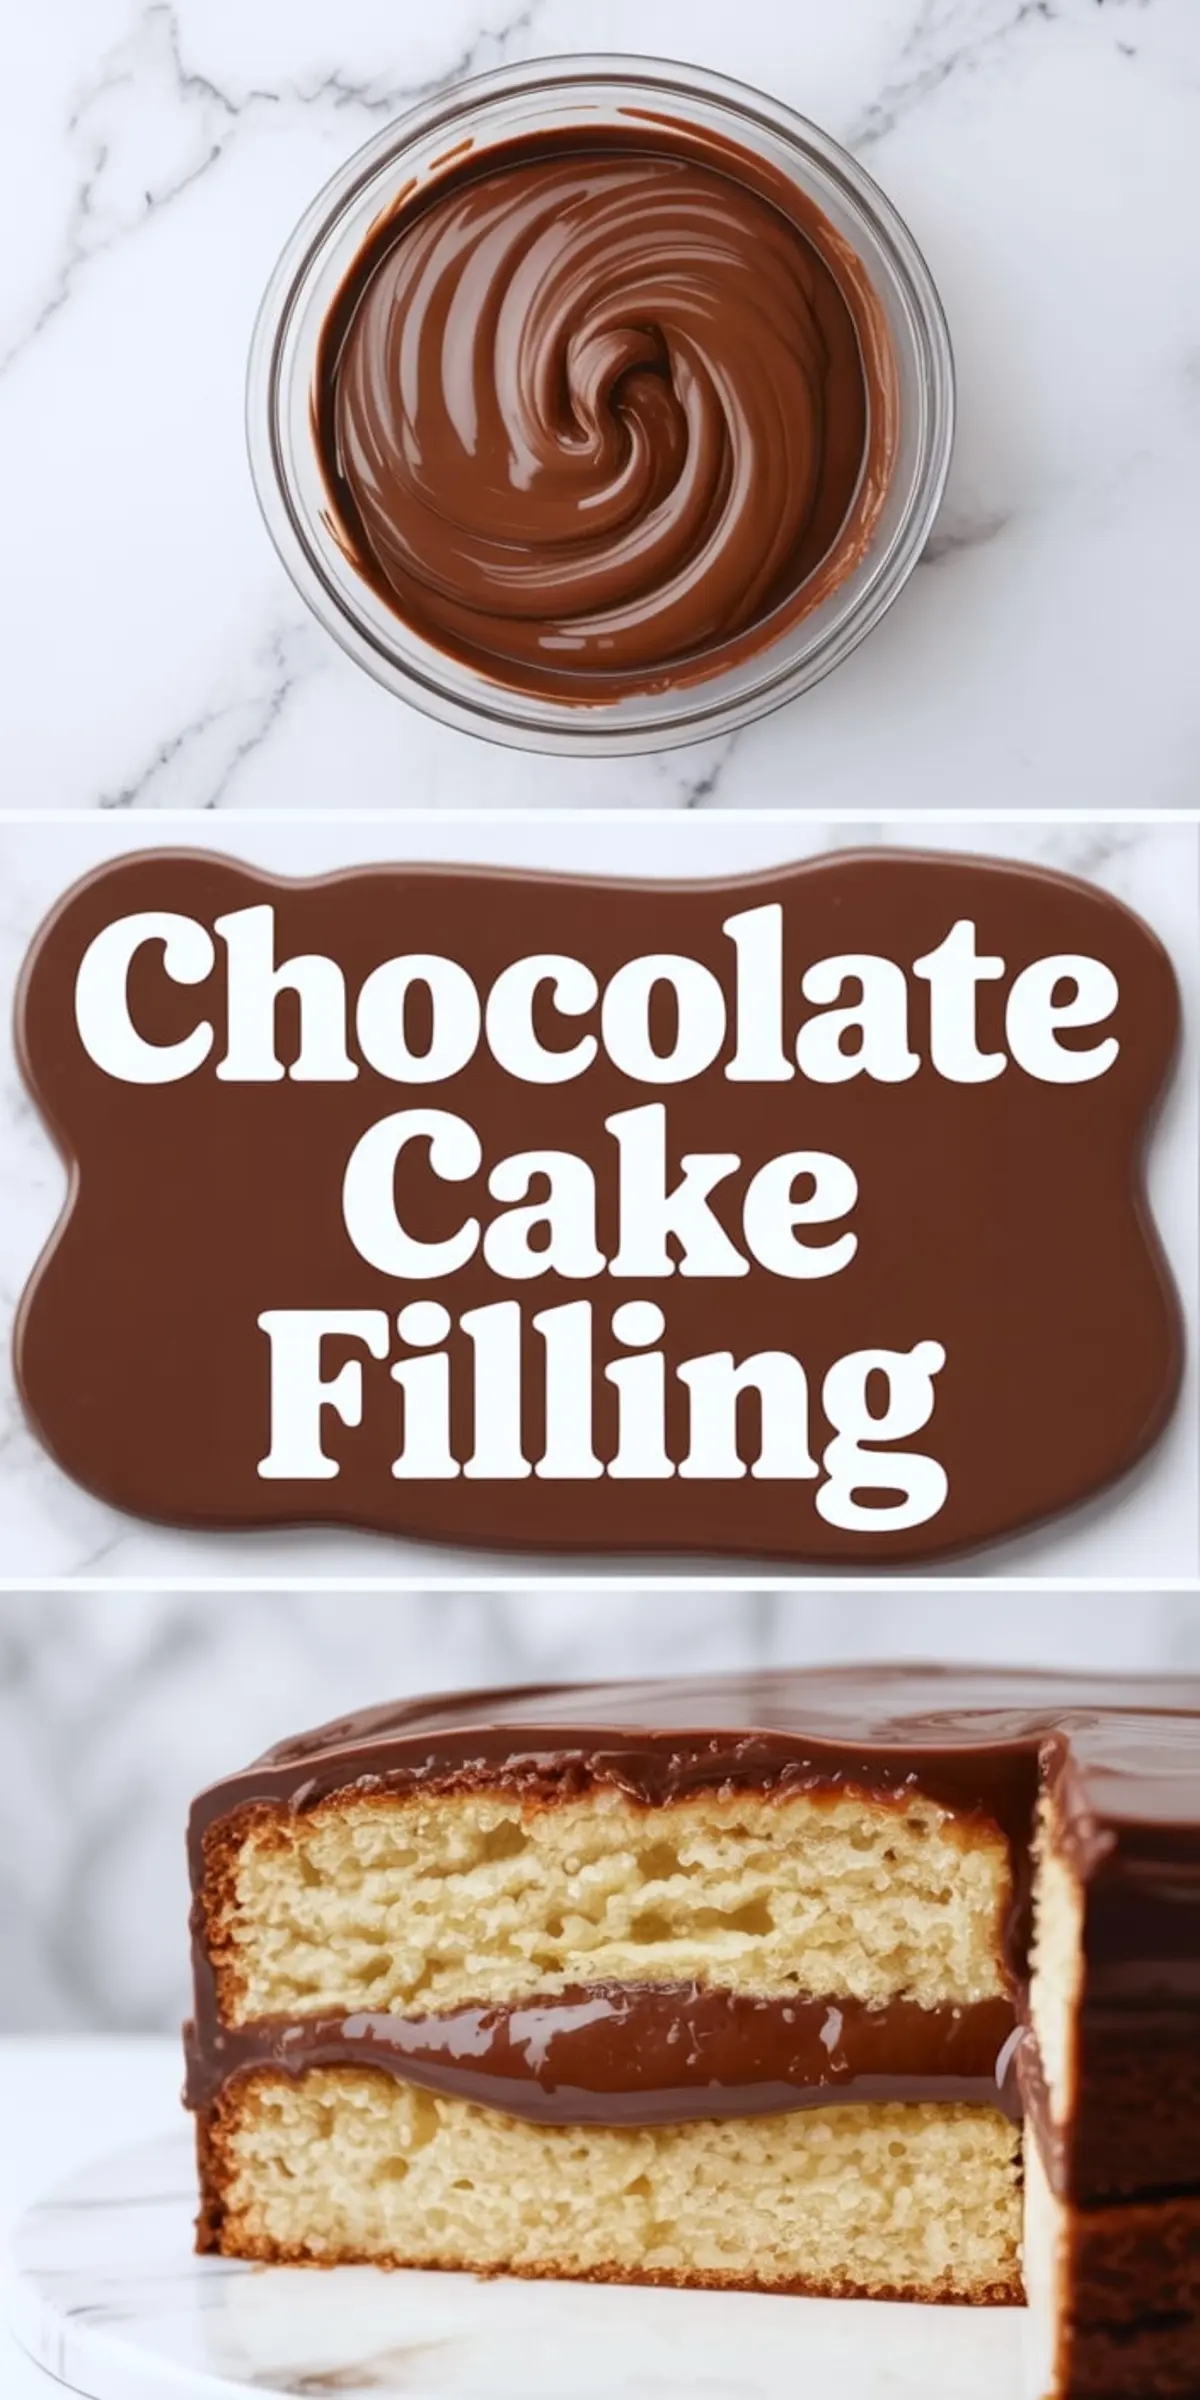
This chocolate cake filling recipe creates a smooth, luscious layer that holds its shape between cakes without sinking or sliding. It’s made with real chocolate, cream, and butter. No shortcuts, no mixes, just pure depth of flavor. If you’re looking for the best chocolate filling for cake, this one gives you that glossy spoonful with enough structure for layering, spreading, or even piping. It also doubles as an easy chocolate ganache, which means it’s both functional and deeply flavorful.
The method here leans on a classic ganache ratio, but it’s been adjusted for stability. A standard ganache uses equal parts cream and chocolate, but for this filling I lower the cream slightly and add butter. That one change improves spreadability and gives the filling a richer mouthfeel.
The result is a thick yet smooth consistency that stays put between cake layers. You don’t need to whip it. You don’t need gelatin or starch. It sets on its own with the help of time and the cocoa solids doing their job. A tiny pinch of salt also deepens the flavor, don’t skip it.
The full cooling time takes under an hour, and you can speed things up a bit in the fridge if needed. Just stir as it chills so it doesn’t get grainy at the edges. You want a silky chocolate filling for cake, not a stiff block.
What You Need and Why Each Ingredient Matters
Chocolate is the foundation, so start with good quality. I prefer semi-sweet or 70% dark chocolate, chopped from a bar. Chocolate chips don’t melt the same way and can leave a waxy finish. This base gives you a dense chocolate flavor that reads deep, not flat.
Heavy cream adds richness and helps the chocolate emulsify into a smooth mass. You need cream with at least 35% fat. Anything lighter won’t set properly.
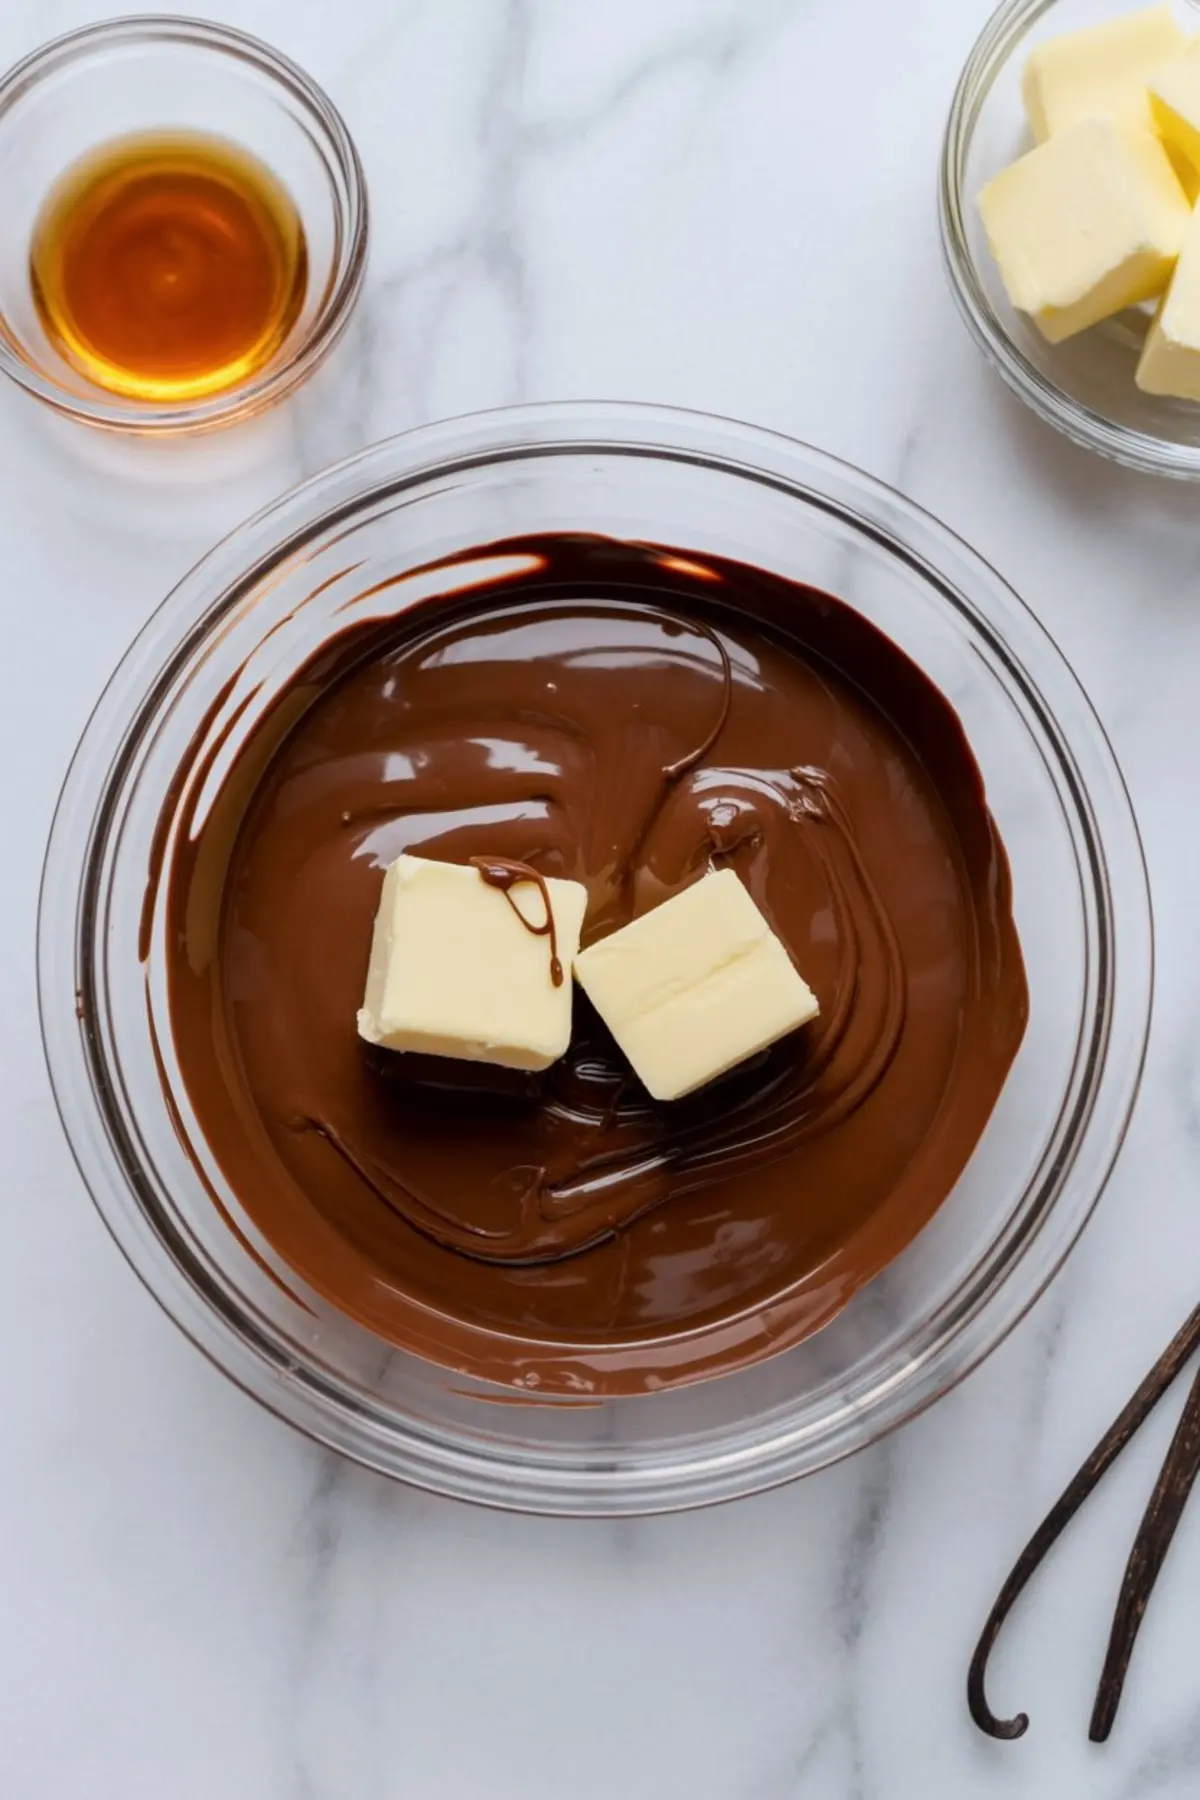
Butter adds sheen and softens the texture once chilled. I always use unsalted so I can control the salt level myself. It also adds a little lift to the mouthfeel.
Vanilla gives a soft warmth underneath the chocolate. It’s subtle, but without it, the flavor can taste one-note. That one teaspoon matters.
Powdered sugar is optional. I use it if the chocolate is on the bitter side or if the cake itself is very plain. It’s not always necessary.
Salt makes everything come alive. You don’t taste it directly, but you’ll miss it if it’s not there.
Why The Chocolate Ratio Matters Most
This recipe uses 200g of chocolate to 200ml of cream, which lands just under the 1:1 ganache ratio. That’s intentional. A true 1:1 ratio can feel too soft when layered between cakes. By dialing it down slightly, you get structure without stiffness.
The butter makes it glide on smoothly. But the key is the resting and cooling time. Don’t rush it. When the texture is right, it will hold its shape on a spoon but still be soft enough to spread. If you poke it and it springs back gently, it’s ready.
If you’re working in a warm kitchen, chill it a little longer. For cooler days, you might not need the full 40 minutes.
This chocolate filling also pairs beautifully with a simple Chocolate Ganache Frosting if you’re after something more whipped. You can find my full frosting version here.
How to Make It and What to Watch For
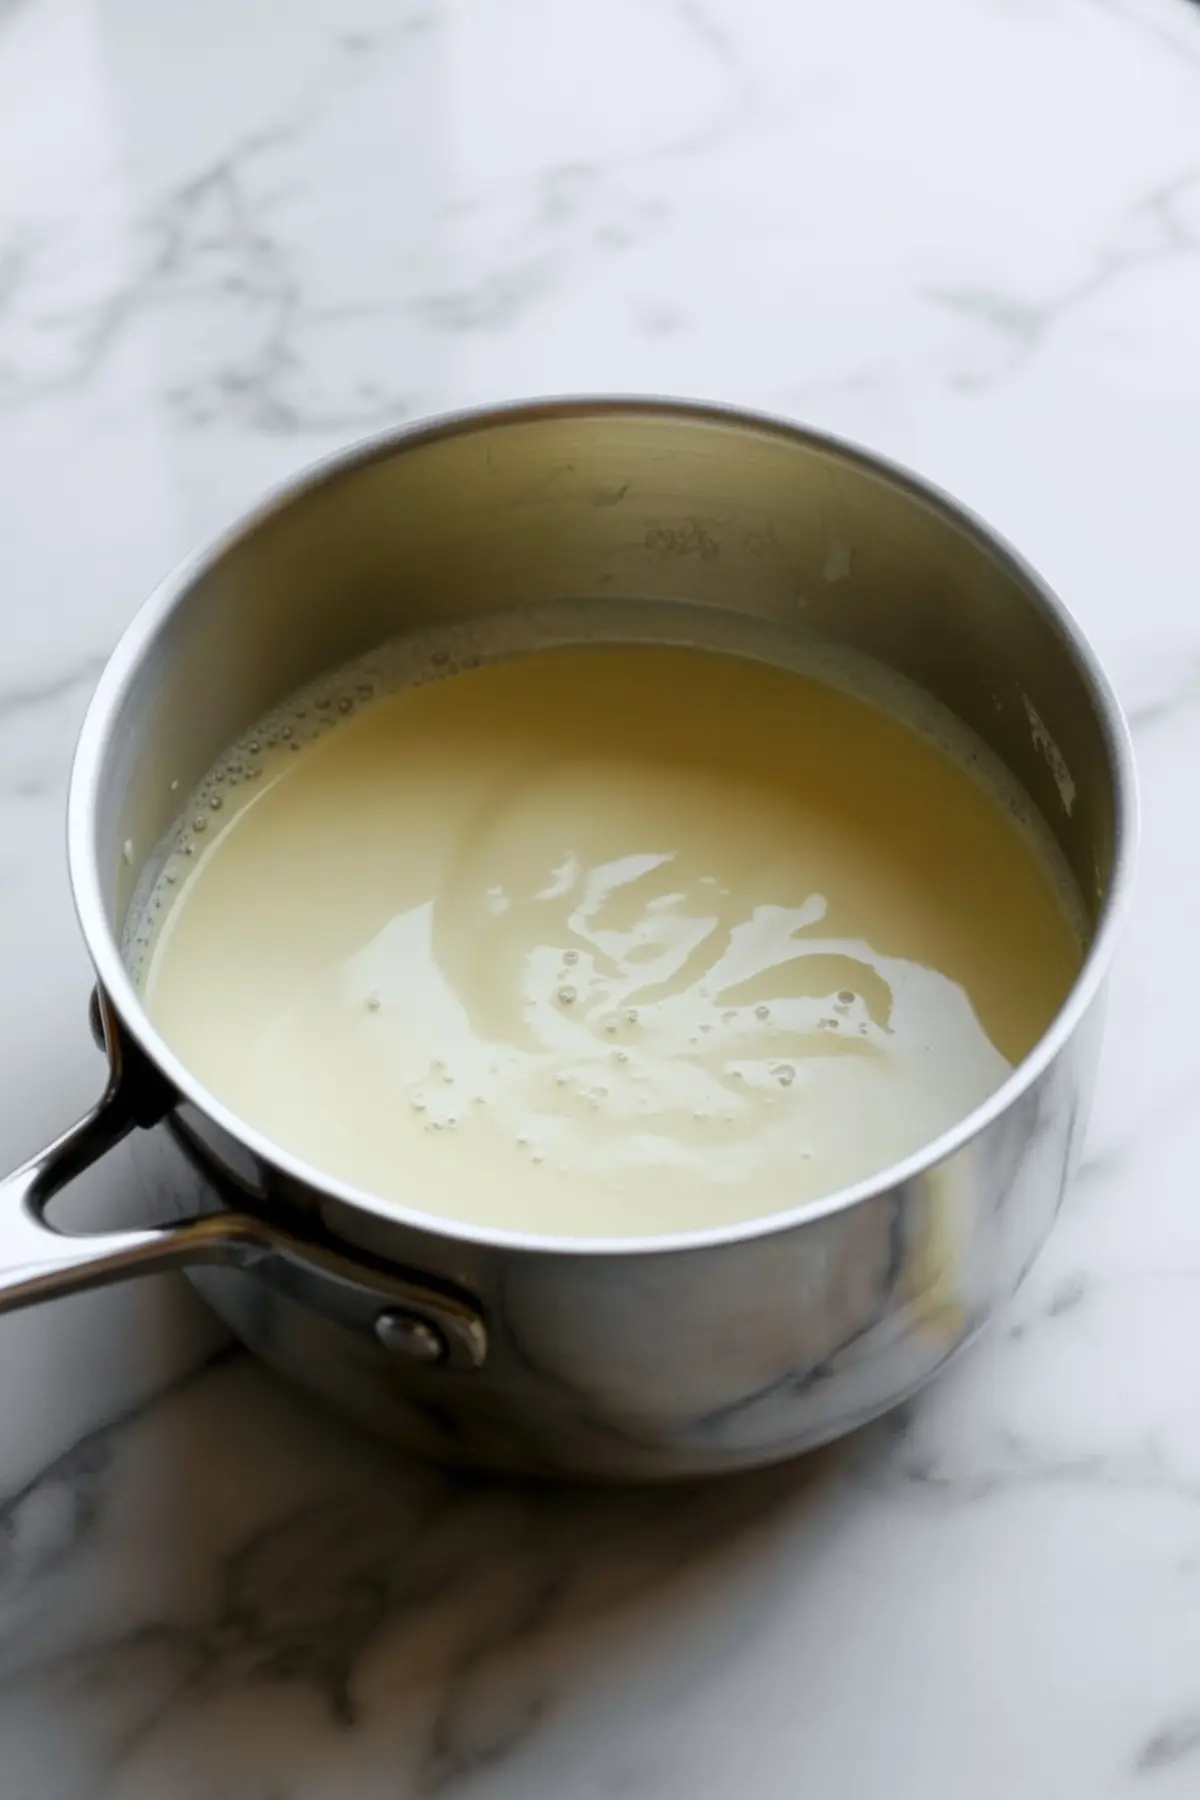
Start by heating your cream until it just simmers. small bubbles around the edge, no boiling. That’s when it’s ready. If it boils, the texture will split.
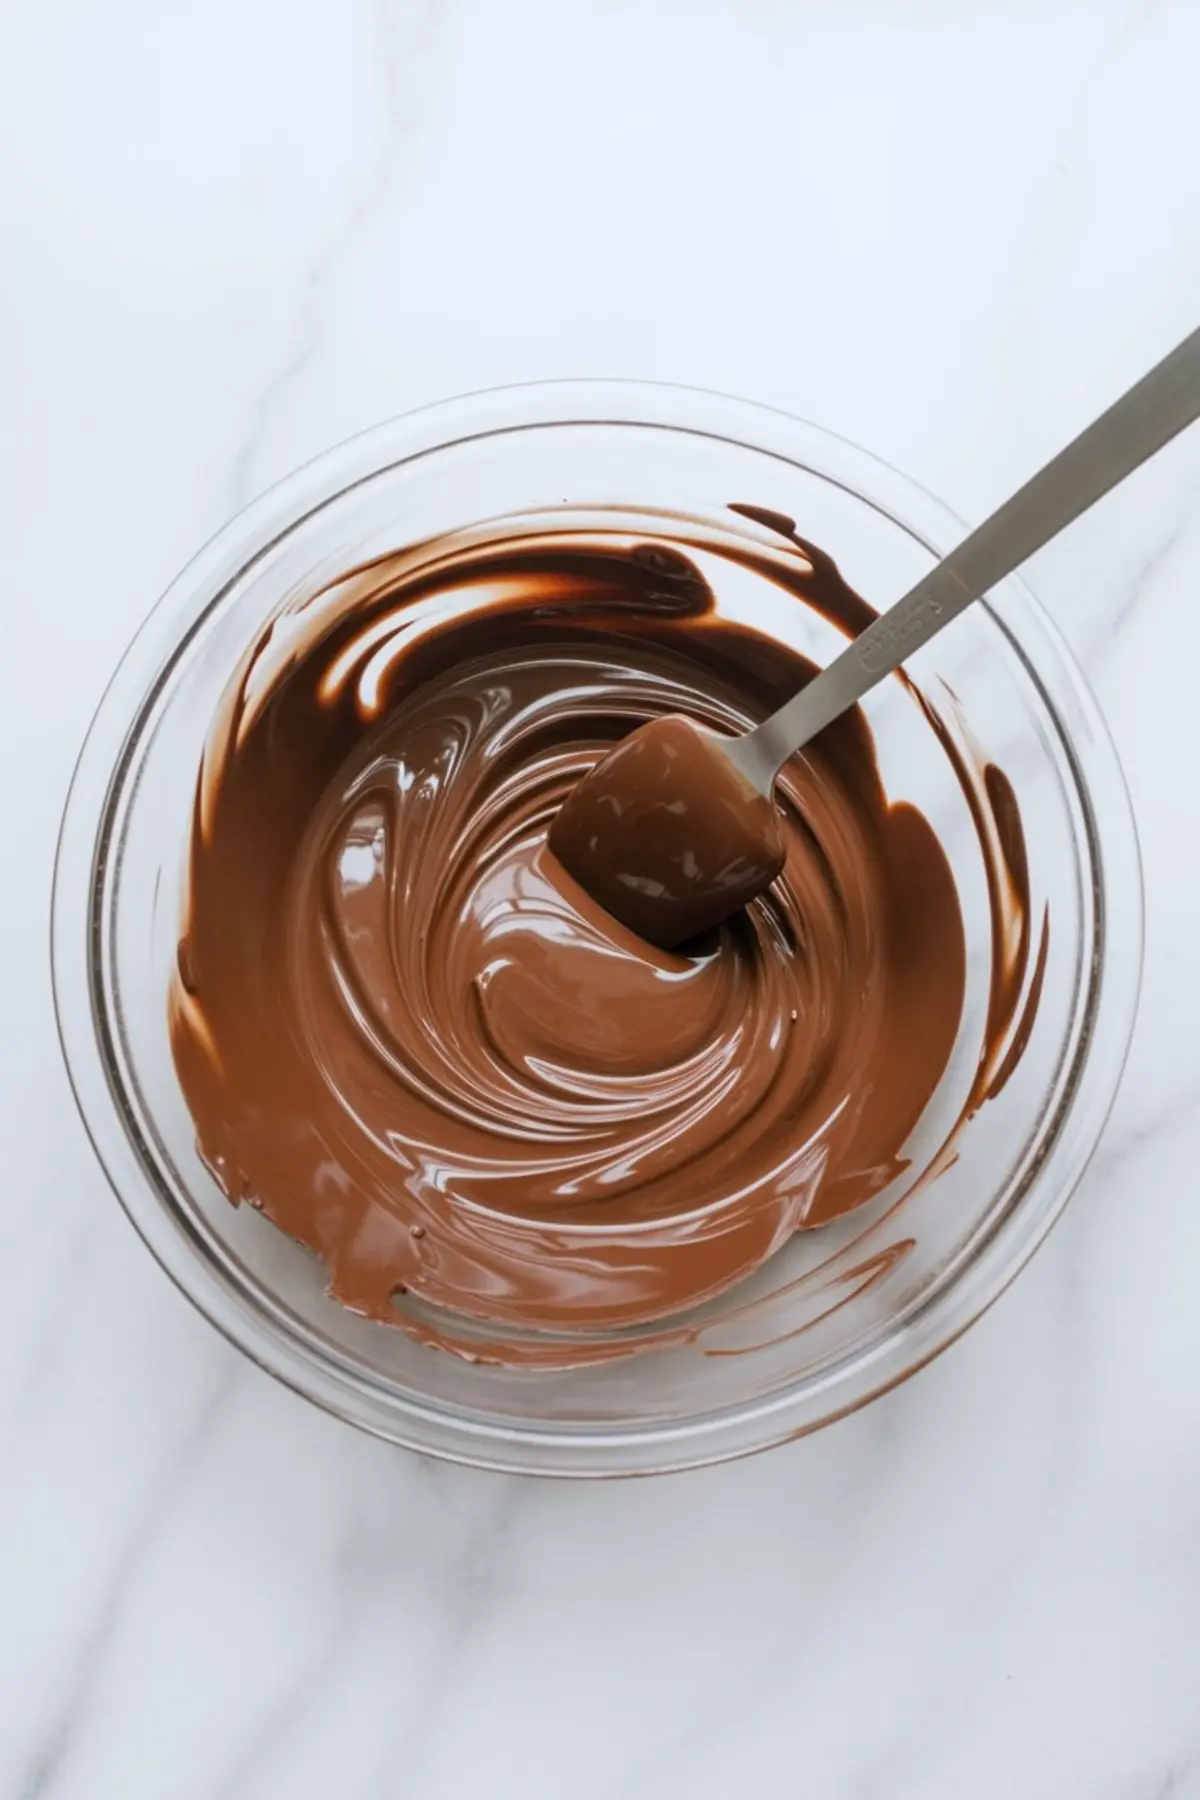
Once you pour it over the chopped chocolate, give it 2 full minutes. Don’t touch it. That rest is doing the work. Then stir slowly from the center outward, watching the mixture turn glossy and smooth.
Once the chocolate melts completely, stir in butter, vanilla, salt, and powdered sugar if using. The mixture should look like a thick sauce at this point.
Let it rest on the counter first so it starts to firm up evenly. Then move it to the fridge and stir every 10 minutes until it thickens. That little routine keeps it creamy from edge to center.
If you’re looking for something fluffier, try this Whipped Chocolate Frosting Recipe. It uses the same base idea but with a light airy finish.
Storage and Make-Ahead Notes
This chocolate cake filling can be made up to 3 days ahead. Store it in an airtight container in the fridge. When you’re ready to use it, bring it back to room temperature and stir until smooth again. Don’t reheat it directly—just leave it out for about 30 minutes and stir gently.
It also freezes well in a zip bag for up to 1 month. Let it thaw in the fridge overnight and stir before using.
If you’re after a caramel-chocolate balance, you could pair it with German Chocolate Frosting and a coconut twist. That’s something I’ve done for a birthday cake, and it surprised even me.
Save and Share This One
Save this rich chocolate cake filling as a pin on your dessert board for later. Whether you’re making a birthday cake, cupcakes, or sandwich cookies, this one will come in handy.
Leave a comment below if you try it or have a variation you love. I’m always curious how others use it or adapt it.
Chocolate Cake Filling Recipe
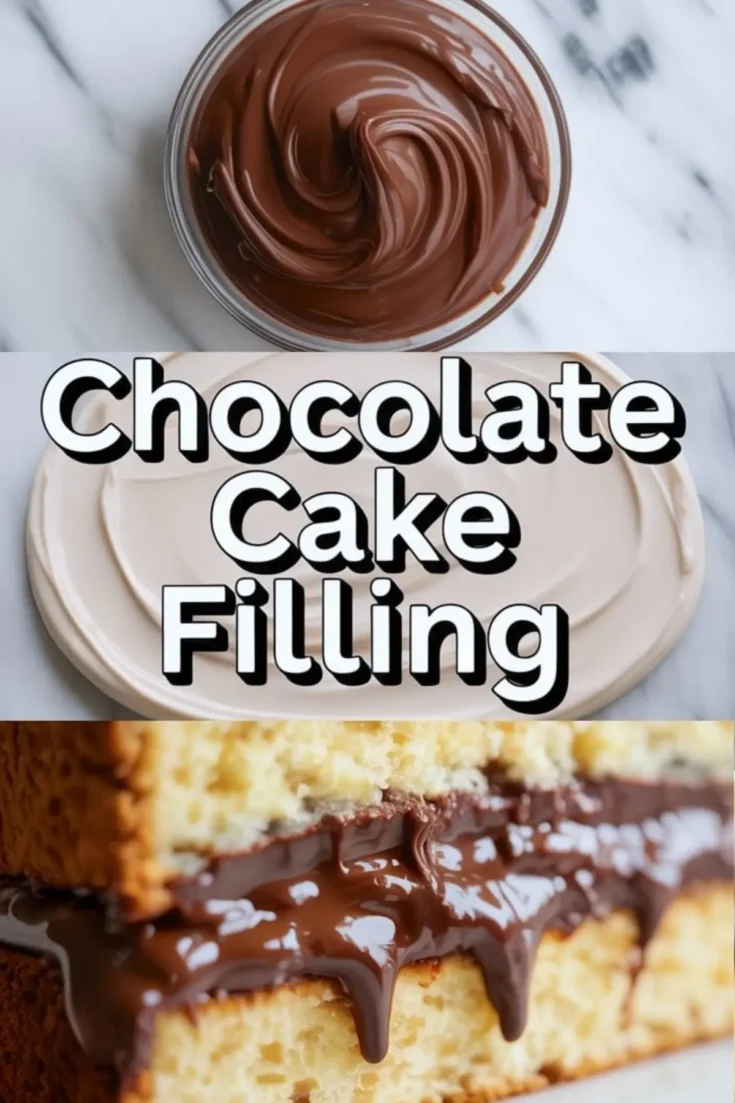
Make a silky and indulgent chocolate filling for cake with this easy recipe. Perfect for layered cakes, this chocolate cake filling recipe delivers a rich, smooth texture every time. Use it as the best chocolate filling for cake or try it as a cake filling for cupcakes and pastries. Includes a quick easy chocolate ganache variation too. If you’re after the best filling for chocolate cake, this one brings flavor and consistency.
Ingredients
- 200g (7 oz) semi-sweet or dark chocolate, chopped
- 200ml (3/4 cup + 1 tbsp) heavy cream
- 30g (2 tbsp) unsalted butter, room temperature
- 2 tbsp powdered sugar (optional, for sweetness)
- 1 tsp vanilla extract
- Pinch of salt
Instructions
- HEAT THE CREAM: In a small saucepan, heat the heavy cream over medium heat until it just begins to simmer. Watch closely and remove from heat as soon as you see small bubbles forming around the edges. Do not let it boil.
- POUR OVER CHOCOLATE: Place the chopped chocolate in a heatproof bowl. Immediately pour the hot cream over the chocolate, making sure it is fully covered. Let it sit undisturbed for 2 minutes to allow the chocolate to soften.
- STIR UNTIL SMOOTH: After the resting time, begin stirring gently in small circles from the center outward. Continue stirring until the mixture becomes glossy and fully smooth with no remaining lumps of chocolate.
- ADD BUTTER AND FLAVOR: Stir in the room temperature butter, vanilla extract, and a pinch of salt. If a sweeter filling is preferred, add the powdered sugar at this stage. Mix until everything is completely blended and the filling is shiny.
- CHILL TO THICKEN: Let the filling cool at room temperature for 15–20 minutes, then transfer it to the refrigerator. Chill for 30–40 minutes, stirring every 10 minutes to maintain a smooth texture, until it reaches a spreadable consistency suitable for layering in cakes.
Notes
For a firmer texture (for piping or sandwich cookies), chill longer or use a higher cocoa percentage chocolate. Filling can be made up to 3 days in advance and stored in an airtight container in the refrigerator. Bring to room temperature and stir before using.
Nutrition Information
Yield
1Serving Size
1Amount Per Serving Calories 1533Total Fat 99gSaturated Fat 60gUnsaturated Fat 40gCholesterol 113mgSodium 59mgCarbohydrates 151gFiber 14gSugar 126gProtein 11g