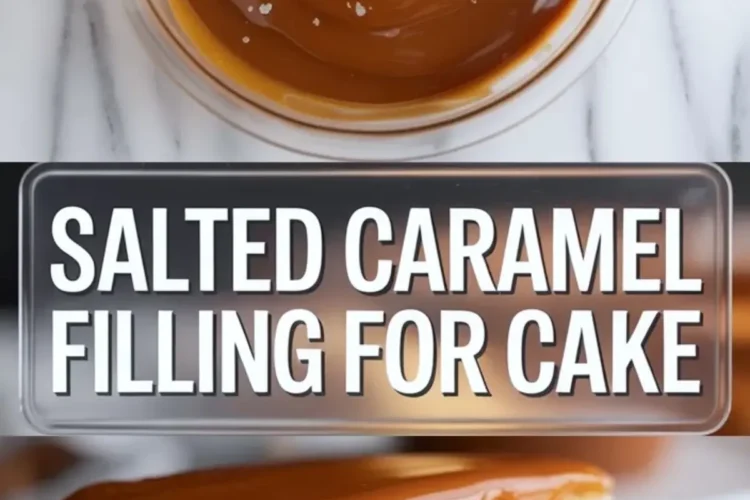
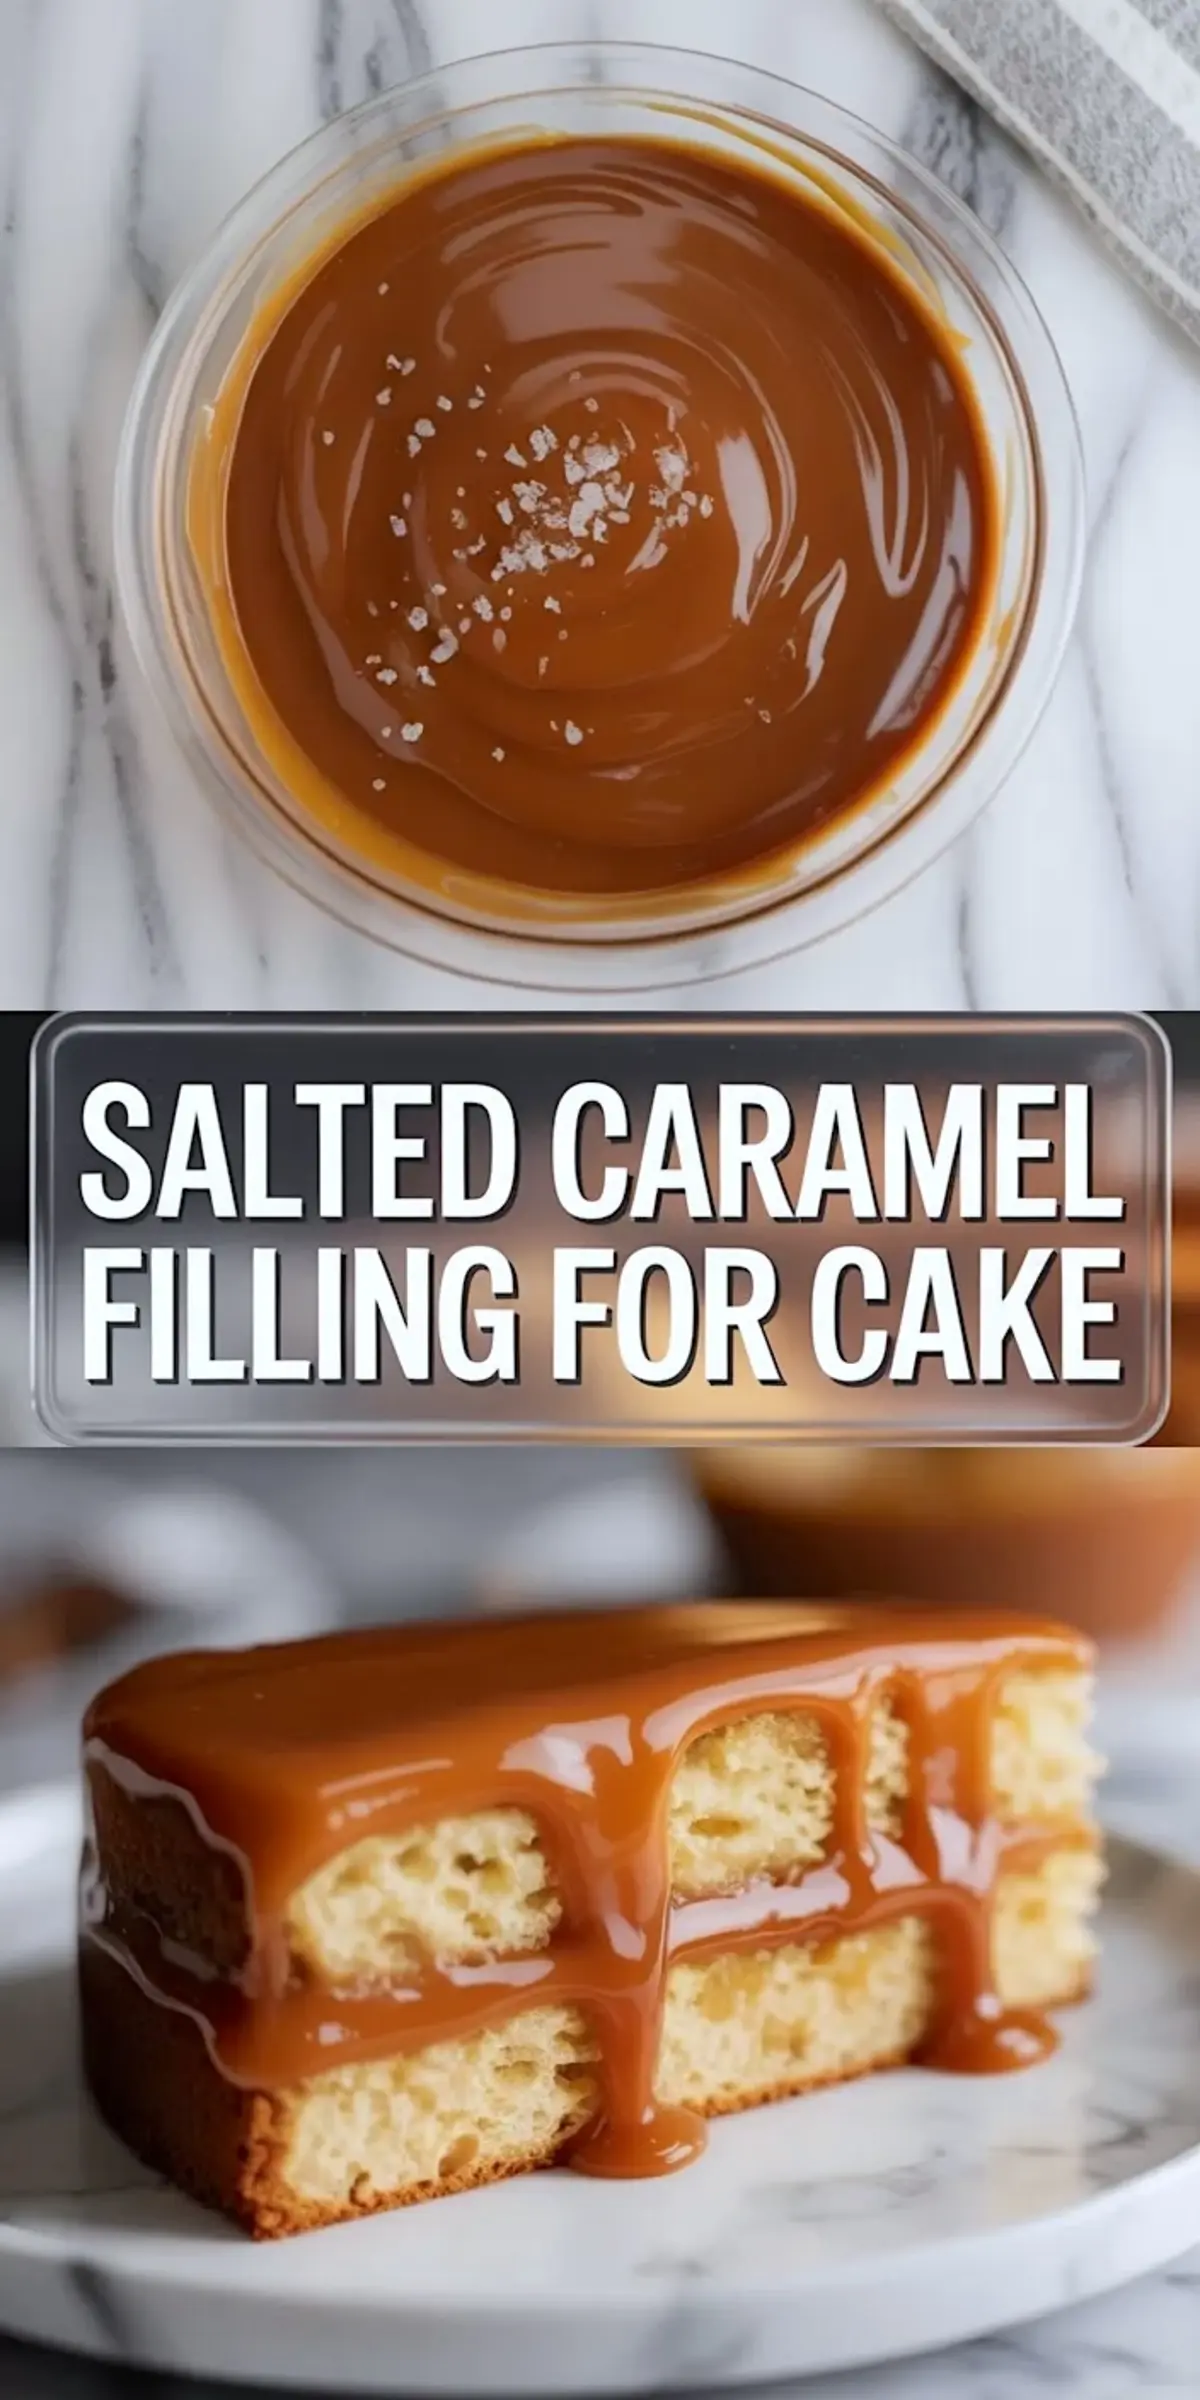
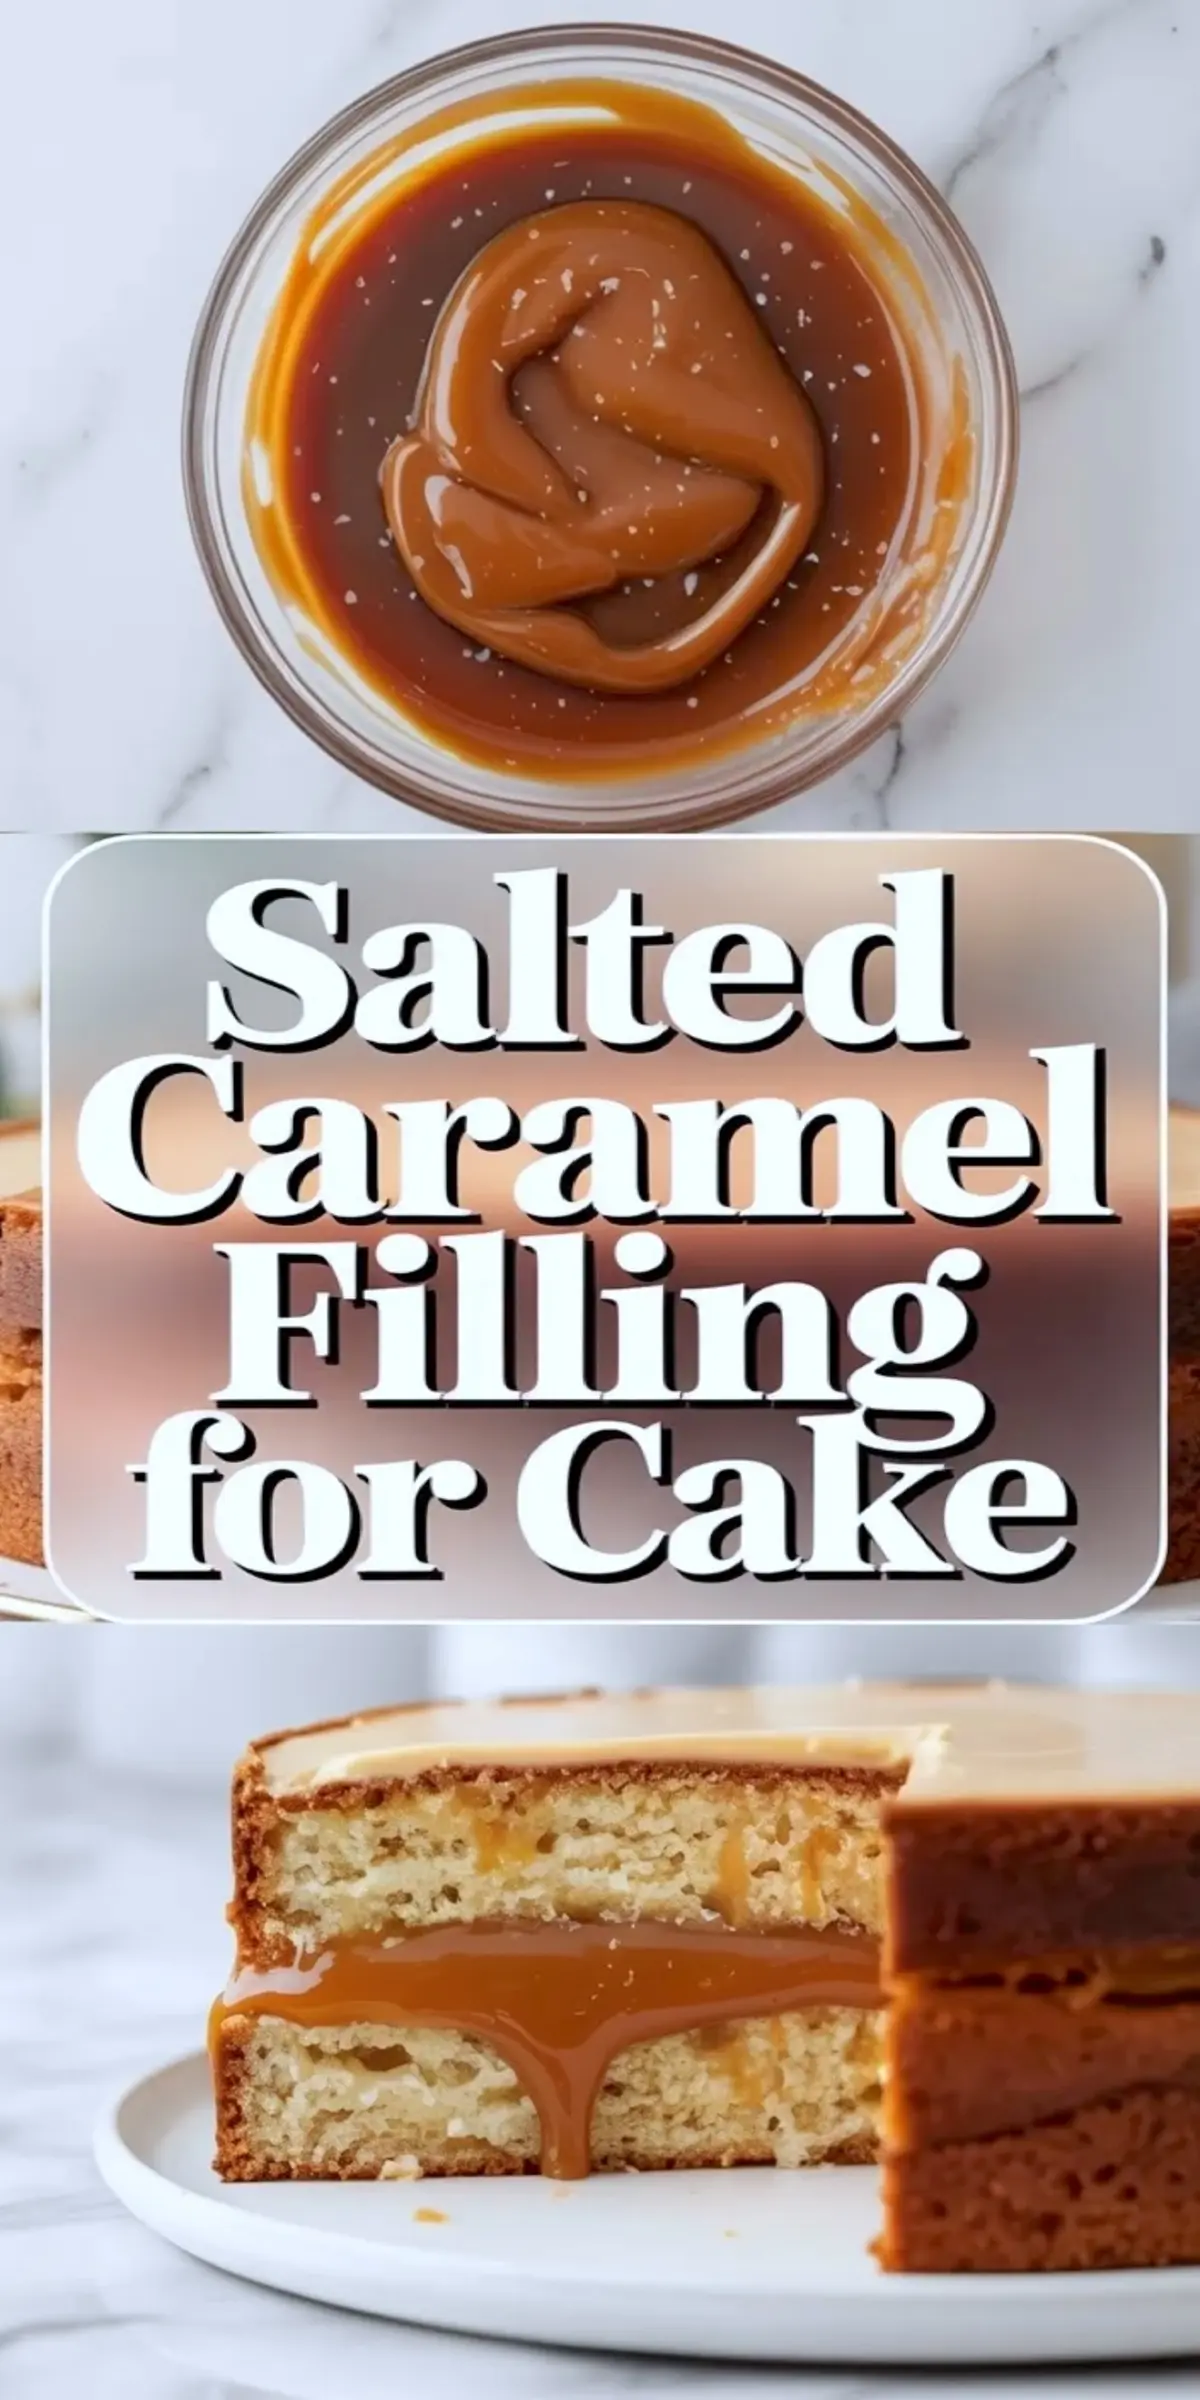
This salted caramel filling is a thick, spoonable layer made from sugar, butter, and cream. It holds between cake layers, sets without sliding, and brings deep caramel flavor with just the right touch of salt. You can use it in a salted caramel cake, pipe it into filled cupcakes, or swirl it into other caramel desserts. It works especially well in any caramel cake recipe where structure and flavor matter equally.
Following a special diet?
Every recipe on this site can be converted to gluten-free, vegan, dairy-free, keto, nut-free or egg-free with adjusted ratios so nothing falls flat.
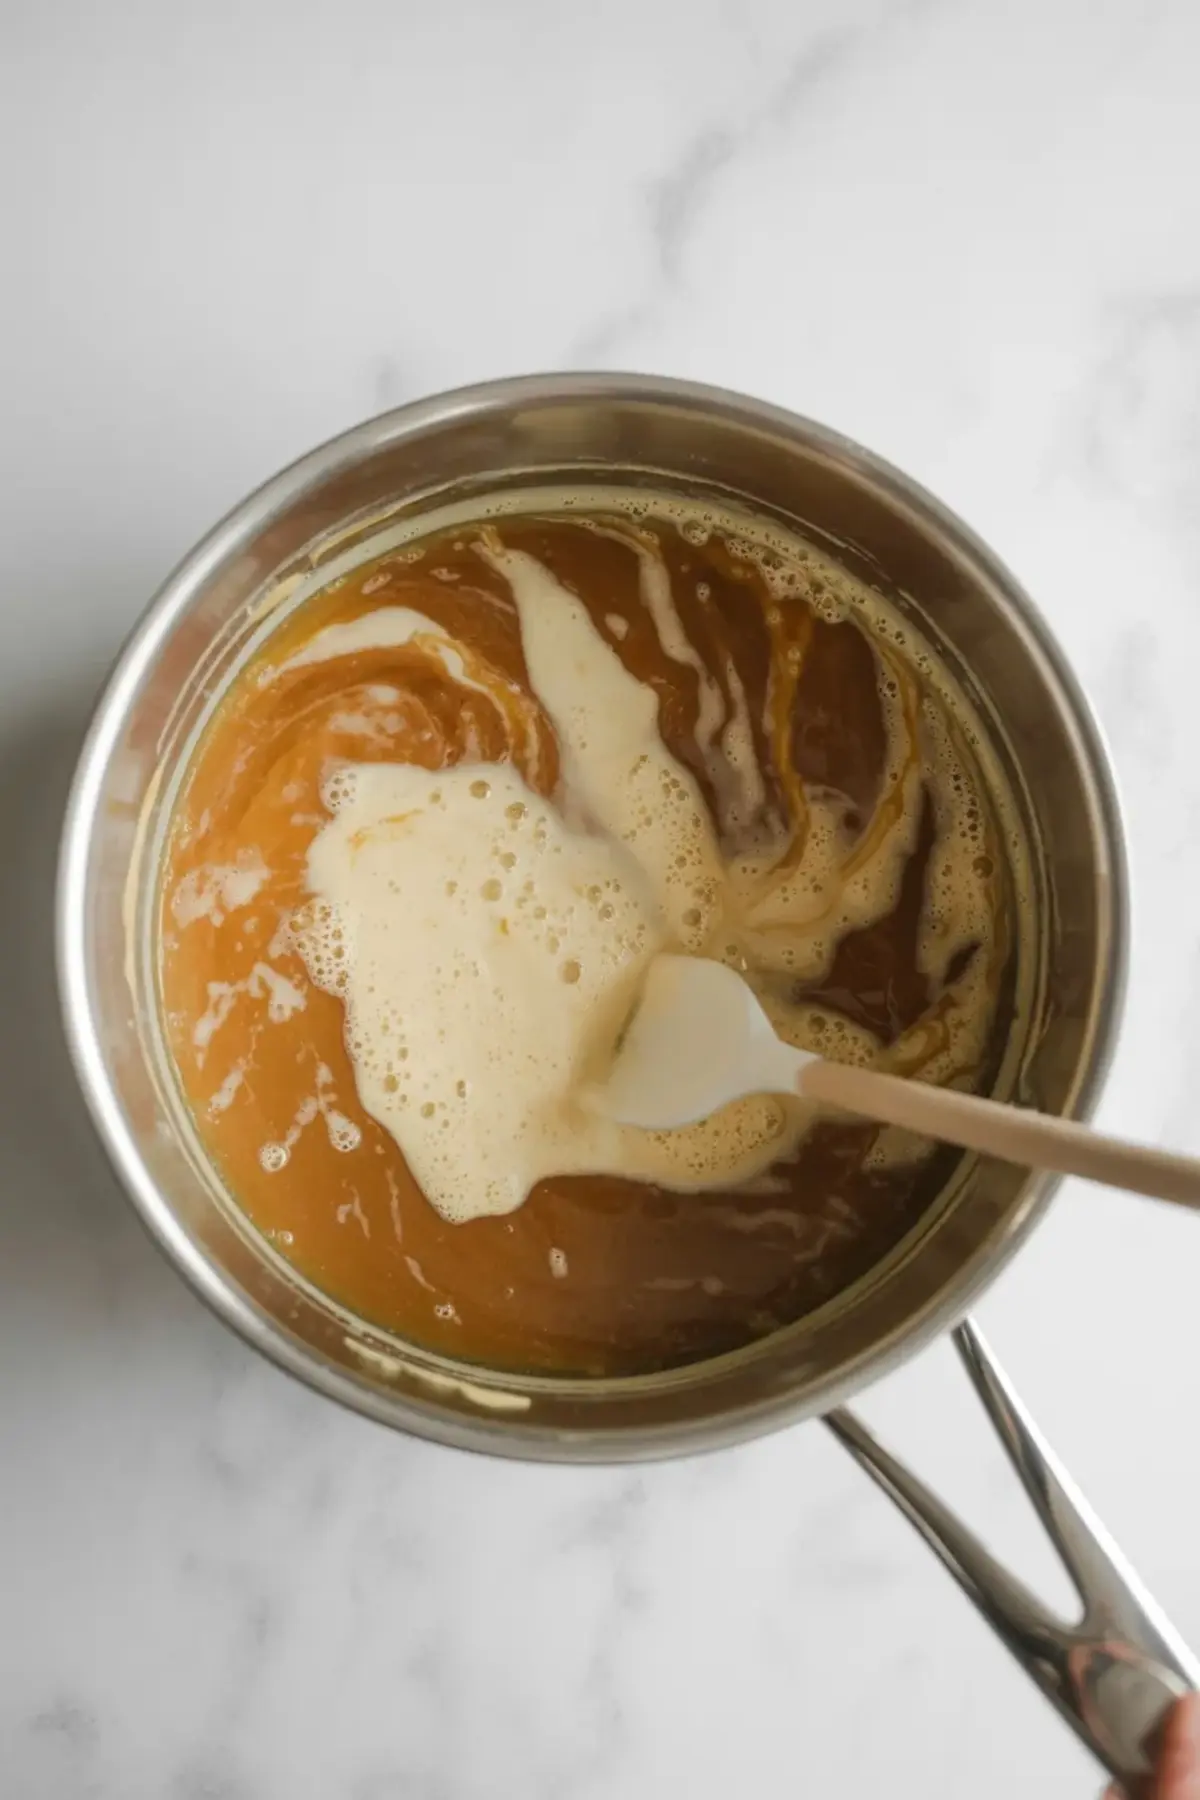
Try the Recipe Converter →The structure of this caramel comes from the heat-to-fat ratio. Granulated sugar melts into a dark amber syrup, then butter and cream bind it into a silky emulsion. The butter gives the filling richness. The cream cools the sugar slightly so it doesn’t scorch. Salt tightens the flavor. The key is temperature. If the sugar doesn’t get hot enough, it won’t deepen. But if it goes too far, the flavor turns bitter and the texture thins. Aim for a rich color before adding butter. Then whisk quickly.
The final texture thickens as it cools. At first, it pours like a sauce. Give it time. It settles into a smooth, spreadable caramel layer that doesn’t ooze or slide, even under frosting. That’s what makes this work. Other recipes stay too soft or too sticky. This one holds its place.
Why I Use These Specific Ingredients
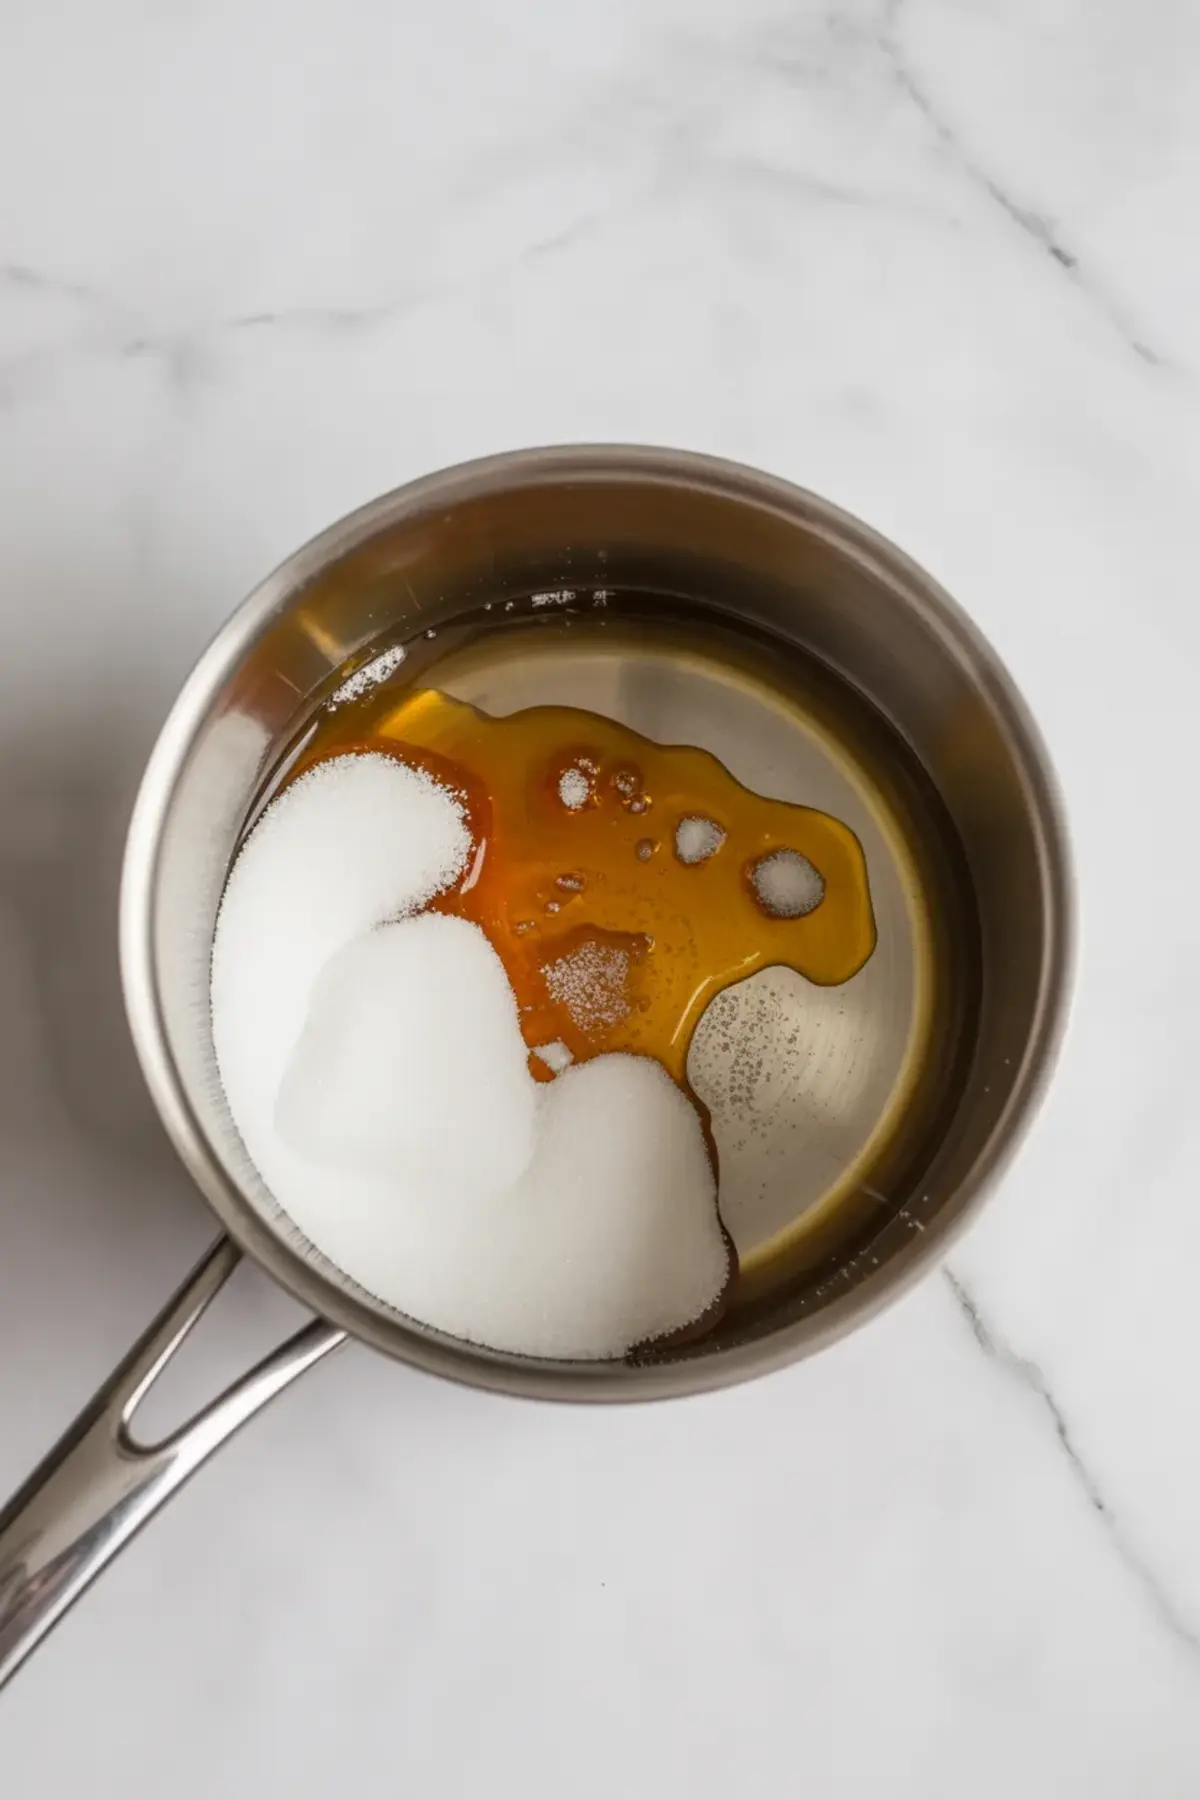
Granulated sugar gives the cleanest caramel base. Brown sugar muddies the color and can clump during melting. I use 200 grams so the final yield fits a standard layer cake without leftovers.
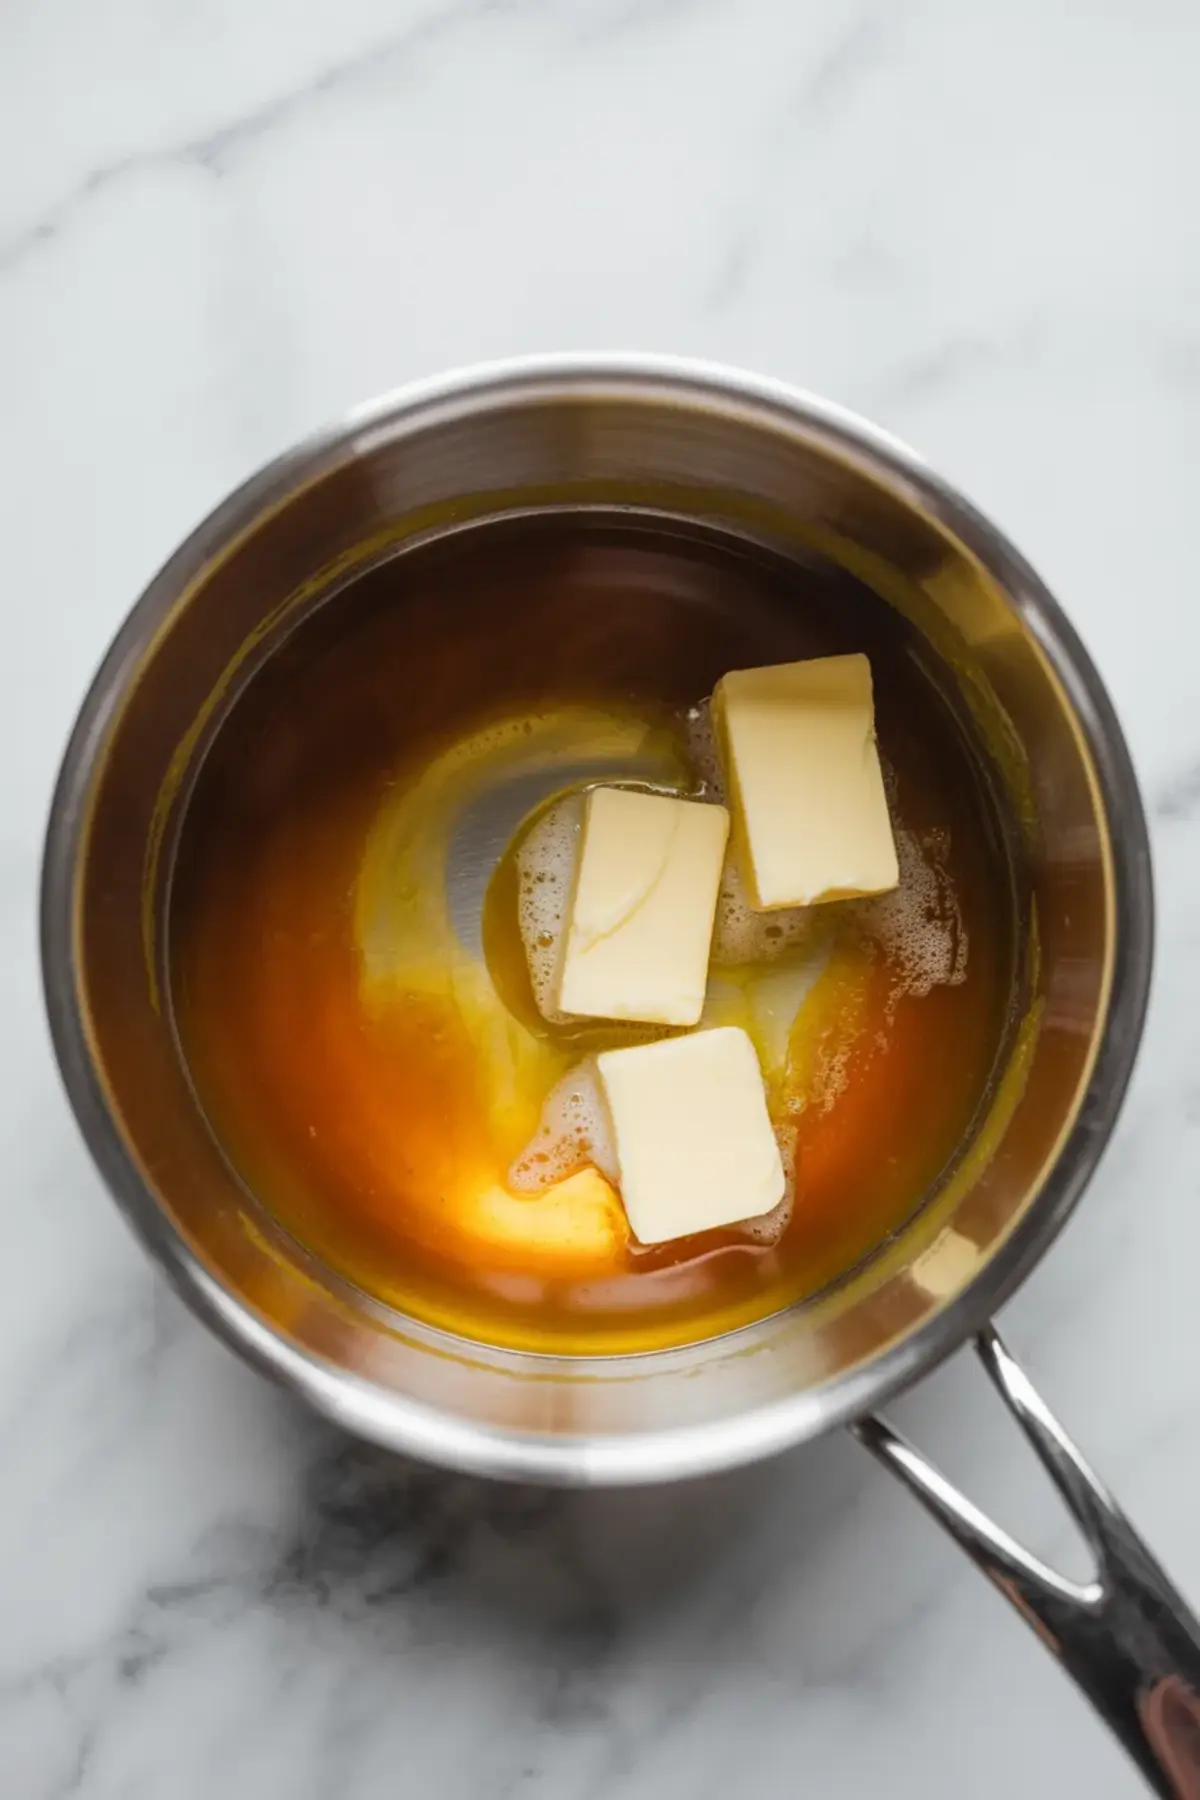
Butter needs to be unsalted and cut into small cubes. The smaller the pieces, the faster they emulsify. If they’re too cold or too big, the mixture can split. I prefer European-style butter when I can get it, but any high-fat unsalted version works. This Salted Caramel Buttercream Frosting pairs well if you’re frosting the cake in the same flavor.
Heavy cream must be at least 35% fat. It brings richness but also softens the heat fast. Low-fat cream won’t bind the sugar and butter properly. Sea salt sharpens the flavor and keeps the caramel from tasting flat. I use a fine grain so it dissolves fully. And the optional vanilla softens the sharp edge, but I skip it if I’m adding this filling to chocolate cakes.
How to Know the Caramel is Right
Color tells you everything. Look for a deep amber. Not yellow. Not tan. The sugar must melt completely before you add anything. If it’s pale, it hasn’t cooked enough and will lack depth. Once it’s dark enough, work fast. Add the butter and whisk until no oil remains.
If the mixture separates or looks greasy, it’s likely from cold butter or cream. That’s an easy fix. Return it to low heat and whisk constantly until smooth again. The texture should feel thick, not stiff. Warm caramel coats the spoon. Cooled caramel holds its shape.
A Few Problems You Might Run Into
If your caramel turns grainy after cooling, the sugar may have crystallized during melting. Try stirring less at the start and switching to a gentle swirl motion. If it’s too thin, the sugar probably didn’t reach a high enough temp. Let it darken slightly more next time before adding butter.
A pale flavor often means you added cream too soon. Let the sugar deepen, even if it smells intense. If the filling stays too runny, give it more time at room temperature before judging. It continues to thicken for up to an hour. And if your filling slides in the cake, it may not have cooled enough before layering. Always cool completely before use.
Ways to Change This Filling
For extra depth, swap half the cream with canned coconut milk. It adds a subtle toasty note and works well in chocolate or tropical-flavored cakes. For a thinner drizzle, use 3 tablespoons less sugar and 1 extra tablespoon of cream.
Add 2 tablespoons cocoa powder for a chocolate caramel version. That goes well with this Chocolate Cake Filling. Or mix in 2 tablespoons of peanut butter once the caramel cools to lukewarm. That makes an amazing cupcake center.
How to Store It
At room temperature, this filling keeps for 1 day in a sealed jar. Refrigerated, it lasts up to a week. It thickens in the fridge but softens again with gentle heat. I warm it in a glass bowl set over hot water. Avoid the microwave unless you go in 10-second bursts.
It freezes, but the texture shifts slightly. If freezing, place in a flat container with a tight lid. Thaw overnight in the fridge and stir before use.
A Few Notes from My Testing
Always use a heavy-bottomed saucepan. Thin pans cause hot spots and uneven melting. Stick to a silicone spatula or a wooden spoon. Metal tools encourage crystallization.
Don’t rush. From sugar melt to finished caramel, you’re looking at 15 minutes active time. Rushing causes separation or scorching. And always prep everything before starting. Once the sugar darkens, there’s no time to measure.
Ideas to Use The Filling
Spread between vanilla or chocolate cake layers. Spoon into mini tart shells and top with ganache.
Use in Salted Caramel Cookies for a gooey center. Add as a layer between cake and Diplomat Cream.
Pipe into cupcakes and frost with Salted Caramel Buttercream. Serve warm over ice cream or crepes.
Save This Caramel Filling Recipe
Pin this caramel filling for cake to your board so you always have it on hand when baking. Let me know in the comments if you try a variation or have a question. I’d love to hear how you’re using it!
Salted Caramel Filling for Cake Recipe
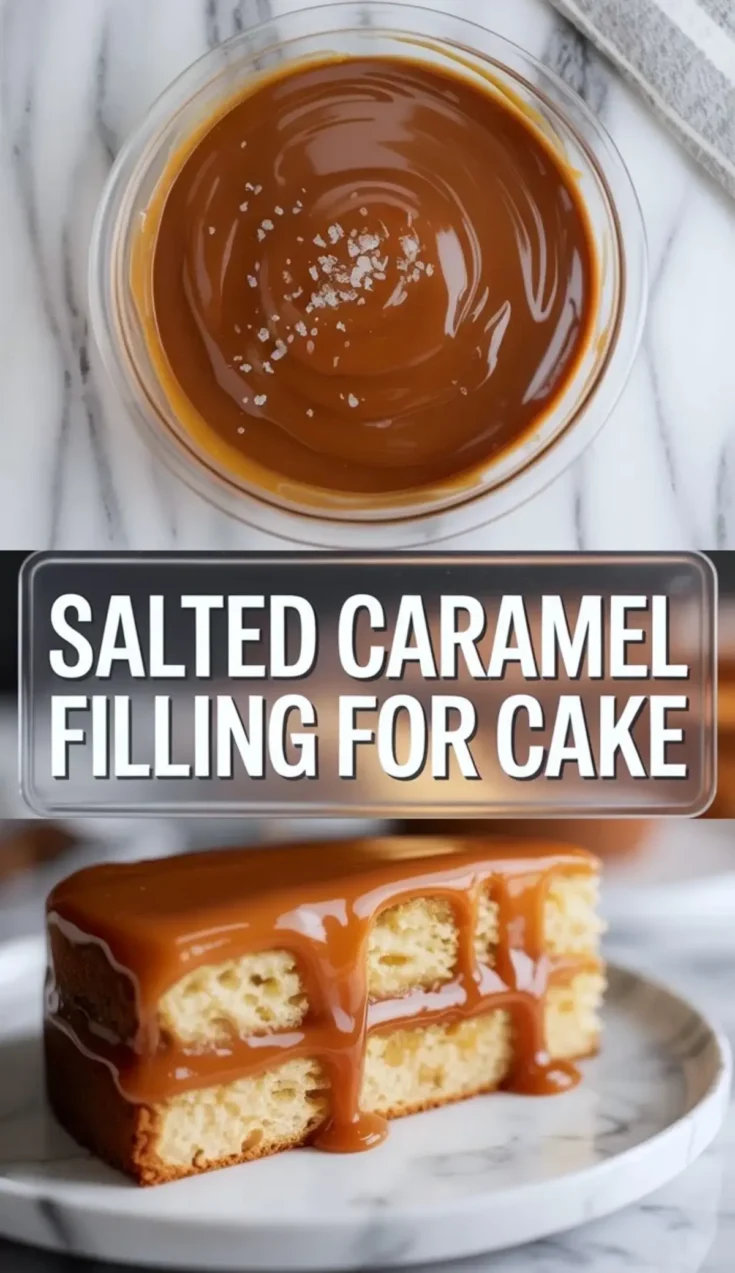
This caramel cake filling brings rich, buttery flavor to any dessert. Use this smooth salted caramel filling between cake layers, in filled cupcakes, or paired with a soft caramel frosting. Made with simple ingredients, this homemade caramel works well in a variety of caramel desserts. It’s a great addition to any caramel cake recipe, and the balance of sweet and salty fits perfectly in a salted caramel cake. Ideal for those who enjoy reliable and delicious caramel recipes and need a go-to caramel filling for cake.
Ingredients
- 1 cup (200g) granulated sugar
- 6 tablespoons (85g) unsalted butter, cut into pieces
- 1/2 cup (120ml) heavy cream
- 1/2 teaspoon fine sea salt
- 1 teaspoon vanilla extract (optional)
Instructions
- MELT THE SUGAR: Place the granulated sugar in a heavy-bottomed saucepan over medium heat. Stir occasionally with a silicone spatula or wooden spoon as it begins to melt. The sugar will clump at first, then gradually turn into an amber-colored liquid. Continue cooking and stirring for 5 to 8 minutes until fully melted and smooth.
- ADD THE BUTTER: Once the sugar has melted into a deep amber color, carefully whisk in the butter. The caramel will bubble vigorously—this is expected. Continue whisking until the butter is completely incorporated into the mixture.
- STIR IN THE CREAM: Slowly pour in the heavy cream while whisking constantly. The caramel will bubble up again. Keep whisking until the mixture becomes smooth and uniform.
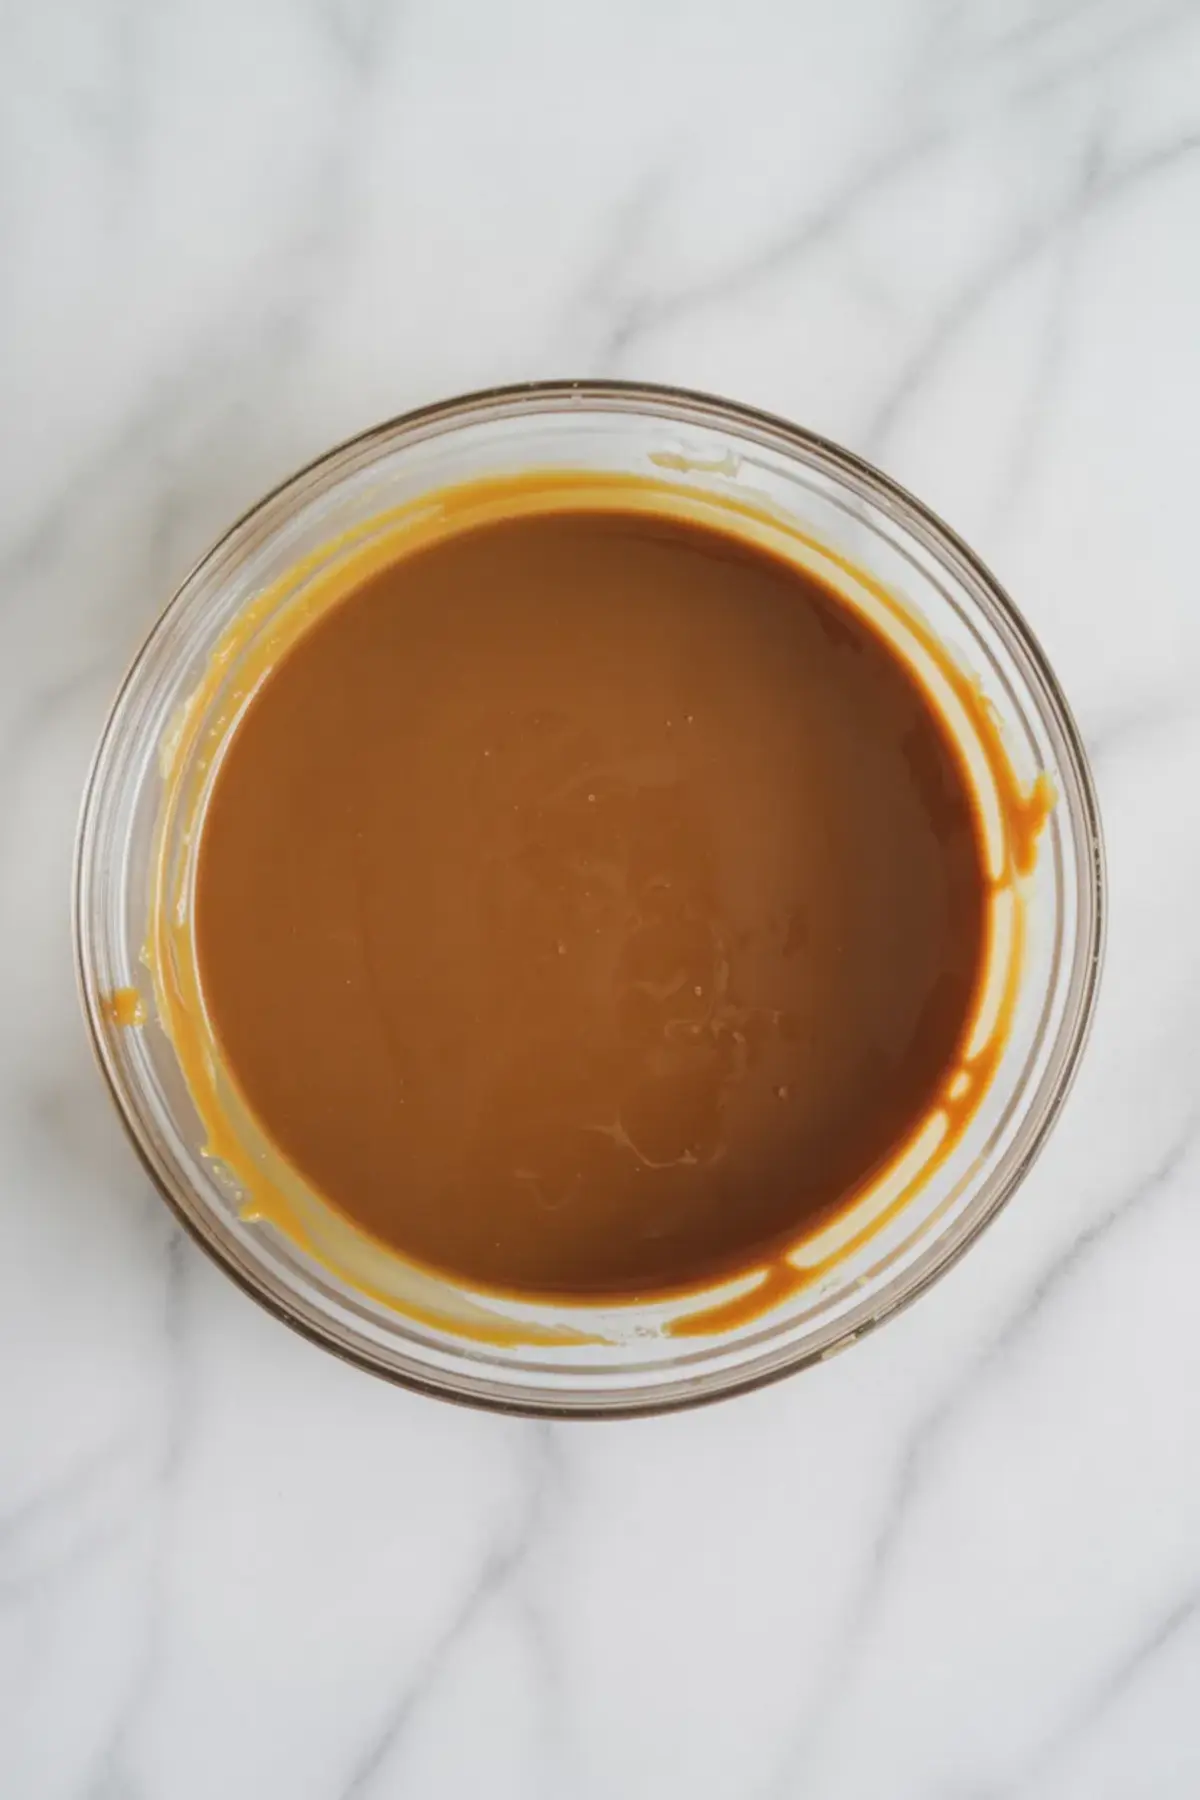
- FINISH WITH SALT AND VANILLA: Remove the saucepan from the heat. Stir in the sea salt and vanilla extract, if using. Allow the caramel to cool for 10 to 15 minutes before transferring to a jar or heat-safe bowl.
- COOL AND THICKEN: Let the caramel cool completely at room temperature. As it cools, it will thicken into a spoonable and spreadable consistency, ideal for filling cake layers without leaking or sliding.
Notes
Use room-temperature butter and cream to prevent the caramel from seizing. Store leftover caramel in an airtight container at room temperature for 1 day or in the refrigerator for up to 1 week. Rewarm gently before using if needed.
Nutrition Information
Yield
1Serving Size
1Amount Per Serving Calories 2058Total Fat 115gSaturated Fat 72gUnsaturated Fat 43gCholesterol 321mgSodium 1154mgCarbohydrates 252gSugar 254gProtein 4g