
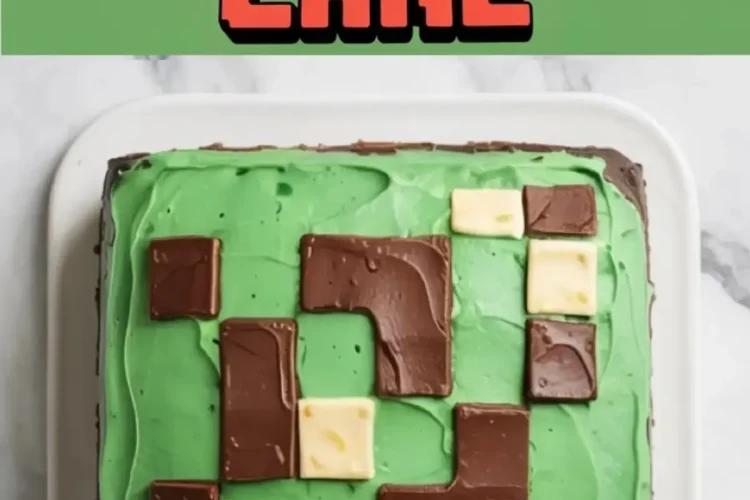
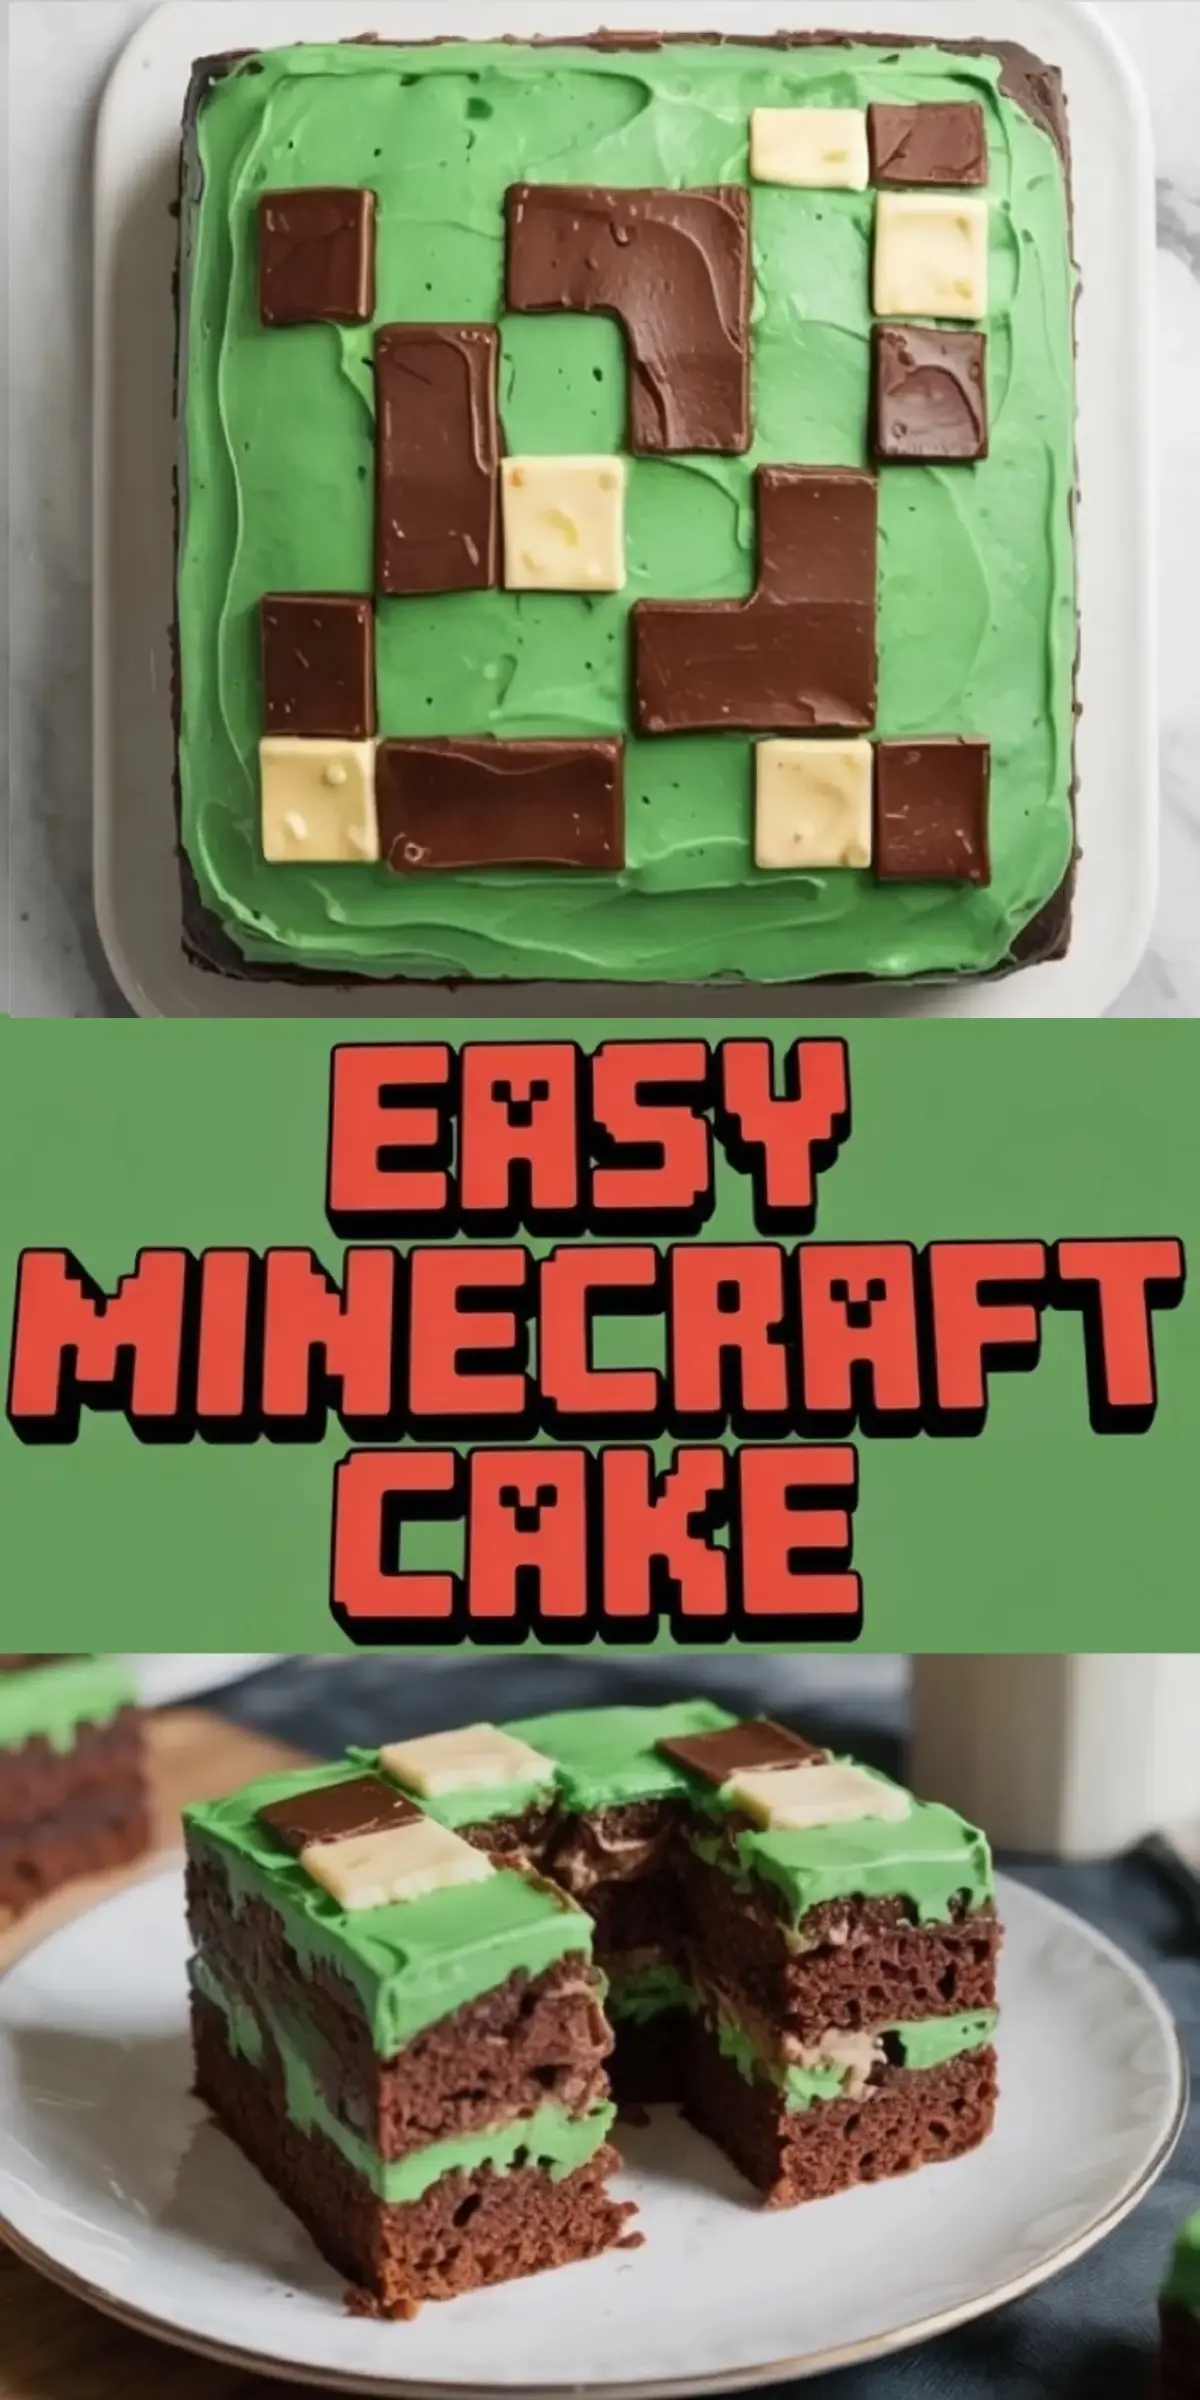
This easy Minecraft cake is one box of chocolate cake mix baked in an 8×8 inch pan, covered in bright green buttercream, and topped with milk and white chocolate bar squares laid out like pixels. It takes about 1 hour 20 minutes, cuts into 16 squares, and needs no fondant and no piping skills.
The squares do the work. Kids see a green block with chocolate tiles and know straight away what it is.
Following a special diet?
Every recipe on this site can be converted to gluten-free, vegan, dairy-free, keto, nut-free or egg-free with adjusted ratios so nothing falls flat.
Try the Recipe Converter →One Box, One 8×8 Pan, 16 Squares
- Cake: 1 box chocolate cake mix plus the eggs, oil and water on the box
- Pan: one 8×8 inch square metal pan, greased and lined with parchment
- Bake: 350°F (175°C), or what your box says, for 30 to 35 minutes
- Frosting: 1 cup butter, 3 to 4 cups powdered sugar, 2 to 3 tablespoons milk, vanilla, green gel color
- Pixels: flat milk chocolate bars and white chocolate bars, plus optional dark candy melts
- Serves: 16 squares of about 2 inches
- Keeps: covered at room temperature for up to 2 days, longer in the fridge
Box Mix, Butter and the Right Chocolate Bars
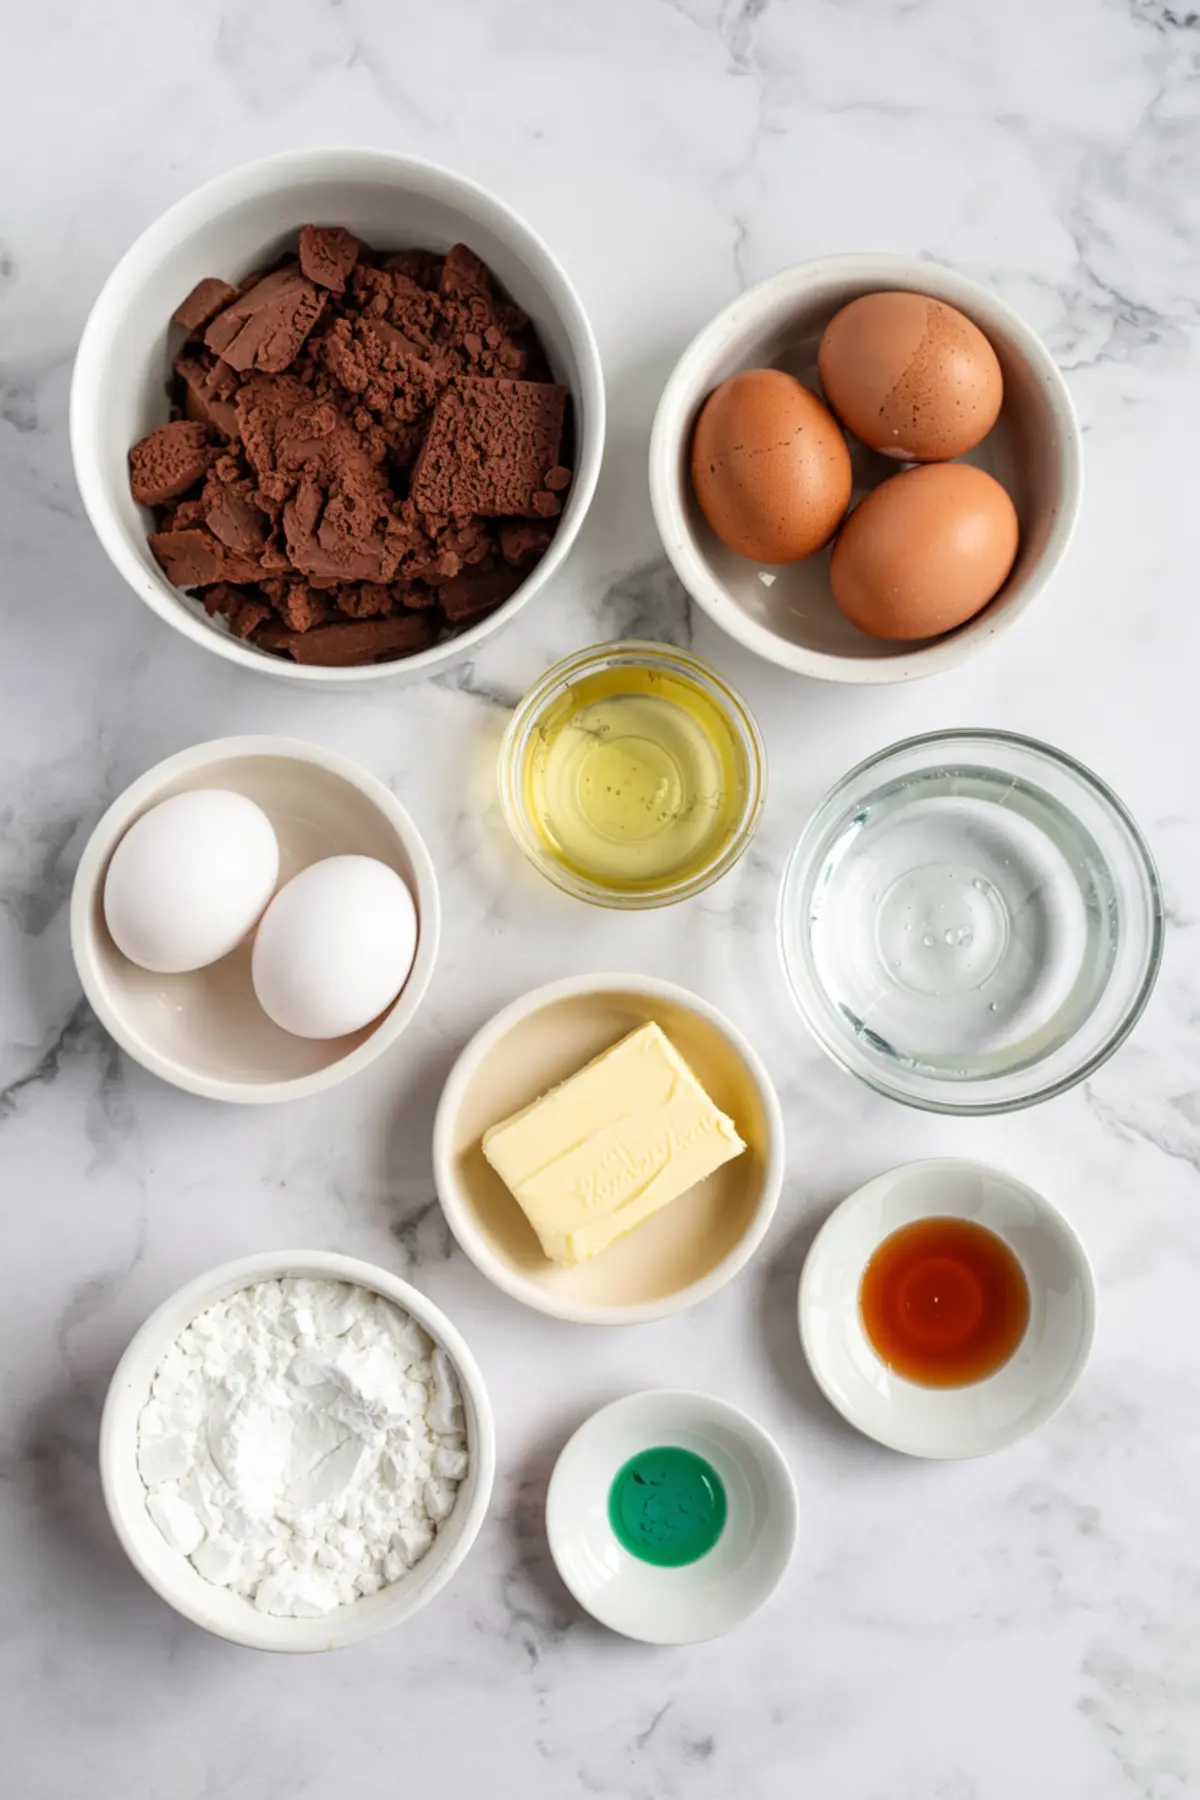
Any chocolate cake mix you trust works. Follow your box for the eggs, oil and water, since brands differ a little.
For the frosting, use real unsalted butter. It whips smoother than margarine or spreads, and its pale yellow tint pulls the green toward a warm grass color. Use gel food coloring, not liquid drops. Gel colors strongly in small amounts, so the frosting stays thick. Liquid color needs so much to reach a bright green that the frosting turns soft and slides down the sides.
The pixels need flat bars, like Hershey’s milk chocolate and a good white chocolate bar. Flat bars snap into clean rectangles along their molded lines. Chunky or filled bars do not.
Baking the Chocolate Square Without Overflow
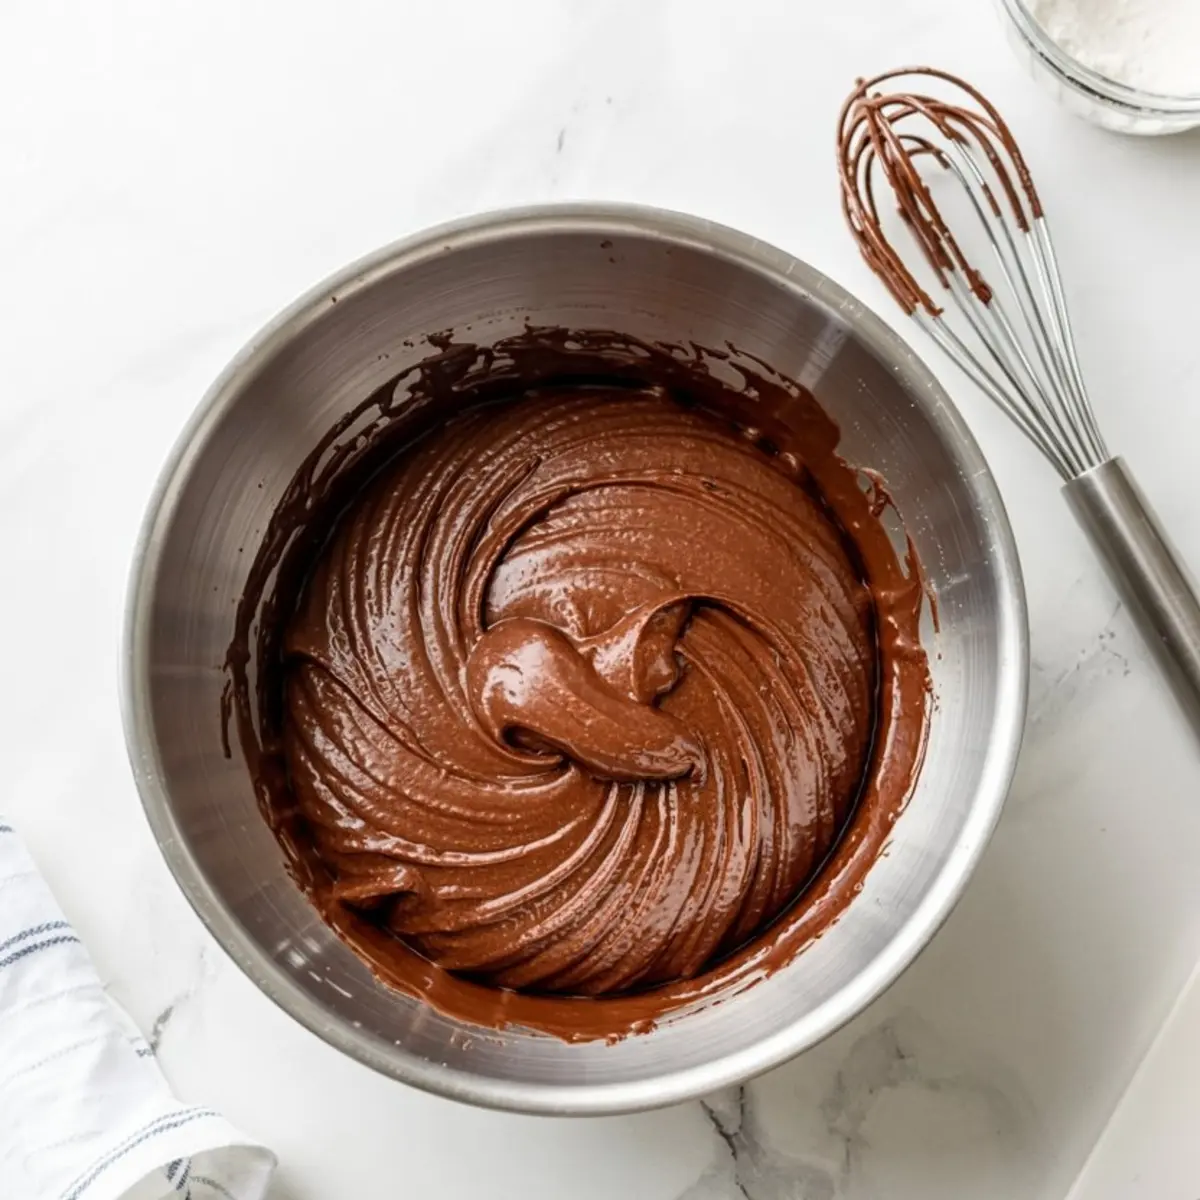
Heat the oven to the temperature on your box, usually 350°F (175°C). Grease the 8×8 pan and line it with parchment, leaving some overhang so you can lift the cake out. Mix the batter as the package says, only until smooth.
One thing to watch. A full box can make more batter than one square pan should hold. Fill the pan no more than two thirds full and bake any extra as a few cupcakes. An overfilled pan domes, spills, and stays wet in the middle while the edges dry out.
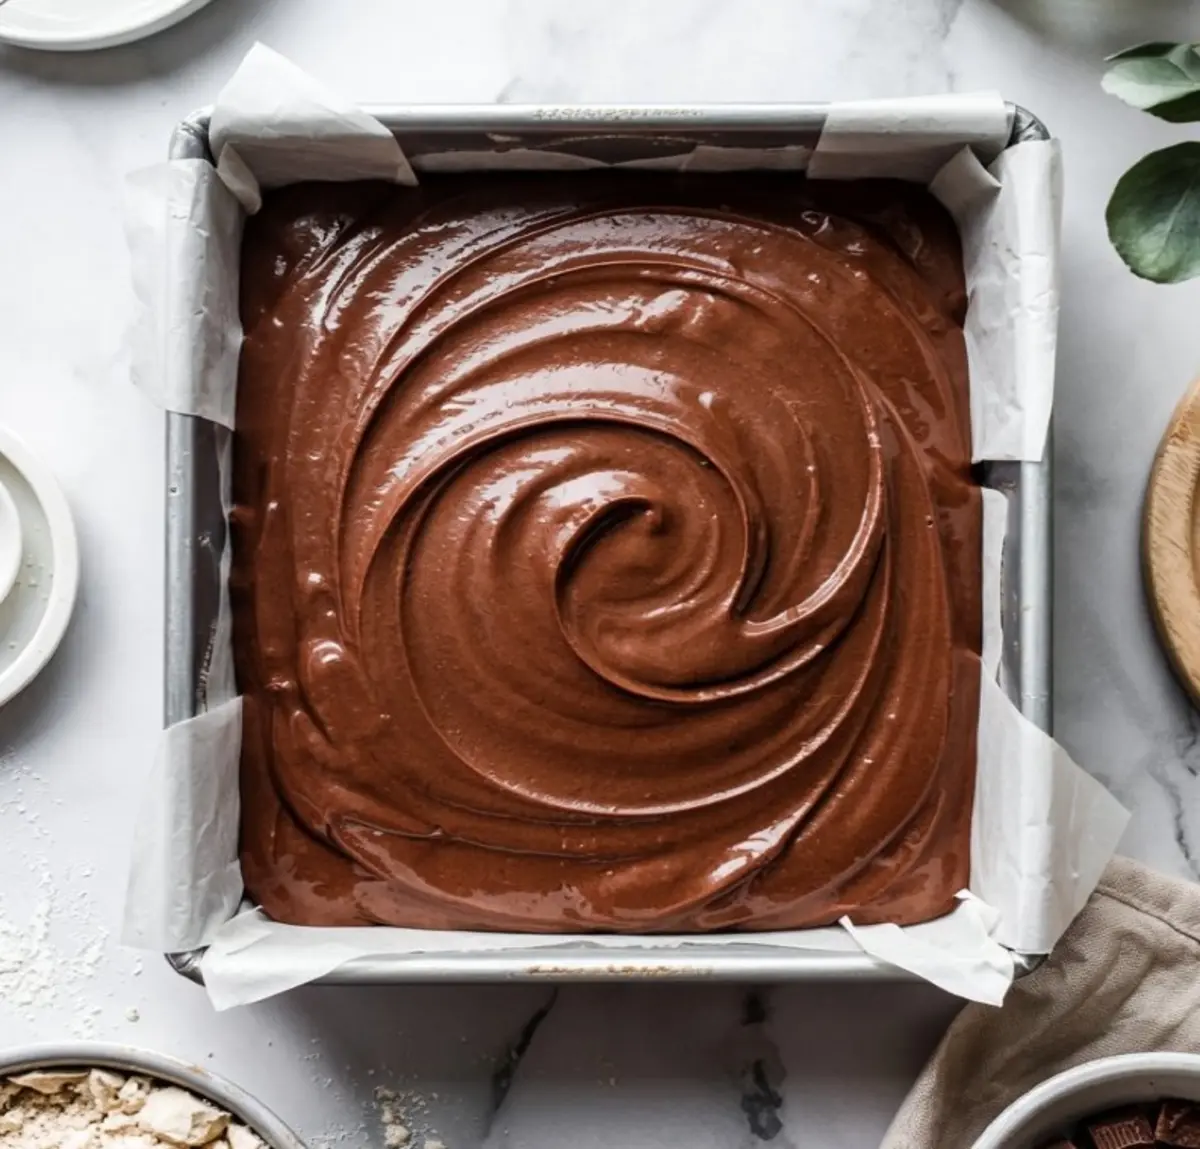
Bake for 30 to 35 minutes, until a toothpick from the center comes out clean. Cool the cake completely on a wire rack. A warm cake melts buttercream, and melted buttercream lets the chocolate tiles slide.
For a Taller Cake Like the Slice in the Photo
The cut squares in the top photo show thin chocolate layers with green frosting between them. Slice the cooled cake in half horizontally with a long serrated knife and fill it with a layer of green buttercream, or bake a second cake and stack the two with frosting between. If you would rather bake from scratch, my sour cream chocolate cake has a sturdy crumb for stacking.
Grass Green Buttercream That Holds the Tiles
Beat the soft butter until creamy. Add the powdered sugar one cup at a time, then the vanilla and 2 tablespoons of milk. Stop there if it already spreads. Firm frosting holds the chocolate in place; loose frosting lets it drift.
Add the green gel a little at a time. Mix it one shade lighter than you want, then let it sit for 30 to 60 minutes. Gel colors deepen as they stand, and that is how a bright grassy green turns into a dark forest green if you keep adding.
Set the cake on a board or platter and spread the frosting over the top and sides. A slightly thicker coat hides uneven spots. Then press on the tiles within about 20 minutes, before the buttercream forms a crust and the chocolate stops sticking.
Laying Out the Pixels on a 2 Inch Grid
Here is the trick for even squares. This cake serves 16, which is a 4 by 4 grid of 2 inch pieces. Mark the grid lightly in the frosting with a toothpick, then place the chocolate tiles inside the squares instead of across the lines. When you cut along the marks, nobody’s slice cracks a bar, and every child gets at least one pixel.
Break the bars along their molded lines into small rectangles and squares. For straighter edges, trim them with a sharp knife dipped in hot water and wiped dry. A cold knife shatters chocolate; a warm one cuts it.
- Grass block: green top, then frost only the top and leave the chocolate sides bare so they look like dirt. Add a few white chocolate squares for light patches.
- Creeper face: two large milk chocolate squares for the eyes, a smaller square between and below them, and two longer rectangles hanging down from it for the mouth.
- Loose pixel pattern: mix milk and white squares in clusters, like the cake in the photo. The most forgiving layout of the three.
For cracks or darker detail, melt black or dark brown candy melts and pipe thin lines onto a few squares. Building a whole party table? The same green and chocolate look carries over to my Minecraft cupcakes without fondant, decorated Minecraft cookies, and Minecraft cake pops.
Storing It So the Chocolate Does Not Sweat
The cake keeps covered at room temperature for up to 2 days. Refrigerate it if you need longer, or if the room is warm. It slices most cleanly once the frosting has set for about an hour.
A chilled cake that comes out into warm air gathers water drops, and they show up on the chocolate tiles as a dull, sticky film. Keep the cover on while it warms up, about an hour, so the moisture forms on the cover and not on the pixels. A loose cover in the fridge helps too.
Box Mix or Scratch for a Kids Minecraft Cake?
I have made this cake both ways. A scratch cake tastes deeper when you have time. For a Minecraft party, the box mix wins: it frees up your time for the decorating, which is what the kids look at, and a good chocolate mix holds its own under the frosting.
If you want a bigger crowd cake with no layers at all, a chocolate sheet cake takes the same green frosting and pixel tiles well. For a teen or grown up gamer, the same pixel idea also works on a two layer chocolate birthday cake for husband.
Is This the Minecraft Crafting Recipe?
No, this is the real cake you bake. In the game, a cake is crafted from 3 buckets of milk, 2 sugar, 1 egg and 3 wheat, and players eat it in 7 slices. Some kids love hearing that while the real one gets cut.
Easy Minecraft Cake Recipe
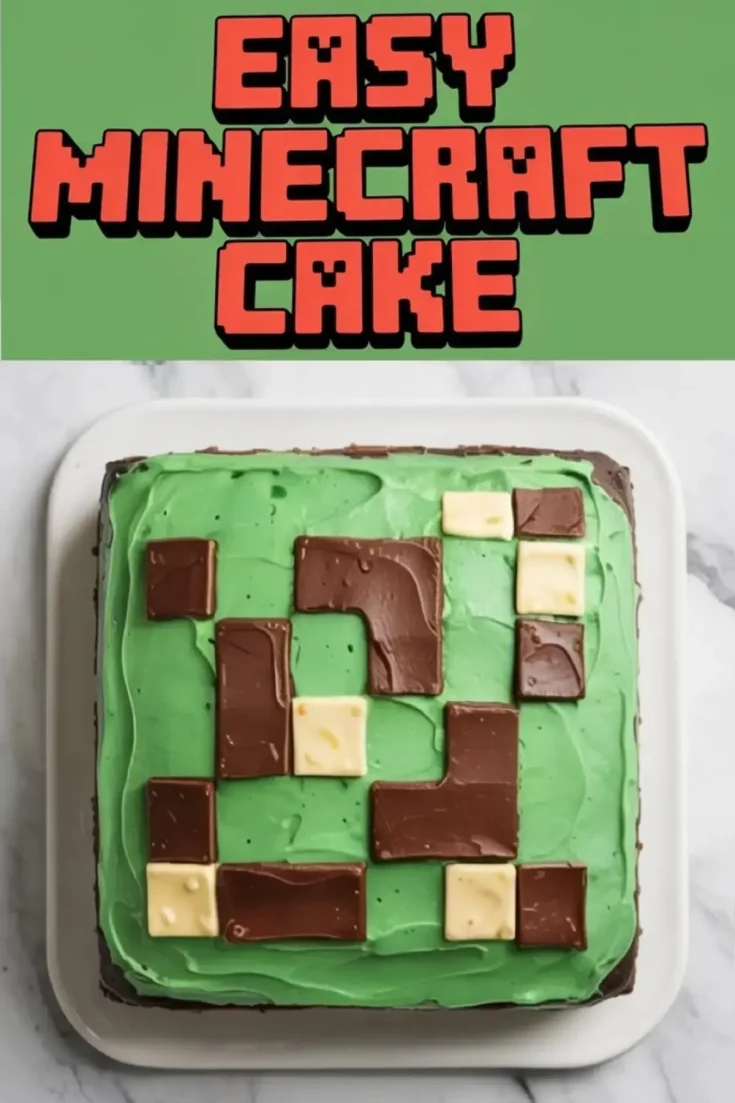
This easy Minecraft cake is a chocolate cake made from one box of cake mix, baked in an 8x8 inch pan, frosted with bright green buttercream and topped with milk chocolate and white chocolate bar squares in a pixel pattern. It takes about 1 hour 20 minutes and cuts into 16 squares, with no fondant and no piping needed. Gel food coloring keeps the green frosting thick, and setting the tiles on a 2 inch grid means every slice gets a pixel without cracking a bar. Use it as a Minecraft birthday cake, a grass block or creeper face cake, or the center of a Minecraft party table with cupcakes and cookies. Keep it covered at room temperature for 2 days or refrigerate it longer.
Ingredients
- For the Cake
- 1 box chocolate cake mix
- Ingredients listed on the cake mix box (typically eggs, oil, water)
- For the Frosting
- 1 cup unsalted butter, softened
- 3-4 cups powdered sugar
- 2-3 tablespoons milk
- 1 teaspoon vanilla extract
- Green gel food coloring
- For Decoration
- Milk chocolate bars (flat, like Hershey’s or similar)
- White chocolate bars
- Optional: black or dark brown candy melts for extra pixel details
Instructions
BAKE THE CAKE: Preheat the oven according to the cake mix instructions, usually 350°F (175°C). Prepare a 8x8-inch square metal cake pan by greasing it and lining it with parchment paper.
MIX THE BATTER: Prepare the cake batter following the package instructions, making sure it is smooth and fully combined.
BAKE THE CAKE: Pour the batter into the prepared pan and bake for 30-35 minutes, or until a toothpick inserted into the center comes out clean. Allow the cake to cool completely on a wire rack before decorating.
MAKE THE GREEN FROSTING: In a large bowl, beat the softened butter until creamy and smooth. Gradually add the powdered sugar, one cup at a time, mixing well between each addition. Add the vanilla extract and milk, adjusting the milk to achieve a spreadable but firm consistency. Mix in the green gel food coloring until the frosting reaches a bright grassy green color.
FROST THE CAKE: Place the cooled cake onto a serving platter or cake board. Spread an even layer of the green frosting over the top and sides of the cake, smoothing it out as much as possible.
CREATE THE MINECRAFT PIXELS: Break the milk chocolate and white chocolate bars into small rectangles and squares. Arrange them across the top of the cake in a pixelated, Minecraft-style pattern. For a more detailed design, melt the black or dark brown candy melts and pipe tiny cracks onto some of the chocolate squares.
Notes
Fill the 8x8 pan no more than two thirds full; if your box makes more batter, bake the extra as cupcakes. For a taller cake, slice the cooled cake in half horizontally or bake and stack two cakes, adding frosting between the layers for stability. Mix the green a shade lighter than you want, since gel colors deepen as they stand. Press the chocolate squares on within 20 minutes of frosting, before a crust forms. Store the cake covered at room temperature for up to 2 days or refrigerate it for longer freshness; let a chilled cake warm up still covered so the chocolate does not sweat.
