
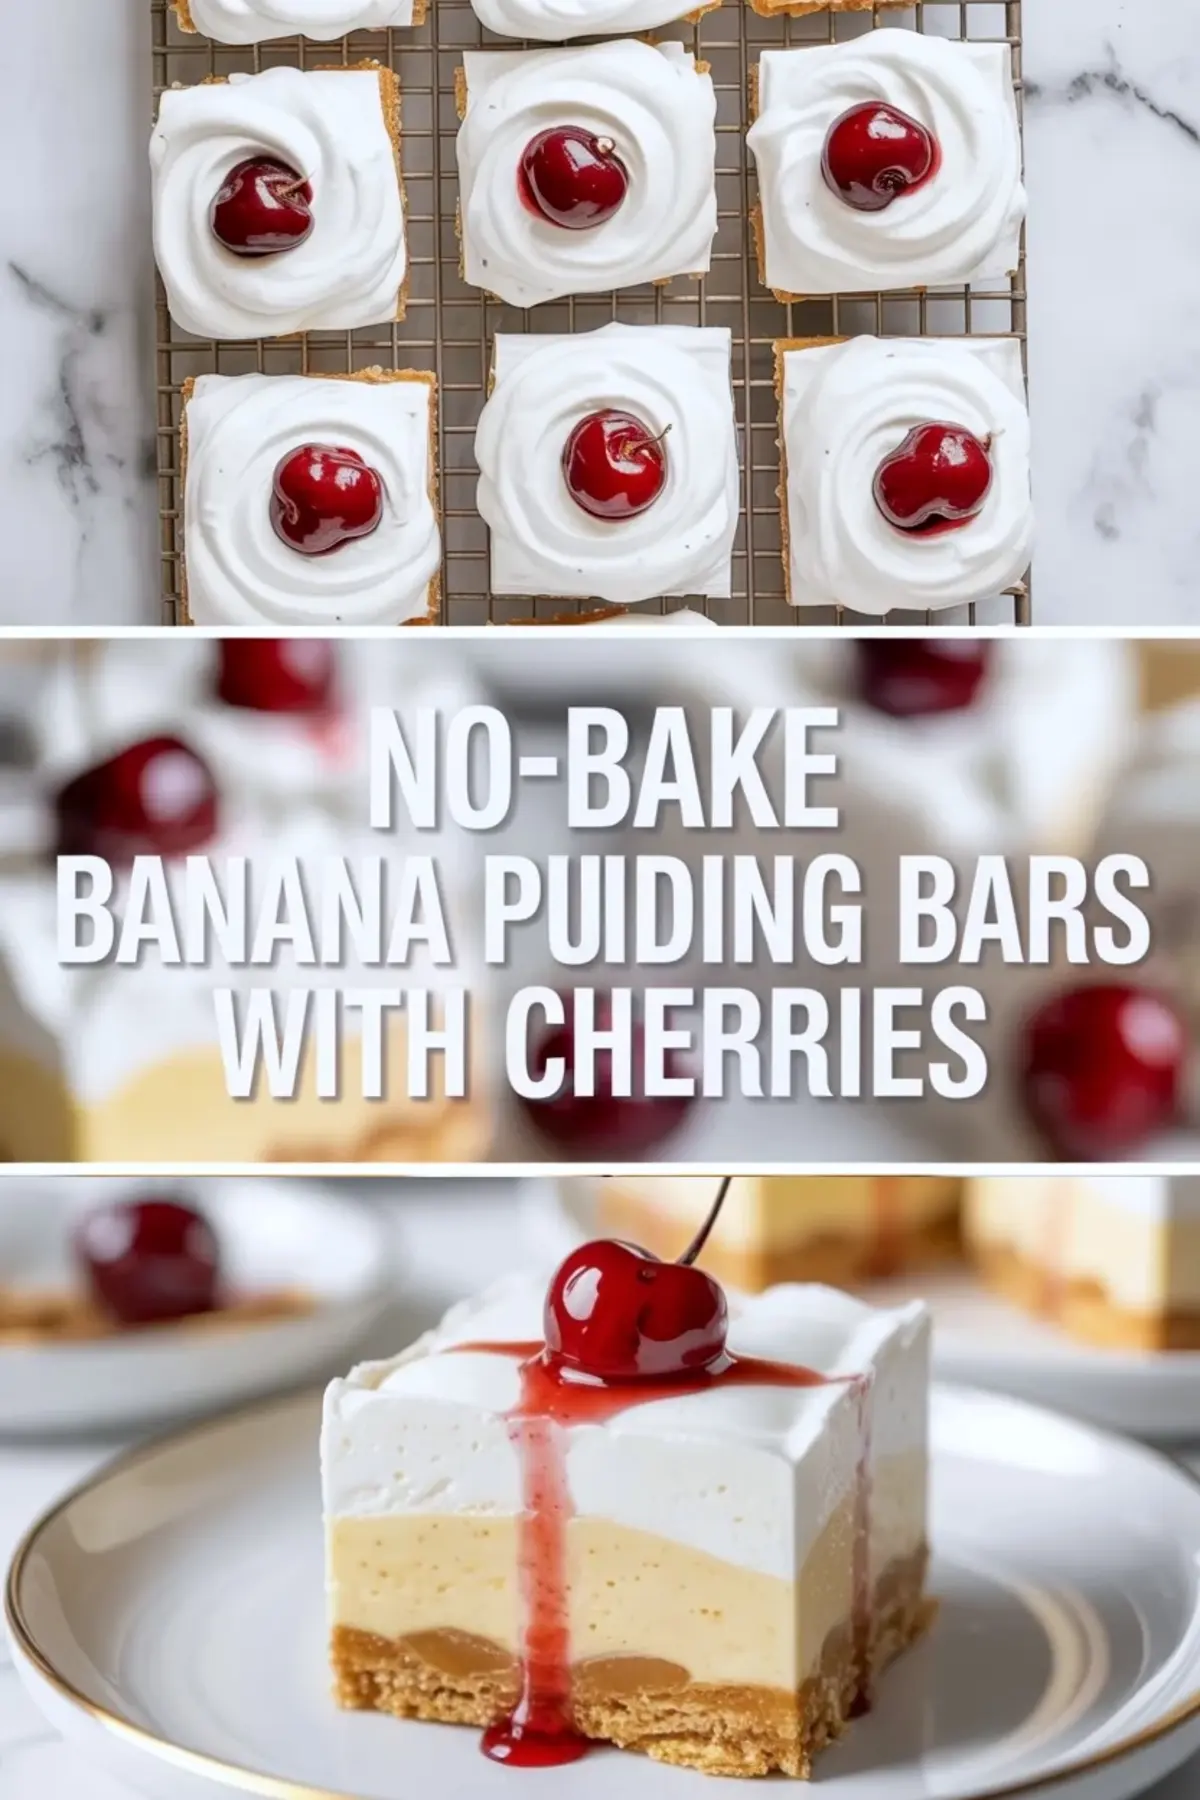
No-bake banana pudding bars take the familiar comfort of banana pudding and turn it into a sliceable chilled dessert that is easier to carry, plate, and serve to a crowd. You still get the creamy banana layer and the vanilla wafer flavor people expect, but the bar format gives the dessert a neater structure than a bowl or trifle style version.
This version stands out because the cherries brighten the top and make the bars feel more finished on a dessert tray. The contrast of cool pudding, soft whipped topping, and vanilla wafer crust keeps the bars nostalgic without letting them feel flat or one note.
Following a special diet?
Every recipe on this site can be converted to gluten-free, vegan, dairy-free, keto, nut-free or egg-free with adjusted ratios so nothing falls flat.
Try the Recipe Converter →What Makes These Bars Feel More Structured Than Classic Banana Pudding
The biggest difference is the crust. A pressed vanilla wafer base gives the dessert enough firmness to hold square slices, which makes these far more useful for potlucks, showers, and make ahead parties than a soft spooned pudding. That base also adds a little texture so the creamy layers above it do not all blur together.
The layered format also helps the banana flavor stay more even from bite to bite. Instead of cookies softening in random pockets, each square gives you crust, banana filling, topping, and garnish in a cleaner ratio. If you like chilled crowd desserts in the same general lane, terrazzo cheesecake and no-bake creamsicle cheesecake are both worth saving too.
Ingredients That Matter Most
Vanilla wafers do real work here because they shape both the flavor and the structure of the crust. Butter binds the crumbs, and a little sugar helps the base set into something that tastes more dessert-like instead of dry. The banana pudding layer needs enough banana flavor to read clearly, but it should still stay smooth and sliceable once chilled.
Whipped topping keeps the upper layer light, and the cherries add color plus a sharper finish that stops the dessert from looking too pale. Because the ingredient list is short, each part needs to pull its weight for the bars to feel balanced and complete.
Why the Creamy Layers Stay Pleasant Instead of Heavy
A good banana pudding bar should feel creamy, but not dense. That balance comes from keeping the banana layer smooth and the topping airy enough to lighten the whole square. If the topping is too thin, the bars look unfinished. If it is too thick, the banana layer loses some of its presence.
The vanilla wafer crust helps here too. It gives the bars a firmer bottom edge that makes the creamy center feel intentional instead of loose. That is one reason these land closer to banana pudding dessert bars than a soft pudding pie filling in a pan.
How To Get Clean Chilled Slices
A full chill matters more than people think. The cold rest is what firms the banana layer, settles the topping, and helps the crust hold together when the first slice comes out of the pan. If you rush that step, the bars can still taste good, but they will not look nearly as tidy on a tray.
Using parchment also makes a real difference because you can lift the whole slab out before cutting. That gives you cleaner edges and makes it much easier to wipe the knife between cuts if you want neat squares for serving guests.
Serving and Storage Tips
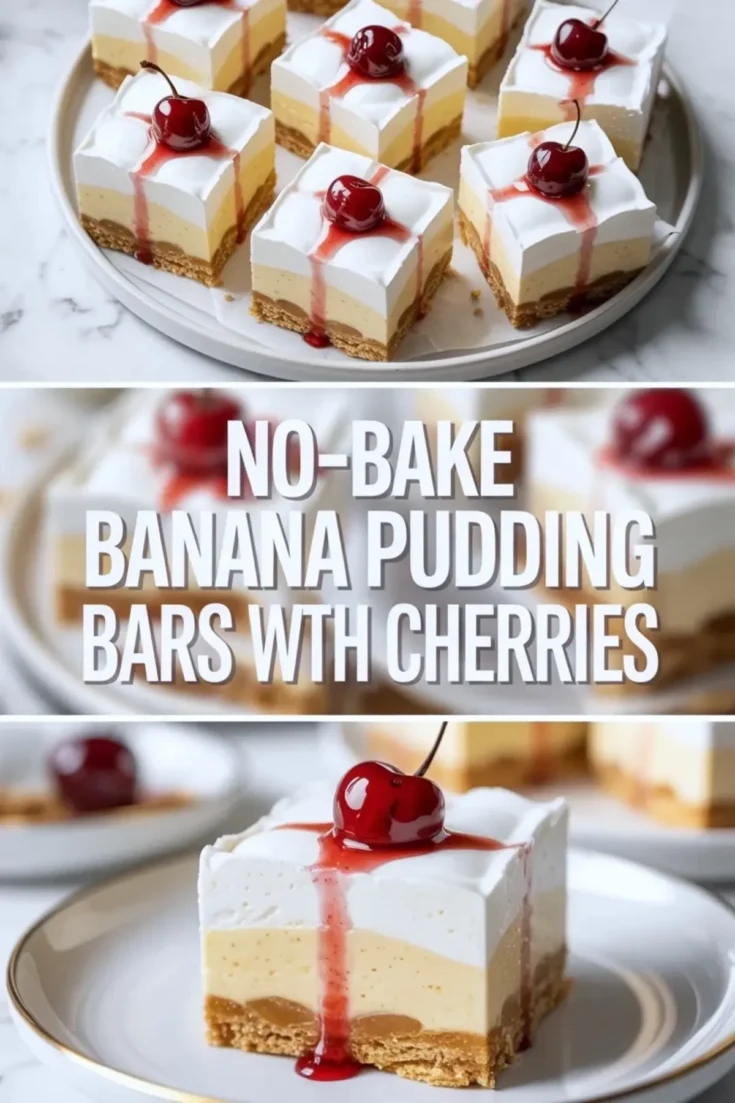
These bars are at their best served cold, with the whipped topping holding soft peaks and the cherry garnish still looking glossy. They fit summer cookouts, baby showers, brunch tables, and old fashioned dessert spreads where a banana pudding style treat makes sense but a pan of squares is easier to handle.
Store them covered in the refrigerator and keep them well chilled between servings. If you need a make ahead dessert that can sit pretty on a platter without much last minute work, this is exactly the kind of recipe that earns repeat use.
Why This Pan Is Worth Repeating
Some no-bake desserts are easy but forgettable. These bars earn a repeat spot because they give you the familiar flavor of banana pudding in a cleaner, crowd friendly format with just enough garnish to make the tray feel cheerful. The slices look finished, but the process stays simple.
Save this banana pudding bars recipe for the next time you want a creamy no-bake dessert with vanilla wafer crust, soft banana filling, and a classic chilled finish. It is the kind of easy dessert bar that works well whenever you need something nostalgic, portable, and ready ahead.
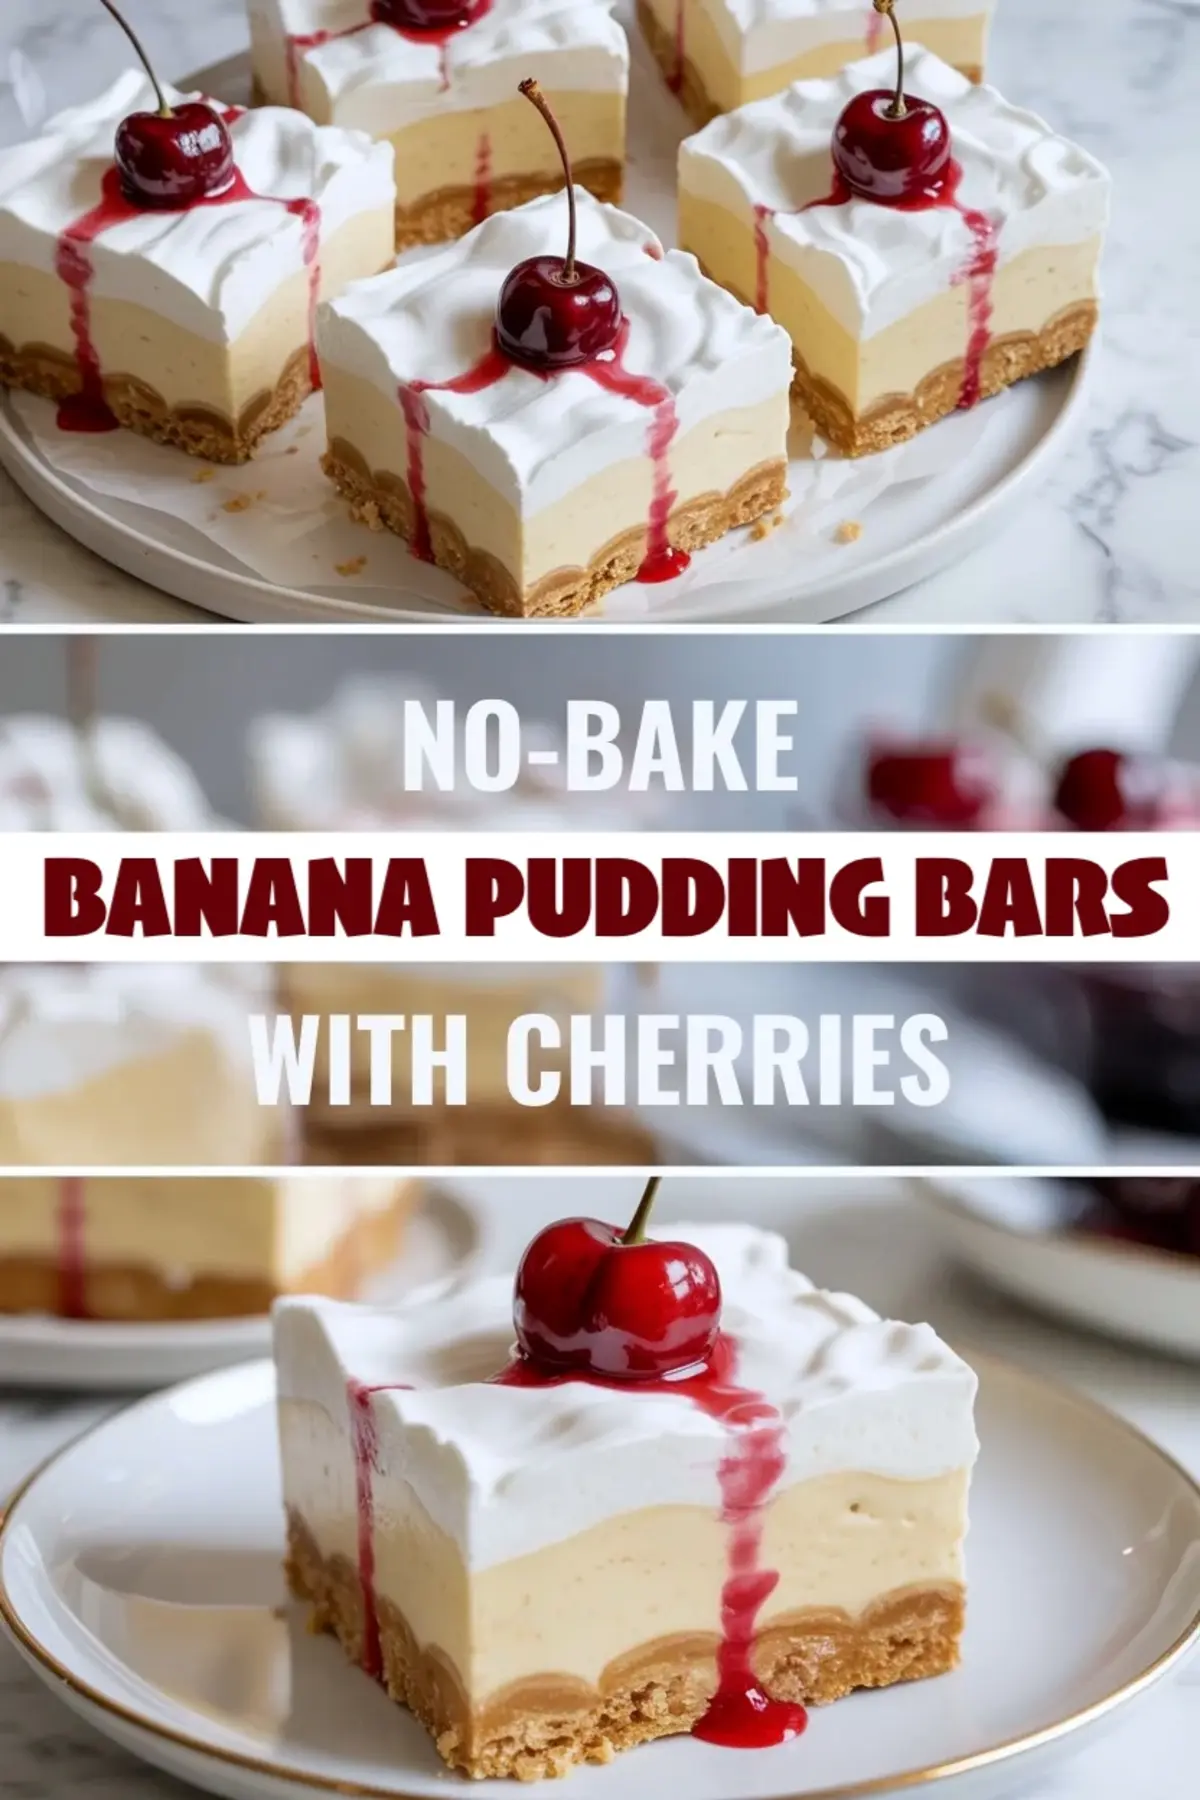
No-Bake Banana Pudding Bars with Cherries
Save these no-bake banana pudding bars when you want a creamy chilled dessert that feels nostalgic, easy to slice, and good for sharing. They layer a vanilla wafer crust with smooth banana pudding filling, a light whipped topping, and bright cherries for a dessert that lands between banana pudding dessert bars, banana cream pie bars, and an easy no bake banana pudding pan dessert. The texture stays cool and creamy, while the vanilla wafer base gives the bars more structure than a loose bowl-style pudding. If you want a banana pudding bars recipe that looks cheerful on a dessert tray and holds up well in the fridge, this is a strong one to keep for potlucks, cookouts, and make ahead dessert tables.
Ingredients
- FOR THE CRUST
- 2 cups crushed vanilla wafers or graham crackers
- 1/2 cup unsalted butter, melted
- 2 tablespoons sugar
- FOR THE BANANA PUDDING LAYER
- 1 (5 oz) box instant banana pudding mix
- 2 cups cold milk
- 1 cup heavy whipping cream
- 2 tablespoons powdered sugar
- 1 teaspoon vanilla extract
- 2 ripe bananas, sliced
- FOR THE TOPPING
- 1 1/2 cups whipped topping or whipped cream
- FOR GARNISH
- Maraschino cherries
- Cherry syrup from the jar
Instructions
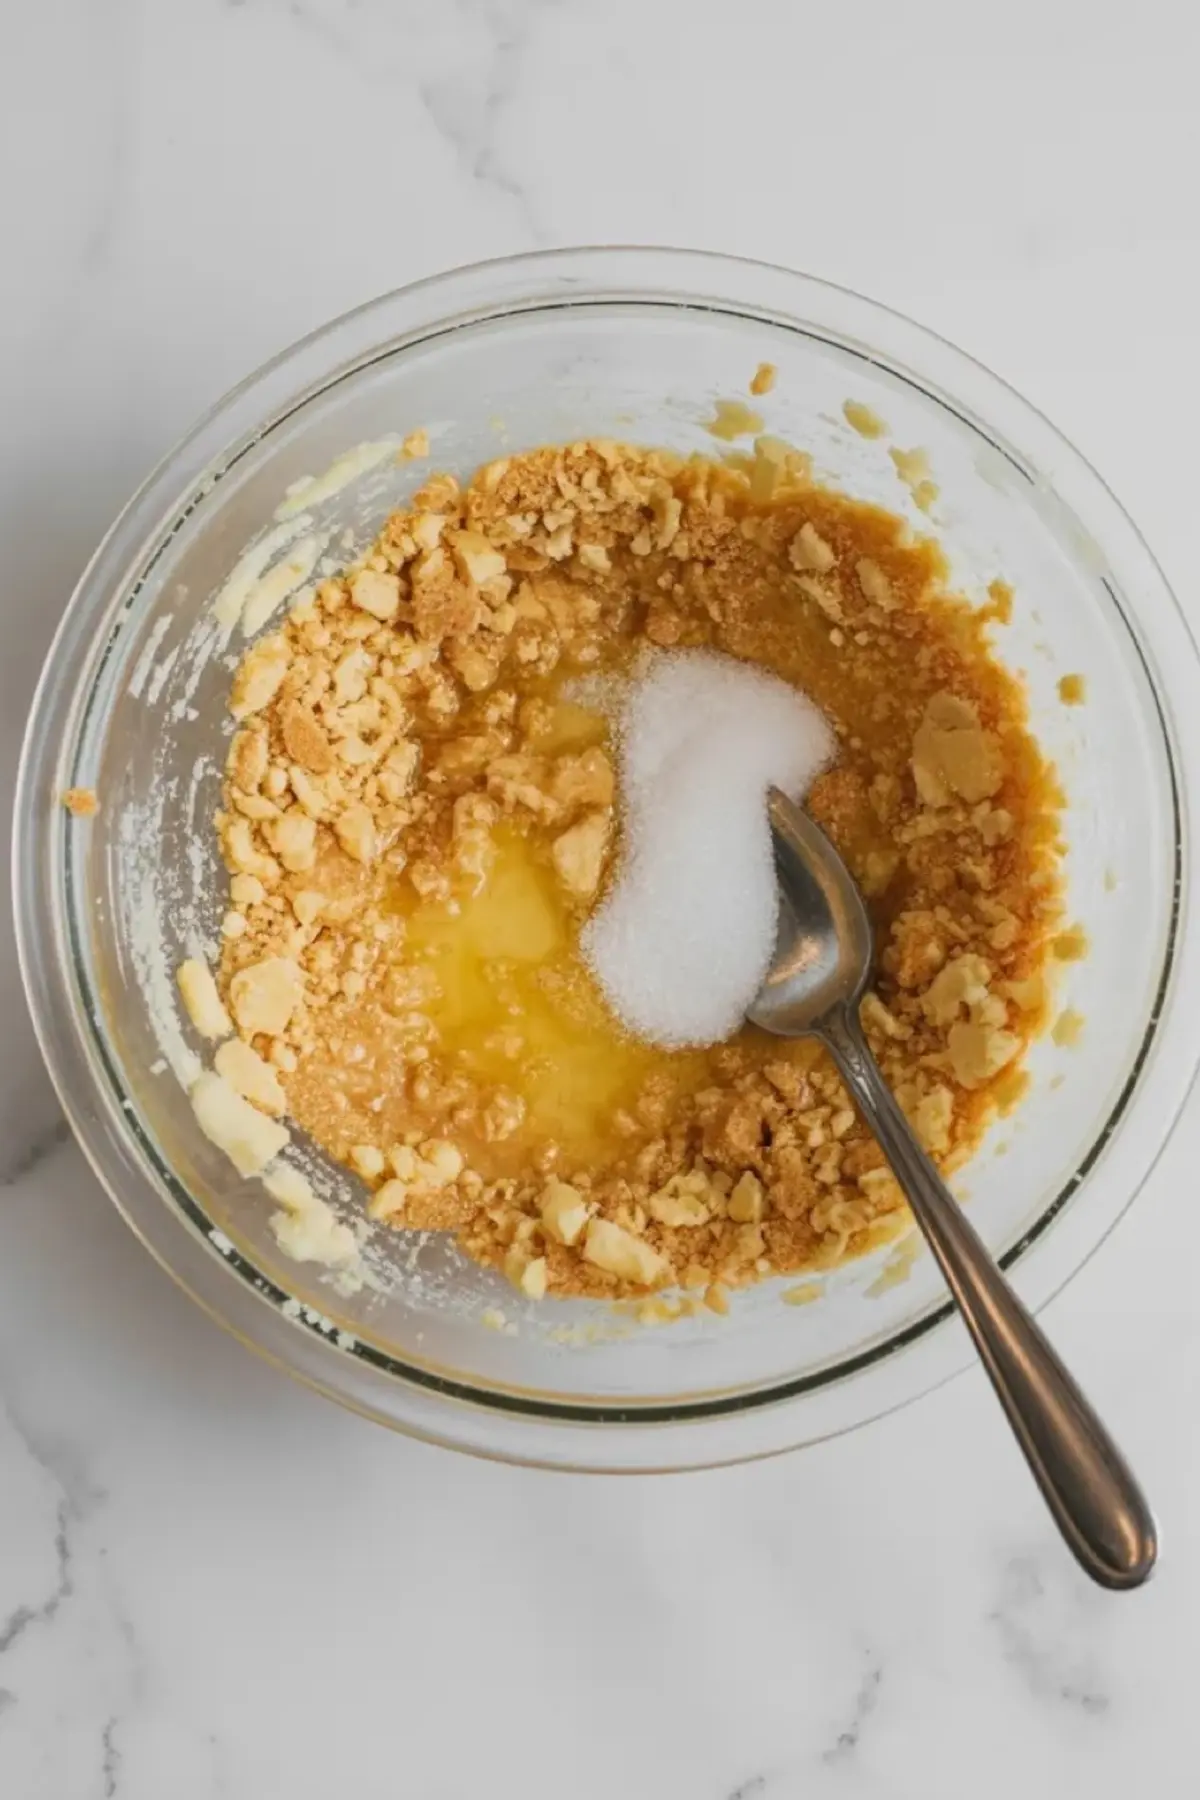
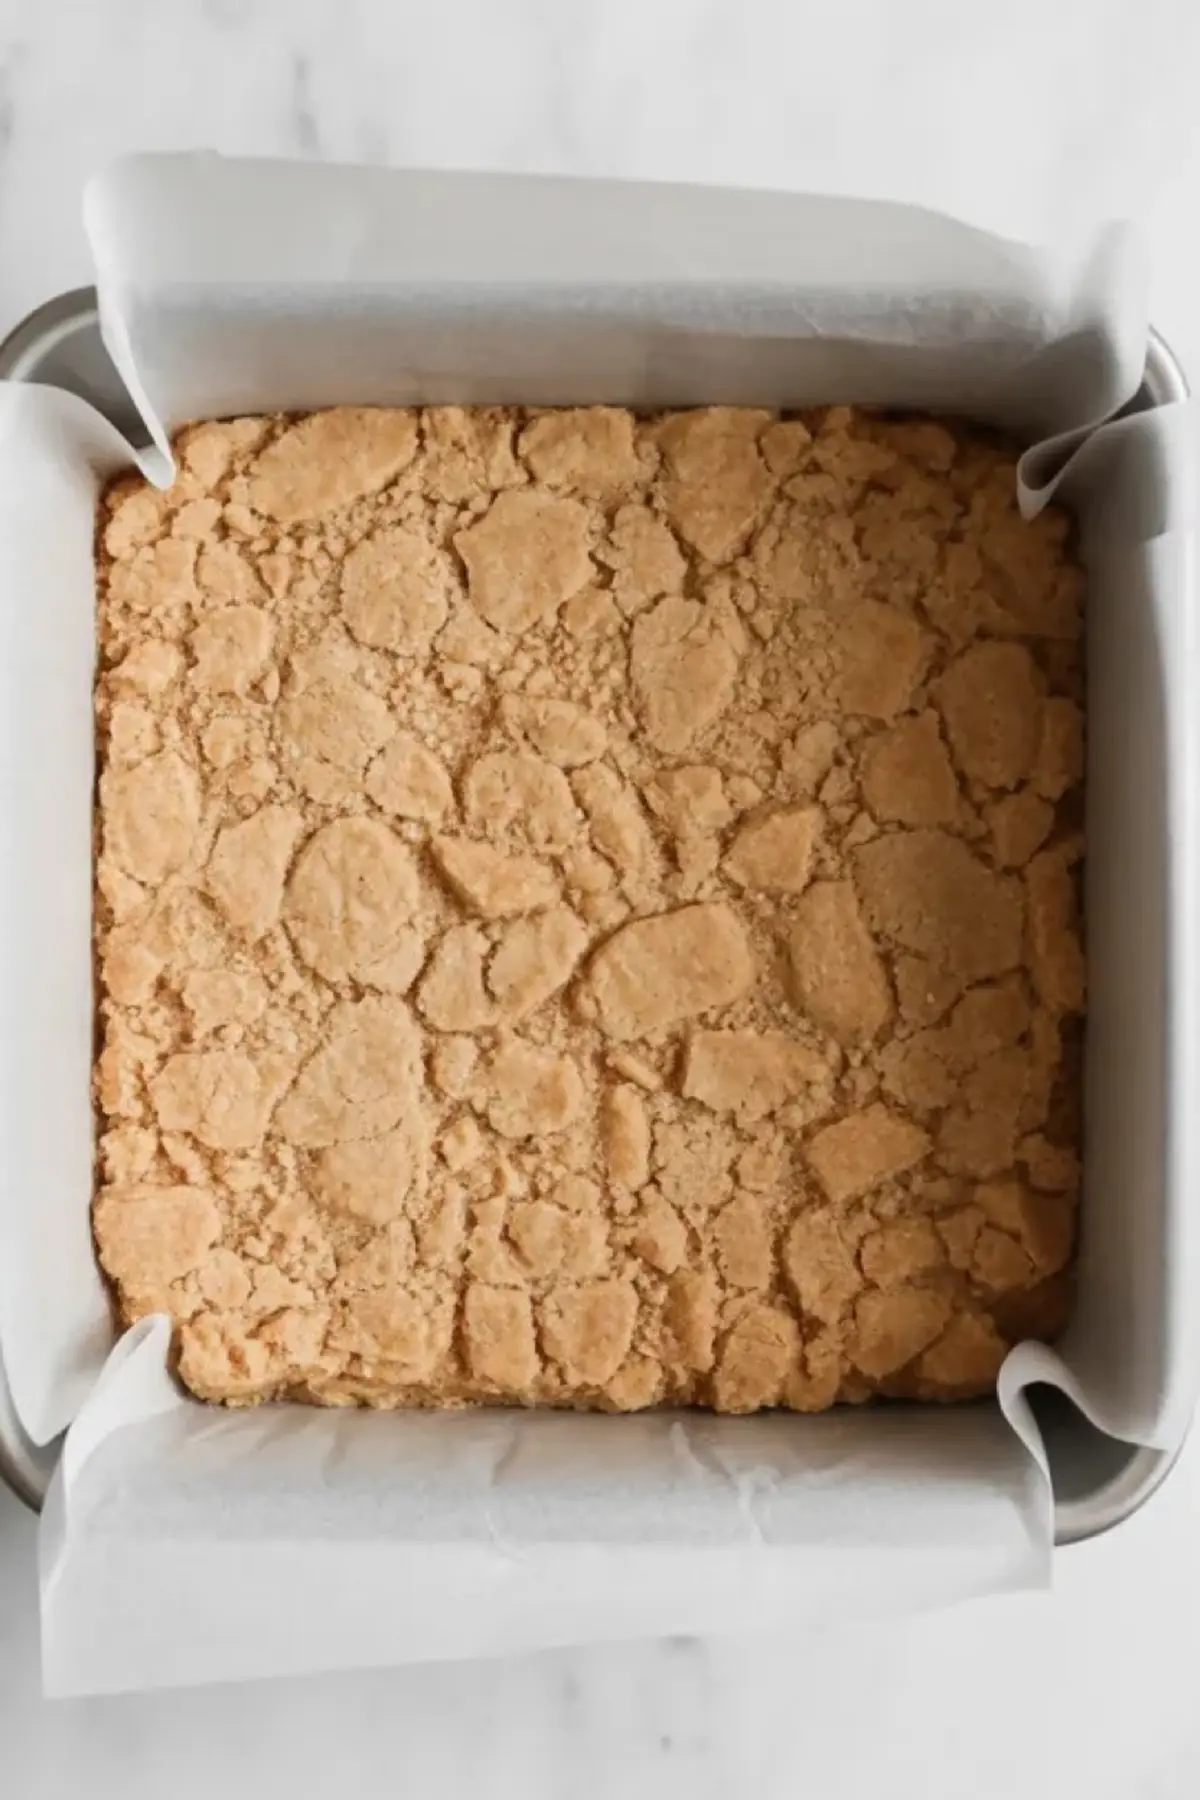
PREPARE THE CRUST: In a mixing bowl, combine crushed cookies, melted butter, and sugar until the texture resembles wet sand. Press the mixture firmly into the bottom of a lined 8×8 or 9×9-inch pan using the back of a spoon or a flat-bottomed glass. Transfer the pan to the refrigerator to chill while preparing the filling.
MAKE THE PUDDING BASE: In a large bowl, whisk together the banana pudding mix and cold milk until smooth. Let the mixture sit for 2–3 minutes until slightly thickened.
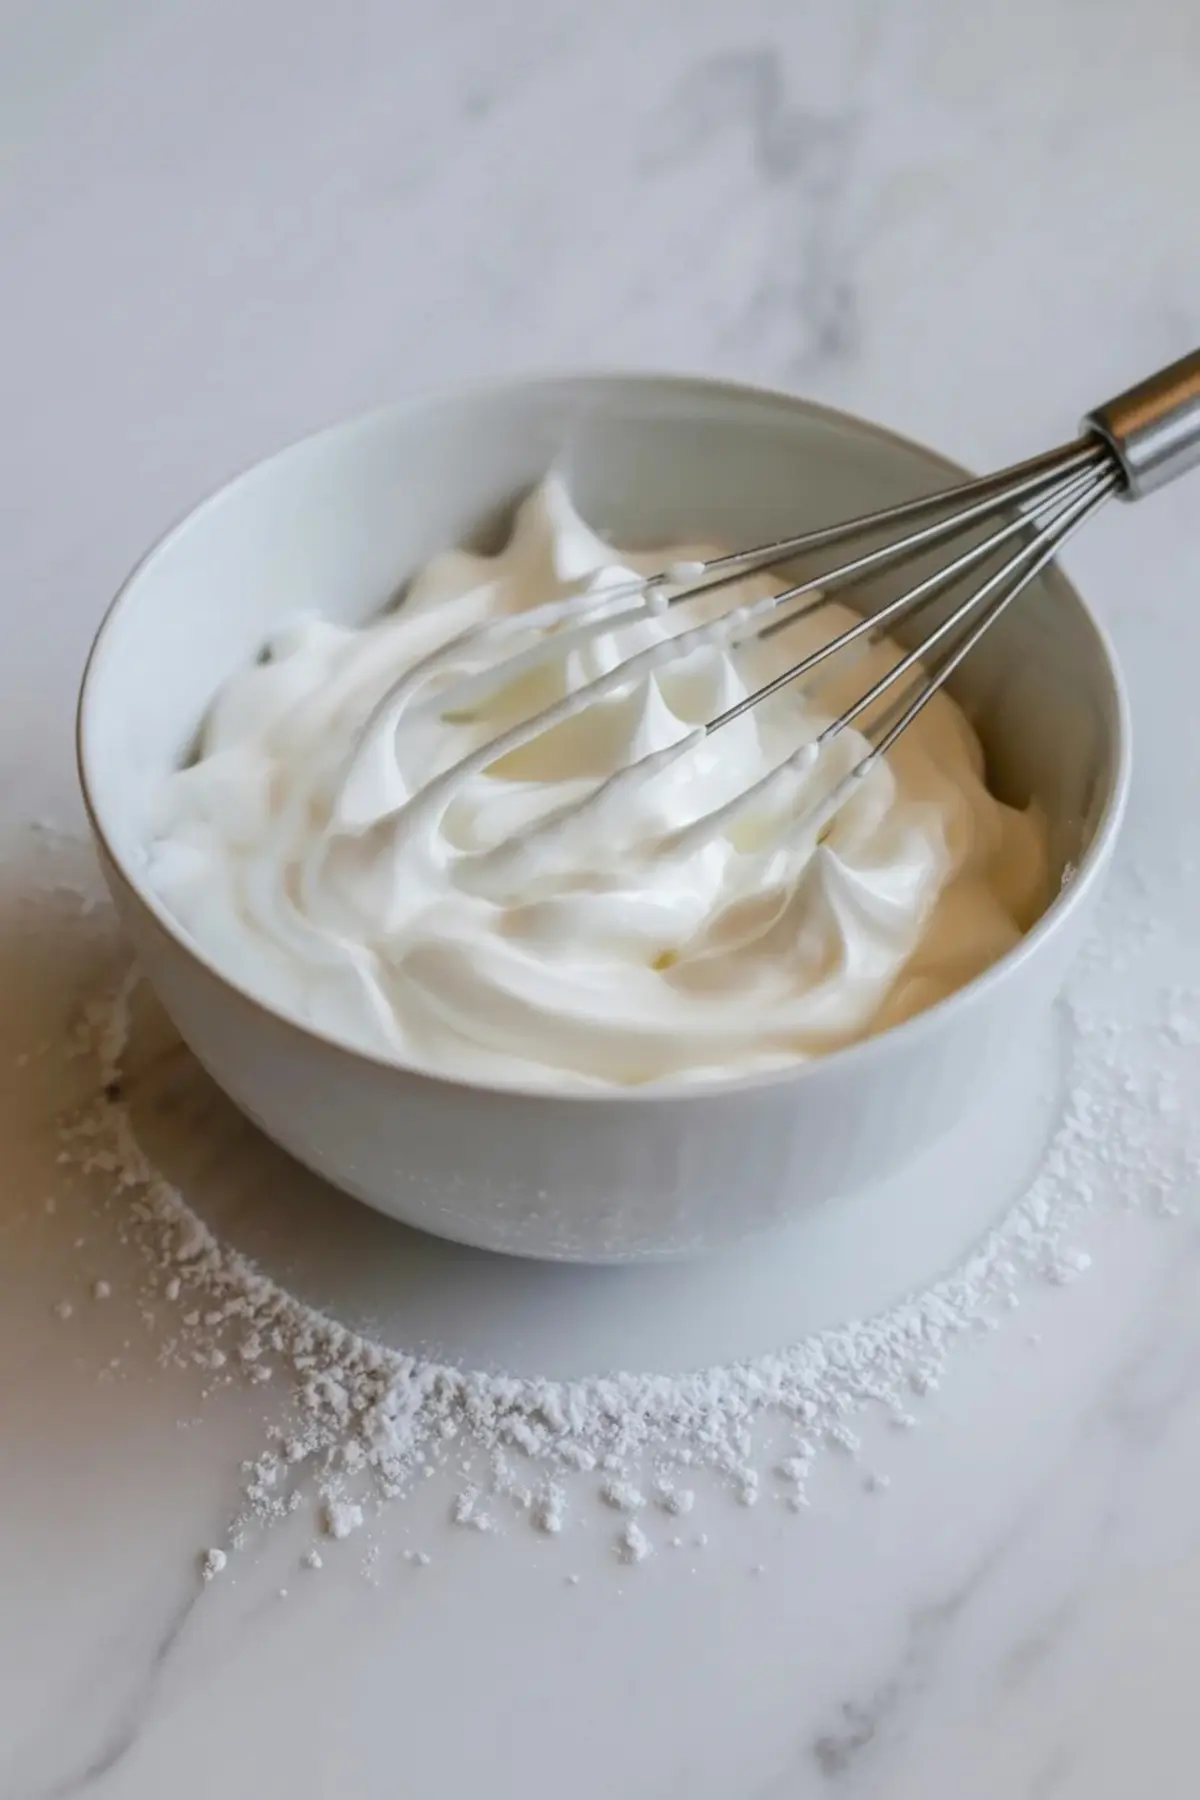
WHIP THE CREAM: In a separate bowl, beat the heavy whipping cream with powdered sugar and vanilla extract until soft peaks form. The texture should be light and hold its shape without becoming stiff.
COMBINE THE FILLING: Gently fold the whipped cream into the pudding mixture until fully combined. Use slow, even motions to keep the mixture airy and smooth.
ADD THE BANANAS: Arrange the sliced bananas evenly over the chilled crust to create a distinct layer, or fold them into the pudding mixture if a more blended texture is preferred.
ASSEMBLE THE BARS: Spread the pudding mixture evenly over the crust and smooth the surface with a spatula. Add the whipped topping over the pudding layer and spread gently to create an even finish.
CHILL THE DESSERT: Cover the pan and refrigerate for at least 4 hours or until fully set. For best results, chill overnight to ensure clean slices.
SLICE AND GARNISH: Cut into squares using a sharp knife. Top each bar with a maraschino cherry and drizzle a small amount of cherry syrup over the top before serving.
Notes
For cleaner slices, wipe the knife between cuts.
Use firm, ripe bananas to prevent excess moisture in the layers.
Store covered in the refrigerator for up to 3 days.
Nutrition Information
Yield
12Serving Size
1Amount Per Serving Calories 508Total Fat 30gSaturated Fat 19gUnsaturated Fat 11gCholesterol 50mgSodium 262mgCarbohydrates 56gFiber 2gSugar 28gProtein 6g