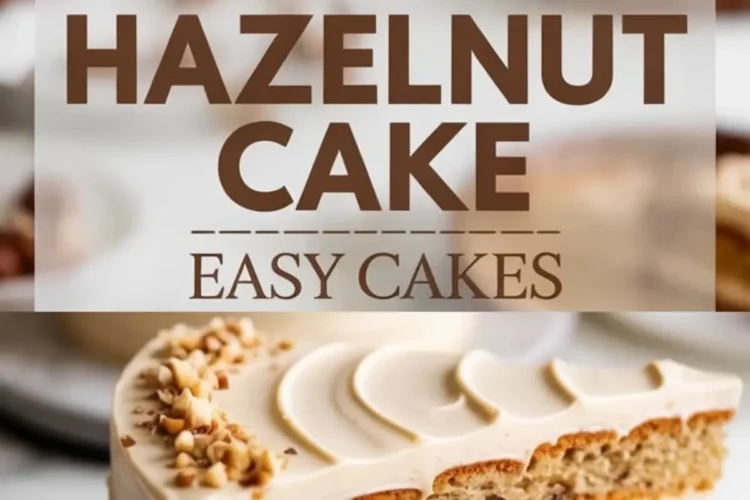
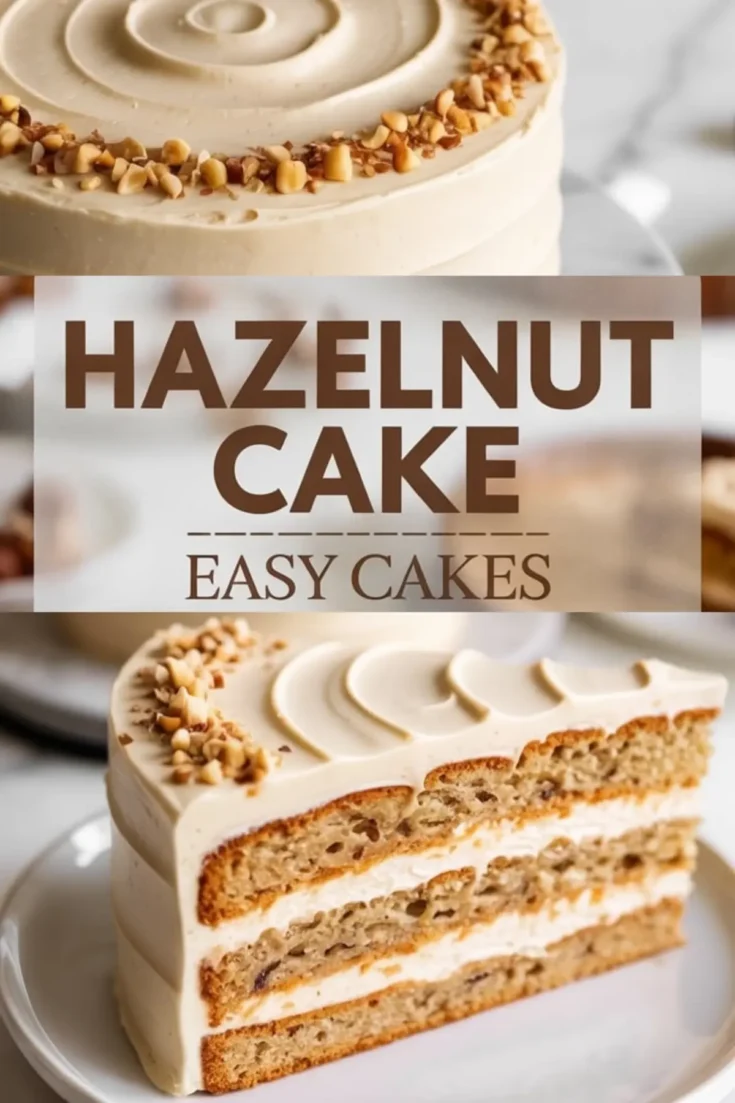
This easy and quick hazelnut cake recipe brings a nut-forward depth that works for both cozy afternoons and layered cake celebrations. The base blends toasted hazelnuts, sour cream, and butter into a moist, tender crumb. Finished with hazelnut buttercream and chopped nuts, this hazelnut dessert fits everything from casual coffee tables to holiday spreads. It belongs among your favorite hazelnut recipes and earns its place with the kind of flavor homemade cakes should always offer.

Following a special diet?
Every recipe on this site can be converted to gluten-free, vegan, dairy-free, keto, nut-free or egg-free with adjusted ratios so nothing falls flat.
Try the Recipe Converter →The balance between moisture and lift comes from a few intentional choices. Toasted hazelnuts add flavor and structure, replacing a portion of the flour without making the crumb too dense.
That texture lands right between sponge and butter cake. Light enough to eat plain, sturdy enough to layer.
Adding both milk and sour cream stabilizes the batter and helps it bake flat without doming or collapsing. It’s one of the main reasons this recipe works better for a hazelnut layer cake than a basic hazelnut loaf.
Timing matters here. The batter needs to be mixed gently but without long pauses between steps, especially once the flour goes in. Letting it sit too long before baking can alter the rise.
Every Ingredient Pulls Weight in This Cake
Start with toasted hazelnuts. Raw won’t work. Toasting releases their oils and builds flavor, which is key in hazelnut desserts. Let them cool completely before grinding to avoid turning them into paste.
All-purpose flour keeps things balanced. I’ve tested cake flour here, but the texture became too fragile to hold layers. If you’re experimenting, reduce by only ¼ cup and keep the hazelnut ratio unchanged.
Butter matters. I use unsalted at room temperature for both the cake and frosting. If using salted, skip the added pinch later.

Sour cream adds a tender bite and keeps the cake moist for days. You can use full-fat Greek yogurt in a pinch, but the flavor will shift slightly.
This base is versatile, and you can top it with ganache or a flavored buttercream. For example, I’ve used the same method for this chocolate hazelnut cake with excellent results.
Toasting and Grinding Hazelnuts the Right Way

This step isn’t optional. Toasted hazelnuts bring more than flavor, they contribute structure and prevent the cake from falling flat. I grind them just until sandy. Too fine, and they’ll release oil. Too coarse, and the batter turns uneven.
Look for a dry, crumbly texture that feels like a heavy flour. You should still see flecks of brown skin, even after sifting.
I buy whole raw hazelnuts, toast them on a sheet pan for 8 to 10 minutes, then rub them gently in a clean kitchen towel to remove the skins. This method works every time.
If you run out or need a substitute, toasted almonds can be used in equal weight, but the flavor will shift from sweet-earthy to more neutral.
Visual Cues and Timing You Can Trust
Butter and sugar should whip until pale and fluffy, about three to five minutes. Watch for a noticeable lightening in color and volume.
After adding eggs, the batter may look slightly broken, that’s fine. It pulls back together when the dry ingredients and sour cream go in.
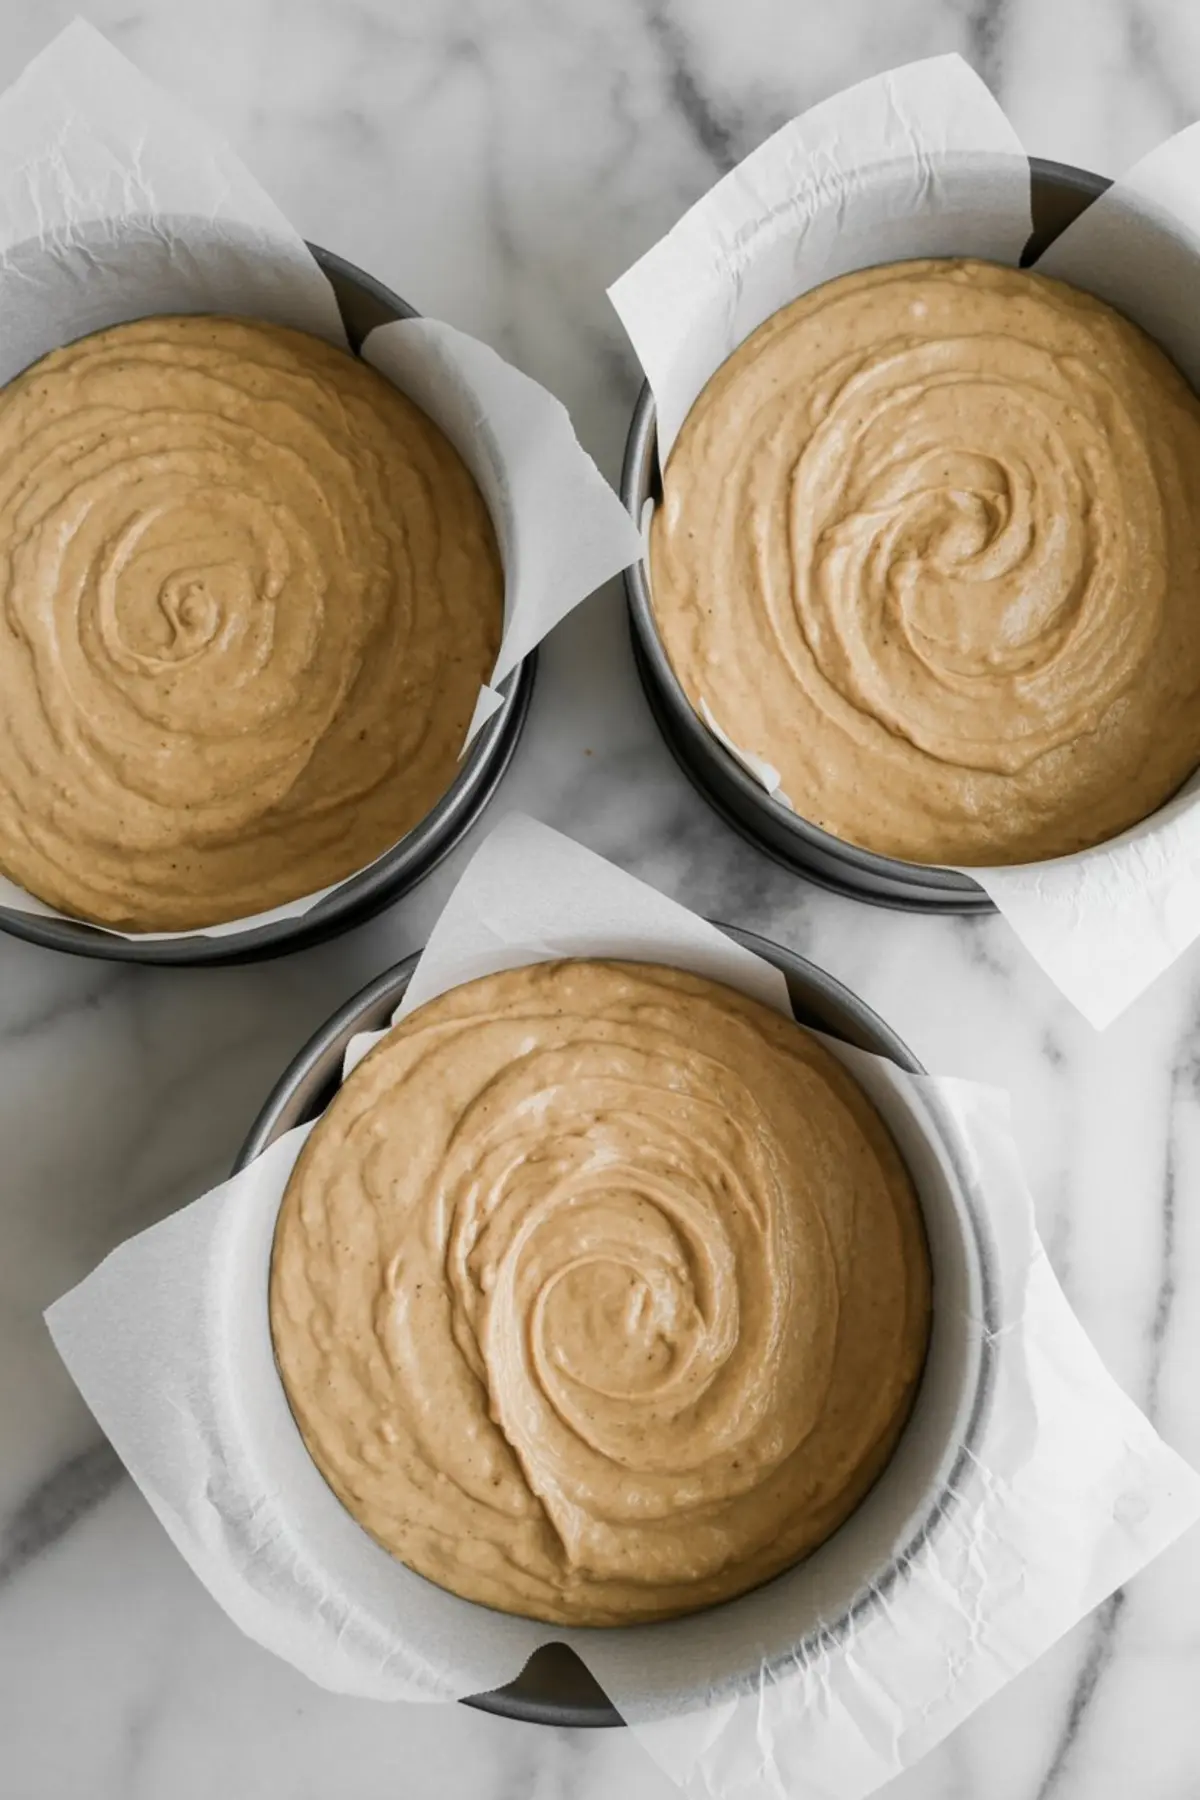
Divide the batter evenly. I weigh the pans for accuracy, but even eyeballing will do if you level the tops before baking.
The layers bake in about 25 to 28 minutes. The top should spring back lightly when touched, and a toothpick should come out clean with just a few crumbs.
Let them cool in the pans for 10 minutes. Don’t rush this. Then turn out and cool completely on racks before frosting.
Buttercream Tips and Common Issues
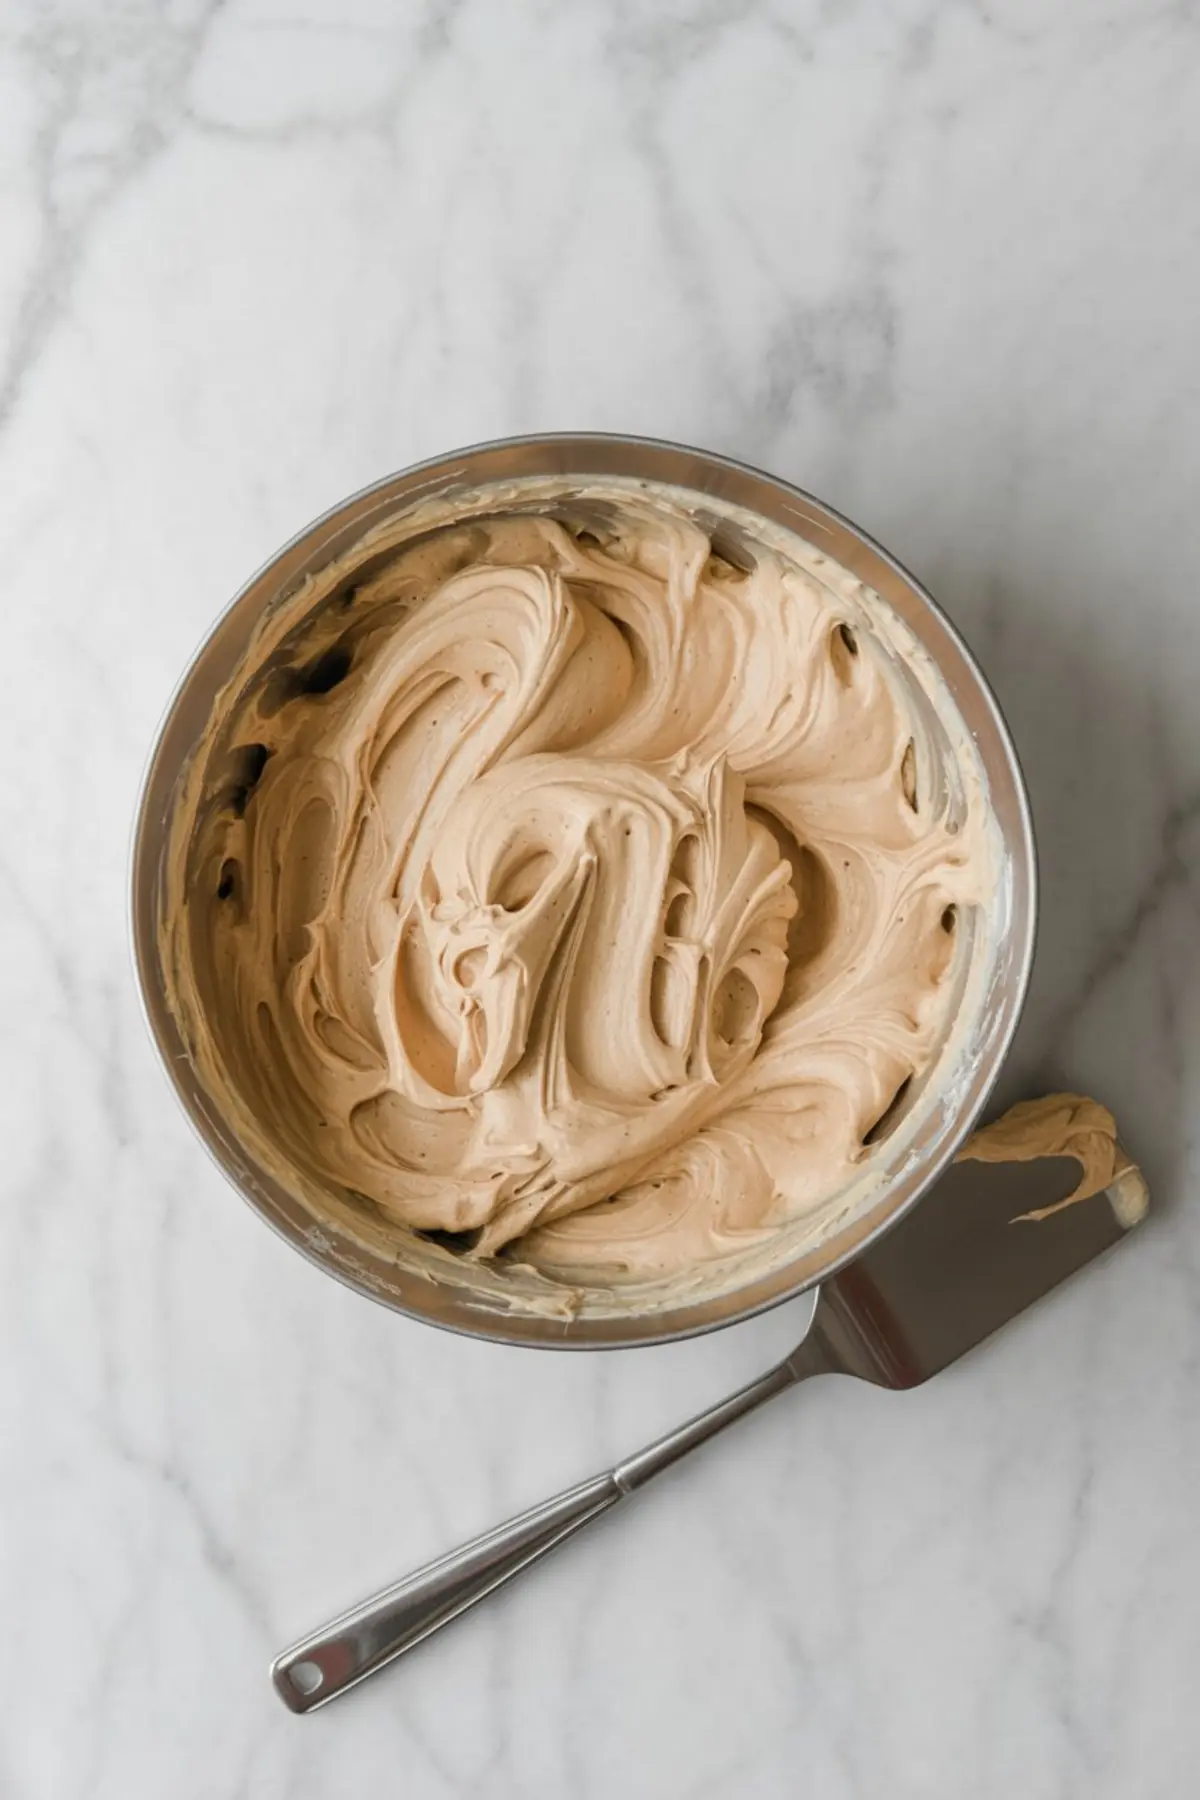
The hazelnut frosting mixes butter, powdered sugar, cream, and hazelnut spread into a thick, pipeable texture.
If it’s too stiff, add a splash of cream. Too soft? Chill it for 10 minutes before spreading. I use Nutella when I want a sweeter profile, or natural hazelnut butter when I want the nut flavor to lead.
You can substitute with maple versions if you’re after something different. This maple cream cheese frosting gives a tangy twist that pairs well with the cake base.
Common Mistakes and How to Prevent Them
If your cake sinks, it likely means the batter was overmixed or the oven wasn’t preheated properly.
A gritty frosting usually means the powdered sugar wasn’t sifted or fully mixed in. Beat it longer and scrape the sides.
If the cake layers stick, make sure the parchment reaches all the way up the sides of the pan. Grease both the pan and the paper.
Ways to Adapt the Flavor Profile
For a deeper sweetness, replace half the granulated sugar with brown sugar. It adds moisture and a hint of molasses.
Add 1 tsp of espresso powder to the dry ingredients for a subtle bitter contrast. I do this sometimes for coffee cake versions.
Swap the hazelnut spread in the frosting for almond butter to shift the tone without changing texture.
Try the base with a maple glaze instead of frosting, as I’ve done with my maple brown butter layer cake.
Storage and Freezer Guidance

The cake layers can be made ahead. Wrap tightly in plastic, then foil. They last a day on the counter or a month in the freezer.
Frosted cake holds well in the fridge for up to four days. Let it sit at room temp for 30 minutes before slicing.
You can freeze the frosted cake too, though texture may shift slightly. Wrap in two layers and thaw overnight in the fridge.
Quick Tips from Testing
Use a scale to measure your hazelnuts after toasting and grinding. Volume shifts after processing.
Don’t skip the salt in the frosting, it balances the sweetness. Even a pinch makes a difference.
If using a stand mixer, use the paddle attachment for both cake and frosting. It prevents over-whipping.
For frosting swirls, dip your offset spatula in warm water and wipe dry before each turn.
Save This Hazelnut Dessert for Later
Pin this hazelnut layer cake recipe to your Homemade Cakes or Hazelnut Recipes board.
Let me know in the comments how yours turned out or if you added your own spin — I always enjoy seeing your variations!
Hazelnut Layer Cake Recipe
This easy and quick hazelnut cake recipe brings rich, nutty flavor with minimal effort. Made with toasted hazelnuts and simple pantry staples, it’s a delicious pick for cozy weekends or small celebrations. Ideal as a hazelnut dessert or a base for a layered treat, this homemade cake suits any occasion. From coffee breaks to family gatherings, this classic cake fits the moment. Explore more hazelnut recipes or bake it as a simple hazelnut layer cake topped with cream or ganache.
Ingredients
- FOR THE HAZELNUT CAKE:
- 1 cup (140g) toasted hazelnuts, finely ground
- 2 cups (240g) all-purpose flour
- 1 tbsp baking powder
- ½ tsp salt
- ¾ cup (170g) unsalted butter, room temperature
- 1½ cups (300g) granulated sugar
- 4 large eggs
- 1 tsp vanilla extract
- ¾ cup (180ml) whole milk
- ½ cup (120ml) sour cream
- FOR THE HAZELNUT BUTTERCREAM FROSTING:
- 1 cup (226g) unsalted butter, room temperature
- 3 cups (360g) powdered sugar
- ⅓ cup (80ml) heavy cream
- ½ tsp vanilla extract
- ⅓ cup (80g) hazelnut spread (like Nutella or a natural hazelnut butter)
- Pinch of salt
- GARNISH:
- Chopped toasted hazelnuts for topping (about ½ cup)
Instructions
- PREPARE THE CAKE PANS: Preheat the oven to 350°F (175°C). Grease and line three 8-inch round cake pans with parchment paper to ensure easy removal after baking.
- GRIND THE HAZELNUTS: Place the toasted hazelnuts in a food processor and pulse until finely ground. The texture should be dry and sandy, not oily or pasty.
- COMBINE DRY INGREDIENTS: In a medium bowl, whisk together the flour, baking powder, salt, and the ground hazelnuts until evenly distributed.
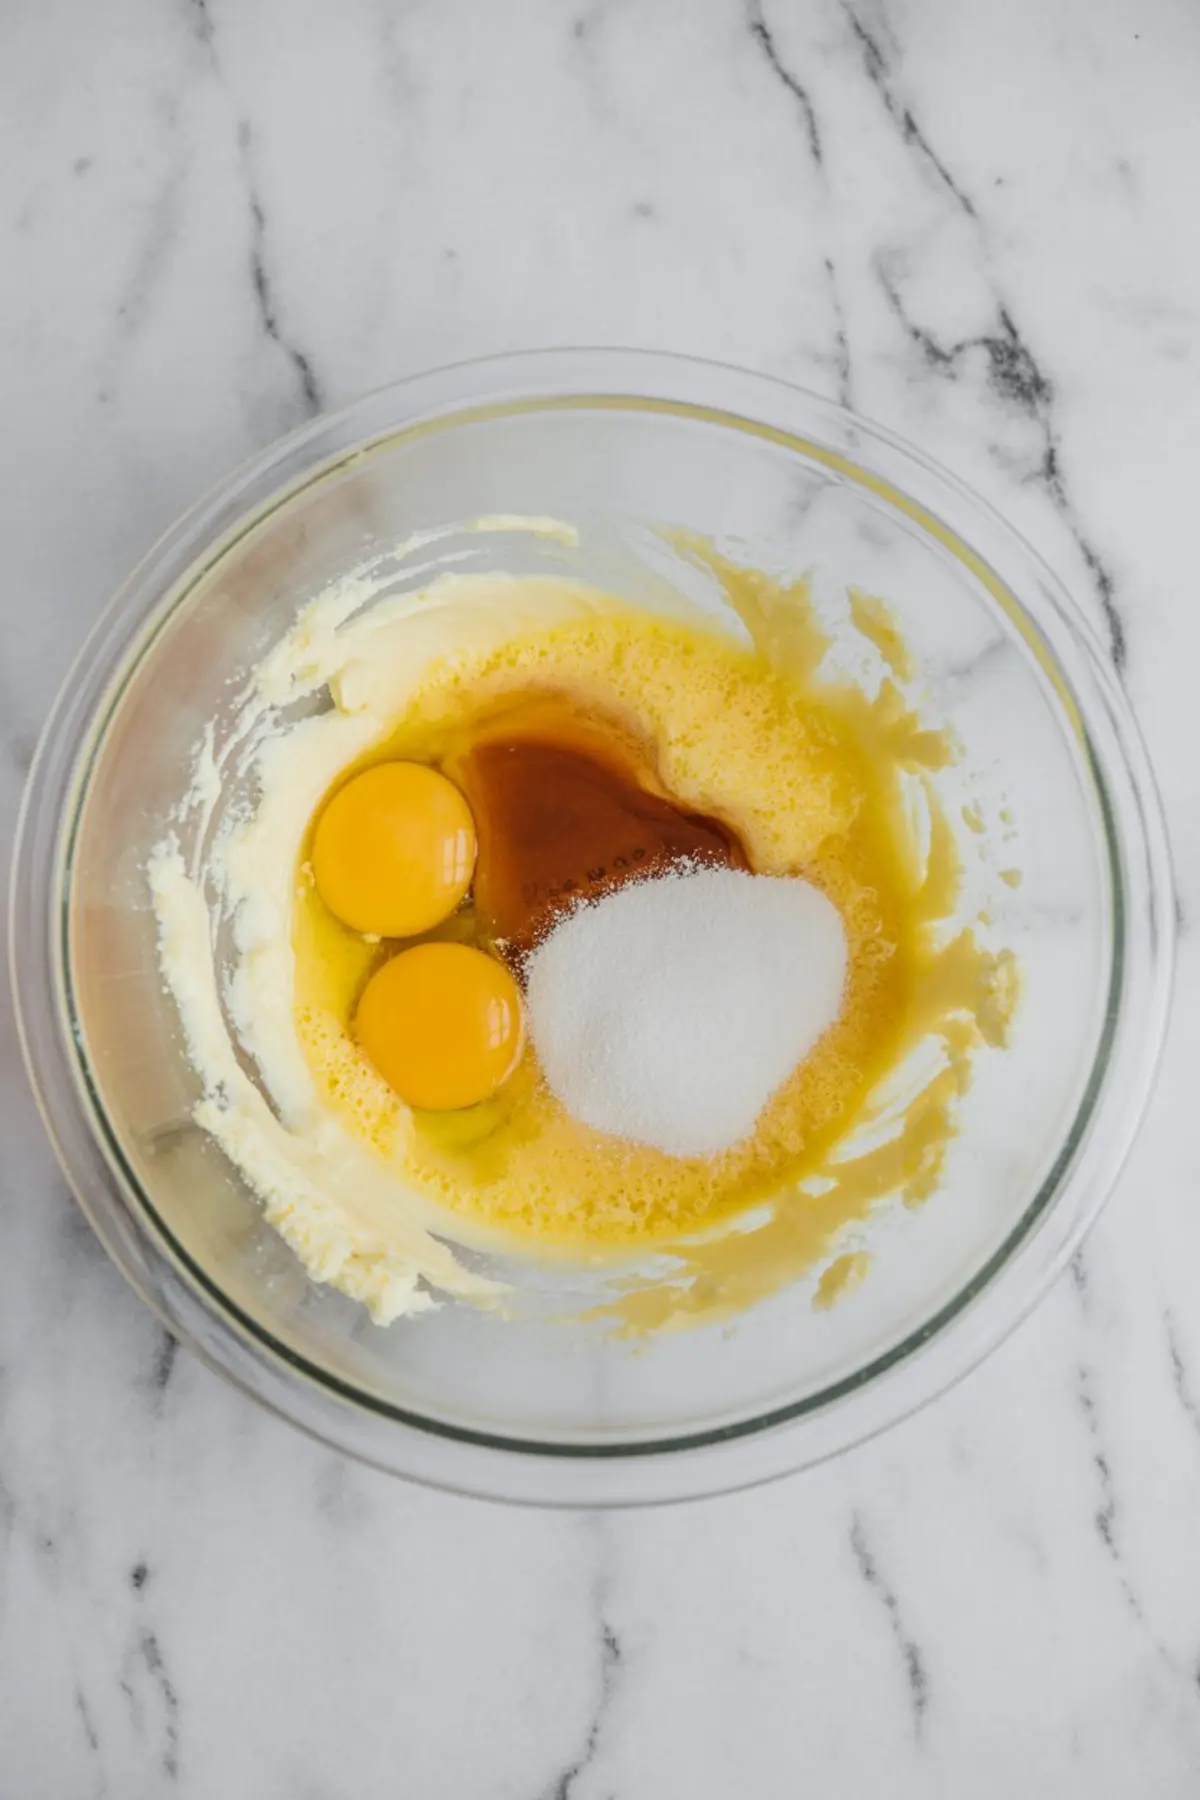
- CREAM THE BUTTER AND SUGAR: In a large mixing bowl, beat the butter and granulated sugar together using an electric mixer on medium-high speed until the mixture is light and fluffy, about 3–5 minutes.
- ADD EGGS AND VANILLA: Add the eggs one at a time, mixing well after each addition. Scrape down the bowl as needed. Stir in the vanilla extract until fully combined.
- ALTERNATE WET AND DRY INGREDIENTS: Add the dry mixture in three parts, alternating with the milk and sour cream in two parts, beginning and ending with the dry ingredients. Mix on low speed after each addition just until incorporated.
- DIVIDE AND BAKE: Evenly divide the batter among the three prepared cake pans. Smooth the tops and bake for 25–28 minutes, or until a toothpick inserted into the center comes out clean.
- COOL THE CAKE LAYERS: Let the cakes cool in their pans for 10 minutes. Then turn them out onto a wire rack to cool completely before frosting.
- MAKE THE BUTTERCREAM: In a large bowl, beat the butter on medium speed until smooth and creamy. Gradually add the powdered sugar, mixing on low speed to avoid spills.
- ADD FLAVORINGS AND WHIP: Add the heavy cream, vanilla extract, hazelnut spread, and a pinch of salt. Beat on high speed for 2–3 minutes until the frosting is fluffy and spreadable.
- ASSEMBLE THE CAKE: Place one cake layer on a serving plate or cake stand. Spread a thick layer of frosting over the top. Add the second layer and repeat. Top with the third layer and frost the top and sides of the cake evenly.
- GARNISH AND SERVE: Use a spatula to create swirls or smooth out the frosting, depending on your preference. Sprinkle chopped toasted hazelnuts over the top or around the edges for decoration.
Notes
To toast hazelnuts, spread them on a baking sheet and bake at 350°F (175°C) for 8–10 minutes, shaking the pan halfway through. Let them cool and rub off the skins using a clean kitchen towel before grinding.
Cake layers can be baked in advance, wrapped well, and stored at room temperature for 1 day or frozen for up to 1 month.
Nutrition Information
Yield
12Serving Size
1Amount Per Serving Calories 1026Total Fat 50gSaturated Fat 23gUnsaturated Fat 27gCholesterol 155mgSodium 624mgCarbohydrates 133gFiber 4gSugar 96gProtein 14g