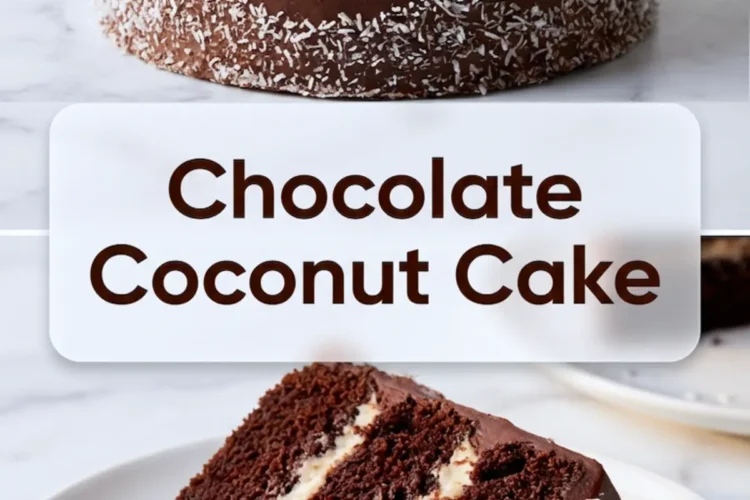
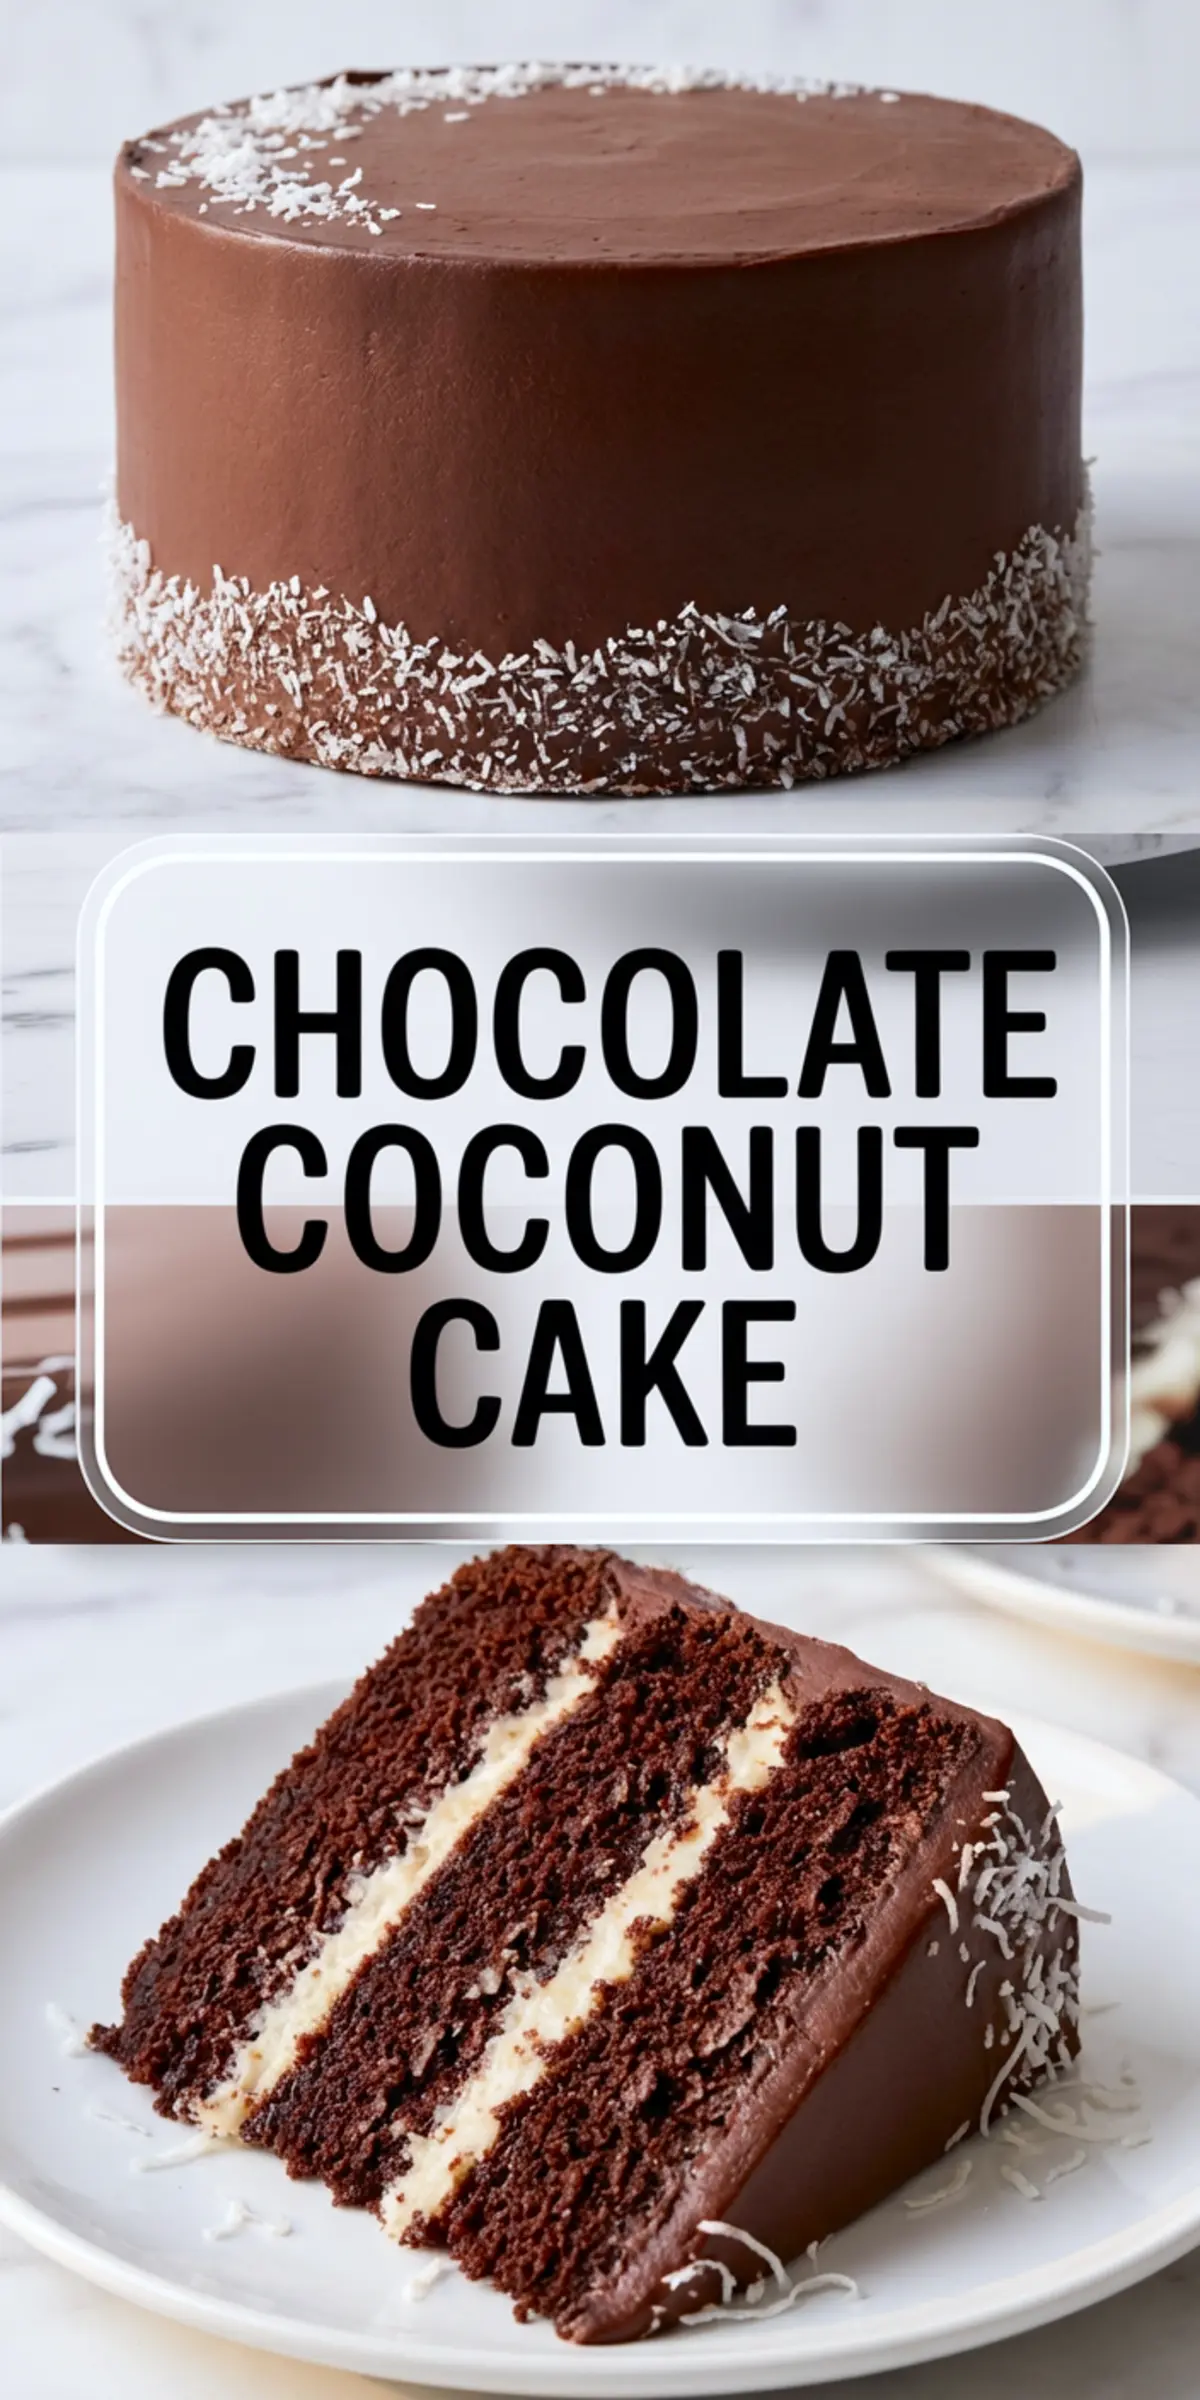
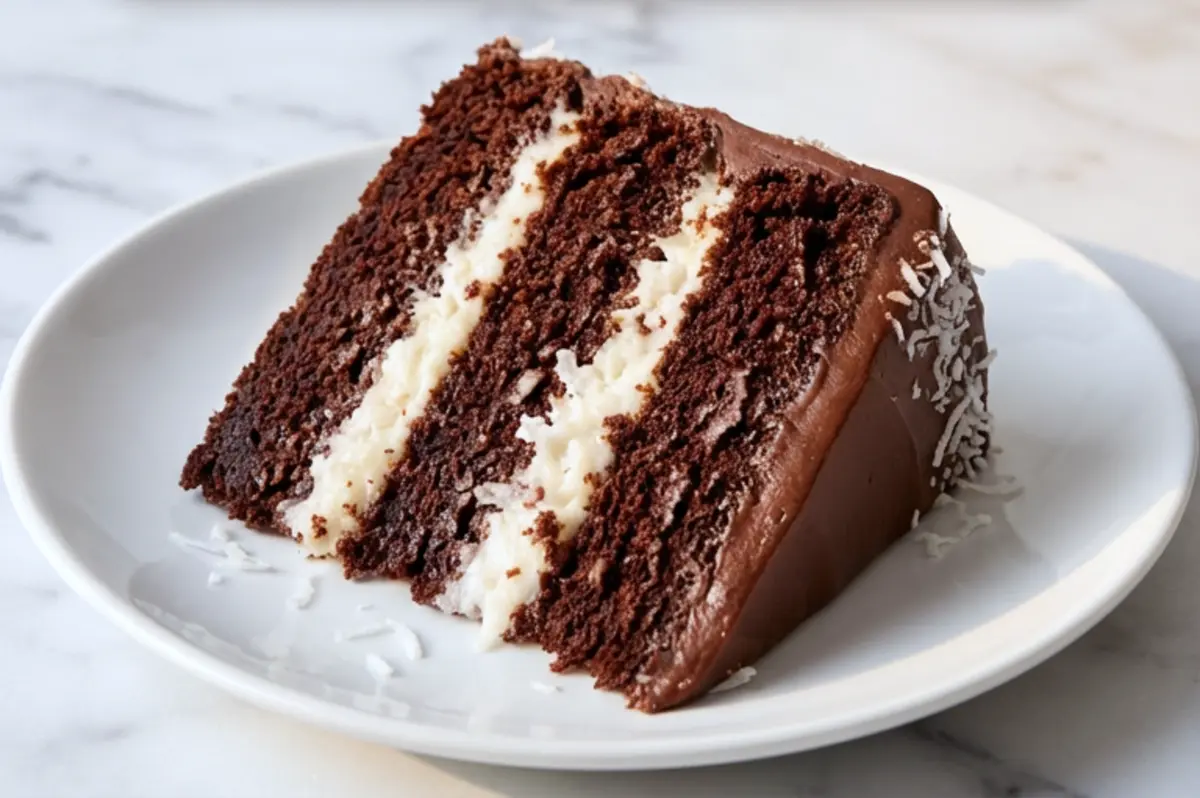
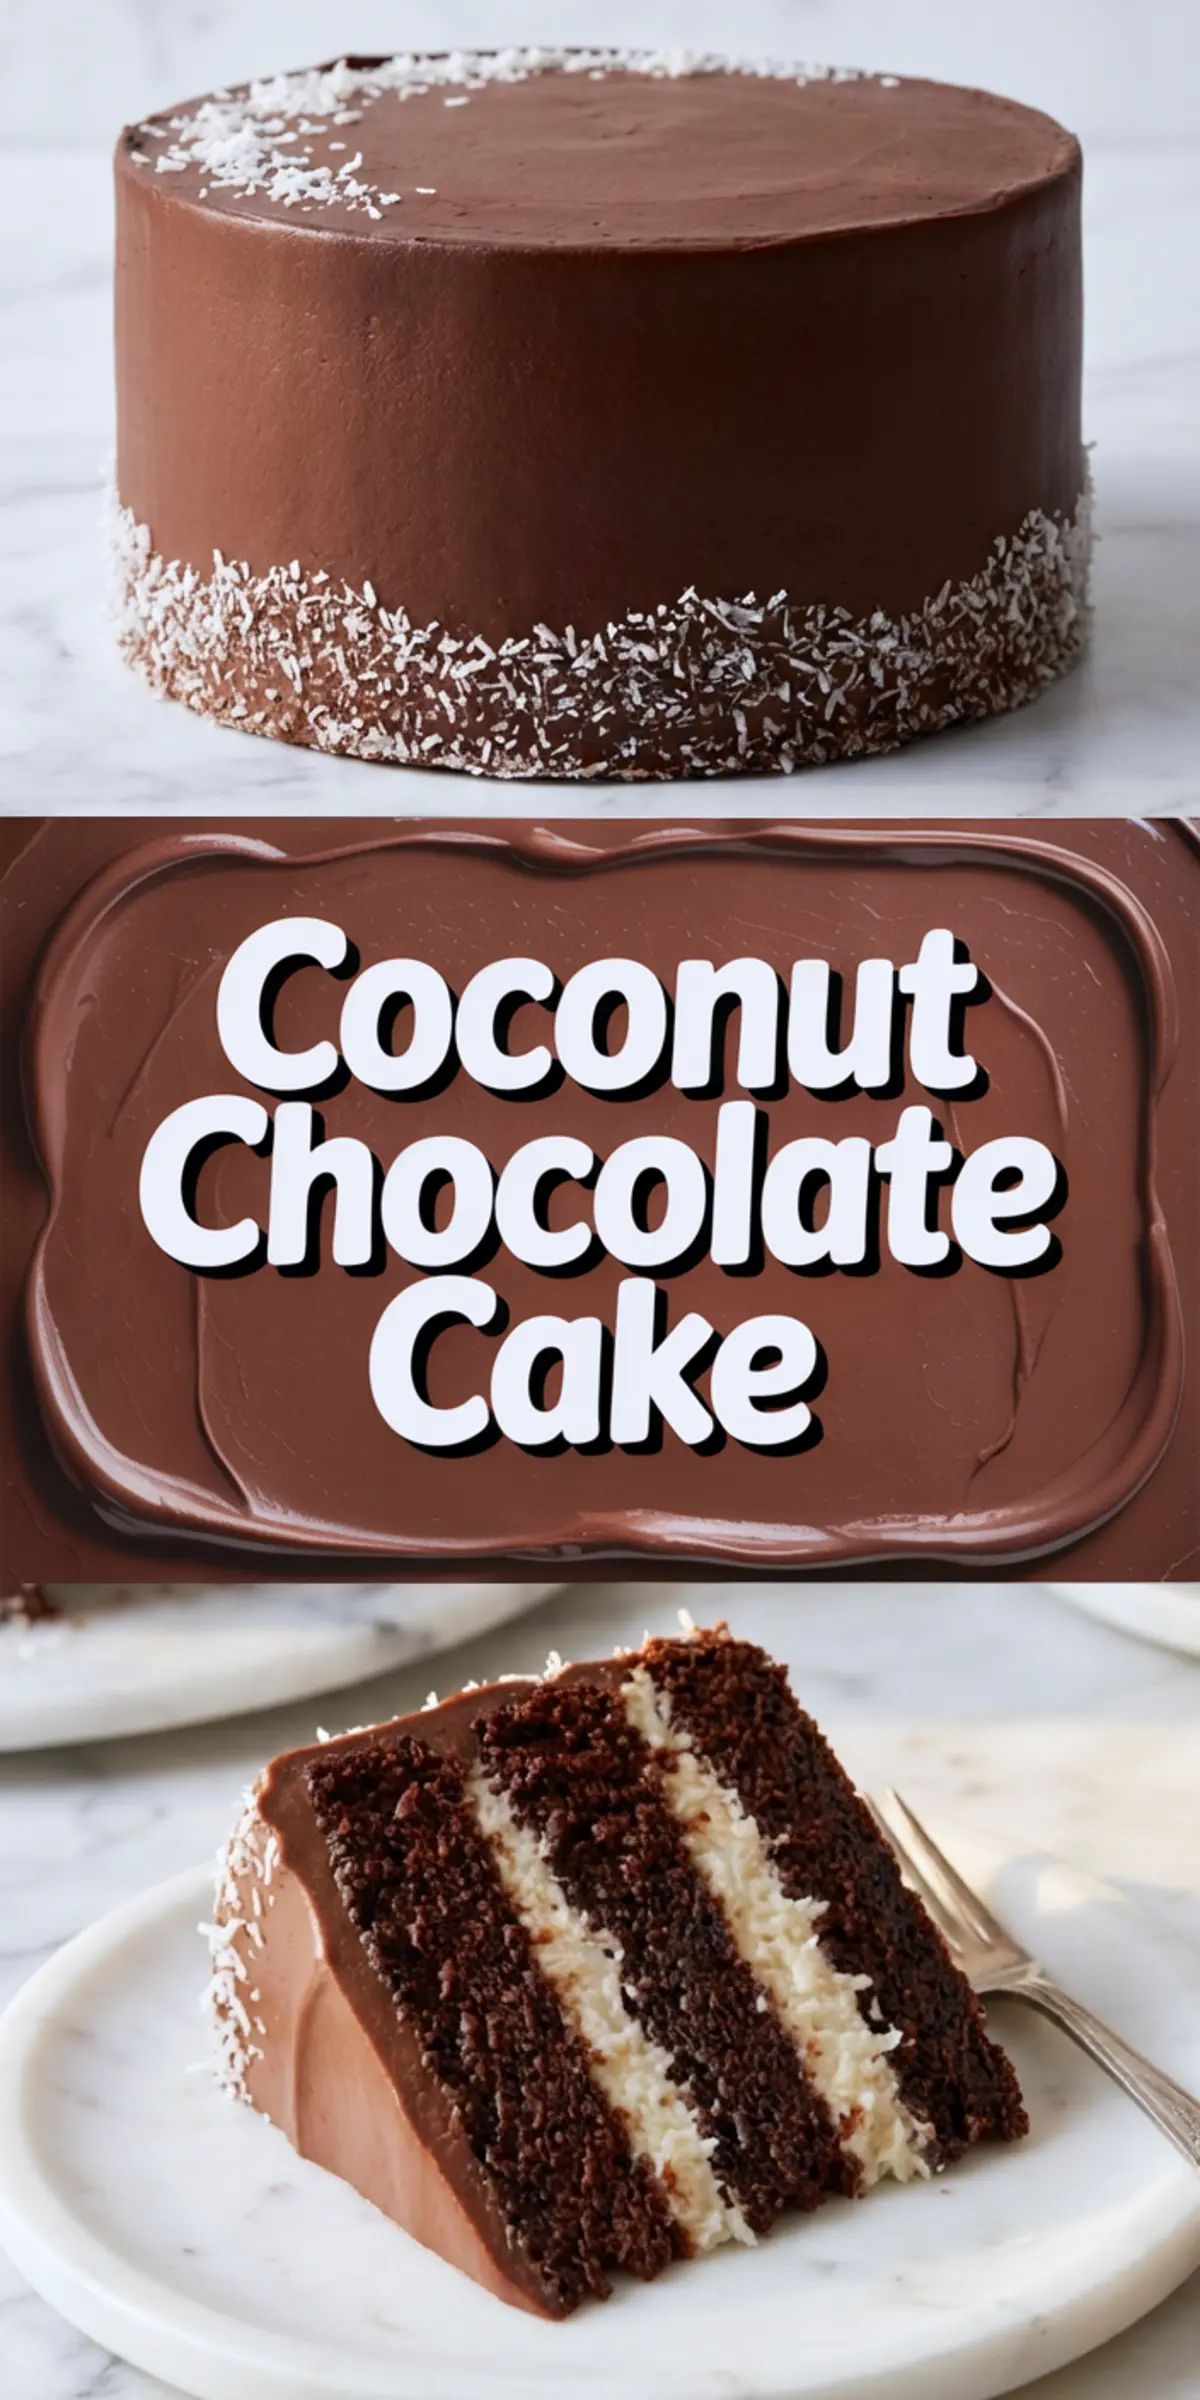
This moist chocolate coconut cake brings together soft chocolate layers, a sticky coconut filling, and fluffy chocolate frosting. Each part builds real flavor and texture, using pantry staples and no shortcuts. Whether you call it a chocolate and coconut cake, a coconut chocolate layer cake, or a chocolate coconut dessert, it works because the parts are balanced. You get depth, sweetness, and contrast in every slice.
This is a high-hydration chocolate cake, which means it uses buttermilk, eggs, oil, and hot liquid to create structure and softness. That liquid-to-flour ratio is key.
It makes a moist chocolate cake that stays tender for days. I like a 1:1 ratio of flour to liquid by weight, with a bit of extra fat from the oil and buttermilk. The cocoa binds the batter together and darkens the crumb without making it heavy. That soft base is sturdy enough to hold the coconut layer without sagging.
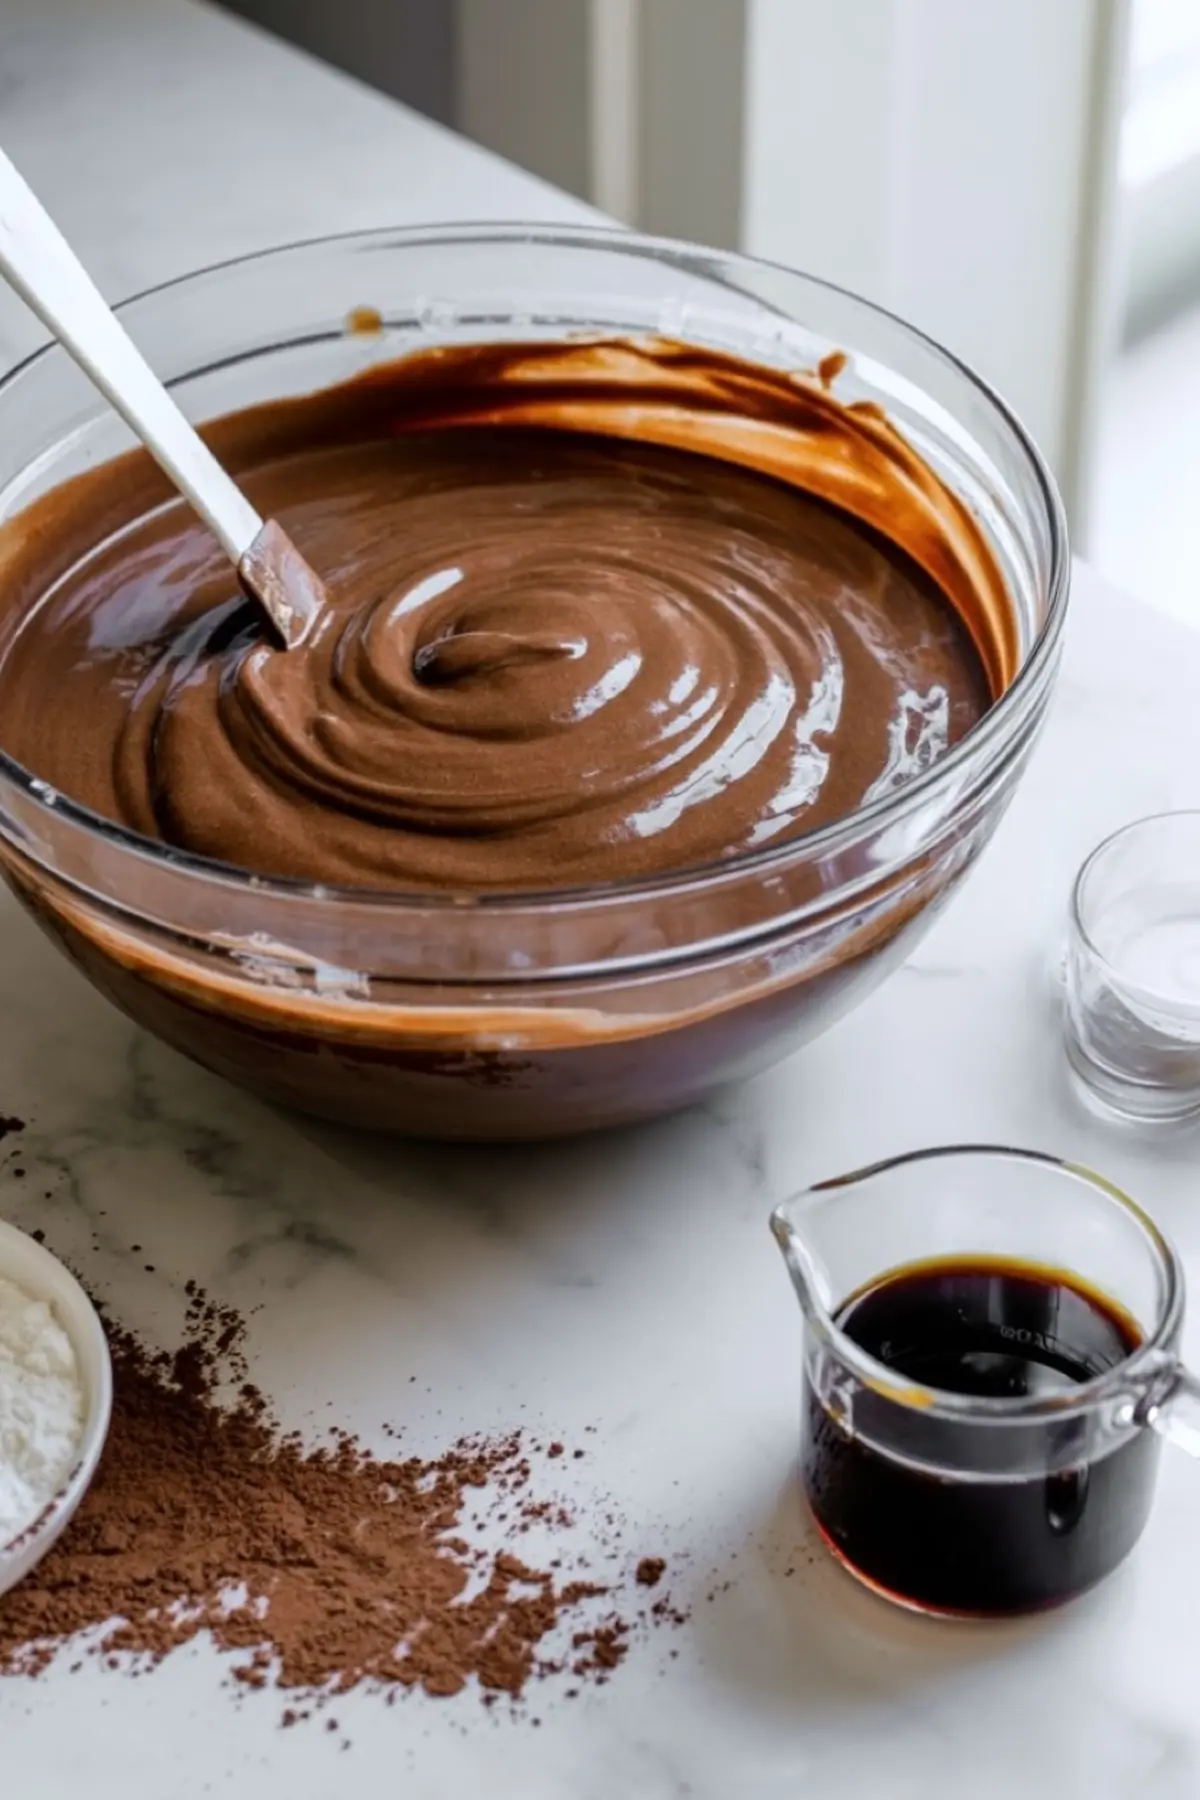
Adding hot water or brewed coffee helps bloom the cocoa. I usually go with coffee because it deepens the chocolate flavor—subtle, but you can taste the difference.
This isn’t a fluffy sponge. It’s closer to a dense chocolate coconut cake, but without being heavy or dry. The structure lets you slice clean layers, even with a creamy middle.
Ingredient Choices That Matter
All-purpose flour gives the right density. I don’t recommend cake flour here. Cocoa powder should be unsweetened, preferably Dutch-processed if you want a smoother finish and darker crumb.
Vegetable oil is my go-to for moisture. Butter can add flavor, but oil keeps the texture tender and even. For the sugar, I stick to granulated for consistency and to support the rise.
Buttermilk helps the batter hold together and gives a slight tang that offsets the sweetness. Always use room temperature eggs. They emulsify better, and the batter comes together more smoothly.
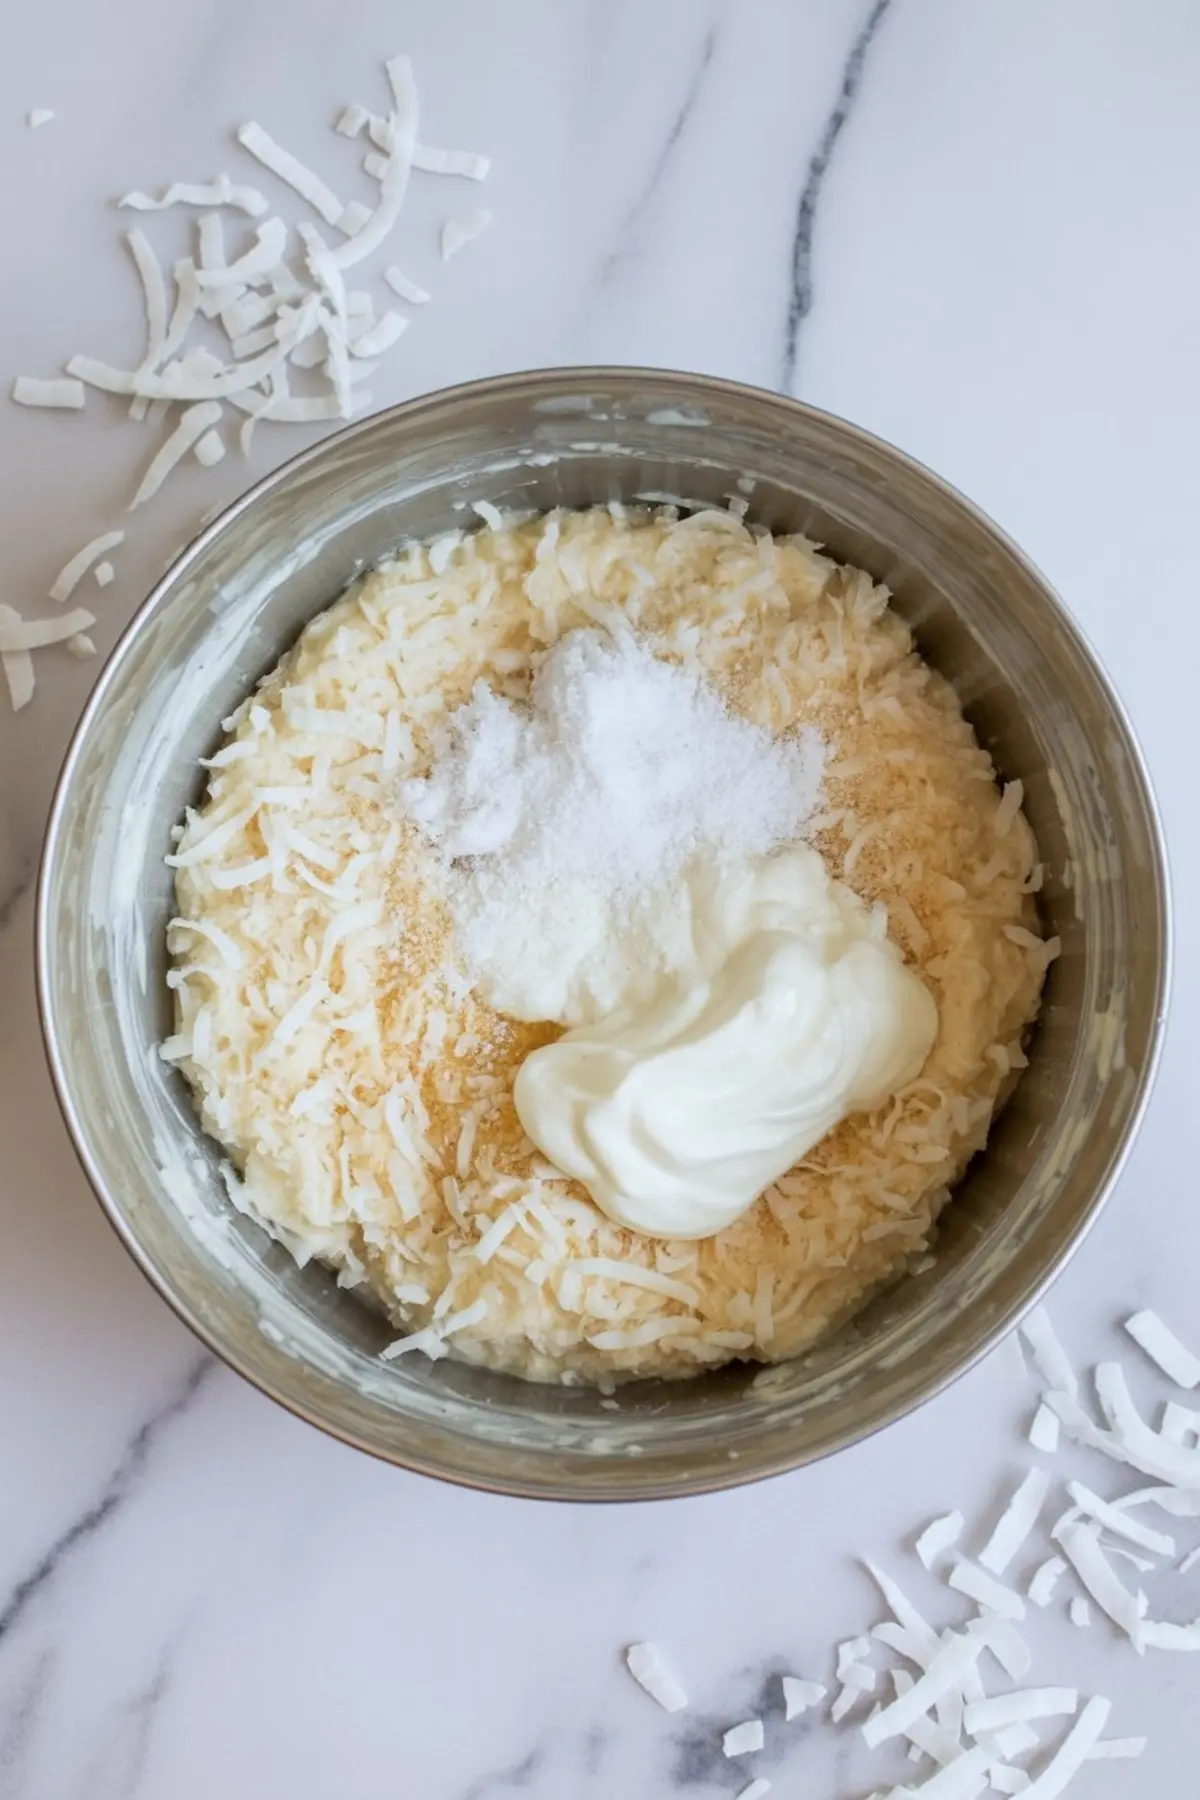
That coconut filling is simple but rich. Sweetened shredded coconut adds chew. Condensed milk thickens and binds. Vanilla deepens the flavor. I add heavy cream to loosen the texture just enough to spread.
If you want a similar coconut profile, you might like the Raffaello Cake Recipe too. It’s more delicate, but follows the same idea to balance texture with sweetness.
Cocoa Powder Deserves Its Own Spotlight
Cocoa is doing most of the flavor work here. I’ve tested this with both natural and Dutch-process, and Dutch always wins in this recipe. It gives a smoother, deeper taste. It also reacts better with the baking soda in the presence of acid from the buttermilk.
When you whisk cocoa with flour, make sure it’s fully broken down. Any clumps will stay in the batter. If you’re ever unsure, sift.
That hot water or coffee trick I mentioned? It’s one of the few things I never skip. It intensifies the flavor and helps the batter flow evenly into the pans. The smell hits you before the cakes even rise.
Step-by-Step with Visual Cues
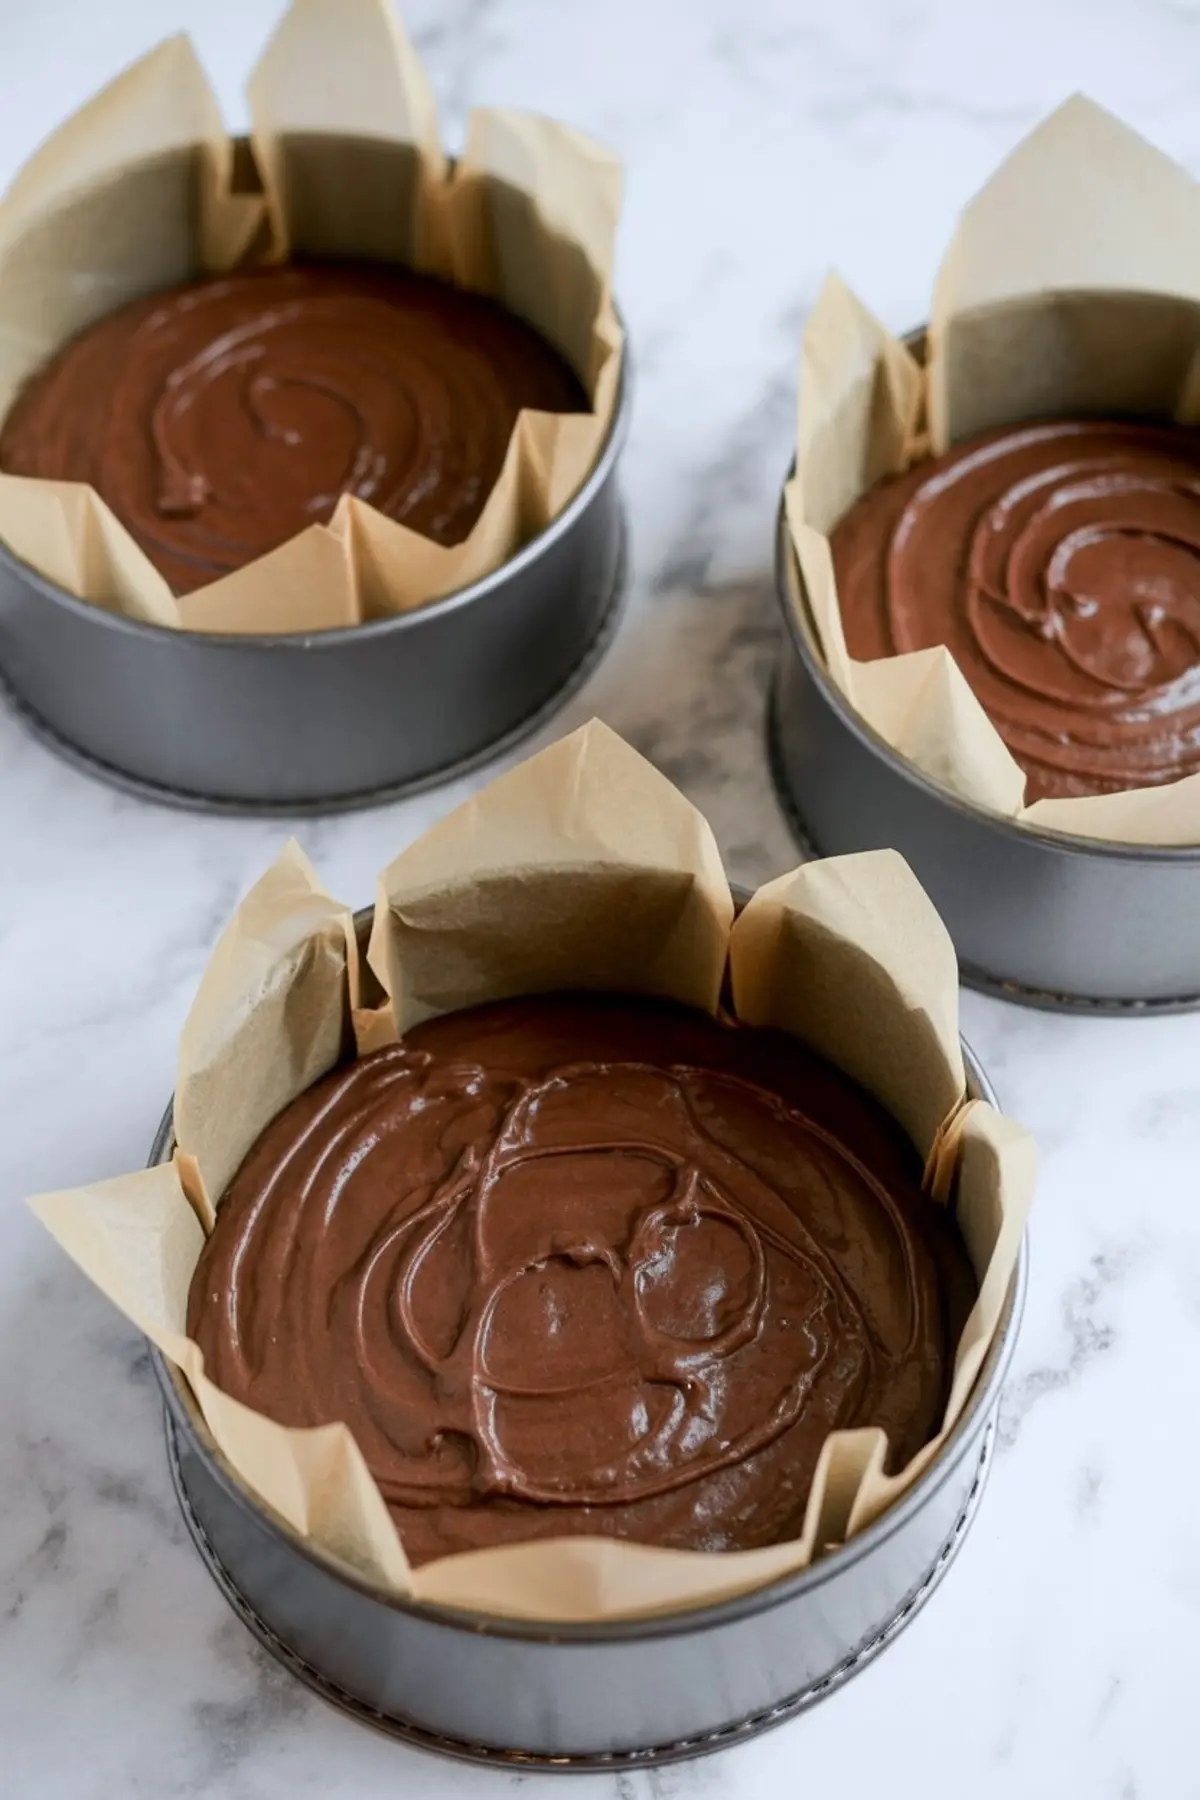
Once your batter is ready, pour it evenly into three pans. It will look thin. That’s good. This batter bakes into a soft, even crumb. Bake until a toothpick in the center comes out with a few moist crumbs.
While the cakes cool, stir the coconut filling. It should feel sticky, like soft candy, but not runny. Let it sit 10 to 15 minutes to thicken. That’s when the coconut absorbs some of the liquid and becomes spreadable.
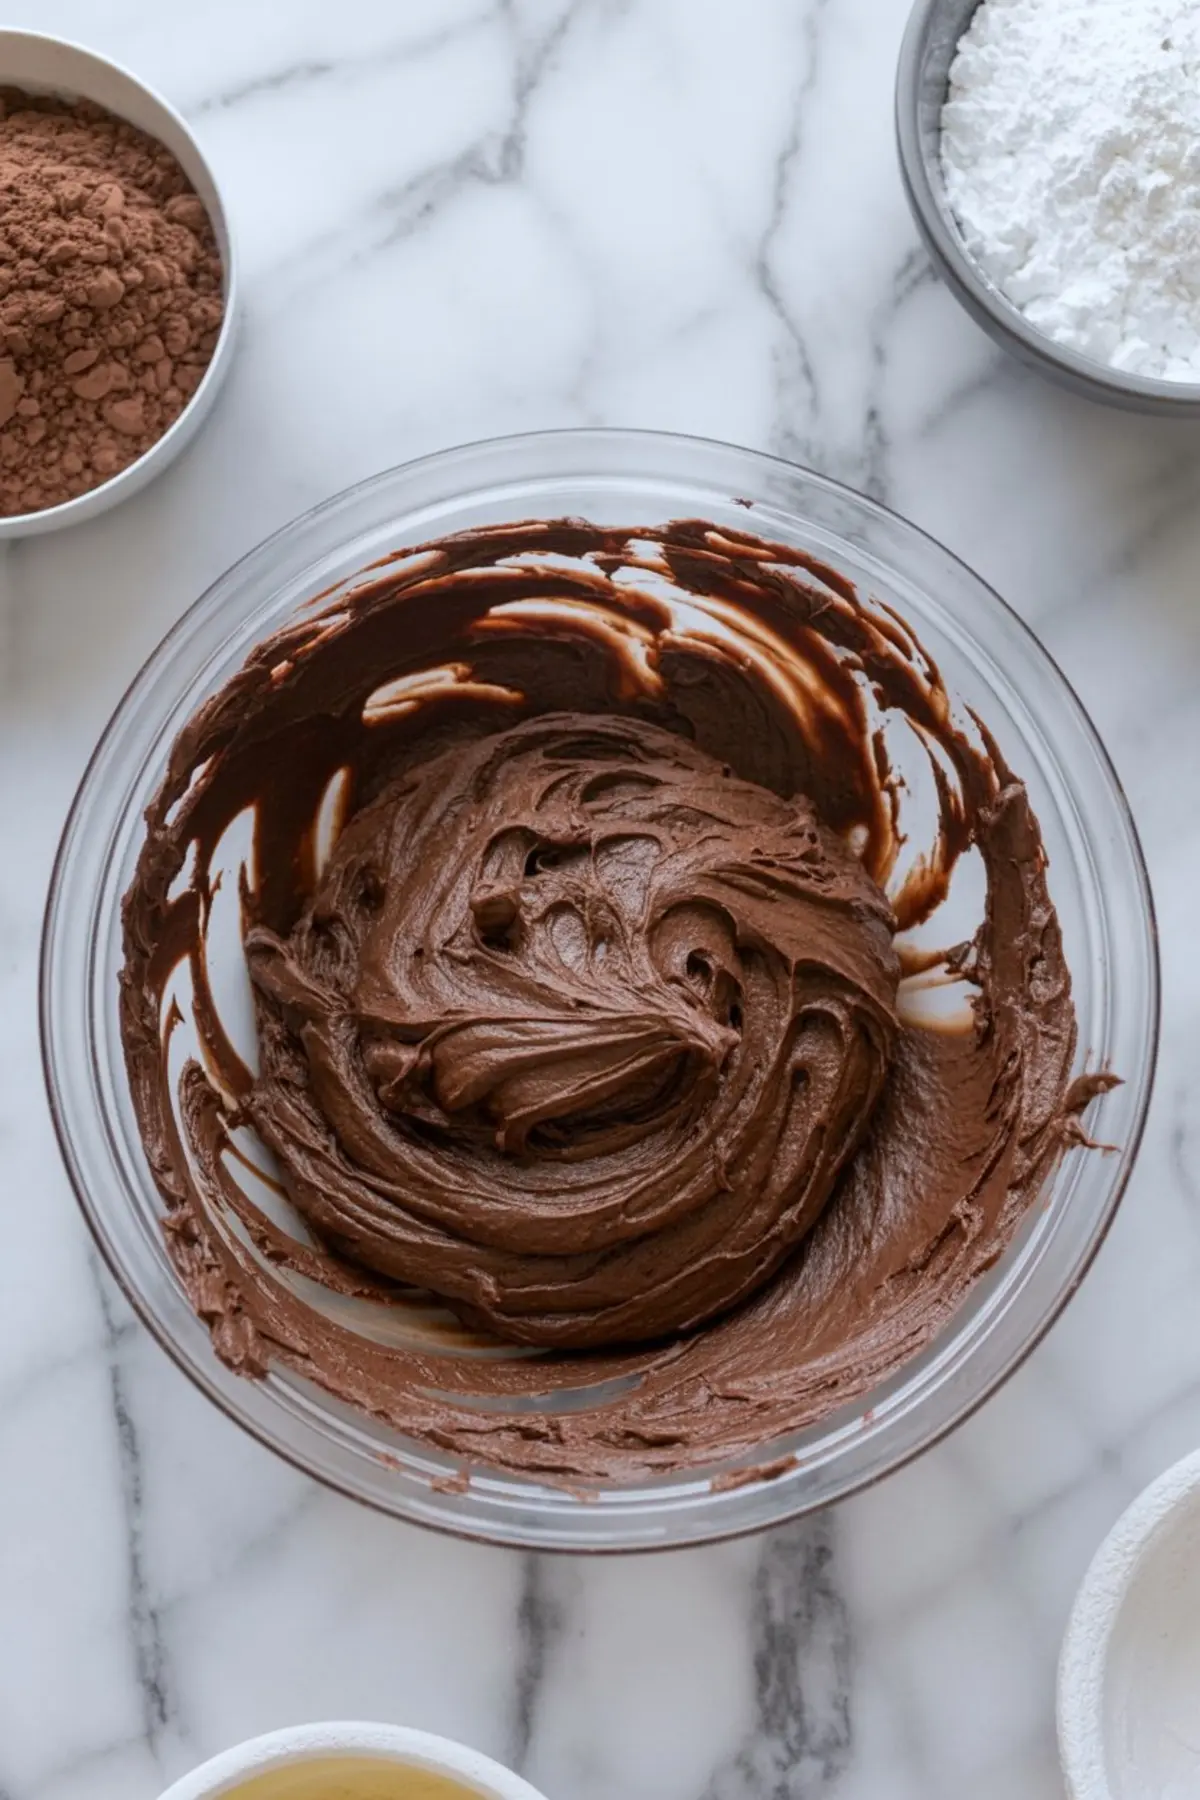
The frosting starts with room-temp butter. Beat it smooth before adding cocoa and powdered sugar. Use low speed to start, then increase. You want a creamy, pipeable texture. If it looks dry, a splash of milk fixes it.
For the frosting that’s fast and silky, try my Quick Chocolate Frosting. It’s a 10-minute lifesaver.
Know When It’s Done
A good chocolate cake should spring back when gently pressed. A toothpick test helps, but I look for a slightly matte surface and a light pull at the edges of the pan.
The coconut filling should hold its shape on a spoon without sliding off. The frosting should spread without tearing the cake if it does, soften it slightly.
Overbaked layers dry out fast, especially with cocoa-heavy batters. Keep a timer close. Underbaked ones sink. You’ll learn the right spot by look and feel.
Variations to Try
Swap the shredded coconut for toasted coconut if you want more texture and a nuttier flavor.
Use coconut milk in place of heavy cream in the filling for a deeper coconut profile.
Add a layer of ganache under the coconut filling to create contrast and richness.
Turn this into a sheet cake and swirl the filling and frosting over the top for a casual version. I do this sometimes when I’m short on time.
For more inspiration, check out my Chocolate Eclair Cake for a creamy, layered twist.
Storage and Freshness
This cake holds well. At room temperature, you can keep it for one day, covered. In the fridge, it lasts up to 4 days, but bring to room temp before serving for best texture.
You can freeze individual slices. Wrap tightly and freeze for up to one month. Let thaw in the fridge overnight. The coconut filling stays chewy even after freezing, which surprised me the first time I tested it.
My Best Tips from the Kitchen
Grease and line your pans with parchment. It’s the only way I’ve ever gotten clean layers with this batter.
Let the cake chill for 20 minutes before slicing. It keeps the layers neat and helps the filling stay in place.
Use brewed coffee instead of water. It makes the chocolate richer without tasting like coffee.
Beat the frosting longer than you think. That extra minute adds real fluff.
Don’t skip the salt in the frosting. Just a pinch wakes up the chocolate.
Ways to Serve This Cake
Add toasted coconut flakes around the base for texture. Top with fresh raspberries or cherries for contrast.
Slice and layer into jars for a portable dessert. Serve with unsweetened whipped cream if you want to balance the sweetness. Use as a celebration cake with candles and cocoa-dusted plates.
Save This Recipe and Share Your Take
Pin this chocolate coconut cake to your Coconut Cakes or Chocolate Cake board so you can find it again later.
And let me know in the comments. did you make any changes? Did you try it with ganache or toasted coconut? I’d love to hear.
Chocolate Coconut Cake Recipe

Bake this rich and moist chocolate coconut cake for a bold twist on a classic dessert. The deep flavor of chocolate cake meets sweet shredded coconut for a satisfying texture. Topped with silky chocolate frosting, this is the ultimate chocolate and coconut cake for birthdays, holidays, or anytime indulgence. If you love a decadent chocolate cake with coconut, this one-bowl wonder delivers. Try it as a layer cake or simple sheet pan treat using your go-to coconut cake recipe base.
Ingredients
- FOR THE CHOCOLATE CAKE
- 2 cups (240g) all-purpose flour
- ¾ cup (65g) unsweetened cocoa powder
- 2 tsp baking soda
- 1 tsp baking powder
- ½ tsp salt
- 2 cups (400g) granulated sugar
- 1 cup (240ml) vegetable oil
- 1 cup (240ml) buttermilk, room temperature
- 1 cup (240ml) hot water or brewed coffee
- 2 large eggs, room temperature
- 2 tsp vanilla extract
- FOR THE COCONUT FILLING
- 2 cups (160g) sweetened shredded coconut
- 1 can (14 oz/396g) sweetened condensed milk
- 1 tsp vanilla extract
- ¼ cup (60ml) heavy cream
- FOR THE CHOCOLATE FROSTING
- 1 cup (225g) unsalted butter, room temperature
- ¾ cup (65g) unsweetened cocoa powder
- 3 ½ cups (420g) powdered sugar
- ⅓ cup (80ml) whole milk
- 2 tsp vanilla extract
- Pinch of salt
Instructions
- PREPARE THE CAKE PANS: Preheat the oven to 350°F (175°C). Grease three 8-inch round cake pans and line the bottoms with parchment paper to ensure easy release after baking.
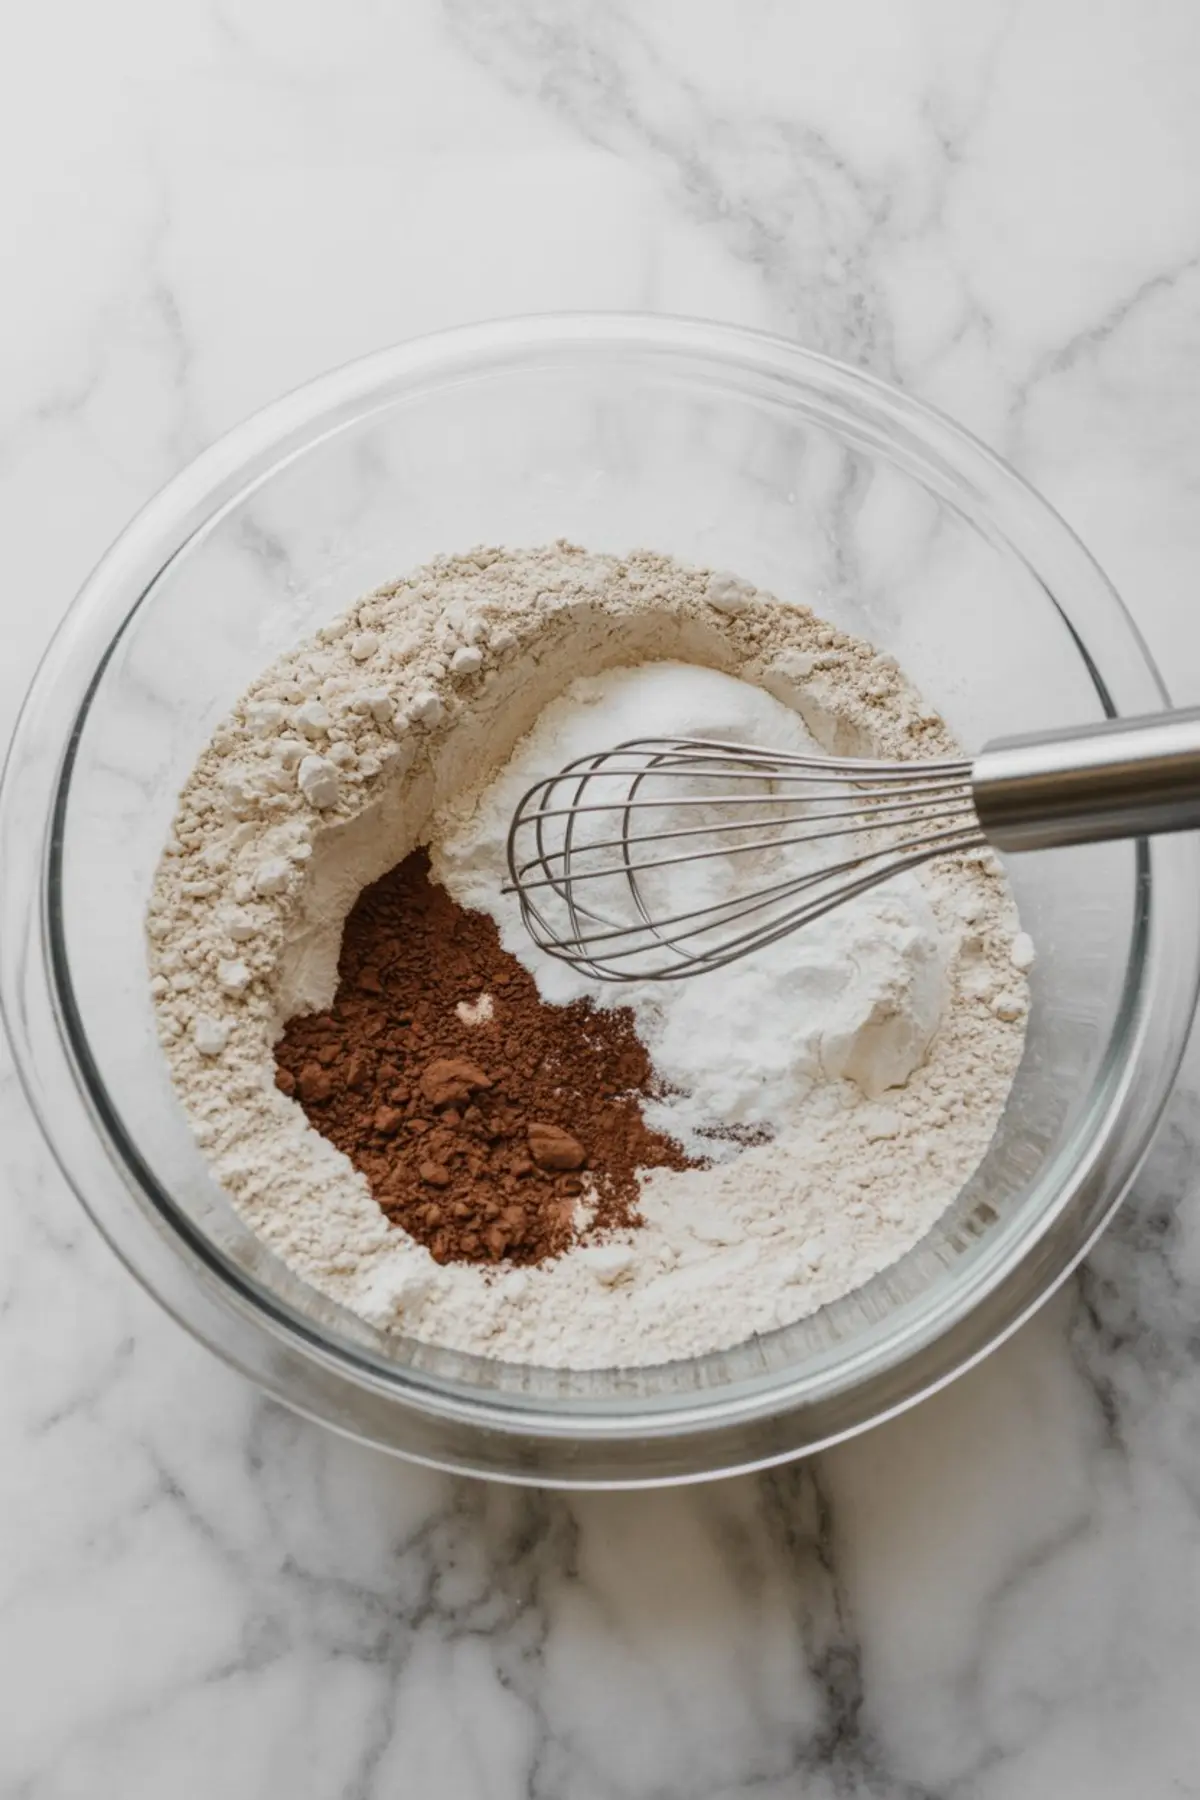
- MIX THE DRY INGREDIENTS: In a large mixing bowl, whisk together the flour, cocoa powder, baking soda, baking powder, and salt until well combined.
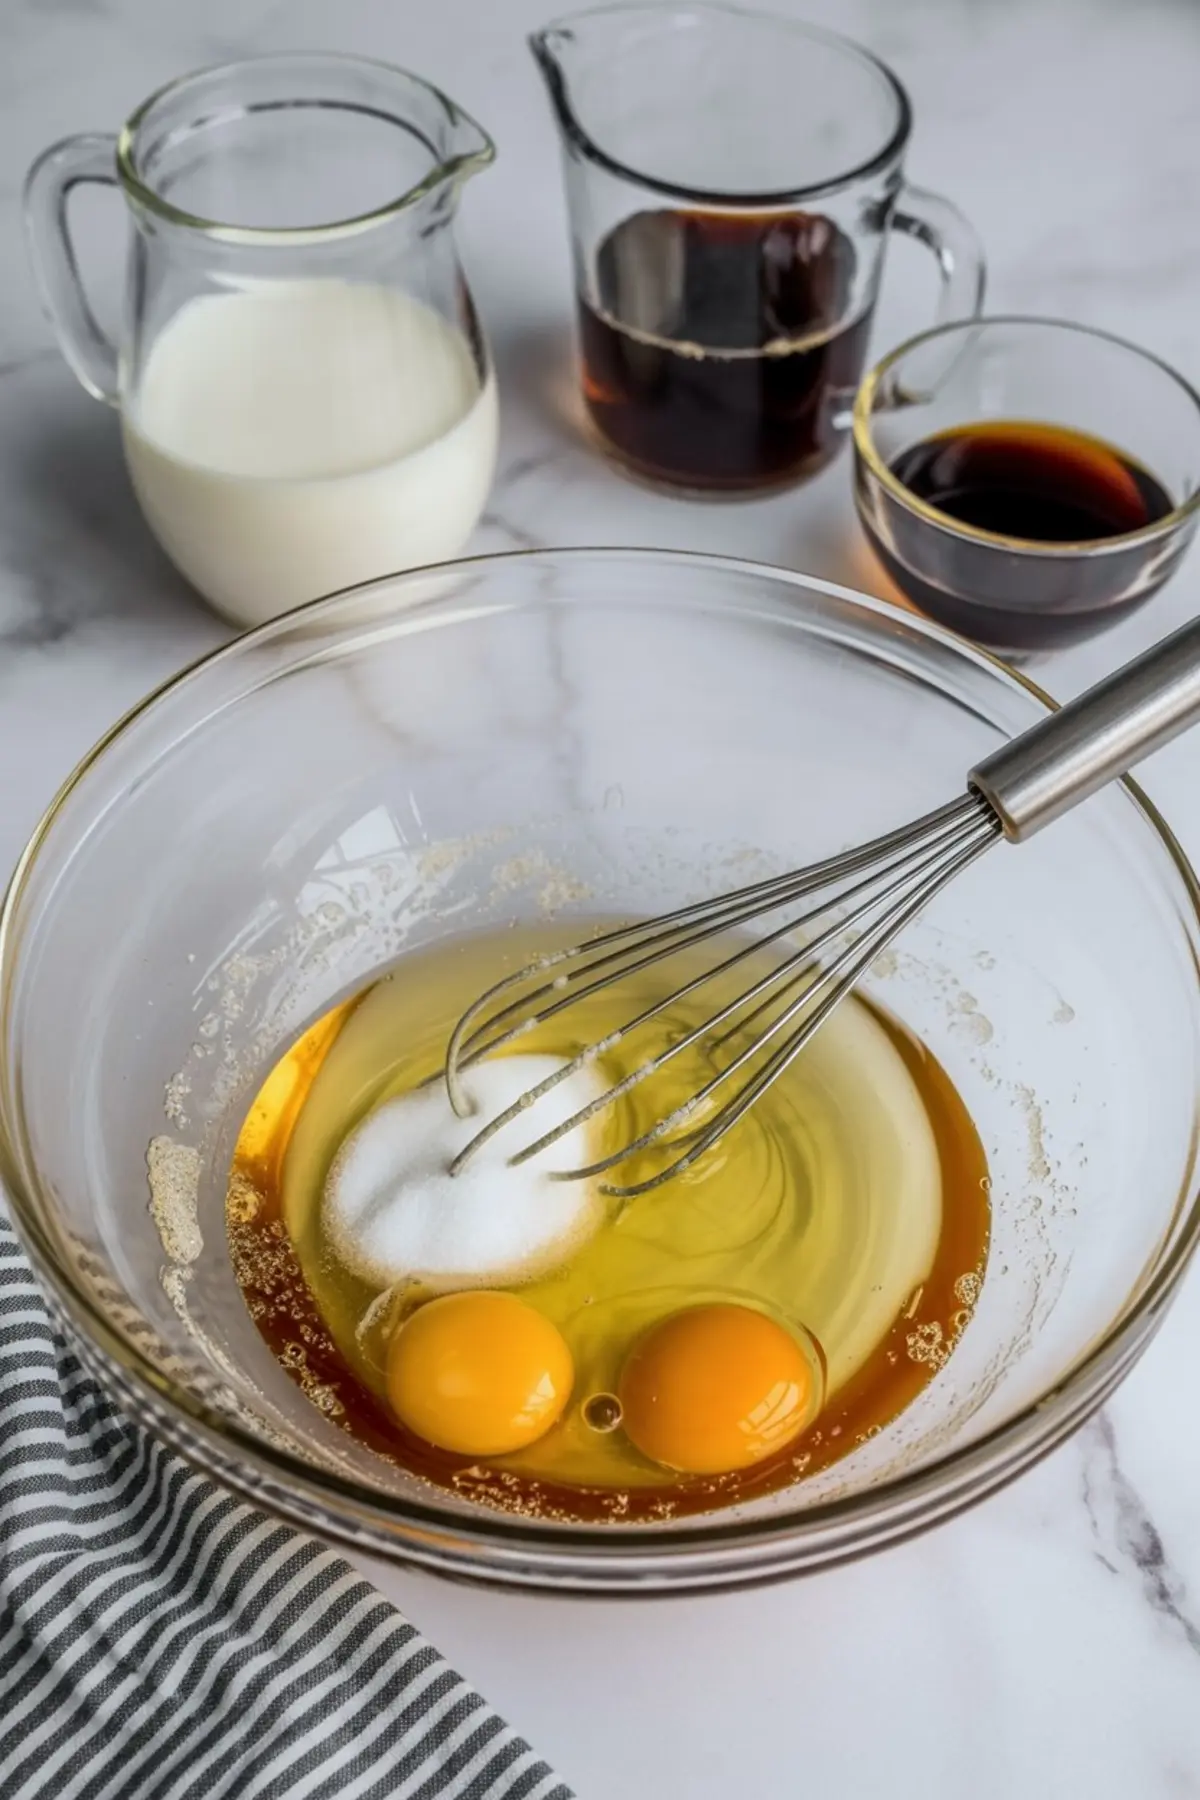
- COMBINE WET INGREDIENTS: In a separate large bowl, whisk together the sugar, vegetable oil, eggs, and vanilla extract until smooth. Stir in the buttermilk until fully incorporated.
- ADD DRY TO WET: Gradually add the dry ingredients to the wet mixture, mixing just until the batter is combined. Slowly pour in the hot water or coffee, stirring gently until the batter is smooth and thin.
- BAKE THE CAKE LAYERS: Divide the batter evenly among the prepared pans. Bake for 25 to 30 minutes or until a toothpick inserted into the center comes out clean. Let the cakes cool in the pans for 10 minutes, then transfer to wire racks to cool completely.
- MAKE THE COCONUT FILLING: In a medium bowl, stir together the shredded coconut, sweetened condensed milk, vanilla extract, and heavy cream until fully combined. Let the mixture sit for 10 to 15 minutes to thicken slightly. It should be sticky but spreadable.
- PREPARE THE FROSTING: In a large bowl, beat the butter with an electric mixer on medium speed until light and creamy. Sift in the cocoa powder and powdered sugar. Add the milk, vanilla, and salt, then beat until the frosting is smooth and fluffy. Add a small amount of additional milk if needed to adjust the consistency.
- ASSEMBLE THE CAKE: Place one cake layer on a serving plate or cake stand. Spread half of the coconut filling evenly over the top, reaching the edges. Place the second cake layer on top and repeat with the remaining coconut filling. Top with the final cake layer.
- FROST THE CAKE: Use an offset spatula to frost the top and sides of the cake with the chocolate buttercream. Smooth the surface for a clean finish. Press extra shredded coconut around the base of the cake for decoration, if desired.
Notes
Use brewed coffee instead of hot water to enhance the chocolate flavor. For clean layers, chill the cake slightly before slicing.
Nutrition Information
Yield
14Serving Size
1Amount Per Serving Calories 988Total Fat 48gSaturated Fat 21gUnsaturated Fat 27gCholesterol 72mgSodium 504mgCarbohydrates 126gFiber 10gSugar 77gProtein 12g