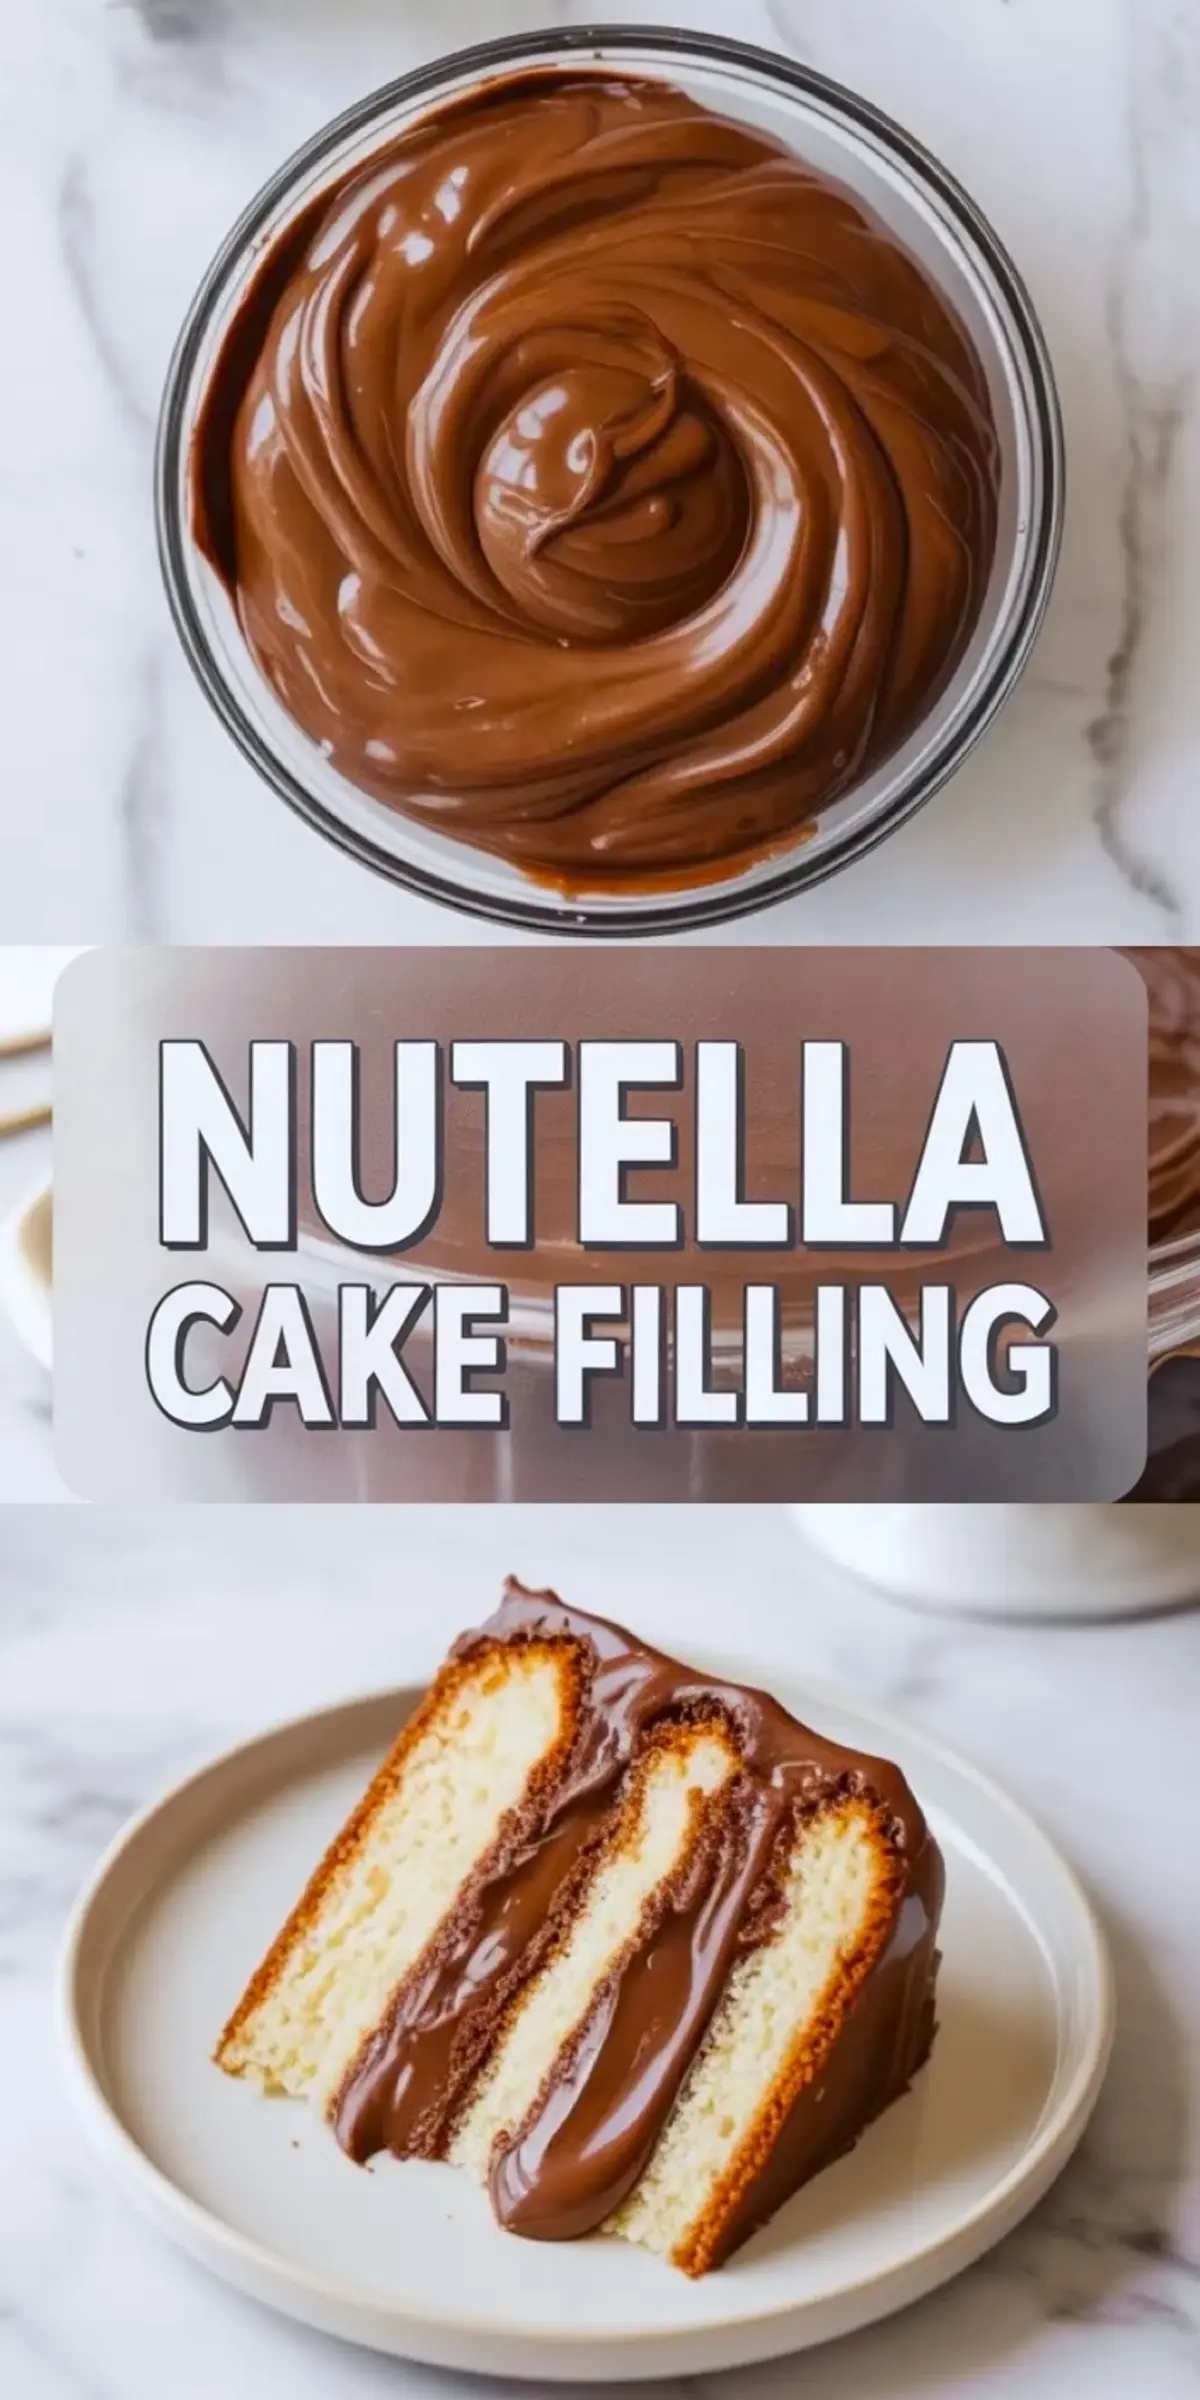
This Nutella cake filling blends mascarpone, Nutella, and cream into a thick, stable layer that works in chocolate Nutella cake, Nutella birthday cake, or any Nutella cake recipe you’re building from scratch. The texture holds between layers without sliding, and the flavor leans rich rather than overly sweet. You can use this in Nutella frosting recipes, pipe it into cupcakes, or swirl it into a Nutella fudge base.
Following a special diet?
Every recipe on this site can be converted to gluten-free, vegan, dairy-free, keto, nut-free or egg-free with adjusted ratios so nothing falls flat.
Try the Recipe Converter →The key to structure lies in the balance between mascarpone and cream. Whipped cream alone would be too airy, while pure Nutella would be too dense. But mascarpone provides body and a clean, slightly tangy finish that keeps the sweetness in check.
I use cold mascarpone straight from the fridge. That firmness prevents the filling from turning soupy when mixed with Nutella. The texture starts soft but thickens slightly as it chills, which makes it easy to spread or pipe.
You end up with a filling that stays where it’s supposed to. No slumping. No ooze.
Ingredient Choices That Matter
Mascarpone brings both stability and flavor. It has a cleaner finish than cream cheese, which can overwhelm Nutella in milder desserts. Use a full-fat version, not a light one. Some tubs are more watery than others, so if yours seems loose, skip the cream entirely.
Nutella must be at room temperature. Cold Nutella clumps and refuses to blend. Warm Nutella turns the mix too thin. Just soft enough to stir, not runny.
The heavy cream should be fresh and full-fat. I avoid ultra-pasteurized cream if I can help it—it takes longer to whip and sometimes leaves a slightly waxy finish. If needed, use half the cream and fold in stiffly whipped cream at the end for extra loft.
A tiny bit of vanilla pulls everything together. A pinch of salt can tame the sweetness, especially if you plan to pair it with Nutella buttercream frosting.
Why Mascarpone Beats Cream Cheese Here
I’ve tested both. Cream cheese makes the filling heavier and slightly sour, which works well in cheesecake-style frostings but not here. Mascarpone melts into the Nutella without clashing.
When you beat mascarpone for too long, it breaks. You’ll know you’ve gone too far if it looks grainy or starts to release liquid. That’s hard to fix. So I keep the mixer on low and stop as soon as it’s smooth. No overthinking. Just a gentle whip.
If you need a substitute, use a thick, Greek-style full-fat yogurt cheese or skyr but know the tang will be more pronounced. It won’t be as neutral.
How to Mix and Whip This Filling
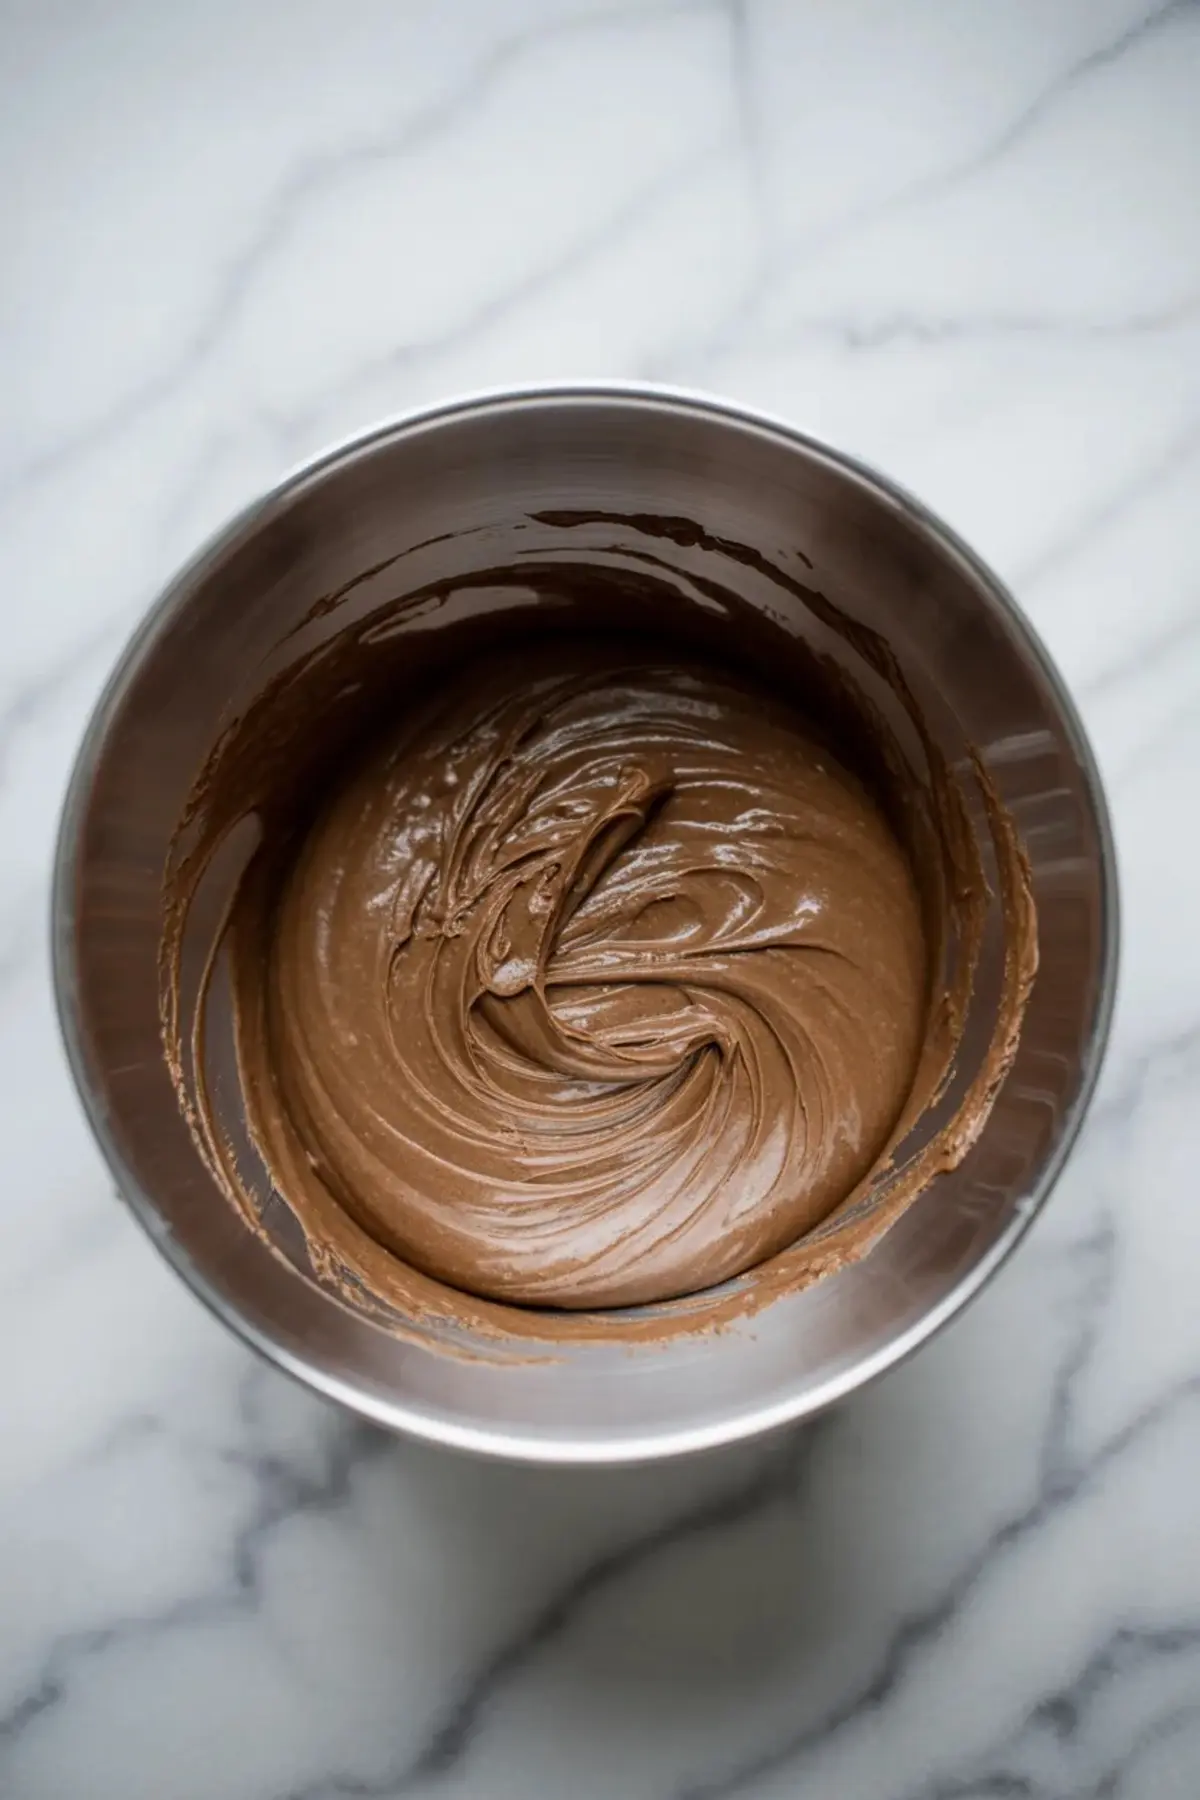
The mascarpone goes in first. Whip just to smooth it out. I never go over 30 seconds. Then add the Nutella, scraping down the sides of the bowl so nothing gets stuck underneath. You want an even color without visible streaks.
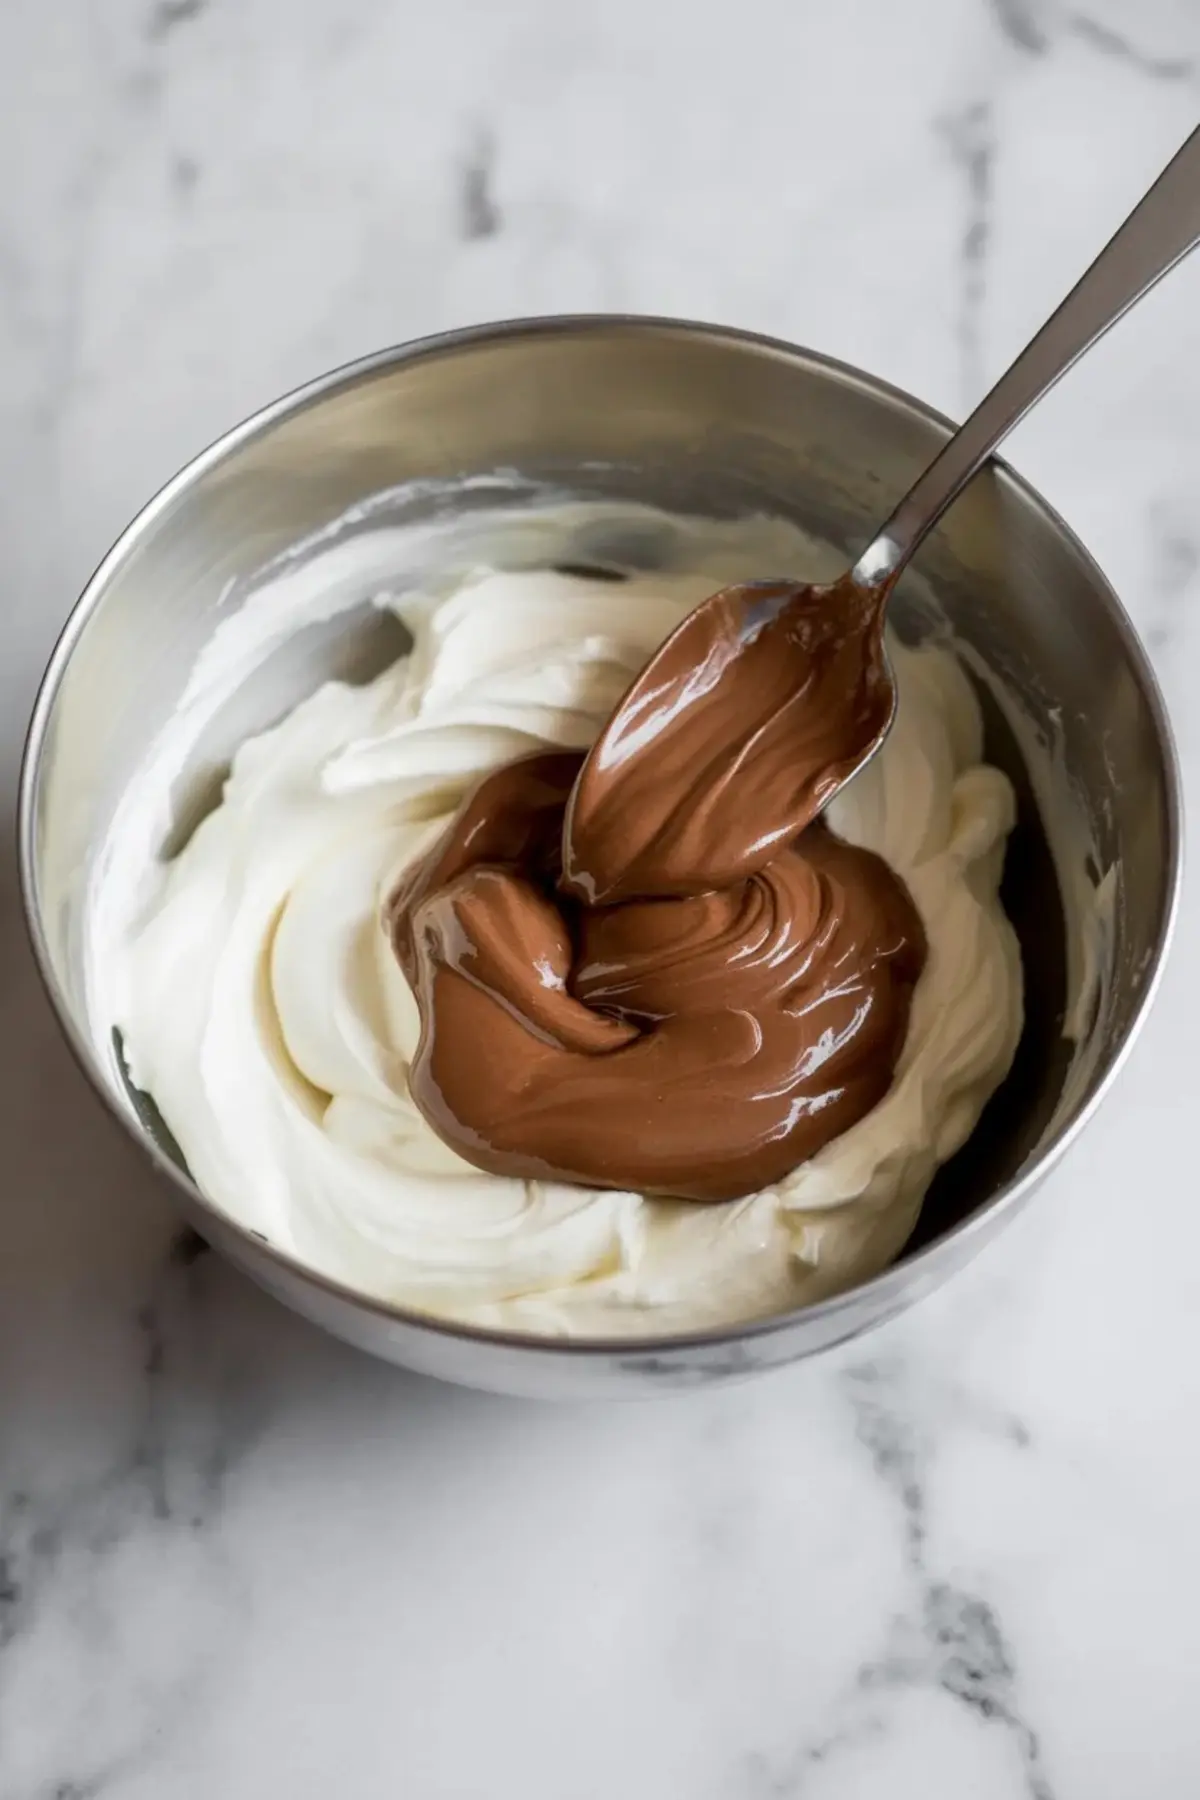
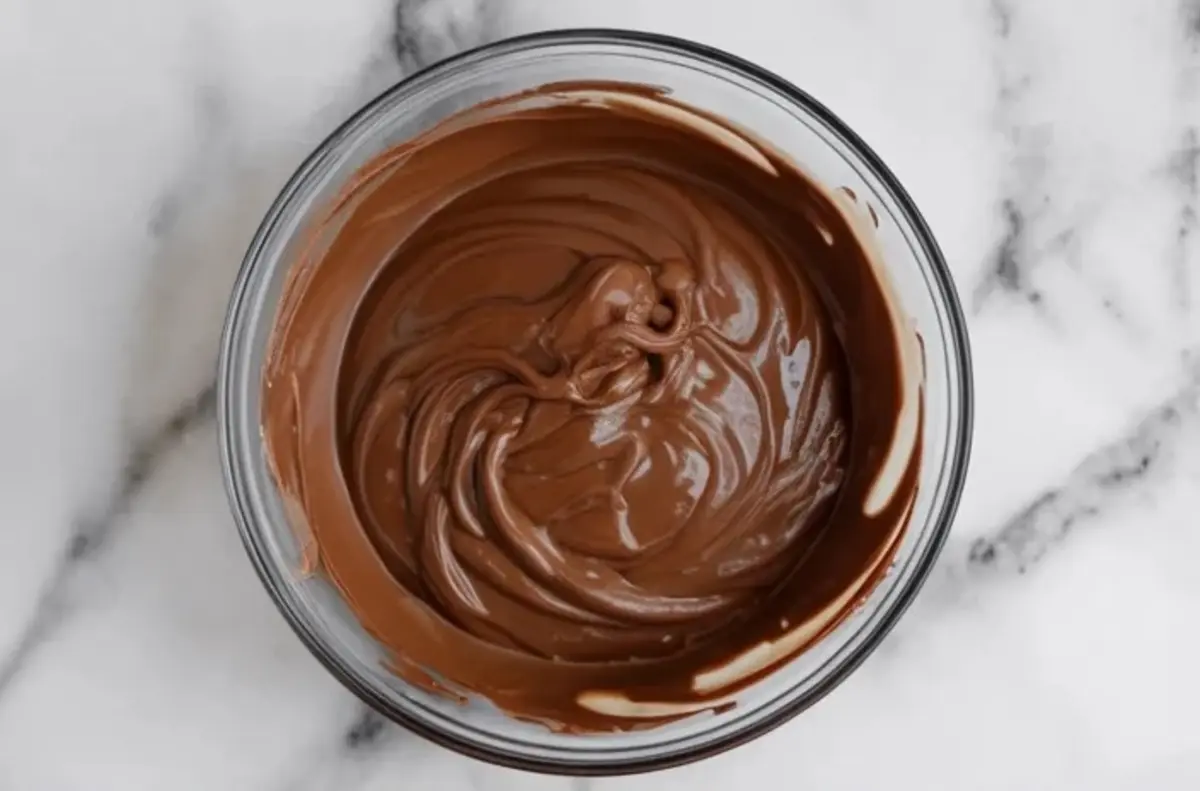
The cream comes last. I drizzle it in slowly. If you pour it all at once, the filling can break. Once all the cream is in, the texture changes. I stop as soon as it holds soft peaks. You’ll see gentle swirls form across the surface of the bowl.
If you’re making something like these Banana Nutella Muffins, a thicker version of this filling works well in the center.
Checking for the Right Consistency
A good filling will look fluffy but not bubbly. It should hold its shape on a spatula and spread like soft butter. If it droops, it needs more chill time. If it’s too stiff, let it sit at room temperature for 10 minutes and stir gently before using.
Avoid over-whipping after adding the cream. That can create an oily texture and ruin the structure. I watch the peaks closely. As soon as it thickens, I stop.
If Something Goes Wrong
If the filling turns grainy, the mascarpone was likely overbeaten or too warm. You can try stirring in a bit more cold cream, but results vary.
If it’s runny, refrigerate it for 30 minutes. Don’t add more mascarpone unless you want to re-whip the whole batch.
If the flavor seems flat, add a second splash of vanilla or a dash of espresso powder. That boosts the chocolate notes in Nutella.
If it tastes too sweet, pair it with a less sugary cake like Nutella Bomboloni, where the dough balances the richness.
Flavor and Texture Variations
For a firmer texture, use only 2 tablespoons of cream instead of half a cup.
Add 1 tablespoon of cocoa powder for a deeper chocolate Nutella cake filling.
Stir in finely chopped hazelnuts or use crunchy Nutella if you’re adding texture to a Nutella Berry Breakfast Quesadilla.
A swirl of raspberry jam can cut through the richness if you’re layering this in a spring cake.
Storage and Shelf Life
In the fridge, this filling lasts up to 2 days. Keep it in an airtight container.
If it firms up too much, let it sit out for 15 to 20 minutes before using. I never microwave it, it ruins the texture.
I don’t freeze this one. The mascarpone texture breaks once thawed. If you must prep ahead, make the base a day before and whip again just before filling.
Tested Tips for Best Results
Use a stand mixer with a paddle attachment, not a whisk. That prevents over-aeration.
Always taste the mascarpone before starting. If it smells sour, toss it. Freshness matters.
Let the Nutella sit on the counter for 20 minutes before mixing.
Don’t skip the salt if you’re using this inside a very sweet chocolate Nutella cake. It adds needed contrast.
Save This Nutella Filling Recipe
Save this to your Nutella desserts board so you don’t lose it. And if you try it inside a different Nutella cake recipe or create a variation, share it in the comments. I’d love to hear how you’re using it.
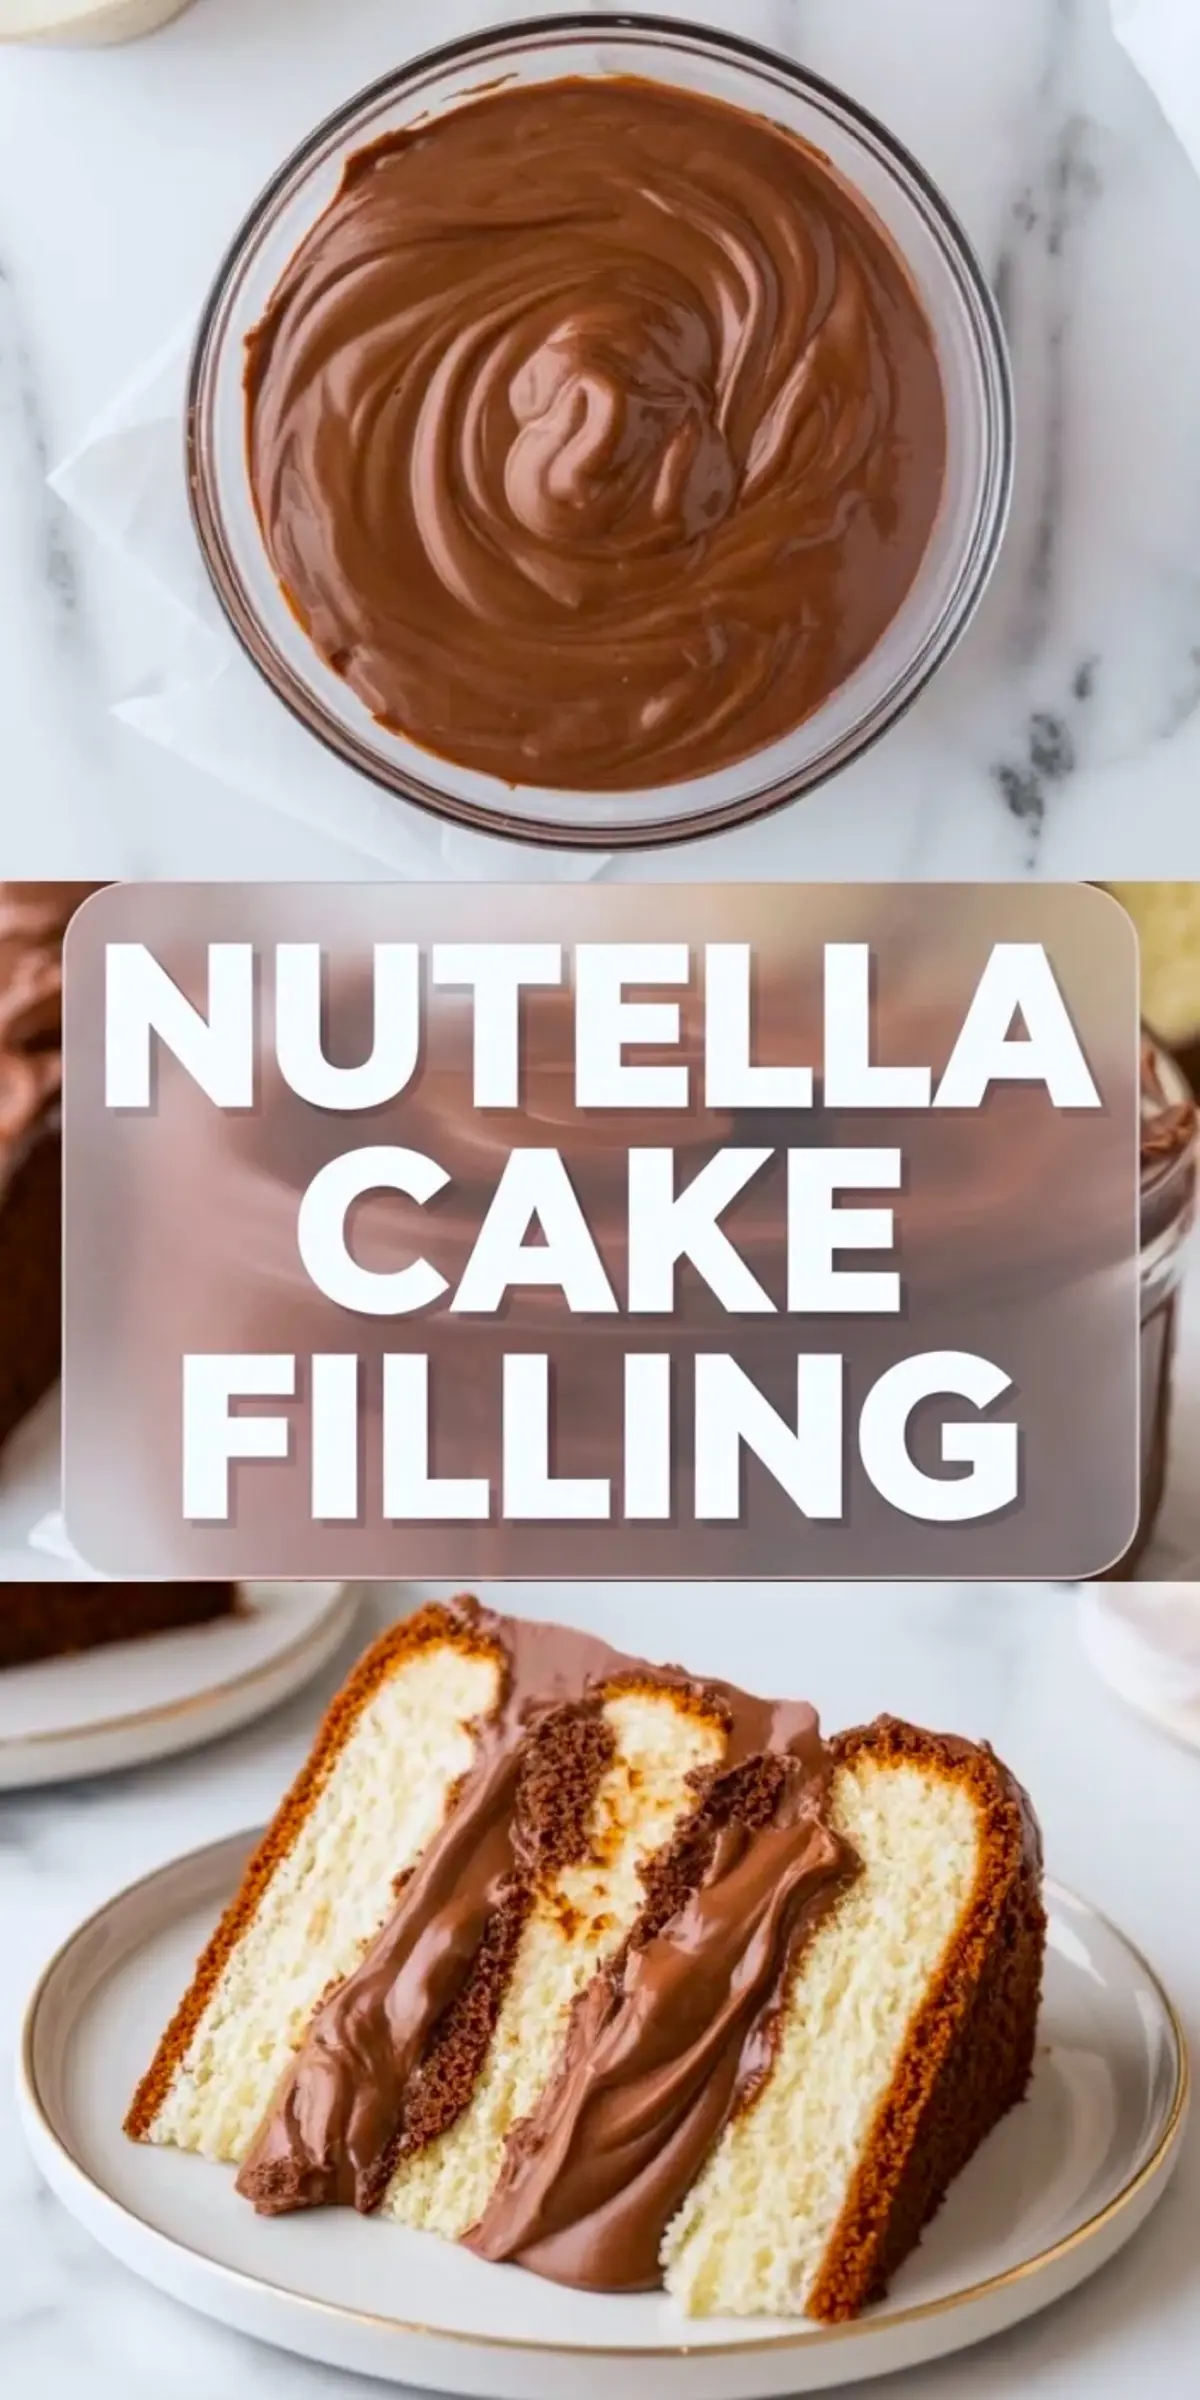
Nutella Cake Filling
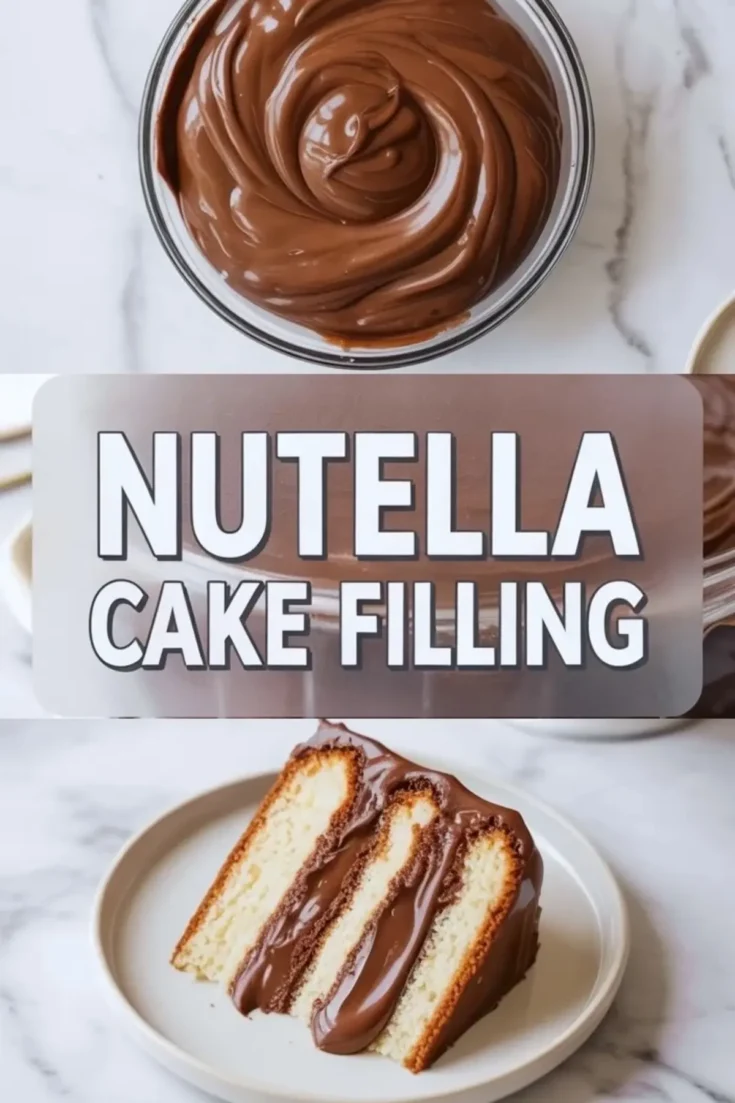
This Nutella cake filling delivers a thick, creamy texture that works well in chocolate Nutella cake, sandwich cakes, or stuffed cupcakes. Use this in any Nutella desserts or combine it with Nutella buttercream frosting for a richer finish. Based on a classic homemade Nutella cake recipe, this filling holds its shape between layers and enhances flavor. Works with Nutella icing, Nutella fudge, or inside a Nutella birthday cake. Simple to make, easy to use, and full of flavor.
Ingredients
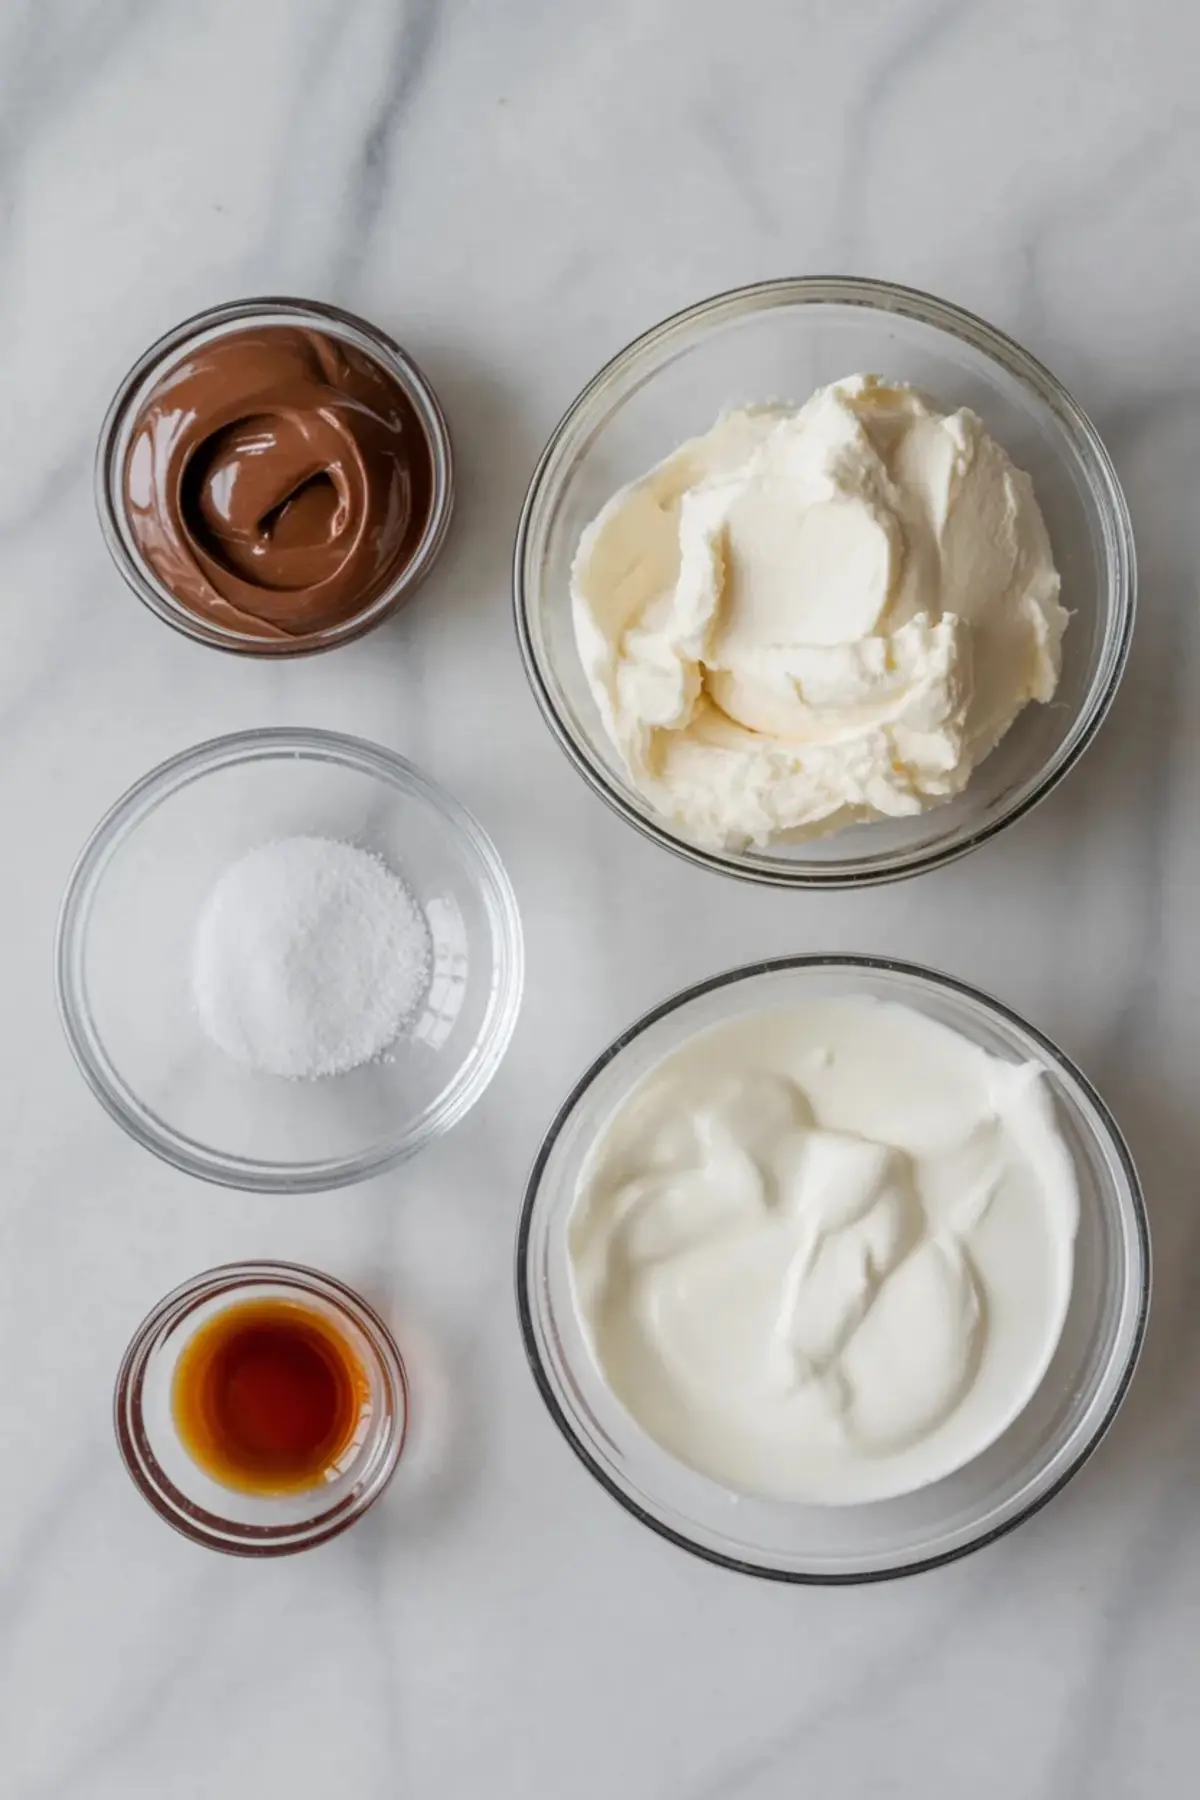
- 1 cup Nutella (room temperature)
- 8 oz mascarpone cheese (cold, straight from the fridge)
- 1/2 cup heavy whipping cream
- 1/2 tsp vanilla extract
- Pinch of salt (optional)
Instructions
- WHIP THE MASCARPONE: Place the mascarpone cheese in a medium mixing bowl. Use a hand mixer or a stand mixer fitted with a paddle attachment to whip the mascarpone on low to medium speed for about 30 seconds, just until smooth. Avoid overmixing to prevent curdling.
- ADD NUTELLA: Add the Nutella to the mascarpone and mix on medium speed until fully combined. Scrape down the sides of the bowl to ensure a uniform texture with no streaks.
- POUR IN THE CREAM: With the mixer on low speed, slowly drizzle in the heavy whipping cream. After all the cream is added, increase the speed to medium-high and beat for 1 to 2 minutes, or until the filling becomes fluffy and thick.
- FINISH WITH VANILLA AND SALT: Add the vanilla extract and a small pinch of salt if using. Mix just until everything is evenly incorporated, then stop the mixer.
- CHILL (OPTIONAL): For easier piping or if preparing in advance, refrigerate the filling for 30 minutes to allow it to firm up slightly. This helps maintain structure between cake layers.
Notes
Store in the refrigerator for up to 2 days in an airtight container. Let it sit at room temperature for 15–20 minutes before using if it becomes too firm.
Nutrition Information
Yield
1Serving Size
1Amount Per Serving Calories 2795Total Fat 225gSaturated Fat 162gUnsaturated Fat 63gCholesterol 449mgSodium 1124mgCarbohydrates 168gFiber 14gSugar 145gProtein 28g