Red velvet cake doesn’t usually compete with fruit-forward desserts. But it should.
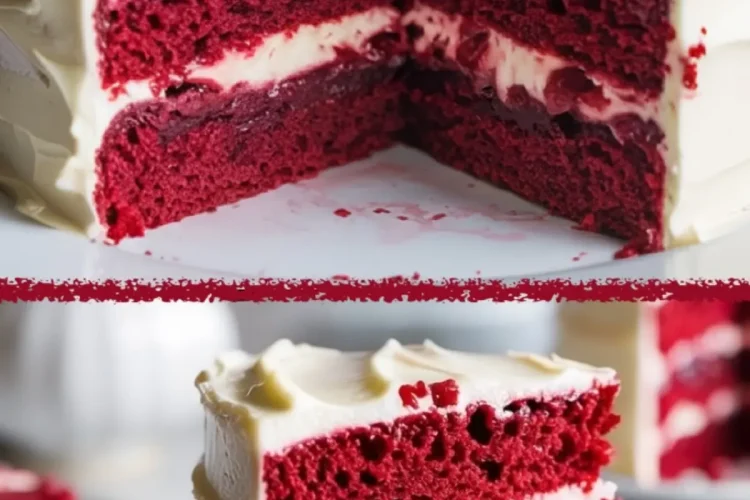
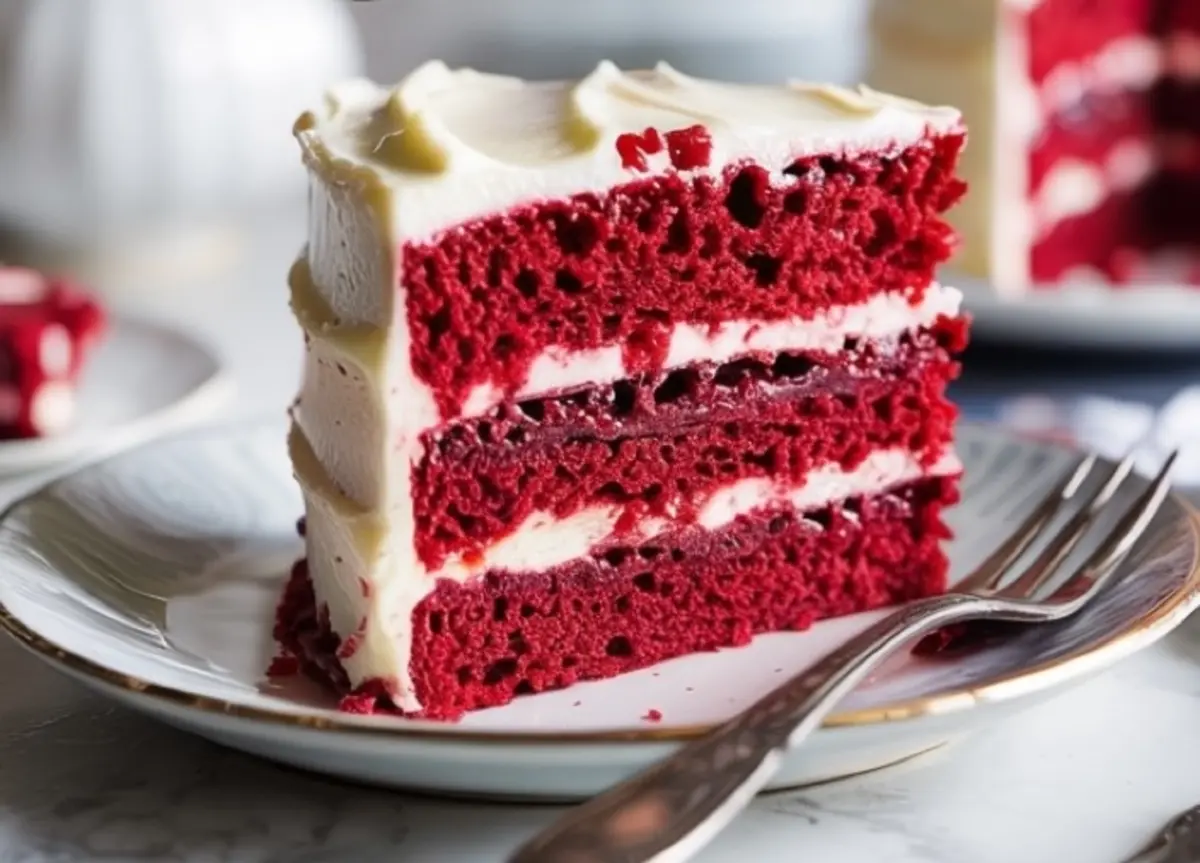
This version earns its seat at the table. Not just because of the vivid color or cocoa depth, but because of what happens when white chocolate cream cheese frosting meets a spoonful of sweet-tart cherry compote.
You’ll learn how to make this triple-layered red velvet cake with confidence. You’ll understand the role of every ingredient and know exactly how to store and serve it without losing flavor or texture.
If you’ve ever made a red velvet cake that felt flat or one-note, this recipe fills in the blanks with practical steps and a few well-tested tricks from my own kitchen.
Following a special diet?
Every recipe on this site can be converted to gluten-free, vegan, dairy-free, keto, nut-free or egg-free with adjusted ratios so nothing falls flat.
Try the Recipe Converter →Why This Red Velvet Cake Works for Celebrations and Casual Slices Alike
Cake for dinner guests or cake with coffee, it delivers either way
This recipe balances cocoa, acidity, and sweetness without leaning too far in any direction. The cake layers stay soft for days, and the cherry filling doesn’t just sit there. It binds the whole experience.
The frosting isn’t too sweet. White chocolate adds structure and richness, but the cream cheese keeps it grounded.
The cherry compote cuts through the richness in just the right way. I’ve made versions without it and noticed the absence every time.
If you’re looking for other ideas in this flavor family, you might try Red Velvet Dump Cake for something simpler, or these Red Velvet Snowball Cookies if you want a handheld version.
Ingredients That Make or Break the Flavor
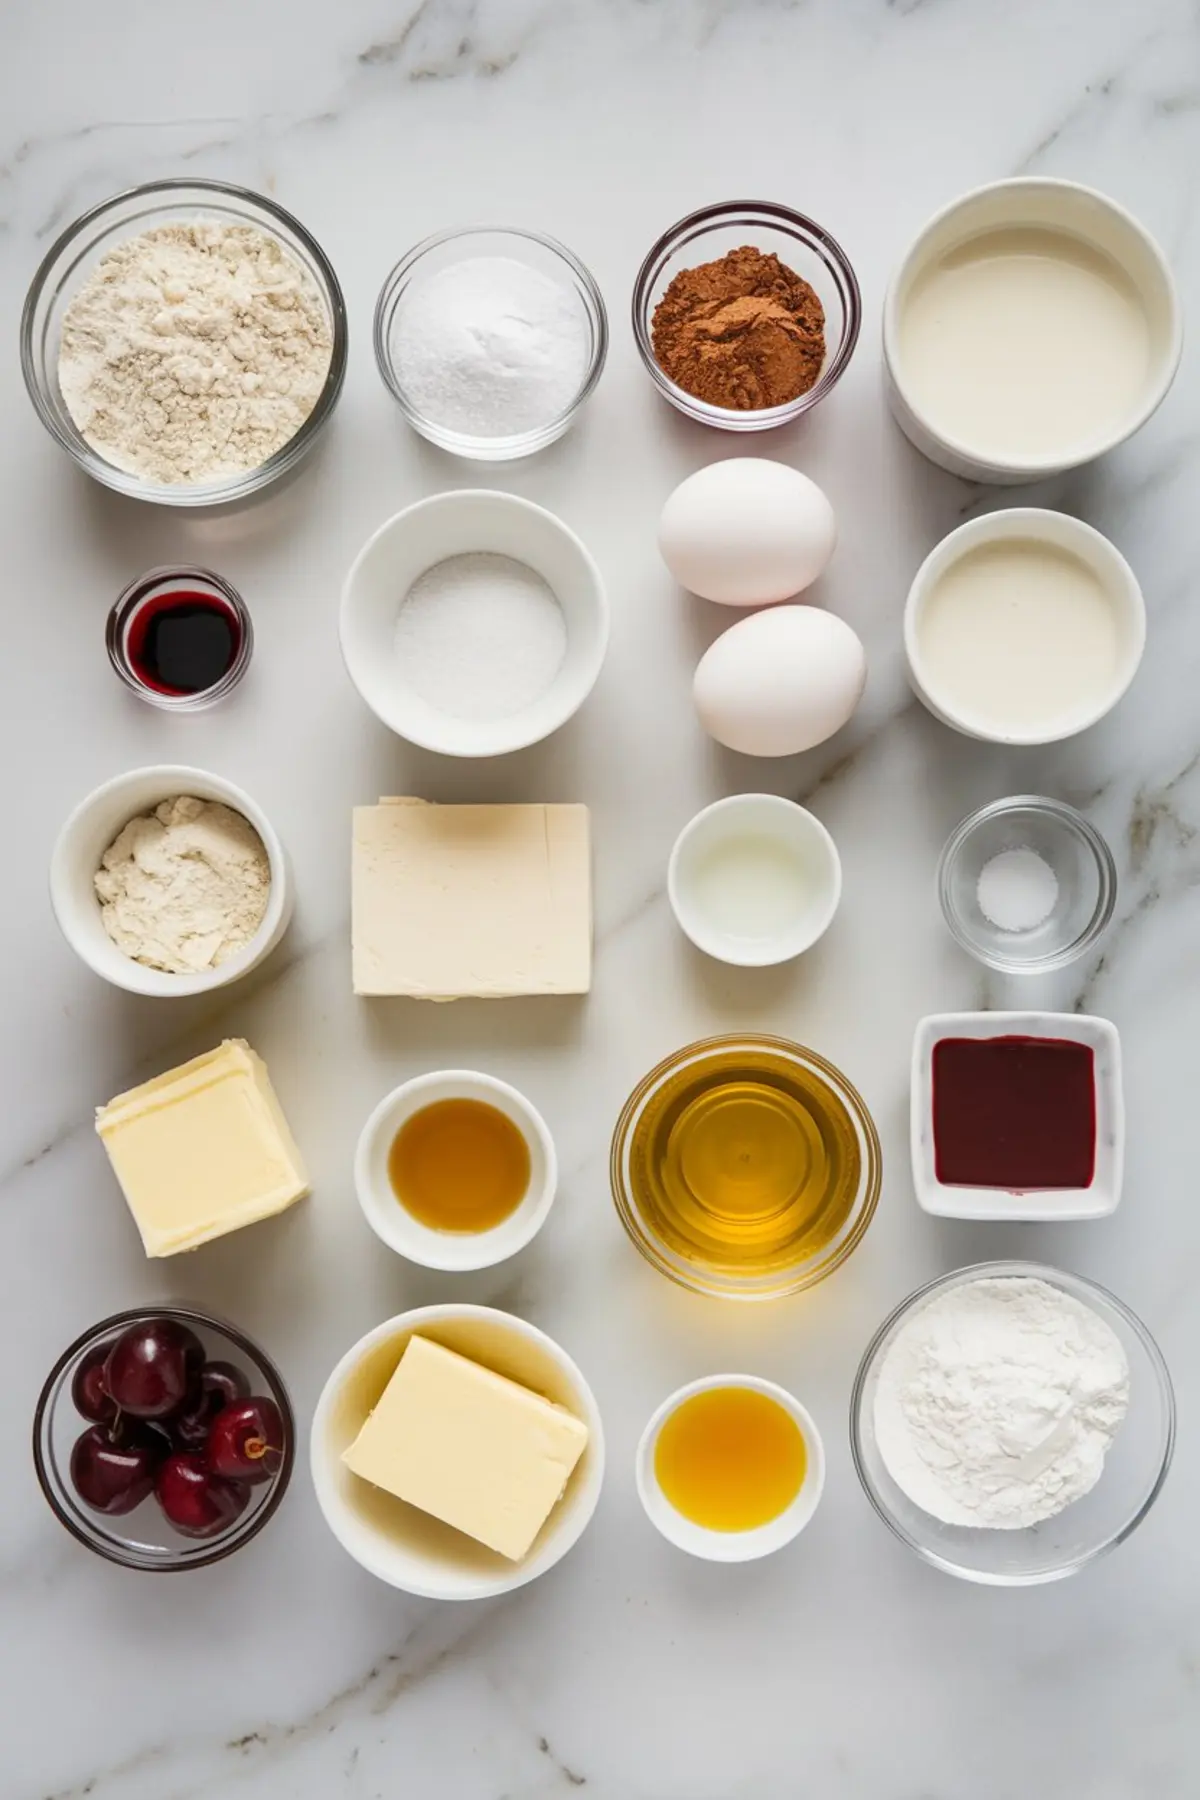
The buttermilk-cocoa pairing carries the base. Don’t skip either
The foundation of red velvet lies in balance. Buttermilk and vinegar create the acidic structure that gives the cake its signature crumb. The small amount of cocoa powder rounds that out with subtle depth. Not chocolate cake territory, but not plain either.
I use red liquid food coloring because the gel kind can throw off texture if you’re not adjusting liquids elsewhere. You want the cake red, not burgundy, not pink.
Vanilla and salt might seem small, but they build the base.
Frosting: Choosing White Chocolate for Function, Not Just Flavor
Cream cheese alone isn’t enough for structure. This is where white chocolate steps in
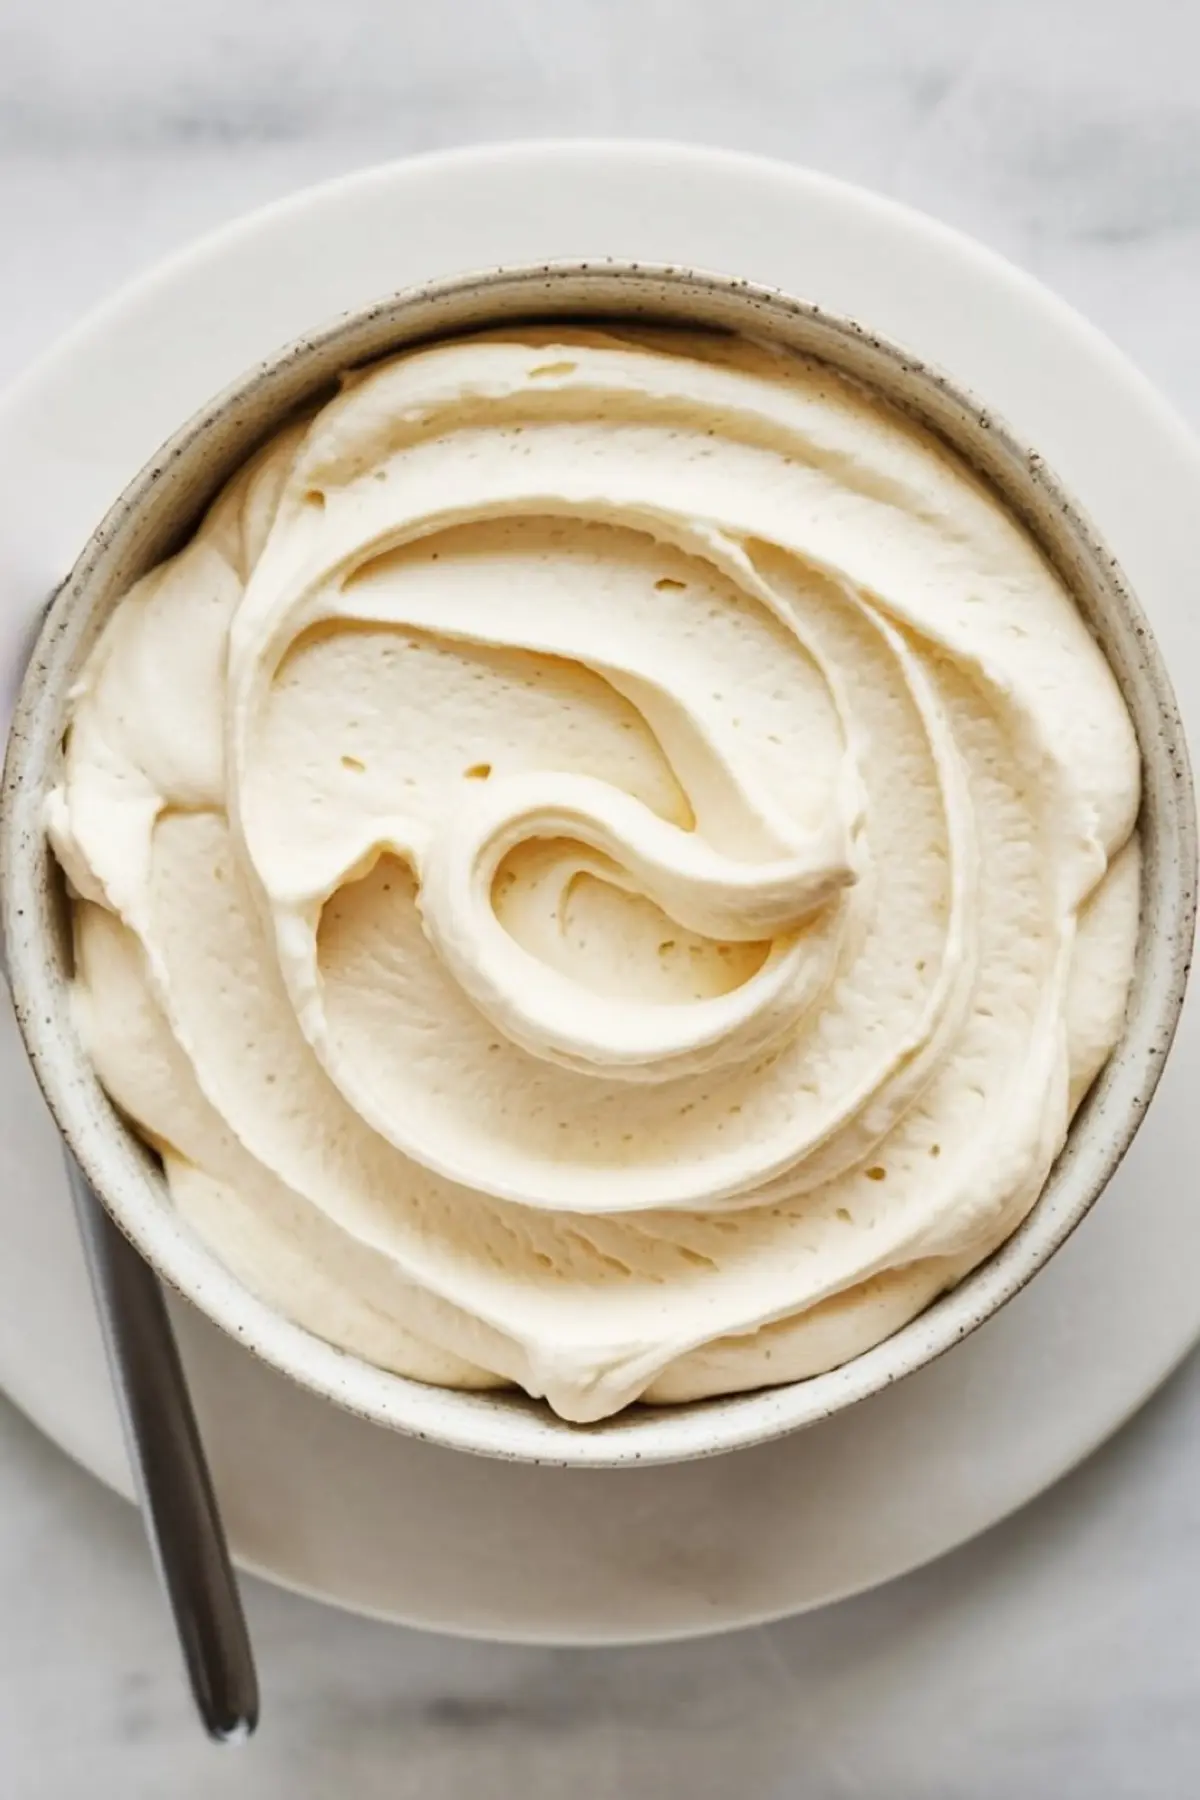
A pure cream cheese frosting would work here, but I’ve found it too soft for layering. Adding melted white chocolate gives it body without turning it overly sweet.
Let the white chocolate cool before adding, or the frosting may split.
Butter balances the tang of cream cheese and keeps the spread smooth.
Powdered sugar adds sweetness and helps stiffen the texture, but don’t pile it in without tasting. You want smooth, not saccharine.
Practical Comparison: Buttermilk vs. Sour Cream
Both bring acid, but the choice changes the crumb and flavor clarity
I’ve tested this cake with both buttermilk and sour cream across several bakes. Buttermilk gives the batter a fluid texture, leading to lighter layers with a tender crumb and subtle tang. It works especially well in red velvet because it reacts with the baking soda and vinegar, lifting the cake just enough without puffing it.
Sour cream, while thicker, creates a denser bite and richer mouthfeel. It pulls the cake slightly away from its traditional profile and brings it closer to something between a velvet cake and a soft chocolate pound cake. The flavor becomes deeper but also heavier.
For this layered cake with cherry compote and white chocolate frosting, I always go back to buttermilk. It supports the cherry’s brightness and keeps the cake from feeling heavy after a full slice. Sour cream has its place, but in this context, it fights the frosting instead of lifting it.
Making the Cherry Compote with Frozen or Fresh Cherries
Both work, but timing and taste differ slightly
Frozen cherries are my usual choice, mostly for ease and year-round availability. They soften quickly and release juices early.
Fresh cherries need a few extra minutes of cooking and may require slightly more sugar, depending on their ripeness.
The lemon juice brings brightness, and the almond extract adds dimension without overpowering. Stirring in the cornstarch slurry at the end helps thicken the sauce without making it gluey.
Let it cool completely before layering. Or you’ll melt the frosting.
For a shortcut, sour cherry preserves do the trick in a pinch. I’ve used them before when guests arrived an hour earlier than expected.
Baking and Assembly Tips That Save Time and Frustration
Use parchment paper for even layers. Don’t skip the crumb coat
Prepping your pans properly is half the battle. Grease them, line them, and make sure your batter is evenly divided. Uneven layers create stacking problems later.
A crumb coat might sound optional, but it makes the final layer of frosting smoother and cleaner.
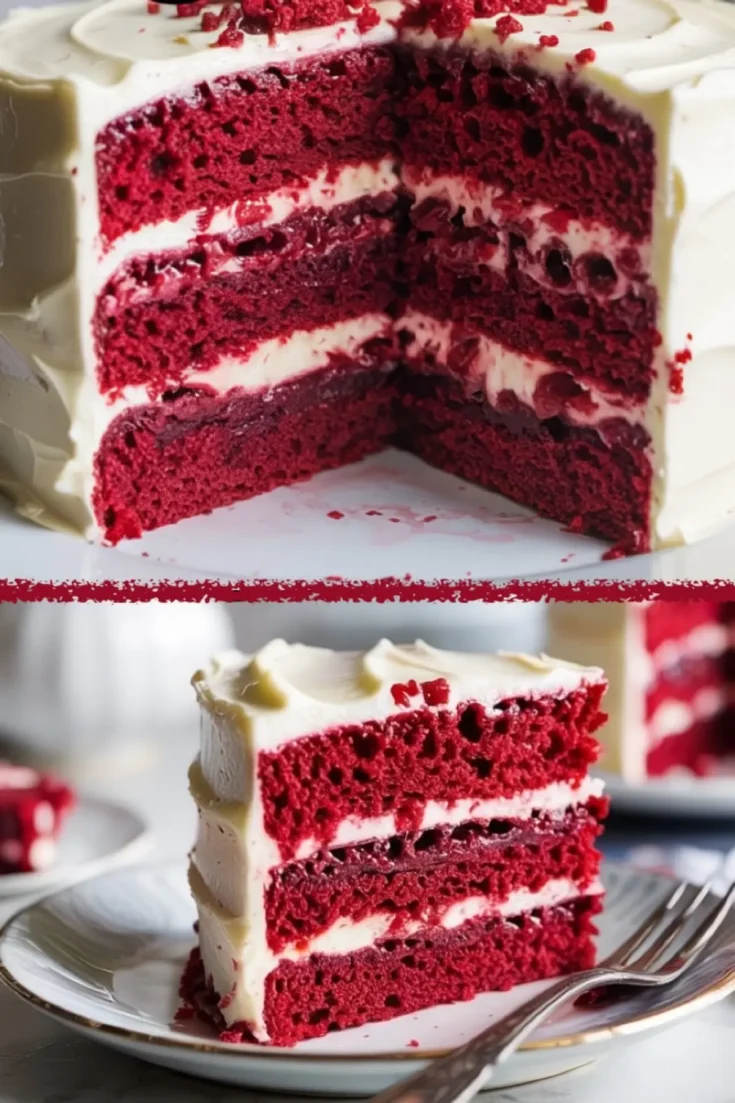
I like to layer frosting and compote with a gentle swirl. Don’t mix them fully. You want streaks of cherry throughout the slice, not pink frosting.
You can finish the top with extra cherries or leftover cake crumbs. I’ve done both.
Serving and Storing Advice from Repeated Bakes
This cake slices better the next day. Plan accordingly
Red velvet benefits from a rest. Once assembled, refrigerate the whole cake for at least 30 minutes. This helps firm the frosting and hold the layers in place.
I store it in a cake carrier in the fridge for up to four days. Bring to room temperature before serving if you want the frosting soft.
The cherry flavor deepens slightly overnight, which I prefer.
If you’re baking ahead, wrap cooled layers tightly and freeze them. Assemble the cake the day of serving for best texture.
Other Red Velvet Desserts You’ll Want to Try Next
Small treats with the same bold flavor
If you enjoy this cake, these smaller bakes carry the same red velvet character in bite-sized form:
- Red Velvet Cupcakes for a simple, portable version
- Red Velvet Crinkle Cookies for a chewy edge and soft center
Each one uses similar pantry staples and bakes up quickly if you’re short on time or want to repurpose leftover ingredients.
Save This Red Velvet Cake Idea for Later
Pin it, bake it, and share how it went in the comments
I’d love to hear if you try this cake, especially if you play with the cherry compote or try it with raspberries.
Let me know in the comments how it turned out or ask if you have any questions.
And don’t forget to save this recipe to your “Layered Cakes” or “Party Desserts” board on Pinterest for the next time you need a cake that doesn’t play it safe.
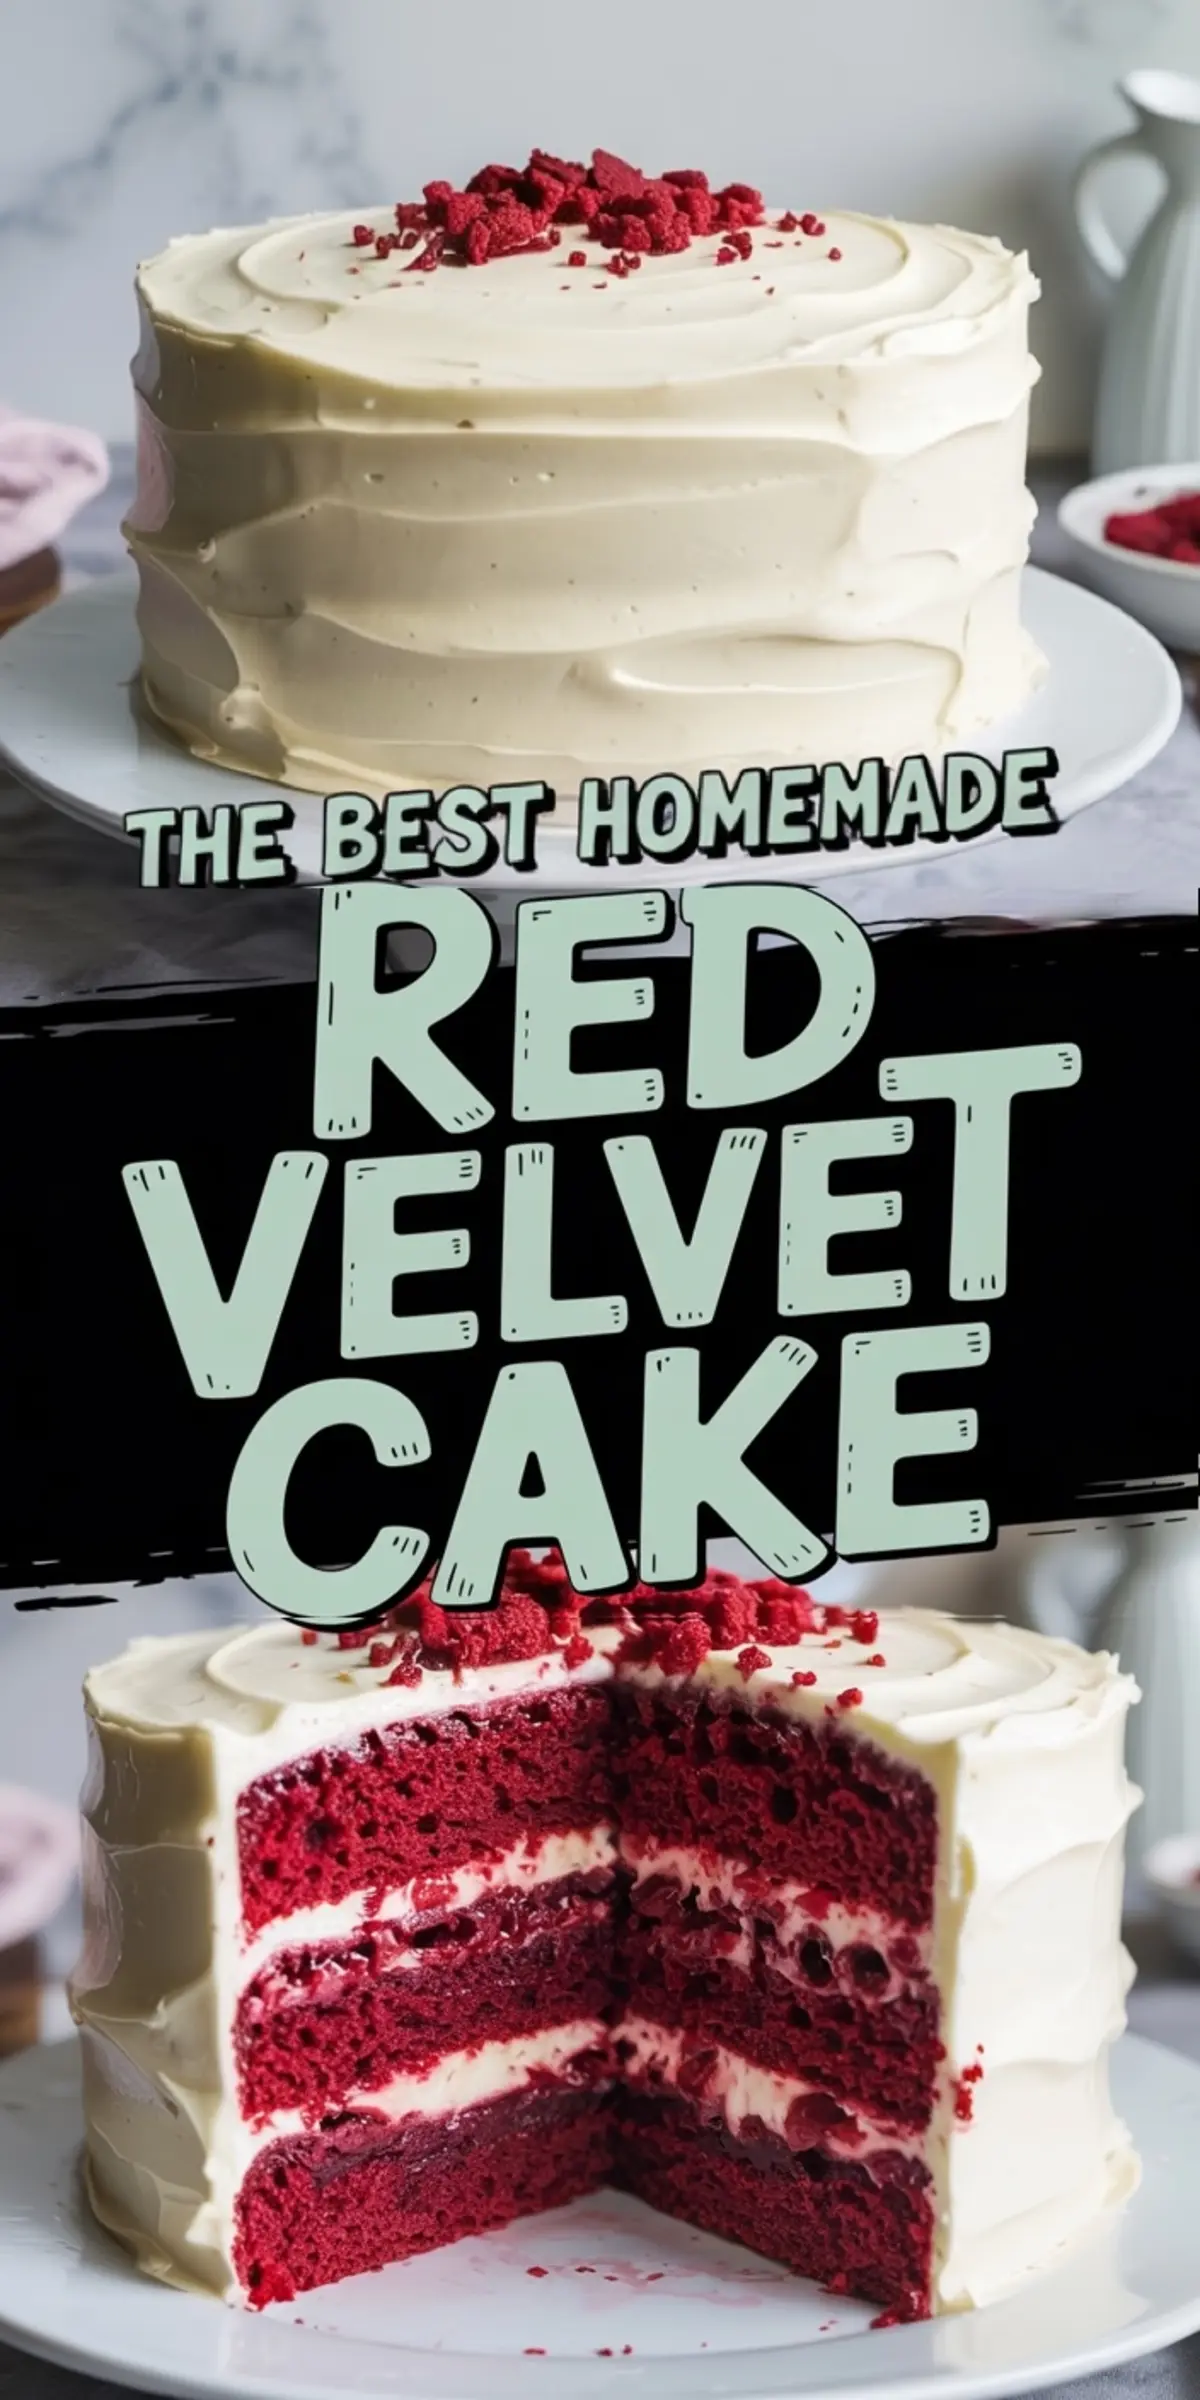
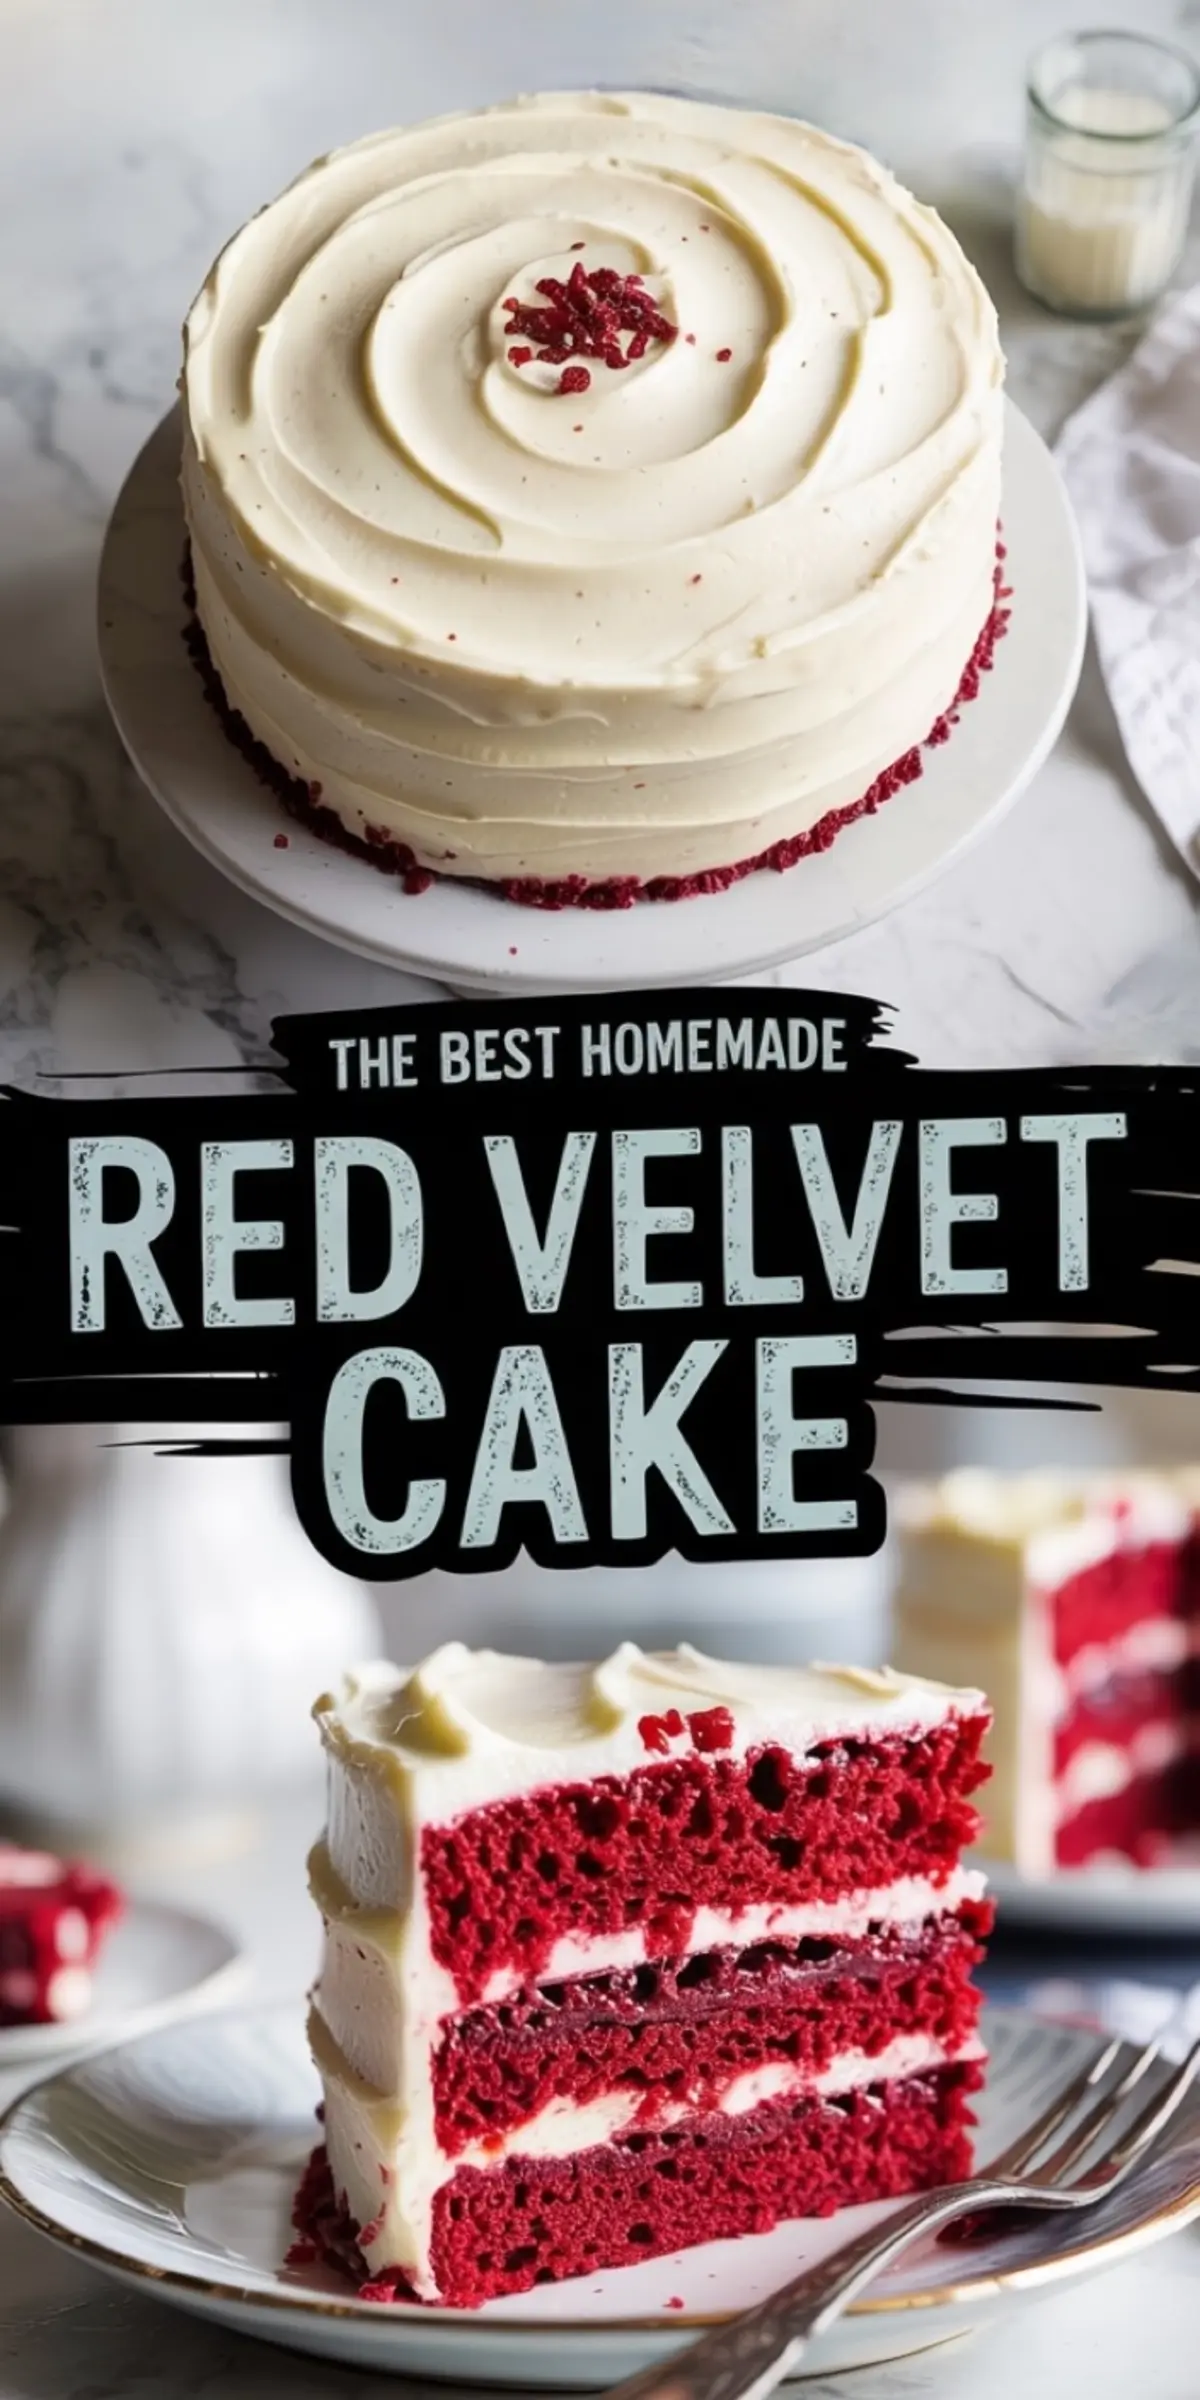
Red Velvet Cake
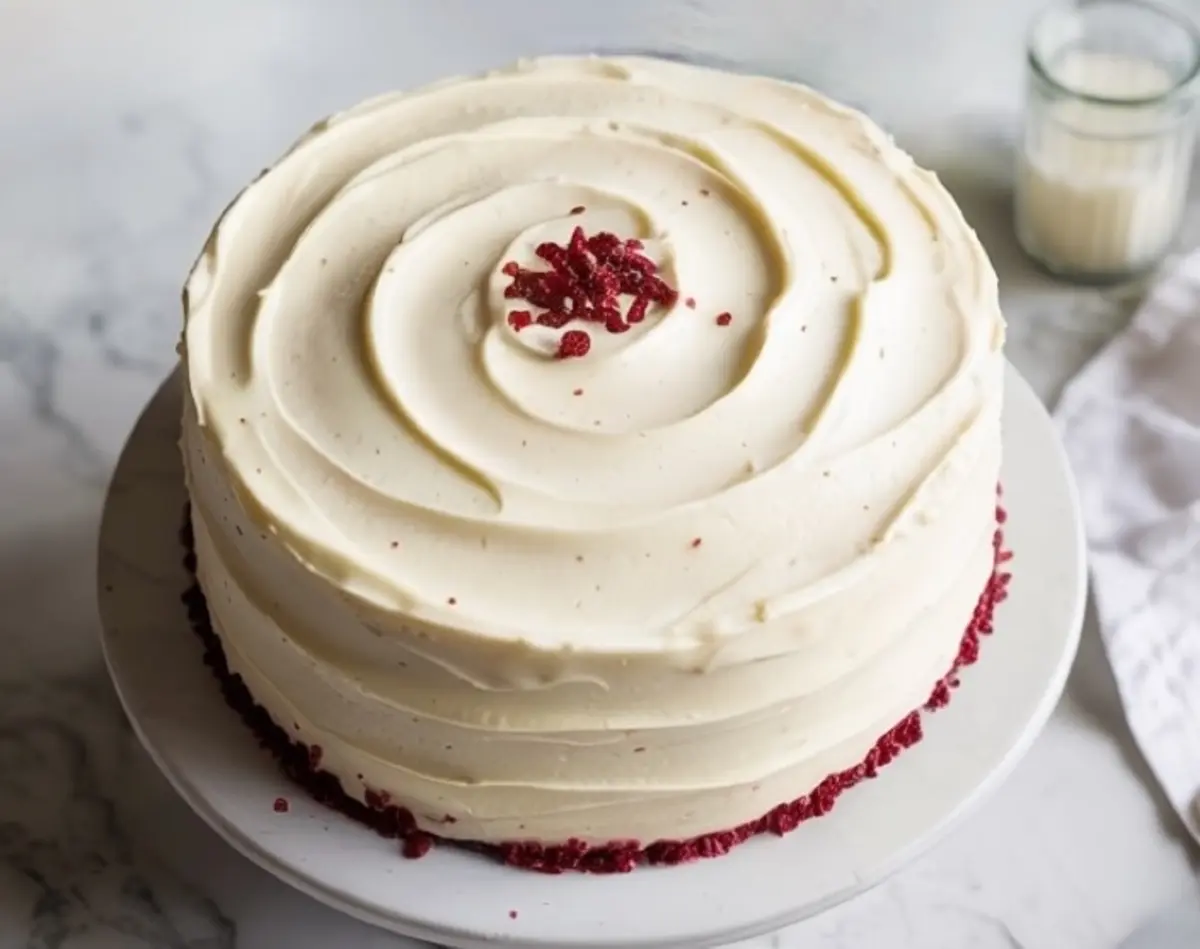
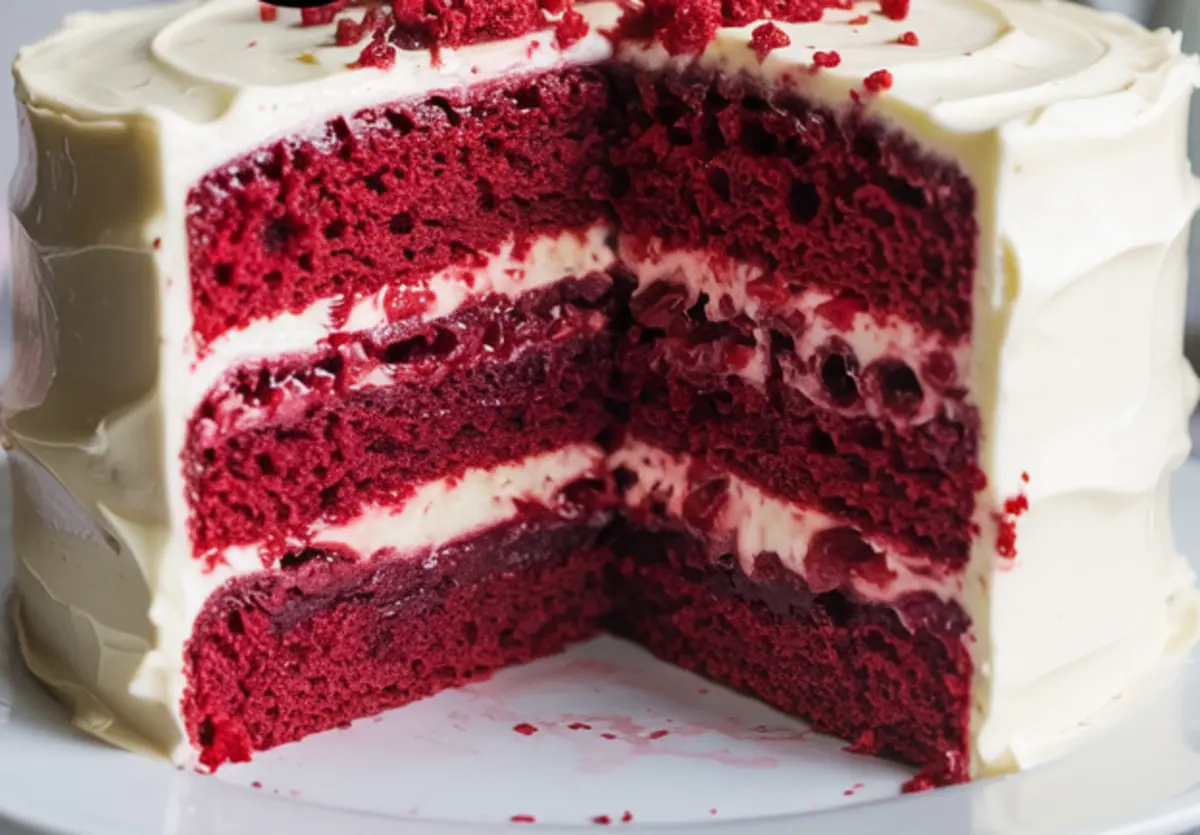
Red velvet cake gets a bold upgrade with layers of white chocolate cream cheese frosting and a sweet-tart cherry compote. Each slice blends rich cocoa flavor with a silky frosting and juicy cherry filling for a memorable dessert that balances sweetness and tang.
Ingredients
- FOR THE RED VELVET CAKE LAYERS
- 2½ cups (310g) all-purpose flour
- 1½ cups (300g) granulated sugar
- 1 tsp baking soda
- 1 tsp fine salt
- 1 tbsp unsweetened cocoa powder
- 1½ cups (360ml) vegetable oil
- 1 cup (240ml) buttermilk, at room temperature
- 2 large eggs, at room temperature
- 2 tbsp (30ml) red liquid food coloring
- 1 tsp vanilla extract
- 1 tsp white vinegar
- FOR THE WHITE CHOCOLATE CREAM CHEESE FROSTING
- 8 oz (225g) cream cheese, softened
- ½ cup (115g) unsalted butter, softened
- 6 oz (170g) white chocolate, melted and cooled
- 3½ cups (440g) powdered sugar, sifted
- 1 tsp vanilla extract
- Pinch of salt
- FOR THE CHERRY COMPOTE FILLING
- 2 cups (250g) frozen or fresh pitted cherries
- ¼ cup (50g) sugar
- 1 tbsp lemon juice
- 1 tsp cornstarch mixed with 1 tbsp water
- ½ tsp almond extract (optional)
Instructions
- MAKE THE CHERRY COMPOTE: In a small saucepan over medium heat, combine the cherries, sugar, and lemon juice. Cook for 5 to 7 minutes, stirring occasionally, until the cherries soften and release their juices. Stir in the cornstarch slurry and cook for another 2 to 3 minutes, until the mixture thickens slightly. Remove from heat, stir in almond extract if using, and let cool completely. Refrigerate until needed.
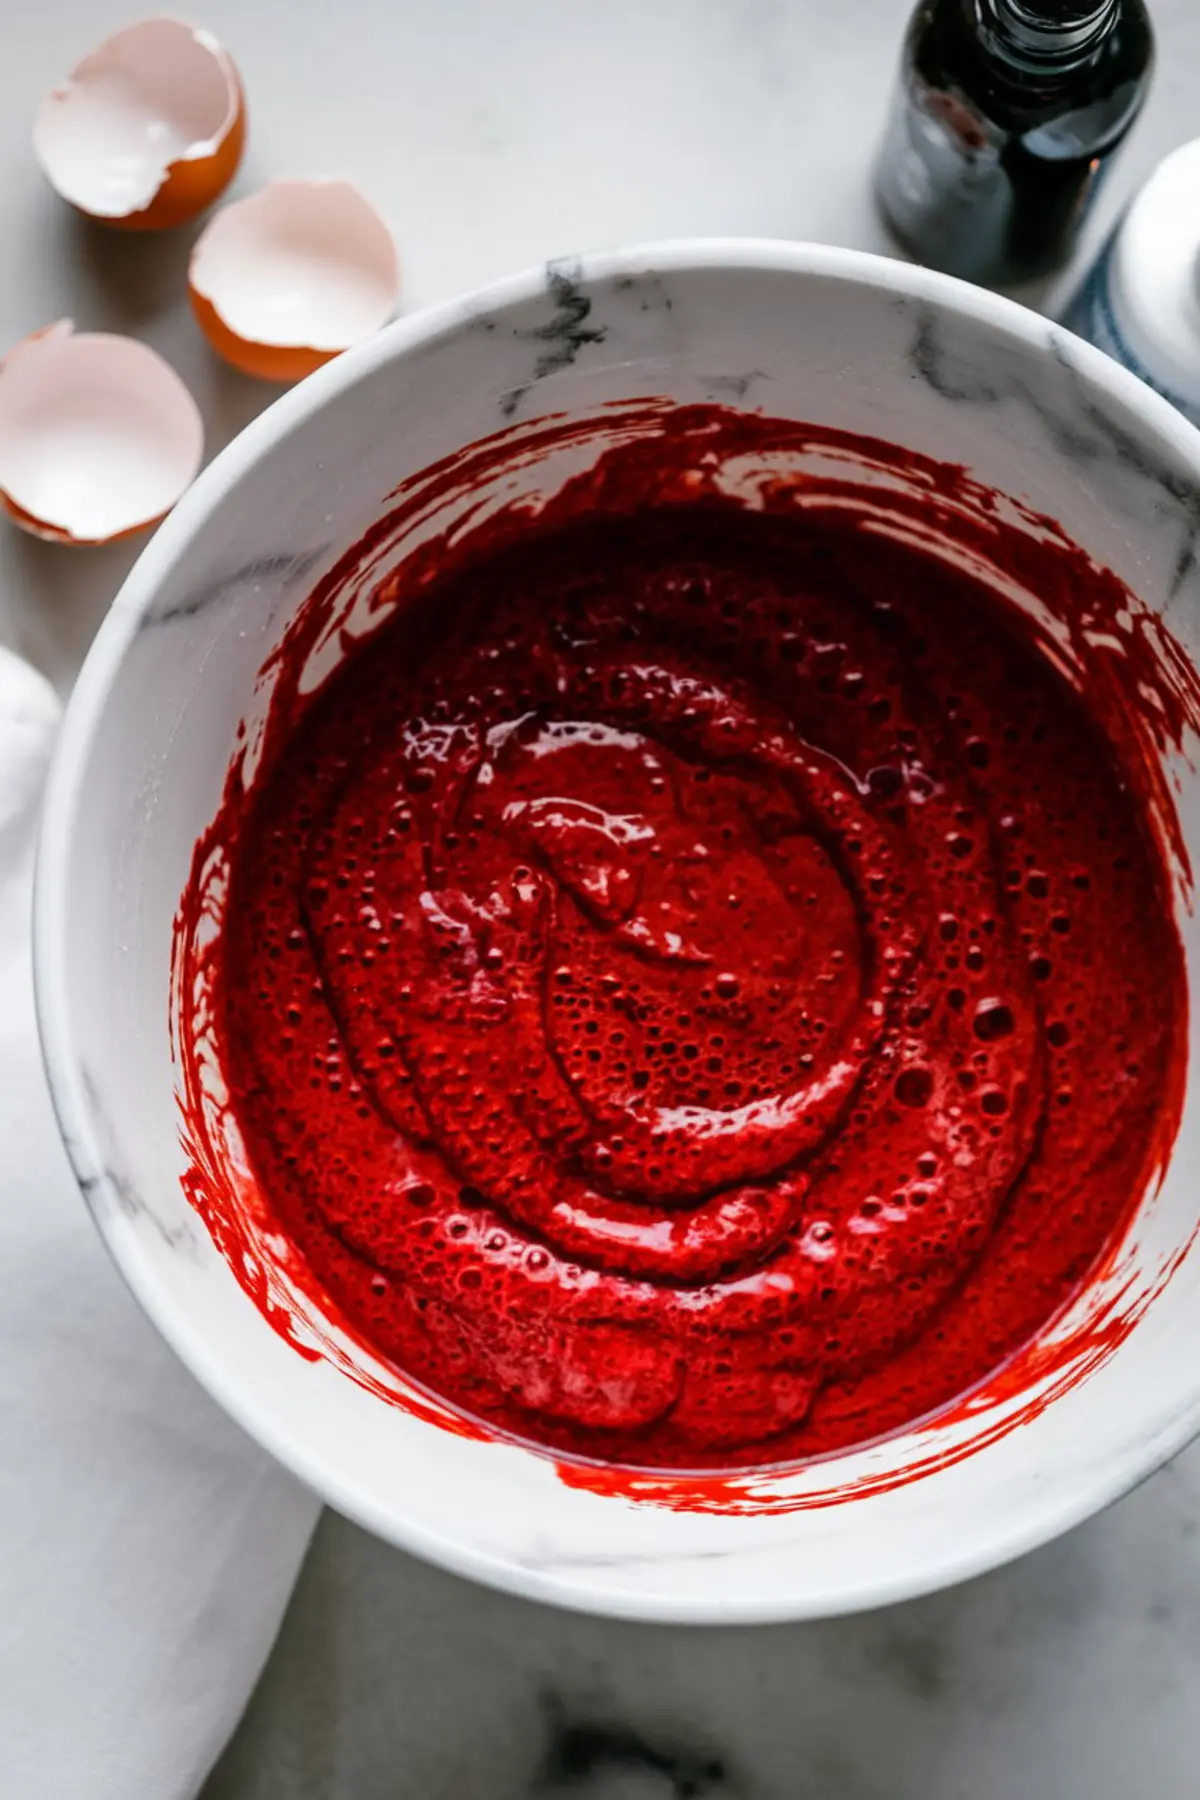
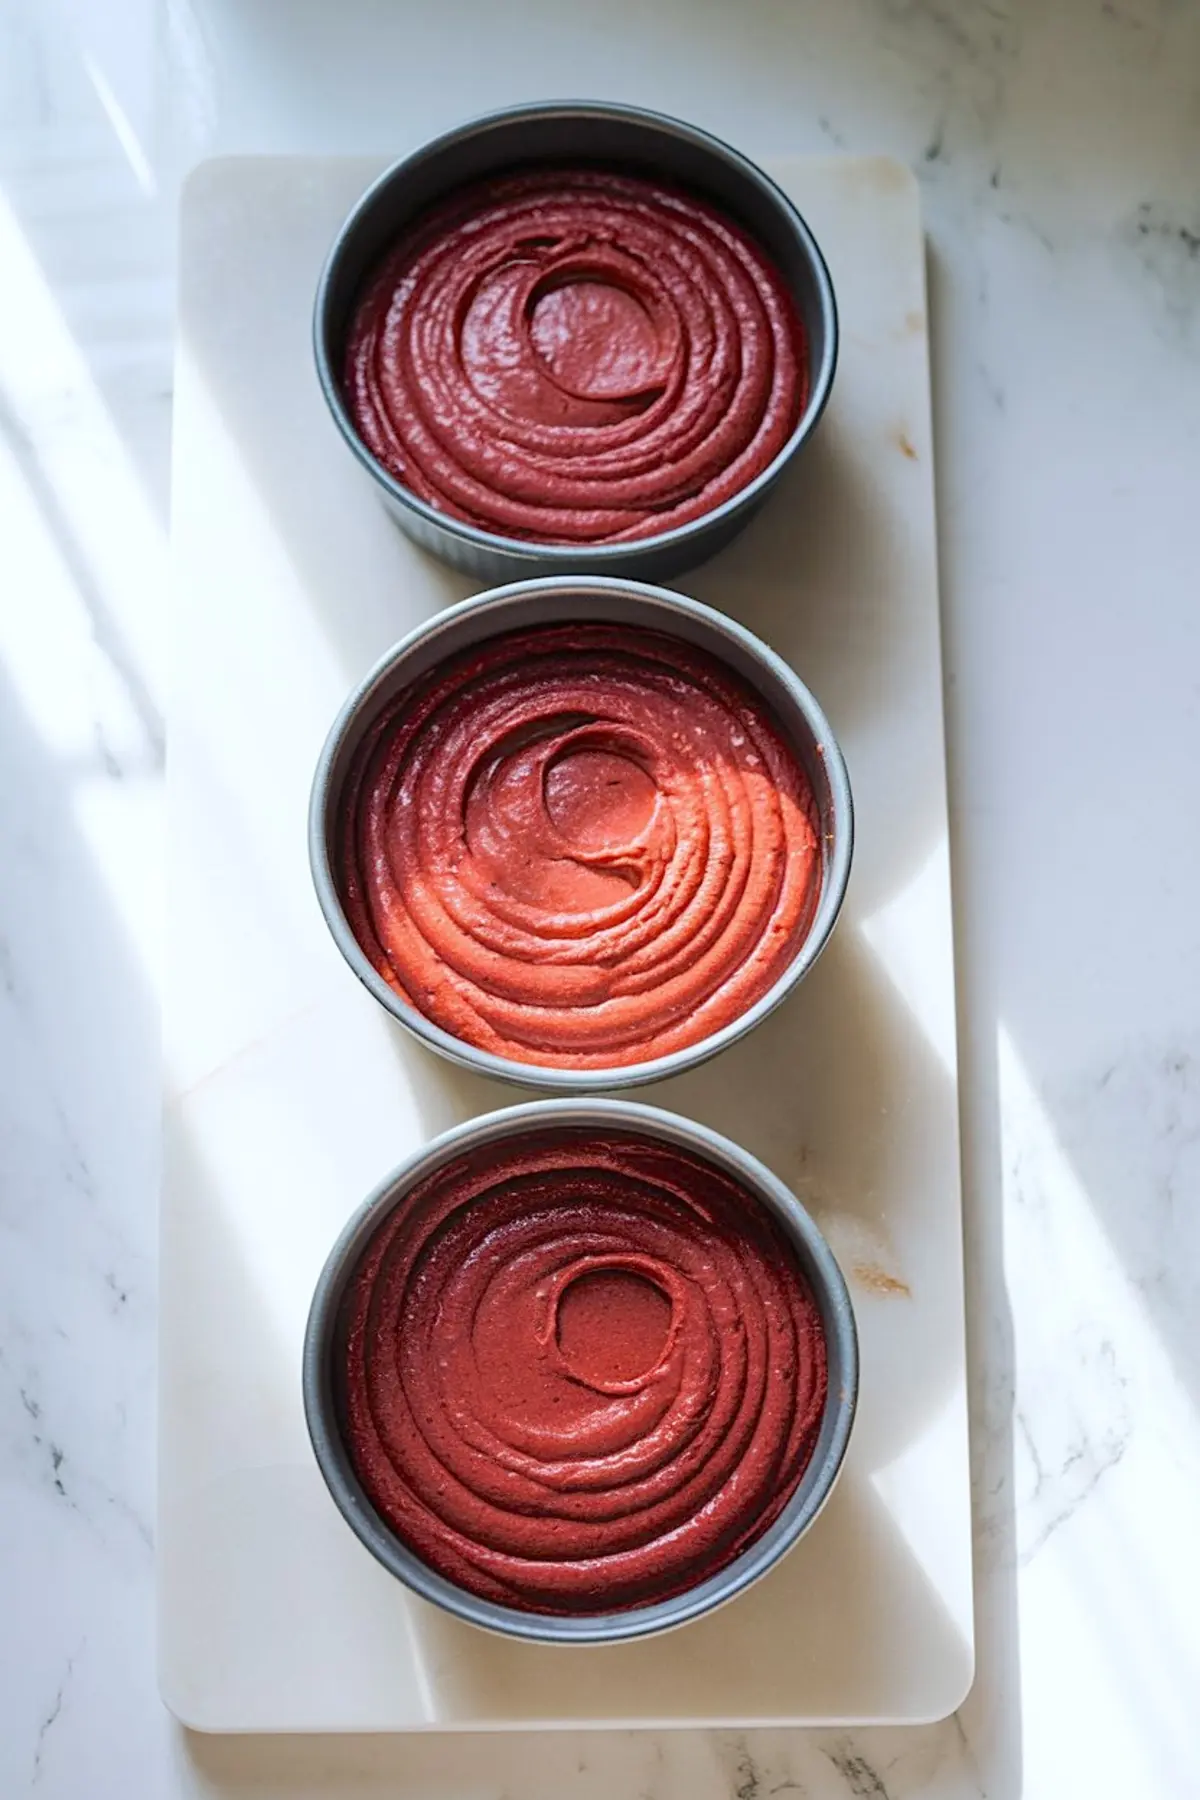
- BAKE THE CAKE LAYERS: Preheat the oven to 350°F (175°C). Grease and line three 8-inch round cake pans with parchment paper. In a large bowl, sift together the flour, sugar, baking soda, salt, and cocoa powder. In another bowl, whisk together the oil, buttermilk, eggs, red food coloring, vanilla extract, and vinegar until smooth. Add the wet ingredients to the dry ingredients and mix until just combined, being careful not to overmix. Divide the batter evenly between the prepared pans and smooth the tops. Bake for 25 to 30 minutes, or until a toothpick inserted into the center comes out clean. Let the cakes cool in the pans for 10 minutes before turning them out onto wire racks to cool completely.
- PREPARE THE FROSTING: In a large bowl, beat the softened cream cheese and butter together until light and fluffy. Add the cooled melted white chocolate and continue beating until smooth. Add the sifted powdered sugar, vanilla extract, and a pinch of salt, then beat for about 2 minutes until the frosting is fluffy and smooth. Set aside until ready to use.
- ASSEMBLE THE CAKE: If needed, level the cooled cake layers using a serrated knife. Place the first cake layer on a serving plate or cake stand. Spread a layer of frosting on top, then add a few tablespoons of the cooled cherry compote and gently swirl it into the frosting with a spatula. Repeat the process with the second and third layers. Apply a thin crumb coat over the entire cake and refrigerate for 20 minutes to set. Once chilled, frost the cake with the remaining frosting and smooth the sides. Garnish the top with extra cherry compote or crumbled cake scraps if desired.
Notes
Use sour cherry preserves as a shortcut for the compote if short on time. For cleaner slices, chill the assembled cake for at least 30 minutes before serving.
Nutrition Information
Yield
12Serving Size
1Amount Per Serving Calories 282Total Fat 13gSaturated Fat 6gTrans Fat 0gUnsaturated Fat 6gCholesterol 60mgSodium 486mgCarbohydrates 31gFiber 1gSugar 8gProtein 9g