
I remember the first time I tasted a chocolate cheesecake brownie bar. My taste buds danced, and I felt an instant urge to recreate that indulgent experience in my own kitchen. This recipe became a personal favorite after I discovered how the smooth cheesecake layer pairs so gracefully with a dark, fudgy brownie foundation.
Following a special diet?
Every recipe on this site can be converted to gluten-free, vegan, dairy-free, keto, nut-free or egg-free with adjusted ratios so nothing falls flat.
Try the Recipe Converter →My friends keep hinting that I bring these bars to every party, and I rarely resist. You might find that they leave an unforgettable impression on your dessert table.
Chocolate Cravings in a Velvety Brownie Base
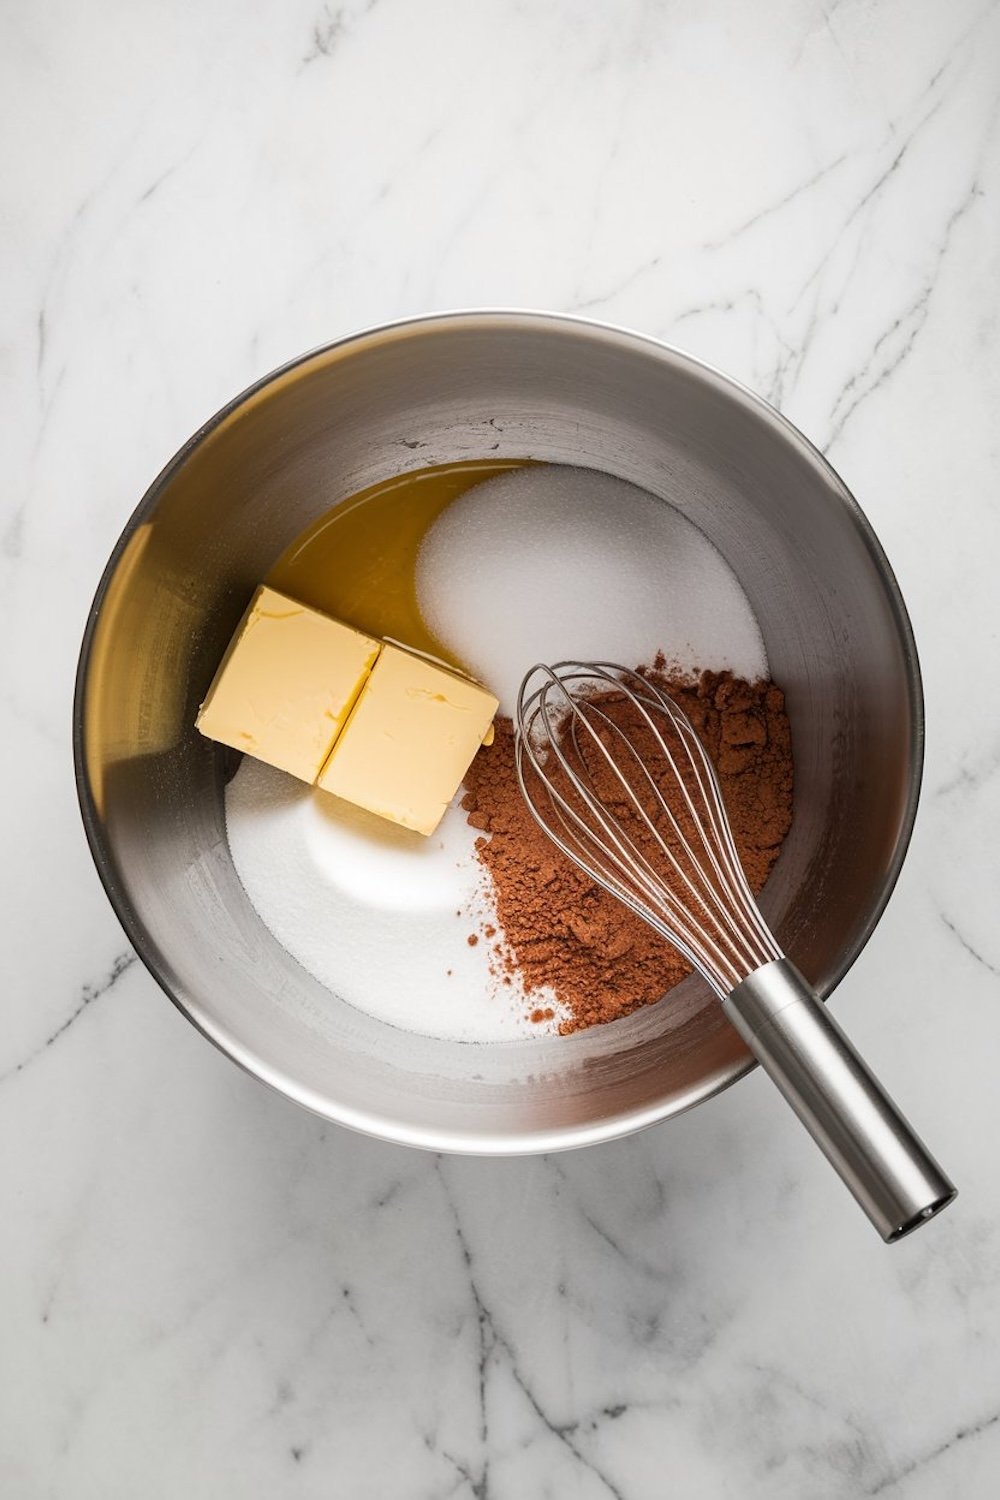
I start by preparing the brownie batter with a swirl of melted butter, granulated sugar, eggs, and a touch of vanilla. My arm feels ready for a workout as I whisk the mixture, then sift cocoa powder, flour, salt, and a pinch of baking powder.
The result looks thick and inviting, and I gently pour it into a pan lined with parchment. My oven preheats to 350°F (175°C), and a subtle chocolate aroma begins to fill the air. The brownie base bakes for around 15 minutes, which sets a foundation that remains delightfully soft.
Cheesecake Layer That Makes Every Bite Rich
I pull out my mixing bowl for the cheesecake layer while the brownie base is in the oven. Softened cream cheese blends with sugar to form a smooth mixture. I include two eggs, one at a time, then add a splash of vanilla for extra depth. Once the brownie layer has finished its short trip in the oven, I pour the cheesecake batter on top and spread it gently.
The pan goes back into the oven for around 25 to 30 minutes. I watch eagerly, knowing that the cheesecake will firm up but still maintain a slight jiggle. Those tiny movements always remind me that creamy perfection awaits.
Chocolate Ganache for a Final Glossy Finish
I remove the pan from the oven and let everything cool on the counter. My patience then gets tested because the bars must chill in the fridge for at least two hours. I use this downtime to prepare the chocolate ganache.
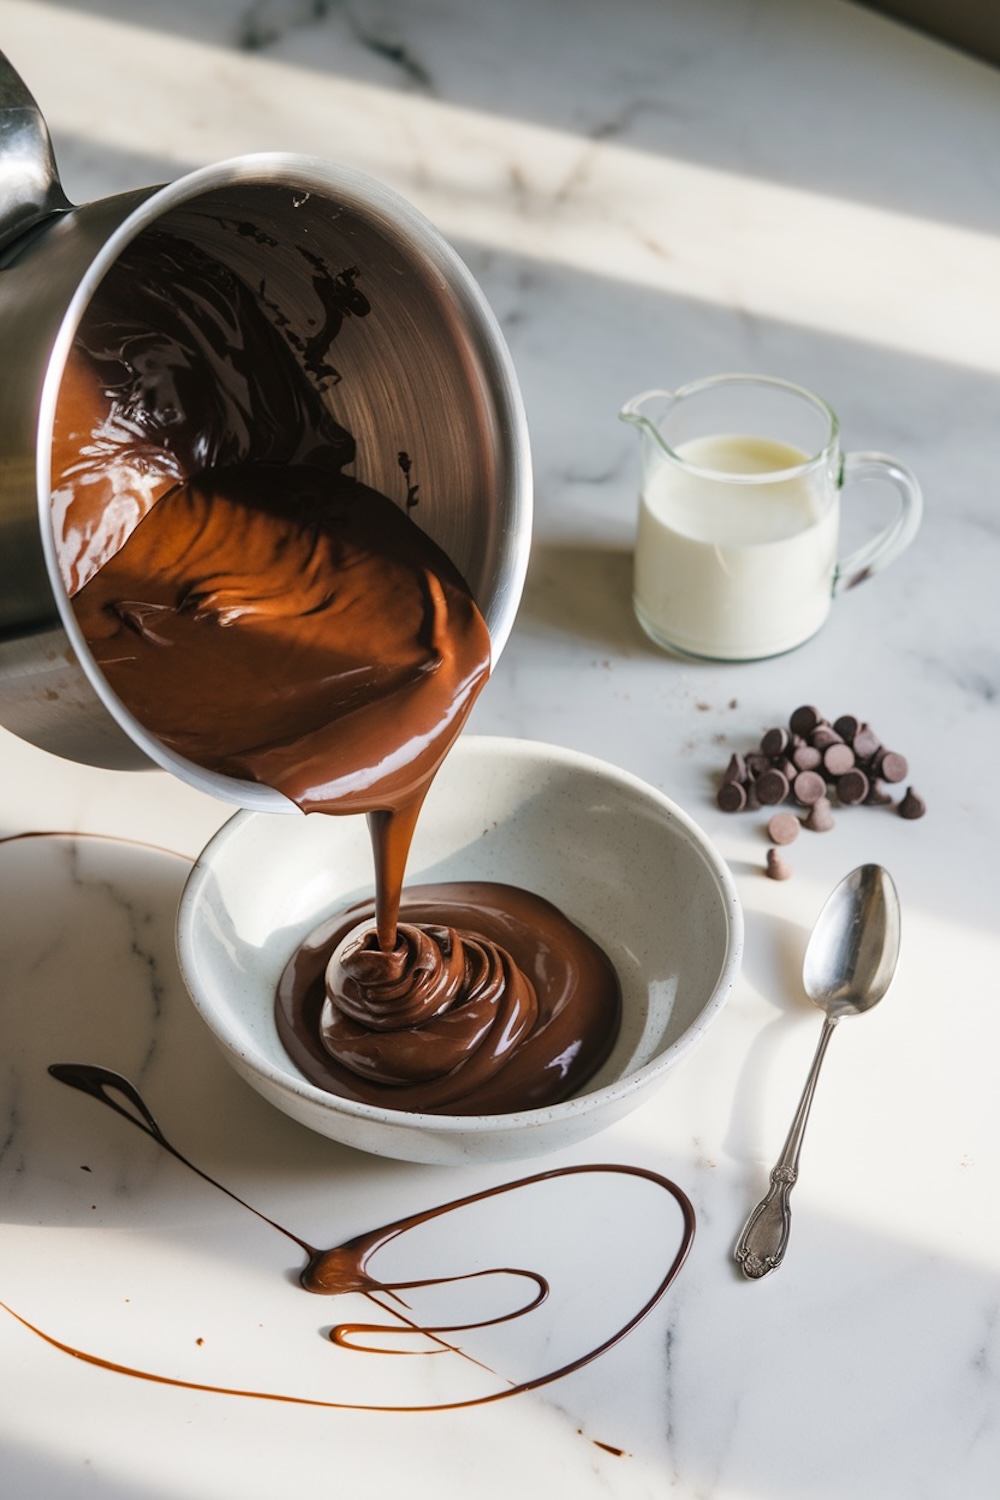
A saucepan with heavy cream warms until it barely simmers. I take it off the heat and pour it over a bowl of chocolate chips. The heat melts the chips into a lustrous sauce. A quick whisk, and the ganache appears shiny and smooth. I spread this layer on top of the chilled cheesecake. My spatula glides across the surface, creating a glossy finish that looks tempting.
Chilling That Sets Each Layer Perfectly
I resist the urge to cut a piece right away. My experience has taught me that another hour or two in the fridge lets the ganache set properly. That waiting period sometimes feels too long, especially if the kitchen smells of cocoa and sugar.
My advice is to distract yourself by tidying the counter or planning your presentation. Once everything feels firm, I lift the bars out of the pan by grabbing the parchment edges. A sharp knife dipped in warm water helps me get neat slices, and I wipe the blade clean after each cut.
Storage and Freshness Keep the Pleasure Going
I place leftover bars in an airtight container and tuck them into the fridge. They hold up well for five days, so I can savor them across the week. Freezing extends their life up to two months.
I wrap each slice securely in plastic, then drop them into a freezer-safe bag or container. Whenever I want to serve a piece for surprise guests, I let it thaw in the fridge overnight. Thawed bars often taste just as delightful as the day I made them, and the texture remains satisfying.
Personal Tales From My Brownie Baking Adventures
I must admit that I have experimented with variations. One version featured a pinch of instant espresso powder in the brownie batter to enhance the chocolate character. Another time, I sprinkled crushed toffee bits on the ganache for extra crunch. My mother once requested a swirl of peanut butter in the cheesecake layer, which gave the bars a nutty richness.
That attempt was a hit, although I still return to the original recipe most often. Nostalgia sometimes drives me to keep things simple because my first memory of these bars was so impactful.
Flavor Boosts That Transform the Experience
I occasionally add a fruit topping to cut through the sweetness. A drizzle of raspberry sauce or a spoonful of homemade strawberry jam can brighten the entire dessert.
My best friend once topped her bars with chopped walnuts, while someone else in my family used crumbled cookies for more texture. Sprinkles, crushed candy canes, and even coconut shavings have all made guest appearances on these bars in my home. Any extra detail you choose tends to elevate the experience without straying far from the core pleasure of chocolate and cheesecake.
Tips for Serving and Sharing
I often bring these bars to gatherings. People crowd around the dessert table, and I usually glimpse wide eyes after the first bite. Friends claim the bars taste indulgent yet comforting. You can present them on a large platter or stack them on a tiered stand for a bit of visual flair. A scoop of vanilla ice cream works beautifully if you plan to serve them after a family meal.
My sister tried a swirl of caramel sauce on top once, and that twist disappeared quickly. These bars are strong on their own, but a little creativity can add memorable touches.
Pin and Save This Chocolate Cheesecake Brownie Recipe
I encourage you to pin this recipe if you want a reliable dessert that covers sweet cravings. My own Pinterest board overflows with treats, but this one still holds a special place. Baking these bars gives me a sense of achievement because each layer blends smooth textures with classic flavors. I savor every slice with a sense of gratitude for the simple joys of sugar, butter, and cream.
Your own version can evolve, and I hope you add personal touches that make them uniquely yours. Share your creations on social media and inspire someone else to discover this rewarding dessert.

Chocolate Cheesecake Brownie Bars Recipe
12
servings30
minutes45
minutes320
kcalIngredients
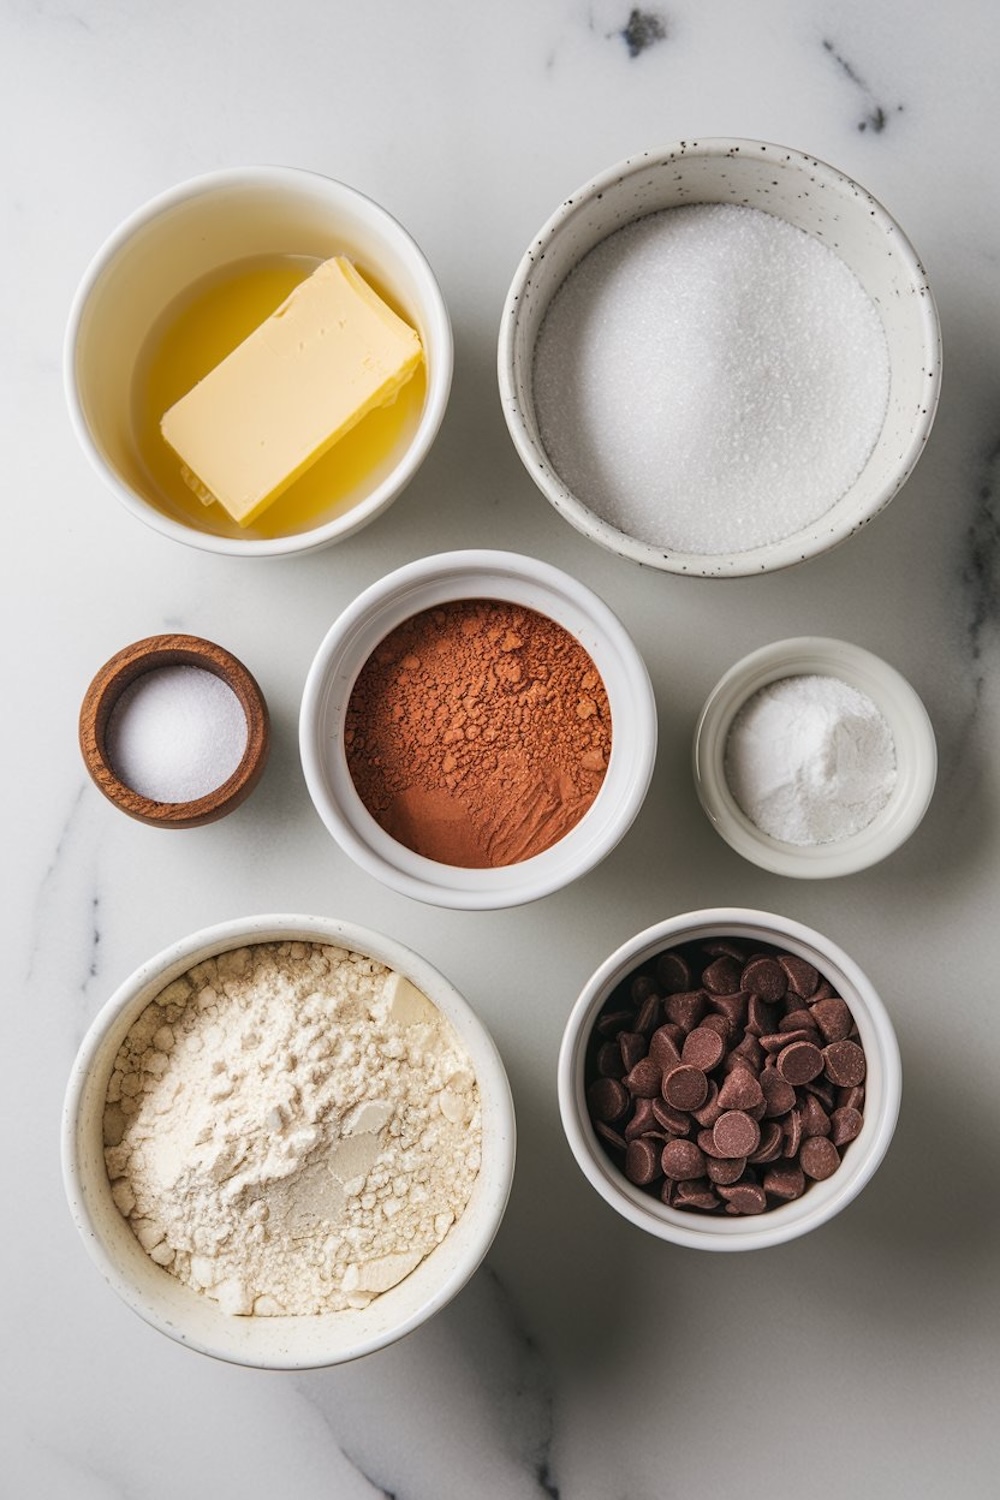
- For the Brownie Base:
1/2 cup (1 stick) unsalted butter
1 cup granulated sugar
2 large eggs
1 teaspoon pure vanilla extract
1/3 cup unsweetened cocoa powder
1/2 cup all-purpose flour
1/4 teaspoon salt
1/4 teaspoon baking powder
- For the Cheesecake Layer:
16 oz (2 blocks) cream cheese, softened
1/2 cup granulated sugar
2 large eggs
1 teaspoon pure vanilla extract
- For the Chocolate Ganache Topping:
1 cup semi-sweet chocolate chips
1/2 cup heavy cream
Steps
- Make the Brownie Base:
Preheat your oven to 350°F (175°C) and line a 9×9-inch baking pan with parchment paper, leaving a slight overhang for easy removal.
Melt the butter in a microwave-safe bowl or saucepan until just melted. Whisk in the sugar until smooth, then add the eggs and vanilla extract, mixing until combined. Sift in the cocoa powder, flour, salt, and baking powder, folding gently until the batter is smooth and thick.
Spread the brownie batter evenly into the prepared pan. Bake for 15 minutes, just enough to set the base. You don’t want to overbake, as it will continue cooking with the cheesecake layer. - Prepare the Cheesecake Layer:
While the brownie base is baking, make the cheesecake filling. In a large bowl, beat the softened cream cheese and sugar until smooth and creamy. Add the eggs, one at a time, followed by the vanilla extract, and mix until fully incorporated.
Once the brownie base has set, remove it from the oven and carefully pour the cheesecake mixture over the top. Use a spatula to smooth it out into an even layer.
Return the pan to the oven and bake for an additional 25-30 minutes, or until the cheesecake layer is set but still has a slight jiggle in the center. Allow the bars to cool completely at room temperature before chilling them in the fridge for at least 2 hours. - Make the Chocolate Ganache:
Once the bars are fully chilled, it’s time to make the ganache. In a small saucepan, heat the heavy cream over medium heat until it just begins to simmer (don’t let it boil). Remove from heat and pour it over the chocolate chips in a heatproof bowl. Let sit for 2-3 minutes, then whisk until smooth and glossy.
Pour the ganache over the chilled cheesecake layer, spreading it into an even layer with an offset spatula. For a decorative touch, drizzle extra melted chocolate or sprinkle chocolate shavings on top. - Chill, Slice, and Serve:
Refrigerate the bars for at least 1 more hour, or until the ganache is set. Using the parchment paper overhang, lift the bars out of the pan. Use a sharp knife to slice them into squares, wiping the blade clean between cuts for neat edges.