
Salty, crisp, chocolate-covered pretzels are the kind of treat you make when your day demands something. Not a slice of cake. Not a full cookie commitment. Just a handful of bite-sized, crunchy little chocolate hugs that hit both the salty and the sweet without apology.
If you’ve tried chocolate dipped pretzels before and thought, what’s the big deal?, I need to stop you right there. Most store-bought ones go soft or taste waxy. When you make them yourself with good chocolate, flaky sea salt, and pretzels that haven’t sat in a warehouse for a year—they’re something else entirely.
And the best part? You don’t need a kitchen full of tools or a full afternoon. Just a bowl, a tray, and a few quiet minutes. Let’s talk through what makes these mine. And what will make them yours.

Following a special diet?
Every recipe on this site can be converted to gluten-free, vegan, dairy-free, keto, nut-free or egg-free with adjusted ratios so nothing falls flat.
Try the Recipe Converter →How I Melt the Chocolate Without Ruining It
The chocolate is the whole point here, so don’t rush it.
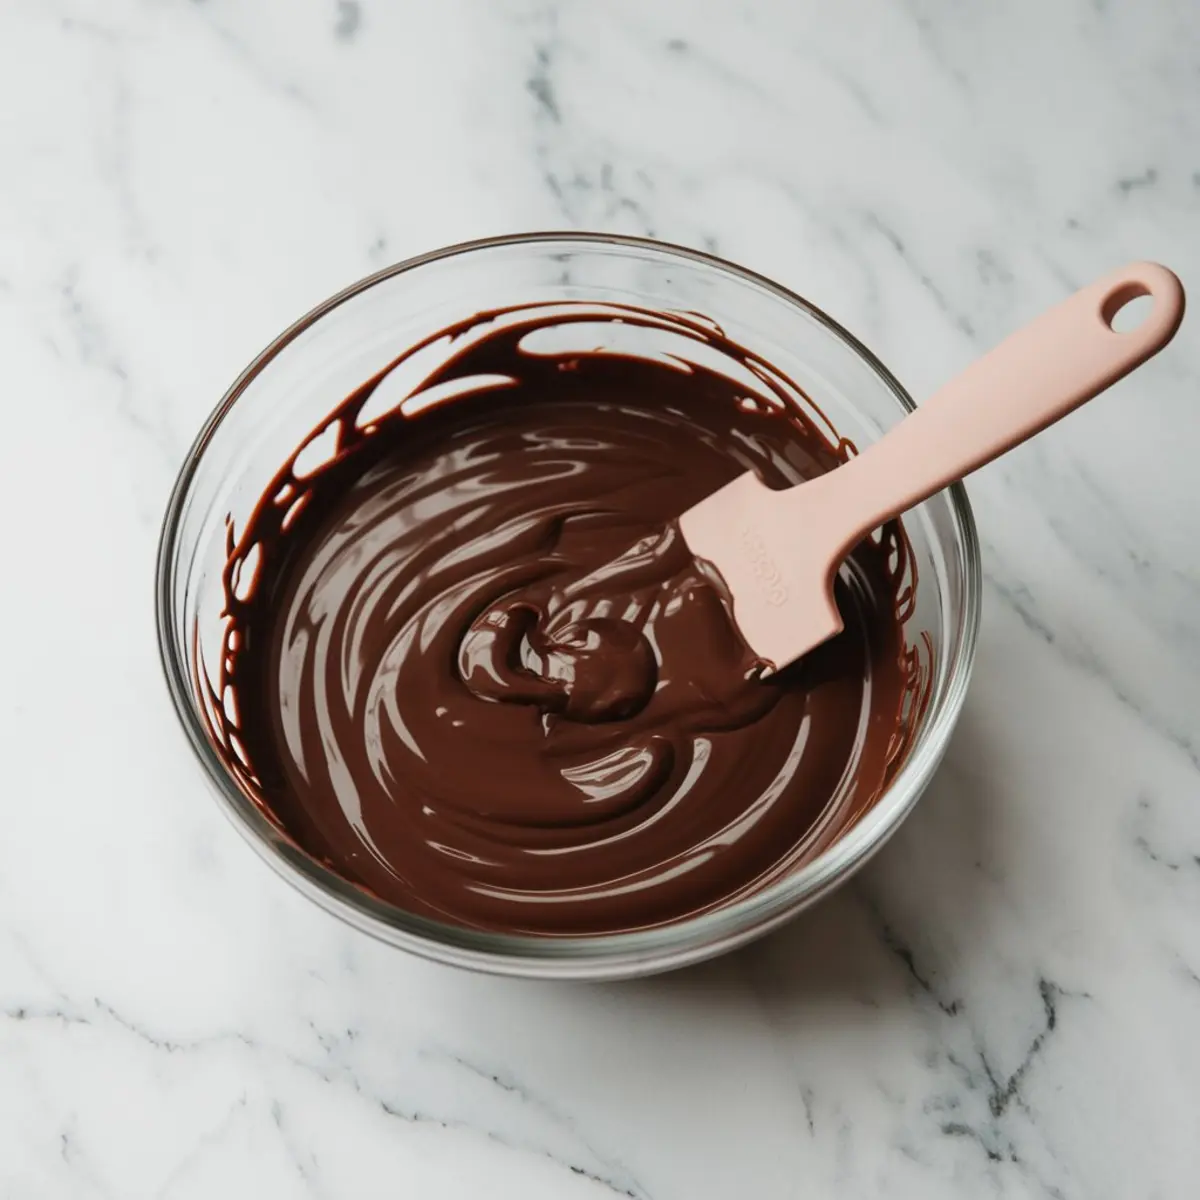
Break the chocolate into pieces and put them in a bowl. If I’m using a microwave, I do 30-second bursts, stirring slowly each time. The stirring matters. I stop once it’s 90% melted and let the residual heat finish the job. This avoids burning it.
If I’m feeling patient, I go old school with a double boiler: a bowl over a pot of simmering water, never touching the bottom. This keeps the chocolate smooth. I’ve learned the hard way that one drop of water in the chocolate bowl can ruin the batch—it seizes and turns into something closer to frosting than a coating.
Adding a teaspoon of coconut oil helps loosen it up for dipping, especially if I’m using chocolate chips instead of baking chocolate.
Why Mini Salted Pretzels Work Best
Shape and size make a big difference.
Mini pretzels are bite-sized and easy to handle. They hold their crunch, deliver the right salt balance, and don’t need much fuss to coat in chocolate.
Sometimes I use pretzel rods if I’m gifting them or want something with a little more flair. You just need a little more space and patience to let them dry without sticking to each other.
I’ve also made these with gluten-free pretzels for friends who need that swap—just make sure they’re fresh and not too thick, or the chocolate won’t cling well.
The Part People Always Forget: Flaky Salt
This isn’t optional.
Adding flaky sea salt on top while the chocolate is still wet changes everything. It boosts the flavor, gives texture, and stops the treat from leaning too sweet. If you’ve ever thought chocolate covered pretzels were too sugary, this step fixes that.
If I’m giving these away, I sometimes add crushed pistachios, chopped almonds, or even a few rainbow sprinkles for a party feel. You do you. Just sprinkle fast—once the chocolate sets, nothing will stick.
How I Set and Store Them Without Losing Texture
Don’t rush the cooling.
I let them set on parchment paper. If I’m in a hurry, the tray goes into the fridge for 15 minutes. But I don’t keep them in there longer than that. The cold air can make the chocolate bloom or sweat, especially if your fridge has humidity issues.
Once they’re dry, I move them to an airtight container and leave them at room temperature. They hold up for days. But they usually don’t last that long.
If your kitchen gets warm, it’s okay to refrigerate them, just bring them out a few minutes before serving so the chocolate doesn’t snap your teeth.
How to Serve Them Like You Meant To
These live on a little plate next to coffee.
Or tossed in a jar with a ribbon for last-minute gifts. Or set out at parties with other make-ahead treats like my Chocolate Chip Blondies or Chocolate Chess Pie.
They also make a great base for a DIY dessert board. Add some nuts, berries, and a few pieces of broken Gordon Ramsay’s Chocolate Tart for a more luxe setup without baking a single thing.
And if I have extra melted chocolate left? I store it for later or use it as a quick dip for fruit. Or pretzels again. No shame.
Let’s Talk About Customizing Them
This recipe is like a little black dress—change the chocolate, change the mood.
Use dark chocolate for a more bitter edge. Milk chocolate makes it sweeter, a bit nostalgic. White chocolate gives contrast and drama, especially if you want to drizzle dark chocolate over the top.
You can even mix chocolates, dipping some in one type and then adding a drizzle of another. Add crushed candy canes in winter. Use colored sprinkles for birthdays. Or just keep them plain and salty like I usually do.
Want a smooth dip every time? Use good chocolate and stir gently. Avoid water. Don’t skip the oil if you’re using chips. That’s it.
Save This and Try It—You’ll Want To Make It Again
I’ve made these for bake sales, baby showers, Tuesday afternoons, and lazy Sunday movie nights.
They’re flexible, fast, and good. That’s what matters.
If you’re curious about more chocolate ideas, check out my Chocolate Frosting guide or the Chocolate Tart recipe—it’s what I pair these with for full dessert tables.
📌 Save this on Pinterest for later and come back to it whenever you need a quick sweet.
Tried this? Leave a comment! I’d love to hear what you dipped, sprinkled, or gifted. Or if you had questions while making them, ask below. Let’s make this a space where snack wins are shared.
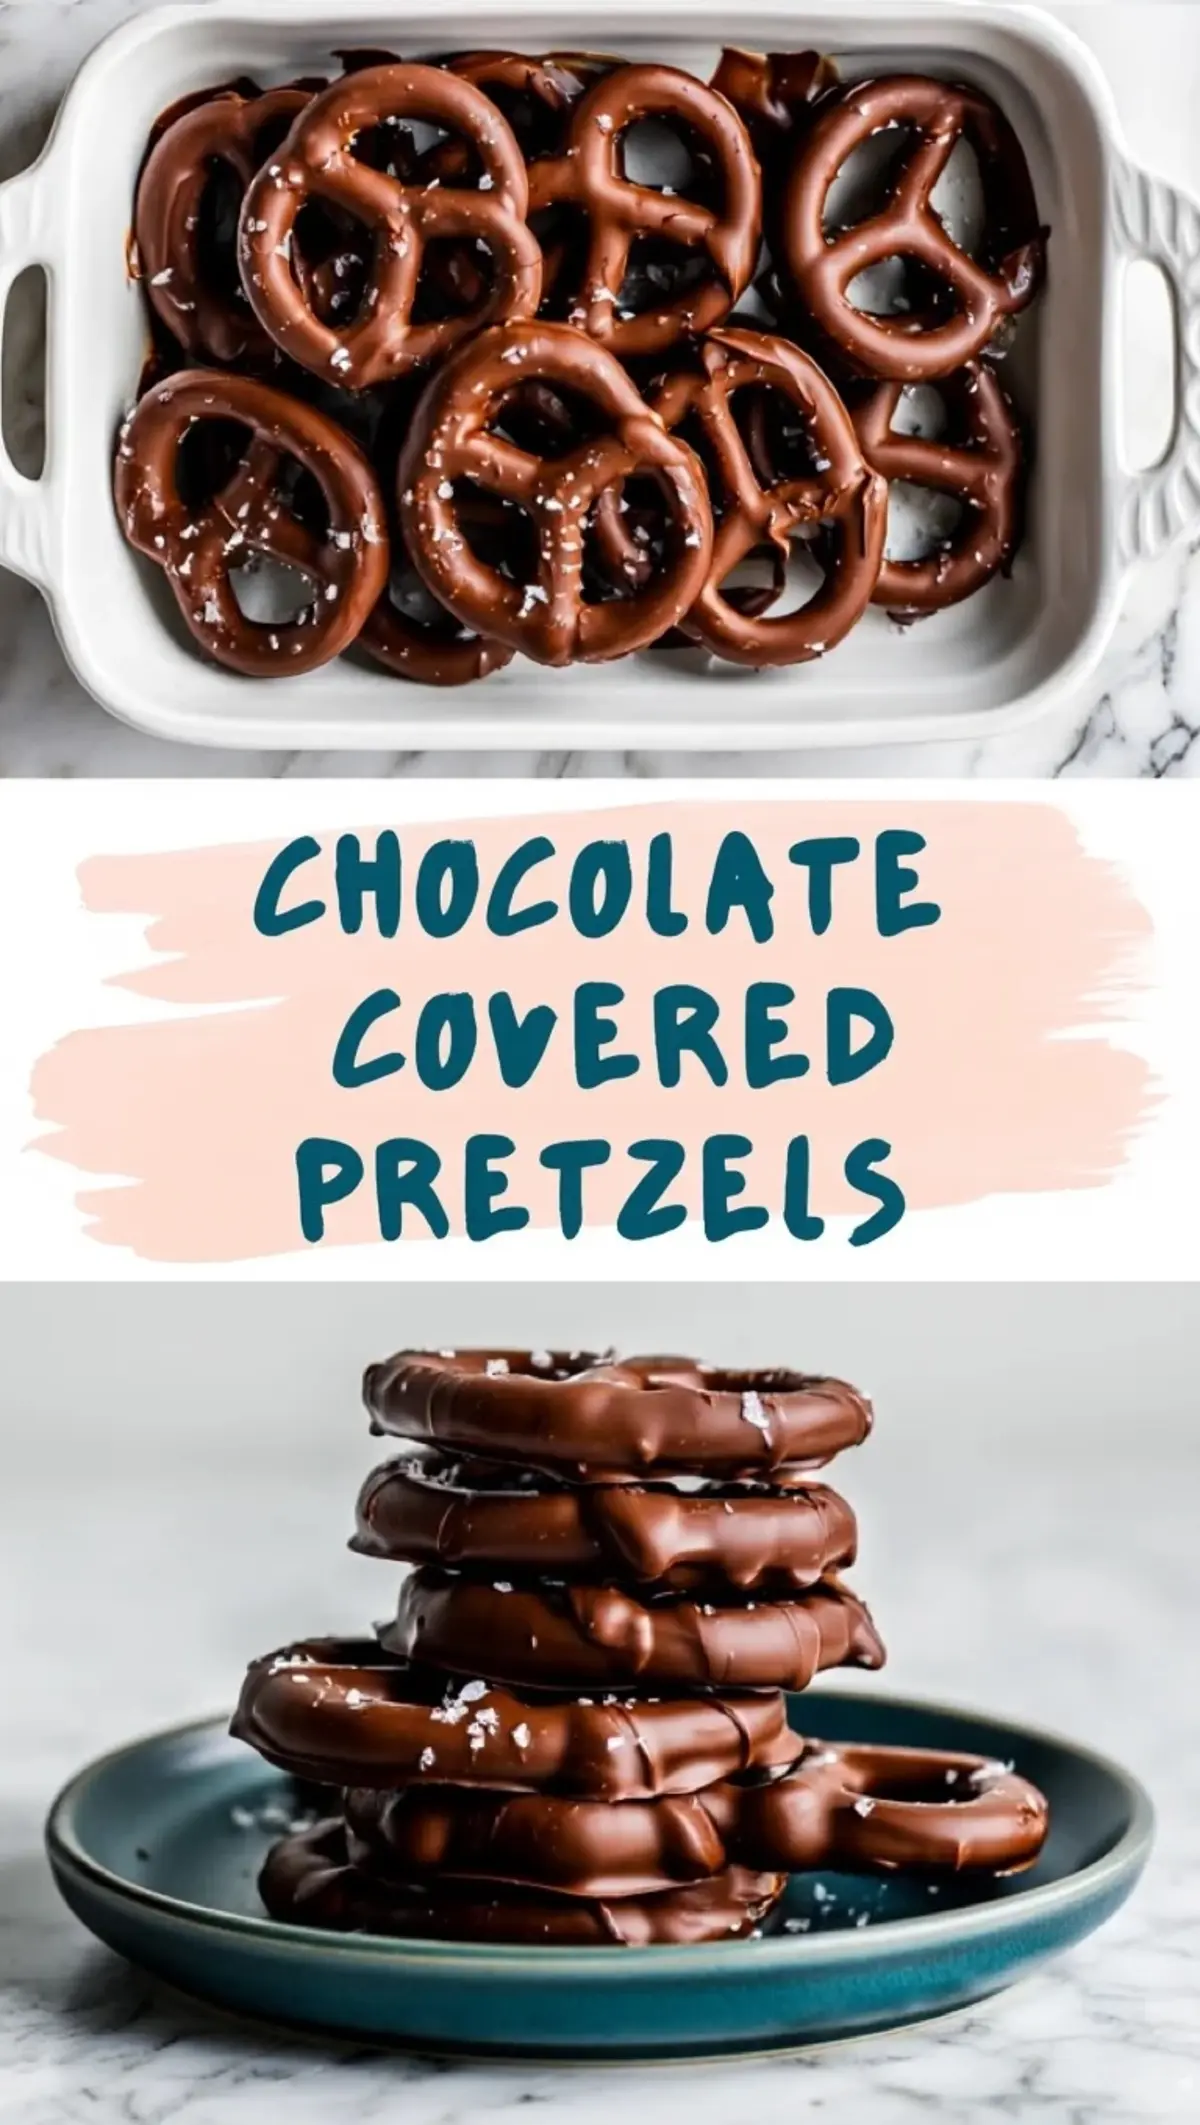
Sweet & Salty Chocolate Covered Pretzels
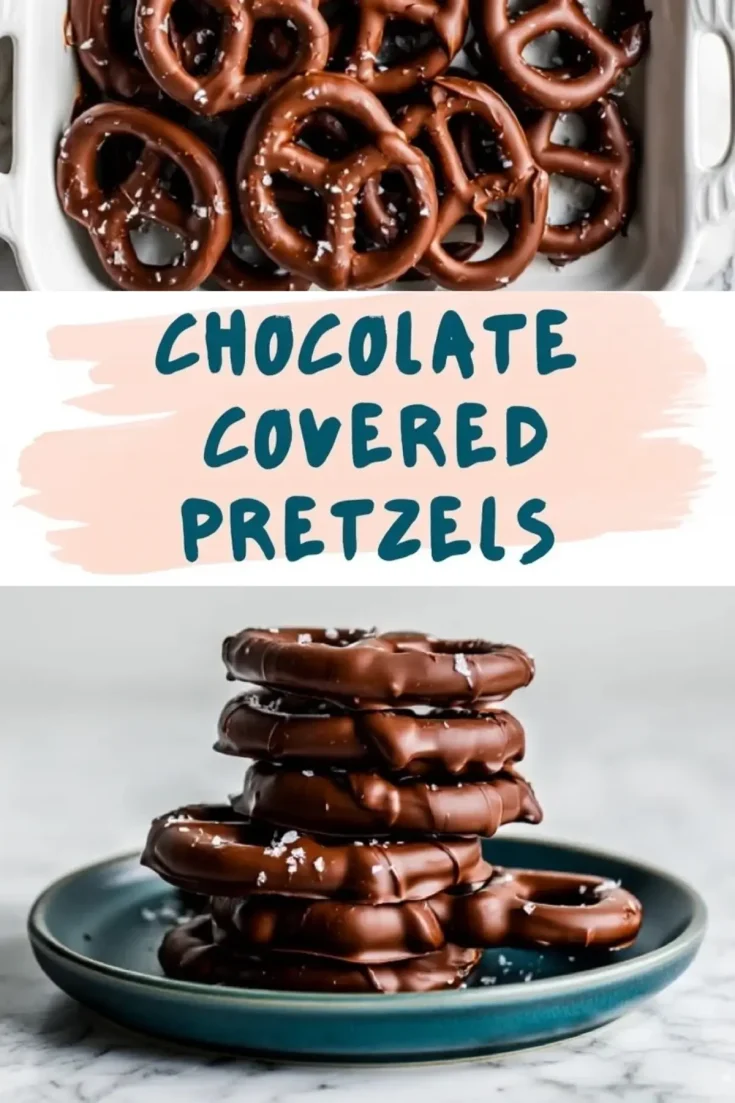
Crispy salted mini pretzels are dipped in smooth, melted chocolate and sprinkled with flaky sea salt. These easy, no-bake treats are quick to make and easy to customize with your favorite type of chocolate or toppings.
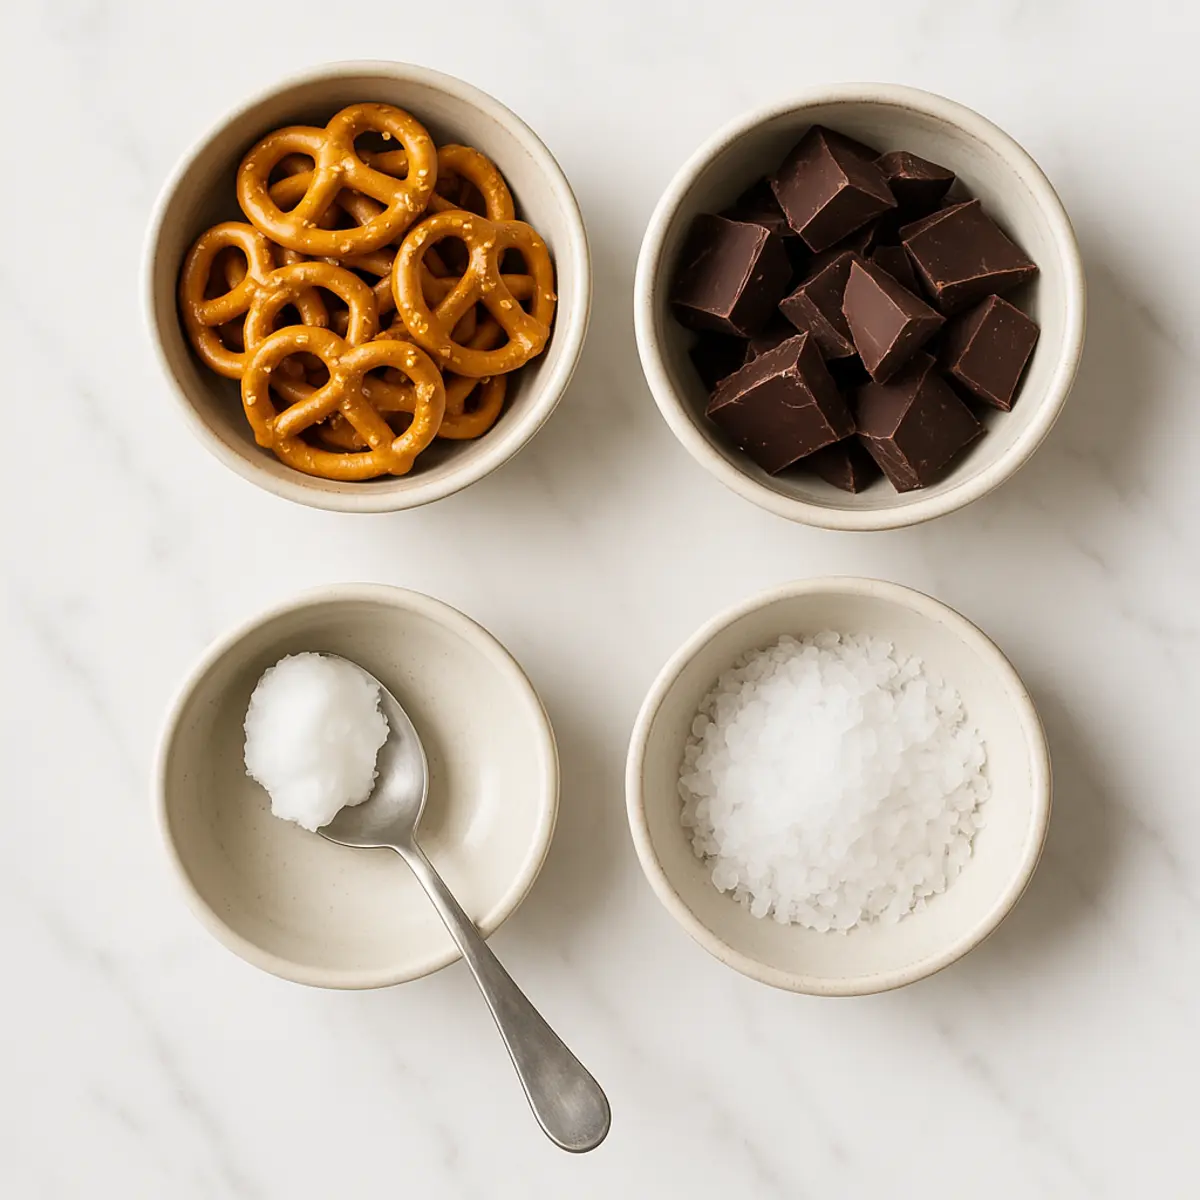
Ingredients
- 2 cups mini salted pretzels
- 8 oz dark chocolate (or milk or white chocolate)
- 1 tsp coconut oil or neutral oil (optional)
- Flaky sea salt, for sprinkling
Instructions
- PREPARE THE BAKING SHEET: Line a baking sheet with parchment paper or wax paper to prevent sticking and make cleanup easier.
- MELT THE CHOCOLATE: Break the chocolate into small pieces and place in a microwave-safe bowl. Microwave in 30-second intervals, stirring between each, until smooth and fully melted. Stir in coconut oil if using. Alternatively, melt the chocolate using a double boiler by placing the chocolate in a heatproof bowl over a pot of simmering water and stirring until smooth.
- DIP THE PRETZELS: Drop pretzels one at a time into the melted chocolate. Use a fork or dipping tool to coat and lift them out, allowing the excess chocolate to drip off. Place each dipped pretzel on the prepared baking sheet.
- SPRINKLE WITH SALT: While the chocolate is still wet, sprinkle a small pinch of flaky sea salt over each pretzel.
- LET THE PRETZELS SET: Allow the chocolate to set at room temperature for 1 to 2 hours, or place the tray in the refrigerator for 15 to 20 minutes to speed up the setting process.
- STORE OR SERVE: Once the chocolate is fully set, transfer the pretzels to an airtight container. Store at room temperature or in the refrigerator.
Notes
Chocolate: Use good-quality chocolate for the best flavor and texture. Dark chocolate with around 60–70% cocoa content provides a rich, slightly bitter contrast to the salty pretzels. Milk chocolate gives a sweeter, creamier result, while white chocolate offers a milder taste and a striking visual contrast if you're adding drizzles or decorations. You can also combine different chocolates for variety. If using chocolate chips, adding a teaspoon of oil helps create a smoother dipping consistency since chips are formulated to hold their shape.
Melting tips: Chocolate can burn easily in the microwave, so stir thoroughly after each 30-second interval and stop heating as soon as it’s mostly melted. Let the residual heat finish the job. If using a double boiler, keep the heat low and ensure no water gets into the chocolate bowl, as it can cause the chocolate to seize and become grainy.
Pretzels: Mini salted pretzels work best because they’re easy to dip and give a balanced bite of salt and chocolate. You can also use pretzel rods or twists if preferred—just adjust the dipping technique and drying space accordingly.
Setting and storage: Let the pretzels cool on parchment or wax paper to avoid sticking. For faster setting, place the baking sheet in the refrigerator, but avoid leaving them in for extended periods as condensation can affect texture. Once set, store the pretzels in an airtight container at room temperature for up to one week. If your environment is particularly warm, refrigerate them to keep the chocolate stable, but let them sit at room temperature for a few minutes before serving for best texture.
Customizations: For a festive look or added texture, top the pretzels with crushed candy canes, sprinkles, chopped nuts, or a drizzle of a contrasting chocolate. Just be sure to add decorations while the chocolate is still wet so they stick properly. This recipe also works well with gluten-free pretzels if needed.
Nutrition Information
Yield
40Serving Size
1Amount Per Serving Calories 38Total Fat 2gSaturated Fat 1gTrans Fat 0gUnsaturated Fat 1gCholesterol 0mgSodium 25mgCarbohydrates 4gFiber 0gSugar 3gProtein 0g