People often mention the finicky nature of macarons. I once thought the same. My initial tries produced cracked shells or hollow interiors, and I nearly gave up. A determined mindset kept me going, and I soon discovered that precise measurements, gentle folding, and a bit of patience fix many of those hiccups.
My grandmother’s advice about weighing each ingredient stuck with me. She always said:
“Proper measuring removes a lot of guesswork.”
That tip formed the backbone of my macaron adventures, and it continues to guide how I prep ingredients today.
Following a special diet?
Every recipe on this site can be converted to gluten-free, vegan, dairy-free, keto, nut-free or egg-free with adjusted ratios so nothing falls flat.
Try the Recipe Converter →I remember my early days in the kitchen, where an old mixing bowl and an imperfect oven never stopped me from chasing new dessert ideas. My fascination with sweet treats led me to macarons, especially those with a chocolaty twist. Friends teased me that I jumped into the most sensitive pastry right away, but my enthusiasm soared above the risks of failure.
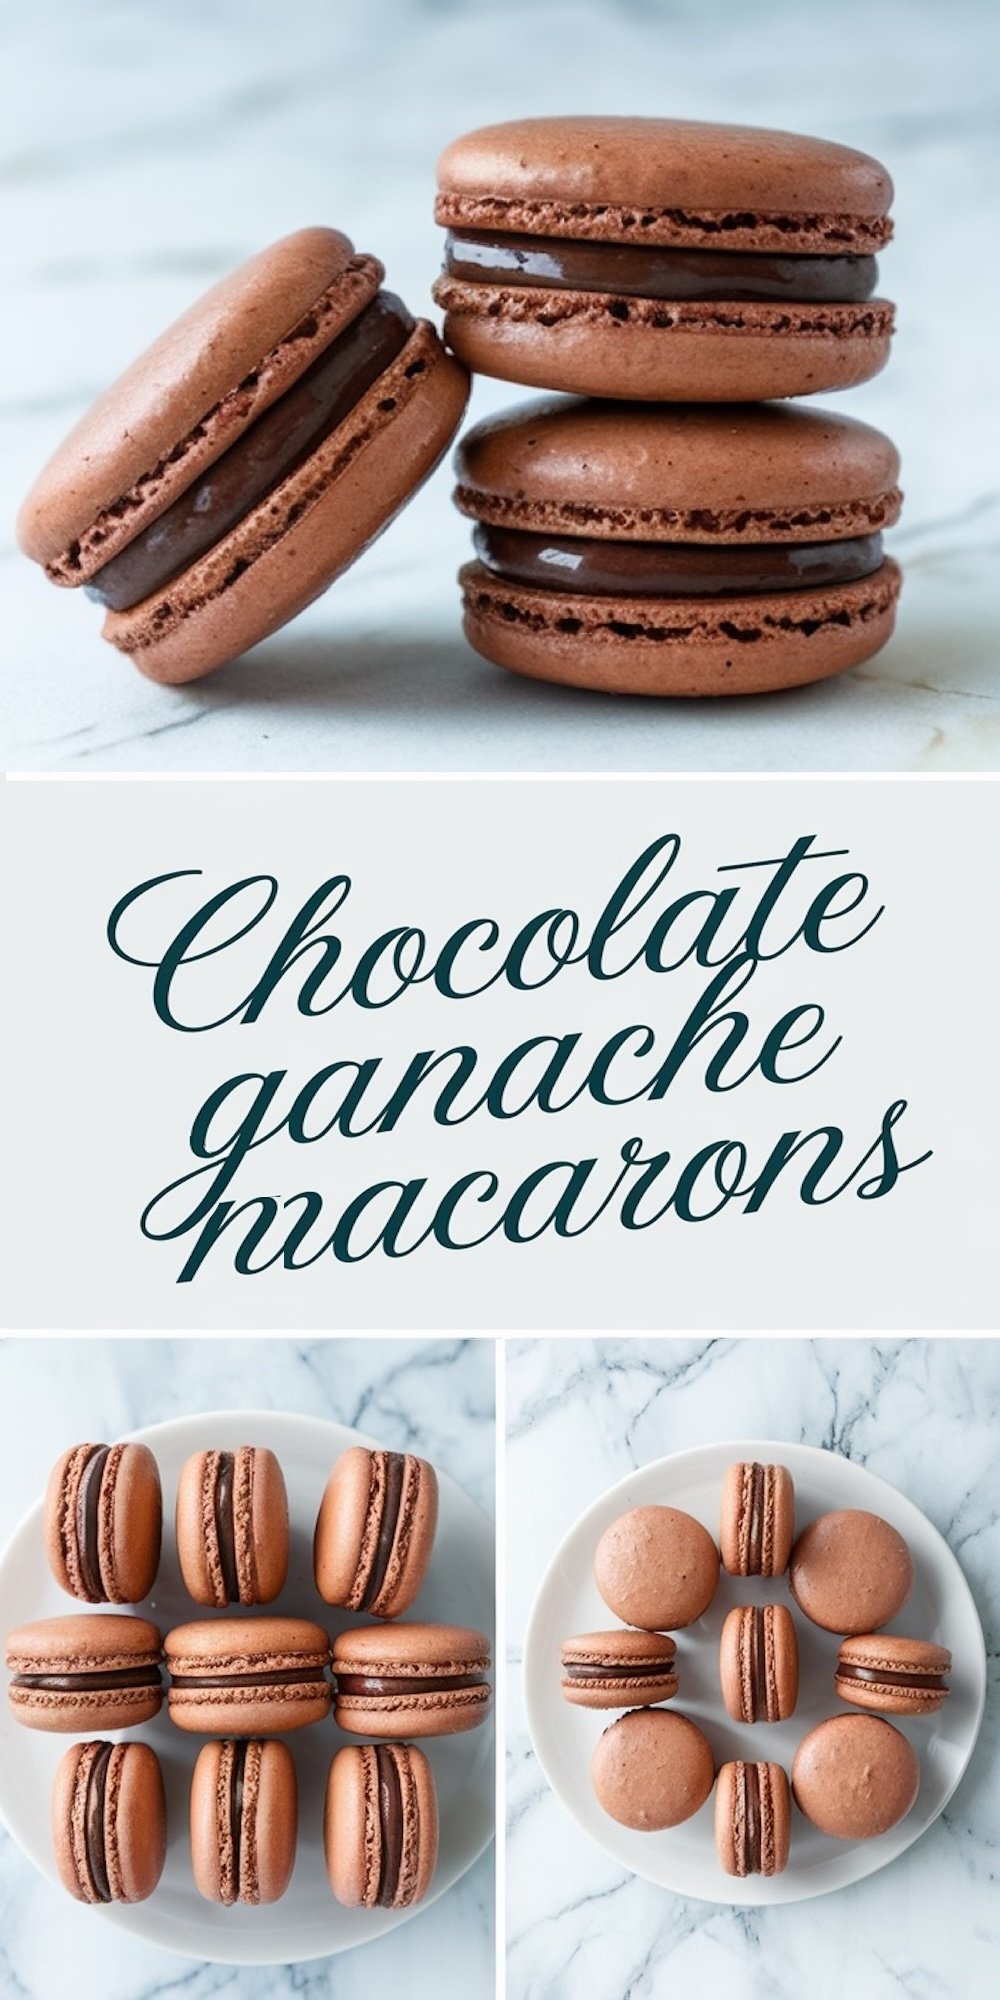
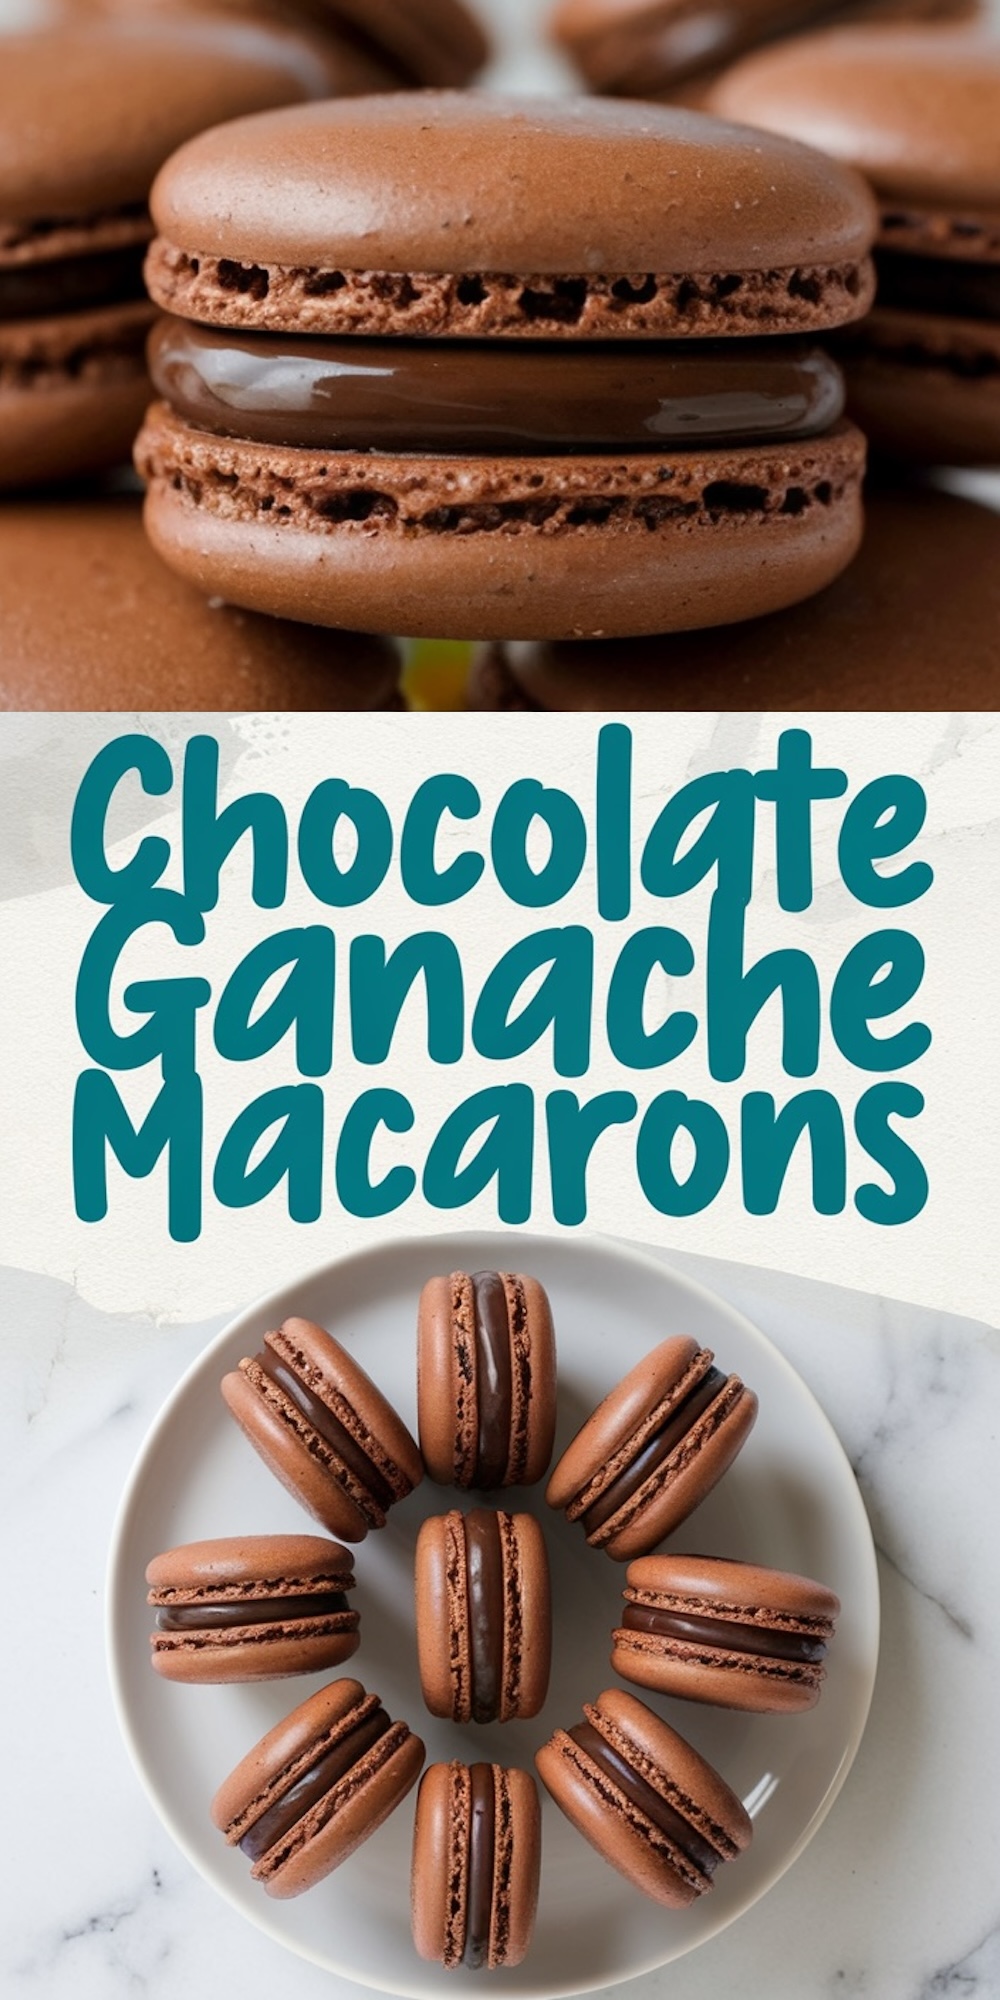
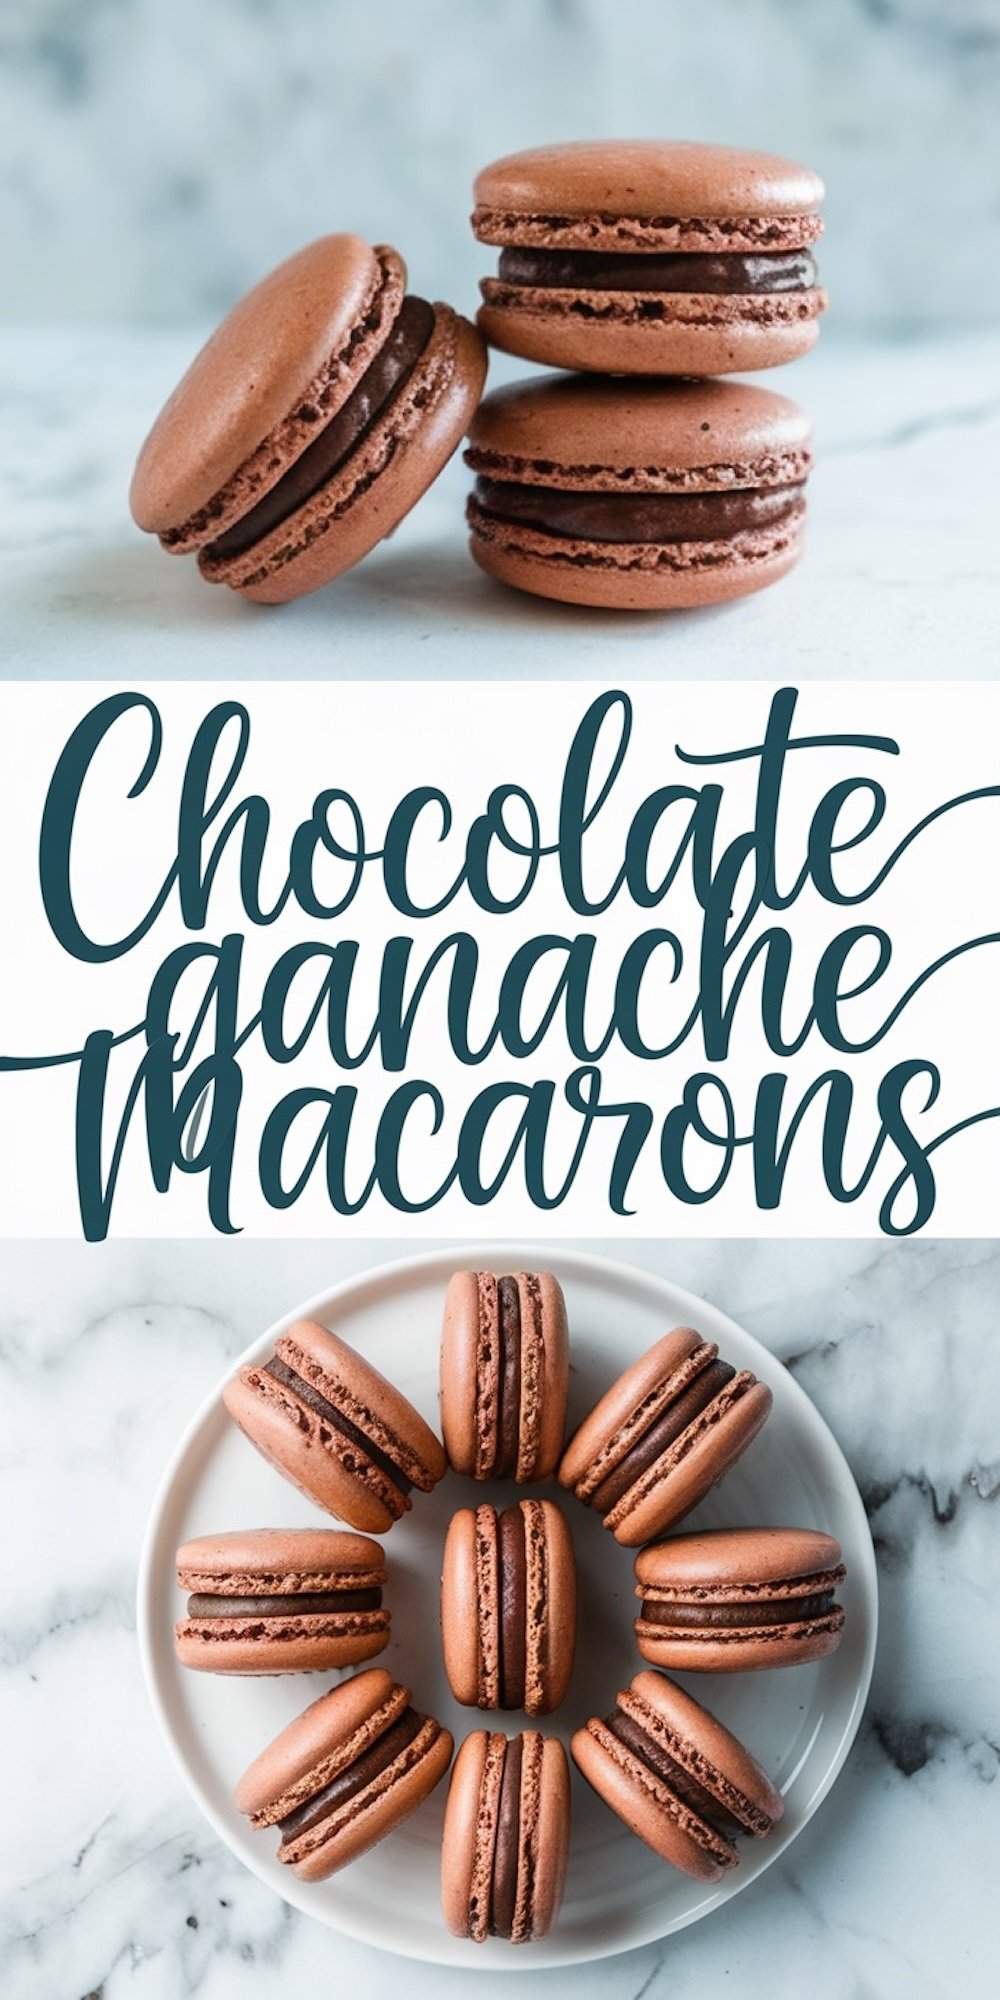
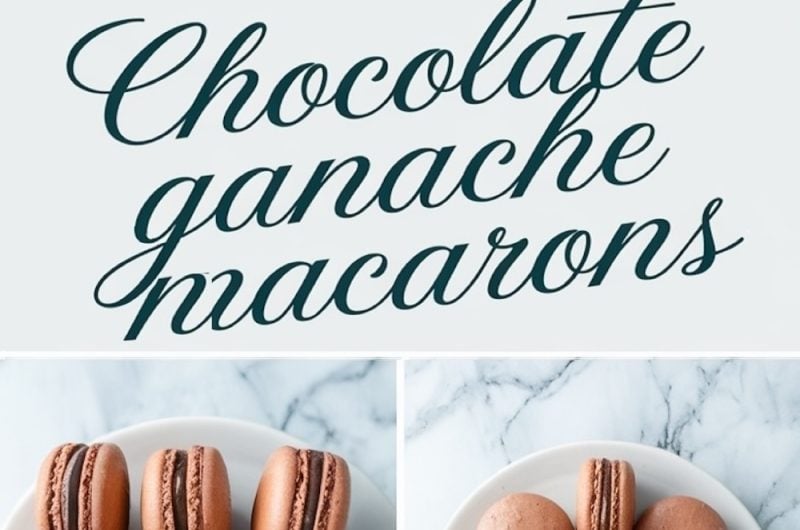
Chocolate ganache macarons offered a rewarding challenge that excited me more than any standard cookie recipe. That first bite of a crisp shell giving way to a creamy center felt like an accomplishment I couldn’t stop talking about.
Careful Preparation and Quality Ingredients
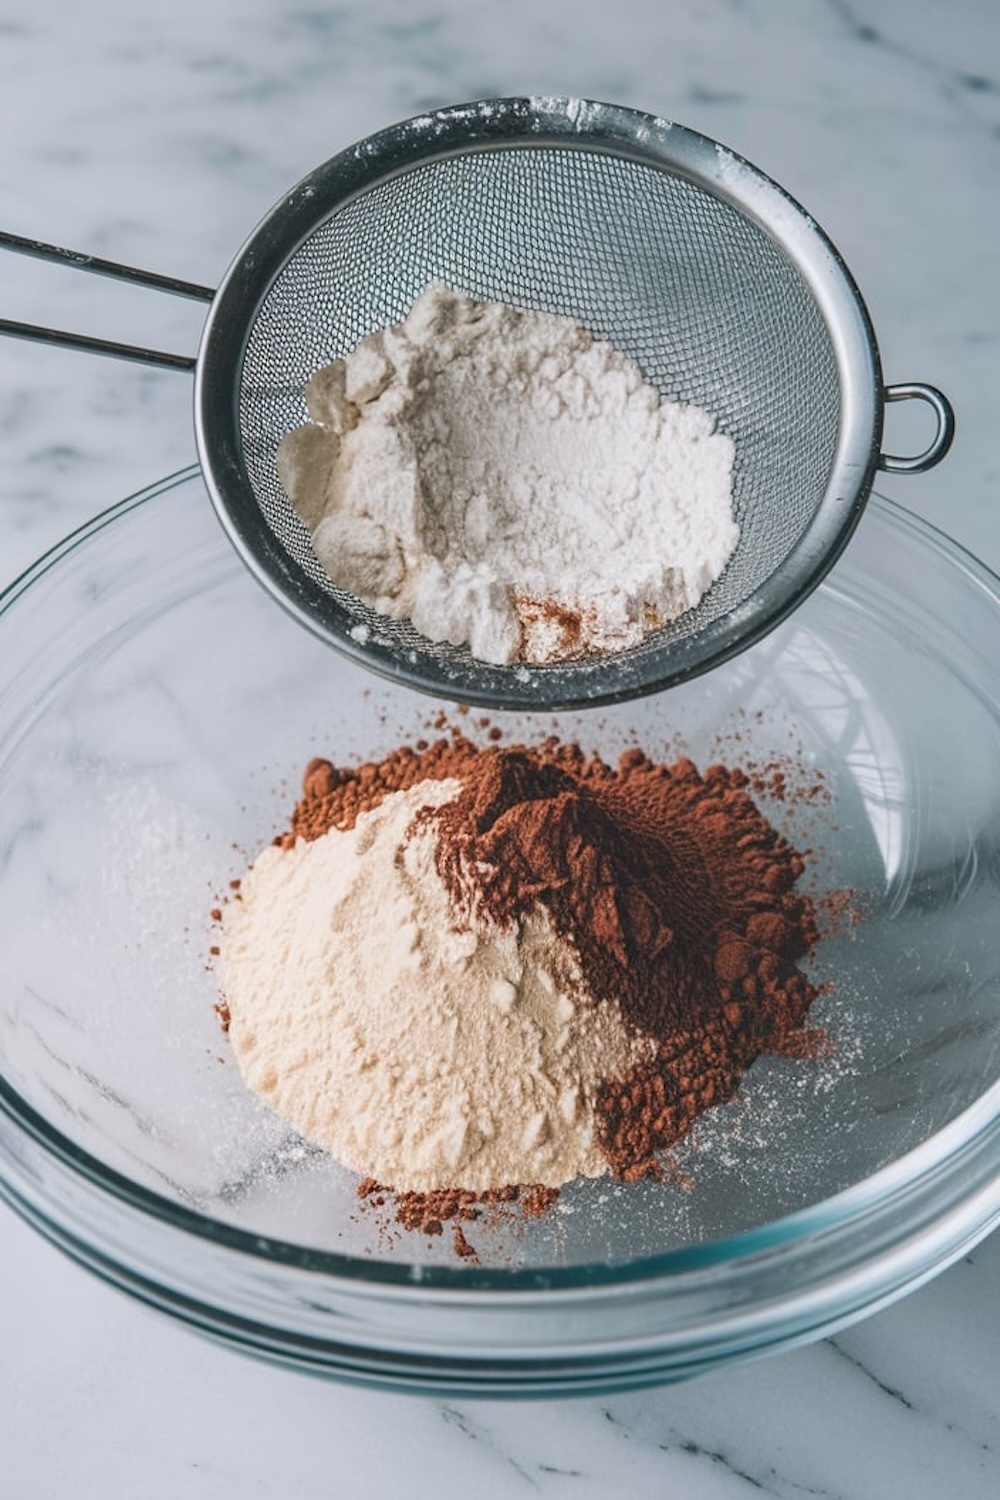
My process starts with a kitchen scale. Almond flour, powdered sugar, and cocoa powder need accurate proportions to create shells that rise evenly. An extra minute spent sifting pays off in smooth textures, so I sift at least twice. The cocoa adds a deep chocolate hue, and I notice that it blends best when combined thoroughly with the almond flour. Everything goes into a large bowl, and I pause to check for lumps.
My egg whites stay at room temperature for easier whipping, a simple but powerful change I learned through trial. My whipped egg whites reach stiff peaks more rapidly without cold spots. I add granulated sugar gradually, and I notice how it dissolves at each stage. Cream of tartar is an optional addition that I reserve for days when the kitchen feels humid, or I suspect the egg whites need extra support. My routine also includes ensuring the mixing bowl is clean and grease-free, because any residue can flatten the meringue.
Whipping Meringue for Strong Shells
I keep a watchful eye on the meringue. My mixer starts slow, moving from a frothy texture to a white foam. I add the sugar in small spoonfuls, and then I speed up the mixer once I see it begin to thicken. Stiff, glossy peaks suggest the meringue is ready for the dry ingredients. That visual checkpoint matters. Under-whipped meringue can turn the batter runny. Over-whipped meringue can lead to clumpy results that refuse to blend well with the almond flour mixture.
I remember my first success with the meringue. My arms were tired from whisking by hand, but the moment I noticed those peaks stand tall, I felt proud. My spatula gently folded the sifted ingredients into that shiny foam, and the mixture gradually turned a uniform light brown. Macaronage, or the folding process, is a step that demands care. My grandmother told me to “scrape, fold, rotate the bowl.” That rhythmic pattern eventually produced a consistency that flows in ribbons from my spatula. A few extra folds can flatten the batter, so I pay attention to how it spreads in the bowl.
Shaping the Shells with Steady Piping
My approach to piping the shells evolved over time. A piping bag with a round tip creates neat circles, but my hand pressure determines how large or small each circle ends up. I hold the bag perpendicular to the baking sheet. My batter slides out in rounds about 1.5 inches wide. Tapping the baking tray a few times on the countertop forces air bubbles to rise, so I pop them with a toothpick. That action helps me avoid pitted tops. I set the tray aside to rest for 30 to 60 minutes. I test by touching the surface lightly, checking if it leaves a dent on my finger. A dry surface means they’re ready for the oven.
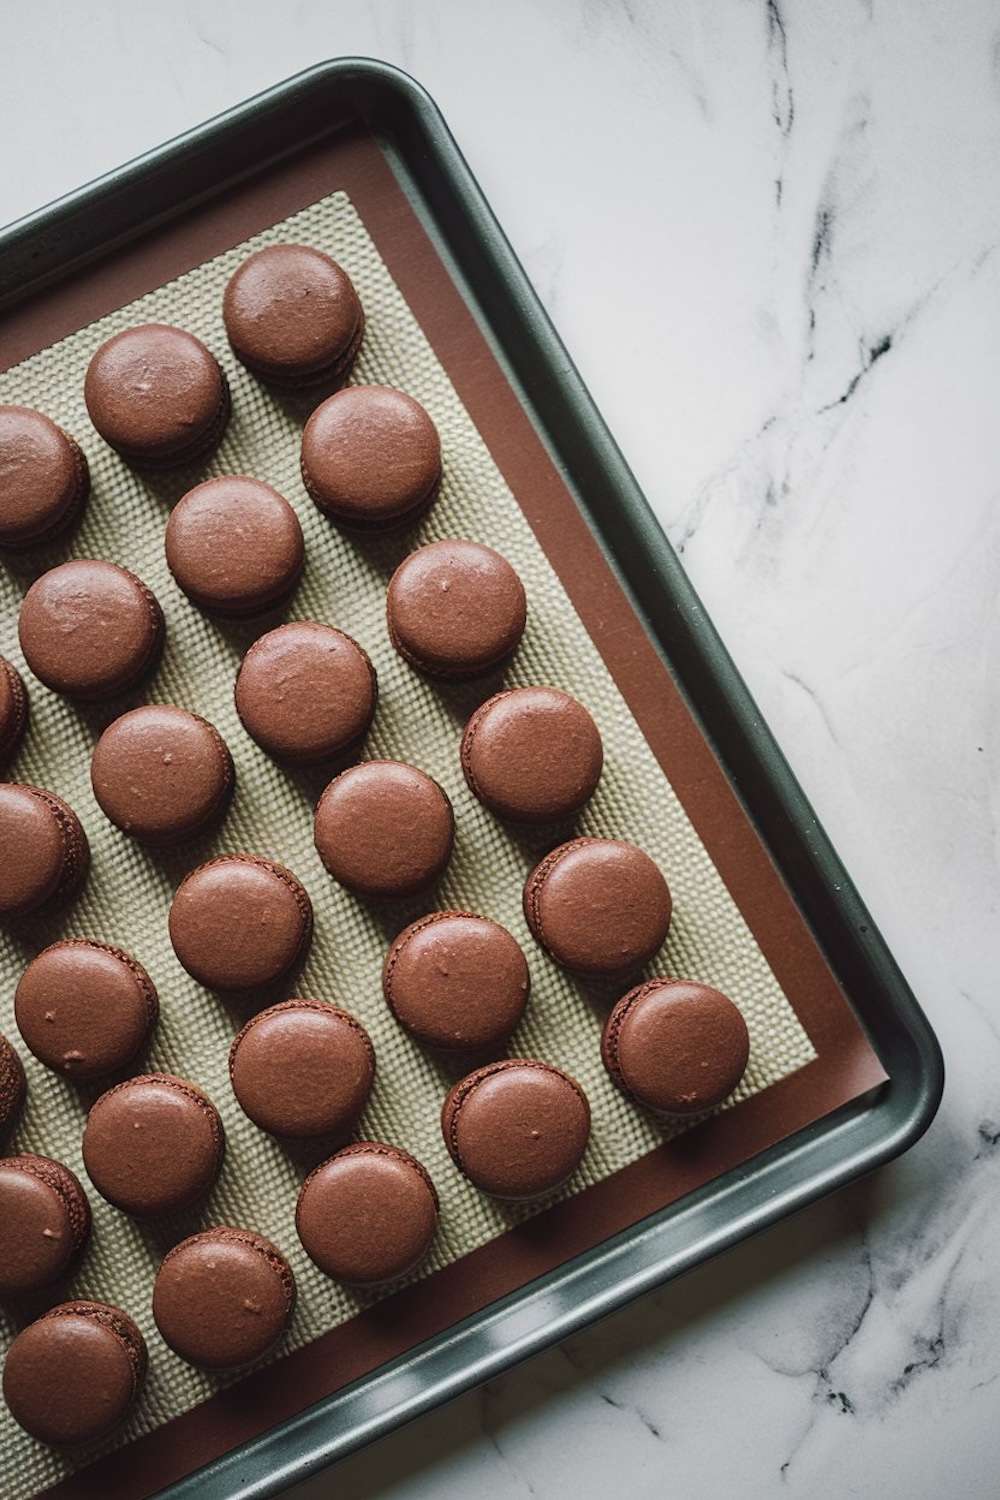
My waiting routine includes preheating the oven to 300°F (150°C). A stable temperature helps the shells rise instead of spread. I position the tray on the center rack. My first big win with baking macarons happened by timing them precisely for about 14 to 16 minutes. The shell top felt firm, and I noticed small, ruffled edges at the base, often called the “feet.” That little ledge is a source of pride for macaron fans because it confirms a successful rise. I make sure to let them cool on the tray. Removing them too early can tear the shells or leave pieces of the bottom stuck to the mat.
My Thrill for Chocolate Ganache
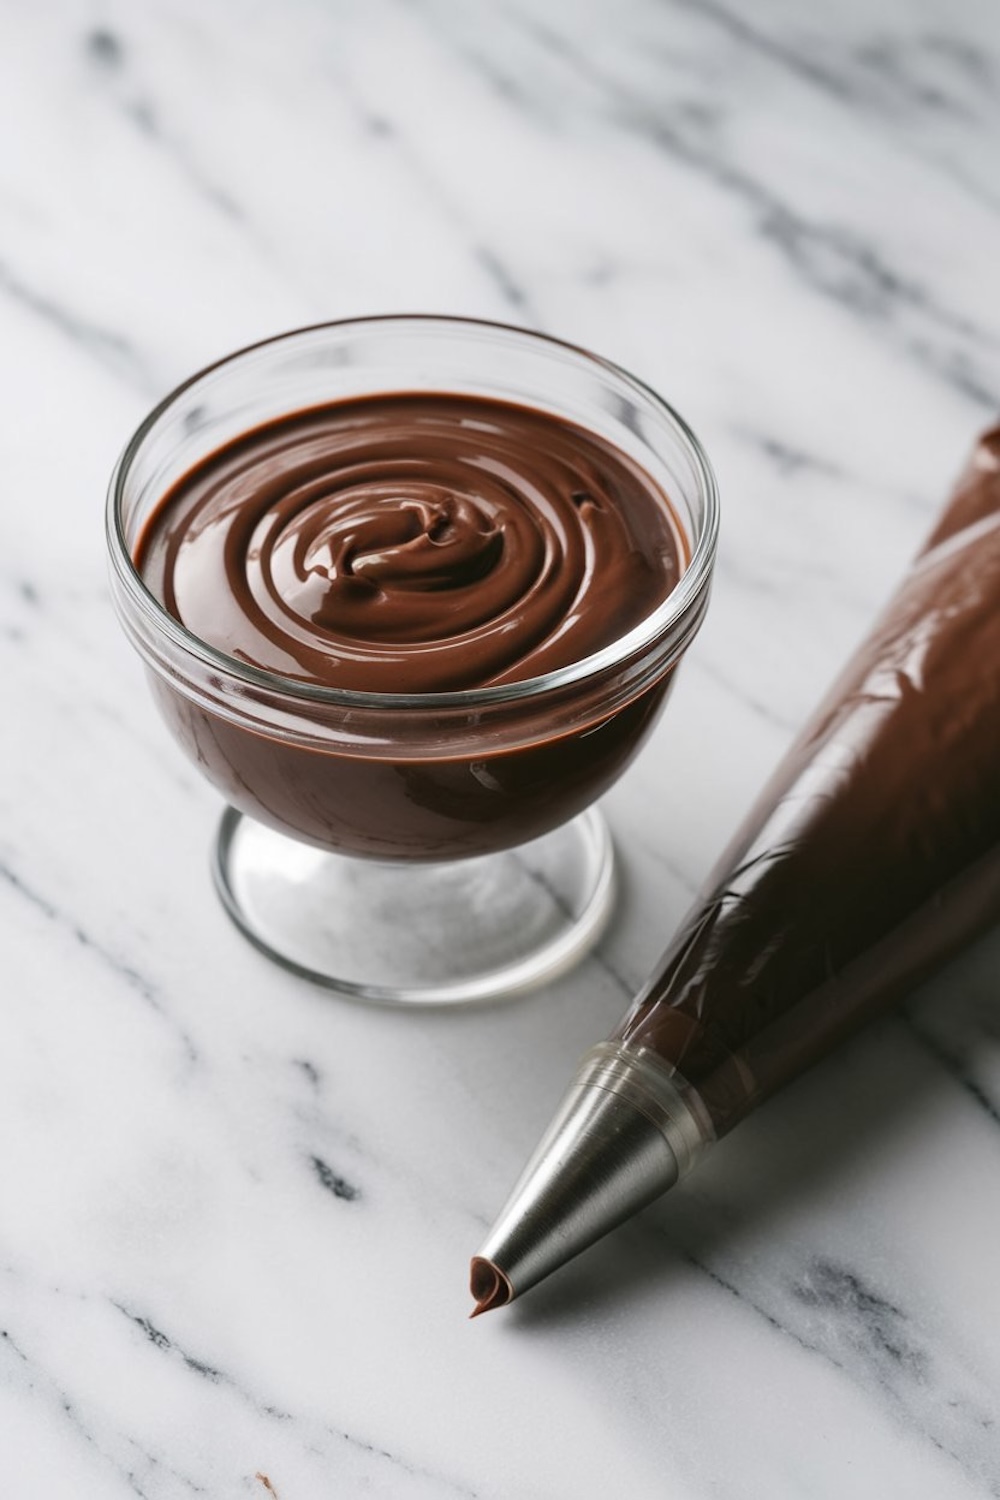
My search for a filling led me to dark chocolate. A balance of sweetness and richness appealed to me. Heating heavy cream until it simmers, then pouring it over chopped chocolate results in a glossy mixture once stirred. I add butter for extra smoothness. That step makes me think of my father’s preference for strong flavors. He jokes that no dessert is complete without a punch of dark chocolate. I used to wonder if the butter was optional, but I realized it helps stabilize the ganache, and it also contributes a pleasant texture.
I let the ganache cool until it becomes pipeable. A thick yet soft consistency is my goal. I pair up shells that match in size. My younger self tried to eyeball the piping circles, but now I rely on a template or consistent movements to keep them uniform. I pipe a generous swirl of ganache onto one shell, then gently top it with another. A little press sets the filling in place, and I usually let the macarons rest in the fridge for a bit. My personal taste test always involves one macaron right away, though. That first bite gives me an immediate sense of success.
Learning from Mishaps and Sharing Tips
My earlier struggles taught me about humidity, oven hotspots, and the difference between good cocoa powder and cheaper alternatives. I once tried a bargain brand of cocoa. The shells developed a mild chocolate flavor that disappointed me. I switched to a better cocoa source and noticed an immediate improvement. My biggest piece of advice is to be patient with the process. Macarons can test your nerves, but the results justify the effort. A few cracks won’t ruin the entire batch, and each attempt adds more understanding.
I began sharing this recipe with friends who enjoy hands-on baking. One neighbor discovered the importance of sifting. She had lumps in her batter and ended up with gritty shells. Another friend forgot the resting stage and found that the shells cracked in the oven. These errors remind me how each detail plays a role. My excitement for chocolate ganache macarons never fades because every success story feels like a small triumph in the kitchen.
Pairing Macarons with Other Chocolate Treats
Friends sometimes ask me for additional chocolate desserts, especially when they gather for a celebration. I find it easy to suggest a few tried-and-true favorites. The Chocolate Ganache Tart stands out with its velvety center and crisp crust. My sister loves the Chocolate Cheesecake Brownie Bars because those bars combine tangy cream cheese and deep chocolate flavors. Another option is the Chocolate Bread Pudding, which transforms leftover bread into a comforting dessert that feels nostalgic.
I often place a variety of chocolate pastries on the table, hoping to see everyone pick their favorites. Macarons fill a special role, adding a touch of elegance to the spread. Each dessert comes from the same love for baking, but the contrasting textures and flavors keep guests excited. My final note is that these macarons store well in an airtight container, and they can rest in the fridge for a couple of days if you want to make them ahead of a party.
Personal Satisfaction and a Helping Hand
I cherish the sense of accomplishment that comes with homemade chocolate ganache macarons. My kitchen stories involve plenty of flour dust on the countertops and a few stray cocoa streaks on the walls. I don’t mind the cleanup. My real joy arrives when I see the macaron shells rise in the oven or when I try that first sample and realize the shells are crisp with a chewy center. My mother always reminds me that baking can connect people, even across generations. My grandmother’s old whisk is a reminder of how traditions continue through shared recipes.
People might feel uneasy about macarons, thinking they need advanced skills. My own experience proves that practice builds confidence. There is a thrill in taking a risk on something new. I learned to trust my instincts and keep an eye on subtle signs in the kitchen. My macaron approach probably looks different from that of a professional baker, but it still yields results I’m proud to share.
Extra Guidance: Frequently Asked Questions
How to perfect chocolate macaron shells?
Precise weighing, thorough sifting, and a reliable oven temperature produce consistent results. Room-temperature egg whites give the batter better volume, and a careful folding technique ensures a stable structure.
Chocolate macarons vs. chocolate cookies: what’s different?
Macarons rely on almond flour and meringue, which create a crisp exterior and chewy center. Traditional cookies often use all-purpose flour and a different leavening method, resulting in a denser crumb.
Filling ideas for chocolate macarons
My typical filling is dark chocolate ganache. Some people try peanut butter frosting, salted caramel, or fruit-based fillings for a twist. Testing new combinations can spice up your macaron repertoire.
Chocolate macaron calorie facts to consider
Each one contains around 90 calories. These treats contain sugar, chocolate, and other calorie-rich ingredients. A few macarons can fit into a balanced diet, but moderation is key for those watching their daily intake.
Final Thoughts and a Look Ahead
I often reflect on the path that led me to my first batch of chocolate ganache macarons. Trial and error shaped my method, and I now see them as a symbol of patience and detail-oriented baking. My family requests them at celebrations, and I appreciate how they never fail to bring a smile. Homemade macarons might require careful technique, but they offer a profound sense of reward.
A consistent plan for each stage—sifting, whipping, folding, resting, baking, and filling—makes success more likely. My personal story is proof that anyone can learn this art with a bit of persistence. The deep flavor of the cocoa, the soft center of the ganache, and the faint crunch of the shells create a union that reminds me why I keep returning to this recipe.
Chocolate Ganache Macarons Recipe
Course: Cake Ideas10
servings40
minutes15
minutes90
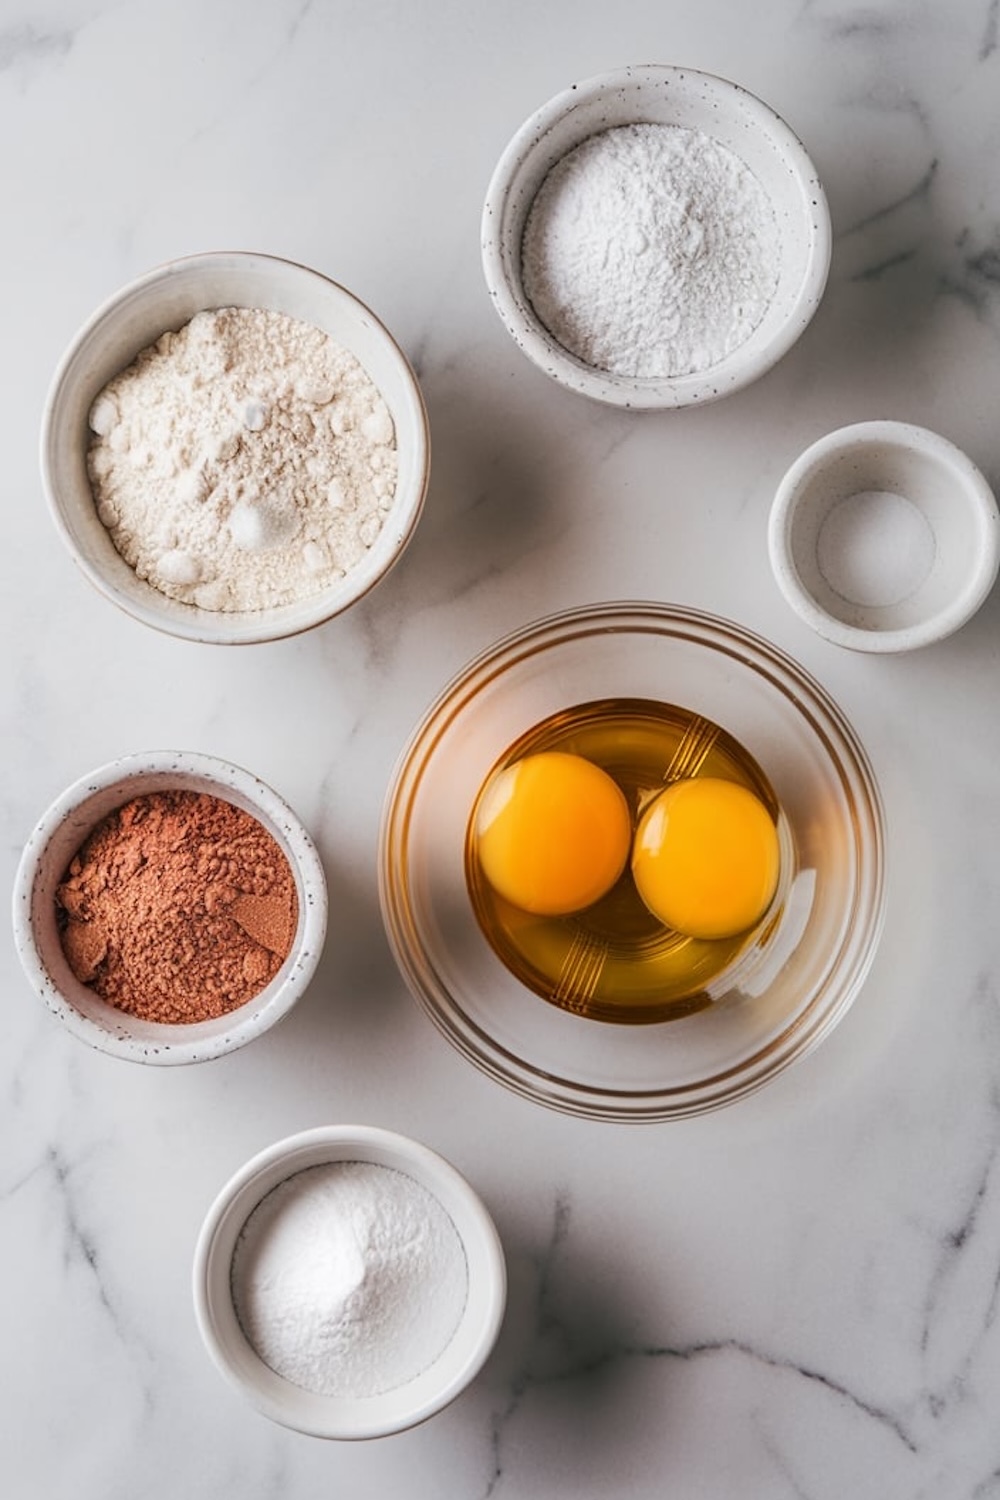
kcalIngredients
- For the Macaron Shells:
100g almond flour (finely sifted)
100g powdered sugar
2 large egg whites (at room temperature)
70g granulated sugar
15g cocoa powder (unsweetened, sifted)
1/4 tsp cream of tartar (optional, for stability)
- For the Chocolate Ganache Filling:
100g dark chocolate (chopped, or use high-quality chocolate chips)
100ml heavy cream
20g unsalted butter (at room temperature)
Steps
- Step 1: Prep Your Ingredients
- Weigh everything out precisely using a kitchen scale. Accuracy is key when making macarons.
- Sift the almond flour, powdered sugar, and cocoa powder together into a large bowl. Discard any larger bits that don’t pass through the sieve.
- Step 2: Whip the Meringue
- In a clean, grease-free bowl, add the egg whites. Start whisking them on medium speed until they’re foamy.
- Gradually add the granulated sugar (a tablespoon at a time), then increase the speed to high. Add the cream of tartar if you’re using it. Whip until you reach stiff, glossy peaks.
- Step 3: Macaronage (Folding the Batter)
- Add the dry ingredients (almond flour mixture) into the meringue in two additions.
- Use a spatula to gently fold the mixture, being careful not to deflate the meringue. The batter should flow like lava—thick, but it should fall in ribbons when you lift the spatula.
- Step 4: Piping the Macarons
- Transfer the batter to a piping bag fitted with a round tip.
- Pipe small circles (about 1.5 inches in diameter) onto a parchment-lined or silicone mat-lined baking sheet. Hold the piping bag perpendicular to the surface for even circles.
- Tap the tray firmly on the counter a few times to release air bubbles. Pop any visible bubbles with a toothpick for smooth tops.
- Step 5: Resting
- Let the piped shells rest at room temperature for 30-60 minutes, or until a thin skin forms on the surface. You should be able to touch them lightly without the batter sticking to your finger.
- Step 6: Baking
- Preheat your oven to 300°F (150°C).
- Bake the macarons in the center rack for 14-16 minutes. They should have developed “feet” and should not jiggle when lightly touched.
- Allow the shells to cool completely on the baking sheet before removing them.
- Step 7: Making the Chocolate Ganache
- Heat the heavy cream in a small saucepan over medium heat until it just starts to simmer (don’t let it boil).
- Pour the hot cream over the chopped chocolate in a bowl. Let it sit for 1-2 minutes to melt the chocolate.
- Stir gently until smooth, then add the butter and stir until fully incorporated. Let the ganache cool to a pipeable consistency.
- Step 8: Assembly
- Pair up similar-sized macaron shells.
- Pipe a generous dollop of chocolate ganache onto the flat side of one shell, then sandwich it with another shell. Press gently to spread the ganache evenly.