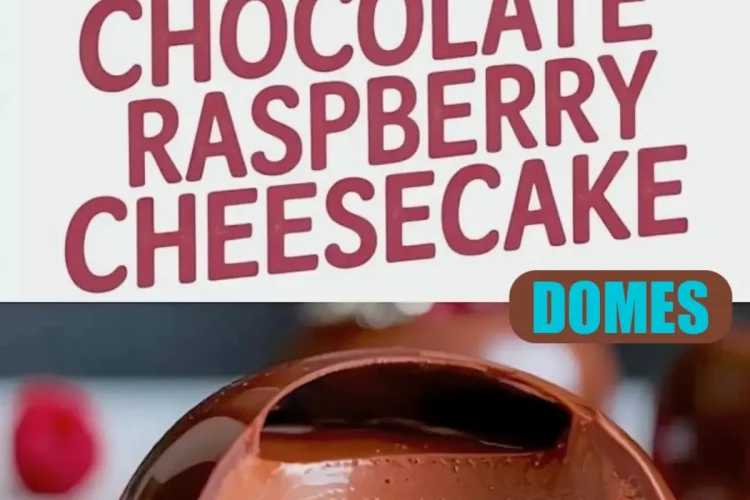
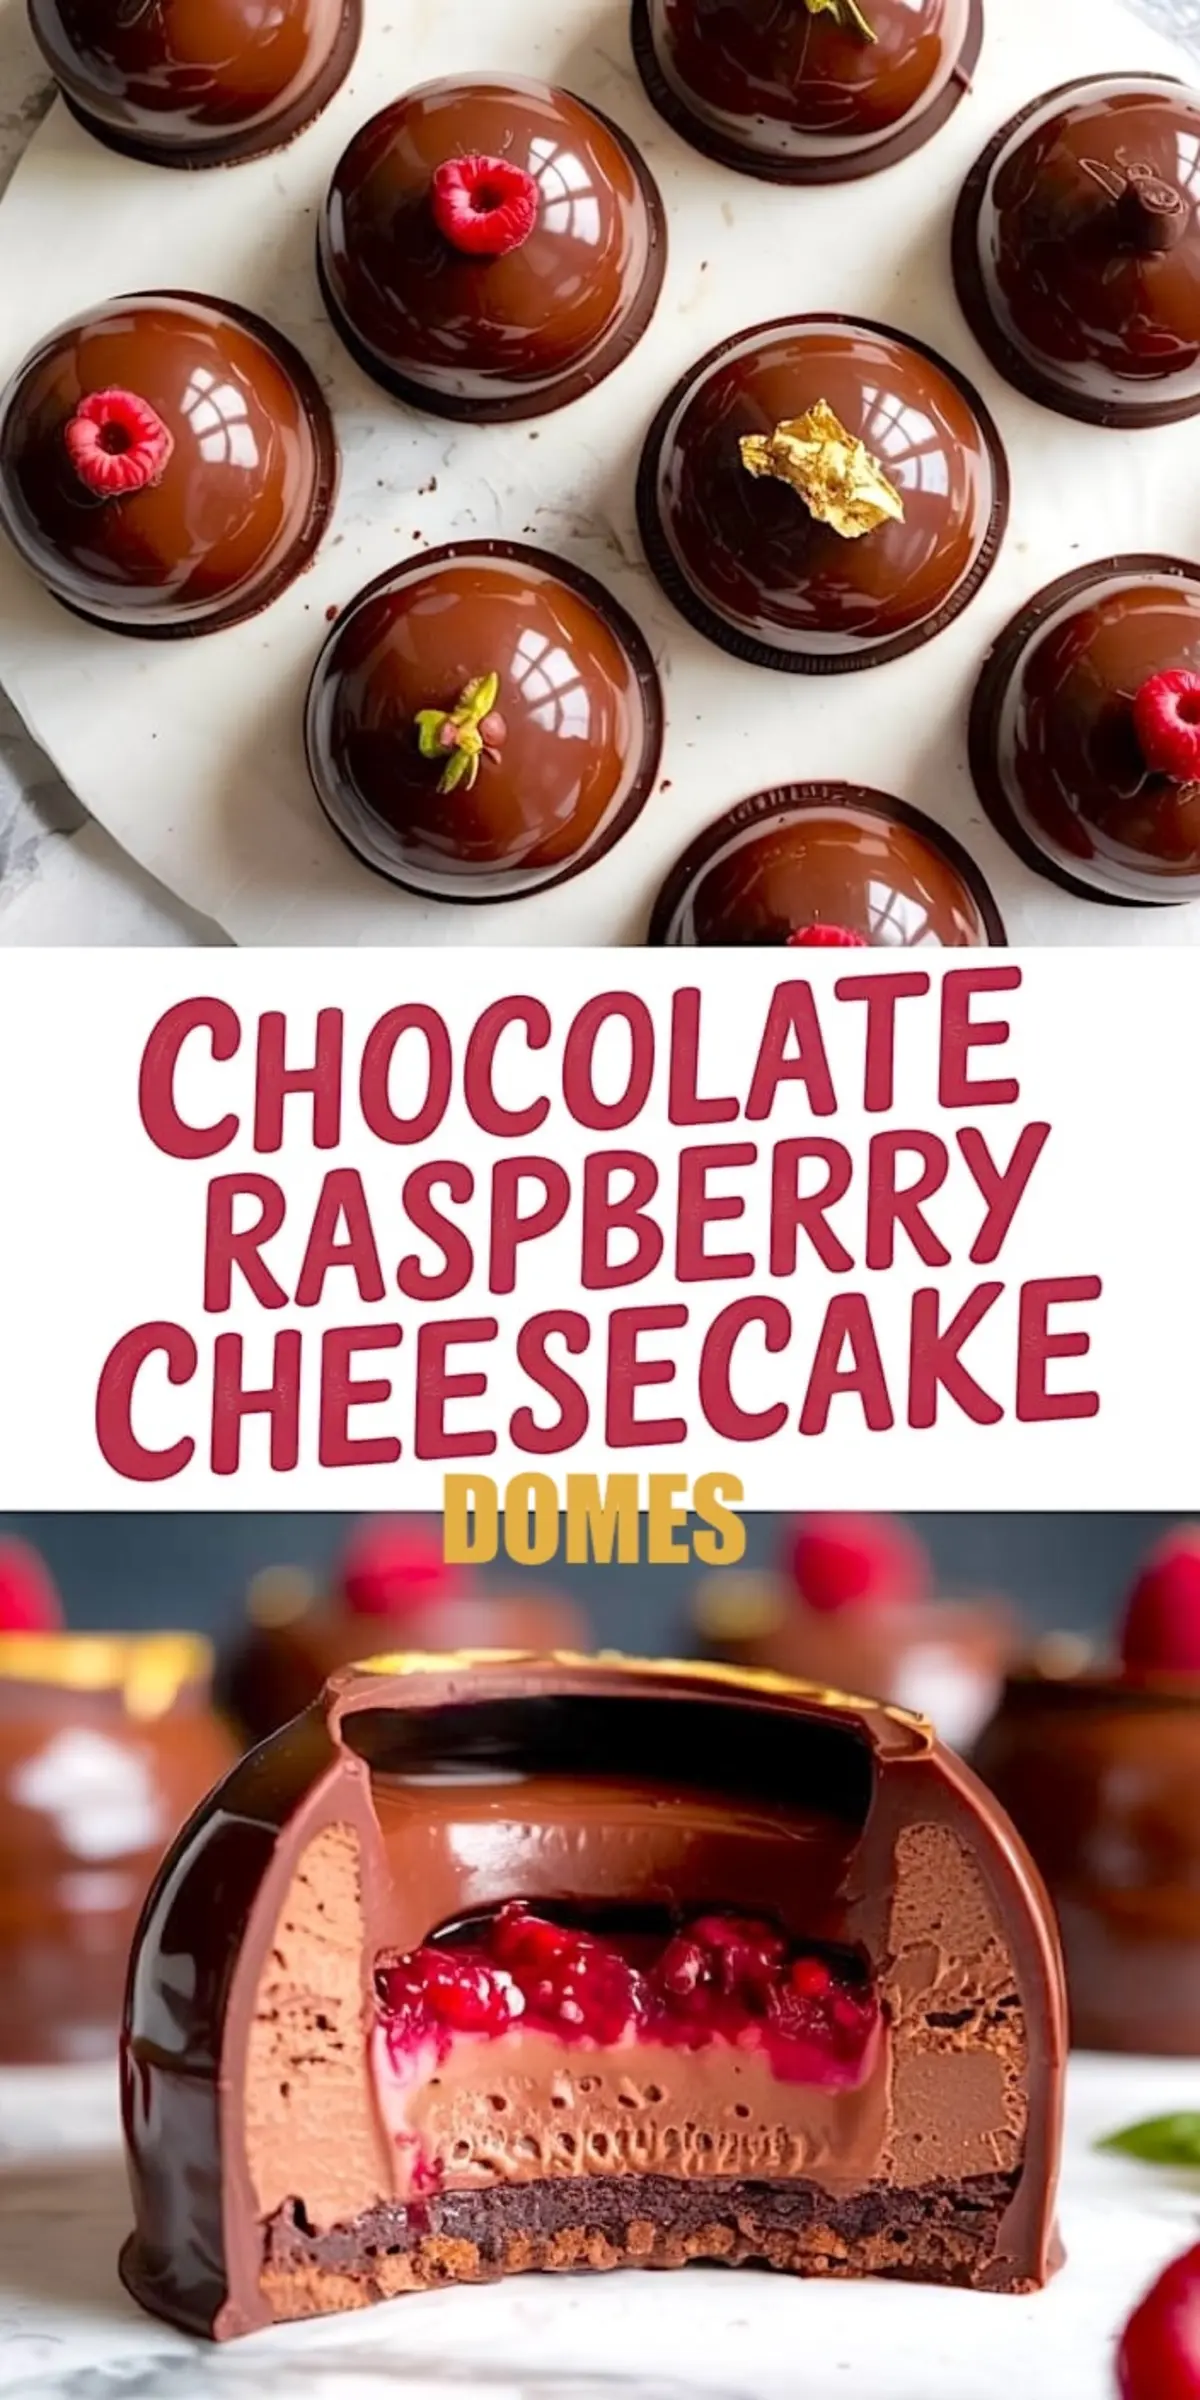
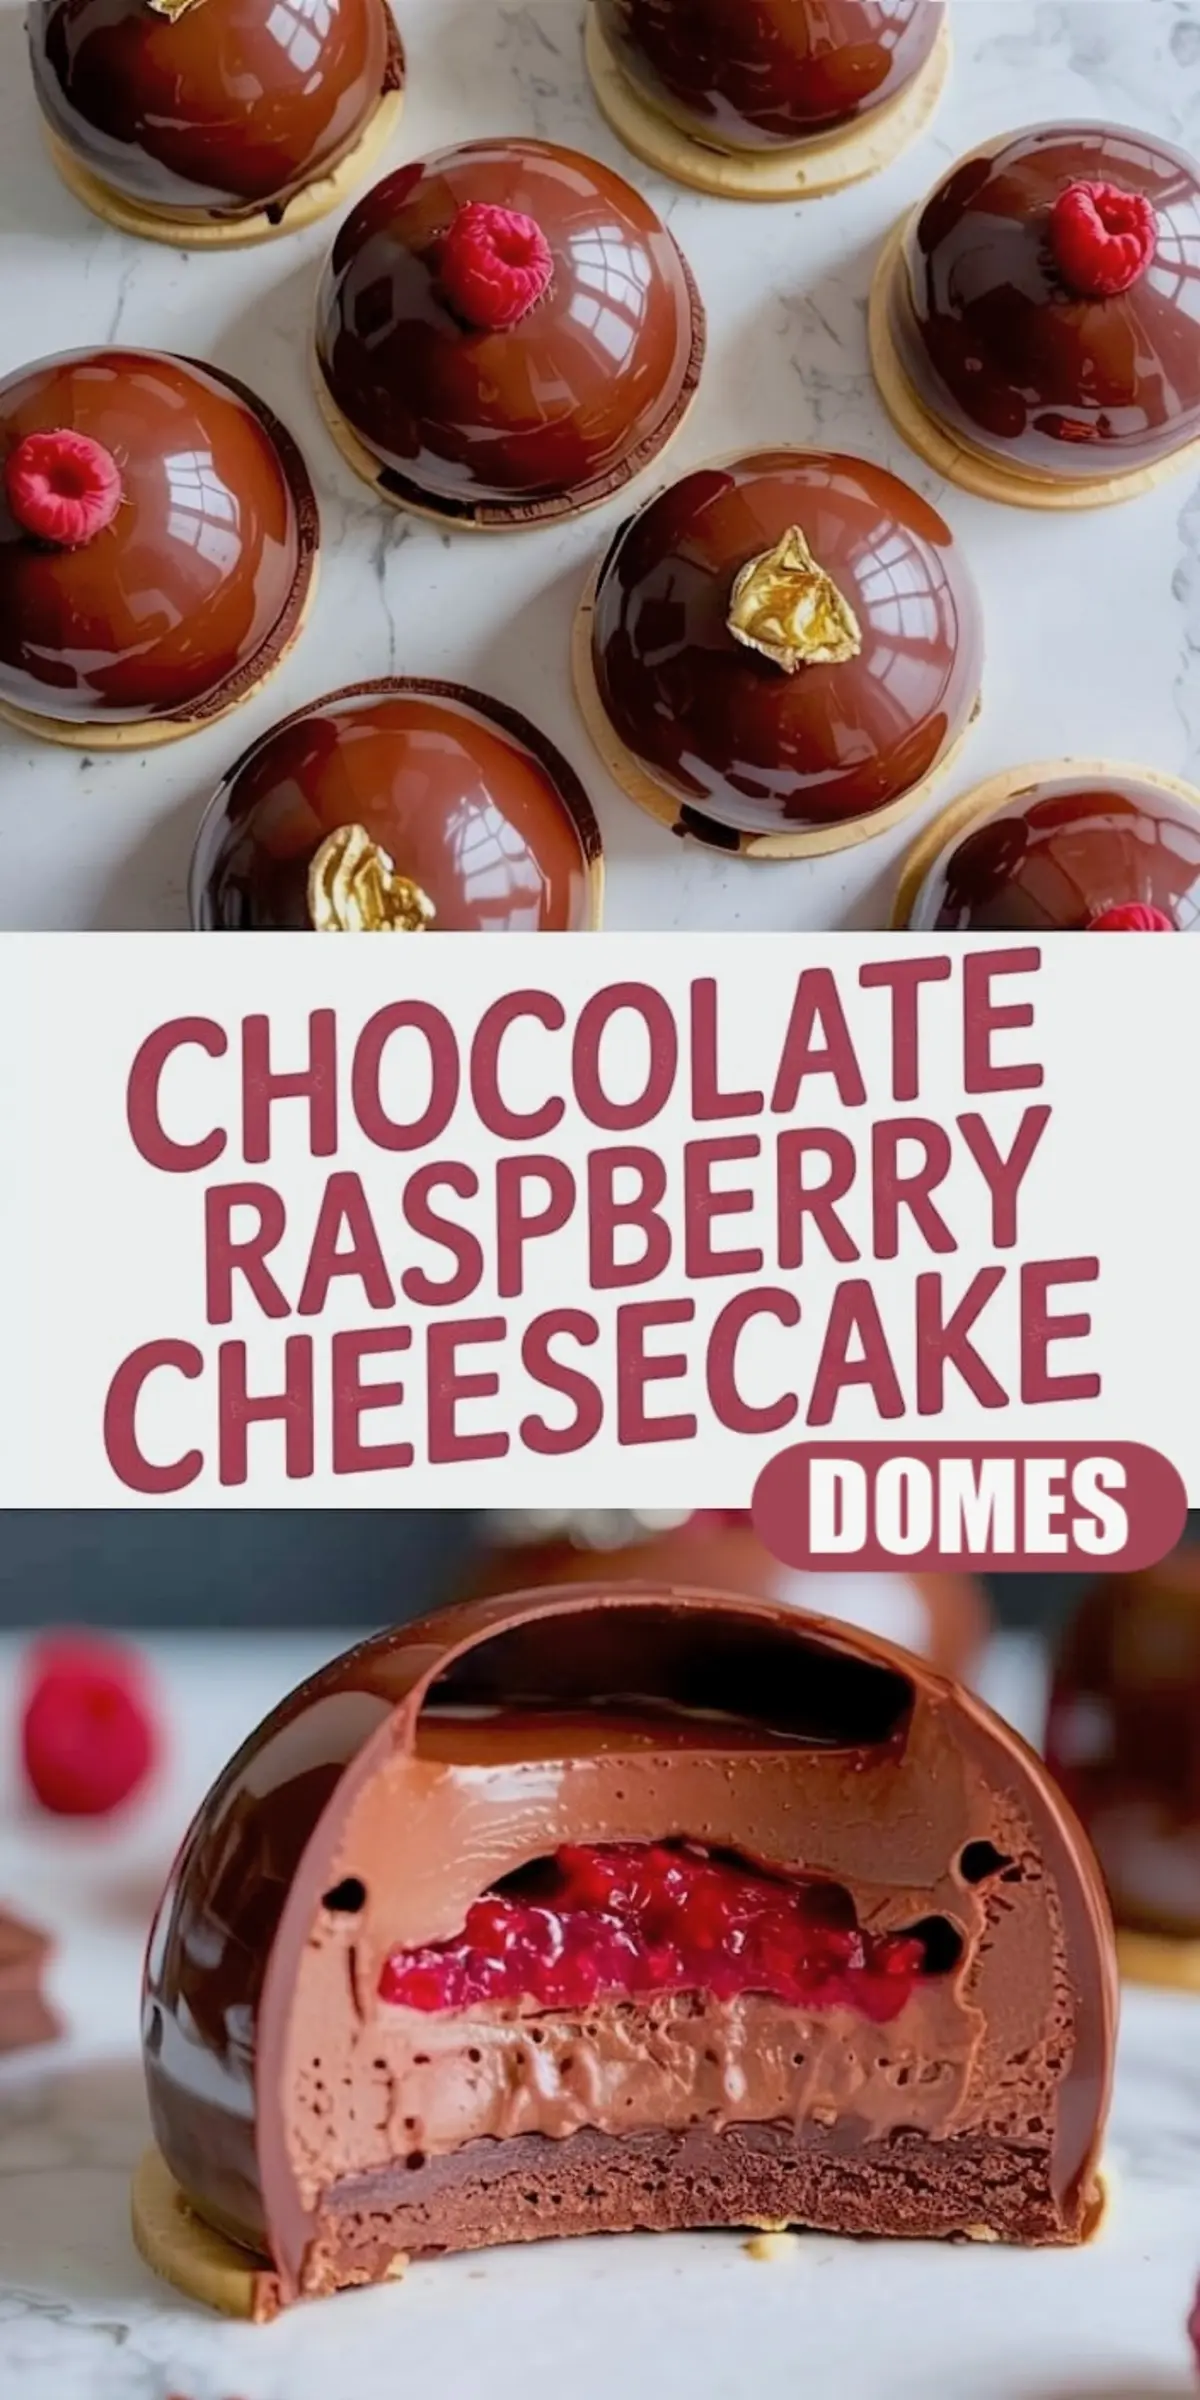
There is something captivating about desserts that look far more complicated than they actually are. These Chocolate Raspberry Cheesecake Domes achieve that balance. You create clean layers, smooth textures, and elegant structure using simple steps that work even in a home kitchen.
Today I will guide you through every part of this process. You will learn how to build these domes with confidence. The recipe breaks down into clear stages. Each step supports the structure and flavor, and together they create an eye-catching dessert that stands out on any table.
I have tested this recipe repeatedly in my kitchen. With my notes and experience, you will avoid mistakes and end up with consistent, professional results.
The Structure Behind Chocolate Raspberry Cheesecake Domes
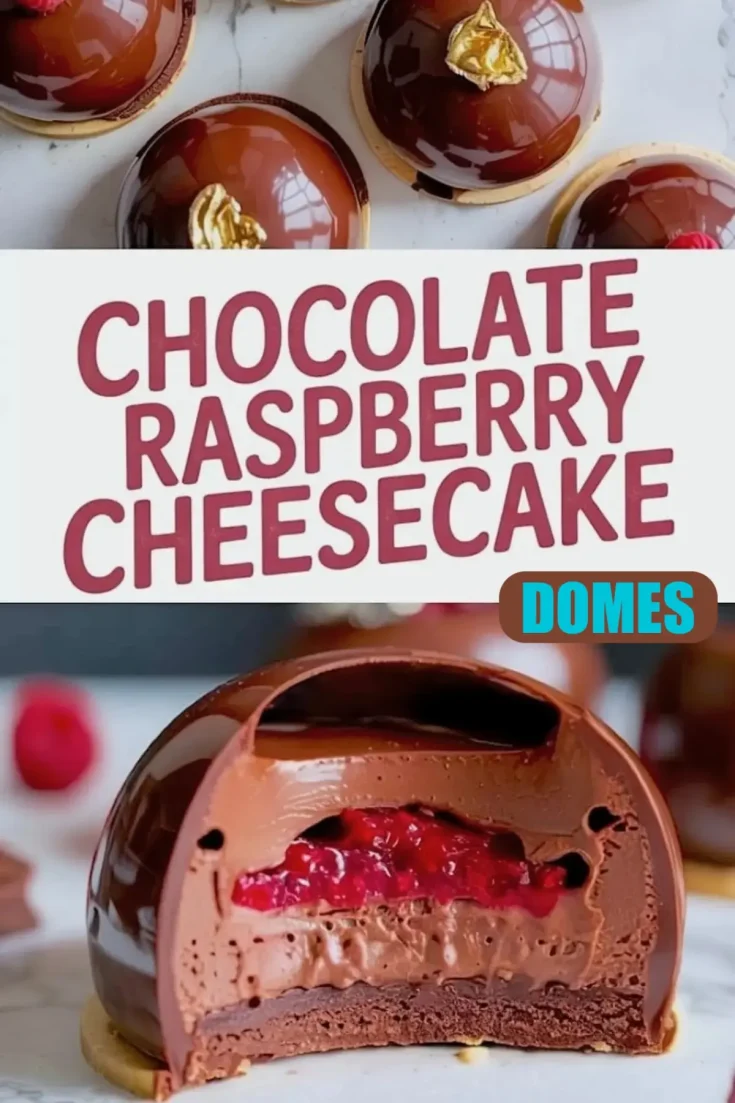
Each layer serves a distinct purpose. The raspberry core brings bright acidity that balances the richness. The chocolate mousse surrounds the core with a creamy texture. The cheesecake layer adds a soft, slightly tangy note. The crunchy base anchors the dome and adds contrast with every bite.
By assembling the domes in reverse inside silicone molds, you get perfectly even layers. The presentation feels professional without requiring complicated techniques.
Making the Raspberry Filling
The raspberry core begins with simple ingredients. Fresh raspberries deliver the brightest flavor when available. Frozen raspberries work just as well when fresh ones are out of season.
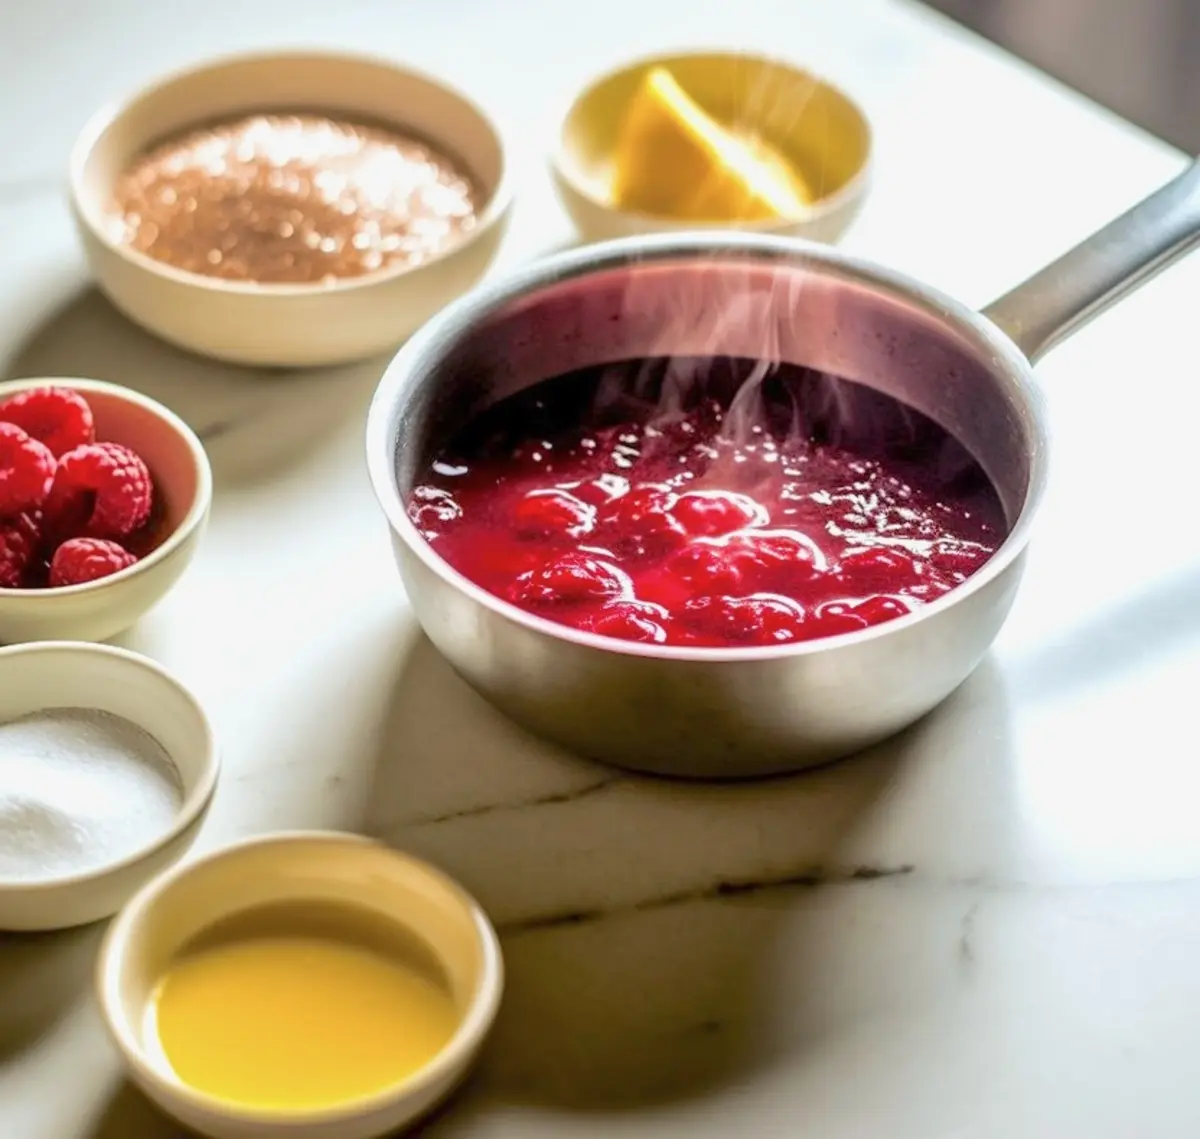
I place the raspberries, granulated sugar, and lemon juice into a small saucepan and cook them gently over medium heat. As they soften, they break down into a thick syrup. Stirring in cornstarch helps the mixture thicken slightly so it holds its shape once frozen.
After cooling for a few minutes, I pour the filling into small half-sphere silicone molds. These molds should be about three centimeters in diameter. The inserts freeze for at least two hours until firm. Once frozen solid, they become easy to handle during assembly.
Preparing the Chocolate Mousse Layer
The mousse forms the main body of the dome. It brings smooth richness without feeling heavy.
I whisk egg yolks, granulated sugar, and whole milk together in a saucepan over low heat. This gentle cooking thickens the mixture without scrambling the eggs. The custard coats the back of a spoon once it reaches the right consistency.
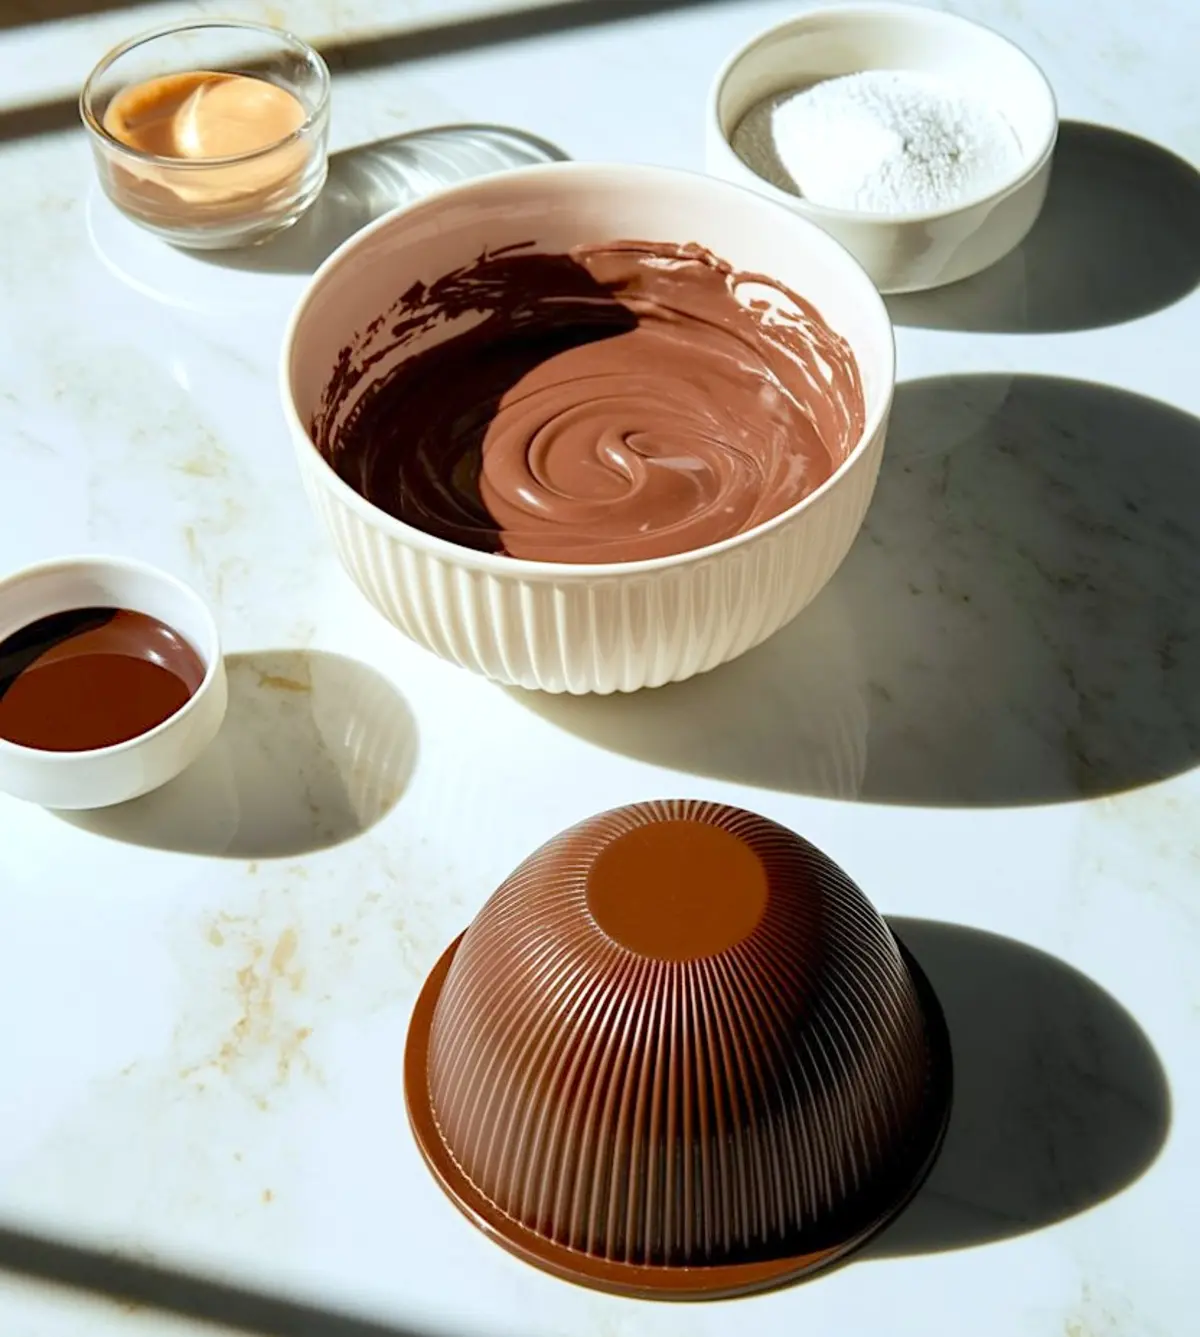
After removing the pan from the heat, I stir in the bloomed gelatin. This gives the mousse structure while keeping it soft and creamy. The chopped dark chocolate melts into the warm custard, forming a smooth chocolate base.
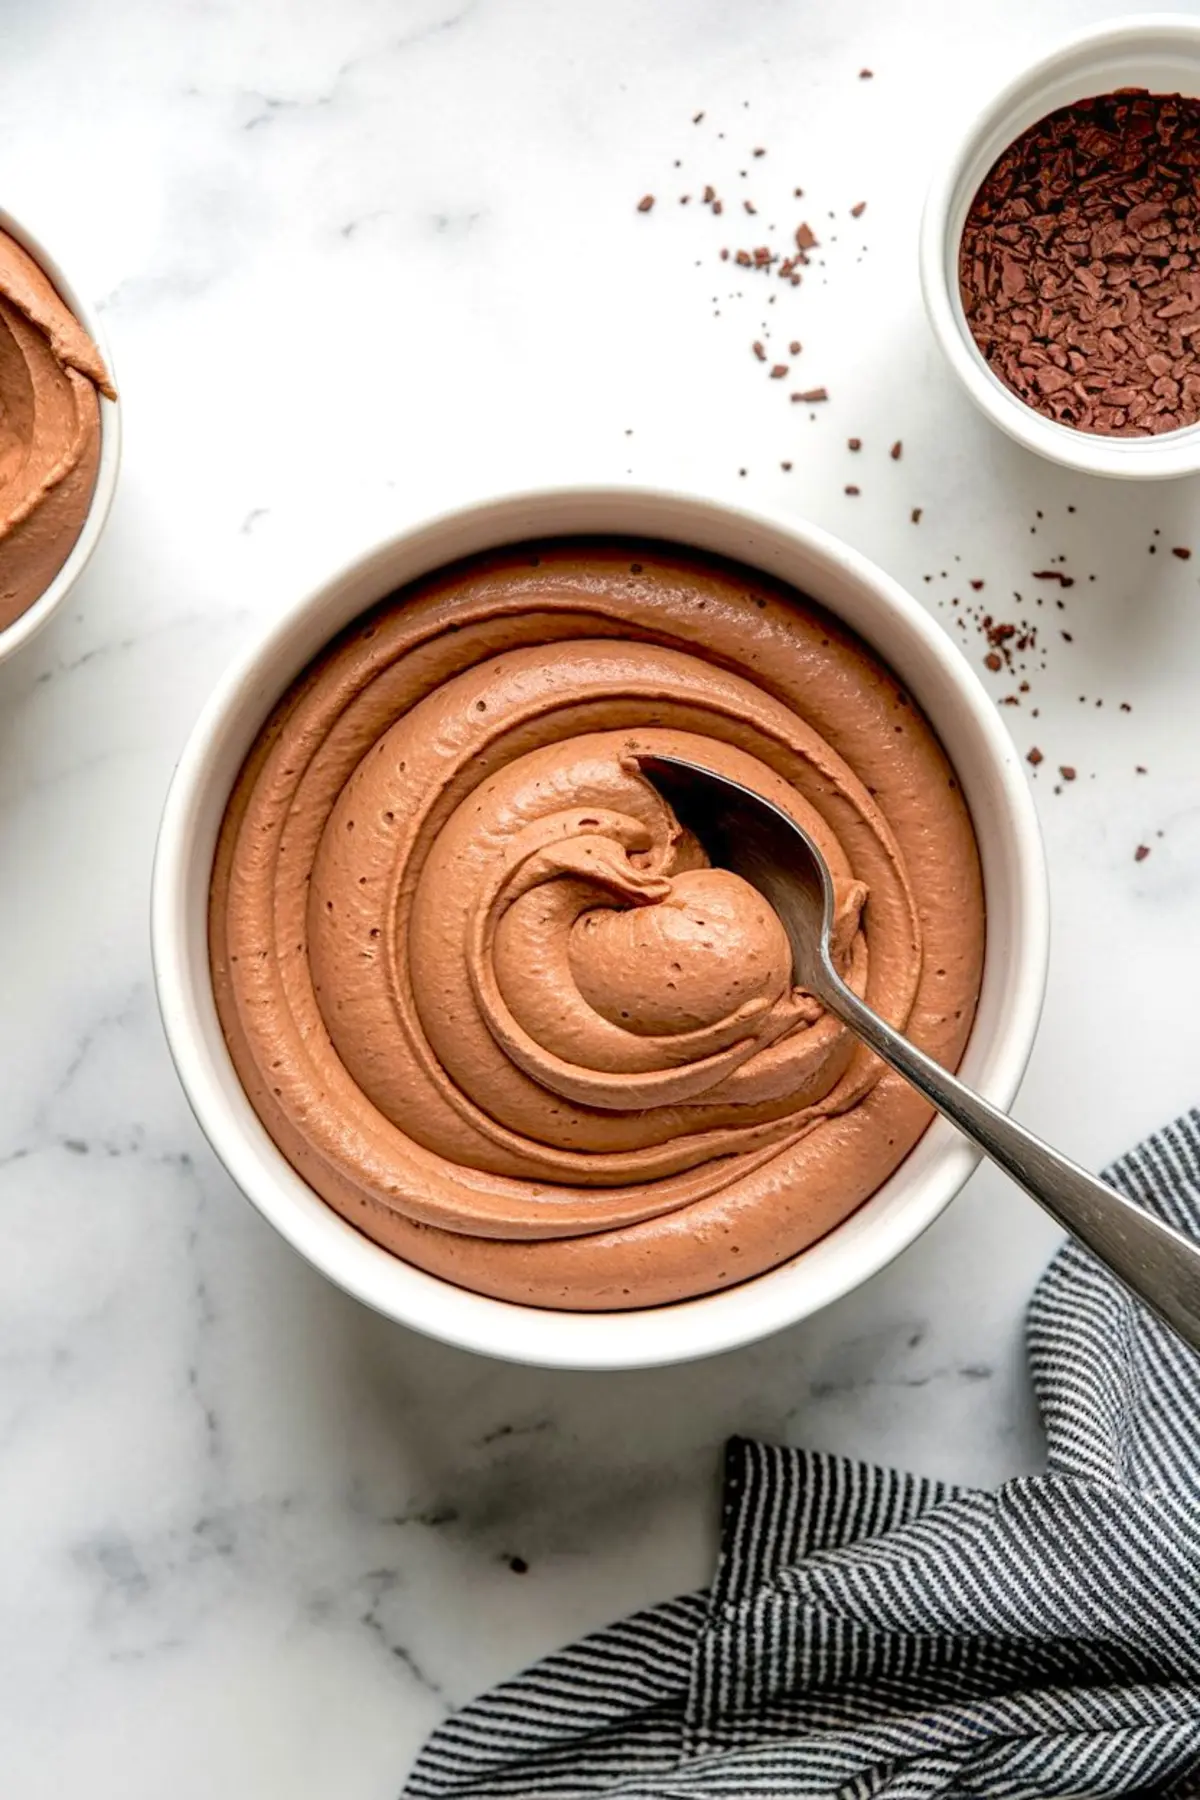
Once cooled to room temperature, I whip heavy cream to soft peaks. Folding the whipped cream into the cooled chocolate mixture creates an airy mousse. The result is creamy, stable, and smooth.
Chocolate Shell or No Shell? Deciding the Finish
You have a choice with the chocolate shell. I have tested both approaches.
Using tempered dark chocolate to coat the inside of the molds gives a glossy, firm shell that looks beautiful once unmolded. The shell adds a satisfying snap when you cut into the dome.
Skipping the shell simplifies the process and still produces excellent results. If you plan to glaze or garnish the domes, you can easily leave out the shell without losing visual appeal.
If you choose to make the shell, brush or spoon a thin layer of tempered chocolate into the silicone molds and chill them until set before adding the mousse.
Filling the Molds with Chocolate Mousse and Raspberry Core
With the molds prepared, I spoon chocolate mousse into each one, filling them about two-thirds full. Then I gently press one frozen raspberry insert into the center of the mousse. The mousse surrounds the insert and holds it in place.
I smooth the surface with a small offset spatula to level the mousse. This step helps the next layers sit evenly.
Adding the Chocolate Disc for Structure
Next, I pour or pipe a thin layer of melted dark chocolate over the mousse. This layer creates a firm inner disc that stabilizes the structure during freezing. I allow this layer to chill until fully set before moving forward.
Spreading the Cheesecake Layer
The cheesecake brings a mild tang that balances the richness of the chocolate.
I combine softened cream cheese, icing sugar, vanilla extract, and melted white or milk chocolate. This mixture spreads easily over the firm chocolate disc. The cheesecake layer stays thin to avoid overwhelming the other flavors while still contributing its creamy texture.
Creating the Crunchy Biscuit Base
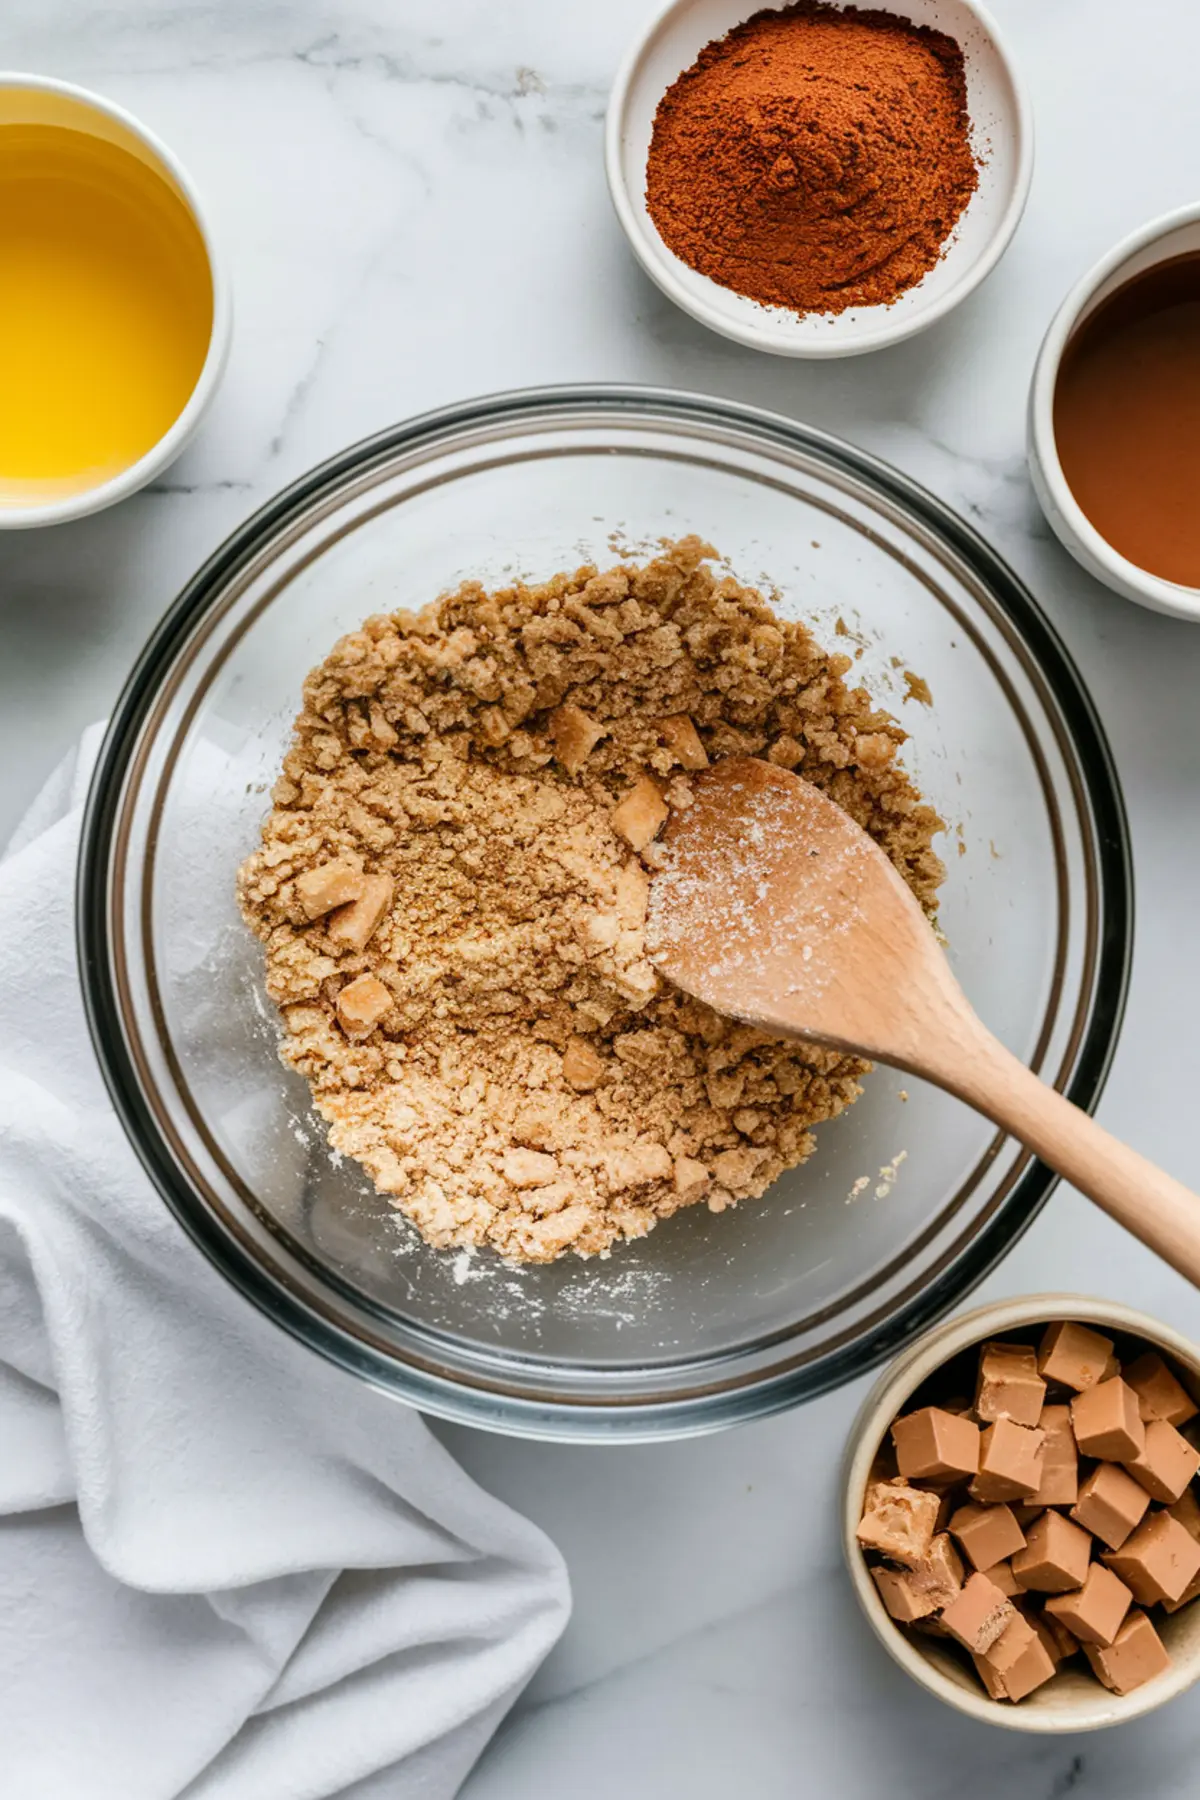
The base completes the structure and adds crunch. I mix crushed digestive biscuits or graham crackers with cocoa powder, melted butter, and melted dark chocolate. This mixture forms a chocolate biscuit layer that holds its shape well.
I press the mixture flat between sheets of parchment and chill it until firm. Using a round cutter, I cut discs that match the size of the molds. Each disc presses onto the filled mold, becoming the base once the domes are flipped.
The filled molds freeze overnight until completely solid.
Unmolding and Garnishing the Domes
The next day, I carefully unmold the frozen domes and place them biscuit-side down. If you used a chocolate shell, you will see a glossy surface. Without the shell, the smooth mousse still presents beautifully.
Sometimes I serve the domes as they are. Other times I add simple garnishes such as fresh raspberries, gold leaf, or chopped pistachios. Each option gives a different visual accent without adding unnecessary work.
Mirror glaze works if you want extra shine. Keep the glaze thin so it complements the layers without overpowering them.
Serving and Storing Chocolate Raspberry Cheesecake Domes
These domes serve best slightly thawed but still chilled. I allow them to sit at room temperature for about fifteen to twenty minutes before serving. This short rest softens the mousse without compromising structure.
You can store the domes frozen for up to one month. Once thawed, they keep well in the refrigerator for two days. I recommend storing them individually wrapped to maintain their shape and texture.
Ingredient Comparison: Choosing the Right Dark Chocolate
In my own testing, I have worked with both 60 percent and 70 percent dark chocolate for the mousse.
The 70 percent chocolate creates deeper cocoa notes that pair beautifully with the tart raspberry core. It also sets the mousse with slightly more firmness.
The 60 percent chocolate produces a softer, silkier mousse with a touch more sweetness. Both work well. For a richer chocolate profile, I prefer the 70 percent option. When I want a smoother, creamier result, I use the 60 percent.
Other Chocolate Desserts You May Enjoy
If you enjoy recipes like these domes, you may also like my Chocolate Orange Balls, which blend bright citrus with smooth chocolate.
For more chocolate options, my Creamy Chocolate Truffles deliver melt-in-your-mouth richness.
You can also explore my full collection of chocolate desserts for more ideas.
Save and Share This Chocolate Raspberry Cheesecake Domes Recipe
Save this recipe on Pinterest so you can return to it any time you want to serve a dessert that combines elegance with achievable steps.
If you try this recipe, share your experience in the comments. I love hearing how the recipes turn out for you. If you have questions along the way, feel free to ask. Your feedback creates a baking space where we all learn together.
Chocolate Raspberry Cheesecake Domes
Chocolate Raspberry Cheesecake Domes are assembled in reverse for clean layers and a professional finish. Each dome features a frozen raspberry core inside chocolate mousse, layered with cheesecake and a crunchy biscuit base. Domes are frozen solid before unmolding to preserve the structure.
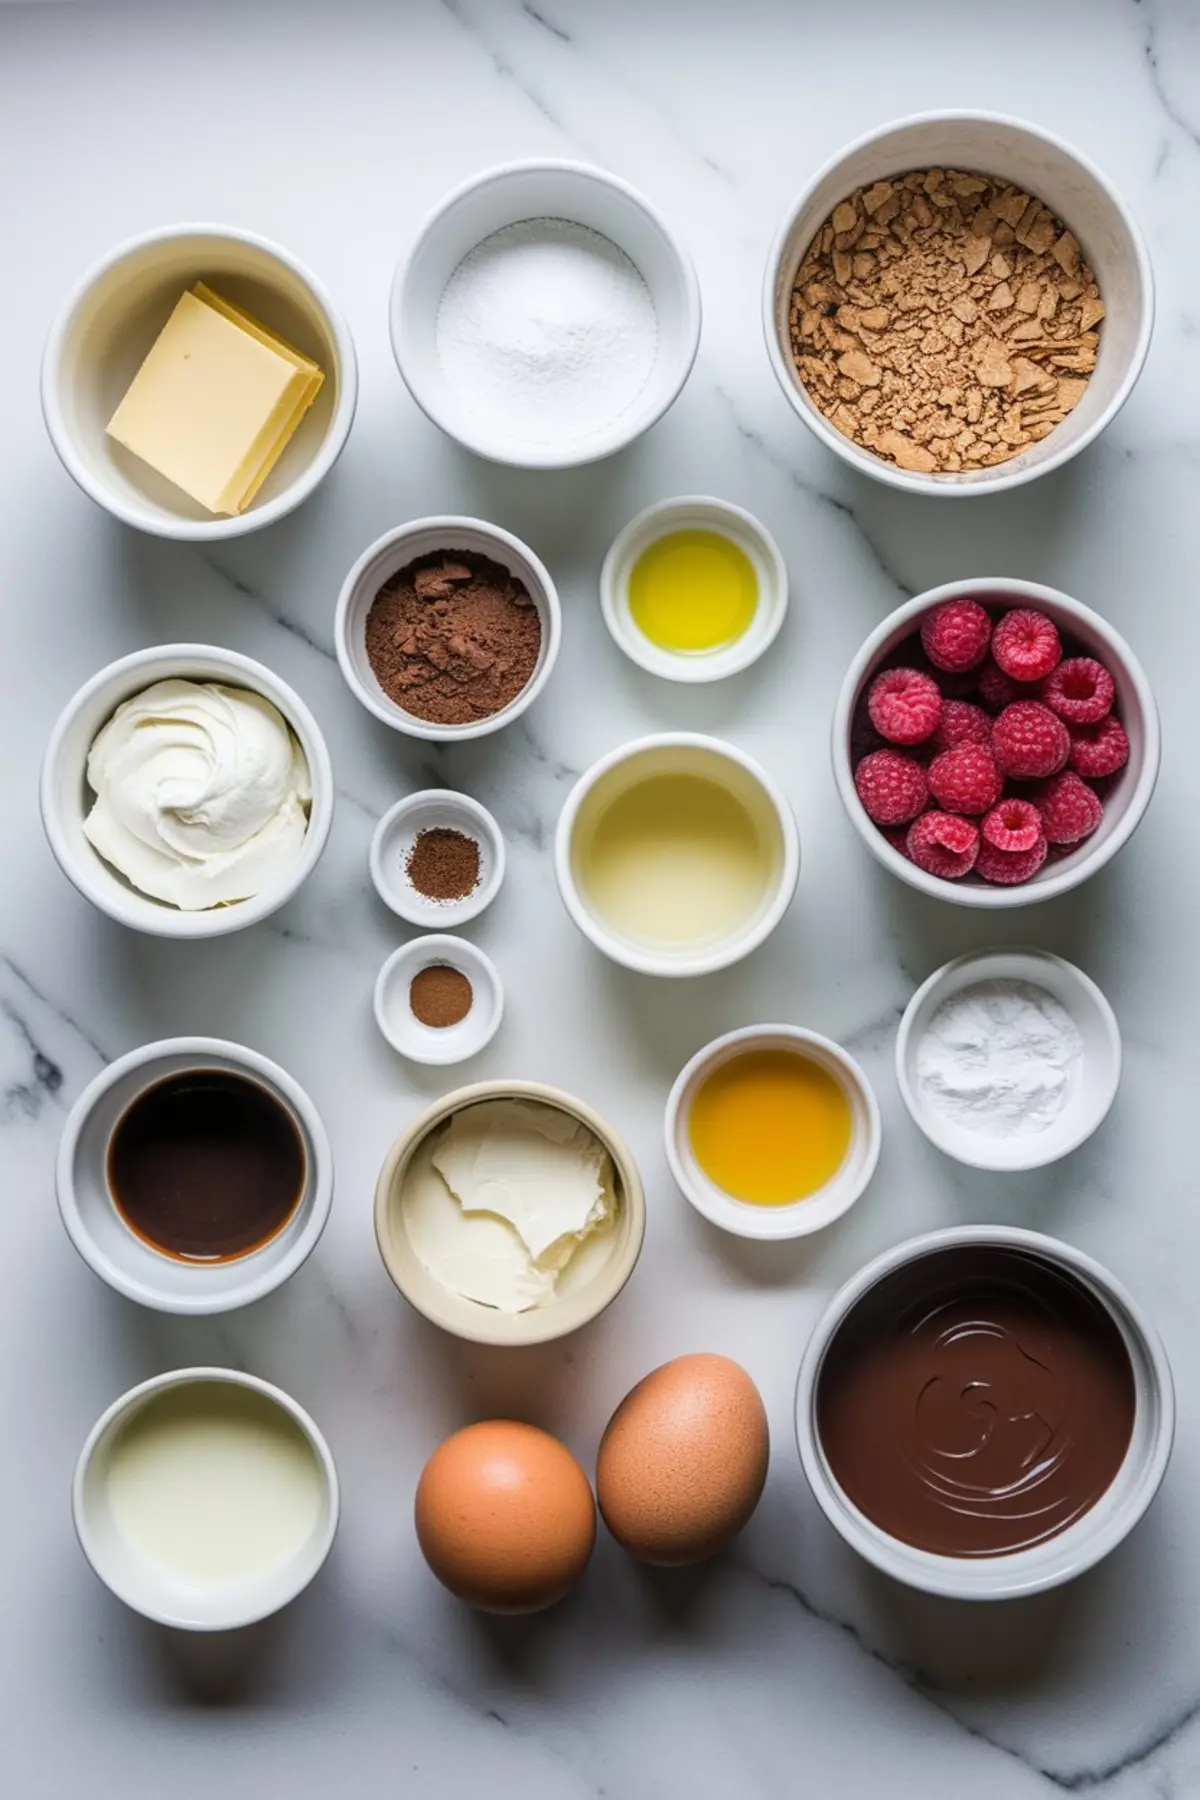
Ingredients
- FOR THE RASPBERRY FILLING
- 100 g fresh or frozen raspberries
- 1 tbsp granulated sugar
- 1 tsp lemon juice
- 1 tsp cornstarch
- FOR THE CHOCOLATE MOUSSE
- 2 egg yolks
- 2 tbsp granulated sugar
- 80 ml whole milk
- 2 g powdered gelatin (about 1/2 tsp), bloomed in 1 tbsp cold water
- 100 g dark chocolate, finely chopped
- 150 ml heavy cream
- FOR THE CHOCOLATE SHELL (OPTIONAL)
- 150 g tempered dark chocolate
- FOR THE CHOCOLATE DISC
- 60 g dark chocolate, melted and cooled slightly
- FOR THE CHEESECAKE LAYER
- 100 g cream cheese, softened
- 25 g icing sugar
- 1/2 tsp vanilla extract
- 30 g white or milk chocolate, melted
- FOR THE CRUNCHY BASE
- 80 g digestive biscuits or graham crackers, crushed
- 1 tbsp cocoa powder
- 40 g unsalted butter, melted
- 40 g dark chocolate, melted
Instructions
- MAKE THE RASPBERRY FILLING: Combine raspberries, sugar, and lemon juice in a small saucepan and cook over medium heat until the raspberries break down and become syrupy. Stir in cornstarch and simmer for 1–2 minutes until slightly thickened. Pour into mini half-sphere silicone molds (3 cm diameter) and freeze until firm, at least 2 hours.
- MAKE THE CHOCOLATE MOUSSE: In a saucepan, whisk together egg yolks, sugar, and milk. Cook over low heat, stirring constantly, until the mixture thickens slightly and coats the back of a spoon. Remove from heat and stir in bloomed gelatin until fully dissolved. Add chopped dark chocolate and stir until smooth. Let the mixture cool to room temperature. Whip the cream to soft peaks and gently fold it into the cooled chocolate base. Keep chilled but spoonable.
- LINE DOME MOLDS WITH CHOCOLATE SHELL (OPTIONAL): Brush or spoon a thin layer of tempered dark chocolate into silicone dome molds (6 cm diameter), ensuring even coverage. Chill in the refrigerator until set. This step is optional but helps create a glossy chocolate shell once unmolded.
- FILL WITH CHOCOLATE MOUSSE AND RASPBERRY CORE: Spoon chocolate mousse into the prepared dome molds, filling each about two-thirds full. Press a frozen raspberry insert into the center of each dome, gently pushing it down. Smooth the top with a spatula to level the mousse.
- ADD CHOCOLATE DISC LAYER: Spoon or pipe a thin layer of melted, slightly cooled chocolate over the mousse layer, forming a solid inner disc. Chill until the chocolate is set before proceeding.
- ADD CHEESECAKE LAYER: In a bowl, mix cream cheese, icing sugar, vanilla extract, and melted chocolate until smooth. Spoon a thin, even layer over the chocolate disc in each dome.
- ADD THE CRUNCHY BASE: In a bowl, mix crushed biscuits, cocoa powder, melted butter, and melted chocolate until combined. Press the mixture into a flat layer between parchment, chill until firm, and cut into rounds to fit the mold. Press one round onto the top of each dome (this will be the base once flipped). Freeze the entire mold overnight or until completely solid.
- UNMOLD AND FINISH: Carefully unmold the frozen domes and place them biscuit-side down on a serving tray. If desired, glaze with mirror glaze or leave them as they are to showcase the chocolate shell. Garnish with a fresh raspberry, gold leaf, or chopped pistachios before serving.
Notes
To bloom gelatin, sprinkle it over cold water and let sit for 5–10 minutes until fully absorbed. If omitting the chocolate shell, lightly grease the dome molds to help with unmolding.
Nutrition Information
Yield
8Serving Size
1Amount Per Serving Calories 660Total Fat 42gSaturated Fat 24gTrans Fat 0gUnsaturated Fat 15gCholesterol 142mgSodium 181mgCarbohydrates 62gFiber 5gSugar 45gProtein 9g