I remember my first attempt at mixing chocolate cookies and vanilla ice cream in my tiny apartment kitchen. My countertop was a mess of flour and stray cocoa powder, and I kept glancing at the freezer to confirm my ice cream stayed cold enough.
That day taught me the joy of building sweet desserts by hand. This recipe brings soft, chocolatey cookies and cool vanilla ice cream together in a fun treat. It gives me a reason to smile on warm afternoons, though I have been known to reach for one late at night.
Following a special diet?
Every recipe on this site can be converted to gluten-free, vegan, dairy-free, keto, nut-free or egg-free with adjusted ratios so nothing falls flat.
Try the Recipe Converter →Gathering the Ingredients for the Cookie Dough
You will want rich unsweetened cocoa and fresh butter to bring out the strong chocolate taste. A little salt helps round out the flavor of the sugar and cocoa. I add one large egg for binding, along with vanilla extract for a subtle aroma.

Granulated sugar and light brown sugar join the party to boost sweetness and moisture. My preference is to have everything at room temperature before I start, which helps everything cream nicely. An all-purpose flour forms the base that supports the cocoa. Baking soda adds lift and texture.
Mixing and Forming the Dough
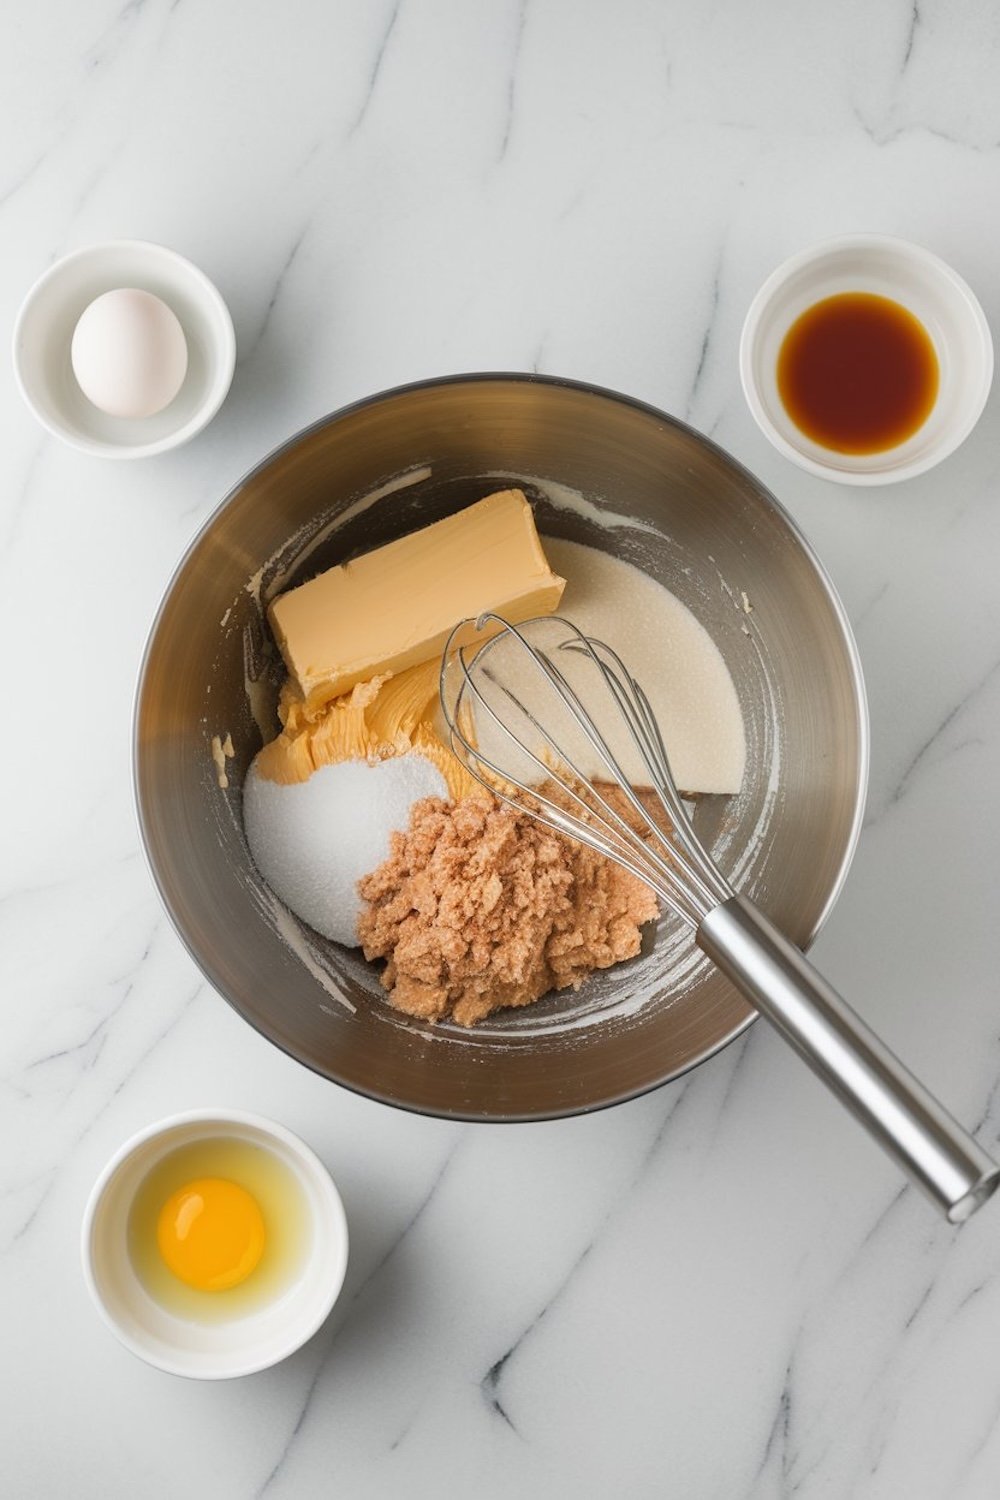
I combine the sugars and softened butter first. A hand mixer or stand mixer works best for me, though I have used a wooden spoon in a pinch. I watch for a light, creamy consistency and then incorporate the egg and vanilla.
The dry components, including flour, cocoa, baking soda, and salt, go in next. I switch to low speed or a gentle hand, stopping as soon as the ingredients look well combined. I find that overmixing can toughen the cookies. My finished dough turns out thick and slightly sticky, which is normal.
Baking the Chocolate Cookies
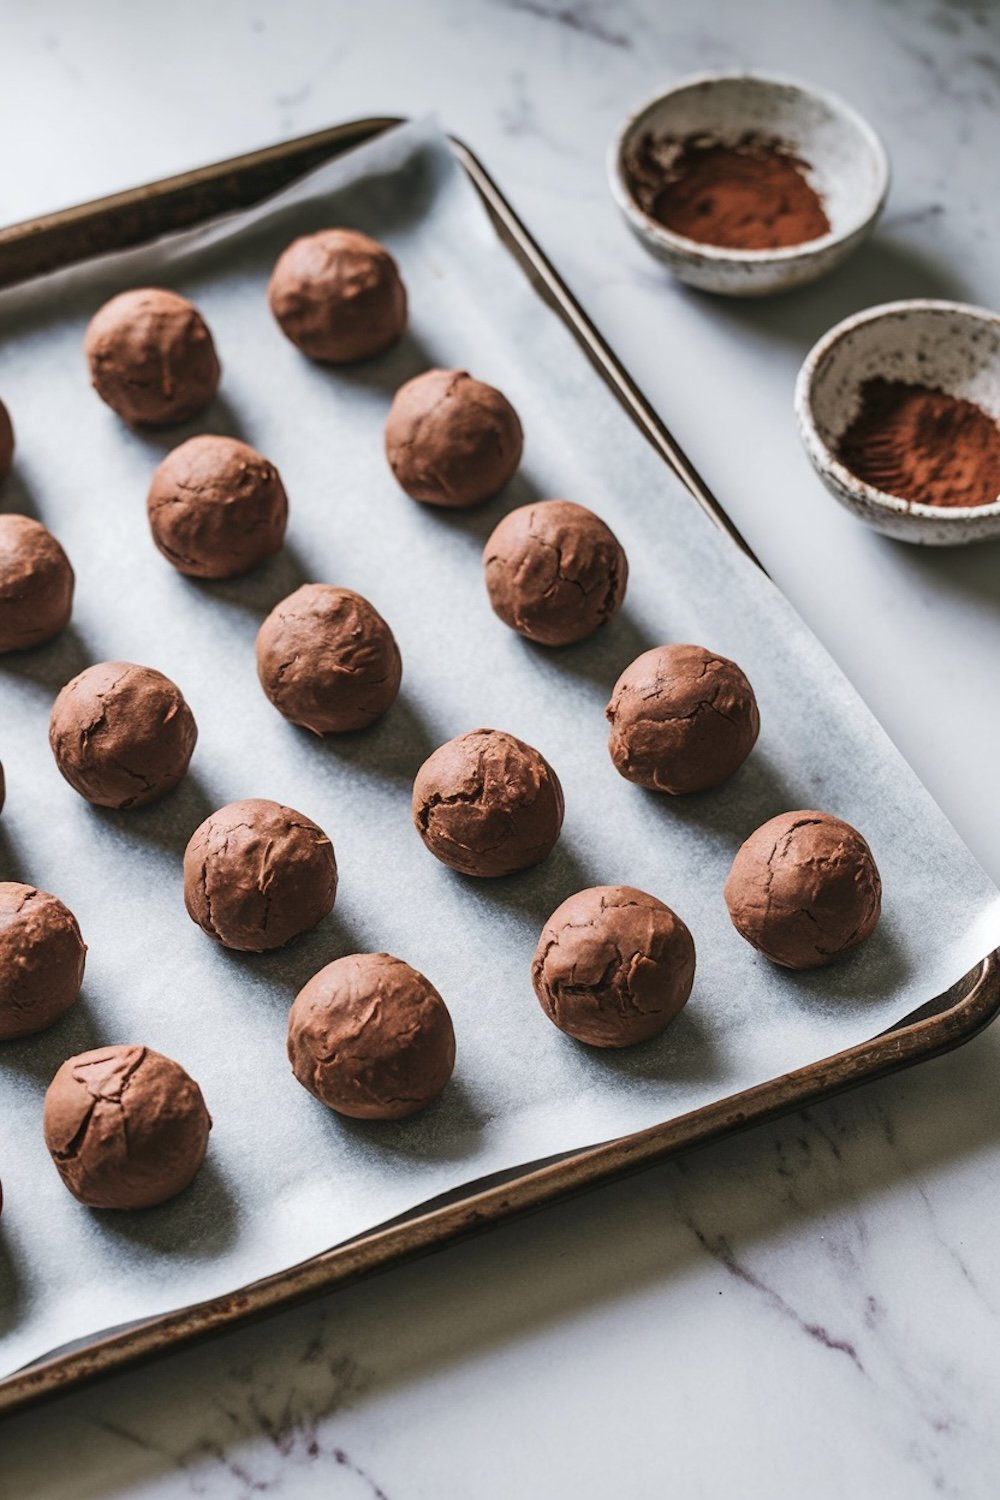
I shape the dough into two-tablespoon portions and roll them into spheres before pressing them gently. Each piece needs a bit of space on the baking sheet. I place the trays in a preheated oven at 350°F (175°C). These cookies bake for about eight to ten minutes. The edges appear firm, and the centers feel slightly soft. That softness ensures they stay tender once cool.
I wait five minutes before moving them to a rack so they don’t collapse. This step can’t be rushed because hot cookies can fall apart if handled too soon. That has happened to me often, and it’s tempting to eat the broken ones right away.
Readying the Vanilla Ice Cream
I set out the vanilla ice cream so it softens just enough to spread. A few minutes at room temperature is usually enough time. This slight softness helps me flatten it on a parchment-lined sheet. I smooth it to about three-fourths of an inch in thickness.
A second piece of parchment on top helps me even it out with a rolling pin. Then I slide it into the freezer to firm up for an hour or longer. This step requires patience, though the results pay off when I cut out neat ice cream circles that fit the cookies.
Cutting and Pairing the Ice Cream Circles
I match the cookie size by using a round cutter or even an upside-down glass. Quick movements keep the ice cream from melting. Each circle goes back into the freezer as soon as I cut it. I don’t wait around or let them sit on the counter. My first time doing this, I let the ice cream warm too much, and it dripped everywhere. Now I line them on parchment and return them to the freezer right away. That is the best way to ensure the final sandwiches hold together without making a mess.
Assembling the Sandwiches
I place one cookie flat side up, top it with an ice cream circle, and press a second cookie gently on top. The slight softness of the cookies helps them bend a bit around the ice cream, which prevents major cracks.
A quick wrap of each sandwich in plastic or parchment is my usual method. This trick keeps them neat and prevents freezer burn. Another fifteen to thirty minutes in the freezer helps them become stable. That time also leaves me free to clean up before enjoying one.

Storage and Serving Tips
I store these sandwiches in a freezer-safe container. A small gap between them helps stop them from sticking together. If I have guests coming later in the week, I place a fresh batch in the freezer ahead of time. Then I pull them out just before serving.
A little time on the counter (about five minutes) softens the cookies enough to bite into comfortably. Some people dip the edges of the ice cream into mini chocolate chips, sprinkles, or nuts. I have tried rolling the edges in crushed peanuts, which adds texture.
My Personal Experience with Cookie Sandwiches
These sandwiches invite experimentation. I recall using mint chip ice cream one day because that was the only flavor left in my freezer. That cool mint chocolate combo won me over, though I stay loyal to vanilla most of the time. I also recall showing my cousins how to assemble sandwiches without smashing them too firmly. They loved pressing sprinkles on the sides, and we ended up laughing over who had the most outlandish color combinations. Food always brings people closer, and these sandwiches do that in the simplest way.
Chocolate Lovers: Other Sweet Recipes
Chocolate remains my top favorite dessert ingredient. I like exploring fresh ways to combine chocolate with fun textures or flavors.
My Homemade Chocolate Ice Cream Recipe provides a deeper cocoa punch and works well in sandwiches, though the vanilla contrast stands out.
Another option is my Double Chocolate Donuts for breakfast or a midday snack.
I also recommend taking a look at Chocolate Fudge Cake if you crave a rich slice.
My Chocolate Truffles lead to a smooth bite that melts on the tongue. Each of these recipes supports those with a craving for deep, sweet flavors.
I share these links because I appreciate a spread of chocolate goodies in my home. My guests enjoy trying a slice of fudge cake after a hearty dinner, or nibbling a donut with coffee on a lazy Sunday. I believe variety keeps us curious and excited. Chocolate never grows old in my kitchen, and you might discover a new favorite after browsing those other creations.
Pin This for Later and Share Your Thoughts
Feel free to save this idea on Pinterest for future inspiration. It helps keep the recipe handy on days that call for a chilly, sweet bite. Drop a comment below if you try making these sandwiches or want to chat about flavor variations. I love hearing about creative twists or ice cream flavors that brighten your experience. Sharing tips and mini-stories often leads to better results and a sense of community among those who enjoy cooking at home.
Chocolate Vanilla Ice Cream Sandwiches Recipe

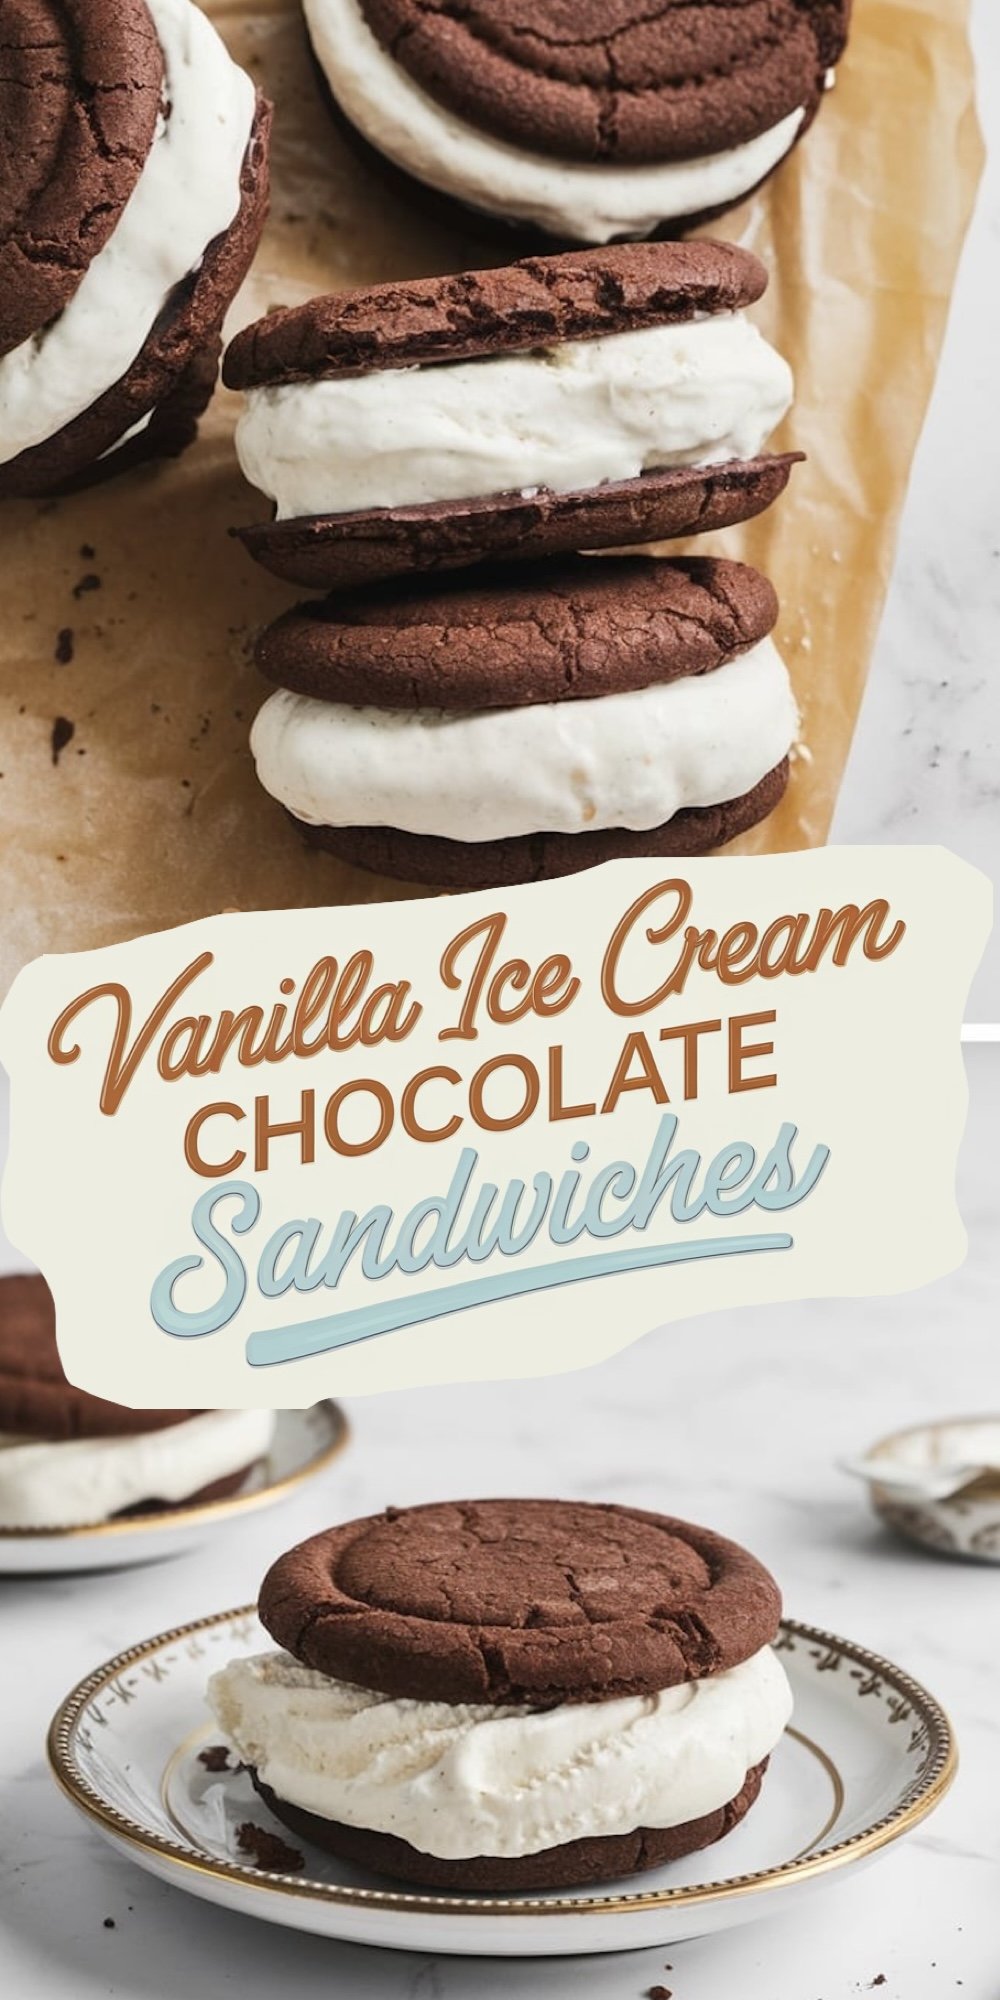
Chocolate Vanilla Ice Cream Sandwiches combine soft, chocolatey cookies with creamy vanilla ice cream for a classic treat. These homemade sandwiches are perfect for freezing ahead and assembling when needed, making them a great choice for warm-weather desserts or anytime cravings.
Ingredients
- FOR THE CHOCOLATE COOKIES:
- 1 cup (125g) all-purpose flour
- ½ cup (50g) unsweetened cocoa powder
- ½ teaspoon baking soda
- ¼ teaspoon salt
- ½ cup (115g) unsalted butter, softened
- ½ cup (100g) granulated sugar
- ½ cup (100g) packed light brown sugar
- 1 large egg
- 1 teaspoon vanilla extract
- FOR THE ASSEMBLY:
- 1 pint (2 cups) vanilla ice cream, softened slightly
Instructions
- MAKE THE CHOCOLATE COOKIE DOUGH: Preheat the oven to 350°F (175°C) and line two baking sheets with parchment paper. In a medium bowl, whisk together the flour, cocoa powder, baking soda, and salt. Set aside. In a large bowl, cream the butter, granulated sugar, and brown sugar using a hand mixer or stand mixer until light and fluffy, about 2-3 minutes. Beat in the egg and vanilla extract until well combined. Gradually add the dry ingredients to the wet ingredients, mixing on low speed until just combined. The dough will be thick and slightly sticky.
- SHAPE AND BAKE THE COOKIES: Scoop out 2-tablespoon portions of dough and roll them into balls. Place them 2 inches apart on the prepared baking sheets. Flatten each ball gently with the back of a spoon or your palm to create a round cookie shape. Bake for 8-10 minutes, or until the edges are set but the centers still look slightly soft. Let the cookies cool on the baking sheet for 5 minutes before transferring them to a wire rack to cool completely.
- PREPARE THE ICE CREAM: While the cookies cool, take the ice cream out of the freezer and let it soften slightly, about 5 minutes. Line a small baking sheet with parchment paper. Spread the softened ice cream evenly on the parchment paper, about ¾ inch thick. Use a rolling pin over a second piece of parchment to smooth it out evenly if needed. Place the baking sheet in the freezer for at least 1 hour, or until the ice cream is firm again.
- CUT THE ICE CREAM TO MATCH THE COOKIES: Once the ice cream is solid, use the same cookie cutter you used to shape your cookies (or a cutter slightly smaller than the cookies) to cut out rounds of ice cream. Work quickly to cut out as many rounds as you have cookies, placing each ice cream circle back on the baking sheet. Freeze the rounds immediately to keep them firm.
- ASSEMBLE THE ICE CREAM SANDWICHES: Take one cookie and place a frozen ice cream round on the flat side. Top with a second cookie, pressing gently to secure the ice cream between them. Repeat with the remaining cookies and ice cream. For the best results, wrap each sandwich in parchment or plastic wrap and freeze for an additional 30 minutes to set before serving.
Notes
Use high-quality cocoa powder for a rich chocolate flavor in the cookies.
Soften the ice cream just enough to spread easily, but not so much that it becomes runny.
If you don’t have a cookie cutter, use a glass or round object of similar size to shape the ice cream.
For an extra layer of flavor, roll the edges of the sandwiches in sprinkles, mini chocolate chips, or crushed nuts before freezing.
Nutrition Information
Yield
8Serving Size
1Amount Per Serving Calories 116Total Fat 4gSaturated Fat 2gTrans Fat 0gUnsaturated Fat 1gCholesterol 33mgSodium 174mgCarbohydrates 17gFiber 1gSugar 5gProtein 3g