
Fudgy brownies hold a timeless spot in my life, bringing fond memories of warm kitchens and gentle laughter. My grandmother showed me how a simple combination of butter, sugar, and cocoa could transform into something magical. I recall cracking eggs with trembling excitement, feeling like I held an important job. That youthful joy returns each time I prepare a tray of brownies, and I hope you experience the same delight.

Why Fudgy Brownies Satisfy Chocolate Lovers
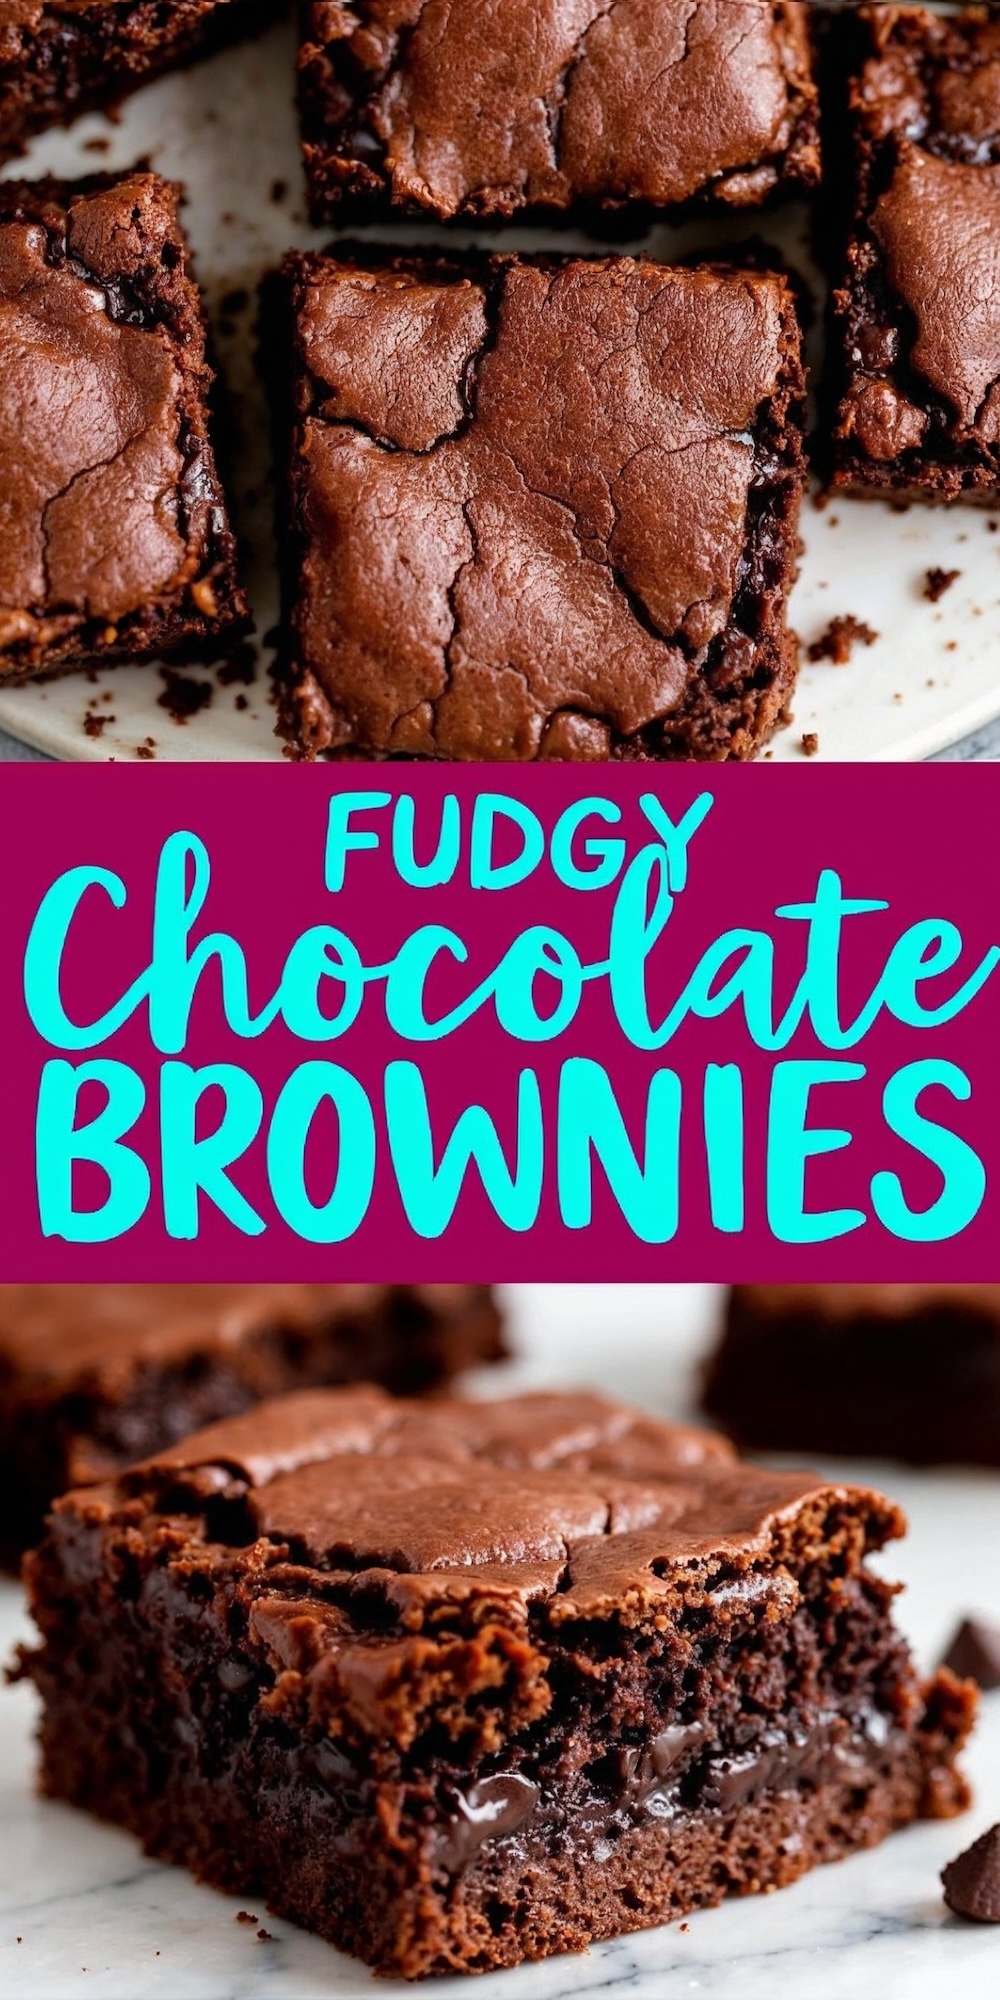
Classic brownies deliver a deep flavor that appeals to chocolate enthusiasts who crave a rich taste. Each square offers a moist texture, created by a specific balance of wet and dry ingredients. This dessert often appears at birthdays, picnics, or quiet evenings with friends. I sometimes bring a plate to gatherings, and everyone appreciates how it pairs well with coffee or ice cream.
Essential Ingredients for a Luscious Texture

Quality butter contributes to the smooth feel that defines each bite. Melted butter combines with granulated sugar to create a base that feels thick yet flexible. Cocoa powder adds a bold layer, offering depth that satisfies any sweet tooth. A sprinkle of salt merges these flavors and sharpens the chocolate taste in the batter. My personal trick involves using Dutch-process cocoa powder for a deep tone and a velvety consistency. A dash of vanilla extract rounds out the aroma, making the brownies smell inviting even before they leave the oven.
I noticed early on that room-temperature eggs play a major role in achieving that fudgy center. Cold eggs can lead to pockets of batter that fail to incorporate smoothly. Adding eggs one by one allows each yolk to merge with the sugar-butter blend, building a cohesive mixture that bakes into a soft yet stable bar. In my kitchen, I let eggs rest on the countertop for about 30 minutes. That quick wait delivers a uniform batter with minimal streaks.
Tips on Mixing and Combining Ingredients
Thorough whisking at the start helps the butter, sugar, and cocoa form a glossy paste. This blend should look thick and shiny, with no dry specks hiding along the edges. I enjoy watching the mixture transform from dull to vibrant brown, an early sign of how the final result will turn out. A gentle approach works best once flour comes into play. Overmixing can lead to drier brownies, and I prefer a fudgy core without dryness. A spatula fold ensures that flour disappears while keeping air pockets intact.

Adding chocolate chips or chunks at this stage doubles the chocolate effect. Some people use dark chocolate chips for a more intense result. Others prefer milk chocolate for a sweeter bite. I switch between both, depending on the crowd. My niece loves extra chocolate chunks on top, while my friends enjoy them swirled evenly through the batter.
Choosing a Pan and Preparing It Properly
A 9×13-inch baking pan produces brownies that strike a fine balance between thickness and quick baking time. I line the pan with parchment paper so the squares lift out neatly. That overhang makes the entire process easier. My first attempts without parchment led to brownies that clung to the corners, so I learned to trust this method. Those neat edges impress guests, and it reduces cleanup. This step brings me comfort, recalling how proud I felt the first time I presented a flawless batch.

Temperature, Timing, and Baking Secrets
An oven preheated to 350°F (175°C) sets the stage for a consistent outcome. My aunt taught me that ovens can vary, so I sometimes rely on an oven thermometer to confirm the temperature. That extra check prevents random hot spots from changing the bake. Brownies usually need 30-35 minutes. I consider them ready when a toothpick emerges with a few moist crumbs. A bit of moisture signals a soft interior, while a clean toothpick suggests a firmer texture. I learned this trick after waiting too long once and ending up with dry edges. Slight gooiness in the center indicates a perfect balance.
Cooling Time and the Power of Patience
Patience defines the final step. Brownies must rest for at least 15 minutes in the pan before I try lifting them out. Slicing warm brownies creates messy edges, though I admit I occasionally sneak a corner sample. Letting them set allows the center to firm and ensures clean slices. A quick transfer from the pan onto a cutting board offers the best angle for dividing into squares. I sometimes shape the pieces into rectangles if I want a sophisticated look for a dinner party. That small twist feels satisfying.
Serving Suggestions That Excite the Taste Buds
Fresh brownies taste wonderful on their own. Some days, I place a scoop of vanilla ice cream on a warm square. The contrast of cold and hot awakens the senses. A drizzle of caramel or a dusting of powdered sugar also brings fun to the table. My mother often adds chopped nuts for crunch, while my cousin prefers a swirl of peanut butter on top before baking. I like to serve them with fresh fruit when friends ask for a lighter touch. There is something uplifting about ripe berries alongside a fudgy square.
Where Personal Experience Meets Good Taste
I believe in cooking with heart, and brownies always bring back a flood of memories. My first real cooking triumph involved stirring brownie batter under my grandmother’s close watch. Her gentle hand guided mine until I felt confident on my own. That tradition lives on whenever my kitchen fills with the warm scent of cocoa. Now I find pleasure in sharing the process with friends or relatives. Some prefer to watch, while others jump in and stir. Brownies bridge generations in my family, sparking happy tales about shared meals and silly stories.
Storage and Lasting Freshness
A tight seal in an airtight container preserves their softness for a few days. I store them at room temperature if I plan to serve them soon. Refrigeration can lengthen their shelf life, though it may alter the texture slightly. A brief spin in the microwave helps restore that gooey charm if they’ve chilled for a while. I once kept a batch for a week as a hidden treasure for midnight cravings, and the flavors remained bold. Chocolate rarely loses its allure over time.
Explore More Chocolate Recipes
If you’re eager for more chocolate treats, here are a few select recipes that promise rich flavors and delightful textures. Consider trying these for your next baking session:
• Rich Chocolate Lava Cake: Warm, flowing chocolate that emerges from the center of this soft cake.
• Chocolate Ganache Tart: Creamy texture of chocolate ganache nestled in a crumbly tart shell.
• Chocolate Cheesecake Brownie Bars: Dense brownie and creamy cheesecake in these multi-layered bars.
Experimentation and Personal Twists
Personal flair can make each batch unique. Some friends stir in white chocolate chips and sprinkle sea salt on top. Others fold in chopped candy bars for a playful spin. A swirl of cream cheese changes the profile, forming a marbled top. I occasionally blend in instant espresso powder to heighten the intensity. That subtle bitterness underscores the rich cocoa flavor. Small changes allow for a touch of creativity, so each pan can feel like a fresh discovery.

Closing Thoughts on a Simple Pleasure
Brownies remain a humble dessert that brings people together. The straightforward ingredient list and relaxed baking method suit any home cook eager to please a sweet craving. My own journey with brownies led me to appreciate how a recipe can stir up personal nostalgia. A simple whisk, a little folding, and a watchful oven promise a treat that sparks conversations and smiles. My hope is that your experience with these classic fudgy brownies proves as rewarding and comforting as mine has been across countless afternoons in the kitchen.
I invite you to read the full ingredients and step-by-step instructions in the recipe card. Those details will guide you through the finishing touches. May this chocolate indulgence bring happy memories and a sense of satisfaction. Enjoy each warm bite, share with friends if you like, and relish every crumb of sweet flavor. Brownies taste best when they come with a story, and I hope this recipe becomes part of your own.

Classic Fudgy Brownies
Course: Chocolate Desserts16
servings10
minutes30
minutes250
kcalIngredients
1 cup (225g) unsalted butter, melted
2 cups (400g) granulated sugar
1 cup (90g) unsweetened cocoa powder (Dutch-process works best for a deep chocolate flavor)
1/2 teaspoon salt
1 teaspoon vanilla extract
4 large eggs, at room temperature
1 cup (125g) all-purpose flour
1 cup (170g) chocolate chips or chunks (optional, but highly recommended)
Steps
- Step 1: Prep Your Tools
Preheat your oven to 350°F (175°C). Line a 9×13-inch baking pan with parchment paper, leaving a slight overhang on the sides. This makes removing the brownies a breeze later on. - Step 2: Mix the Wet Ingredients
In a large mixing bowl, combine the melted butter, sugar, and cocoa powder. Whisk until smooth and glossy. Add the vanilla extract and salt, and mix again. - Step 3: Add the Eggs
Crack the eggs into the bowl, one at a time, whisking well after each addition. This step is crucial because the eggs act as the binding agent and give the brownies their structure. Keep whisking until the mixture is smooth and slightly thickened. - Step 4: Fold in the Dry Ingredients
Sift in the flour and gently fold it into the batter using a spatula. Be careful not to overmix—just stir until no streaks of flour remain. If you’re adding chocolate chips or chunks, fold them in now. - Step 5: Bake to Perfection
Pour the batter into your prepared pan and smooth the top with a spatula. Bake in the preheated oven for 30-35 minutes. To check for doneness, insert a toothpick into the center—it should come out with a few moist crumbs but no wet batter. - Step 6: Cool and Slice
Let the brownies cool in the pan for at least 15 minutes. Then, use the parchment paper overhang to lift them out of the pan and transfer them to a cutting board. Slice into squares (or rectangles, if you’re feeling fancy) and enjoy!