It was my first time when I tasted homemade chocolate bark in my grandmother’s kitchen. She handed me a small piece that glistened with roasted nuts, and I recall the satisfying crunch that followed.
I never forgot the way the chocolate melted in my mouth. That very moment inspired me to craft my own version over the years, refining the steps until I felt the flavors came together in a way that reminded me of childhood warmth mixed with a grown-up love for rich, dark chocolate.
Following a special diet?
Every recipe on this site can be converted to gluten-free, vegan, dairy-free, keto, nut-free or egg-free with adjusted ratios so nothing falls flat.
Try the Recipe Converter →My Personal Spin on Dark Chocolate Bark
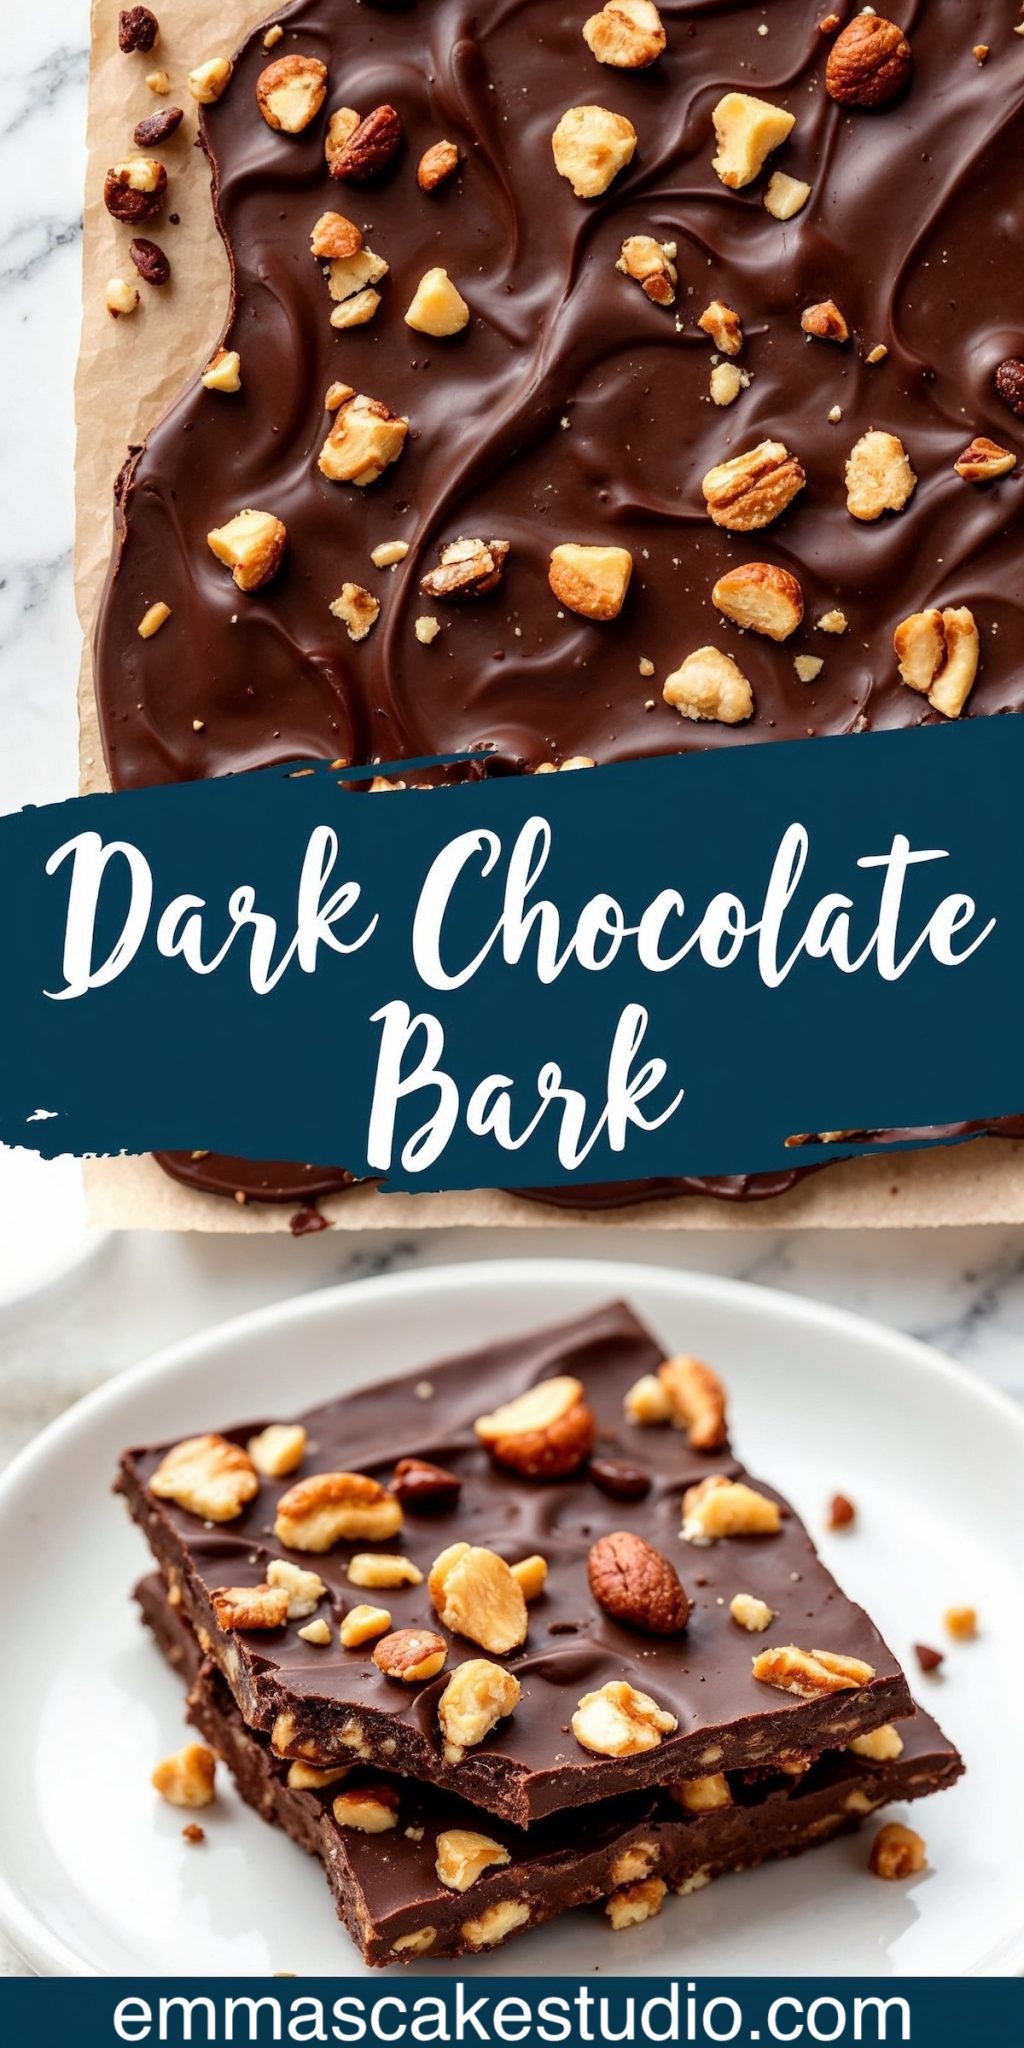
I enjoy working with dark chocolate because it carries a strong depth and stands out with a moderate sweetness. I selected at least 70% cocoa content for its deep flavor, then introduced a mix of almonds and walnuts to create a pleasing contrast. I add a small amount of extra nuts on top to give a crisp texture on each bite. Sea salt flakes often make a quick appearance in my recipe, sprinkling them to offer that subtle salty snap I find so appealing. My family members sometimes request a drizzle of dried fruit or some citrus zest, so I often keep these extras ready.
Gathering Key Ingredients for a Strong Foundation
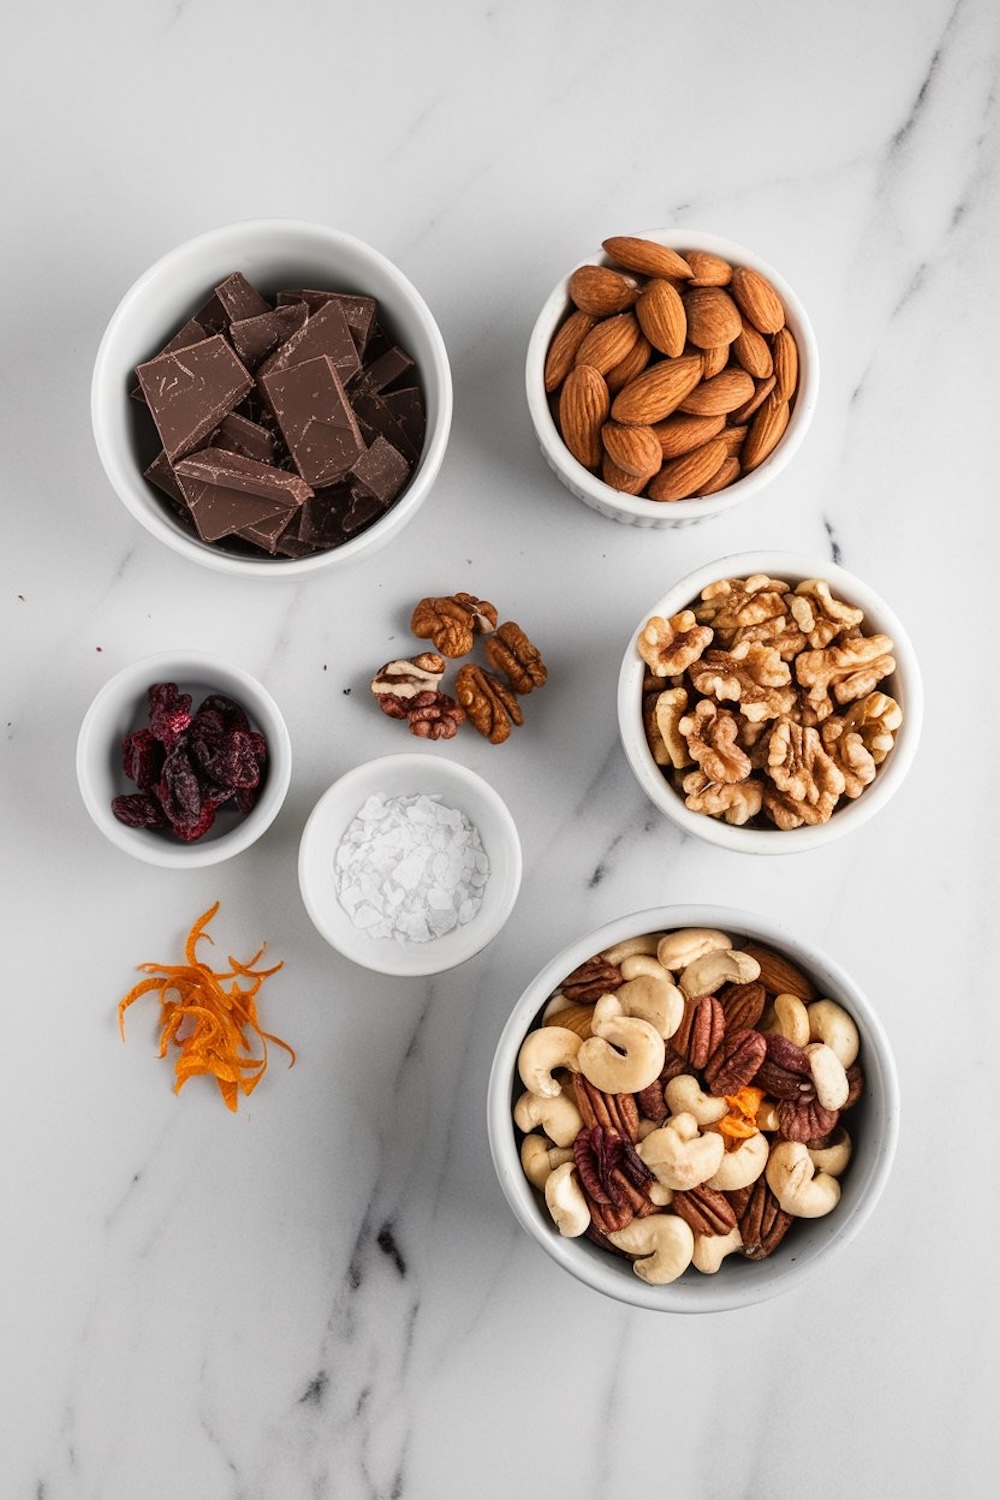
I keep an eye on high-quality dark chocolate. I prefer bars with fewer additives, so I examine labels before buying. I measure out about 300 grams, which translates to around 10.5 ounces. I grab almonds and walnuts in separate containers. I roast them beforehand, then chop them into small chunks. That roasting step adds a nutty aroma and makes the final bark taste deeper.
Next, I place a separate container of my favorite mixed nuts such as pecans, cashews, or hazelnuts on the counter, which I will sprinkle on top. Sea salt flakes, dried cranberries, and orange zest stand nearby as optional add-ons.
Melting the Chocolate Without Complications
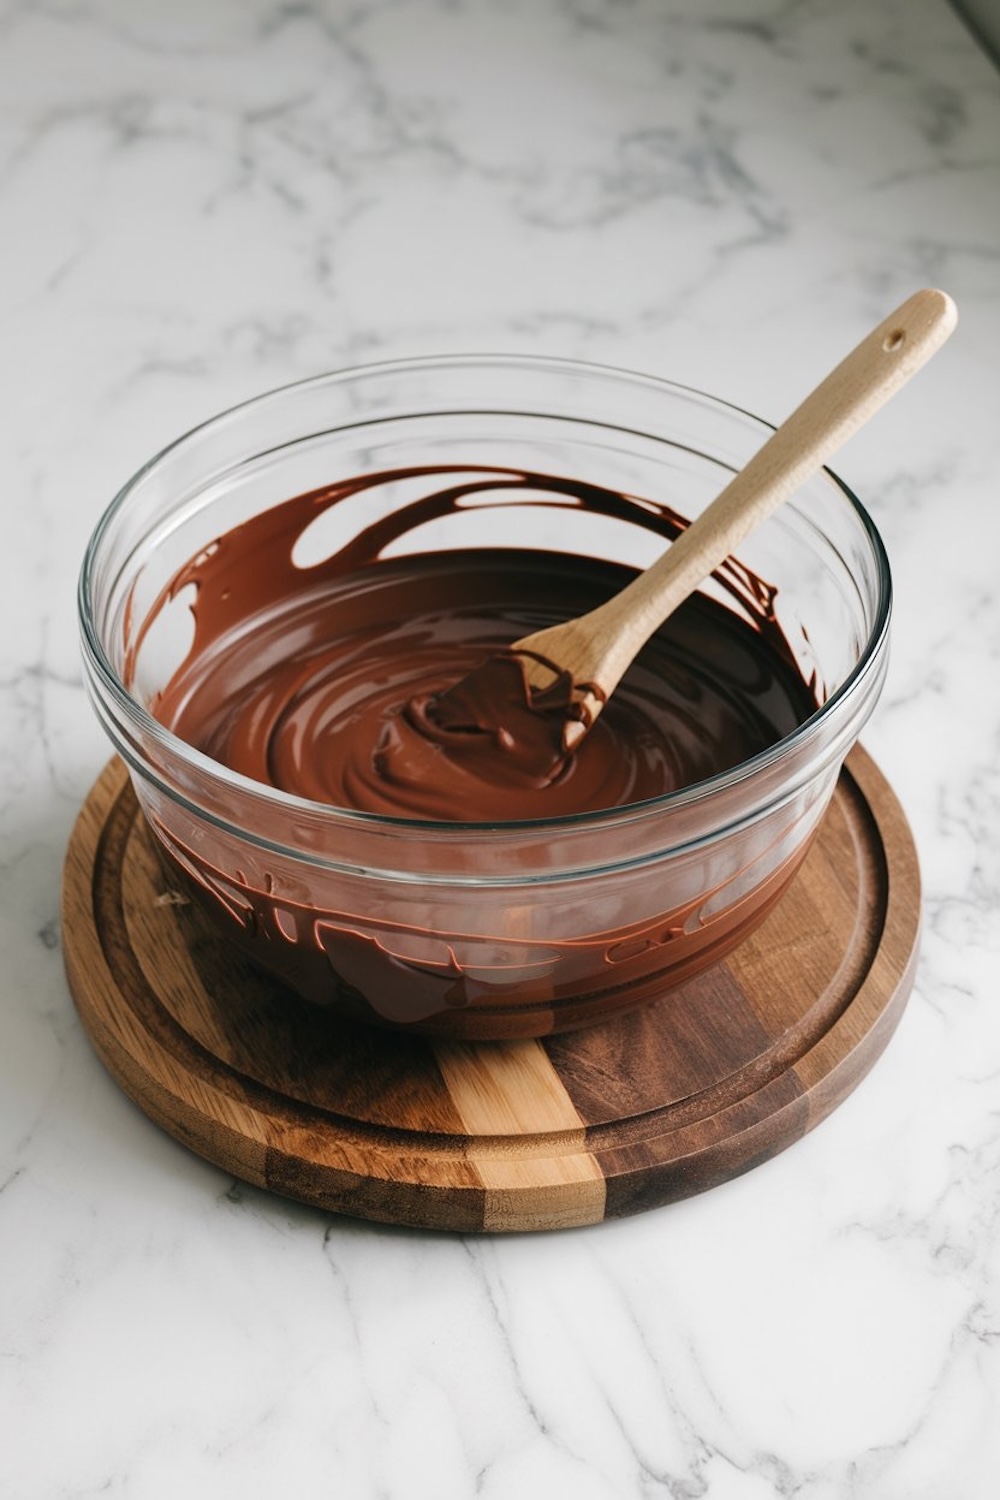
I tend to melt chocolate in a microwave, pausing every 30 seconds to stir. This approach prevents scorching and keeps the chocolate smooth. A double boiler also works well if I have extra time, and I like that method for its gentle heat. I chop the chocolate into small bits first, which helps it melt evenly. I wait a few minutes for it to cool slightly before adding the nuts. That waiting period avoids any chance of scorching the nuts in overly hot chocolate.
Mingling the Nuts in the Chocolate

I combine chopped almonds and walnuts into the melted chocolate, then fold them gently. I watch each spoonful to ensure the nuts are coated. My favorite part of this process is seeing the lumps form as the nuts bind with the dark chocolate. That combination forms the core of this bark, giving it a crunchy factor that I want in every mouthful.
Spreading and Topping the Bark with Extra Crunch
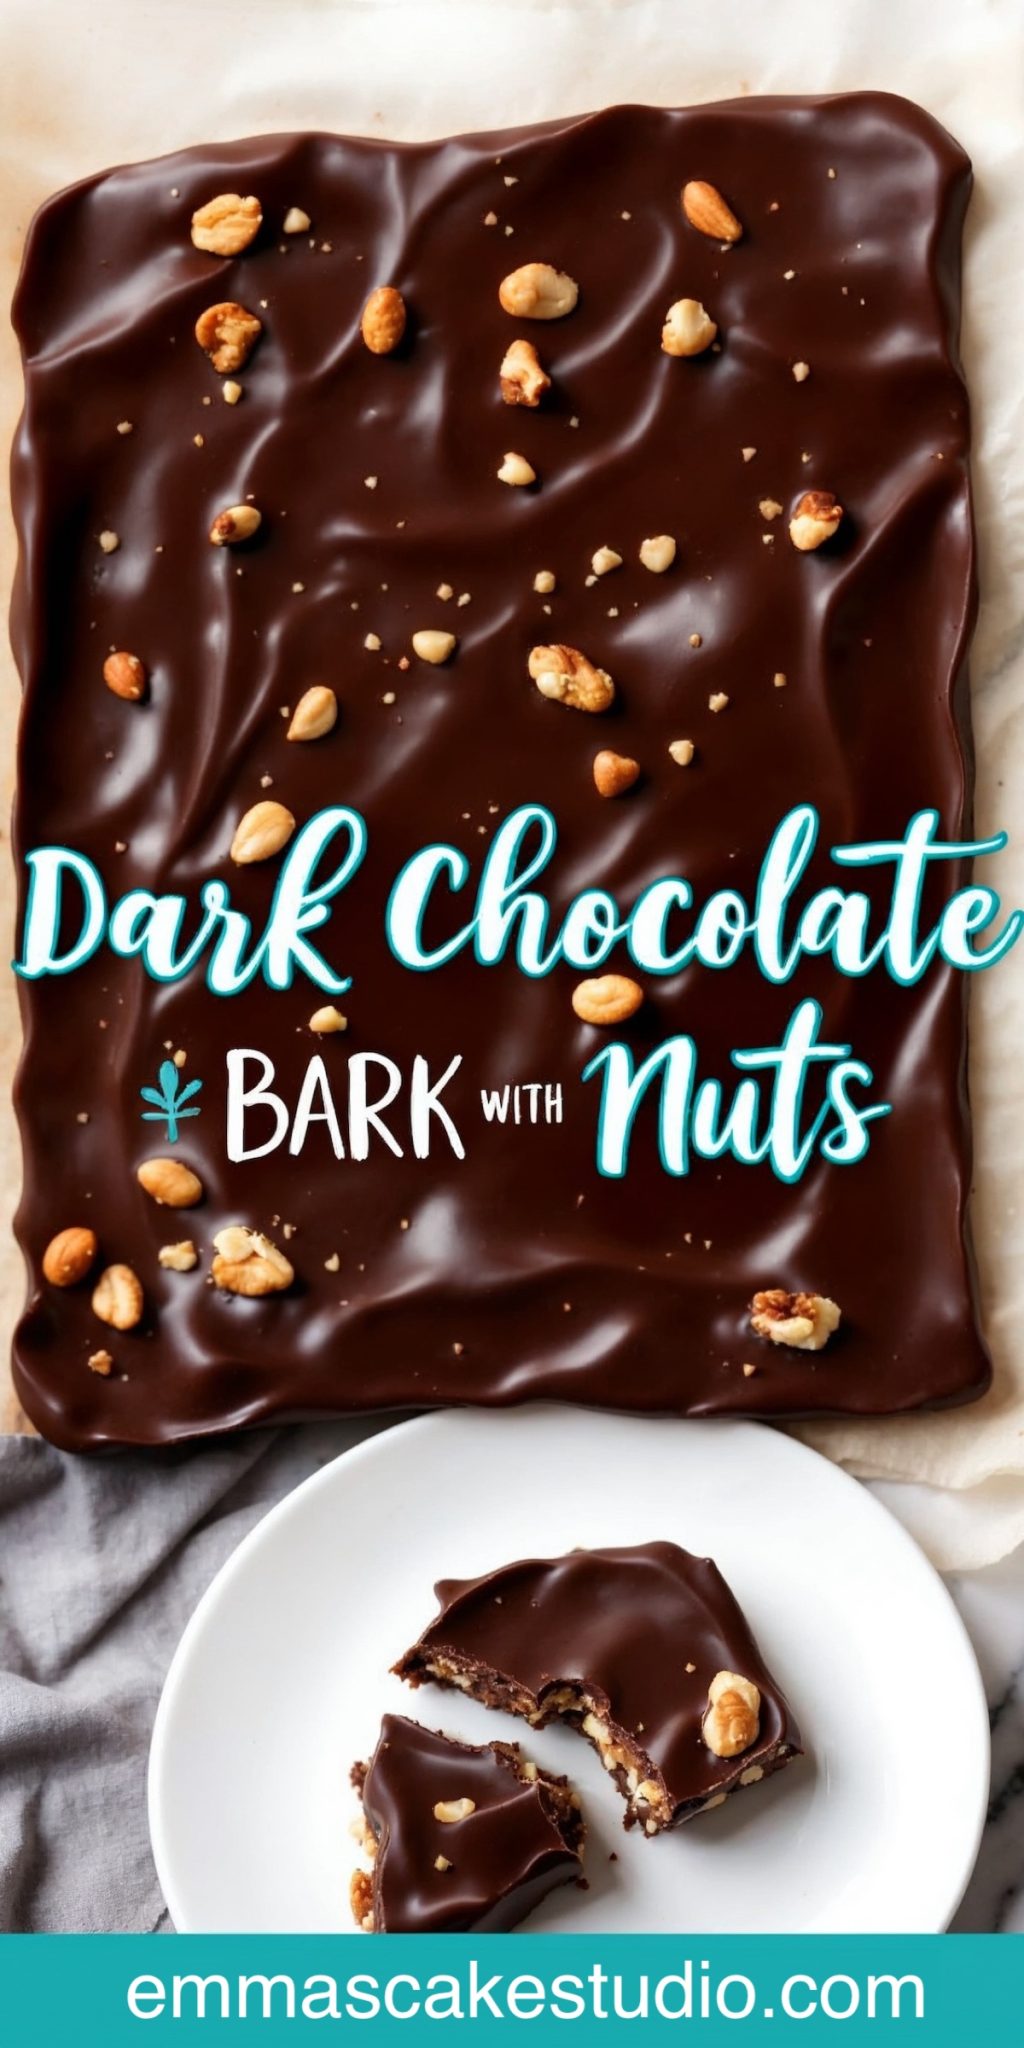
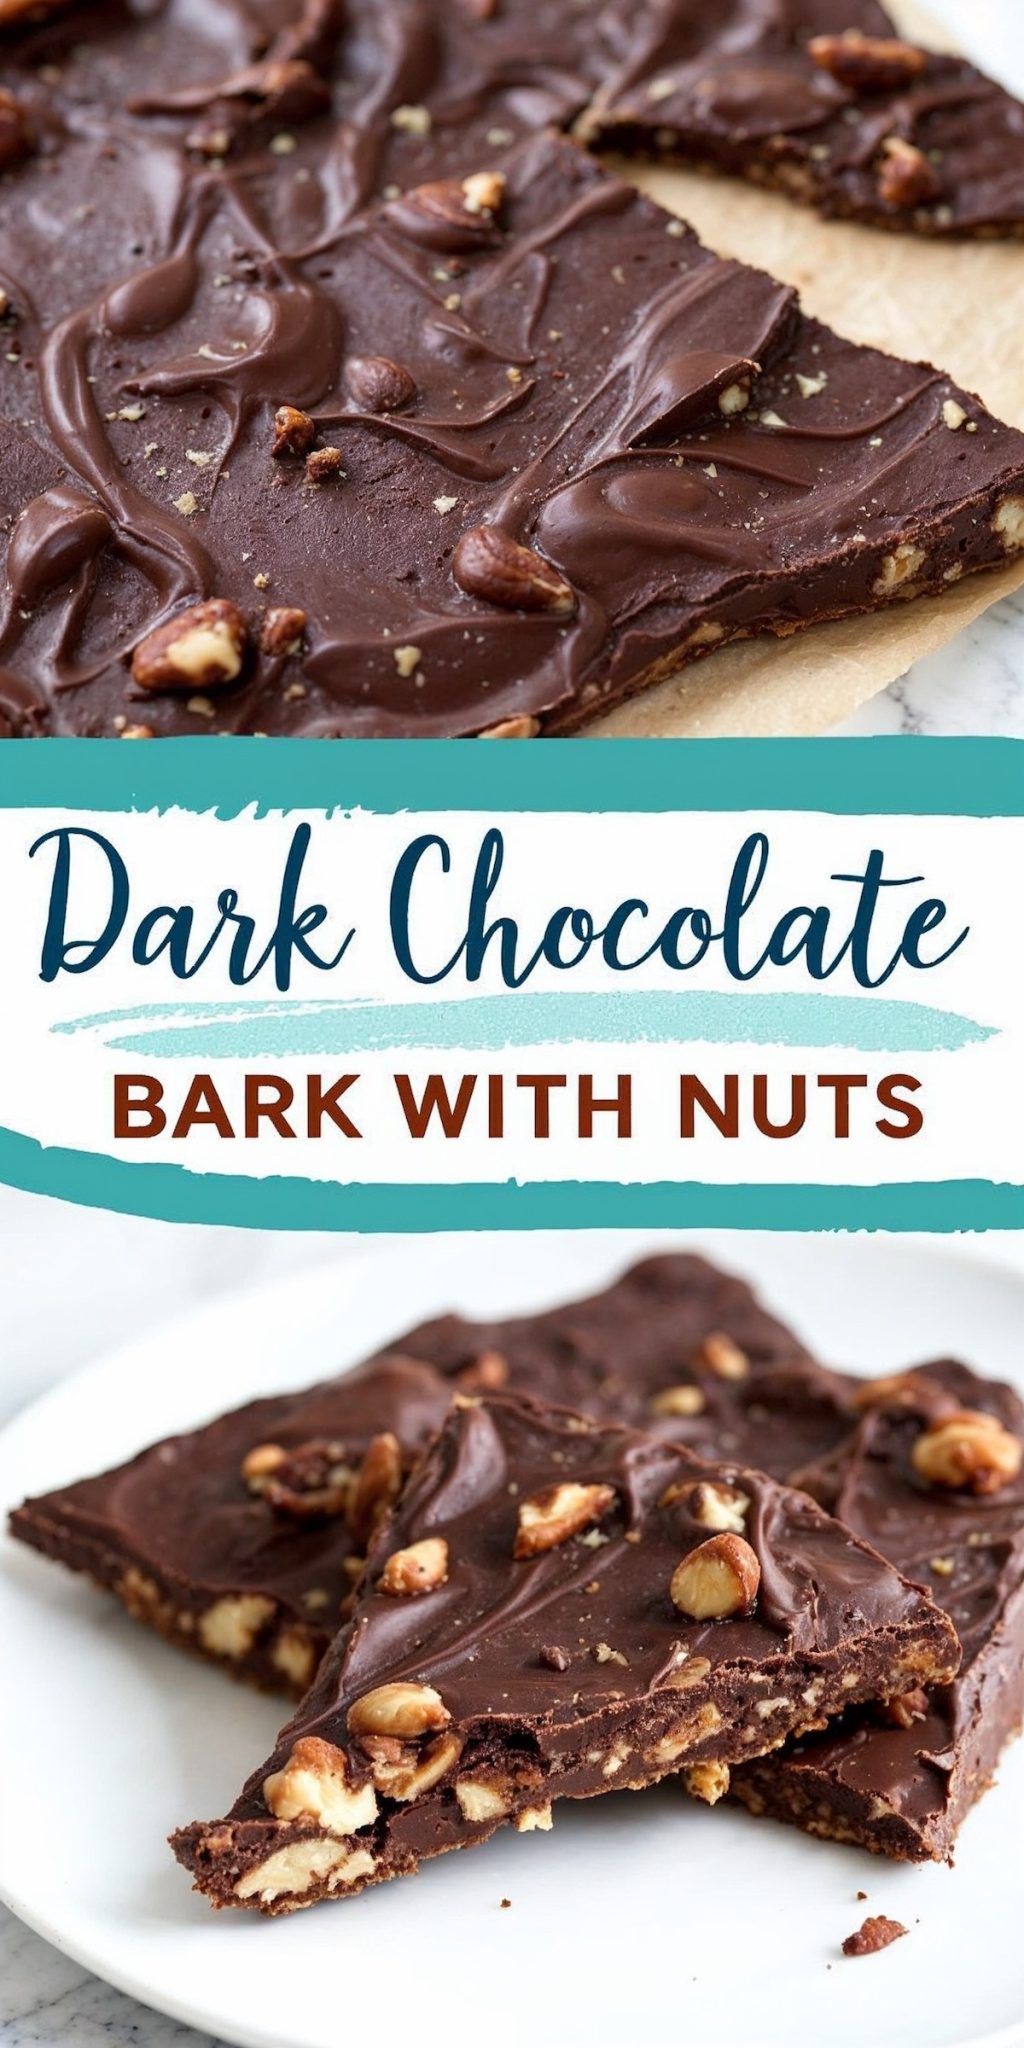
I line a baking sheet with parchment paper and carefully pour the chocolate-nut mixture in a single layer. I smooth it out with a spatula to maintain a uniform thickness. Then I grab a handful of mixed nuts and sprinkle them over the surface. I press lightly so they stay put. I might add that dash of sea salt flakes or a scatter of dried cranberries at this stage. A little orange zest can also go on top for a subtle citrus flair. That choice depends on how I feel that day or which flavor my guests enjoy.
Letting It Set for a Satisfying Break
I like to set the tray on the counter for about two hours. I often busy myself in the kitchen with a quick cleanup or preparing the next meal. Sometimes, I place the tray in the fridge if I’m impatient or have friends on their way over. This quicker cooling route takes about thirty or forty minutes. Once I see the bark is firm, I break it into uneven shards. I store them in an airtight container on my counter. My husband jokes that these shards disappear almost as fast as I can store them.
Flavor Variations and Personal Twists
I change up the flavor profile by adding sea salt flakes or dried fruit. My friend likes a sweet-and-sour experience, so I tend to toss in dried cranberries. Dried apricots bring a similar sweet note. On days I want a citrus aroma, I zest an orange directly over the chocolate. That fresh aroma always brightens my kitchen. These variations let me personalize each batch and ensure there is something new to enjoy every time.
Try More Chocolate Desserts for Sweet Inspiration
I appreciate rotating desserts to keep my table lively. I sometimes set out Tiramisu Cookie Cups because they offer coffee notes that complement dark chocolate bark. My neighbor can’t resist these White Chocolate Donuts for a lighter spin. I also surprise guests with a velvety Mississippi Mud Pie for a rich experience. Chocolate Shamrock Pies come out during festive gatherings, bringing a playful theme to the dessert spread.
Serving and Gifting Suggestions
I often slip a few bark shards into cellophane bags tied with ribbons when I gift them. Coworkers and neighbors seem eager to open the bag as soon as they see the dark chocolate peeking through. I also place them in small tins around the holidays. A cozy mug of tea or coffee pairs nicely with this bark, and I love the simple joy of nibbling on these treats while I catch up on a favorite show.
Pin This Recipe and Share Your Experience
I hope you enjoy trying my approach to dark chocolate bark with double nuts. I encourage you to save this recipe as a pin on your board for later, so you can recall each step or share it with others. I’m excited to hear your feedback. Please leave a comment if you decide to make it, or if you have any questions. I like to believe each new comment sparks a small community of chocolate enthusiasts.
Dark Chocolate Bark with Double Nuts Recipe
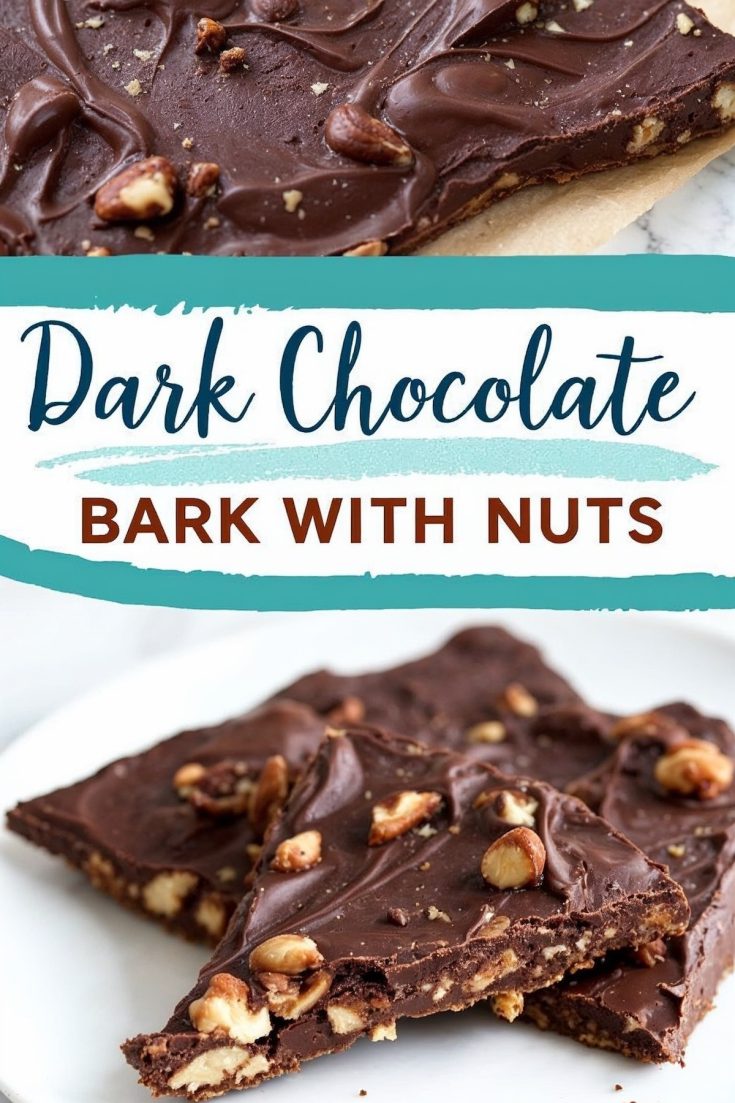
Dark chocolate bark with double nuts offers a delightful blend of roasted almonds and walnuts, topped with a variety of mixed nuts and optional enhancements like dried fruit or citrus zest. This recipe creates a simple yet flavorful treat, perfect for gifting or snacking.
Ingredients
- 300g (10.5 oz) high-quality dark chocolate (at least 70% cocoa)
- 1/3 cup chopped almonds (roasted)
- 1/3 cup chopped walnuts (roasted)
- 1/4 cup mixed nuts for topping (pecans, cashews, hazelnuts, or any favorite)
- Optional:
- 1 tablespoon sea salt flakes
- 2 tablespoons dried cranberries or chopped dried apricots
- 1 teaspoon orange zest
Instructions
Notes
Adjust the topping quantity to taste or swap nuts with your preferred variety.
For a dairy-free option, ensure the dark chocolate is free from milk solids.
Nutrition Information
Yield
15Serving Size
1Amount Per Serving Calories 62Total Fat 5gSaturated Fat 1gTrans Fat 0gUnsaturated Fat 4gCholesterol 0mgSodium 445mgCarbohydrates 4gFiber 1gSugar 2gProtein 1g