
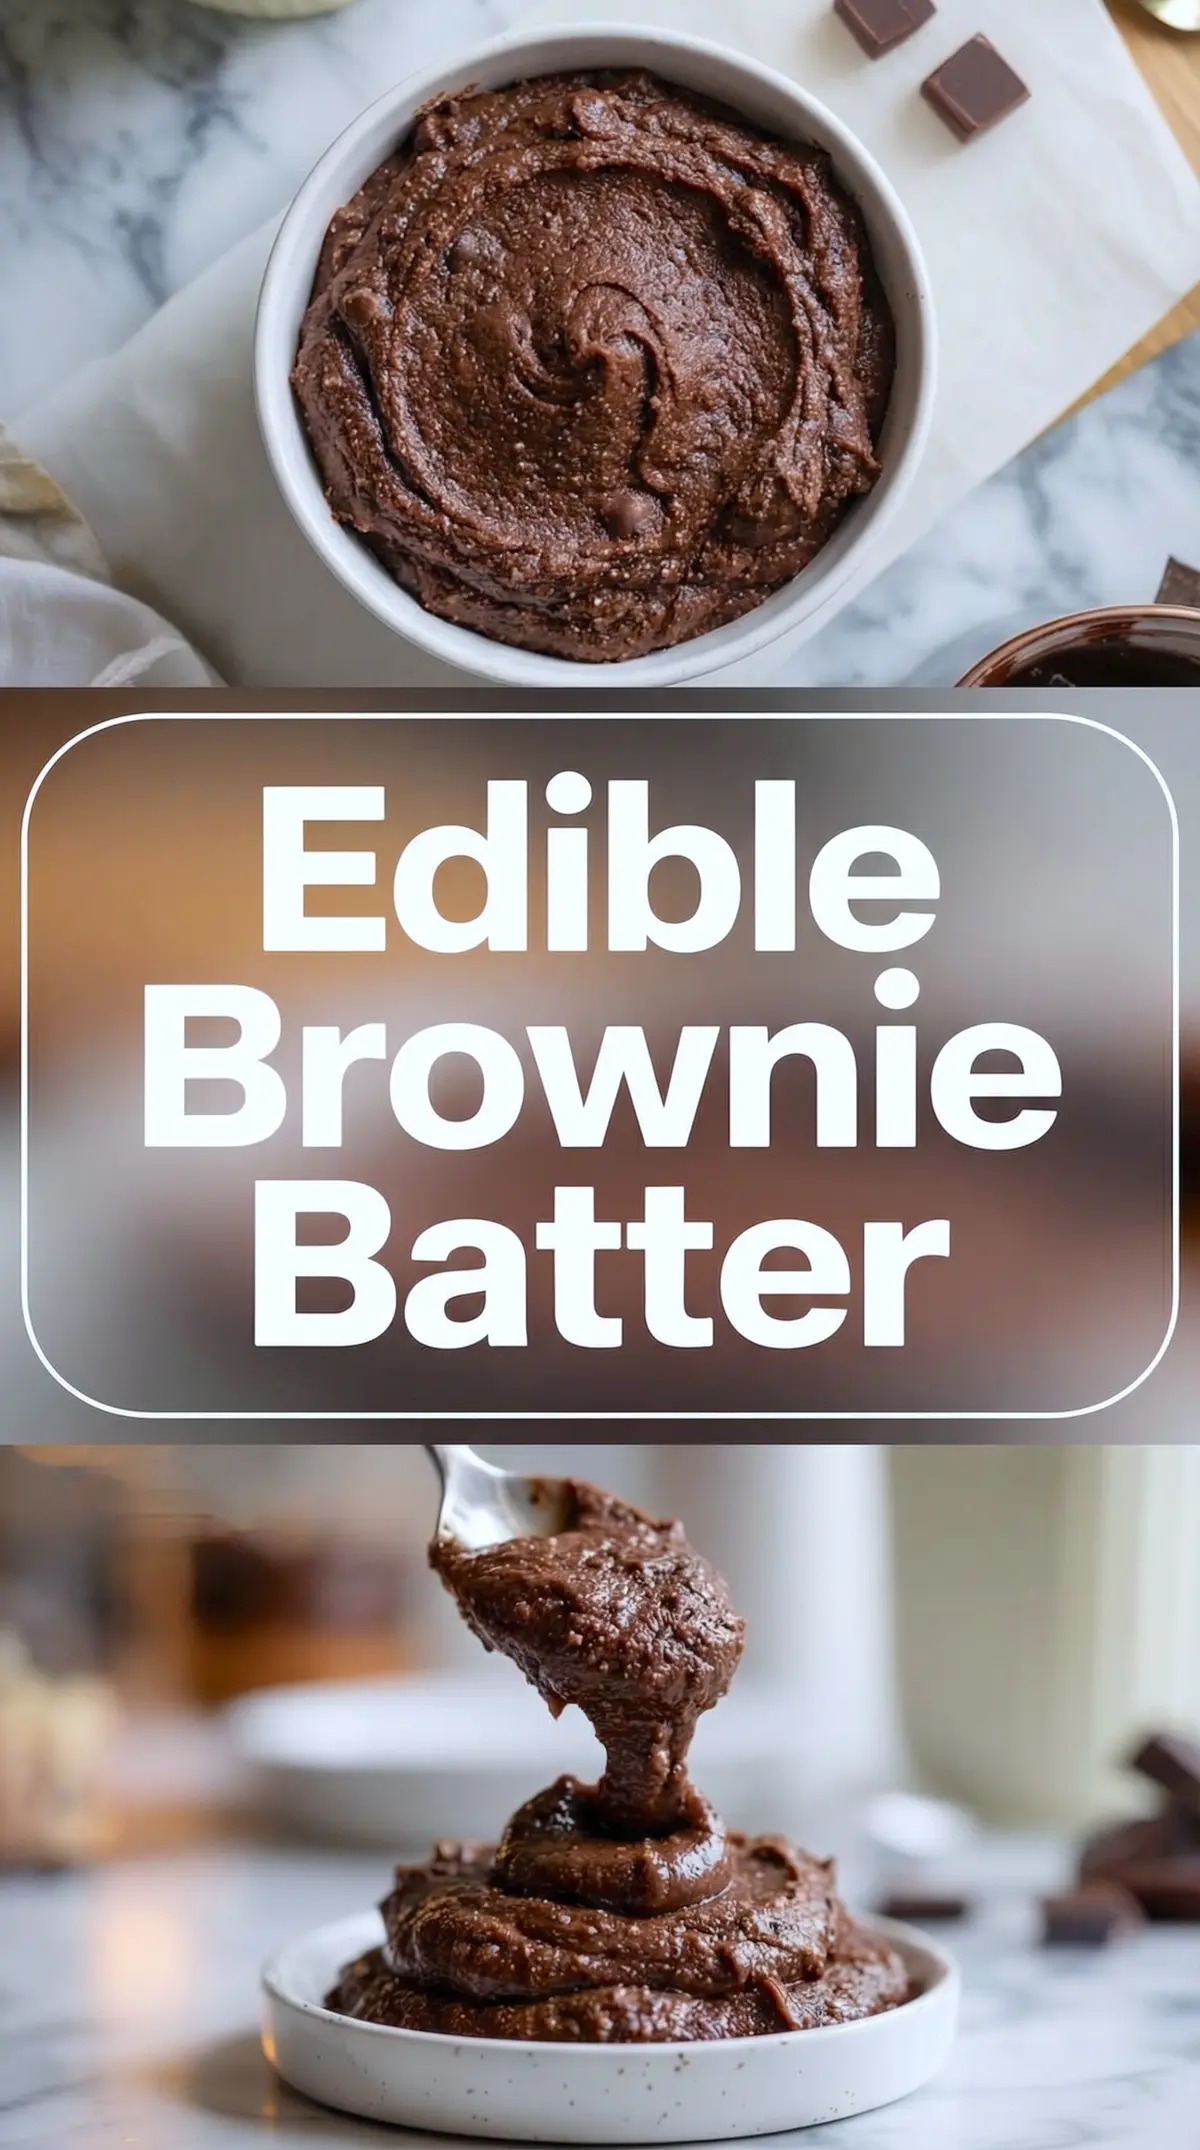
This easy edible brownie batter skips eggs and heat-treats the flour, so it’s safe to eat by the spoonful. The mix is rich, thick, and deeply chocolatey. You can enjoy it as a late-night dessert, add it to an ice cream sundae, or make a scaled-down edible brownie batter recipe for one. It also doubles as a great base for edible cookie dough variations like edible sugar cookie dough or chocolate chip swirls.
Following a special diet?
Every recipe on this site can be converted to gluten-free, vegan, dairy-free, keto, nut-free or egg-free with adjusted ratios so nothing falls flat.
Try the Recipe Converter →This brownie batter recipe edible version keeps the ratio of fat to cocoa high enough to deliver that signature brownie texture.
It’s creamy without being greasy, and sweet without crossing into frosting territory.
Using both brown and white sugar matters here. Brown sugar adds moisture and softness, while granulated sugar sharpens the sweetness and balances the cocoa.
That small decision changes the entire texture of the batter. The result is fudgy, smooth, and spoonable straight from the bowl.
Ingredients With a Purpose
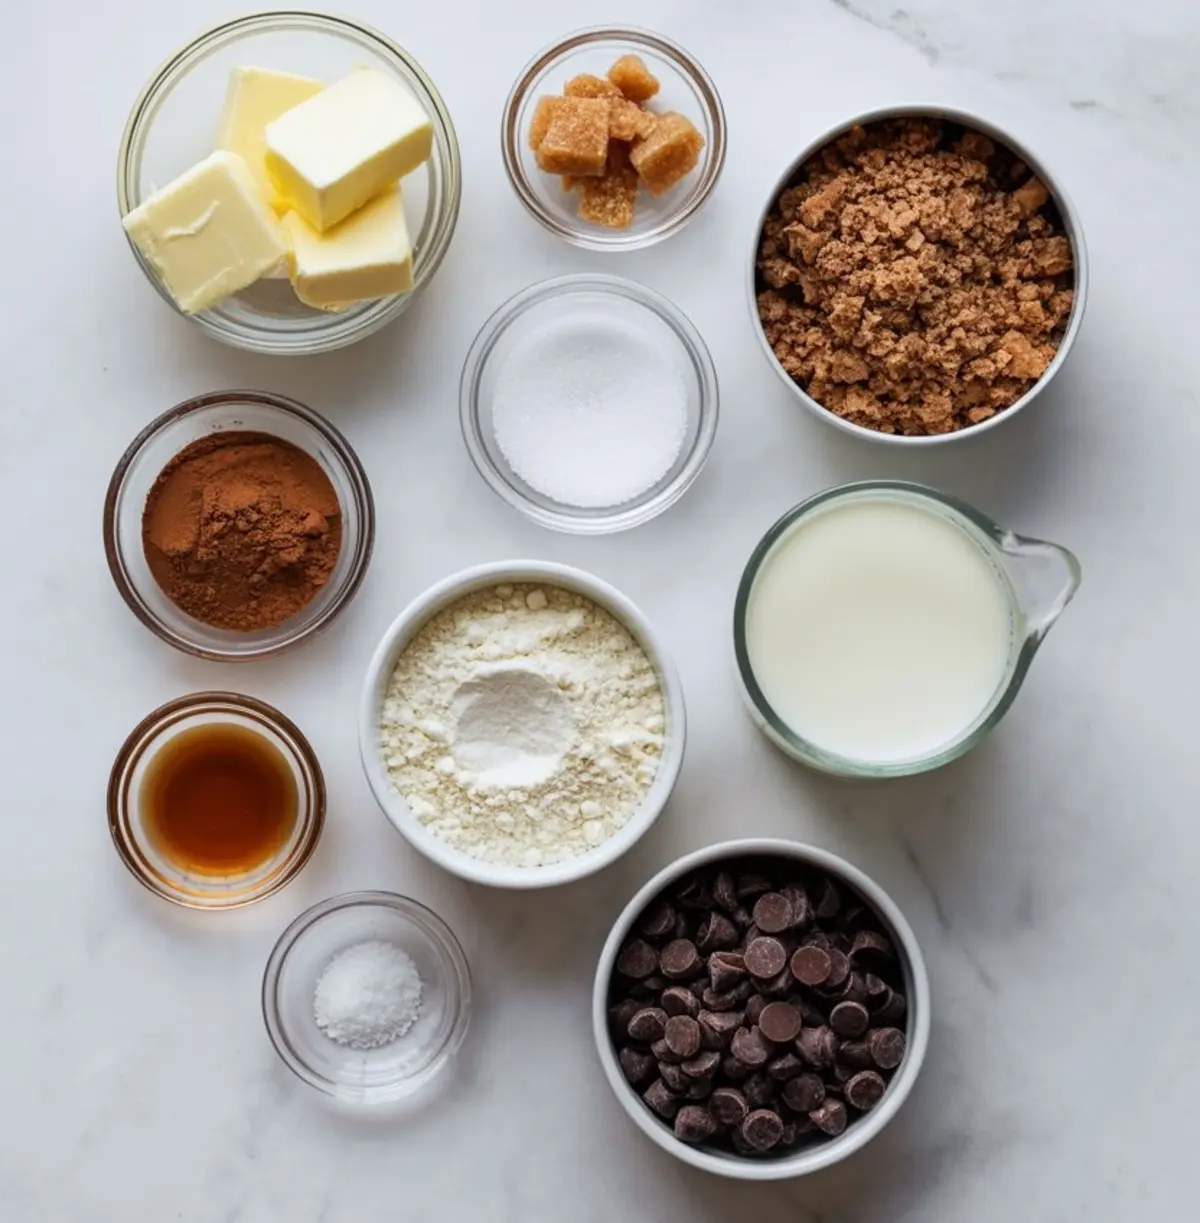
Each ingredient here does more than fill a slot on a list. I chose them because they work together to get that deep, brownie-like flavor and feel.
The cocoa powder leads the way. Use unsweetened, natural cocoa. Not Dutch-processed if you want a slightly more intense flavor and color.
Softened butter gives the batter structure and richness. If you want a dairy-free version, try softened plant-based butter sticks instead.
Milk loosens the texture just enough, and any variety works. Oat milk and whole milk both blend smoothly without changing the flavor much.
I go for a mix of sugars 3 parts brown to 1 part white. This gives you softness and a little chew in the mouth.
You can even try coconut sugar if needed, but expect a slightly drier finish.
Vanilla brings warmth. I never skip it, even in chocolate-heavy recipes.
And the salt? It’s half a teaspoon for a reason. It brings the batter to life.
The Most Important Part: Heat-Treating Flour
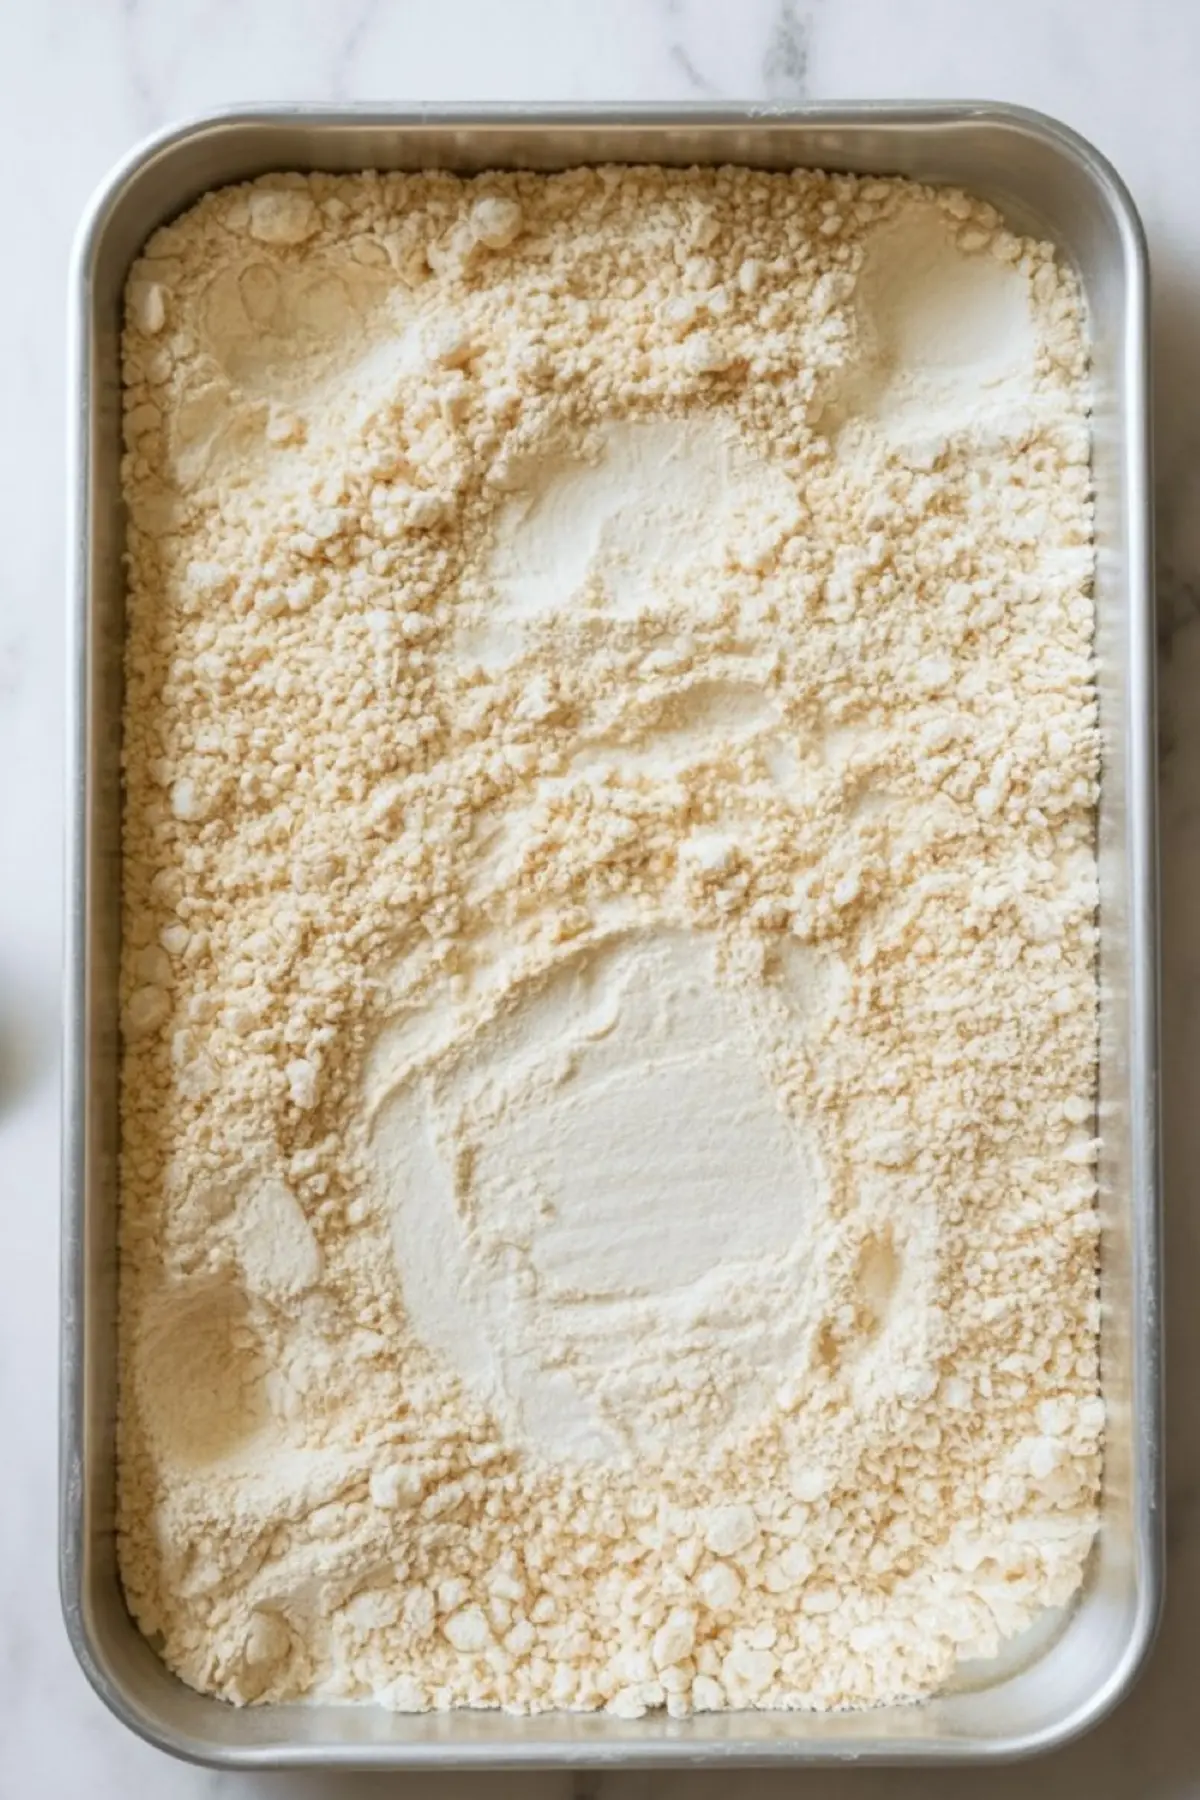
Let’s talk about the flour. Raw flour can hold bacteria like salmonella or E. coli, so it needs to be cooked before mixing into any no-bake recipe.
This step doesn’t affect the taste, but skipping it isn’t an option.
Spread the flour on a baking sheet and bake it at 300°F for about 5 to 7 minutes. Let it cool fully before adding it to the batter.
If the flour is warm, it’ll melt the butter and throw off the texture. Patience here keeps the batter thick and smooth.
Step-by-Step: Making the Batter
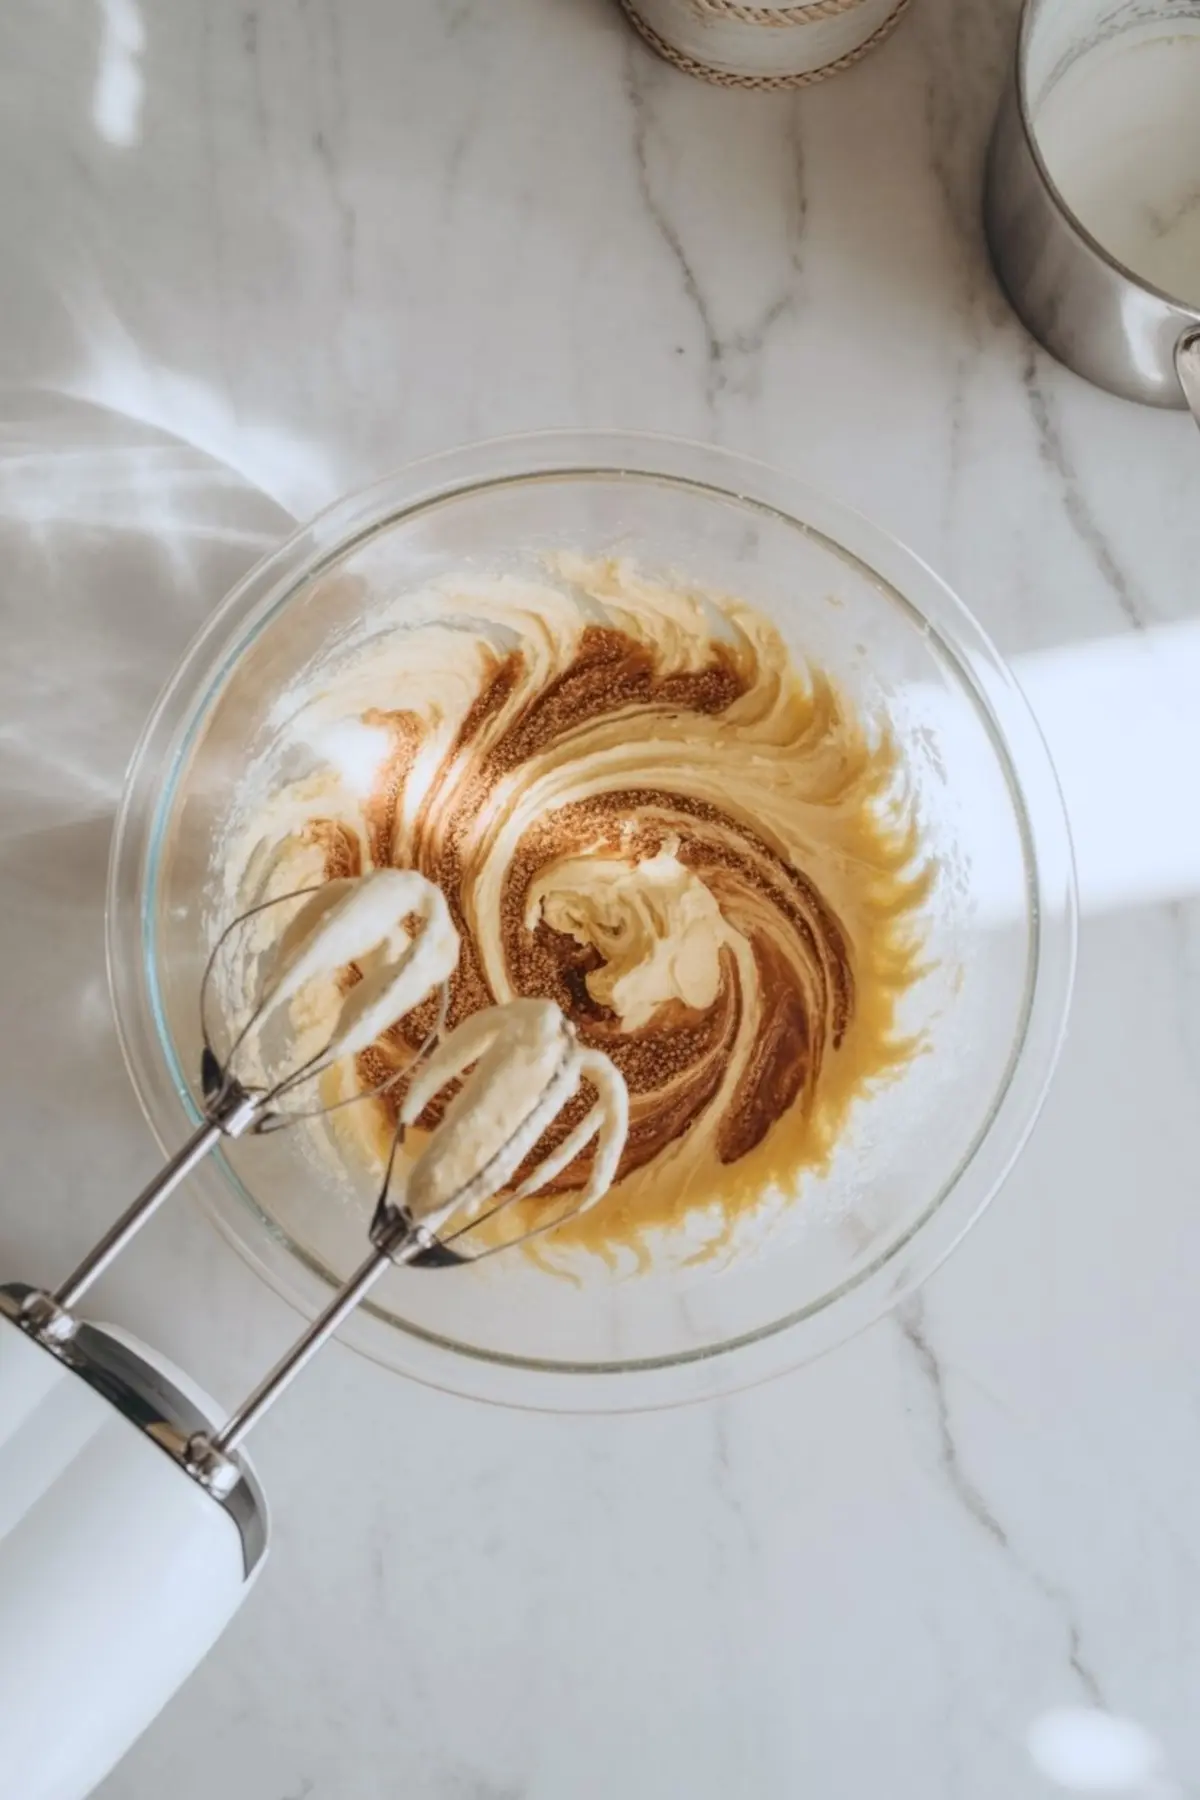
Start by creaming the butter and both sugars together. The mix should go from grainy to fluffy within two to three minutes using a mixer.
You’re looking for soft peaks, not melted butter. If it looks shiny or wet, chill it briefly before moving on.
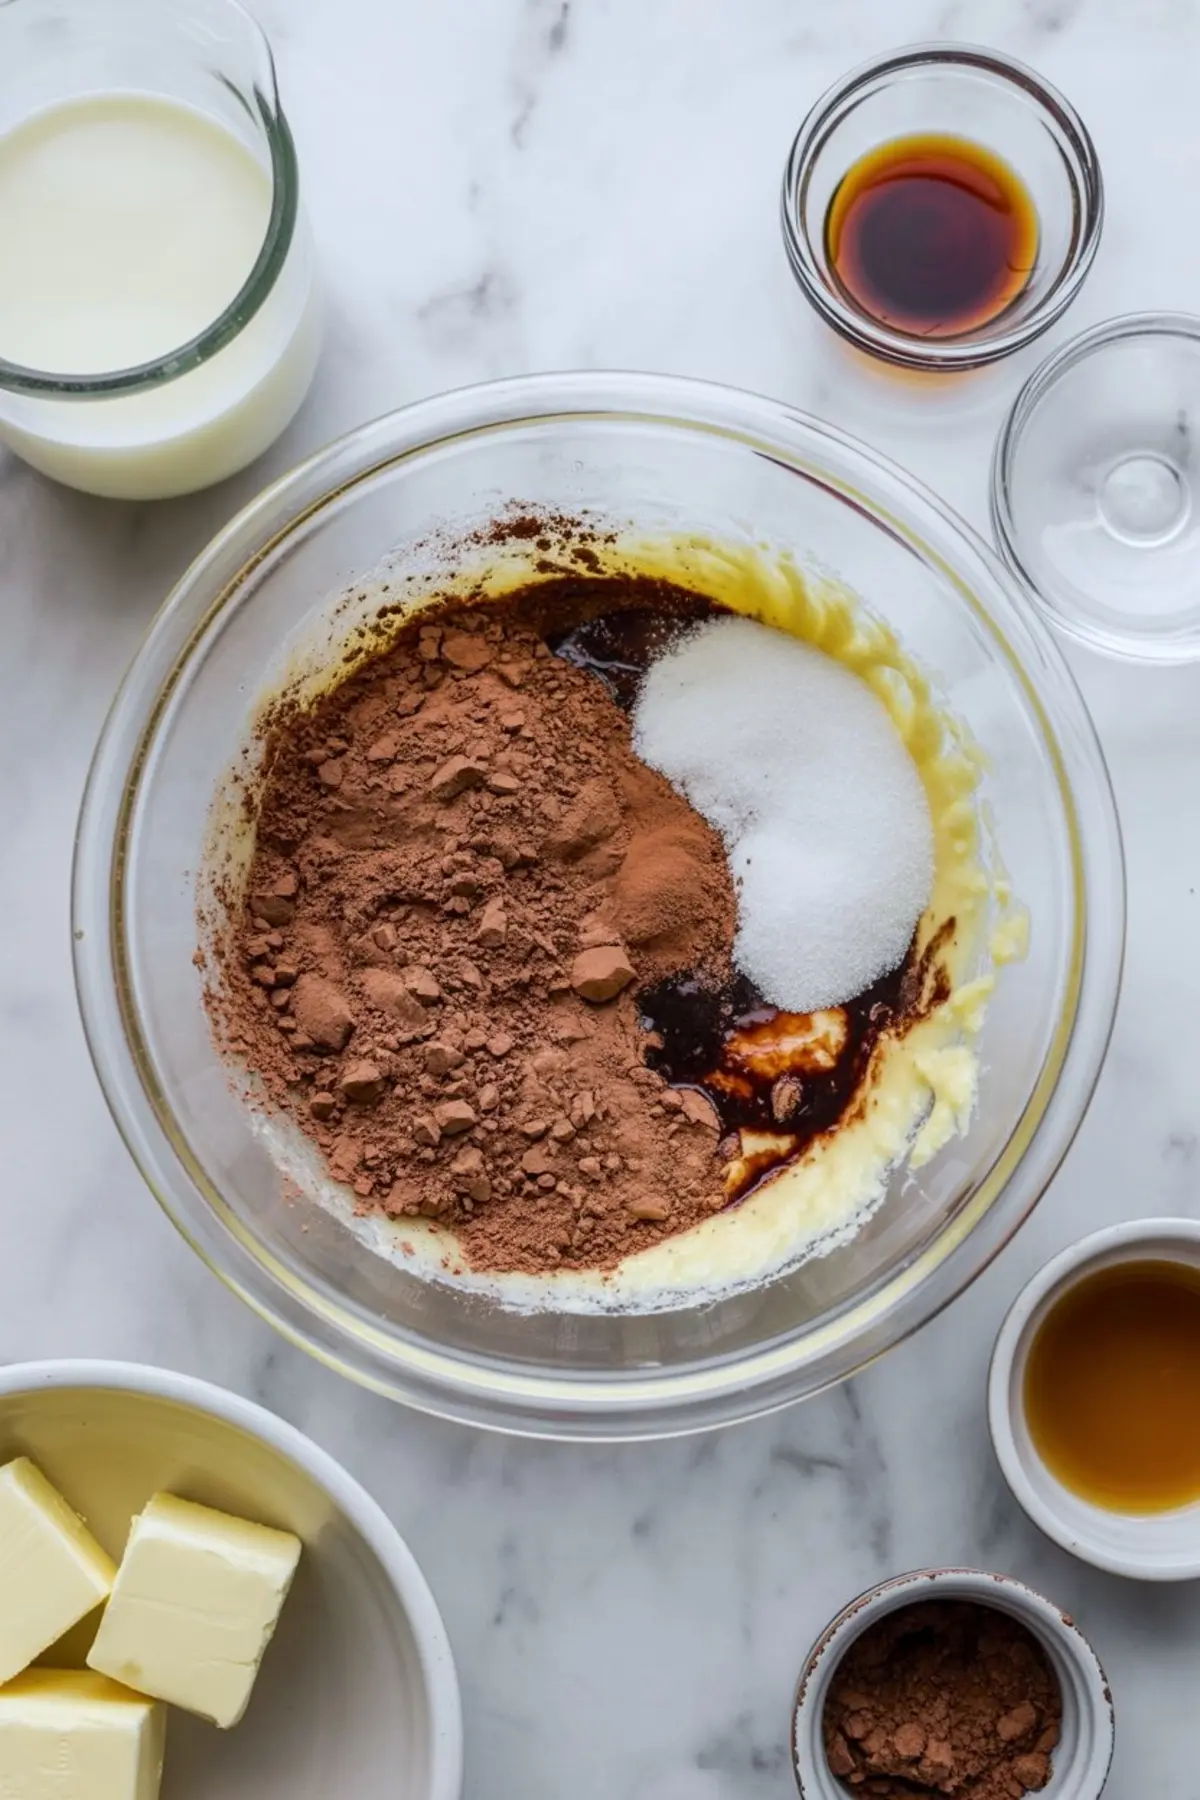
Once the base is ready, add cocoa, milk, and vanilla. Blend until the mixture deepens in color and smells rich and fragrant.
Scrape the bowl as you go. Bits of butter hide in the corners.
When the cocoa mix is smooth, add your cooled, heat-treated flour and salt. Blend until no dry pockets remain.
The batter will thicken here. If it gets too stiff, a splash of milk brings it back.
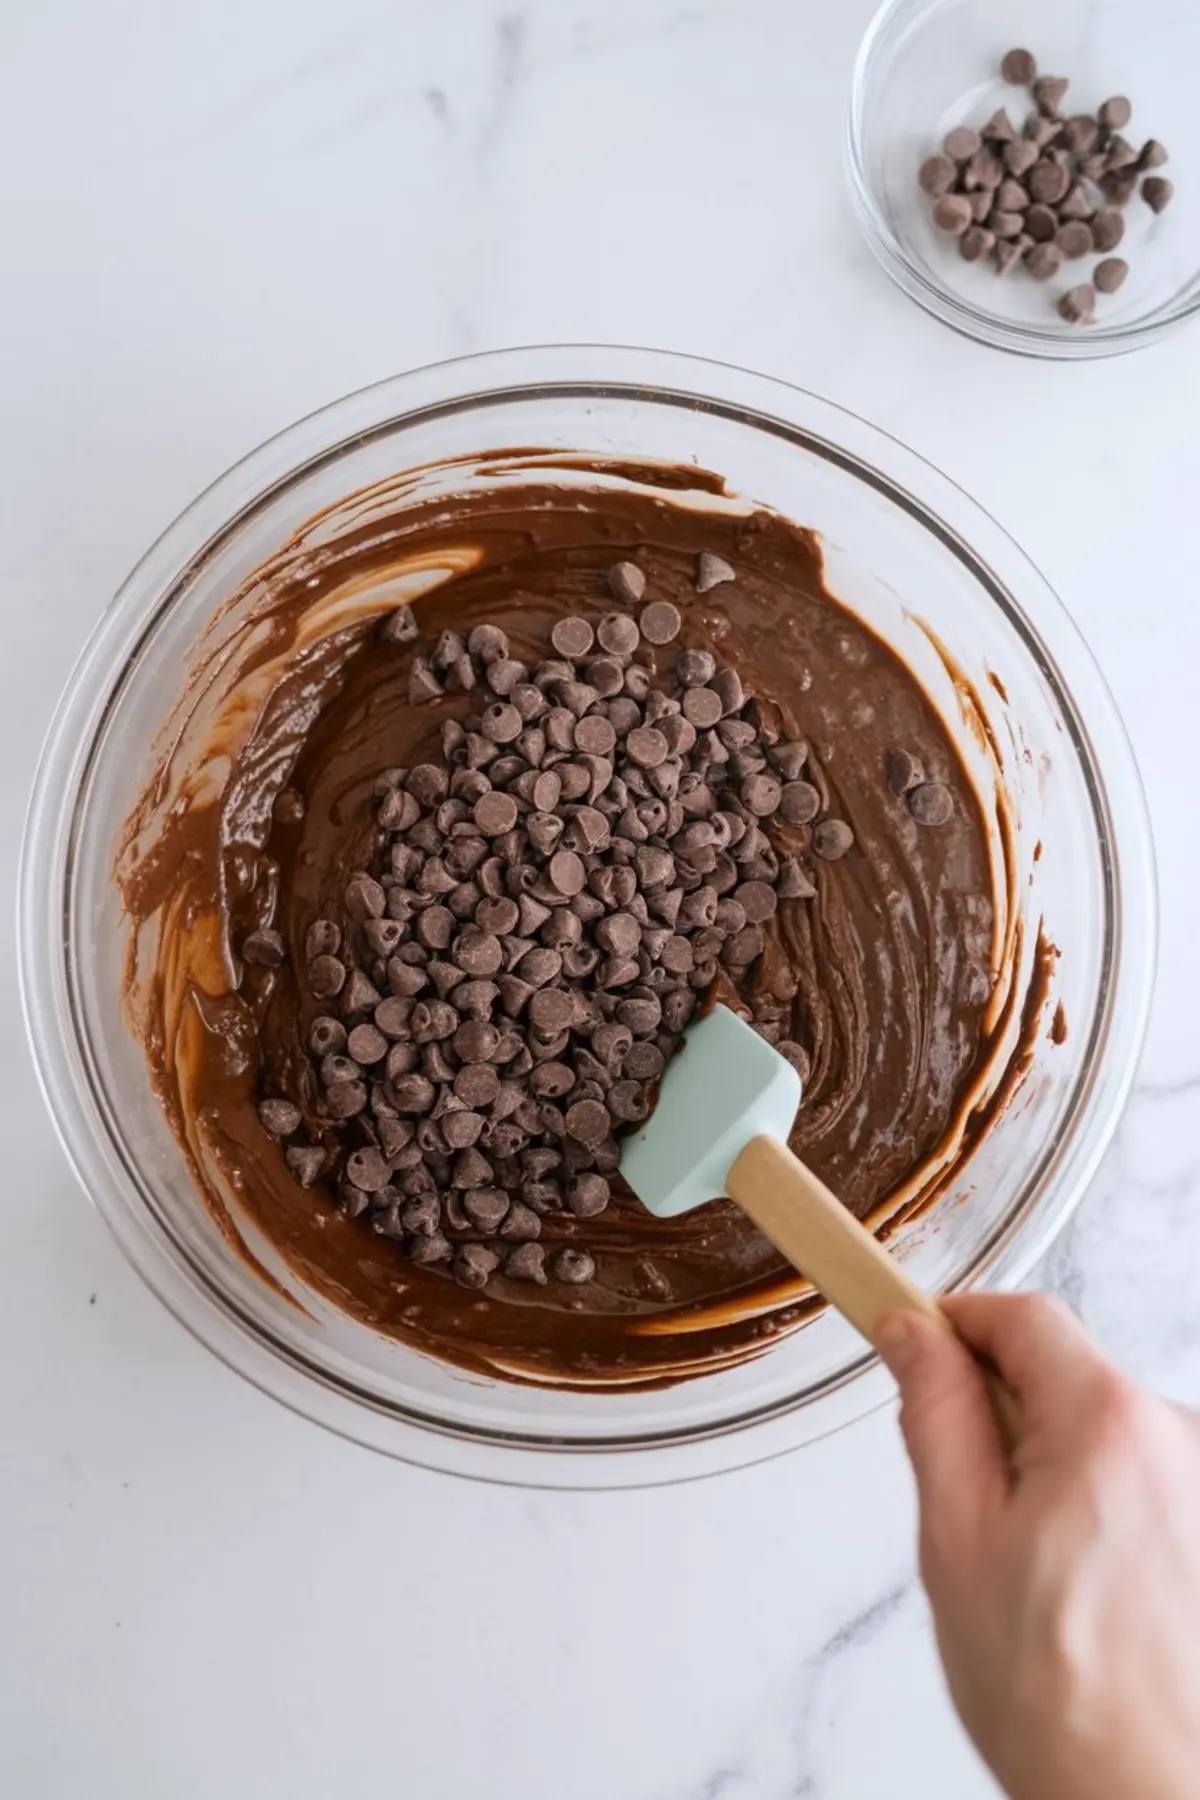
Finally, stir in your mix-ins. I like mini chocolate chips or crushed Oreos.
This is where you can get creative or stick with classic brownie flavors.
Try this method with Chocolate Mousse Brownies for a baked version with similar richness.
How to Tell It’s Mixed Right
The finished edible brownie batter should be thick, glossy, and dense.
It won’t look fluffy like frosting. It won’t be crumbly like cookie dough.
If you see dry streaks, keep mixing. If it’s too soft, the butter may have melted.
Chill for 10 minutes, then stir again. It should hold shape on a spoon.
Try pressing it flat like you would with Classic Fudgy Brownies dough if it stays put without leaking oil, it’s ready.
Common Issues and Quick Fixes
Too runny? Check the flour. Warm flour melts butter fast.
Too dry? Add one tablespoon of milk at a time until the texture softens.
Tastes flat? Add a pinch more salt or a drop of vanilla.
Too sweet? Next time, use darker cocoa or bittersweet chocolate chips.
Try These Fun Variations
For a peanut butter swirl, mix in 2 tablespoons of peanut butter right at the end.
Want something crunchy? Add crushed pretzels or roasted chopped pecans.
If you’re feeling bold, fold in marshmallows and graham crackers for a s’mores twist.
Or scale it down with half the amounts for a quick edible brownie batter recipe for one.
I also use it frozen in truffle form, scooped into small balls and chilled.
Try pairing it with Chocolate Cheesecake Brownie Bars for a mix of textures in a dessert platter.
Storing and Serving
This batter holds well in an airtight container in the fridge for up to 5 days. It gets firmer over time, so give it a few stirs or a tiny splash of milk before serving again.
For longer storage, freeze portions in a silicone mold or cookie scoop. Thaw in the fridge or eat straight from the freezer like a chocolate scoop.
Serve it in jars, bowls, or directly on ice cream. I sometimes spread it between cookies. Or use it as a surprise center for cupcakes.
Try a spoonful alongside Chocolate Peanut Butter Brownies to double up on flavor.
Save This Edible Brownie Batter
Save this recipe to your Easy No-Bake Desserts board and come back to it when a craving strikes.
If you try any variations, drop a comment below. I love hearing how others make it their own.
Edible Brownie Batter Recipe

This edible brownie batter recipe is rich, chocolatey, and safe to eat raw. Made without eggs and with heat-treated flour, it’s the ideal sweet treat when you’re craving brownie batter by the spoonful. Learn how to make edible brownie batter in minutes using simple pantry ingredients. Perfect for late-night snacking, dessert boards, or as a topping for ice cream. Try this easy edible brownie batter or scale it down for a quick edible brownie batter recipe for one.
Ingredients
- 1 cup all-purpose flour (heat-treated, see note)
- ½ cup unsalted butter (softened)
- ¾ cup brown sugar (packed)
- ¼ cup granulated sugar
- ½ cup unsweetened cocoa powder
- ¼ cup milk (dairy or non-dairy alternative)
- 1 teaspoon vanilla extract
- ½ teaspoon salt
- ½ cup chocolate chips (optional, mini or regular)
- Optional mix-ins: crushed Oreos, chopped nuts, marshmallows, peanut butter swirls
Instructions
- HEAT-TREAT THE FLOUR: Spread the flour evenly on a baking sheet and bake at 300°F (150°C) for 5 to 7 minutes to kill any harmful bacteria. Allow the flour to cool completely before using it in the recipe.
- CREAM THE BUTTER AND SUGARS: In a medium mixing bowl, use a hand mixer or stand mixer to beat the softened butter, brown sugar, and granulated sugar together on medium speed until the mixture is light and fluffy, about 2 to 3 minutes.
- ADD COCOA POWDER, MILK, AND VANILLA: Add the cocoa powder, milk, and vanilla extract to the butter-sugar mixture. Mix until smooth and fully combined, scraping down the sides of the bowl as needed.
- ADD FLOUR AND SALT: Gradually mix in the cooled, heat-treated flour and salt. Blend until the mixture is thick and fudgy with no dry streaks of flour remaining.
- FOLD IN CHOCOLATE CHIPS OR MIX-INS: Stir in chocolate chips or any optional mix-ins you like, such as marshmallows, chopped nuts, or crushed cookies.
- TASTE AND ENJOY: Serve immediately in bowls or eat straight from the mixing bowl with a spoon. Store any leftovers in an airtight container in the refrigerator for up to 5 days.
Notes
To ensure safety, do not skip the flour heat-treatment step. Flour must be cooked before consuming in no-bake recipes to prevent any risk of bacteria. Let it cool completely to avoid melting the butter during mixing.
Nutrition Information
Yield
6Serving Size
1Amount Per Serving Calories 655Total Fat 26gSaturated Fat 14gUnsaturated Fat 11gCholesterol 45mgSodium 201mgCarbohydrates 100gFiber 7gSugar 52gProtein 10g