Some desserts try to look elegant.
This one looks like it came from a flower bed.
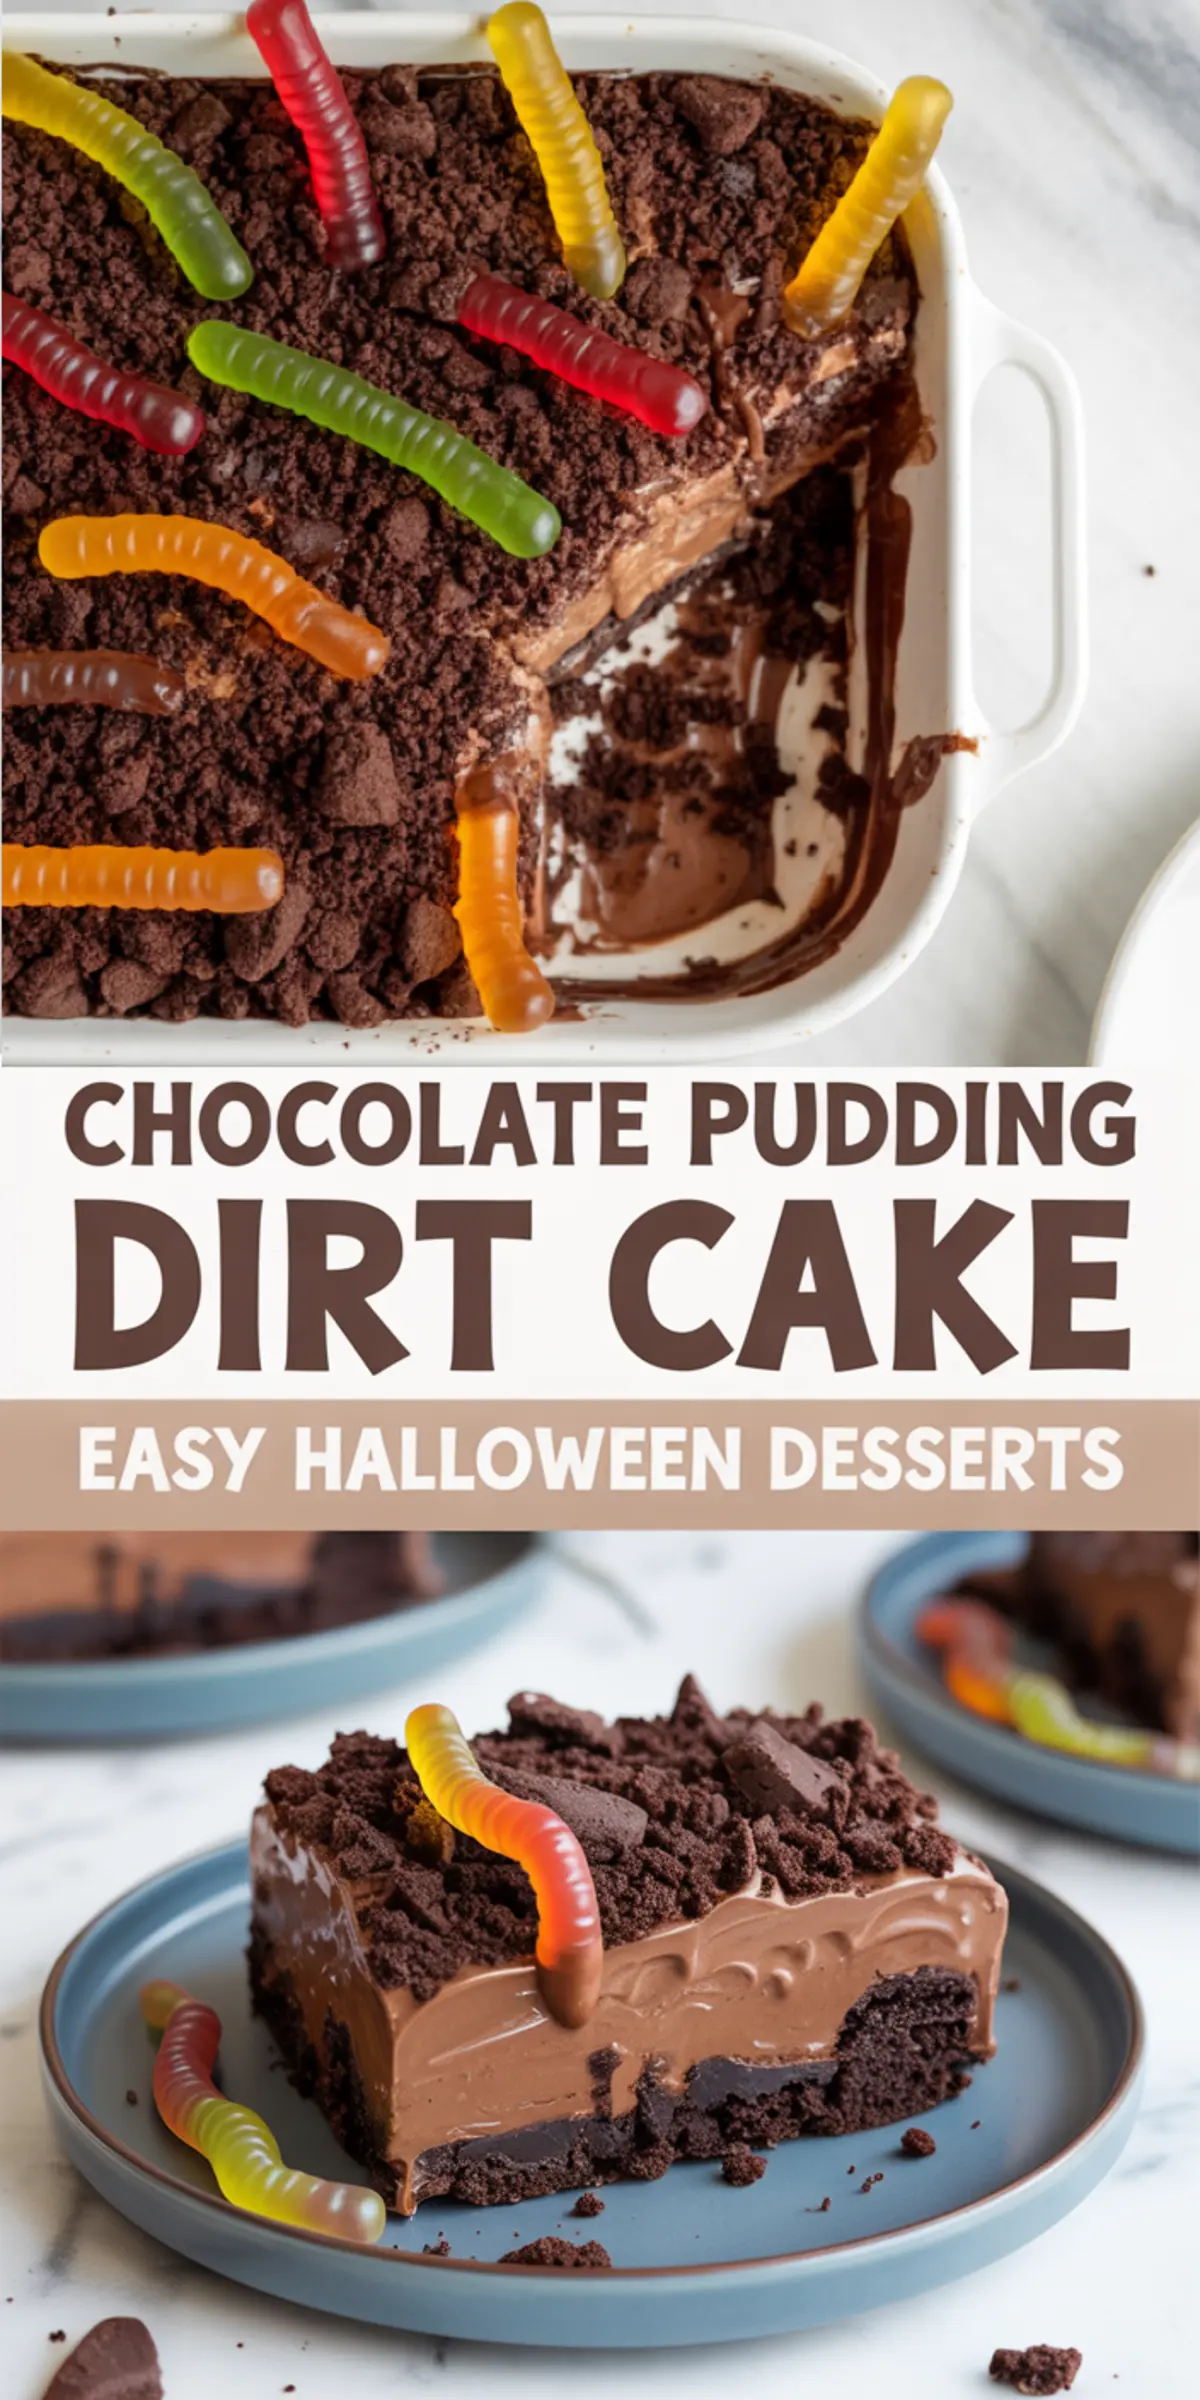
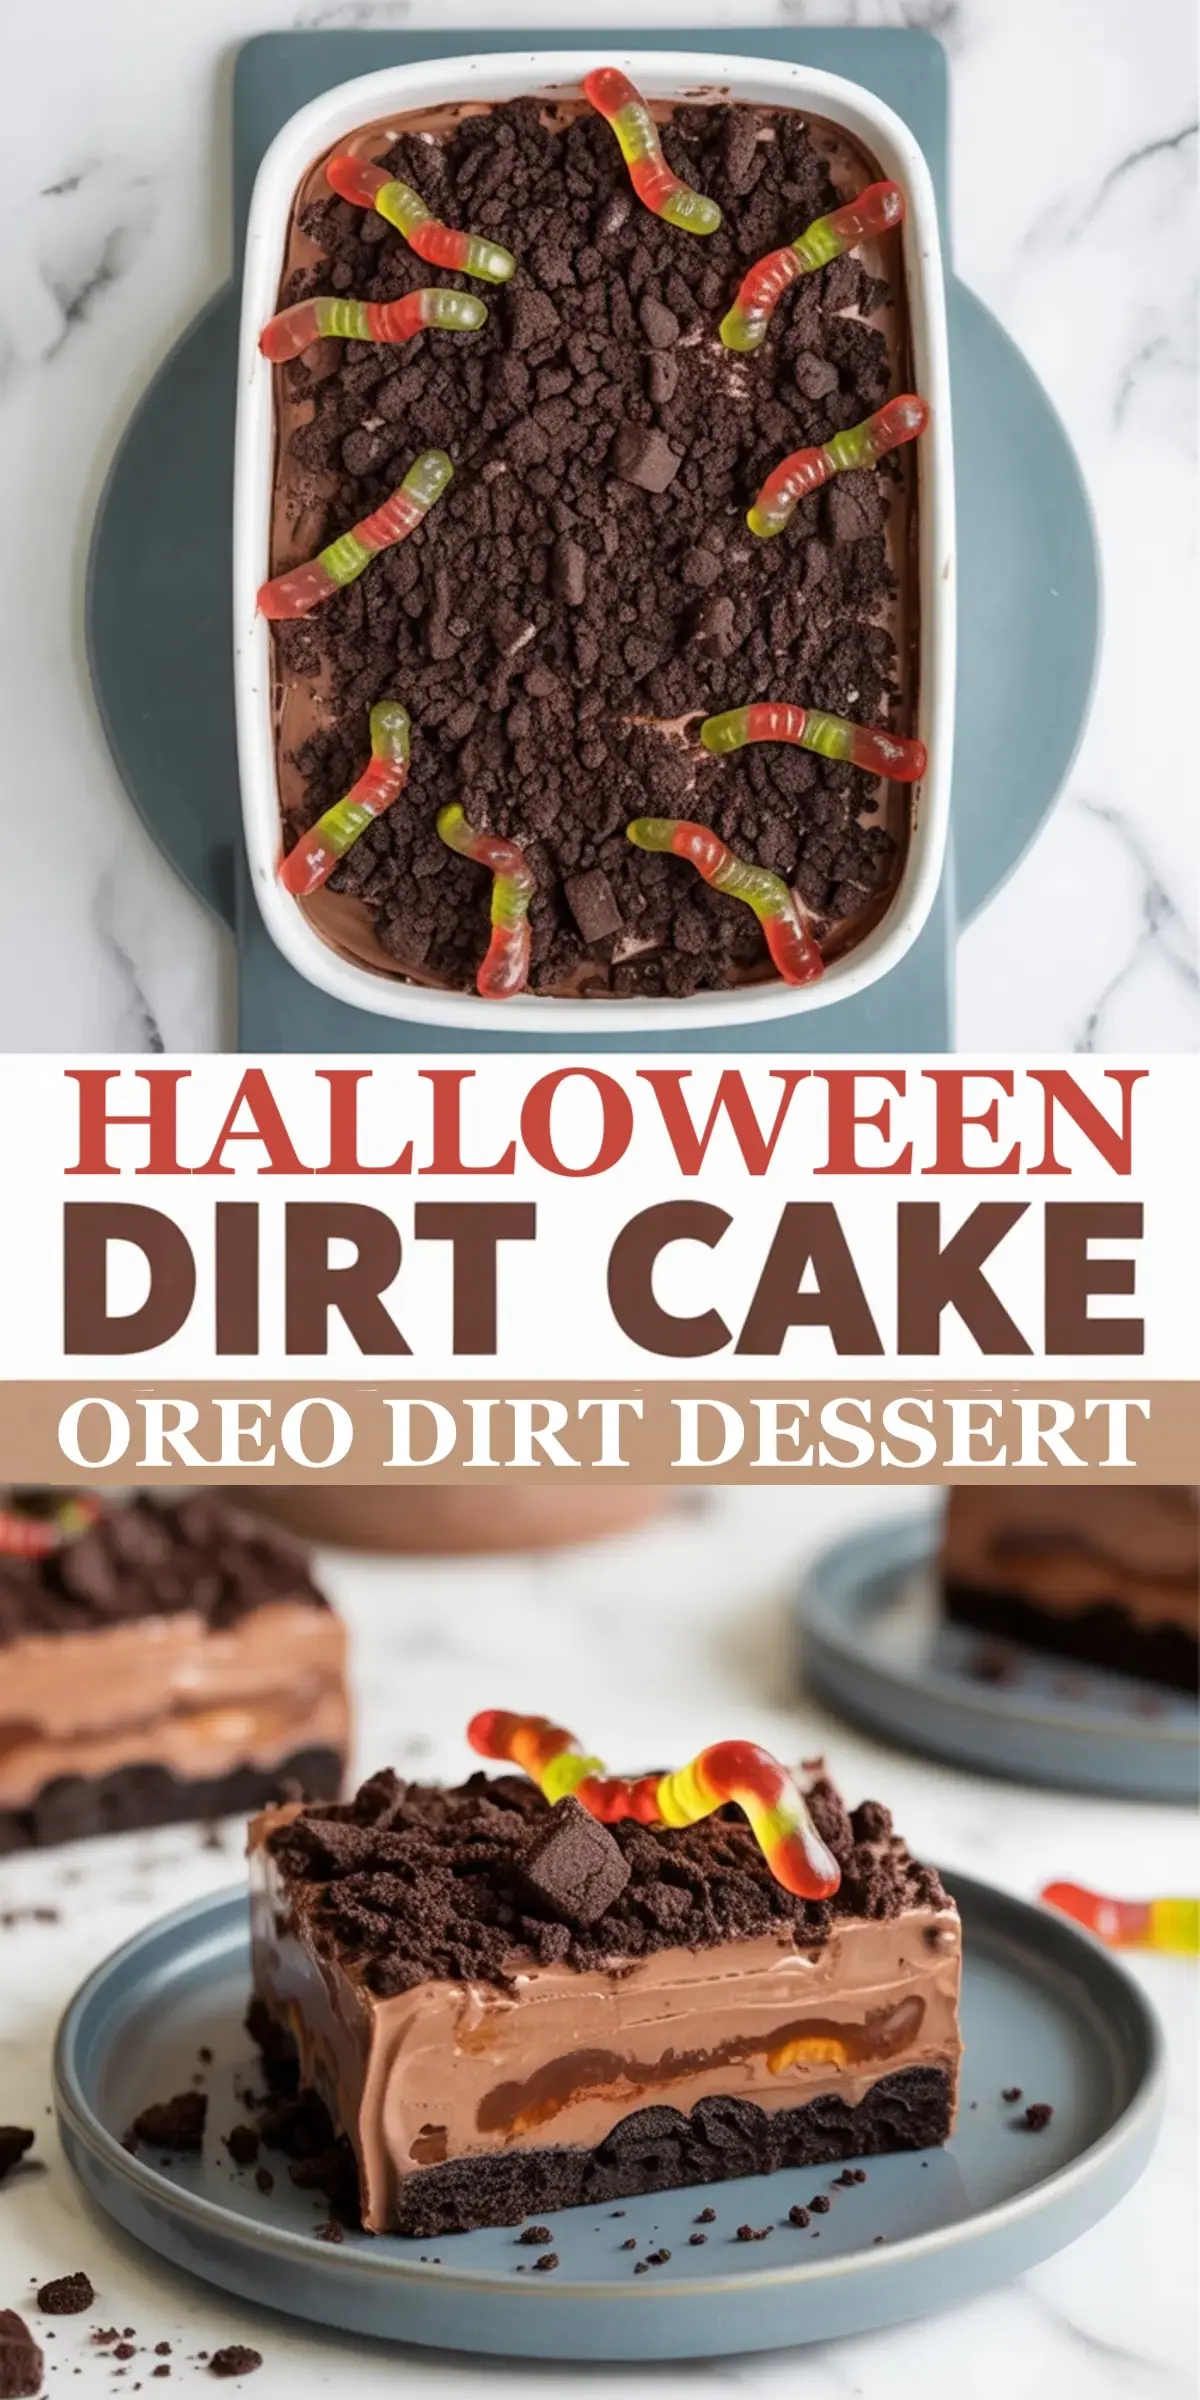
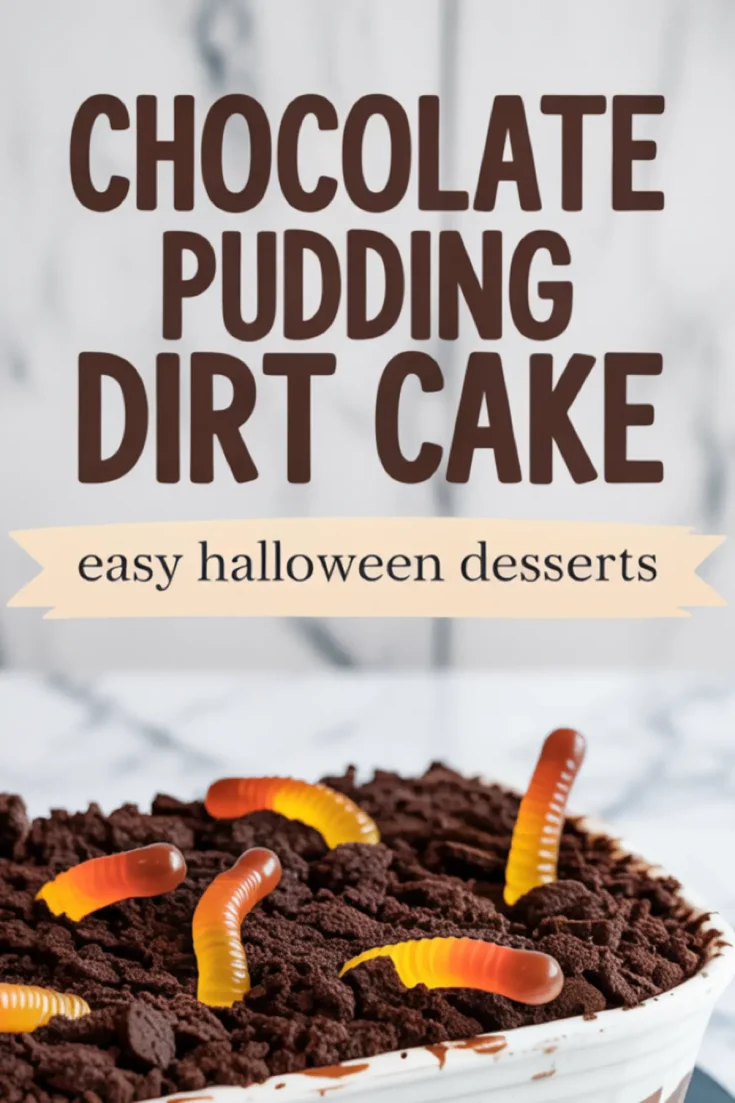
That’s what makes it work. It’s unexpected. It’s funny. And once people take a bite, they’re all in. This chocolate pudding dirt cake layers creamy chocolate pudding with a crushed Oreo base and a soft topping that mimics soil. It’s playful and a bit nostalgic, but it still holds up as a well-structured dessert.
You’ll learn how to get that signature dirt texture without it turning soggy, how to balance the pudding layer so it stays thick and spoonable, and how small add-ins can make a big difference depending on who you’re serving. I’ve worked with this recipe enough to know exactly where shortcuts ruin the texture and where you can actually get creative.
This version is built to hold. It’s clean to slice, easy to store, and fun to decorate with candy, sprinkles, or themed toppers.
Following a special diet?
Every recipe on this site can be converted to gluten-free, vegan, dairy-free, keto, nut-free or egg-free with adjusted ratios so nothing falls flat.
Try the Recipe Converter →How to Build a Stable Oreo Dirt Cake Base
The Oreo layer gives more than looks.
It’s the foundation. Literally.
Start by crushing a full package of Oreo cookies. Set aside one full cup of the crumbs. You’ll need those for the top layer later. The rest mixes with melted butter and becomes the crust. Once pressed into a pan, it creates structure and contrast. Skipping this step means you’re layering pudding over loose dust, and the texture won’t hold.
What makes this different from a dirt pudding recipe easy version is the stability. The base gives it weight. It anchors the softness of the pudding.
When I prepare this, I always double-check that the crust feels slightly firm to the touch before adding anything else. It doesn’t need to harden like a graham crust, but it should set enough to catch the pudding.
How to Make the Chocolate Pudding Creamy but Firm
Pudding can go two ways.
Too soft, and it slumps. Too stiff, and it eats like mousse.
This one sits right in the middle.
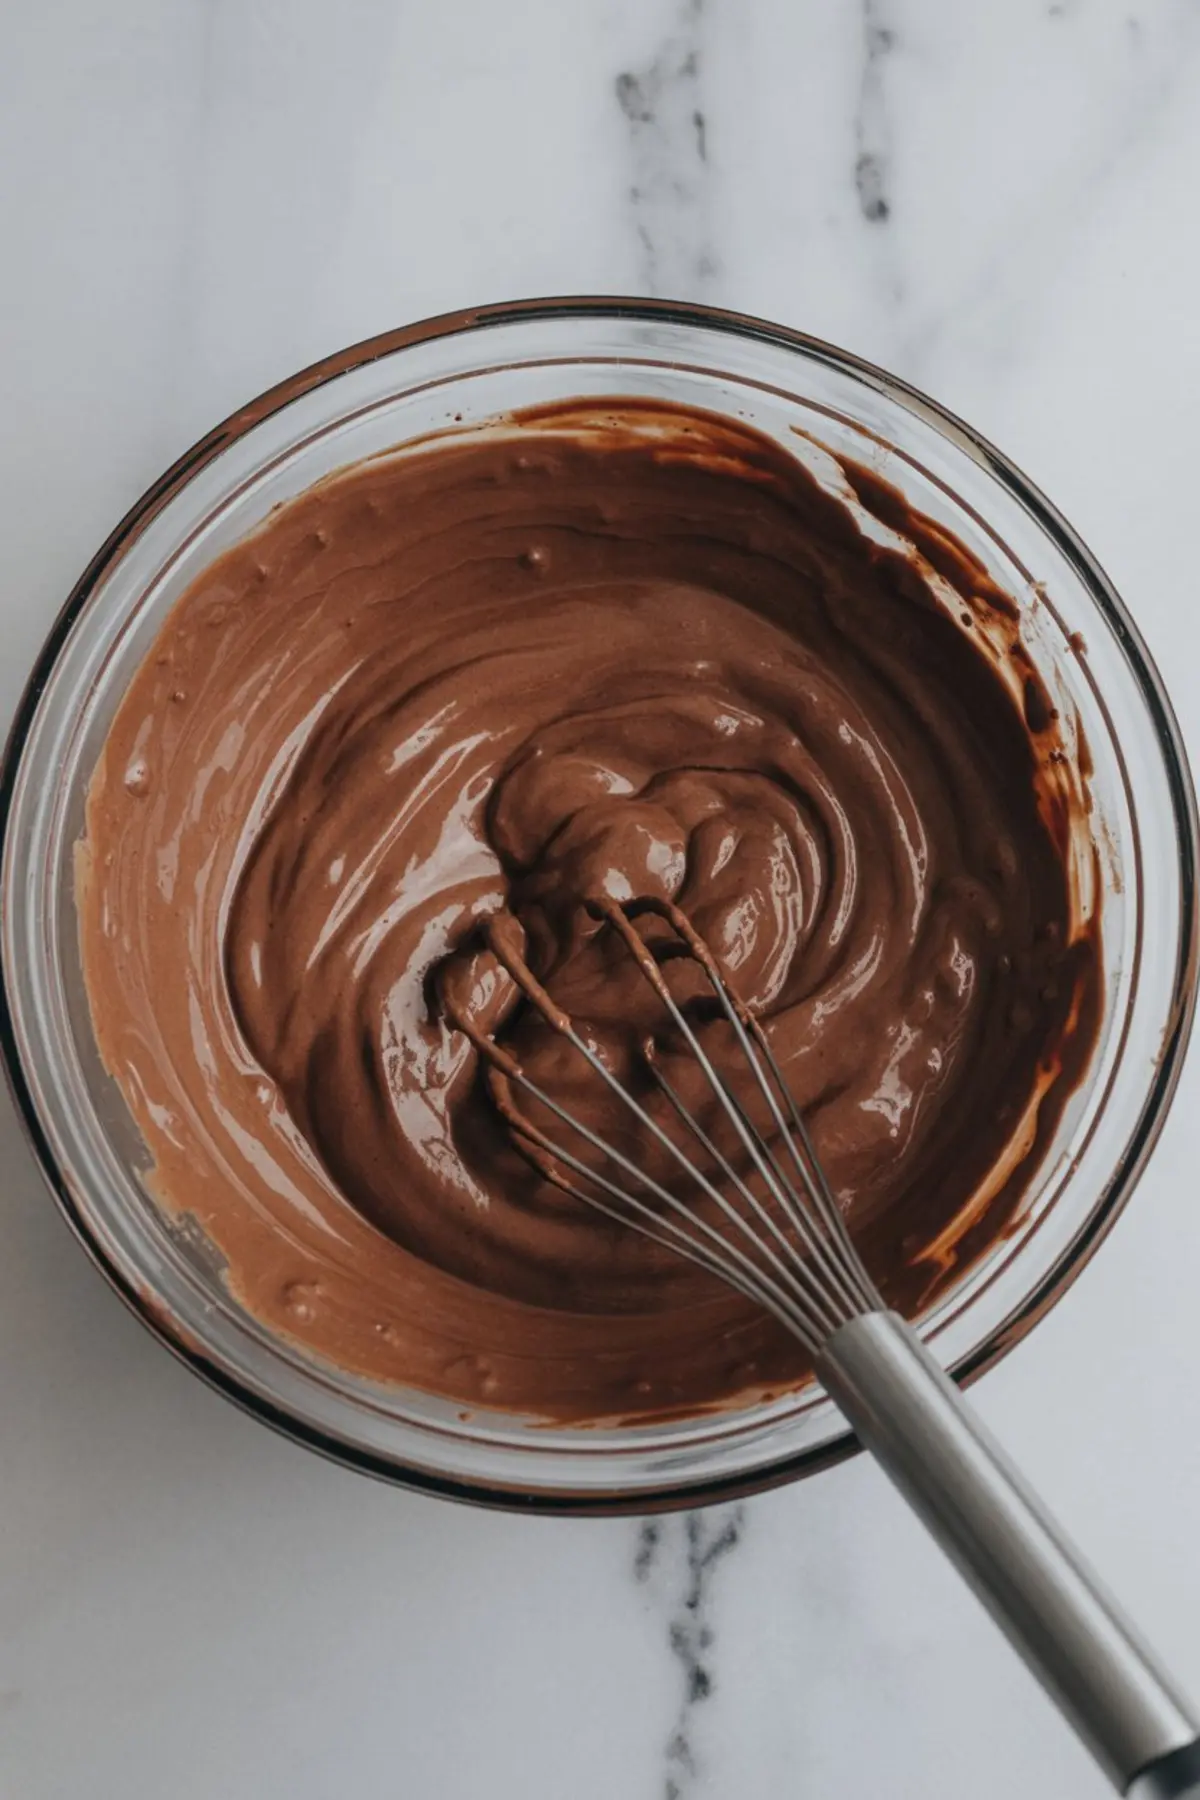
Start by mixing instant pudding with cold milk until it thickens. While that sets, whip heavy cream and powdered sugar to soft peaks. In a separate bowl, blend cream cheese and vanilla extract until smooth.
I fold the pudding into the cream cheese first, then fold in the whipped cream. This keeps the mixture airy without deflating. It’s the balance that gives the cake a mousse-like feel, without crossing into something overly dense.
Compared to a standard Oreo dirt cake recipe, this adds structure from the cream cheese and lightness from fresh whipped cream. It’s that contrast that makes it slice clean and taste smooth.
A Real-Life Comparison: Gummy Worms or Peanut Butter Cups?
This part depends on who you’re feeding.
I’ve tested both inside the middle layer. They work, but serve different goals.
Gummy worms stay chewy. They provide a surprise bite and help complete the look of a dirt cake with gummy worms. These are best for Halloween or parties with kids. The texture contrast feels intentional and fun.
Peanut butter cups melt slightly into the pudding. They add richness and make the dessert feel more indulgent. This version suits older crowds or those who prefer candy-bar style desserts.
I once served a tray split down the middle—worms on one side, cups on the other—and watched as people naturally gravitated to their match. It’s worth trying both.
Halloween Dirt Cake Decoration Tips
This dessert naturally lends itself to Halloween themes.
A few small changes turn it into a standout on the table.
Top with gummy worms, of course, but go beyond that. Add candy bones, candy pumpkins, or even upright chocolate cookie tombstones. One year, I added chocolate cake toppers to resemble tiny tree stumps, and they gave the whole thing a spooky woodland look.
You could pair it with these Halloween finger cookies for a creepy contrast in shapes and colors.
For something with more dimension, I’ve also topped it with Halloween cake pops placed vertically into the cake. They hold surprisingly well once the pudding is chilled.
These touches turn it from pudding into centerpiece. A little effort here creates a big effect.
How to Store and Serve It Without Losing Texture
This dessert needs time to chill.
I always let it rest in the fridge for at least four hours.
Overnight is better.
That gives the pudding time to settle and the crust time to firm up. If you’re transporting it, use a lid that doesn’t press down on the topping. Plastic wrap works, but don’t let it touch the “dirt.”
When serving at parties, I often use individual cups. The layers show through the sides and keep everything portioned. This worked especially well when I paired it with these carrot patch dirt cups for a spring version of the same concept.
Store leftovers in the fridge for up to three days. The topping may soften slightly, but the flavor holds strong.
Birthday Party Variation with Oreo Dirt Cake
This recipe makes a smart alternative to chocolate cake at birthdays.
Especially when decorated right.
Skip the worms and add edible number candles on top. For a dirt cake birthday, I like to press chocolate rocks or chopped candy bars into the surface. It keeps the fun theme but leans into that chocolate cake decoration feel.
I’ve served this alongside Halloween brownies at events where I wanted one dessert for kids and one for adults. The combo works. Both use similar base ingredients but offer different textures.
Add rainbow sprinkles or candy letters if you want it to read more like a celebration cake. It’s flexible, even if it doesn’t look traditional.
Add This to Your Holiday Dessert Table
Don’t underestimate how quickly this disappears.
Once sliced, it goes fast.
The taste is nostalgic.
People remember it from school lunches or childhood birthdays. But the presentation here makes it feel more elevated, without adding work.
Serve it next to themed cupcakes. I like using these Halloween cupcakes decorations to round out the table. The pairing is smart because you can prep both the night before and chill them until guests arrive.
For a quieter occasion, skip the extras and enjoy it plain. The pudding and Oreo balance still delivers.
Let Me Know How You Serve It
This is one of those recipes people change depending on what’s in the pantry.
And I love that.
So if you’ve made it with candy eyeballs or swapped in chopped cookies instead of worms, share your ideas in the comments. I read every one. And if you’re saving Halloween ideas or building a party board, pin this recipe now so you have it later.
Sometimes the best desserts look a little messy. That’s part of the charm.
Chocolate Pudding Dirt Cake
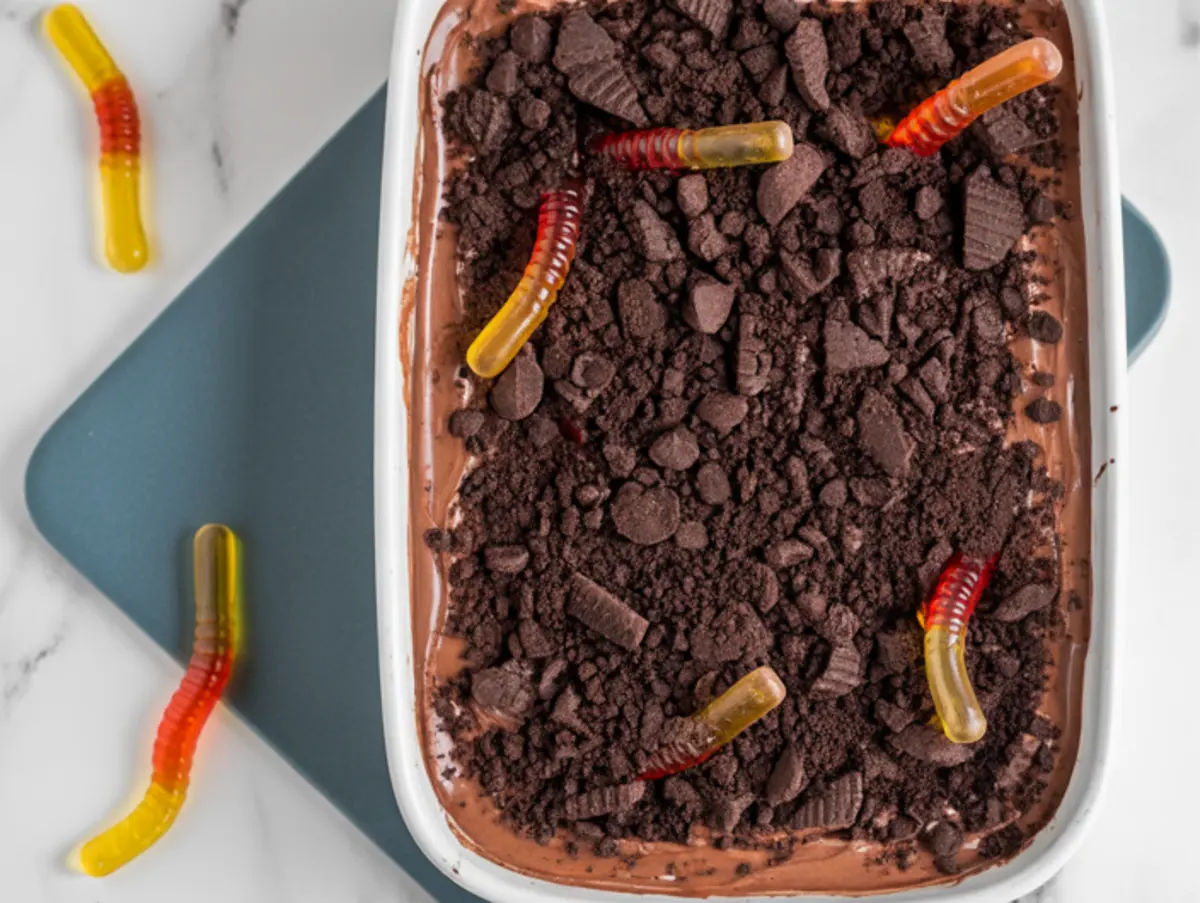
Chocolate Pudding Dirt Cake combines smooth, creamy chocolate pudding with layers of crushed Oreo cookies for a realistic “dirt” look, topped with playful gummy worms. It is a lighthearted dessert that works well for Halloween or as a fun treat for gatherings. The pudding layer is rich yet easy to prepare, and the crushed cookie topping gives the cake its signature soil-like texture.
Ingredients
- FOR THE BASE & TOPPING (THE “DIRT”):
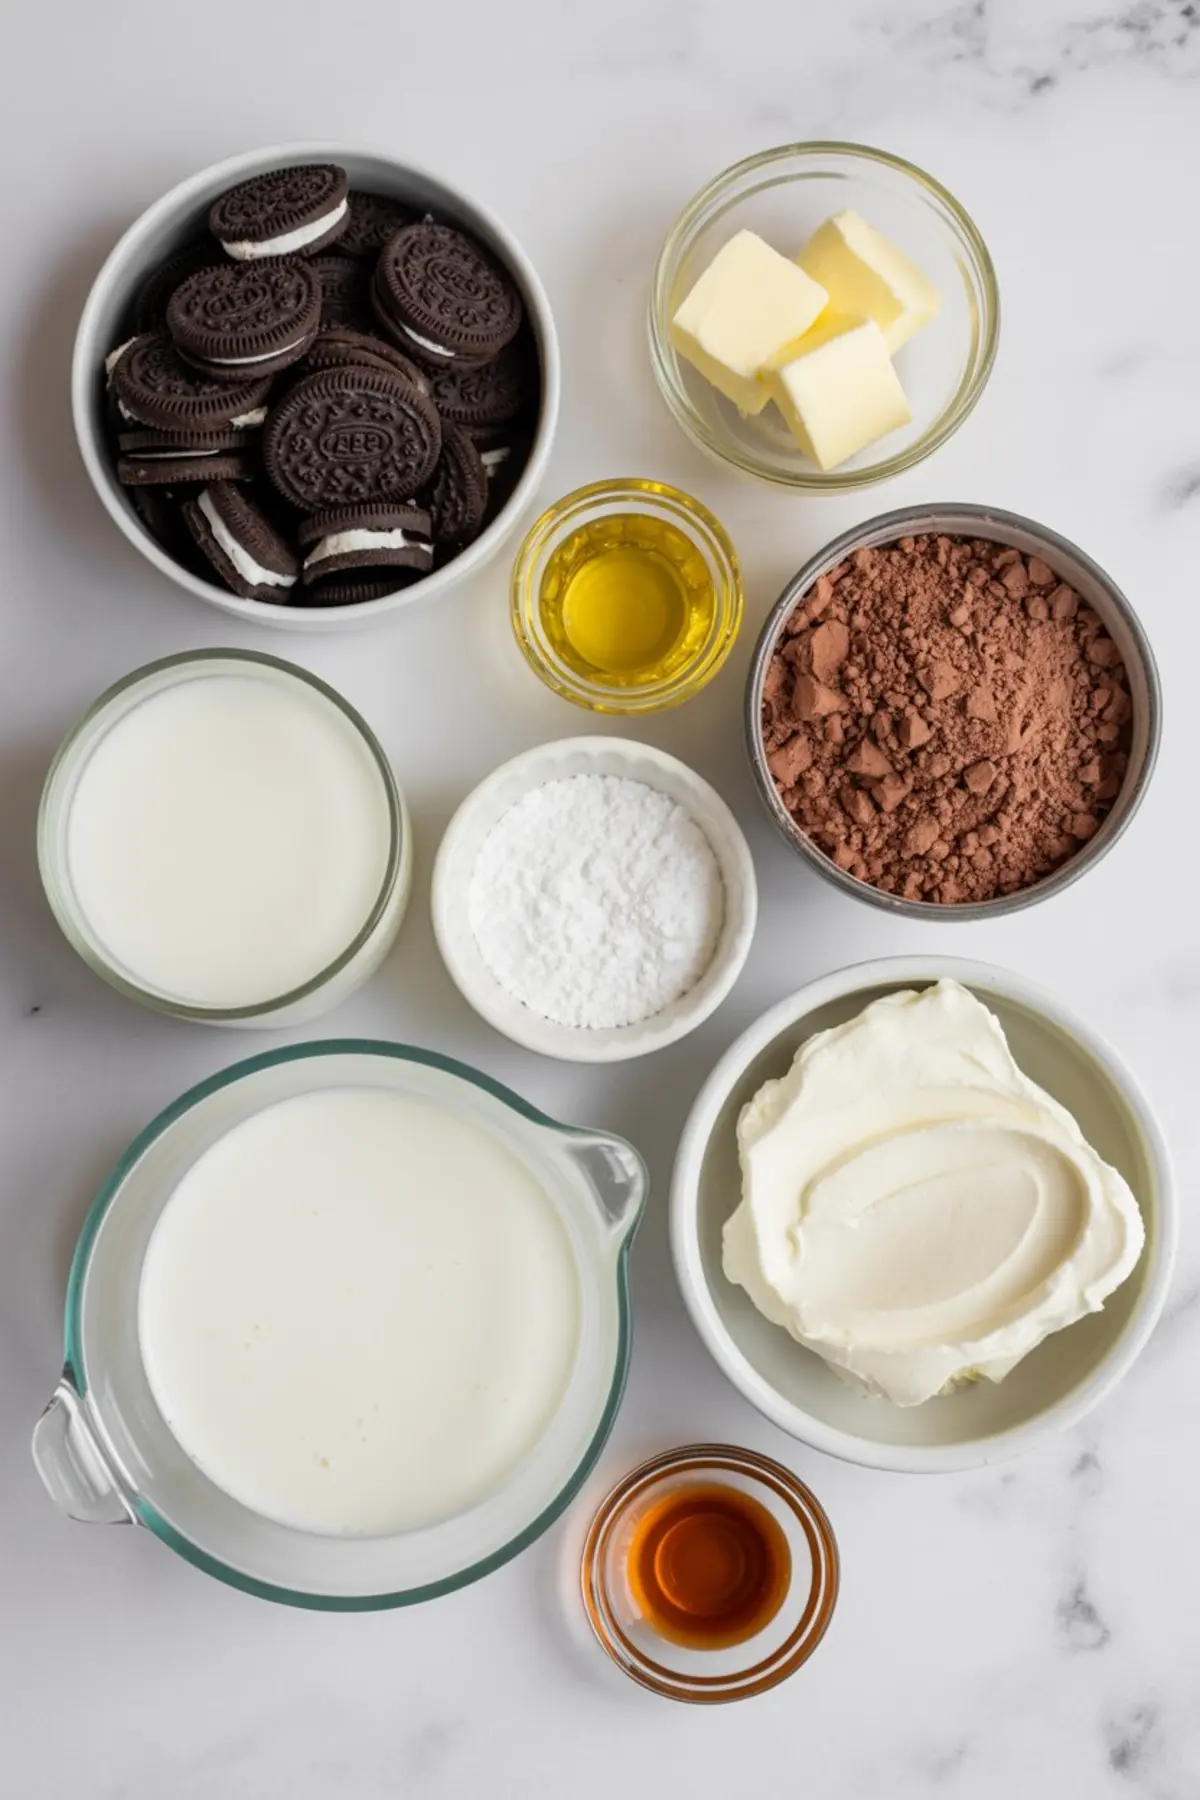
- 1 package (14.3 oz) Oreo cookies, finely crushed (reserve 1 cup for topping)
- 4 tablespoons unsalted butter, melted
- FOR THE CHOCOLATE PUDDING LAYER:
- 2 packages (3.9 oz each) instant chocolate pudding mix
- 4 cups cold milk
- 1 cup heavy cream
- ½ cup powdered sugar
- 8 oz cream cheese, softened
- 1 teaspoon vanilla extract
- OPTIONAL HIDDEN MIDDLE LAYER ADD-INS:
- 1 cup gummy worms
- OR 1 cup chopped peanut butter cups
- OR ½ cup caramel sauce drizzle
- FOR DECORATION:
- Gummy worms for the top
Instructions
PREPARE THE “DIRT” BASE: Crush the Oreo cookies until fine, reserving 1 cup of crumbs for the topping. Mix the remaining crumbs with melted butter until fully combined. Press this mixture evenly into the bottom of a 9×13-inch baking dish and set aside.
MAKE THE PUDDING LAYER: In a large bowl, whisk the pudding mix with cold milk until thickened, about 2 minutes. In a separate bowl, whip the heavy cream with powdered sugar until soft peaks form. Beat the cream cheese and vanilla extract together until smooth. Fold the cream cheese mixture into the pudding, then gently fold in the whipped cream until fully combined.
ASSEMBLE THE LAYERS: Spread half of the pudding mixture evenly over the Oreo crust. If using, add a layer of gummy worms, chopped candy, or caramel drizzle over the pudding. Spread the remaining pudding mixture on top.
TOP WITH THE “DIRT”: Sprinkle the reserved Oreo crumbs evenly over the pudding layer. Press gummy worms halfway into the top so they appear to be crawling out.
CHILL AND SERVE: Cover with plastic wrap and refrigerate for at least 4 hours, or overnight for the best texture. Slice into squares and serve cold.
Notes
For individual servings, assemble the dessert in clear cups, layering the crust, pudding, and topping in each. This can make serving easier for parties and give each guest their own “mini garden” of dirt and worms.