
I have always found joy in warm, homemade donuts. A gentle aroma fills my kitchen, and my spirits lift every time I see that dough puff up. Friends tell me these fluffy bites taste like childhood memories, and I agree with them. That tender crumb and the sweet chocolate glaze bring out a comforting vibe you can recreate in your own home today. This is a simple yet satisfying guide that helps you master these sweet rounds with a gentle touch.
Following a special diet?
Every recipe on this site can be converted to gluten-free, vegan, dairy-free, keto, nut-free or egg-free with adjusted ratios so nothing falls flat.
Try the Recipe Converter →Essential Ingredients for Fluffy Donuts
I rely on basic items from my pantry to shape these beauties into light rings. Flour, baking powder, and baking soda combine to form a firm foundation. Sugar, eggs, and milk contribute sweetness and moisture. A little plain Greek yogurt adds a soft tang that boosts flavor. Melted butter then brings richness. A touch of vanilla extract pairs perfectly with the chocolate glaze later, so don’t leave it out. You likely have all these items on hand, which makes this recipe feel extra friendly.
Crafting the Donut Dough
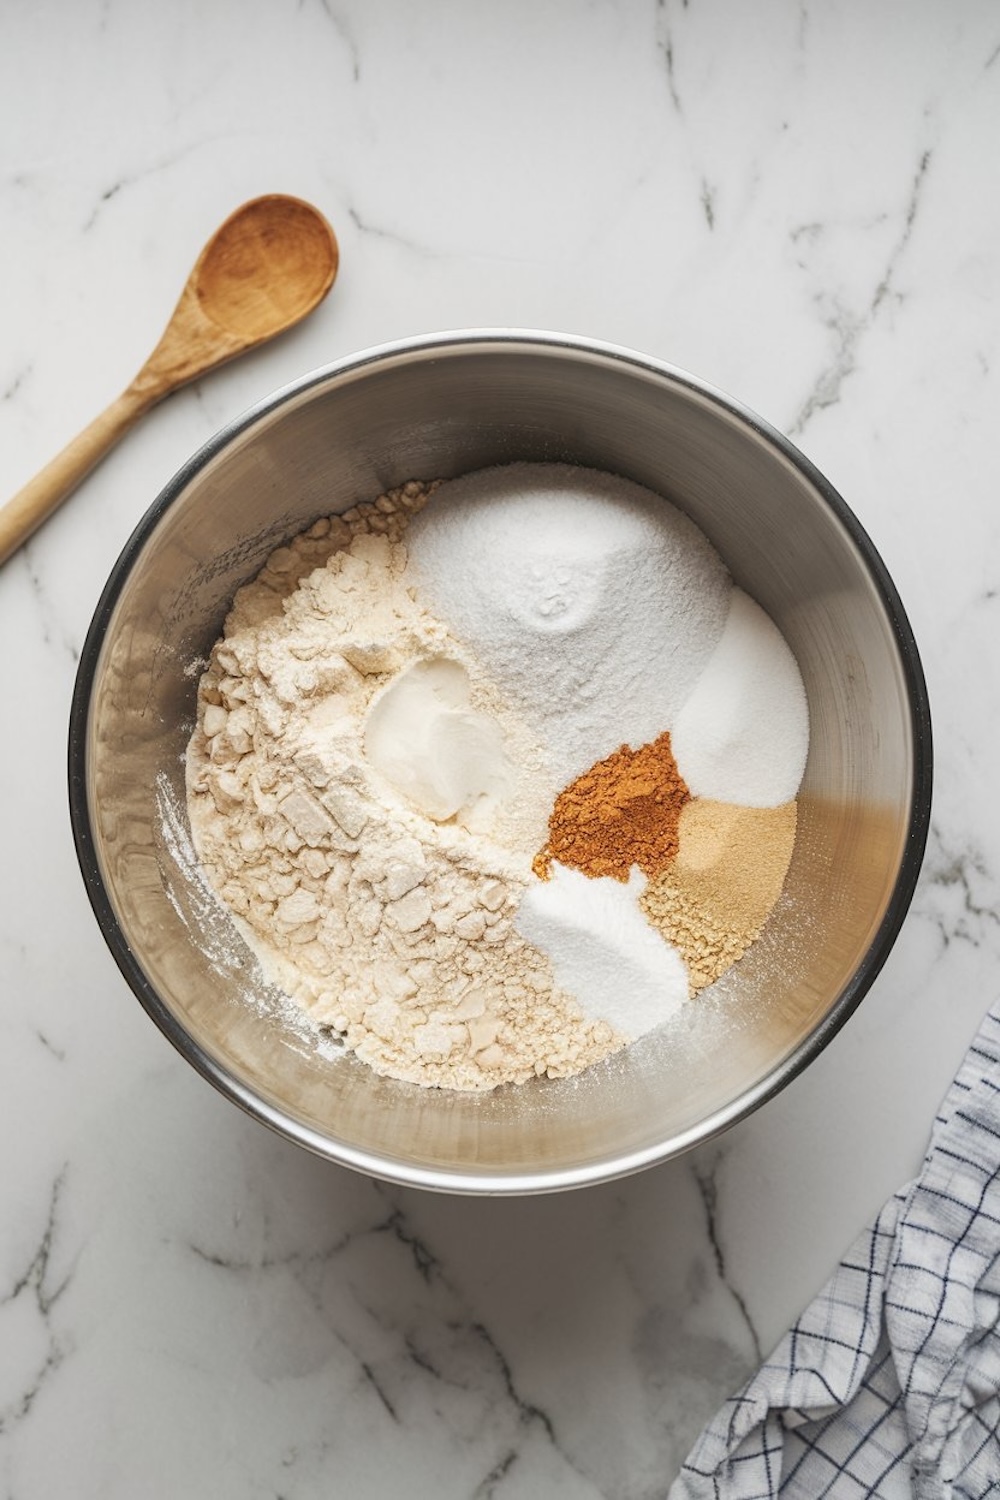
I start by sifting flour, baking powder, and baking soda with salt and sugar. I whisk eggs, milk, yogurt, vanilla, and melted butter in a separate bowl. I pour the wet blend into the dry bowl in small amounts, then stir gently. My best tip is to avoid heavy-handed mixing. The dough should look slightly sticky, so I dust my hands with a small bit of flour if it feels too clingy. This approach keeps the final donuts soft and springy.
Shaping and Frying the Donuts
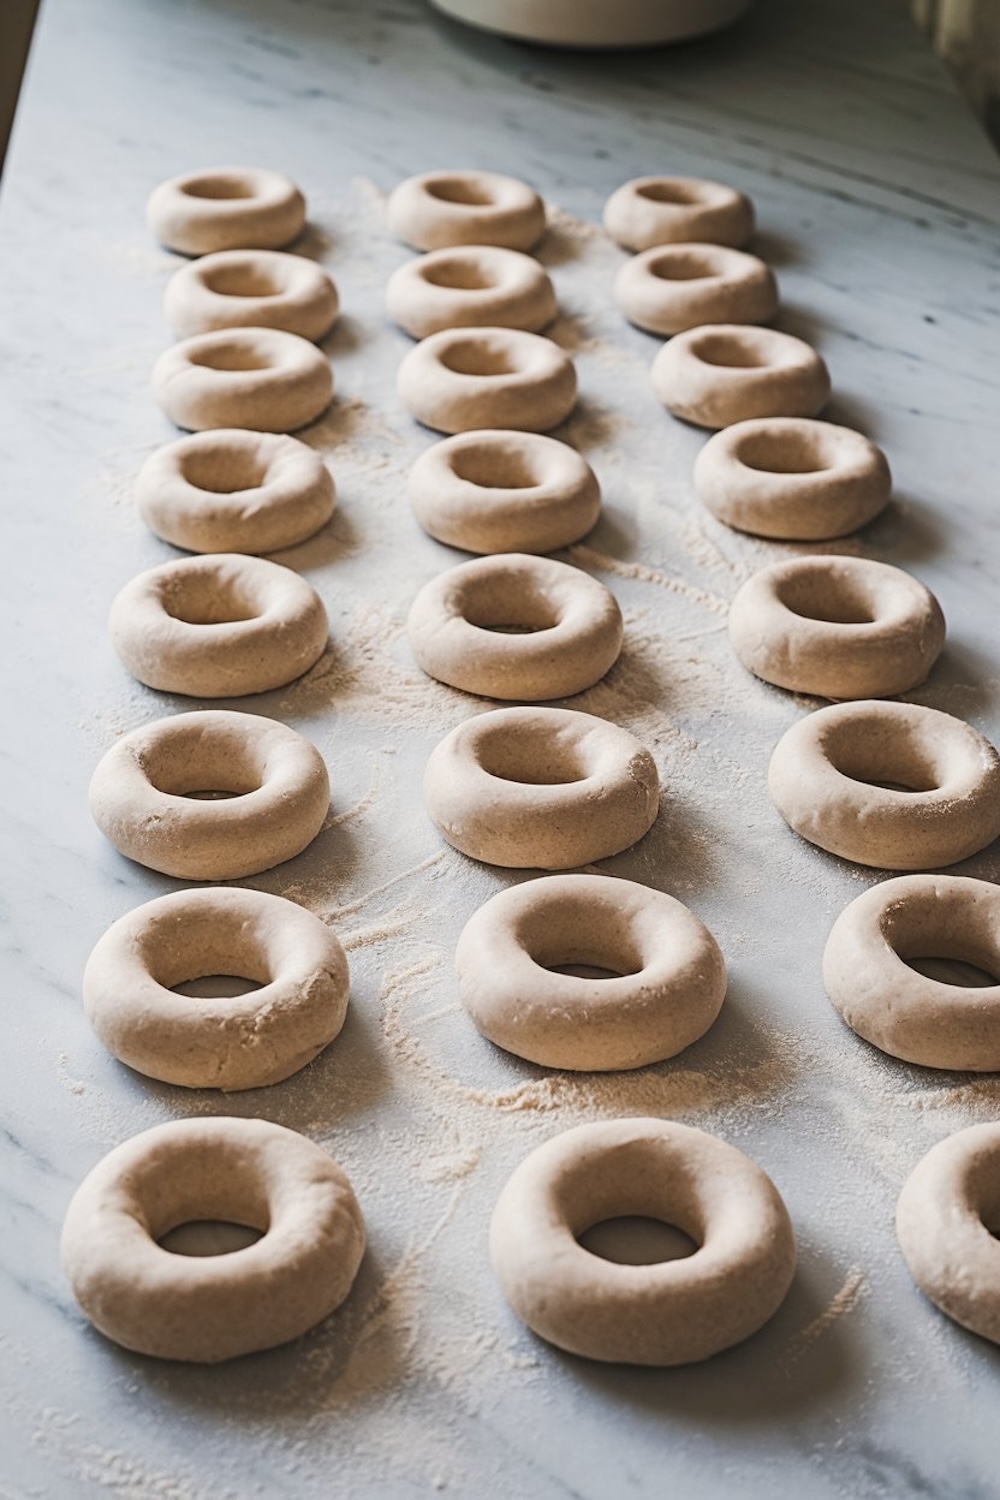
I rest the dough on a floured counter and knead it briefly, which gives it structure without making the donuts chewy. I roll it out, then cut out circles. A bottle cap works for the holes if you don’t own a donut cutter. I remember my first attempt ended up with lopsided donuts, but they tasted great anyway. I heat vegetable oil to around 350°F and fry them in small batches. A golden tone and a light lift indicate they’re done. Flipping them too soon can risk uneven color, so I watch for that warm, toasty hue.
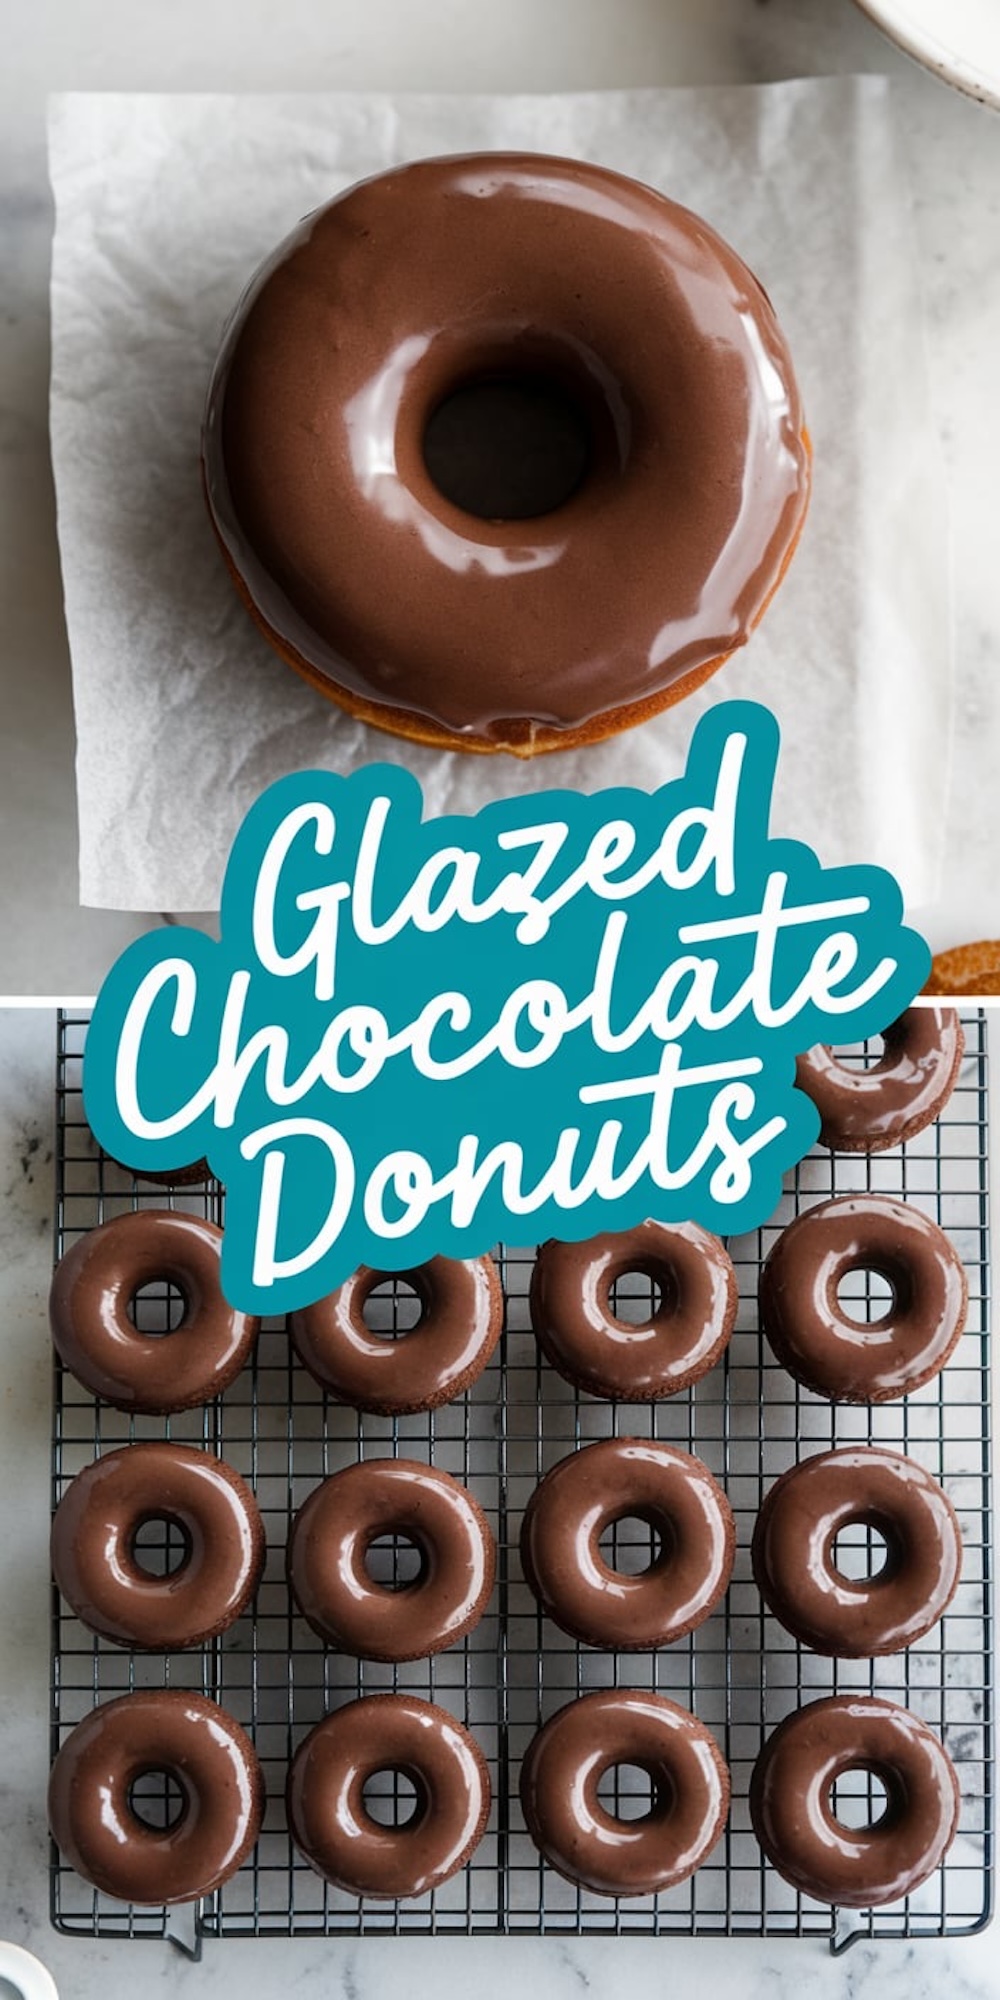
A Smooth Chocolate Glaze
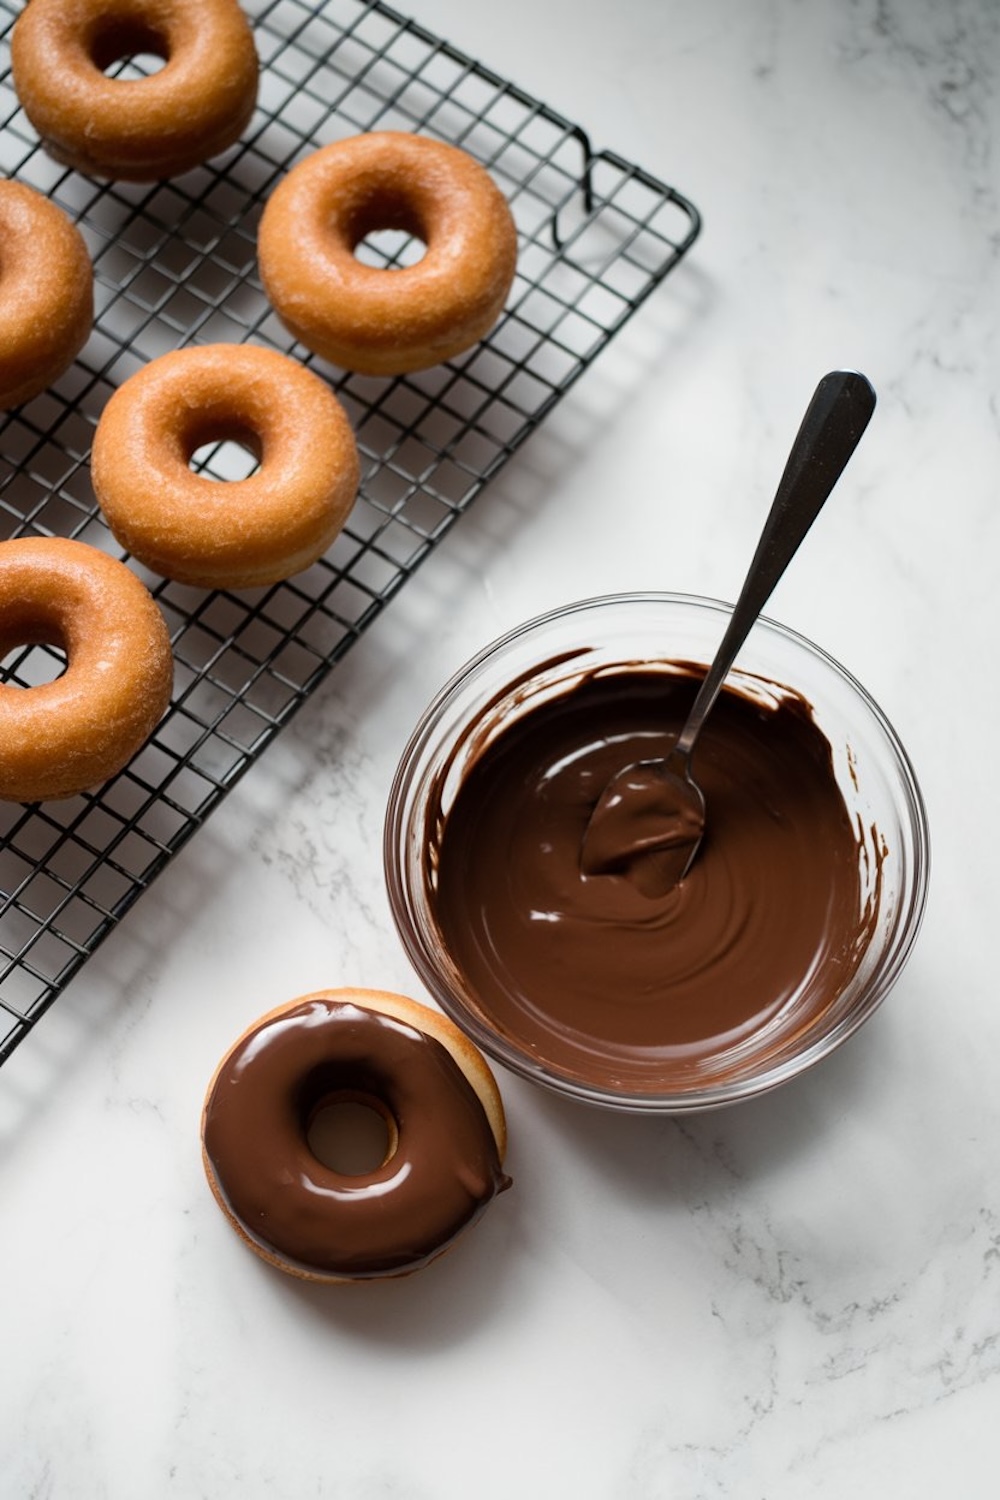
I sift powdered sugar and cocoa powder, stirring them with milk and a hint of vanilla. This step takes only a few moments, but it creates a rich coating that highlights the donut’s sweetness. I sometimes add a little espresso powder for a deeper taste, which thrills every coffee lover in my family. My goal is to keep the glaze thick yet pourable, so I adjust with a splash of milk if it looks stiff.
Balancing Sweetness and Texture
I aim for a coating that sets but doesn’t overwhelm the donut. This is where each ingredient matters. The powdered sugar and cocoa need to be smooth. A perfect swirl of glaze on the top transforms a simple ring of dough into a feast for the senses. Every bite has that soft crumb paired with a delicate, chocolate finish. I enjoy a second donut as soon as the glaze sets, which only takes a few minutes on a cooling rack.
My Personal Fondness for Chocolate
I learned to make donuts with my grandmother, who believed in full flavors and hearty textures. She liked drizzling her donuts in a sweet syrup, but I soon craved a chocolate boost instead. Chocolate has a magnetic pull in my home, and I can’t resist that silky sheen on top of each donut. There is a comforting feeling that comes from homemade chocolate desserts, and I love sharing them with friends who drop by on weekends.
Exploring More Chocolate Desserts
I keep a running list of sweet ideas that remind me how chocolate cheers up any day. I feature chocolate fondue on my table whenever I want a fun, dip-friendly dessert. I also serve chocolate churros on special occasions since they include that crisp texture with a sweet coating. My mind drifts to chocolate éclairs with their velvety filling when I host family gatherings. All these treats blend well with coffee or tea, which helps me create a chocolate-lover’s dream platter.
Avoiding Common Donut Pitfalls
I have burned a donut or two by letting the oil go beyond 350°F, which led to a charred outside and raw center. A thermometer prevents those mishaps. The dough can also feel rubbery if I overmix it. Patience is key, and a gentle kneading method works wonders. Storing extras in an airtight container helps them stay fresh, though I rarely have leftovers for more than a day.
Serving and Enjoying Fresh Donuts
I let the donuts sit for a moment after glazing, which gives them a slight shine as the frosting settles. A quick microwave spin refreshes any leftovers. Many people top these donuts with sprinkles, chopped nuts, or a dusting of shredded coconut. I know kids enjoy colorful toppings, and it sparks a feeling of fun around the table. Some folks prefer them plain, and that classic approach tastes wonderful.
Bring a Little Fun to Your Kitchen
I invite you to share these donuts with loved ones or treat yourself on a quiet afternoon. My own delight comes from the process itself, the slight mess of flour on the counter, and the sweet scent that lingers in the house. This recipe doesn’t ask for a professional chef’s expertise. It only requires a willingness to learn and a fondness for good food. I hope you indulge in the same sense of happiness I feel every time I see that chocolate-topped circle.
Pin This Recipe and Share Your Experience
I encourage you to save this recipe on your Pinterest board. Many home bakers enjoy a place to collect sweet ideas, and I love browsing their boards too. Share in the comments how your donuts turned out. Let me know if you have any tips or questions. We can learn from each other and keep this shared kitchen spirit alive.
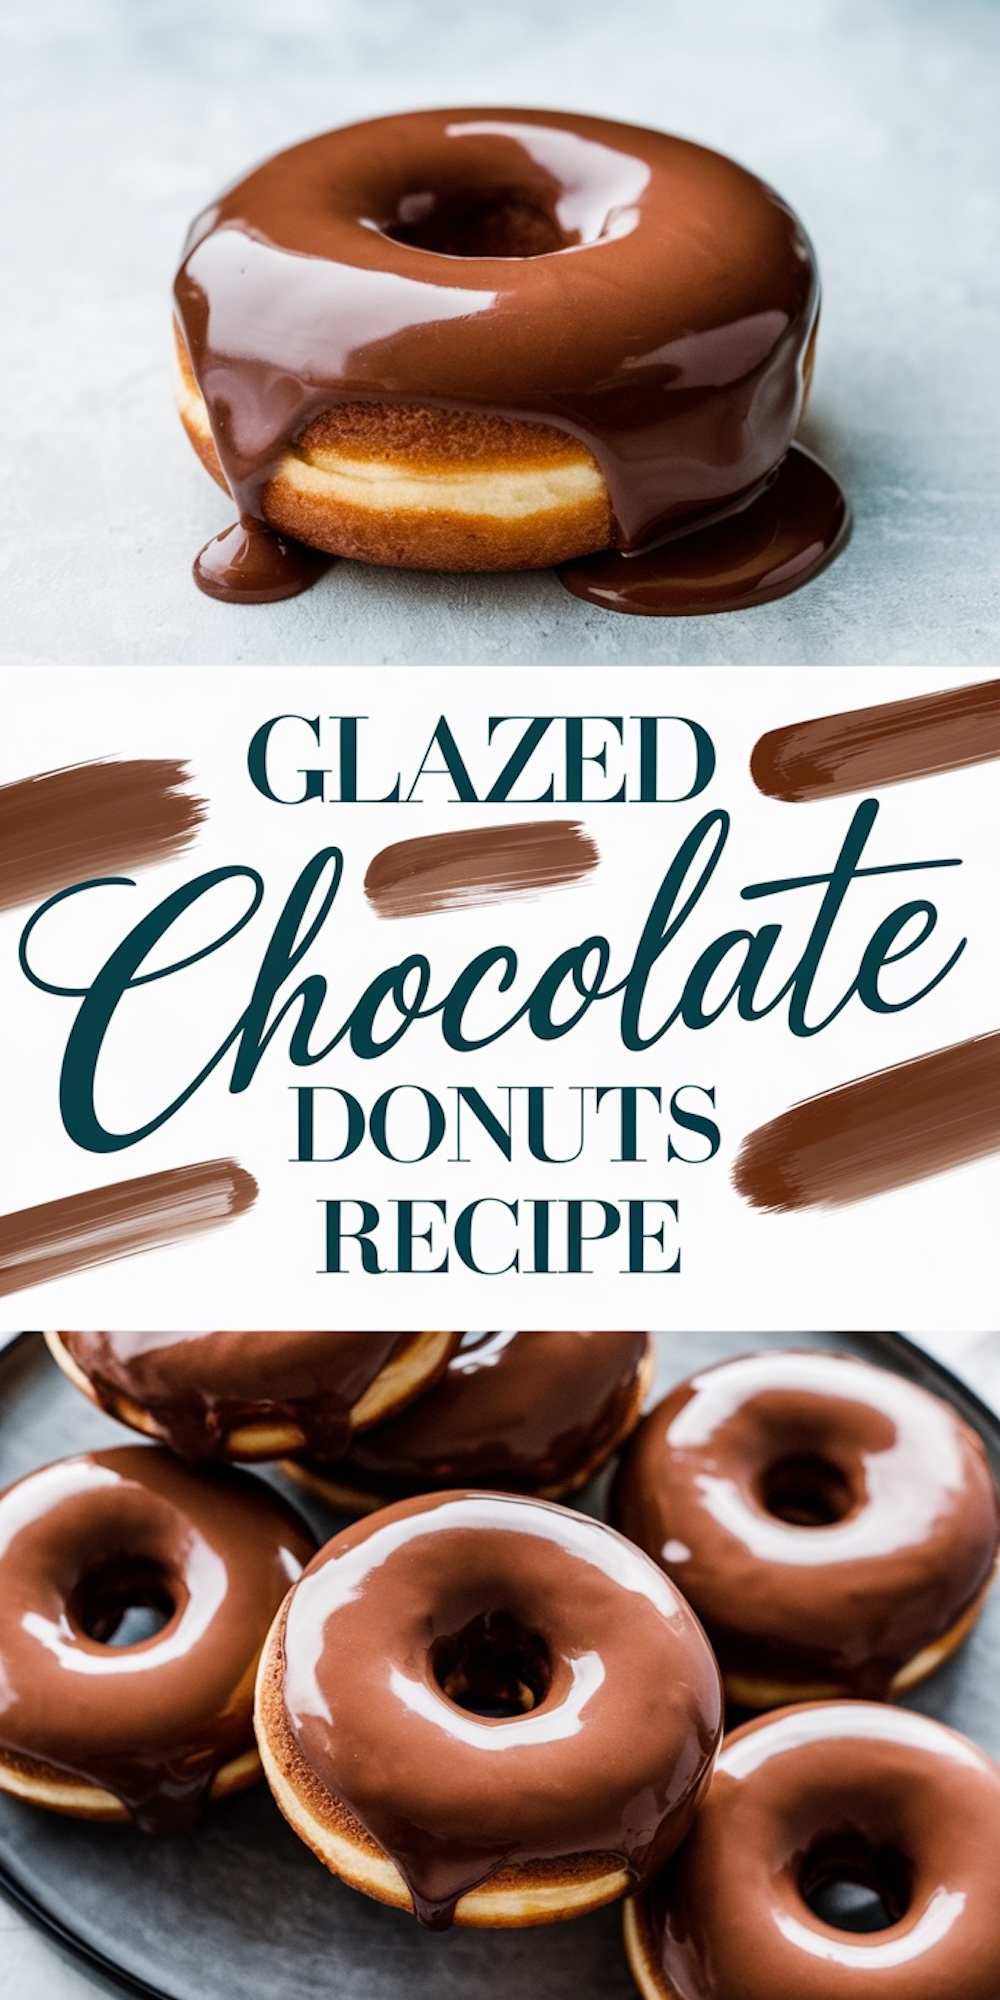
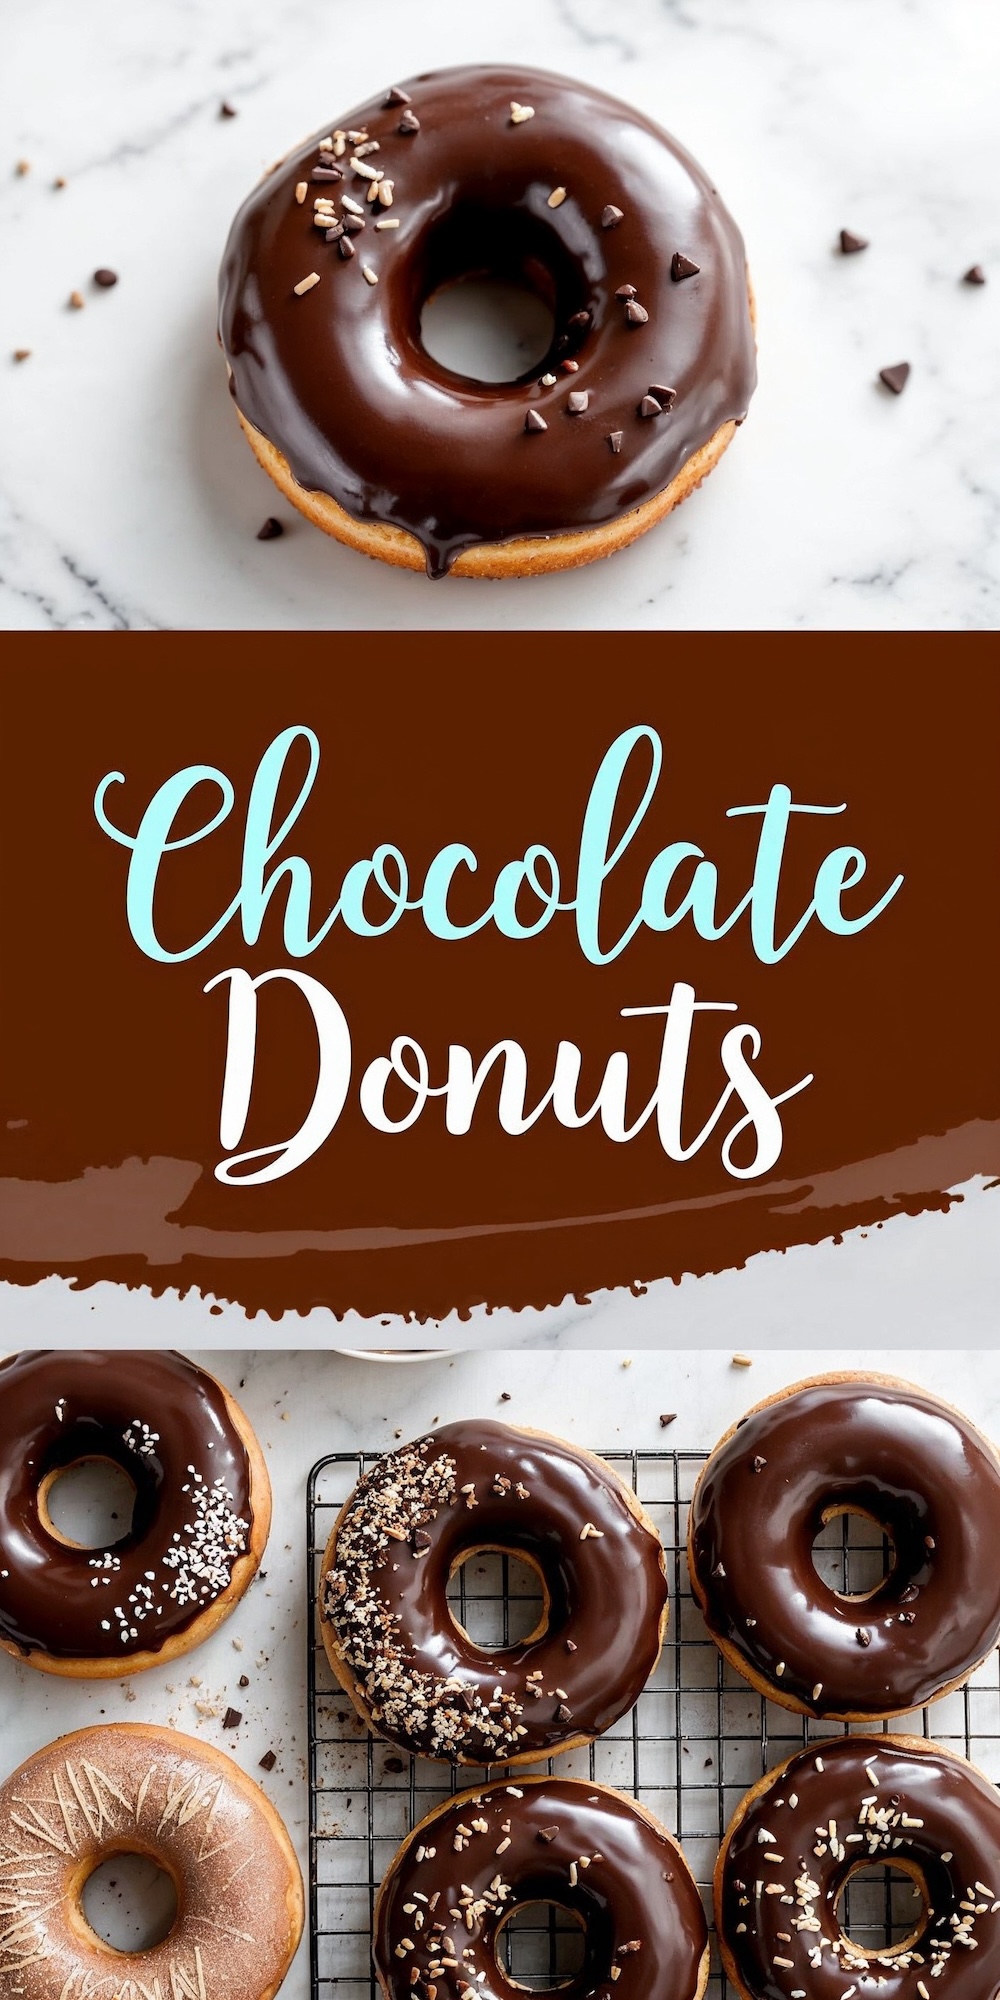
Homemade Glazed Chocolate Donuts Recipe
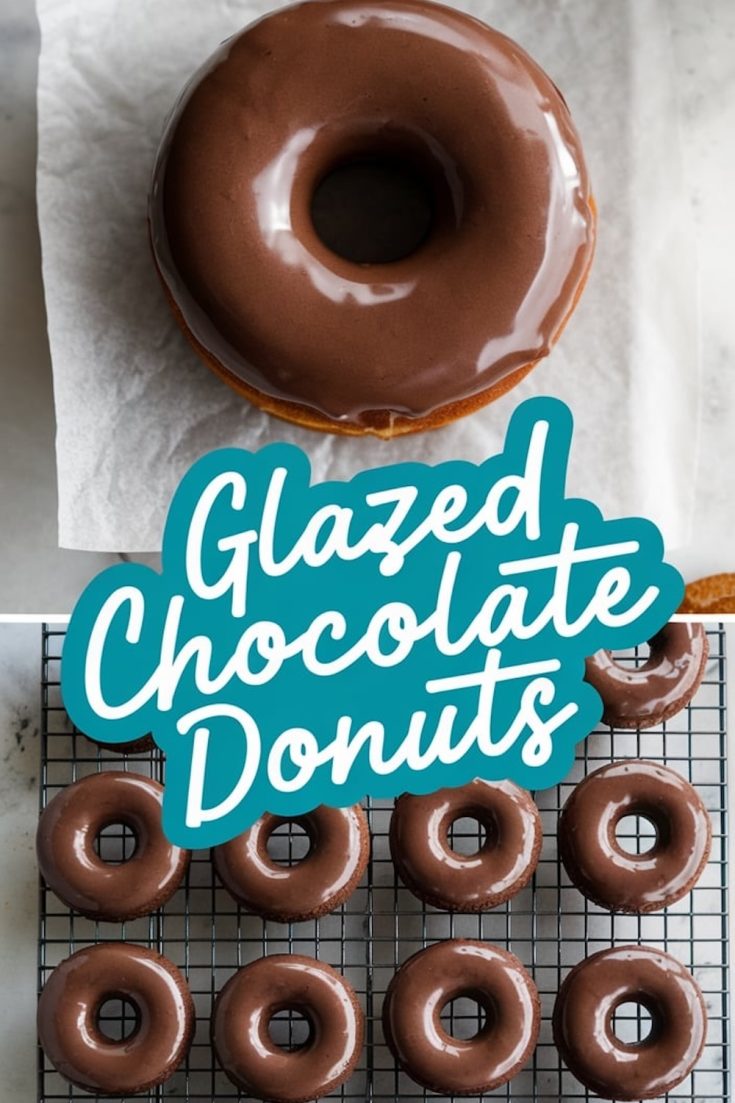
A classic recipe for light and fluffy donuts topped with a smooth chocolate glaze. These homemade treats are prepared with simple ingredients and fried to perfection.
Ingredients
- FOR THE DONUTS:
- 2 cups all-purpose flour
- 2 tsp baking powder
- 1/2 tsp baking soda
- 1/4 tsp salt
- 3/4 cup granulated sugar
- 2 large eggs
- 1/2 cup whole milk
- 1/4 cup plain Greek yogurt
- 1 tsp vanilla extract
- 1/4 cup unsalted butter, melted and cooled
- FOR THE CHOCOLATE GLAZE:
- 1 cup powdered sugar
- 1/4 cup cocoa powder
- 3–4 tbsp whole milk (adjust for consistency)
- 1 tsp vanilla extract
Instructions
- PREPARE THE DOUGH: In a large mixing bowl, whisk together the flour, baking powder, baking soda, salt, and sugar. In a separate bowl, whisk the eggs, milk, yogurt, vanilla extract, and melted butter until well combined. Gradually add the wet ingredients to the dry ingredients, mixing with a spatula until a soft, slightly sticky dough forms. Avoid overmixing.
- SHAPE THE DONUTS: Lightly flour your work surface and transfer the dough onto it. Gently knead the dough for 1–2 minutes until smooth. Roll the dough out to about 1/2-inch thickness. Use a round cutter (or the rim of a glass) to cut out donut shapes. For the center holes, use a smaller cutter, such as a bottle cap. If you don’t have cutters, pinch off small portions of dough, roll them into balls, and press your thumb through the center to create the donut shape.
- FRY THE DONUTS: Heat about 2 inches of vegetable oil in a heavy-bottomed pot or deep skillet to 350°F. Use a thermometer to maintain the temperature. Fry the donuts in small batches, about 2–3 at a time, for 1–2 minutes per side or until golden brown and puffed. Use a slotted spoon to transfer the donuts to a wire rack lined with paper towels to drain. Fry the donut holes as well.
- MAKE THE CHOCOLATE GLAZE: In a bowl, sift together the powdered sugar and cocoa powder to remove any lumps. Add the milk and vanilla extract, stirring until smooth. Adjust the consistency by adding more milk if needed; the glaze should be thick but pourable.
- GLAZE THE DONUTS: Once the donuts have cooled slightly, dip the top of each donut into the chocolate glaze. Let the excess glaze drip off, then place the donuts back on the wire rack. Allow the glaze to set before serving.
Notes
Oil Temperature: Maintaining the oil temperature at 350°F is crucial. Use a thermometer to prevent the donuts from being undercooked or overly greasy.
Dough Consistency: If the dough feels too sticky, lightly dust it with flour while kneading. Avoid adding too much flour, as it can make the donuts dense.
Cutter Substitutions: If you don’t have round cutters, use a sturdy glass rim for the donuts and a small bottle cap for the centers. Be creative with what you have on hand!
Storing Donuts: Store leftover donuts in an airtight container at room temperature for up to 2 days. Reheat in a microwave for a few seconds for a freshly-made texture.
Glaze Variations: You can customize the glaze by adding a pinch of espresso powder for a mocha flavor or substituting the vanilla extract with almond extract for a unique twist.
Nutrition Information
Yield
12Serving Size
1Amount Per Serving Calories 253Total Fat 7gSaturated Fat 4gTrans Fat 0gUnsaturated Fat 2gCholesterol 47mgSodium 220mgCarbohydrates 42gFiber 1gSugar 25gProtein 6g