
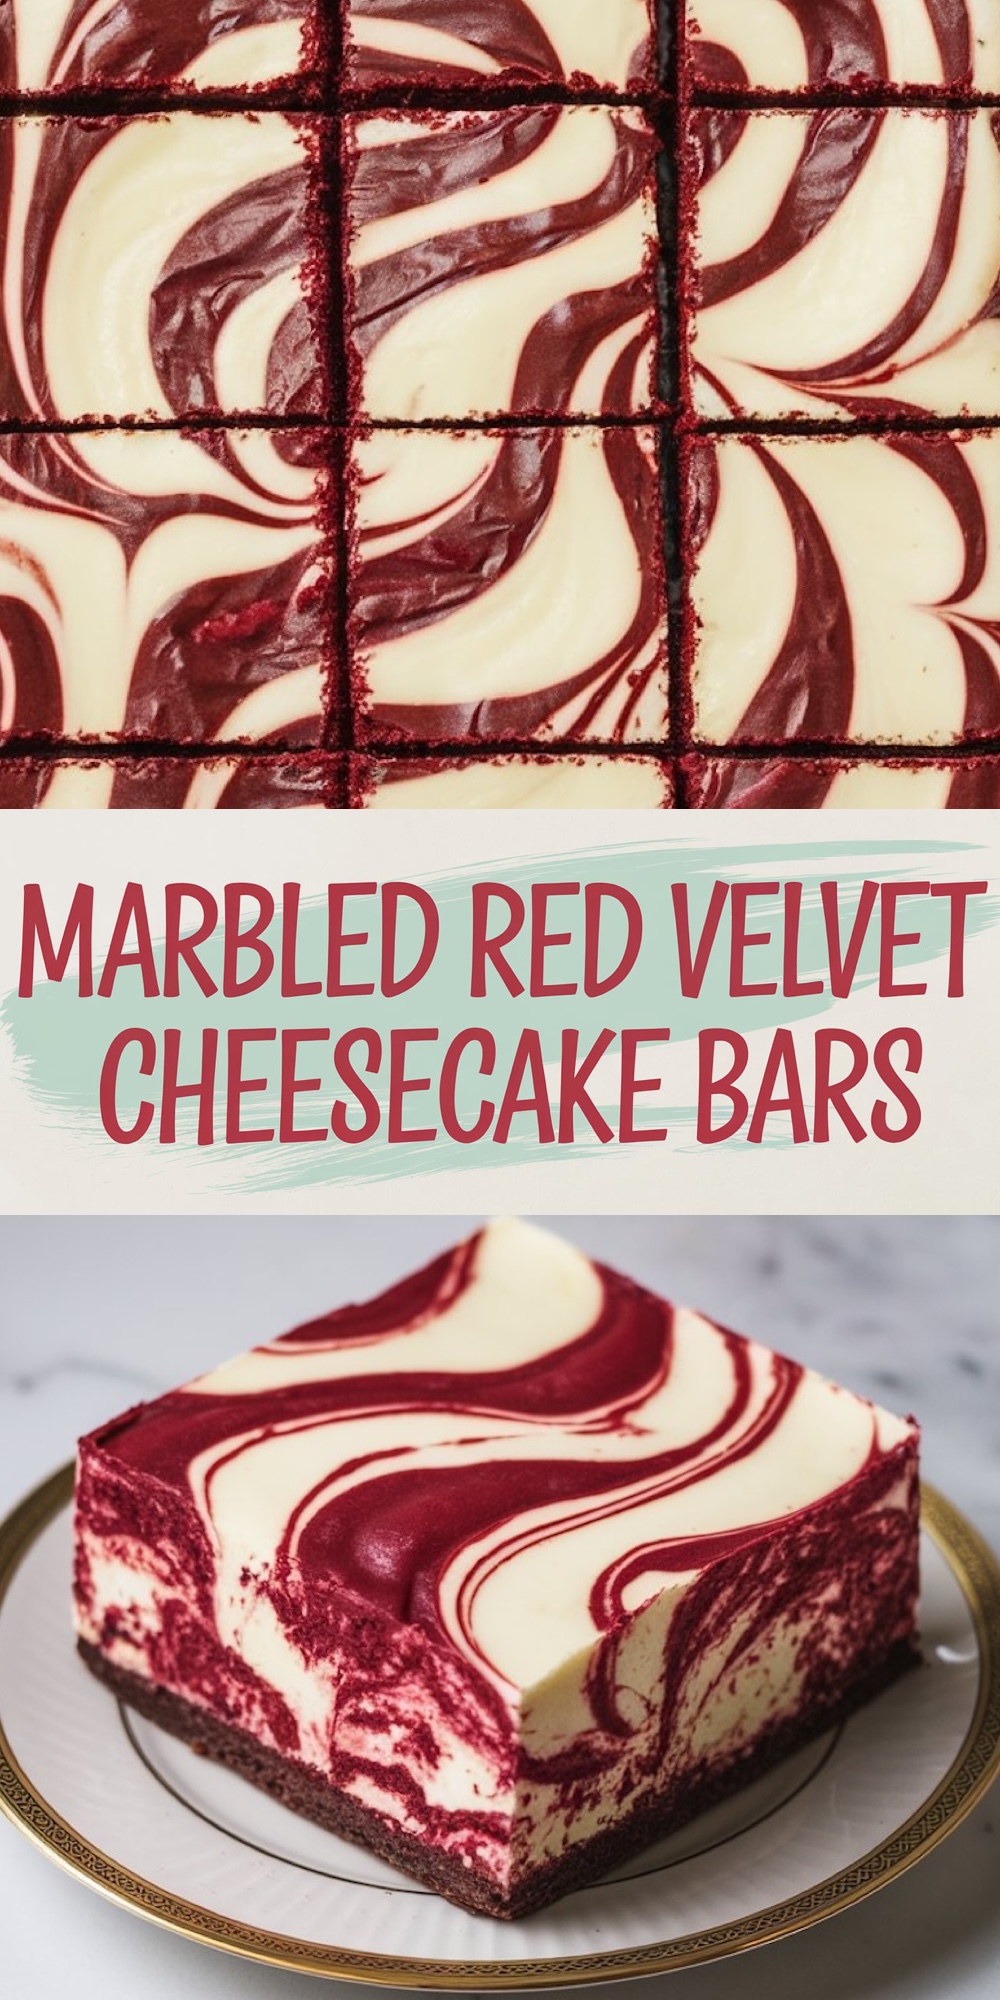
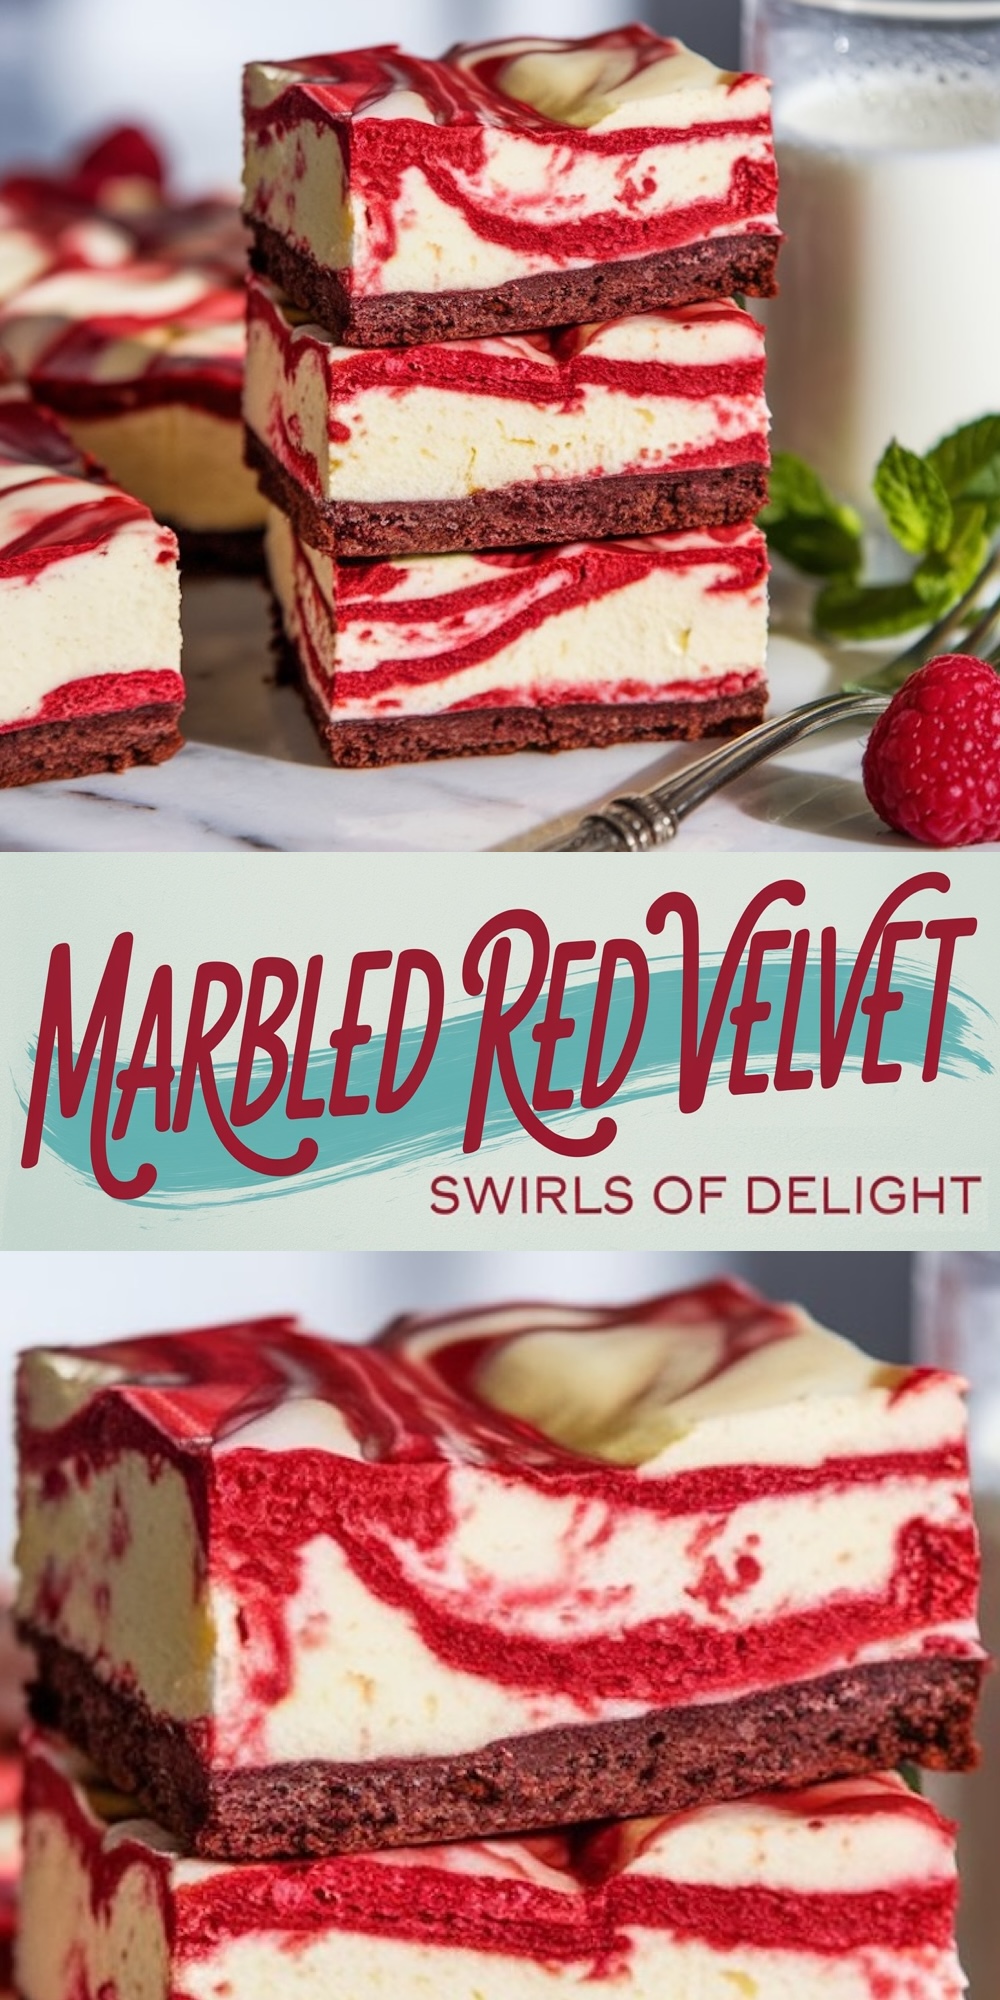
I remember the first time I swirled vibrant red batter through a pale cheesecake layer. My kitchen filled with the enticing aromas of cocoa and sugar, sparking an instant wave of excitement. Each time I bake these Marbled Red Velvet Cheesecake Bars, I’m transported back to that joyful day. Their appearance is sophisticated, yet the steps to create them are wonderfully manageable.
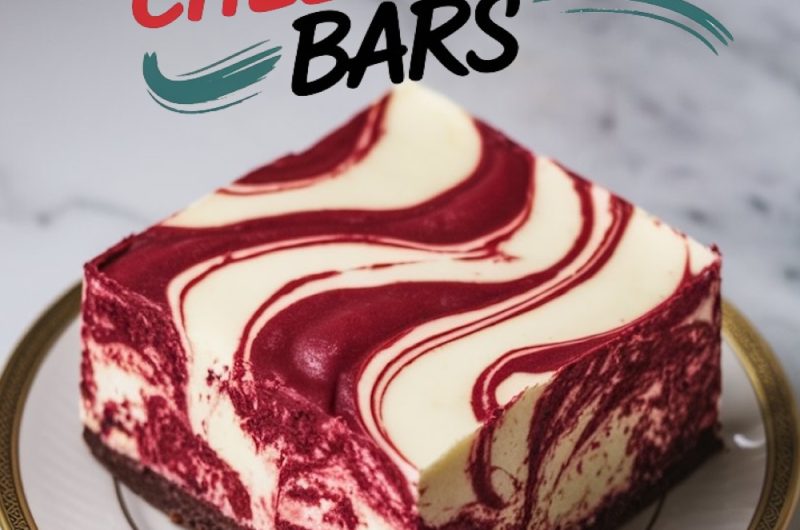
The magic lies in the distinct layers: a fudgy chocolate base that anchors the dessert, a velvety cheesecake center, and mesmerizing ribbons of red swirling across the top.
Following a special diet?
Every recipe on this site can be converted to gluten-free, vegan, dairy-free, keto, nut-free or egg-free with adjusted ratios so nothing falls flat.
Try the Recipe Converter →For those who adore chocolate in all its forms, these bars are a delightful segue into exploring more chocolate desserts, each having its own unique blend of flavor and charm.
Why These Marbled Cheesecake Bars Shine
A striking appearance draws guests in right away. Deep red streaks play against white cheesecake, and the contrast makes each square feel special. I love how chocolate adds depth, while tangy cream cheese creates a pleasant balance. The brownie base stays dense and moist, which complements the creamy top layer. This dessert fits friendly gatherings or romantic dinners. My neighbor once tried these bars at my house, and I still recall the grin on her face as she took the first bite.
A swirl of red batter on top turns a simple treat into something people remember. Food coloring takes an ordinary cheesecake batter and heightens its visual flair. I like to choose a vibrant red to create a bold pattern. My sister once requested a green version for a holiday party, which worked beautifully. A few drops of coloring can set the theme for any celebration. Subtle color changes open a world of ideas for special occasions.
Fudgy Brownie Base and Cheesecake Fusion
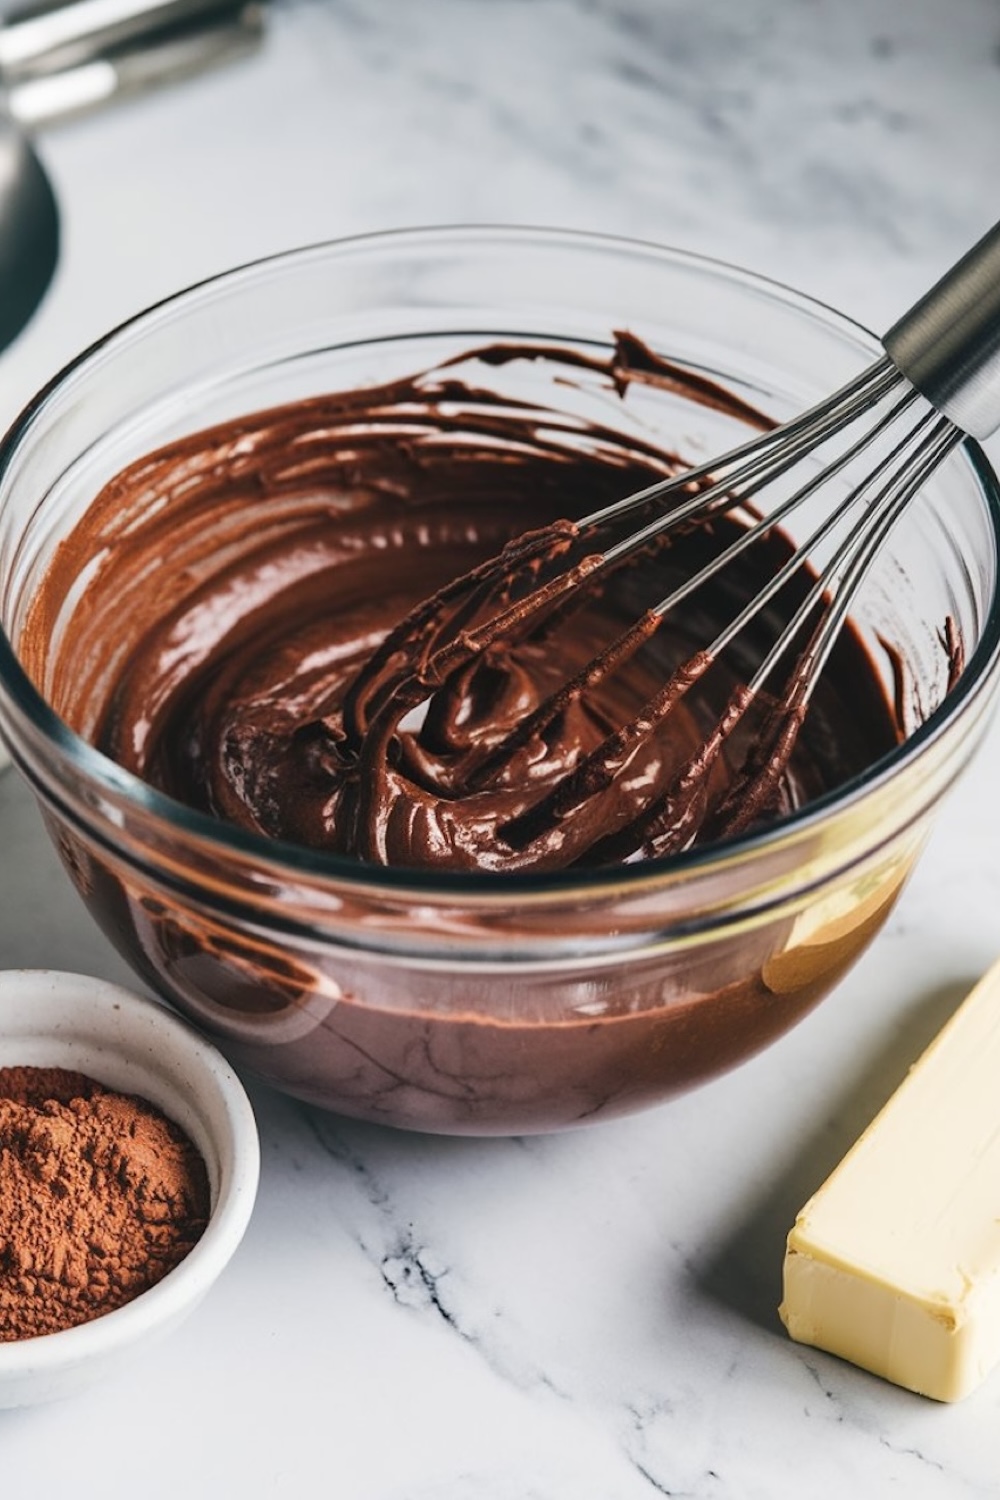
The bottom layer includes a mix of melted butter, sugar, cocoa powder, flour, and an egg. I often add a hint of vanilla because it enhances the chocolate aroma. My technique involves whisking the sugar and butter first, then stirring in cocoa and flour. That step-by-step approach prevents lumps and keeps the texture velvety. The batter should feel thick, like a traditional brownie.
The cheesecake layer comes from softened cream cheese, eggs, sugar, a small amount of sour cream, and a touch of flour. I keep everything at room temperature to help the batter mix smoothly. A few lumps sometimes appear if the cream cheese is too cold, so I place it on the counter while prepping the brownie base. A gentle hand with the mixer keeps air from getting trapped. Overmixing risks air pockets, which might cause cracks on top.
Red Velvet Swirl for Eye-Catching Style
A small bowl of reserved cheesecake batter becomes the canvas for that bold red color. A tiny amount of sugar goes in, then I stir in red food coloring until the shade looks intense. I use a spoon to drop red dollops over the plain cheesecake layer. A toothpick or skewer works well to create swirls. A light swirl is enough. My first attempt led me to swirl too vigorously, and the design looked more pink than marbled. Gentle strokes create the best effect.
Some folks ask if the red swirl affects flavor. It doesn’t change much beyond adding a hint of cocoa if you wish, but that’s optional. The key is to amplify the visual impact. The swirl reminds me of an abstract painting. Each swirl pattern turns out unique, so I feel like I’ve created edible art every time.
Tips for Satisfying Results
I place parchment paper in an 8-inch pan. That detail helps me lift the bars cleanly once they cool. A single piece with handles on two sides supports the bars well. I never skip this step because I want neat edges and easy slicing. After baking, a chill in the fridge for several hours sets everything firm. That rest period also improves the flavor, in my opinion. I suggest cutting the bars with a sharp knife dipped in warm water. Wiping the knife between cuts keeps the lines tidy.
Friends have asked about skipping the chilling step. The bars won’t slice as neatly without it, and the cheesecake might feel softer. A bit of patience helps everything come together. I have tried storing extra slices in the freezer with good results. They last for about two months, wrapped in plastic, and a slow thaw in the fridge preserves the texture.
Personal Touches That Elevate These Bars
A sprinkle of small chocolate chips on the brownie layer can add a little crunch. Some bakers drizzle melted chocolate on top when serving. My best friend once tossed crushed cookies onto the brownie base to add another layer of interest. The possibilities feel endless, though I stick to the classic approach most of the time. My version never disappoints, and it always reminds me of the joy I felt on that first swirl attempt.
These bars pair well with simple additions on the side. A scoop of vanilla ice cream brings a frosty element. A drizzle of warm caramel or a few fresh berries can bring extra brightness. I sometimes serve them with a mug of coffee for a comforting afternoon treat. That’s how my mother tried them one weekend, and she insisted on taking a few home.
Serving Suggestions and Storage Tips
Cheesecake bars taste best when they have chilled thoroughly. I store them in a sealed container in the fridge, and they stay delicious for about five days. A few folks prefer them at room temperature, but I think the chilled cheesecake interior has a better bite. If you plan to keep them longer, freezing works well. I wrap individual bars in plastic wrap, then place them inside a sturdy freezer-safe container. Defrosting in the fridge overnight keeps the consistency nearly identical to fresh.
Final Thoughts on an Irresistible Dessert
My excitement for these Marbled Red Velvet Cheesecake Bars grows each time I see that swirl pattern emerge. No matter the color variation, the end product never fails to entice. A fudgy base holds up a creamy cheesecake layer, and the tinted swirl grabs everyone’s attention. The method feels simple, and the result tastes divine. I always urge friends to try this recipe because it provides a real sense of accomplishment without added stress.
Enjoy these bars as a sweet finish to a holiday spread or a casual weekend indulgence. I love the moment when loved ones gasp at the red-and-white design before diving into that first chewy, creamy bite. This recipe usually leaves people wanting more, and I’m never surprised when they ask how it’s done. My advice: have fun swirling, then marvel at the beauty in the pan.
More Chocolate Inspiration
Chocolate sometimes leads my culinary adventures to unexpected places. A quick glance at these ideas could spark your next dessert mission:
Chocolate Cheesecake Brownie Bars
Marbled Red Velvet Cheesecake Bars.
Course: Cake Ideas12-16
servings25
minutes40
minutes300
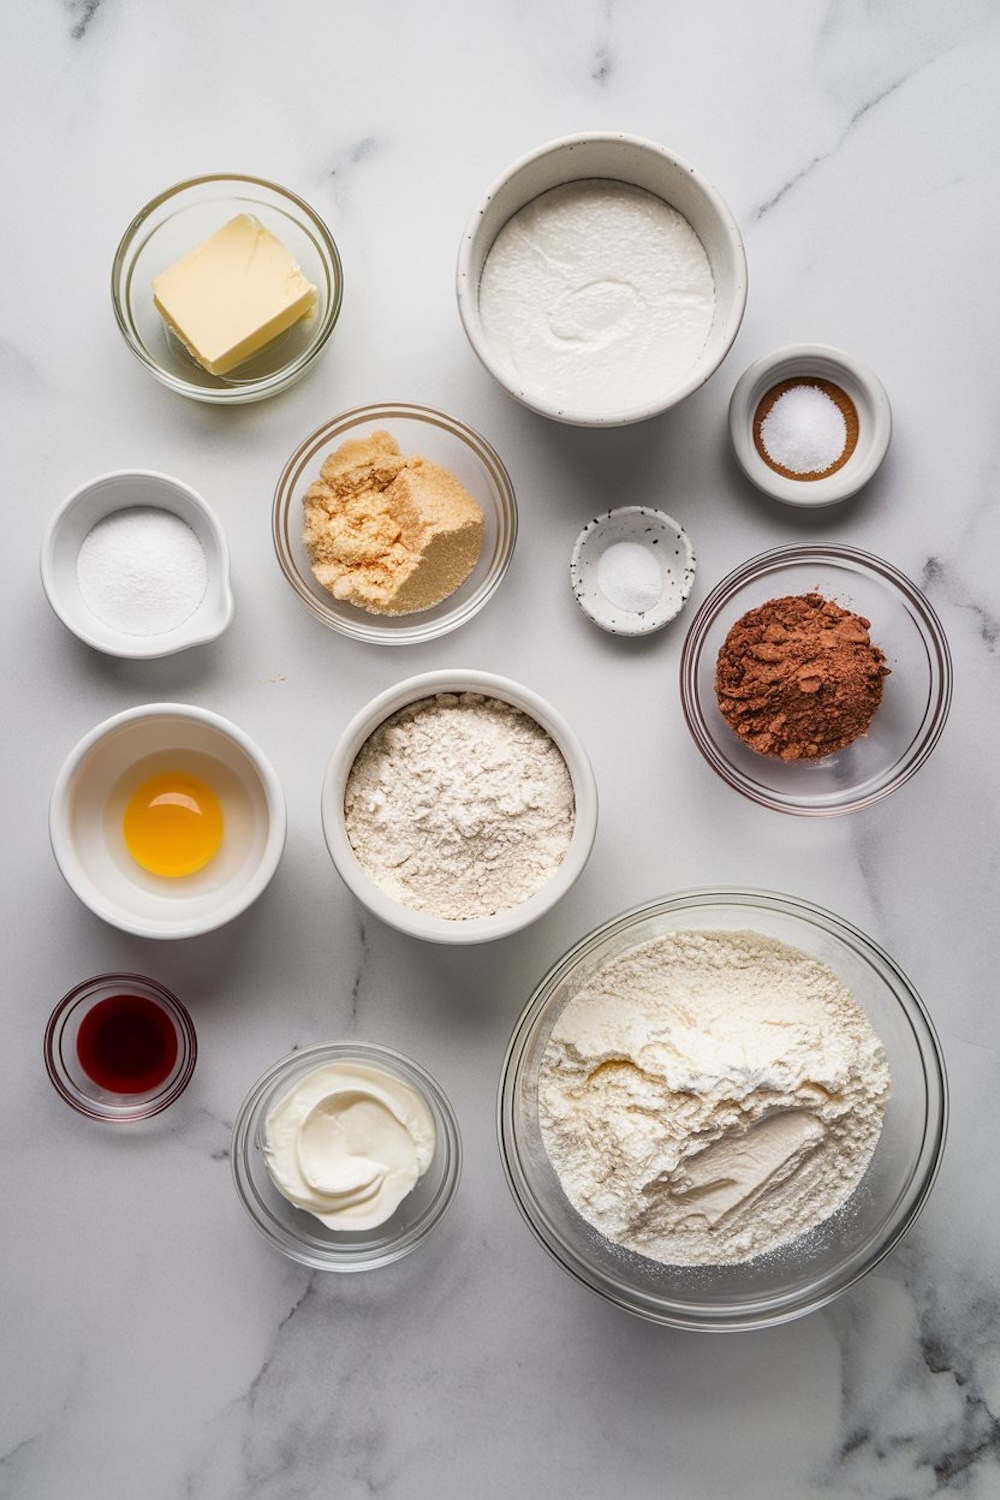
kcalIngredients
- For the Chocolate Brownie Base:
1/2 cup (115g) unsalted butter, melted
3/4 cup (150g) granulated sugar
1/4 cup (50g) light brown sugar, packed
1 large egg, at room temperature
1 teaspoon pure vanilla extract
1/3 cup (40g) unsweetened cocoa powder
1/2 cup (65g) all-purpose flour
1/4 teaspoon salt
- For the Cheesecake Layer:
16 ounces (450g) cream cheese, softened
1/2 cup (100g) granulated sugar
2 large eggs, at room temperature
1/2 teaspoon pure vanilla extract
1/4 cup (60ml) sour cream
1 tablespoon all-purpose flour
- For the Red Swirl:
1/3 cup (80ml) cheesecake batter (reserved from above)
1 tablespoon granulated sugar
1 teaspoon liquid red food coloring (or gel for a more vibrant color)
Steps
- Step 1: Prepare the Brownie Base
- Preheat your oven to 350°F (175°C). Line an 8×8-inch (20×20 cm) square baking pan with parchment paper, leaving an overhang for easy removal.
- In a large mixing bowl, whisk together the melted butter, granulated sugar, and brown sugar until smooth.
- Add the egg and vanilla extract, mixing until fully combined.
- Sift in the cocoa powder, all-purpose flour, and salt. Stir gently until the mixture forms a smooth batter. Be careful not to overmix.
- Spread the brownie batter evenly into the prepared pan. Use a spatula to smooth the top. Set aside.
- Step 2: Make the Cheesecake Layer
- In a separate bowl, beat the cream cheese with a hand or stand mixer on medium speed until smooth and creamy.
- Add the granulated sugar and mix until fully dissolved.
- Beat in the eggs one at a time, followed by the vanilla extract and sour cream. Mix just until combined to avoid incorporating too much air.
- Sift in the tablespoon of flour and gently fold it into the cheesecake batter.
- Reserve 1/3 cup of the cheesecake batter in a small bowl for the red swirl.
- Step 3: Prepare the Red Swirl
- To the reserved cheesecake batter, stir in 1 tablespoon of sugar and the red food coloring until the color is evenly distributed.
- Set this aside to create the marbled effect.
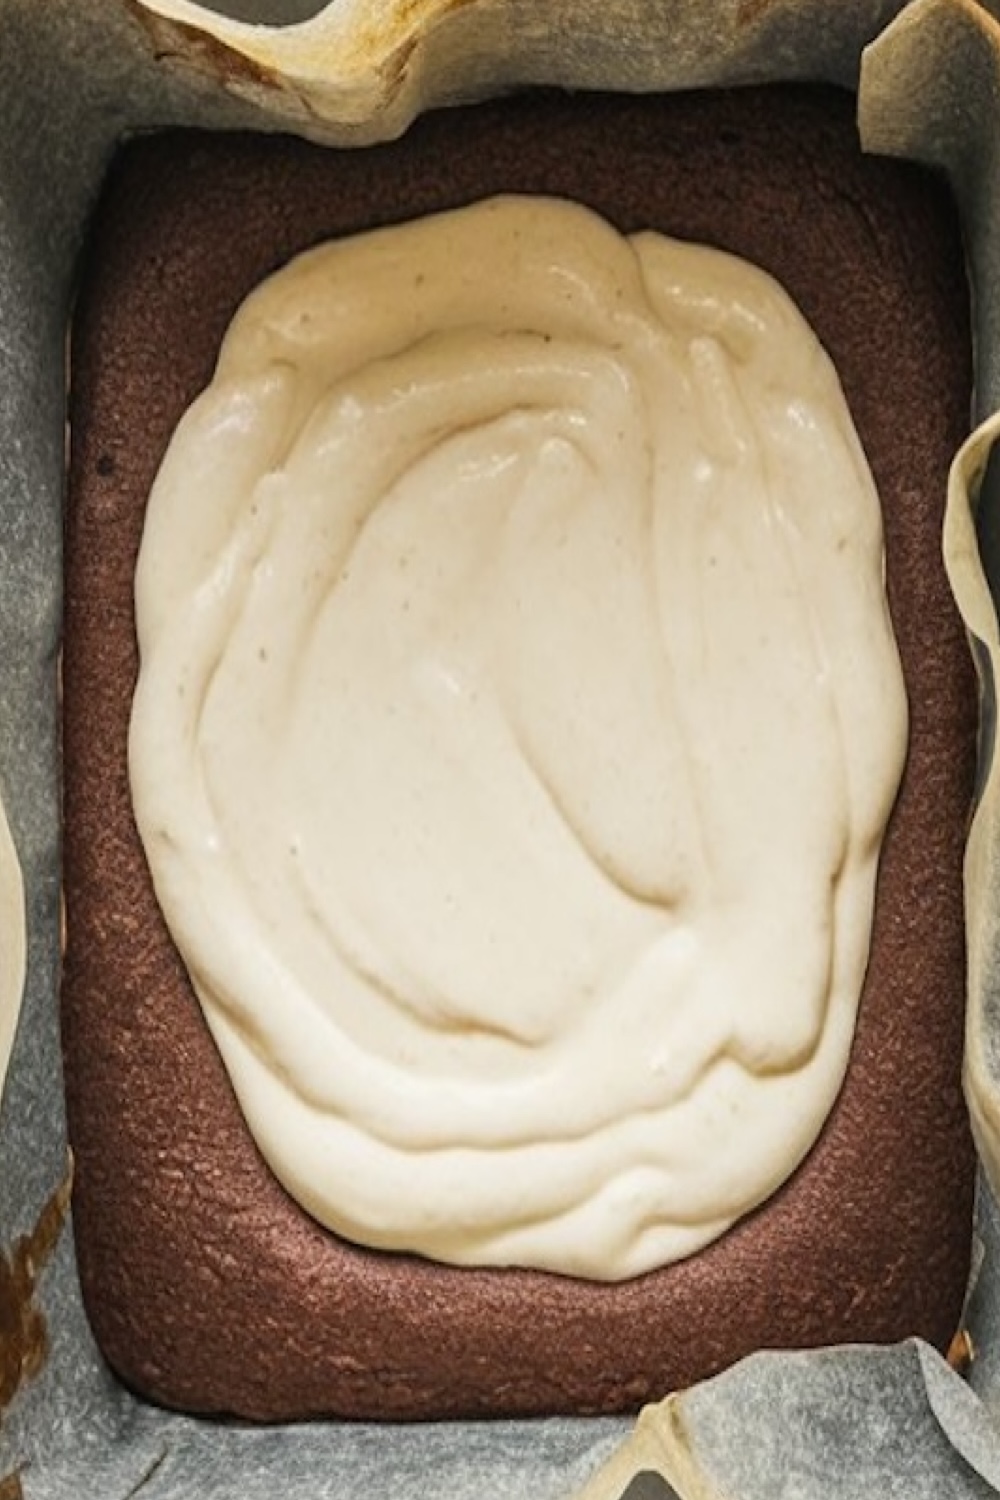
- Step 4: Assemble and Swirl
- Pour the plain cheesecake batter over the brownie base, spreading it out evenly with a spatula.
- Drop spoonfuls of the red batter onto the white cheesecake layer in random spots.
- Use a skewer or toothpick to gently swirl the red batter into the white batter, creating a marbled effect. Be careful not to over-swish—the goal is to have distinct, beautiful swirls.
- Step 5: Bake and Cool
- Bake the bars in the preheated oven for 35–40 minutes, or until the cheesecake layer is set but still slightly jiggly in the center.
- Remove from the oven and let the bars cool to room temperature in the pan. Once cooled, refrigerate for at least 4 hours or overnight for the cleanest cuts.