
I remember when I tasted these mint and chocolate brownies at a family gathering. My mom prepared a chocolate treat that revealed a surprising minty layer the moment I bit into it. That little discovery made me realize how much delight a simple flavor change could bring.
I see brownies everywhere, but I always felt something was missing. I decided to add a refreshing note, so I experimented and discovered a balance that made my kitchen smell like a cozy chocolate shop. My friends came over, and I served slices fresh out of the fridge, which made my living room burst with cheerful chatter.
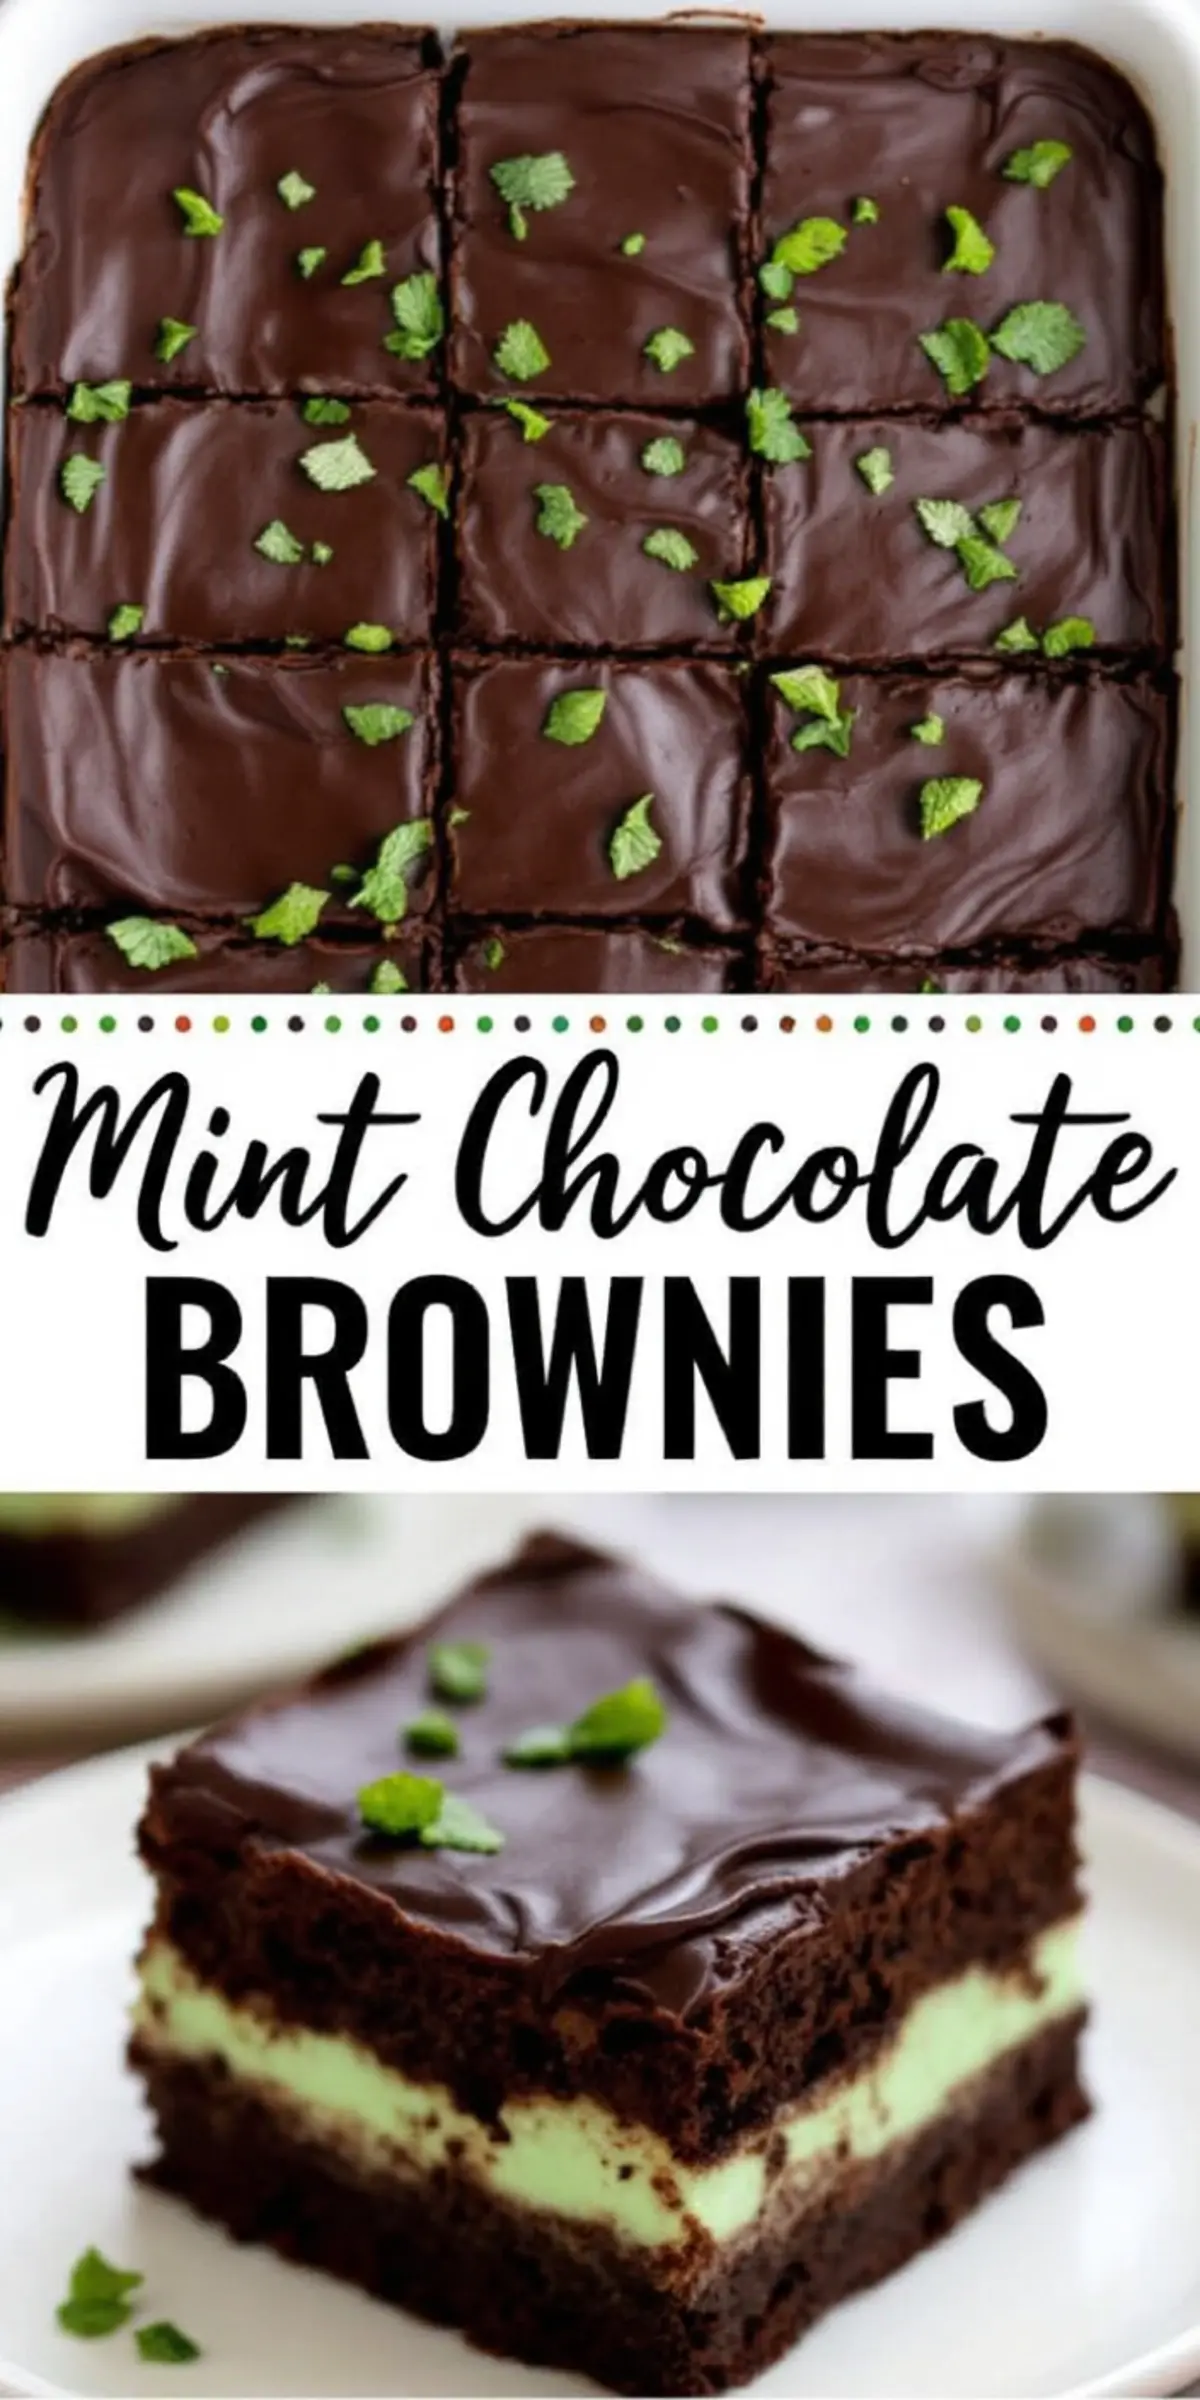
My own approach often embraces bold flavors. Deep, fudgy brownies meet a creamy peppermint layer in my recipe. That mint essence cuts through the richness in a lively way, giving each bite an uplifting quality.
Following a special diet?
Every recipe on this site can be converted to gluten-free, vegan, dairy-free, keto, nut-free or egg-free with adjusted ratios so nothing falls flat.
Try the Recipe Converter →Creating a Fudgy and Chewy Brownie Base
The same combination appears in other treats, including Chocolate peppermint bark cookies. I link that for anyone who enjoys chocolate-peppermint pairings in cookie form. My love for merging these flavors keeps growing, and my taste buds never tire of it.
I prefer brownies with enough structure to hold up but still remain soft. My approach relies on a proper mix of melted butter, two types of sugar, and just the right ratio of flour. That ensures each piece stays fudgy without feeling overly dense.
Someone once told me brownies are tricky, but that hasn’t been my experience. I find that measuring precisely and mixing with a gentle hand solves most issues. My method includes a final check: I make sure the batter doesn’t get overworked.
Eggs bind everything together. These hold the batter in place, giving that essential chewy texture. My oven routine involves an exact temperature of 350°F, which sets the crumb just right.
Layering Mint Cream for a Refreshing Flavor
I chill the entire slab in the refrigerator for half an hour. That step keeps the crumb stable and reduces crumbling during slicing. I use a long, sharp knife to split the brownie horizontally, forming two equal pieces.
This part sometimes looks tricky, but patience and a steady hand help me. A gentle back-and-forth motion keeps the cut clean and even. One layer goes back into the baking pan as the foundation for the mint cream.
I beat softened butter in a medium bowl until it looks airy. Powdered sugar, heavy cream, and peppermint extract follow, which creates a pale green mixture once I add food coloring. That whipped layer tastes sweet yet light, with an echo of mint that flutters across the palate.
I try the flavor after a quick blend, then adjust peppermint if needed. Some folks like a milder essence, while others want a stronger taste. I spread this cream onto the bottom brownie piece, then slide the pan into the fridge for a 30-minute chill.
Finishing with a Smooth Chocolate Ganache
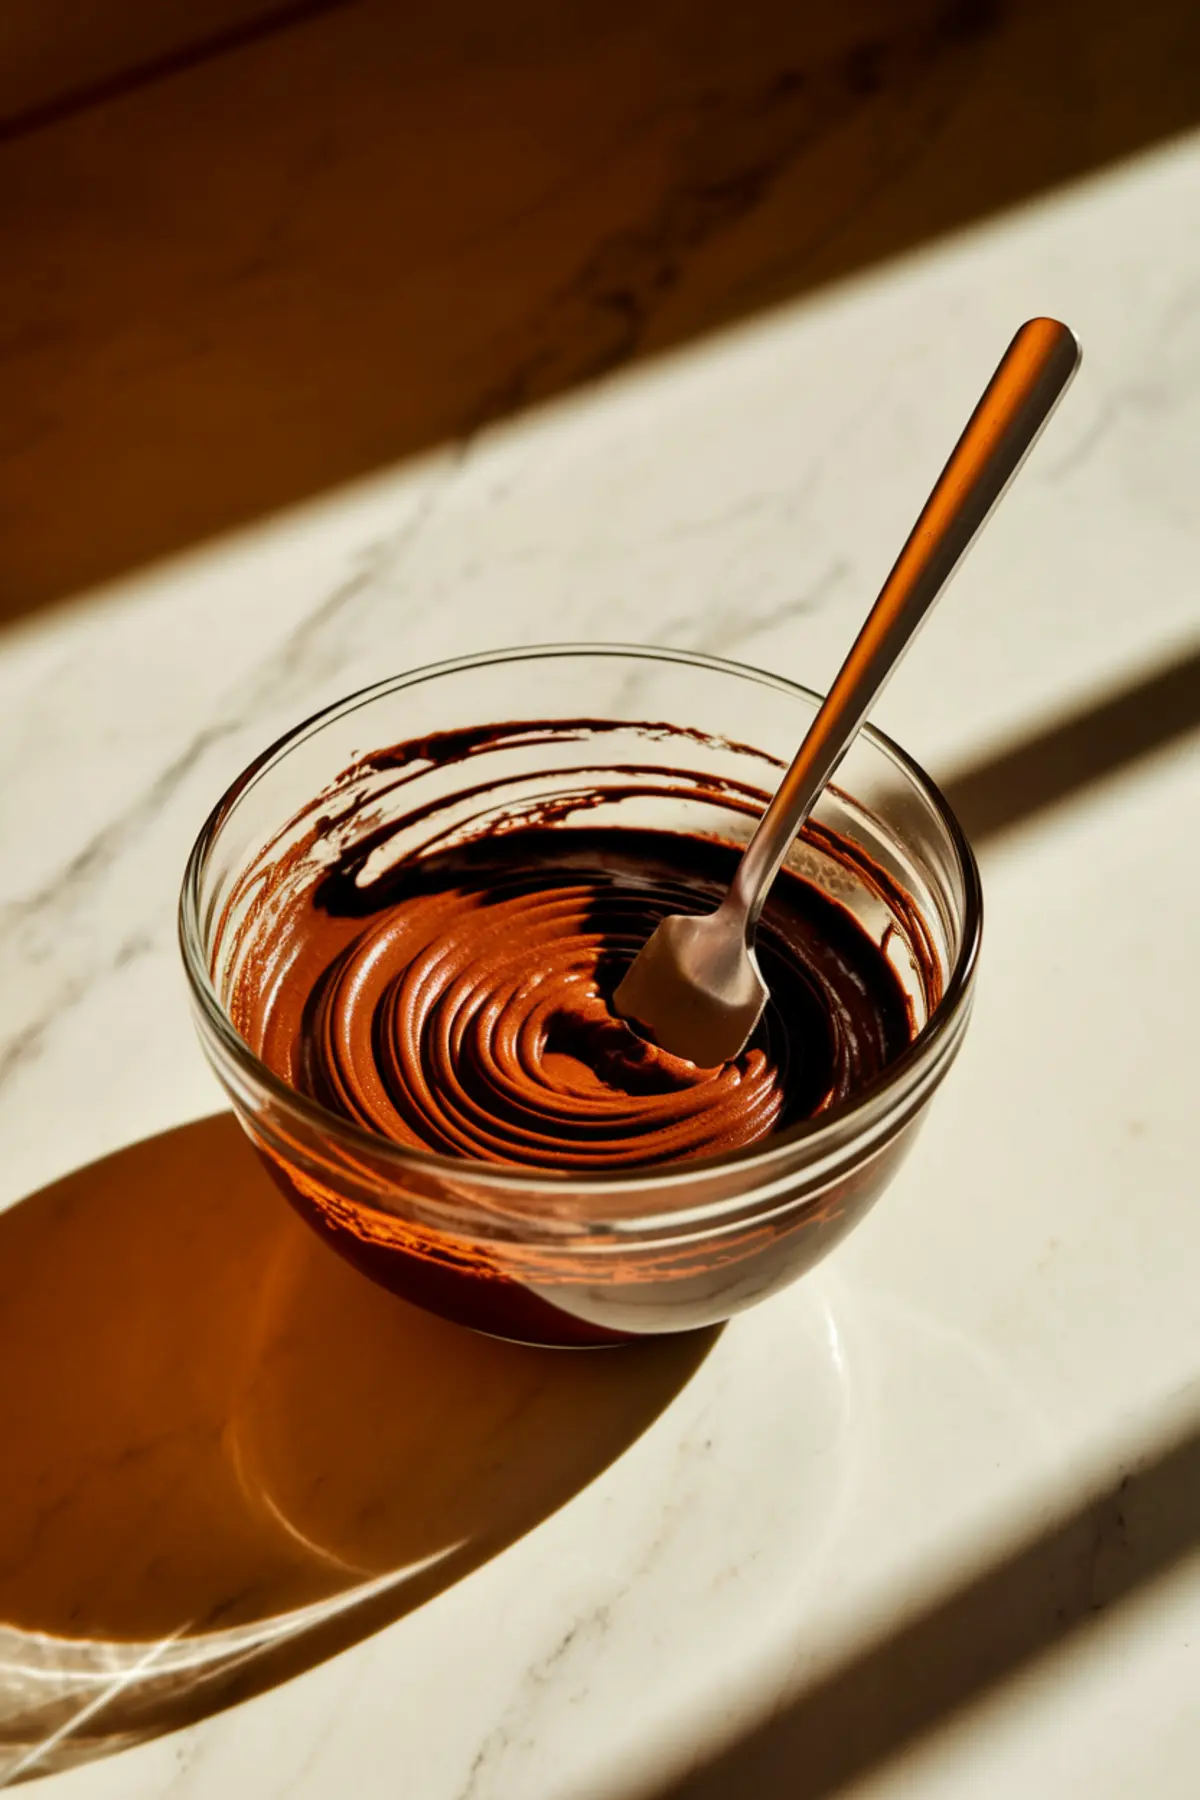
I place chocolate chips, heavy cream, and a bit of butter in a microwave-safe bowl. A few 20-second intervals at medium power usually melt it down smoothly. I stir in between intervals, waiting for the mixture to reach a silky consistency.
That glossy ganache goes on top of the brownie stack. I let it cool for a bit, then pour it gently to avoid drips over the sides. I smooth it with a spatula, creating an even surface that hints at the tasty layers underneath.
I cover the pan and return it to the fridge for at least an hour. That chill time helps the ganache set, making clean slices far easier. I sometimes sample an edge piece early if I’m impatient, but I usually wait for the full chill.
These brownies taste wonderful on their own or paired with coffee. I might slice them into small squares to suit gatherings or bigger bars if I’m sharing with friends. My serving plate often disappears quickly once people spot that inviting swirl of mint and chocolate.
I connect this recipe with my other sweets, since variety can spice up a dessert table. Sweetened Condensed Milk Fudge appeals to those who prefer a velvety, chocolate-heavy candy. Another option is cookies and cream ice cream pie for a cool treat on a warm day.
Storing and Freezing for Later
Slicing and storing become easy once the brownies have chilled. I keep them in an airtight container in the fridge, so they remain fresh for up to five days. Waiting a few minutes before serving returns them to a soft, creamy consistency.
I freeze leftover portions for up to two months. That trick helps me plan for sudden sweet cravings or last-minute visits from friends. A quick thaw in the fridge revives the brownies without compromising texture.
Many who love peanut butter flavors also explore Peanut Butter Fudge. I link it because that thick, rich candy stands alongside these mint brownies as another no-fuss dessert. My friends with peanut butter obsessions find it helpful to have that recipe ready.
I appreciate the time you spend reading my tales. This journey through chocolate and mint has reminded me why I started baking in the first place. I love discovering new flavor ideas and sharing them with a lively community.
Share and Pin for Later
I invite you to pin this recipe to your favorite Pinterest board, so you can retrieve it anytime. I also encourage you to leave a comment if you decide to try it. Your thoughts or questions will spark a group conversation that benefits everyone.
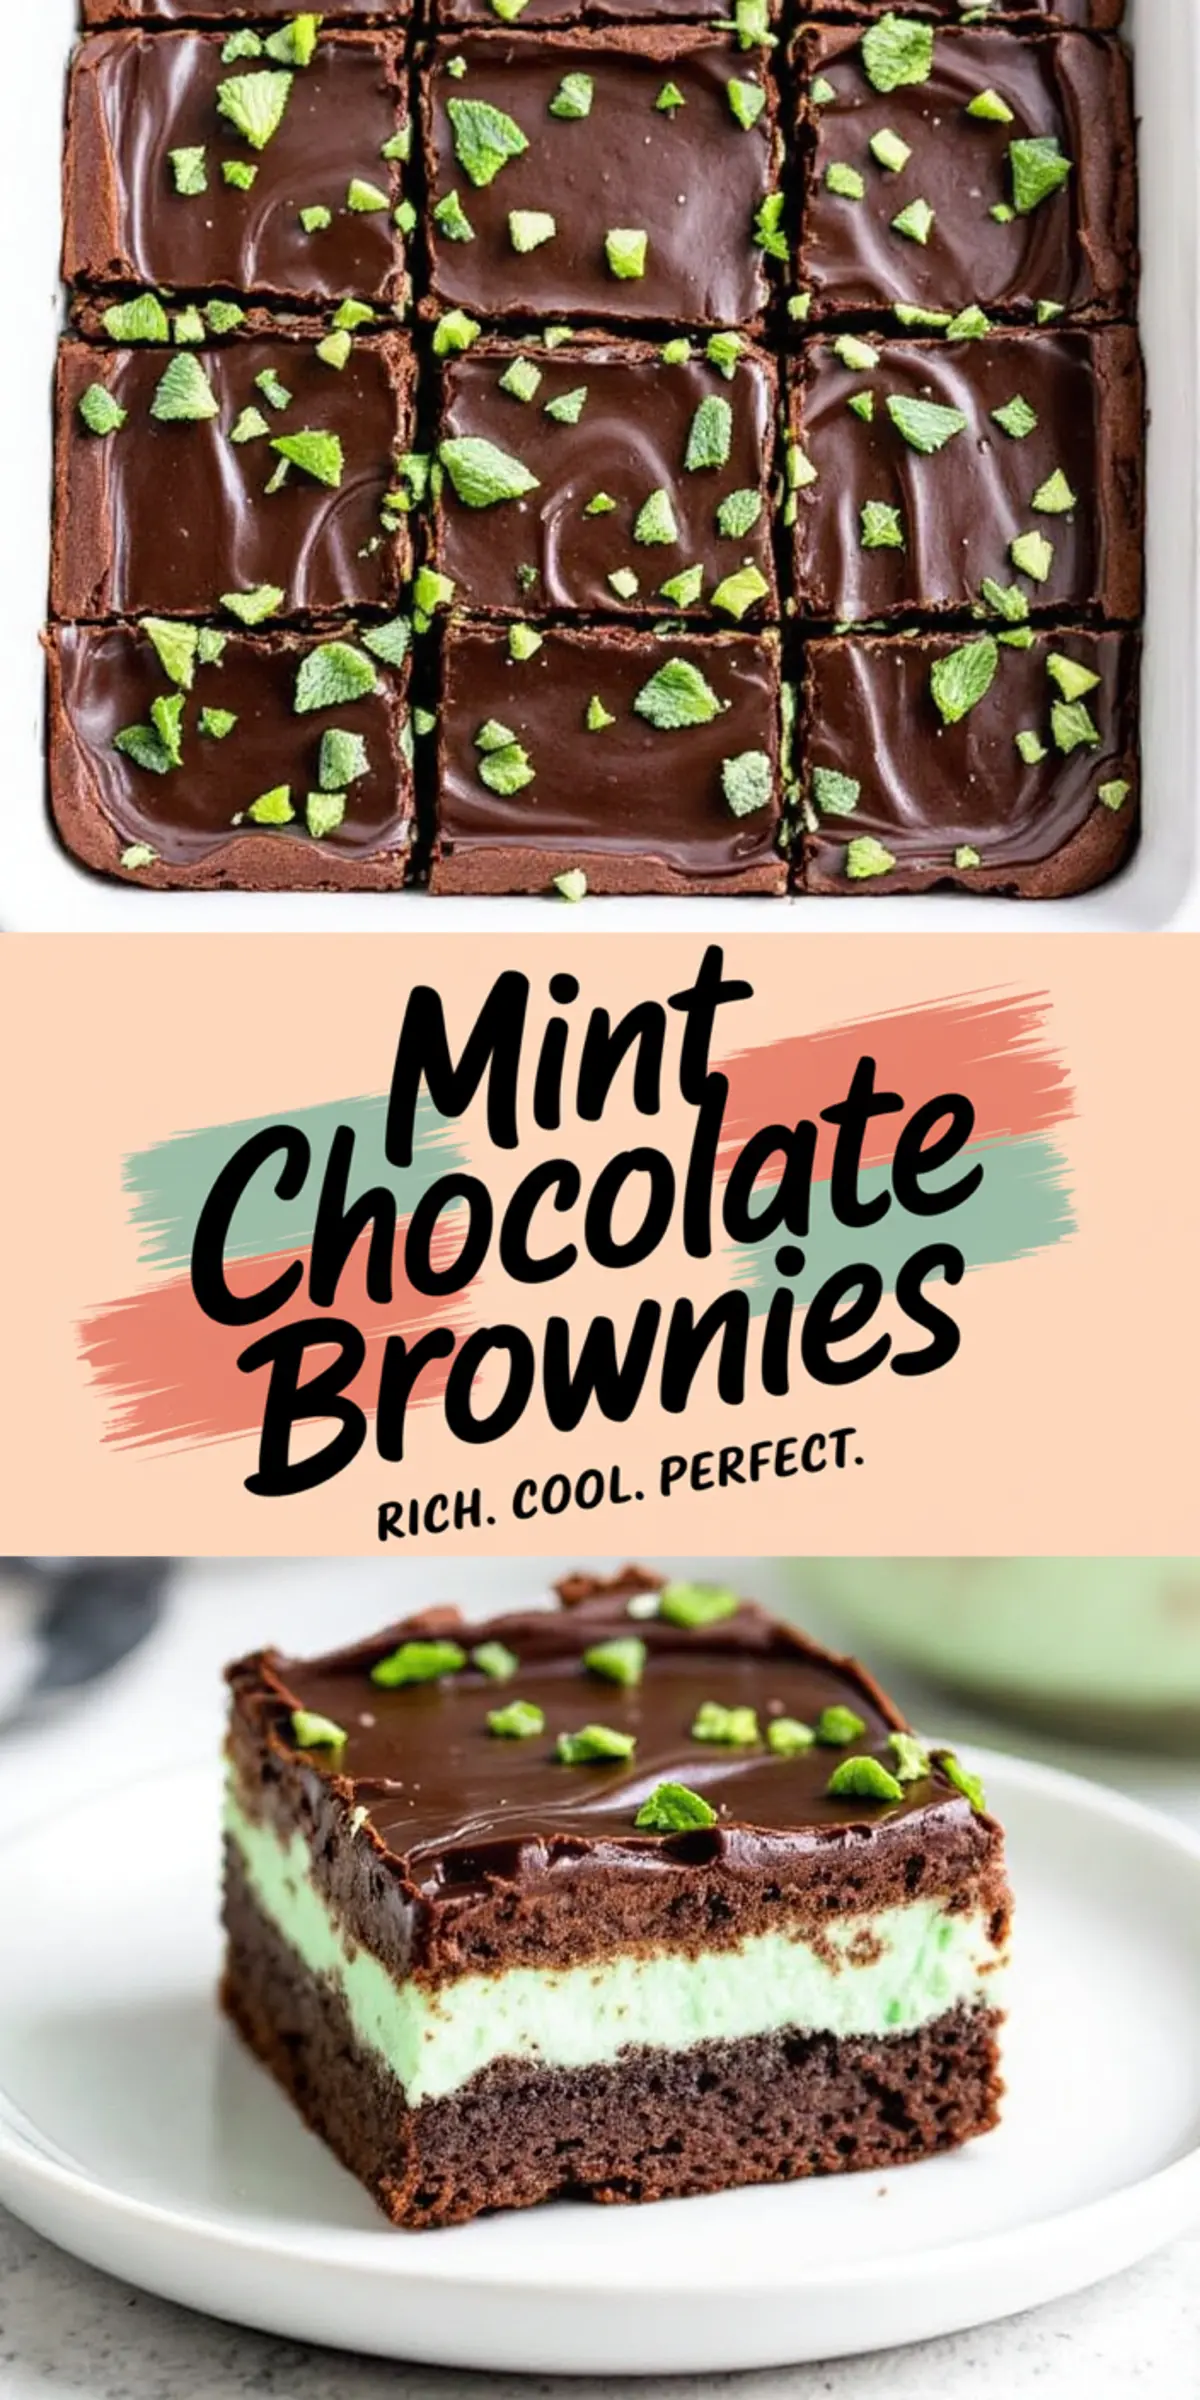
Mint Chocolate Brownies
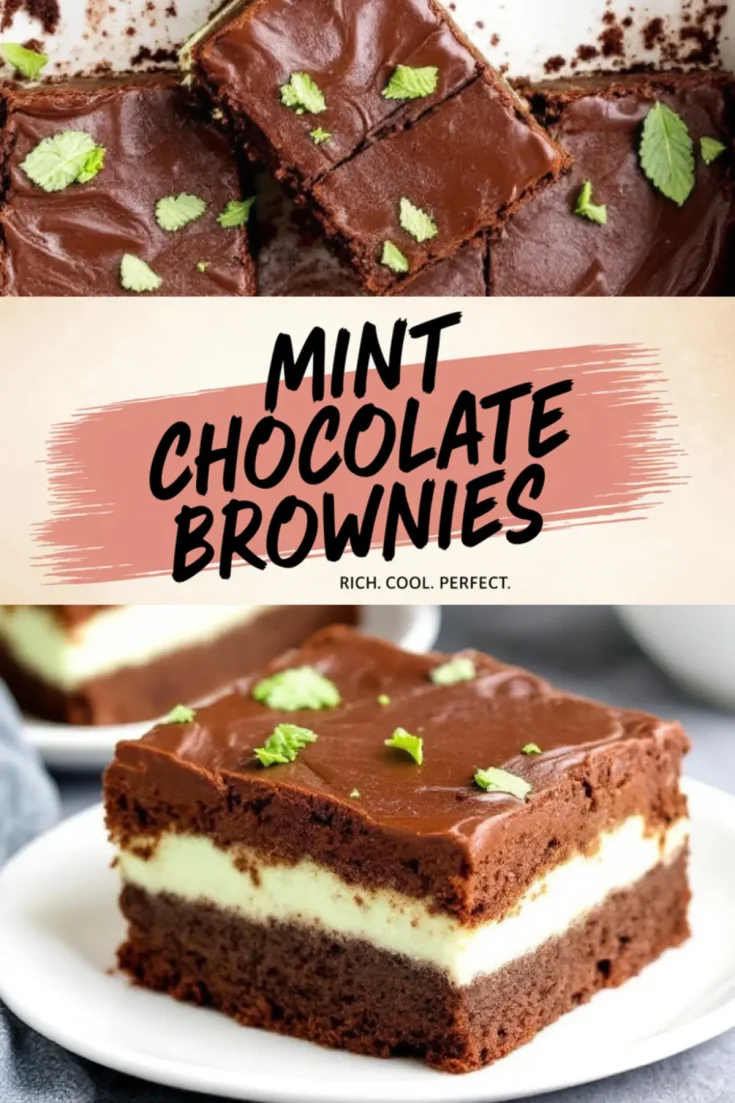
A rich chocolate brownie base is layered with a creamy mint filling and topped with a smooth chocolate ganache. The combination of deep chocolate and refreshing mint creates a balanced dessert with a soft, fudgy texture.
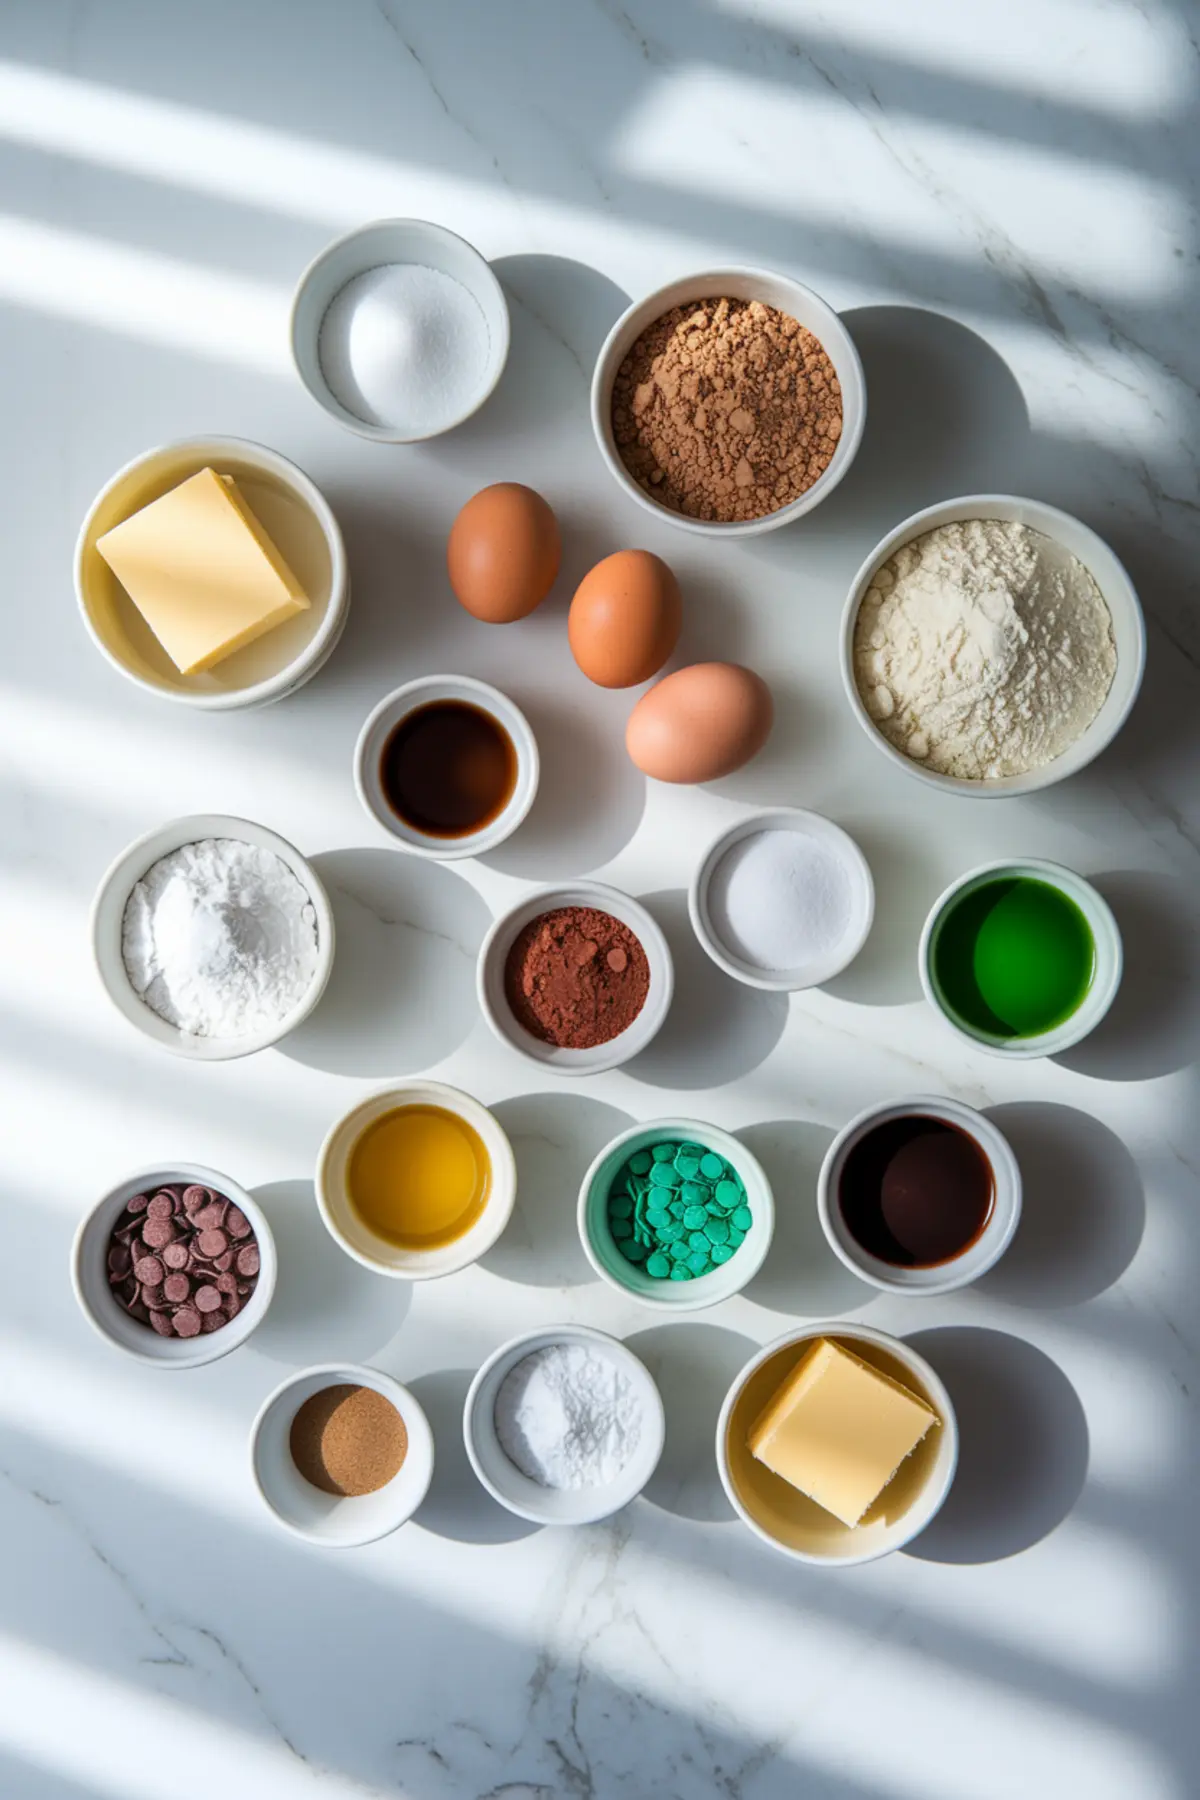
Ingredients
- FOR THE BROWNIE LAYER
- 1 cup (226g) unsalted butter, melted
- 1 ½ cups (300g) granulated sugar
- 1 cup (200g) brown sugar, packed
- 4 large eggs
- 2 teaspoons vanilla extract
- 1 cup (120g) all-purpose flour
- ¾ cup (75g) unsweetened cocoa powder
- ½ teaspoon salt
- ½ teaspoon baking powder
- FOR THE MINT CREAM LAYER
- ½ cup (113g) unsalted butter, softened
- 2 cups (240g) powdered sugar
- 2 tablespoons heavy cream
- 1 teaspoon peppermint extract
- Green food coloring (a few drops, optional)
- FOR THE CHOCOLATE GANACHE
- 1 cup (170g) semi-sweet chocolate chips
- ½ cup (120ml) heavy cream
- 1 tablespoon unsalted butter
Instructions
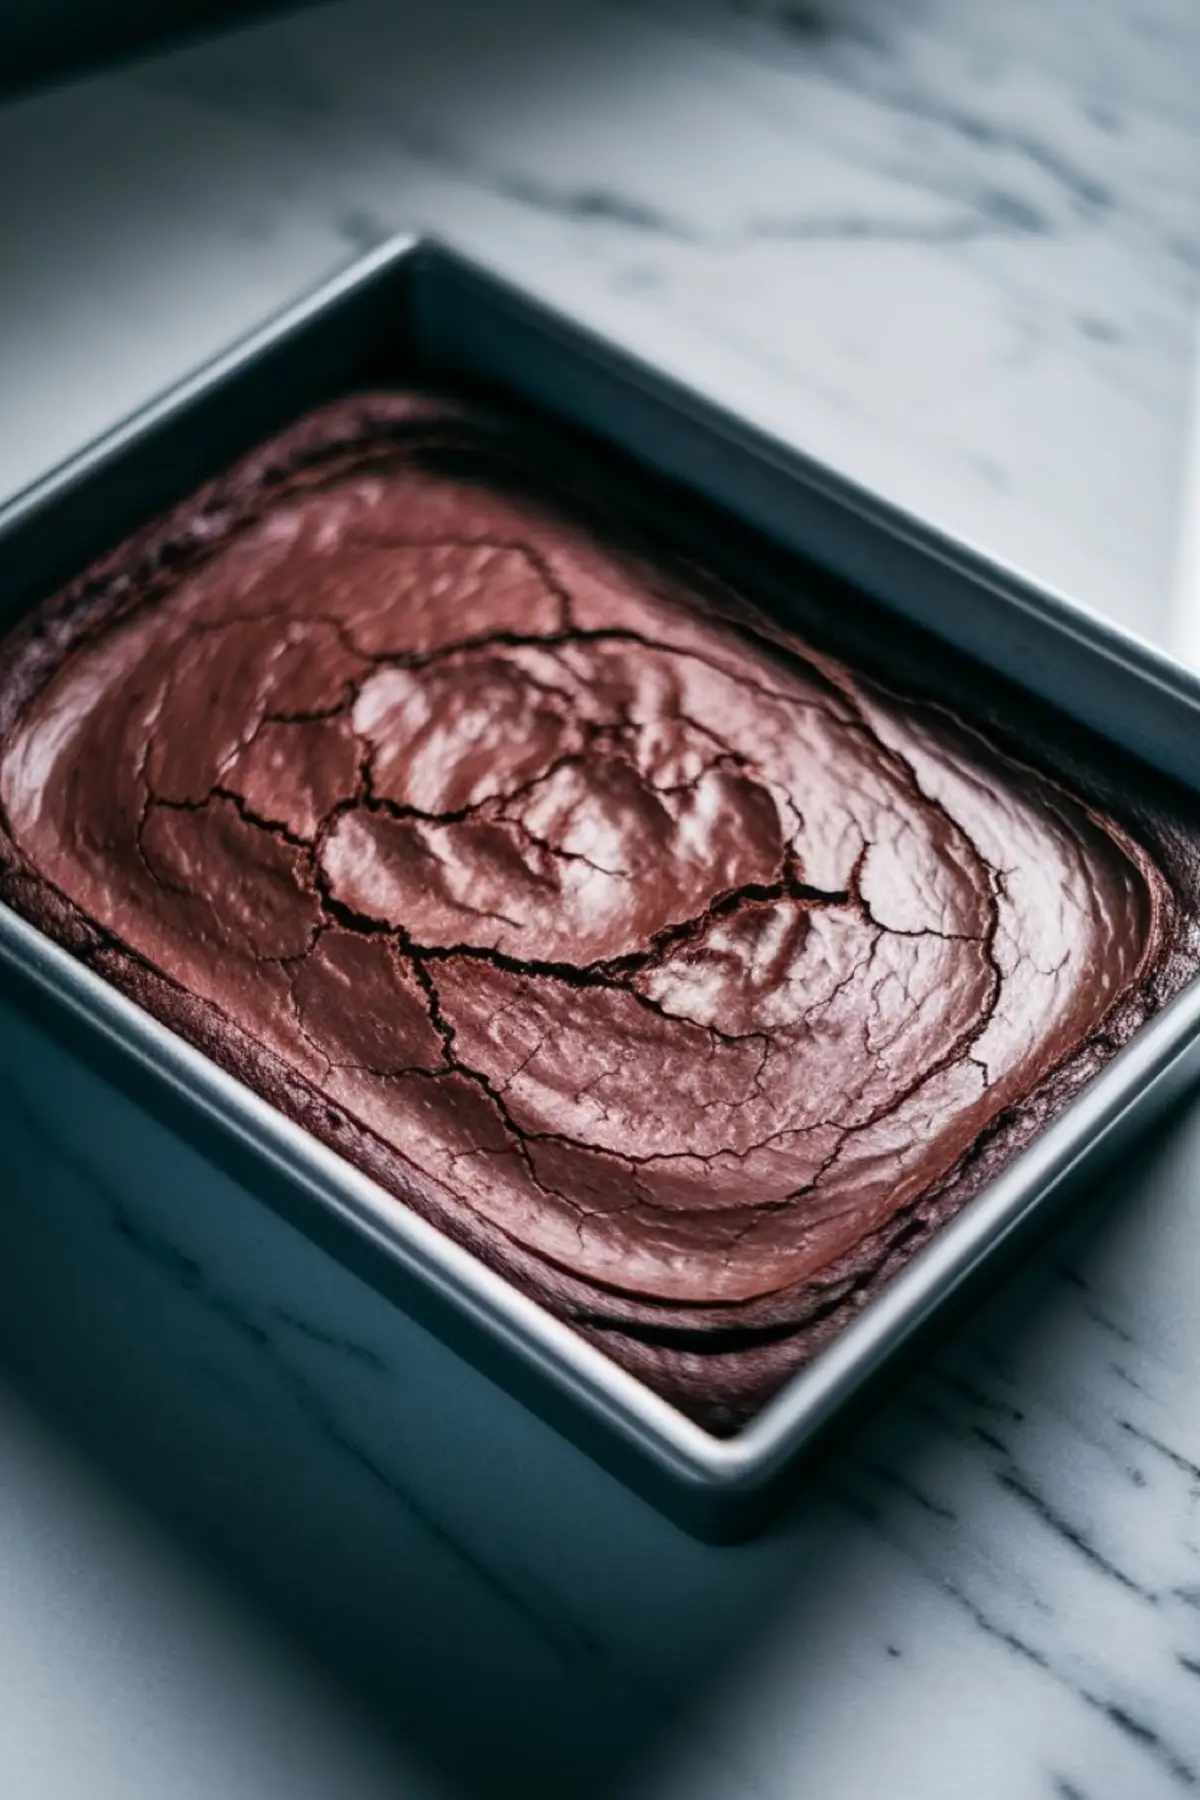
- PREPARE THE BROWNIE LAYER: Preheat the oven to 350°F (175°C). Grease and line a 9x13-inch baking pan with parchment paper. In a large bowl, whisk together the melted butter, granulated sugar, and brown sugar until well combined. Add the eggs and vanilla extract, whisking until smooth. In a separate bowl, sift together the flour, cocoa powder, salt, and baking powder. Gradually fold the dry ingredients into the wet mixture, stirring just until combined. Do not overmix.
- BAKE THE BROWNIE LAYER: Pour the batter into the prepared pan and spread it evenly. Bake for 30-35 minutes, or until a toothpick inserted in the center comes out with a few moist crumbs. Allow the brownie layer to cool completely in the pan before proceeding.
- SLICE THE BROWNIE IN HALF: Once fully cooled, carefully remove the brownie from the pan. Using a long, sharp knife, cut the brownie horizontally into two equal layers. Place one half back into the baking pan to serve as the base layer. Set the other half aside.
- MAKE THE MINT CREAM LAYER: In a medium bowl, beat the softened butter with an electric mixer until fluffy. Gradually add the powdered sugar, continuing to beat until smooth. Mix in the heavy cream, peppermint extract, and green food coloring until the mixture is creamy and pale green. Spread the mint cream evenly over the bottom brownie layer in the pan. Place the pan in the refrigerator and let it chill for at least 30 minutes to firm up.
- ADD THE SECOND BROWNIE LAYER: Once the mint layer is firm, carefully place the second brownie layer on top. Gently press it down so it adheres to the mint layer without squishing it.
- PREPARE THE CHOCOLATE GANACHE: In a heatproof bowl, combine the chocolate chips, heavy cream, and butter. Microwave in 20-second intervals, stirring between each, until the chocolate is fully melted and smooth. Let the ganache cool slightly, then pour it over the top brownie layer, using a spatula to spread it evenly.
- CHILL AND SERVE: Refrigerate the brownies for at least 1 hour to allow the ganache to set. Once firm, slice into squares and serve.
Notes
Cutting the Brownie Layers: To make slicing the brownie in half easier, chill it in the refrigerator for 30 minutes before cutting. Use a long serrated knife for cleaner cuts.
Adjusting Mint Flavor: Increase or decrease the peppermint extract based on taste preference. Start with ½ teaspoon if a milder flavor is desired.
Ganache Consistency: Let the ganache cool for a few minutes before pouring to prevent it from being too runny. If it thickens too much, microwave it for a few seconds to loosen.
Storage: Store brownies in an airtight container in the refrigerator for up to 5 days. Let them sit at room temperature for a few minutes before serving for a softer texture.
Freezing Option: Wrap individual brownies tightly in plastic wrap and store in an airtight container in the freezer for up to 2 months. Thaw in the refrigerator before serving.
Nutrition Information
Yield
16Serving Size
1Amount Per Serving Calories 116Total Fat 7gSaturated Fat 3gTrans Fat 0gUnsaturated Fat 3gCholesterol 59mgSodium 121mgCarbohydrates 11gFiber 0gSugar 3gProtein 3g