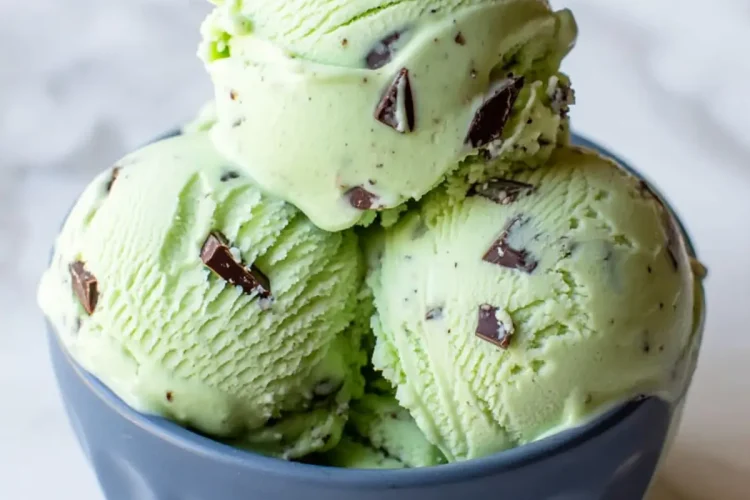
Mint chocolate chip ice cream has been boxed into a bright green stereotype. Too often it tastes like toothpaste or melts into thin, icy spoons of regret. But when you make it yourself—when you control the creaminess, the chocolate ratio, the flavor—you never go back. This version uses a custard base, which gives it an elegant richness. You’re not just freezing milk and hoping for the best. You’re building a frozen dessert that holds together with structure and intention.
You’ll learn here how to make it creamy and balanced. Not too minty. Not too sweet. And absolutely no waxy chips that get stuck in your teeth.
Following a special diet?
Every recipe on this site can be converted to gluten-free, vegan, dairy-free, keto, nut-free or egg-free with adjusted ratios so nothing falls flat.
Try the Recipe Converter →The Difference Custard Makes in Homemade Mint Chocolate Chip Ice Cream
The base starts with egg yolks. That might surprise you if you’re used to churn-and-go recipes that skip the custard step. But if you’ve ever tasted my German Chocolate Cake Frosting, you’ll understand the difference cooked egg yolks make.
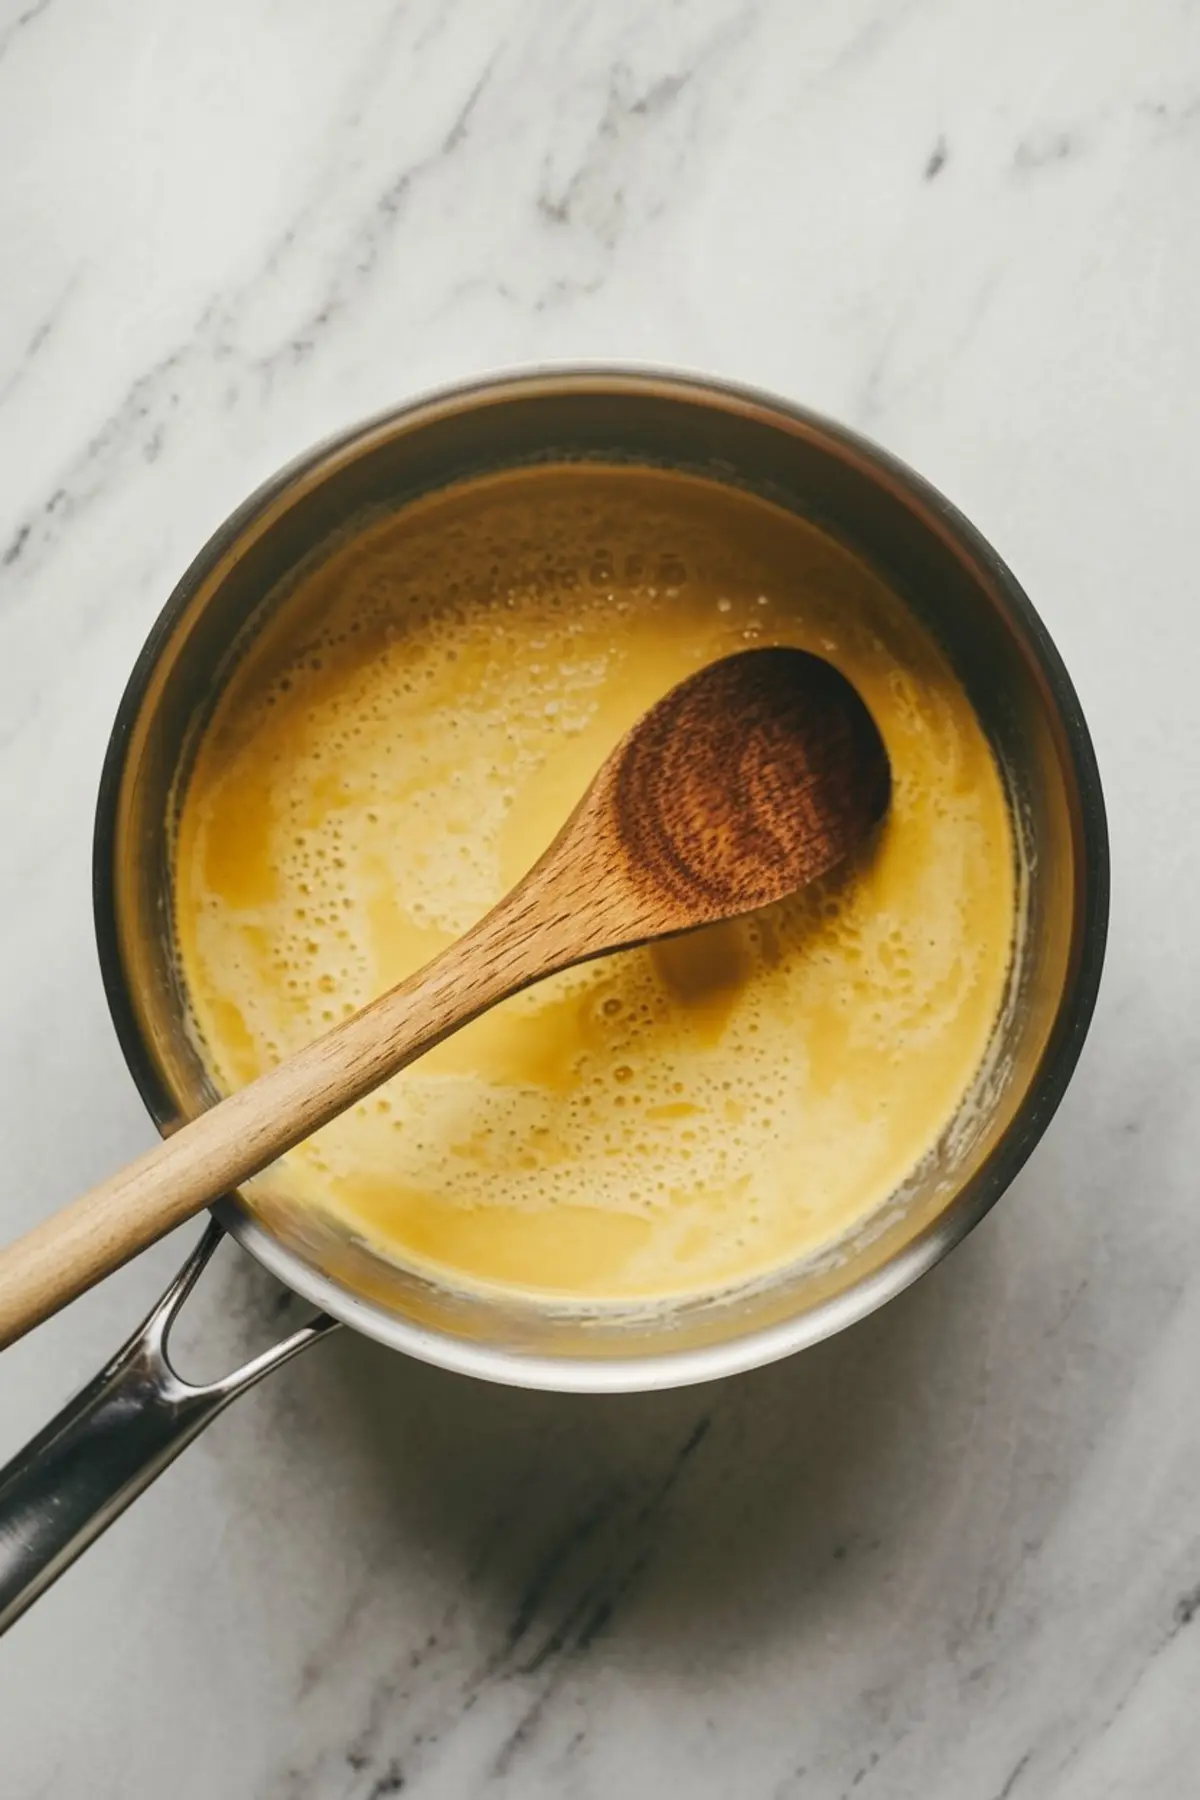
Egg yolks thicken the milk and cream without any cornstarch shortcuts. They give the texture a custard-like density, rich without being heavy. That’s what makes this ice cream spoonable even straight from the freezer. It won’t flake or form that stiff, icy layer you get with no-churn recipes.
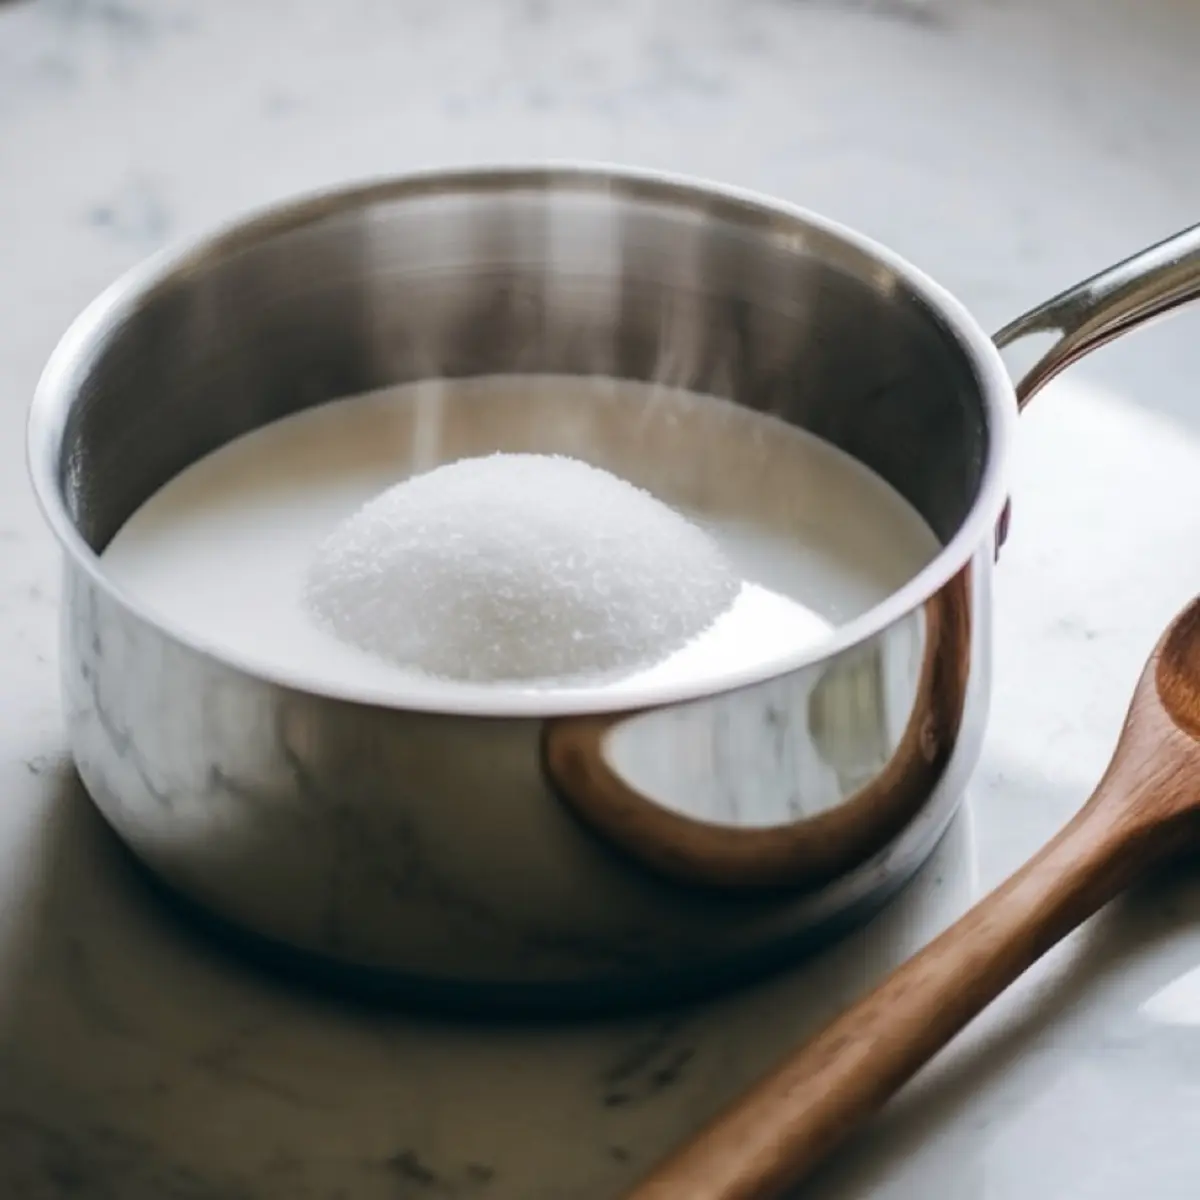
I warm the milk with half the sugar first. That makes it easier to temper the yolks and keeps the sugar from clumping. I don’t rush the heat here. You want steam, not bubbles. Otherwise, you’ll scramble your custard before it’s even begun.
Getting the Peppermint Balance Just Right
This recipe uses peppermint extract. Not spearmint. Not mint flavoring from a dollar bottle. Peppermint hits that familiar mint chocolate chip flavor without making your mouth feel like mouthwash.
If you prefer a deeper herbal note, you can infuse fresh mint into the milk and strain it before whisking in the egg yolks. I’ve done both, depending on what’s growing in the pot on my kitchen windowsill.
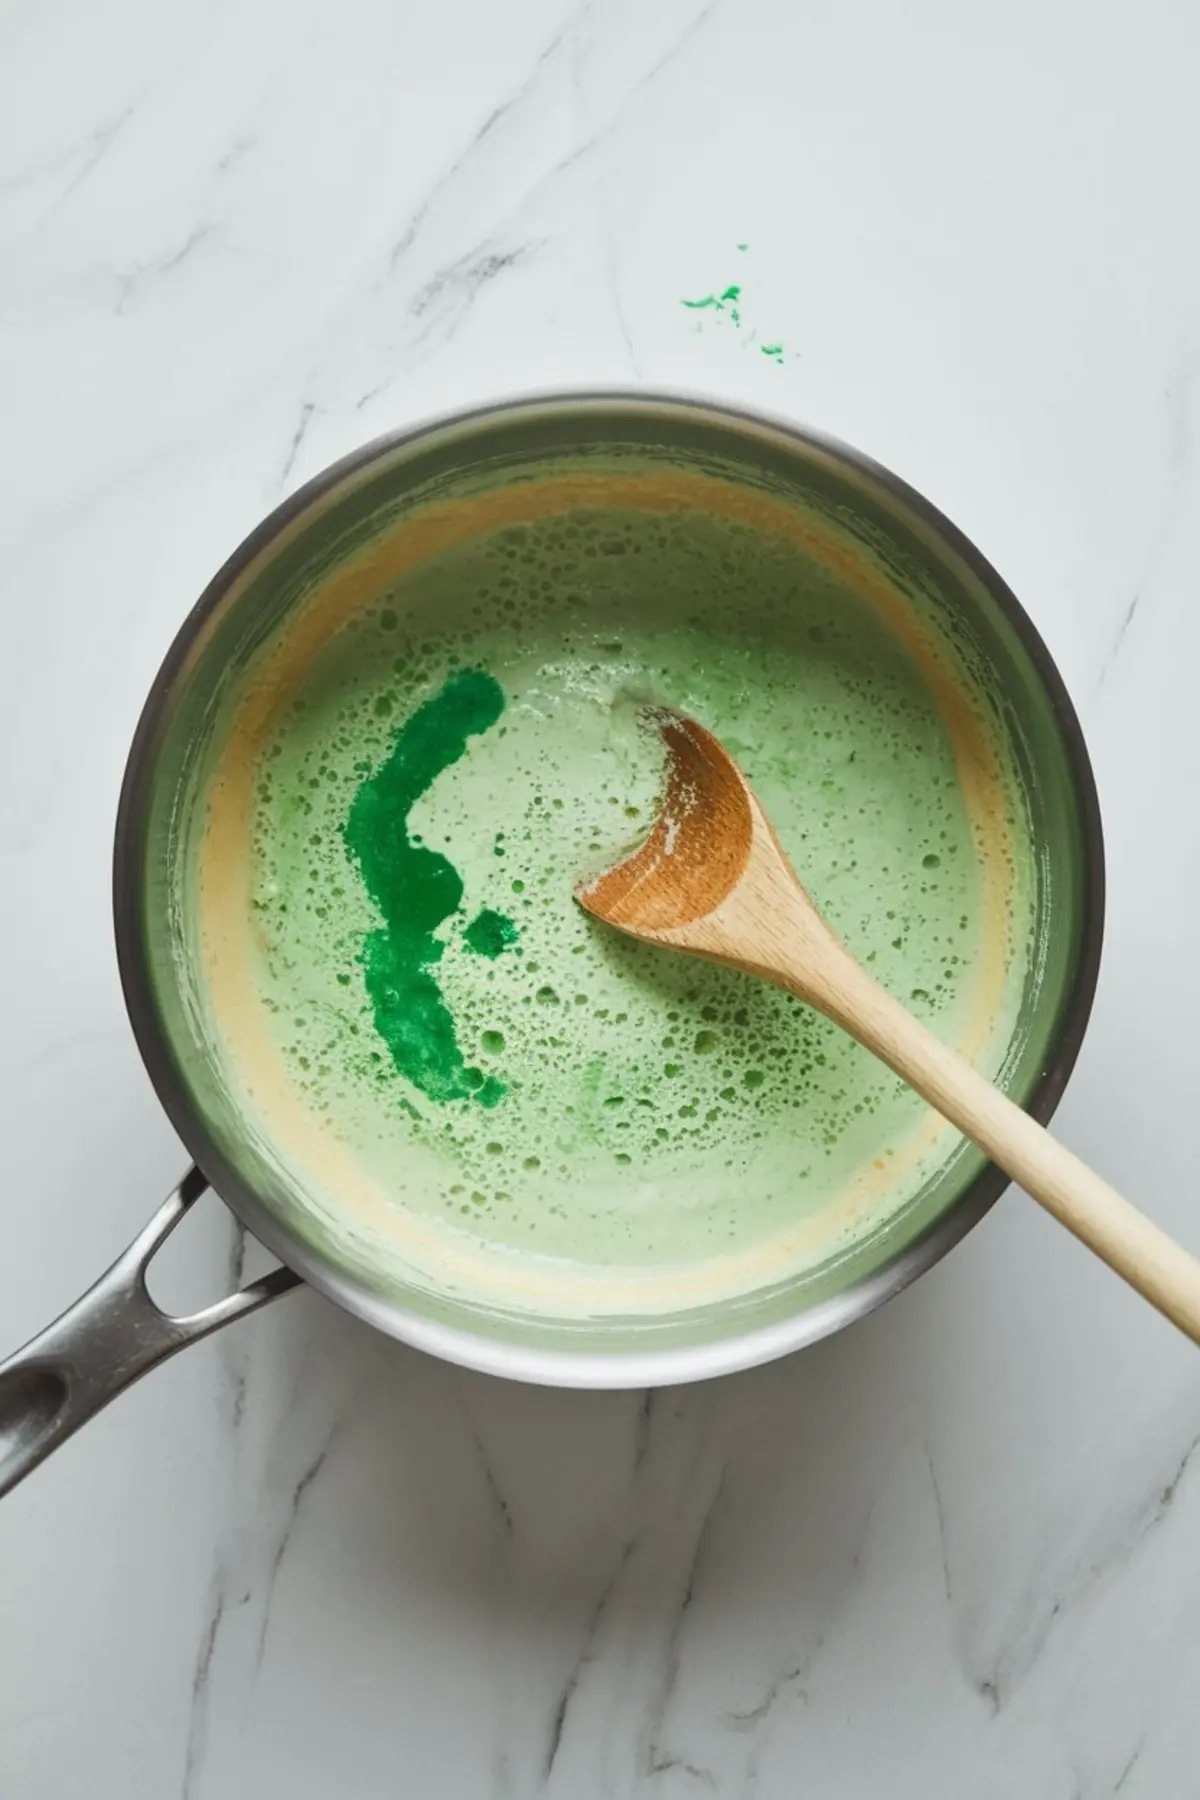
I only add a few drops of green food coloring. Most of the time I skip it. But my kids insist mint chip ice cream has to be green. I gave in once, and now I always add just enough for a pale tint.
Why I Chop Chocolate by Hand Instead of Using Chips
Pre-made chips are waxy and don’t melt in the mouth. You want the chocolate to contrast the cream but still feel soft on the tongue.
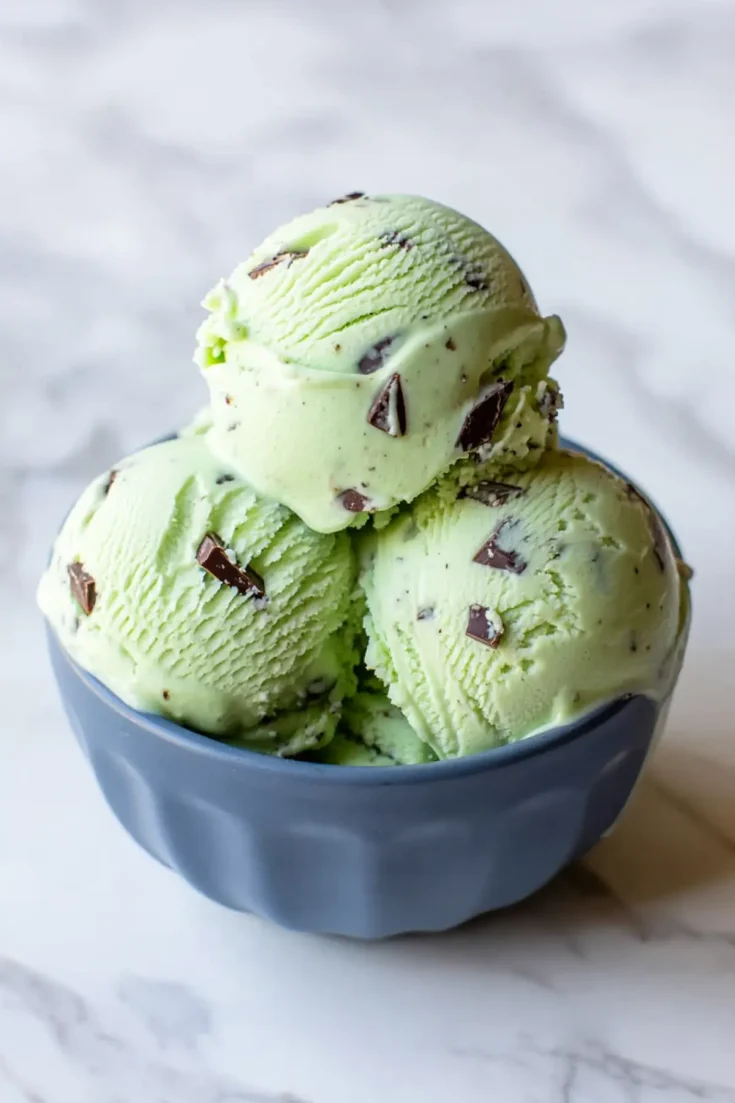
I use a good semi-sweet bar and chop it by hand. The irregular bits melt differently as they touch your tongue. Some bigger, some smaller. They scatter through the mint base like little surprises, each bite slightly different from the last. If you liked the texture in my Chocolate Pistachio Tart, you’ll appreciate that balance here too.
I fold the chocolate in during the final few minutes of churning. That keeps it evenly suspended, so every scoop holds plenty. Not clumped in one place. Not settled to the bottom.
How to Freeze and Store Mint Chocolate Chip Ice Cream the Right Way
After churning, the ice cream is soft like a milkshake. This is the moment to taste it warm. Yes, warm. That’s how I first test the balance. It should taste like the melted edge of a sundae—sweet but still cool, with mint on the exhale.
Then I transfer it to a wide, shallow container. That speeds up freezing and makes it easier to scoop later. I press a piece of parchment directly on the surface before sealing the lid. That trick prevents ice crystals from forming on top.
Stored this way, it stays creamy for up to two weeks. Though in my house, it rarely lasts more than three days. Especially when someone discovers we still have some White Chocolate Cake slices left and decides to sandwich a scoop between.
How I Serve This at Gatherings (and What Surprised Me)
For years I served this as just a scoop. Then one summer, I swirled it over a Chocolate Sheet Cake slice and scattered Chocolate Pistachio Pralines on top. It changed everything.
Suddenly, people who said they didn’t like mint desserts asked for seconds. The cold against the warm cake. The mint against the nutty chocolate. It made the ice cream feel less like a side dish and more like an event.
You can also layer it between cookies or press it into popsicle molds. But it stands strong on its own, too.
Pin and Share – Let’s Make Ice Cream a Community Event
If this recipe found its way into your kitchen, save it on your Pinterest board so it’s easy to find next time you crave something cold, creamy, and genuinely satisfying.
Drop a comment and let me know how yours turned out. Did you go with fresh mint? Did you skip the food coloring? I’d love to hear how you made it your own.
Relevant links to keep readers exploring:
- Try my German Chocolate Cake Frosting
- Make it part of a dessert trio with Chocolate Pistachio Tart
- Serve it with White Chocolate Cake
- Or top it with Chocolate Pistachio Pralines
- Freeze it for a sundae with Chocolate Sheet Cake
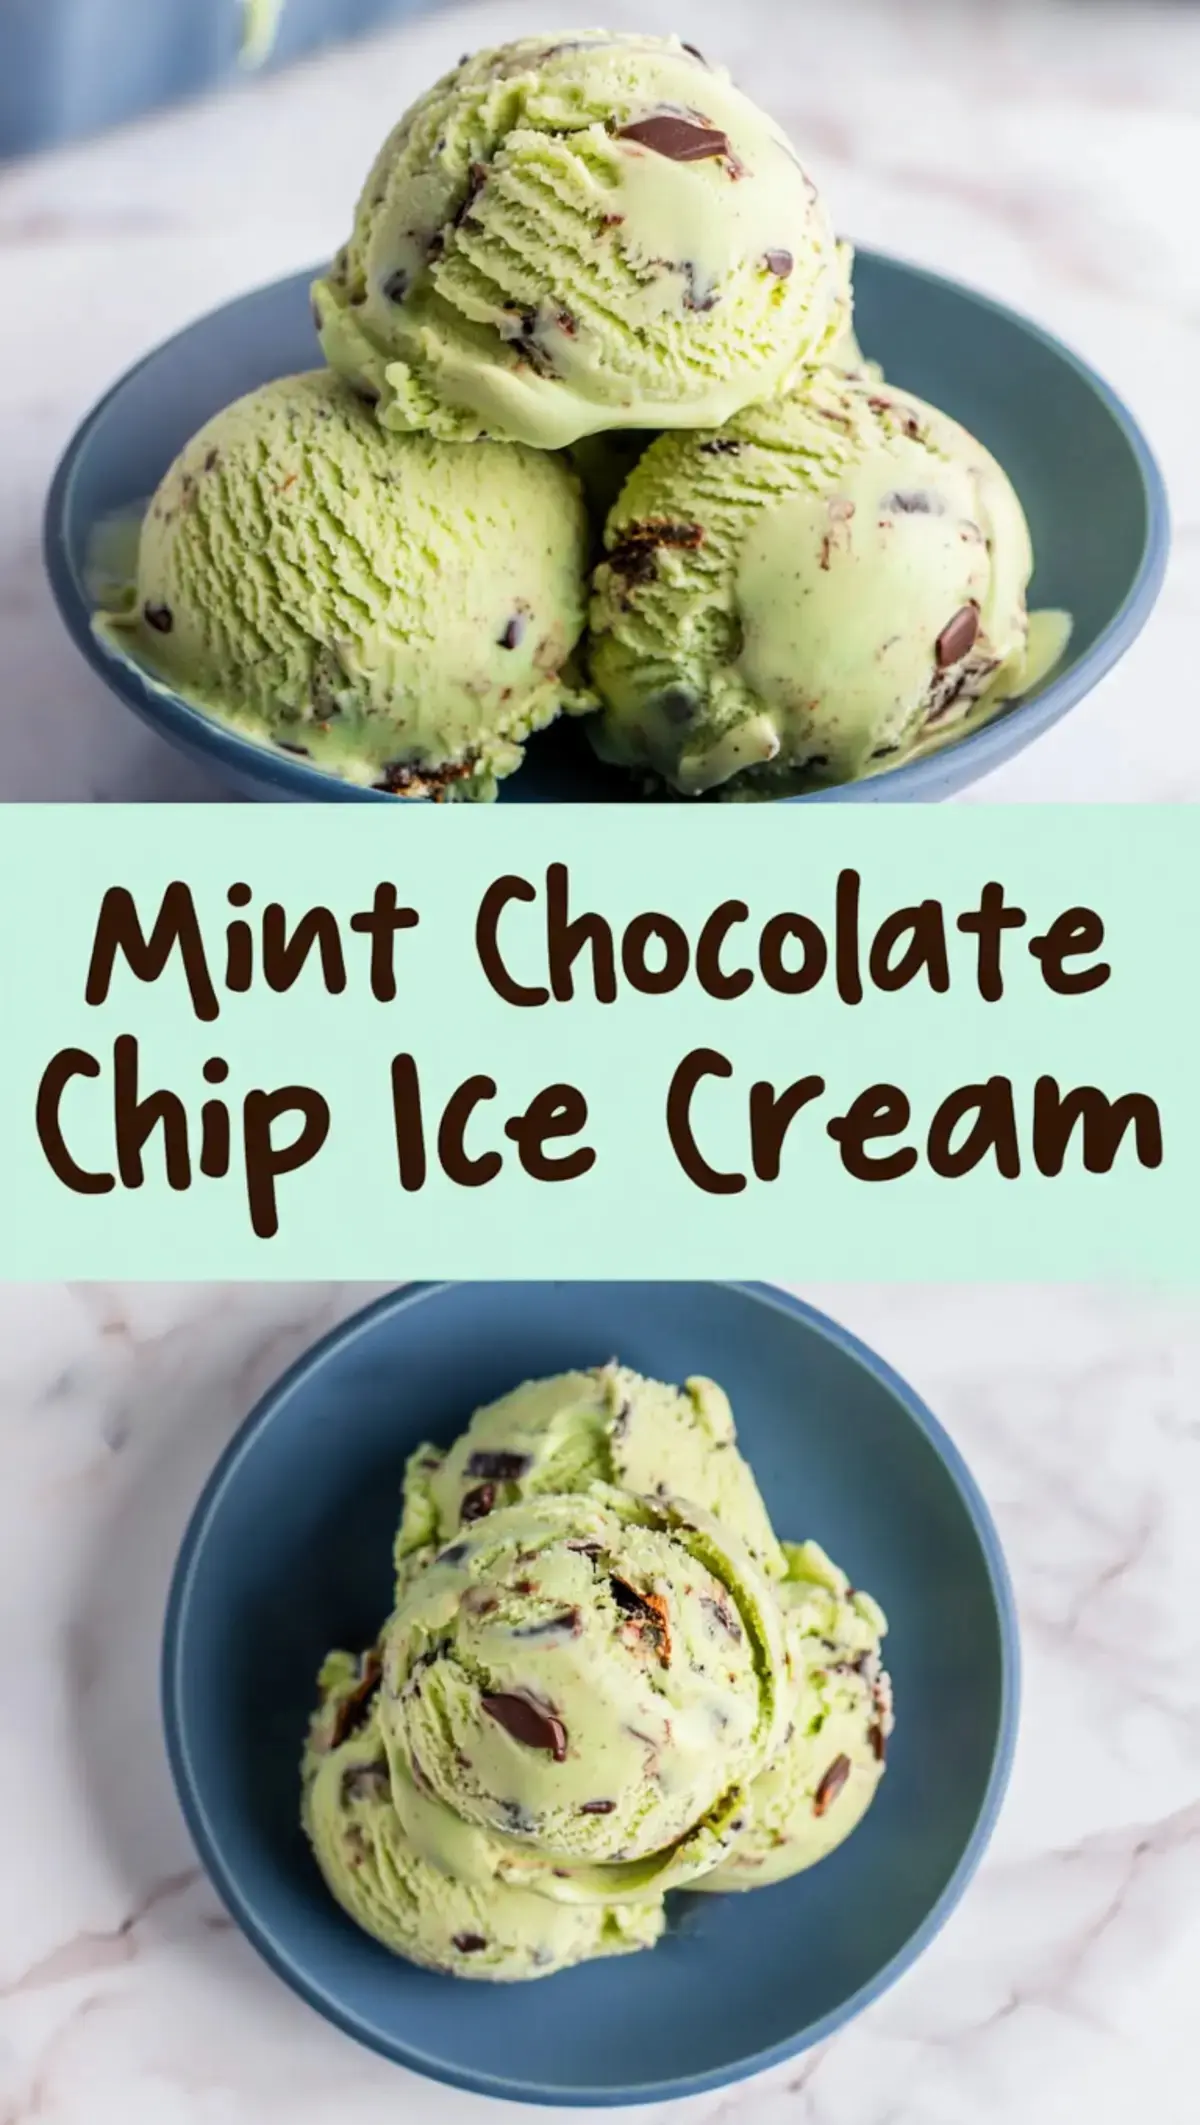
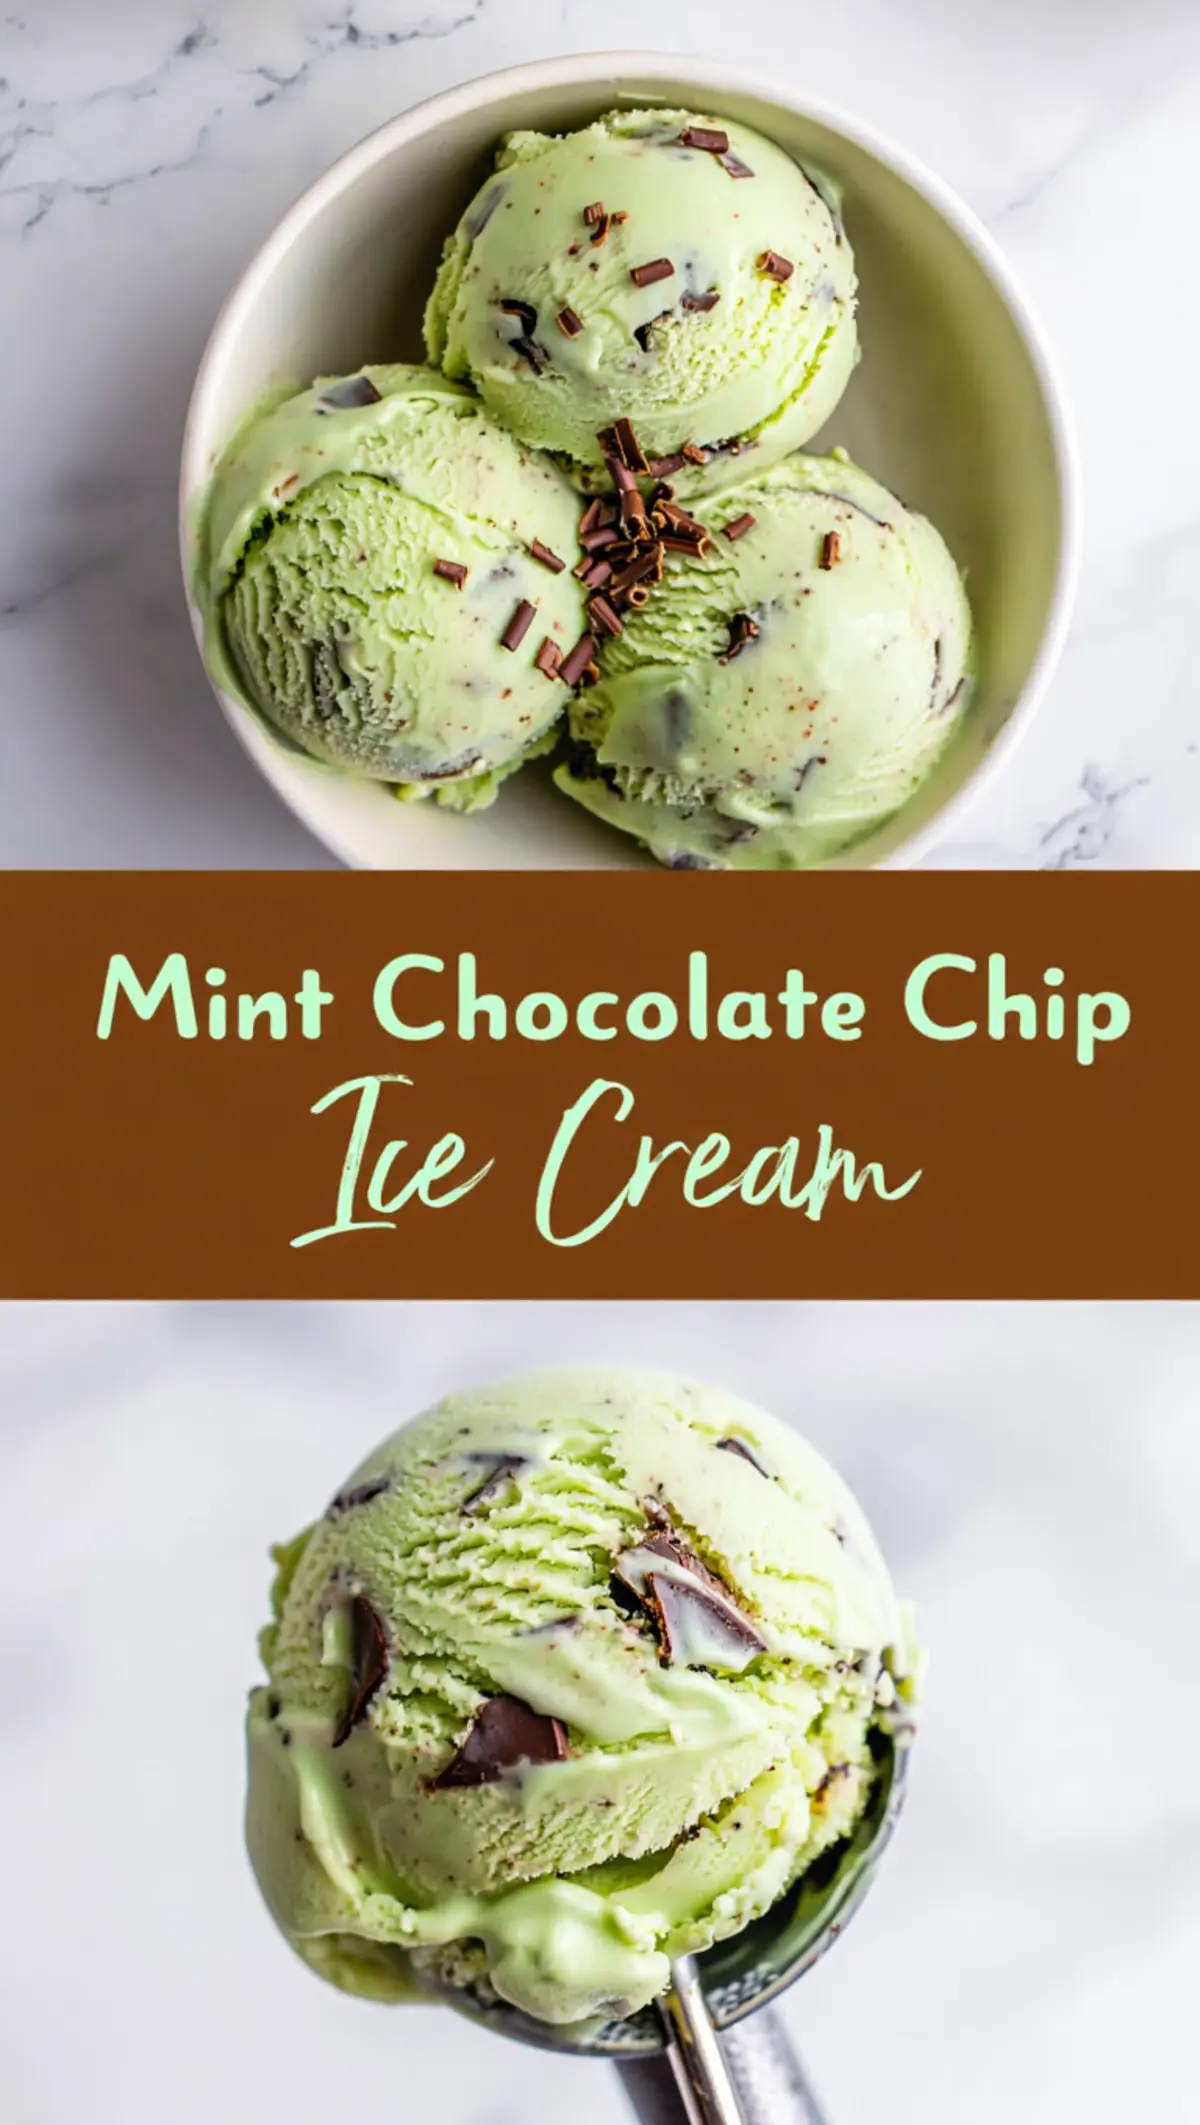
Homemade Mint Chocolate Chip Ice Cream
Mint chocolate chip ice cream combines a cool mint custard base with generous pieces of semi-sweet chocolate. The custard method adds richness and a smooth, creamy texture. This version uses peppermint extract for a classic flavor and can be made with or without green food coloring.
Ingredients
- 2 cups heavy cream
- 1 cup whole milk
- ¾ cup granulated sugar
- 4 large egg yolks
- 1½ teaspoons pure peppermint extract
- A few drops green food coloring (optional)
- 1 cup semi-sweet chocolate chunks or chips
Instructions
- PREPARE THE CUSTARD BASE: In a medium saucepan, combine the milk and half of the sugar. Heat over medium heat until the mixture is steaming but not boiling, stirring occasionally to prevent scorching.
- WHISK THE YOLKS: In a medium bowl, whisk the egg yolks with the remaining sugar until the mixture becomes pale and slightly thickened, about 1–2 minutes of vigorous whisking.
- TEMPER THE EGGS: Slowly pour about ½ cup of the hot milk mixture into the yolk mixture, whisking constantly to prevent curdling. Gradually add the tempered yolk mixture back into the saucepan while whisking continuously.
- COOK THE CUSTARD: Cook the custard over medium heat, stirring constantly with a wooden spoon or heat-safe spatula. Continue cooking until the mixture thickens enough to coat the back of the spoon, about 5–7 minutes. Do not allow the mixture to boil.
- ADD FLAVORING: Remove the pan from heat. Stir in the peppermint extract and green food coloring if using. Pour the custard through a fine mesh sieve into a clean bowl to remove any cooked egg bits.
- CHILL: Let the strained custard cool to room temperature. Cover and refrigerate for at least 4 hours or overnight until thoroughly chilled.
- CHURN THE ICE CREAM: Pour the chilled custard into an ice cream maker and churn according to the manufacturer’s instructions. During the final minutes of churning, add the chopped chocolate so it mixes evenly throughout the ice cream.
- FREEZE: Transfer the churned ice cream to an airtight container. Freeze for at least 4 hours to firm up before serving.
Notes
If you don’t have an ice cream maker, you can pour the chilled custard into a shallow dish, freeze it, and stir vigorously every 30–45 minutes for 3–4 hours to break up ice crystals. For a more intense mint flavor, infuse the milk with fresh mint leaves before beginning the custard (then strain them out).