
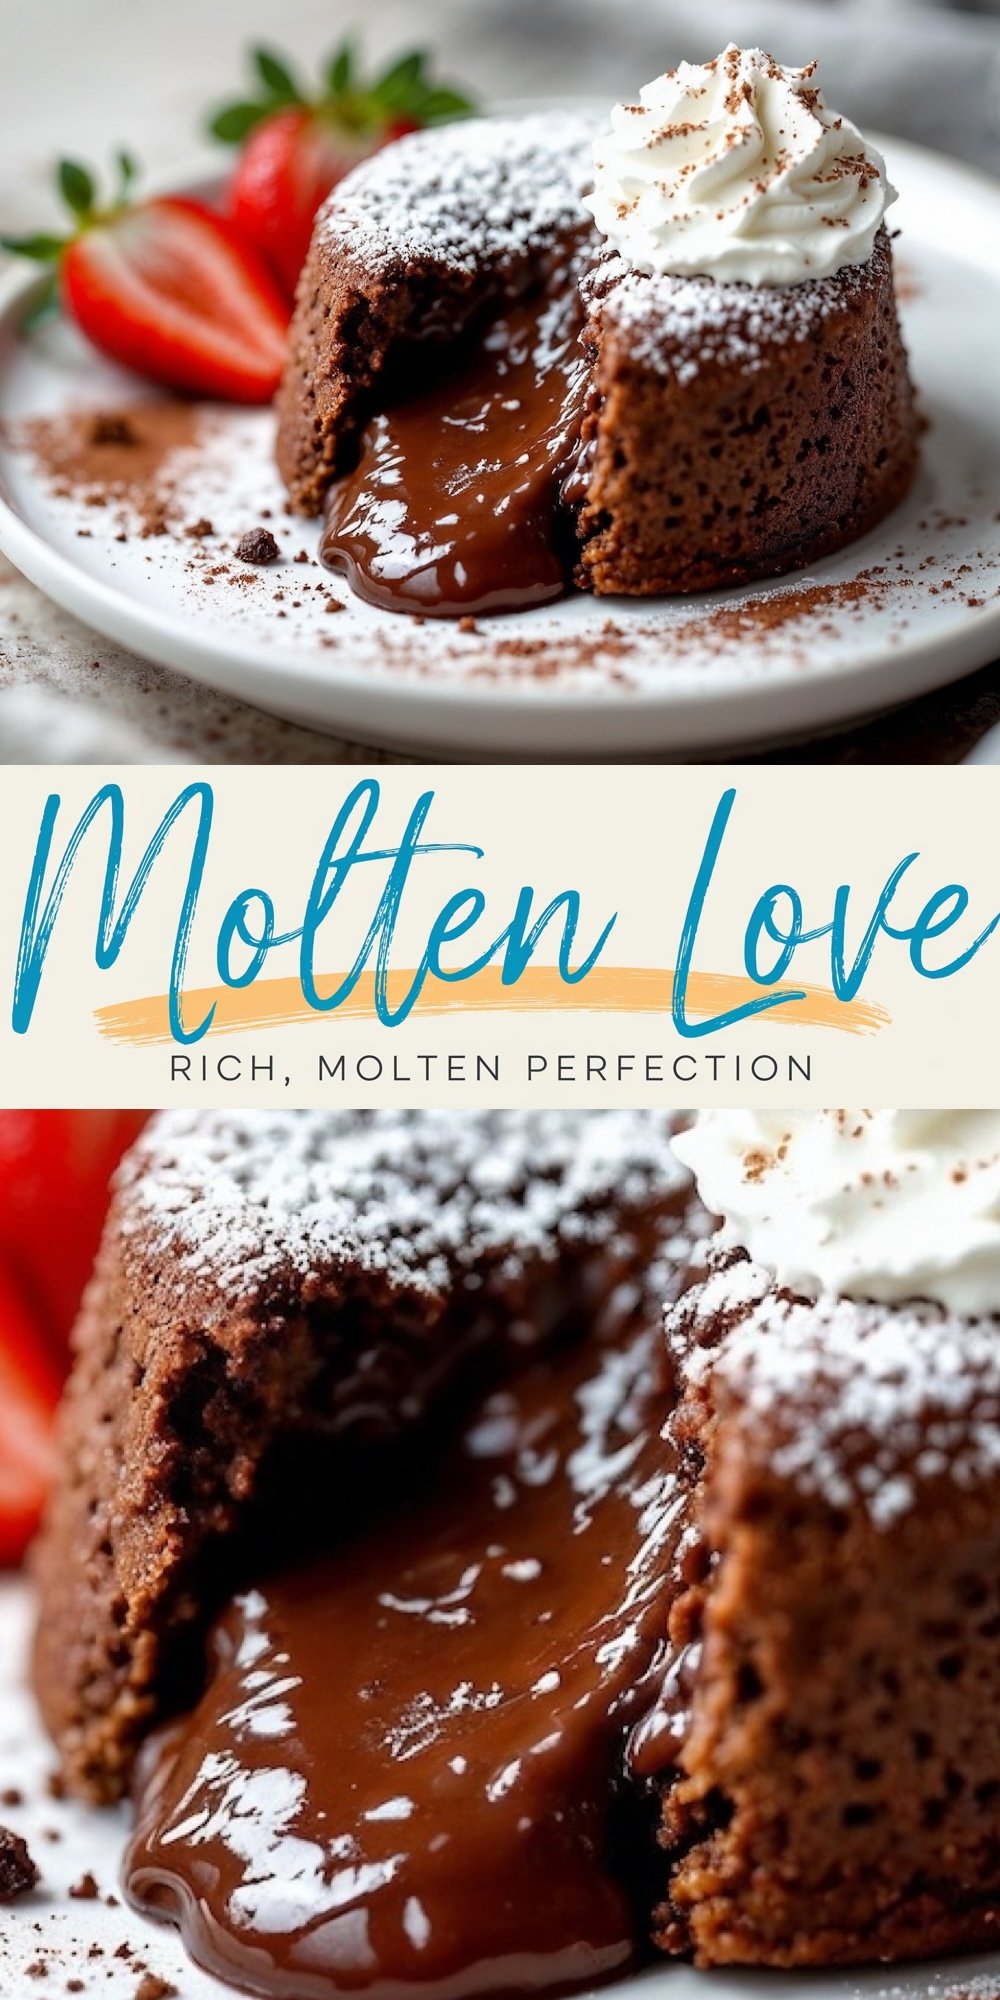
I often turn to chocolate lava cake when I want a dessert that delivers pure satisfaction. I have served it on quiet weekday evenings and during festive gatherings. People see the glossy center flow and their eyes light up. You can create that same experience at home with basic ingredients and a steady approach.
Following a special diet?
Every recipe on this site can be converted to gluten-free, vegan, dairy-free, keto, nut-free or egg-free with adjusted ratios so nothing falls flat.
Try the Recipe Converter →Why This Dessert Shines
Chocolate lava cake brings drama. Each cake forms a delicate shell that holds a liquid core. Cutting into that center feels like a small triumph. You taste smooth chocolate that warms your senses. You can bake these cakes fast, which makes them suitable for spontaneous cravings or planned dinners. I also love how each cake stands as its own portion, so every guest has a personal treat.
My List of Ingredients

I reach for just a few common items. High-quality chocolate defines the flavor. Semi-sweet or dark chocolate works well, and I prefer at least 60% cocoa for a bold taste. I melt it with butter because that creates the velvety base. Eggs, extra yolks, sugar, and a small amount of flour shape the batter. A sprinkle of salt sharpens the chocolate flavor.
• Chocolate: Seek good bars with a high cocoa percentage.
• Butter: Adds a creamy mouthfeel.
• Eggs + Extra Yolks: Keep the center soft and the edges set.
• Sugar: Sweetens without overshadowing the richness.
• Flour: Binds the batter.
• Salt: Enhances taste.
You’ll also need four small ramekins or oven-safe cups to bake the cakes. These individual portions ensure everyone gets their own little masterpiece.

A Simple Method
1. Grease the Ramekins
I butter each ramekin and dust it with cocoa powder. This step helps the cakes release cleanly later.
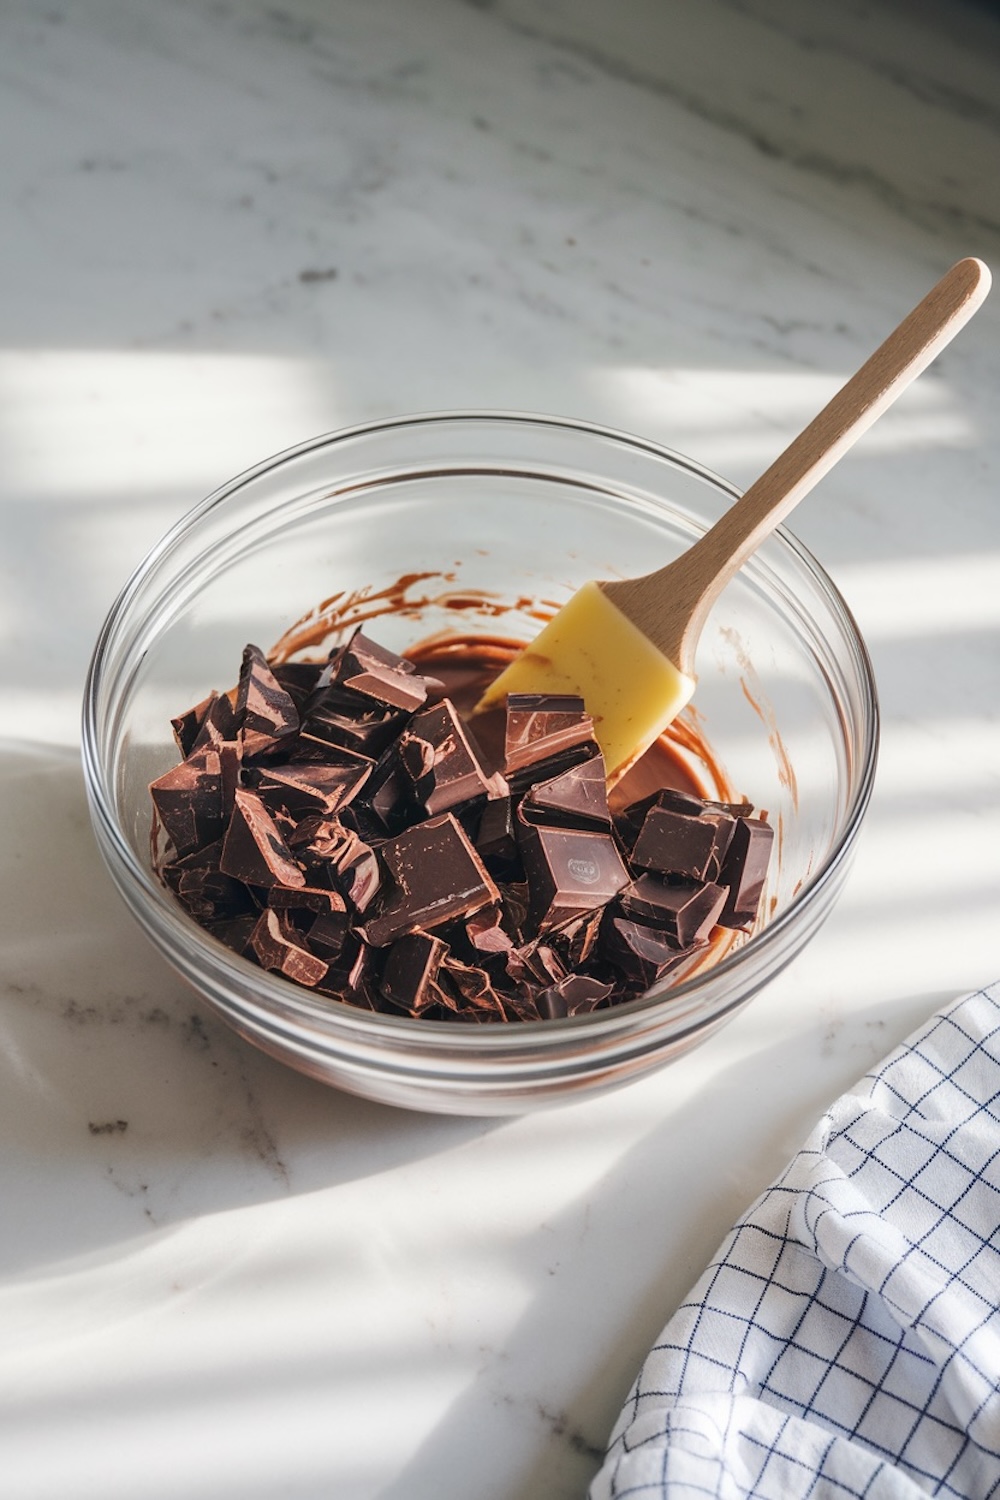
2. Melt Chocolate and Butter
I warm chocolate and butter together, often in the microwave in short bursts, stirring each time. The mix should look glossy and smooth.
3. Whisk Eggs and Sugar
I whisk the eggs, extra yolks, and sugar in a bowl. I aim for a slightly foamy texture. This step adds air, which keeps the dessert light around the edges.
4. Combine Everything
I pour the melted chocolate mixture into the whipped eggs, stirring to prevent lumps. I add flour and salt, mixing gently. The batter develops a thick, luxurious consistency.
5. Fill and Bake
I distribute the batter evenly into the prepared ramekins. A 450°F (230°C) oven usually takes 10–12 minutes to produce the lava center. I keep my eye on them. The edges appear set, but the middle should jiggle a little when tapped.
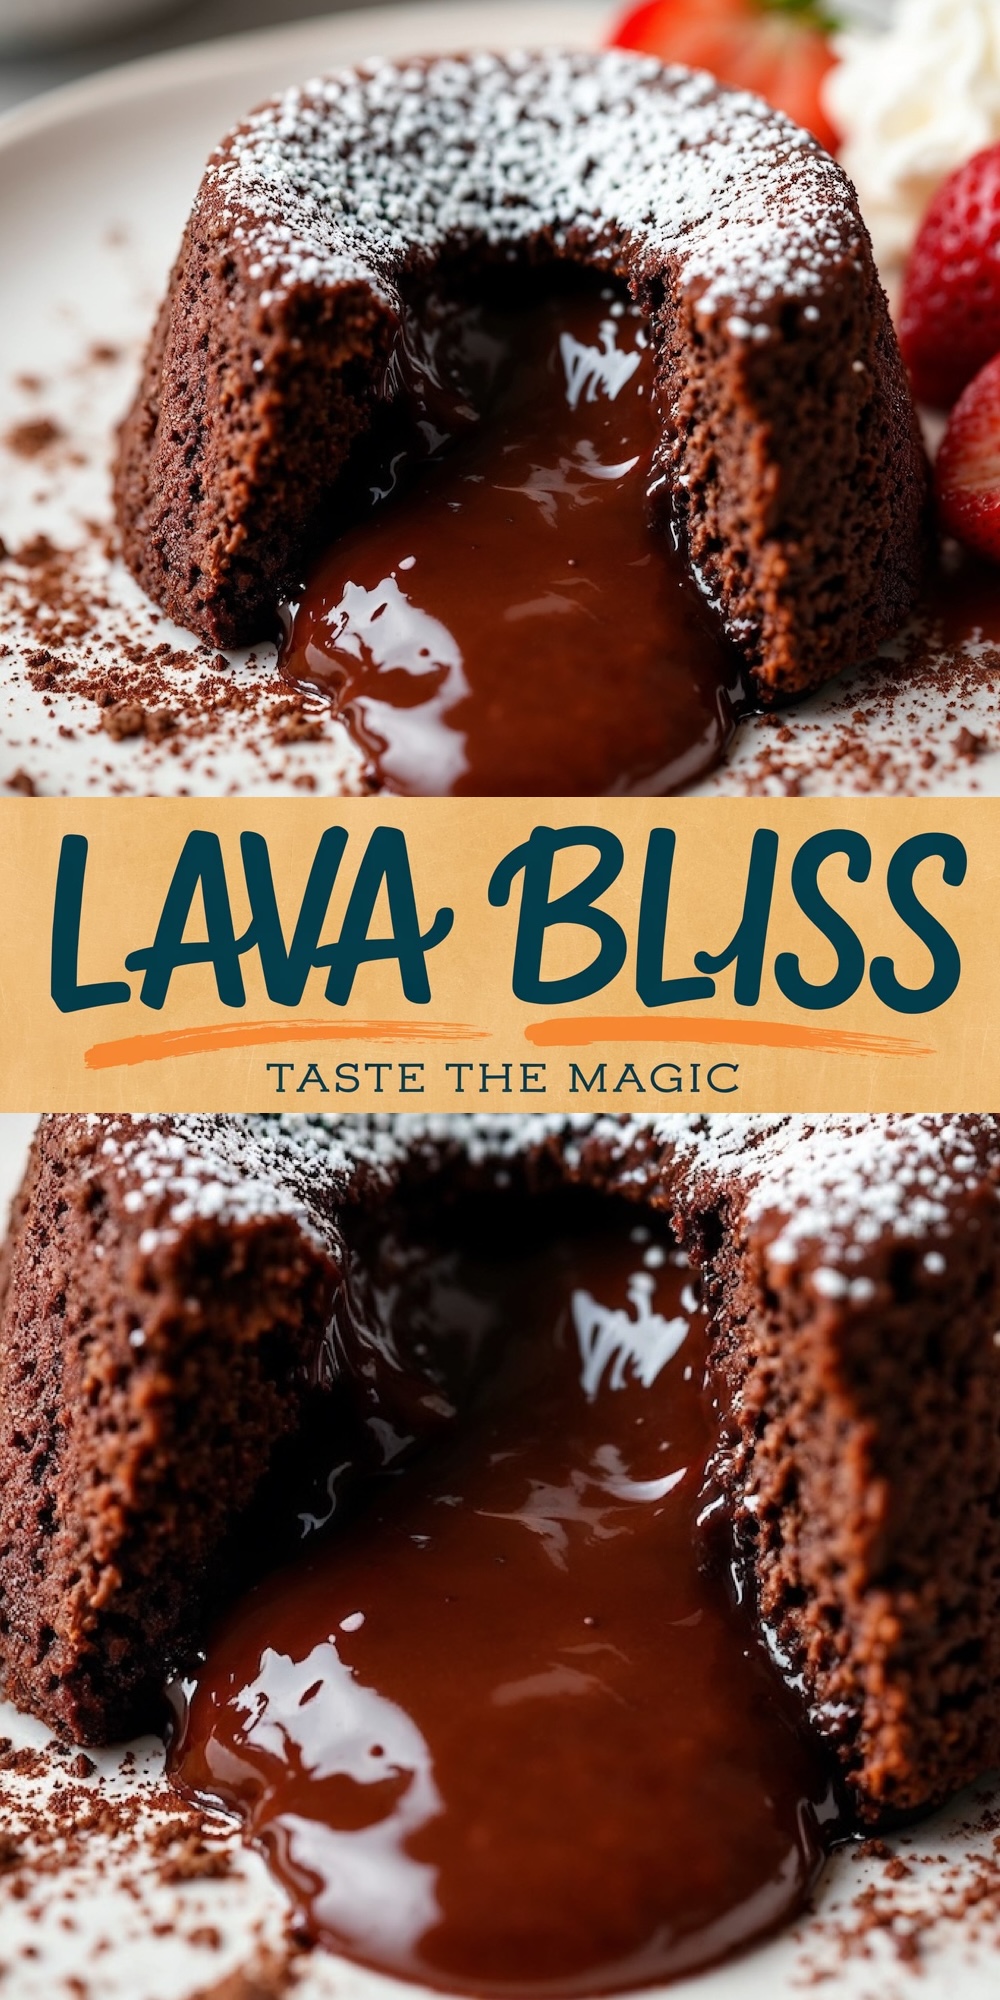
Getting That Molten Middle
I always test one cake if I’m unsure. A minute too long can turn the lava core into a soft center instead of a liquid pool. You can still enjoy that, but the drama lessens. My goal is a thin layer of cooked cake on the outside and a molten inside that seeps onto the plate.
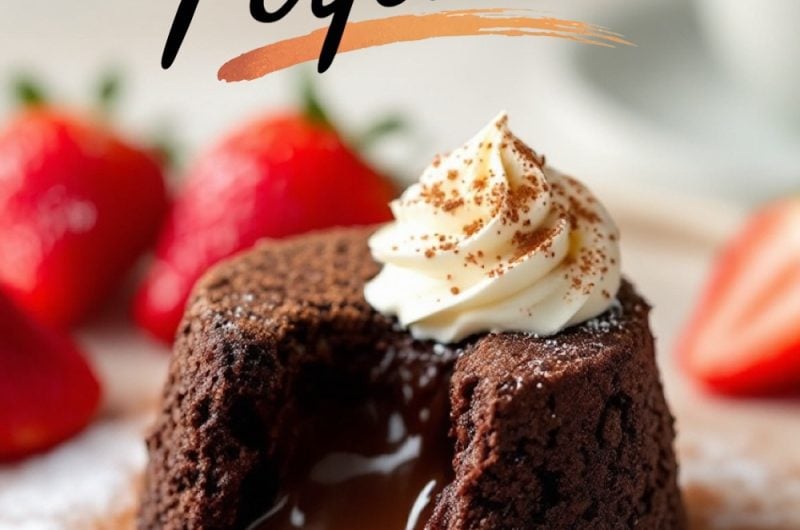
Serving Suggestions
I sometimes invert the cakes onto plates. I often top them with powdered sugar or a light cocoa dusting. Whipped cream or vanilla ice cream creates a pleasant contrast. Berries add a bright, tangy note. You can drizzle caramel sauce if you crave extra sweetness.
I remember the time I served this dessert at a small family dinner. My cousin took her first bite and paused, eyes closed, savoring the rich center. That reaction reminded me why I keep this recipe close. You will likely witness the same delight from your guests.
Helpful Tips
• Choose Quality Chocolate: Good chocolate yields a better taste.
• Check Oven Heat: An oven thermometer can confirm that you have consistent heat.
• Slight Rest: Let the baked cakes rest for a minute before flipping them.
• Plan Ahead: The batter can rest in the fridge for a day. Add an extra minute or two to the baking time if it’s chilled.
Pin and Share
Chocolate lava cake combines speed, simplicity, and decadence. You can add flair with whipped cream or keep it minimal with a light dusting of sugar. I admire how a small cup of batter can turn into a flowing center of joy. Save this recipe, pin it, and enjoy those indulgent moments whenever you please. Your kitchen can become the sweet spot for molten chocolate bliss.
Chocolate Lava Cake Recipe
Course: Cake Ideas4
servings10
minutes10
minutes350
kcalIngredients
- For 4 individual chocolate lava cakes, you’ll need:
1/2 cup (113g) unsalted butter, plus extra for greasing the molds
4 oz (115g) semi-sweet or dark chocolate, chopped
2 large eggs
2 large egg yolks
1/4 cup (50g) granulated sugar
Pinch of salt
2 tablespoons (15g) all-purpose flour
Optional garnishes: powdered sugar, whipped cream, cocoa powder, and fresh strawberries
Steps
- Step 1: Prepare the Molds
- Preheat your oven to 450°F (230°C).
- Butter 4 ramekins (6-oz size) generously and lightly dust with cocoa powder or flour. This ensures the cakes release cleanly when flipped.
- Step 2: Melt the Chocolate and Butter
- Place the chopped chocolate and butter in a heatproof bowl.
- Melt them together over a double boiler or microwave in 20-second increments, stirring each time until smooth and glossy. Let the mixture cool slightly.
- Step 3: Mix the Batter
- In a separate bowl, whisk together the eggs, egg yolks, sugar, and a pinch of salt until pale and slightly frothy (about 2 minutes).
- Gradually pour the melted chocolate mixture into the eggs, whisking continuously so the eggs don’t scramble.
- Gently fold in the flour using a spatula until just combined. Be careful not to overmix.
- Step 4: Fill and Bake
- Divide the batter evenly between the prepared ramekins.
- Place the ramekins on a baking sheet and bake for 10-12 minutes. The tops should look set, but the center will still be soft.
- Step 5: Rest and Serve
- Let the cakes rest for 1 minute after baking.
- Run a knife along the edges of the ramekins, then carefully invert each one onto a plate.
- Dust with powdered sugar, add a dollop of whipped cream, and serve with fresh strawberries or any toppings of your choice.