
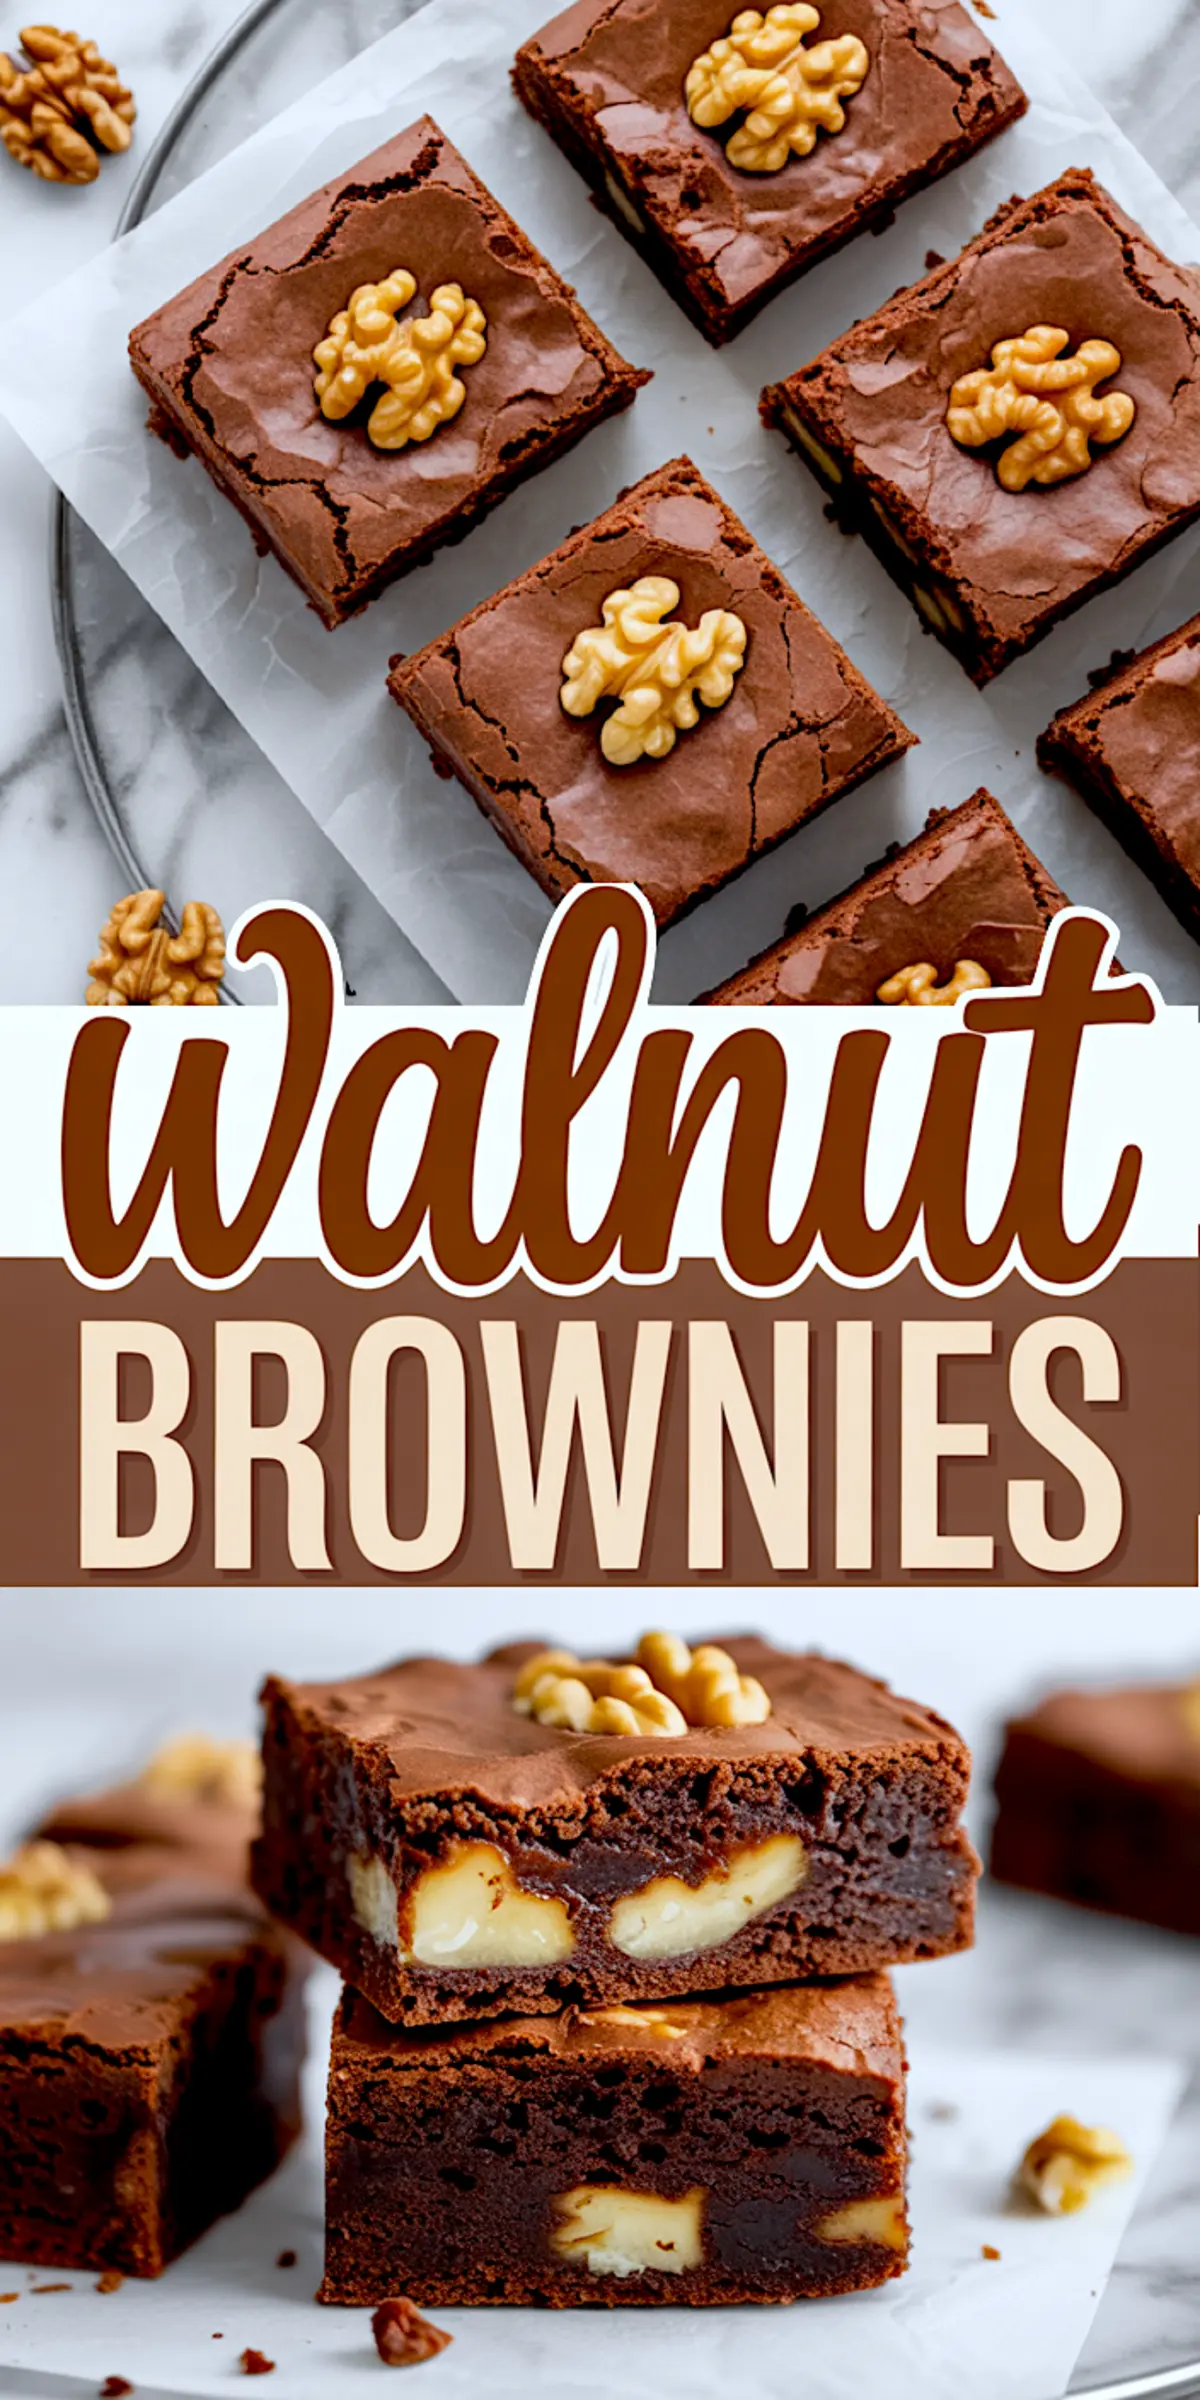
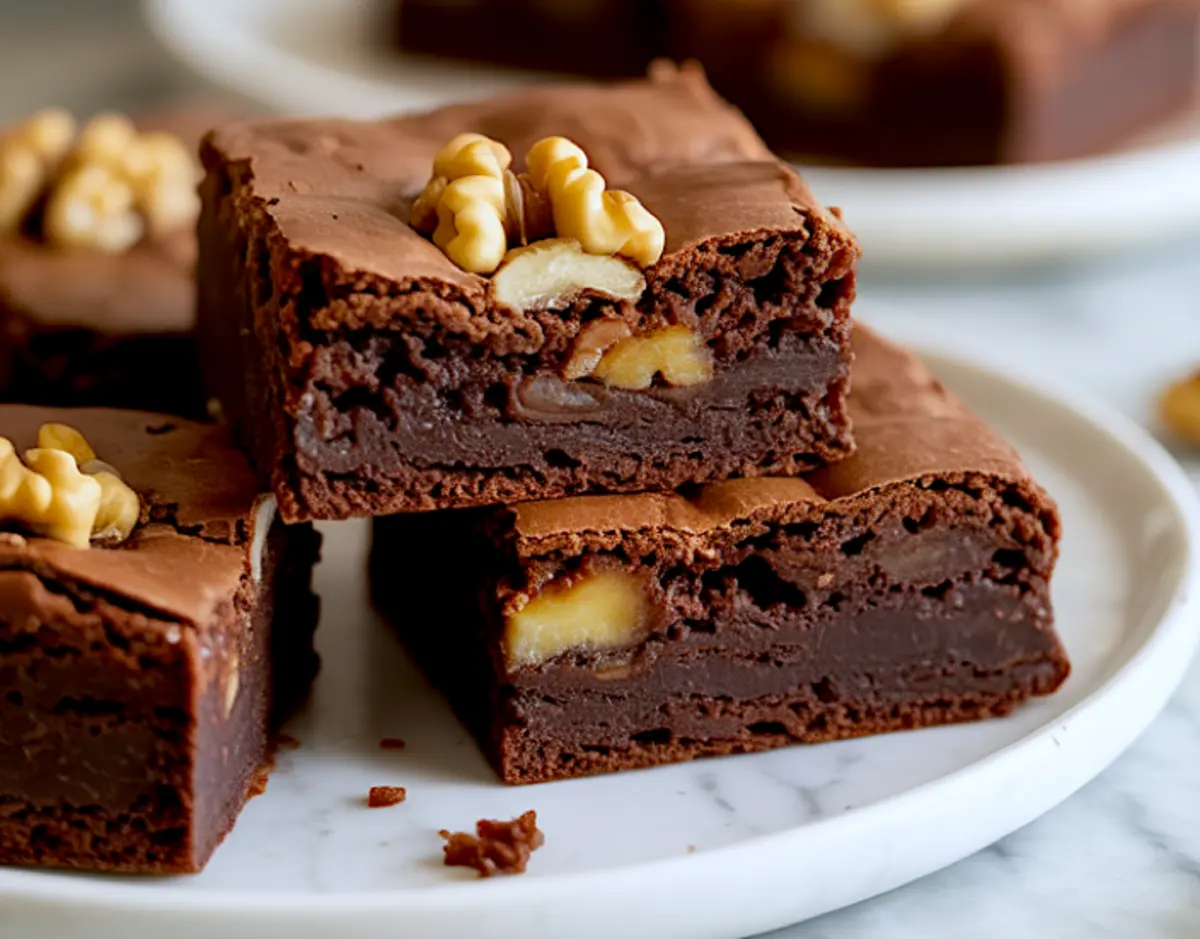
There are brownies that crumble. There are brownies that lean more cake than chew. And then there are these. This walnut brownie recipe gives you chewy edges, a dense center, and enough crunch to balance the richness. You’ll get a full chocolate walnut brownie experience with every bite, and that’s not easy to achieve.
You’ll learn exactly how to make brownies with walnuts that slice cleanly, bake evenly, and stay fudgy for days. This isn’t a recipe for beginners alone. It’s a go-to even for experienced bakers who’ve been disappointed by too many dry, cakey brownies pretending to be fudgy. I’ve tested dozens of brownies with walnuts recipes. This is the one I rely on.
Use it as your go-to for chewy brownies with glossy tops and pockets of toasted walnut crunch. You won’t need frosting, just the right ratio of melted chocolate to cocoa powder.
Following a special diet?
Every recipe on this site can be converted to gluten-free, vegan, dairy-free, keto, nut-free or egg-free with adjusted ratios so nothing falls flat.
Try the Recipe Converter →Key Ingredients That Make These Brownies Fudgy and Balanced
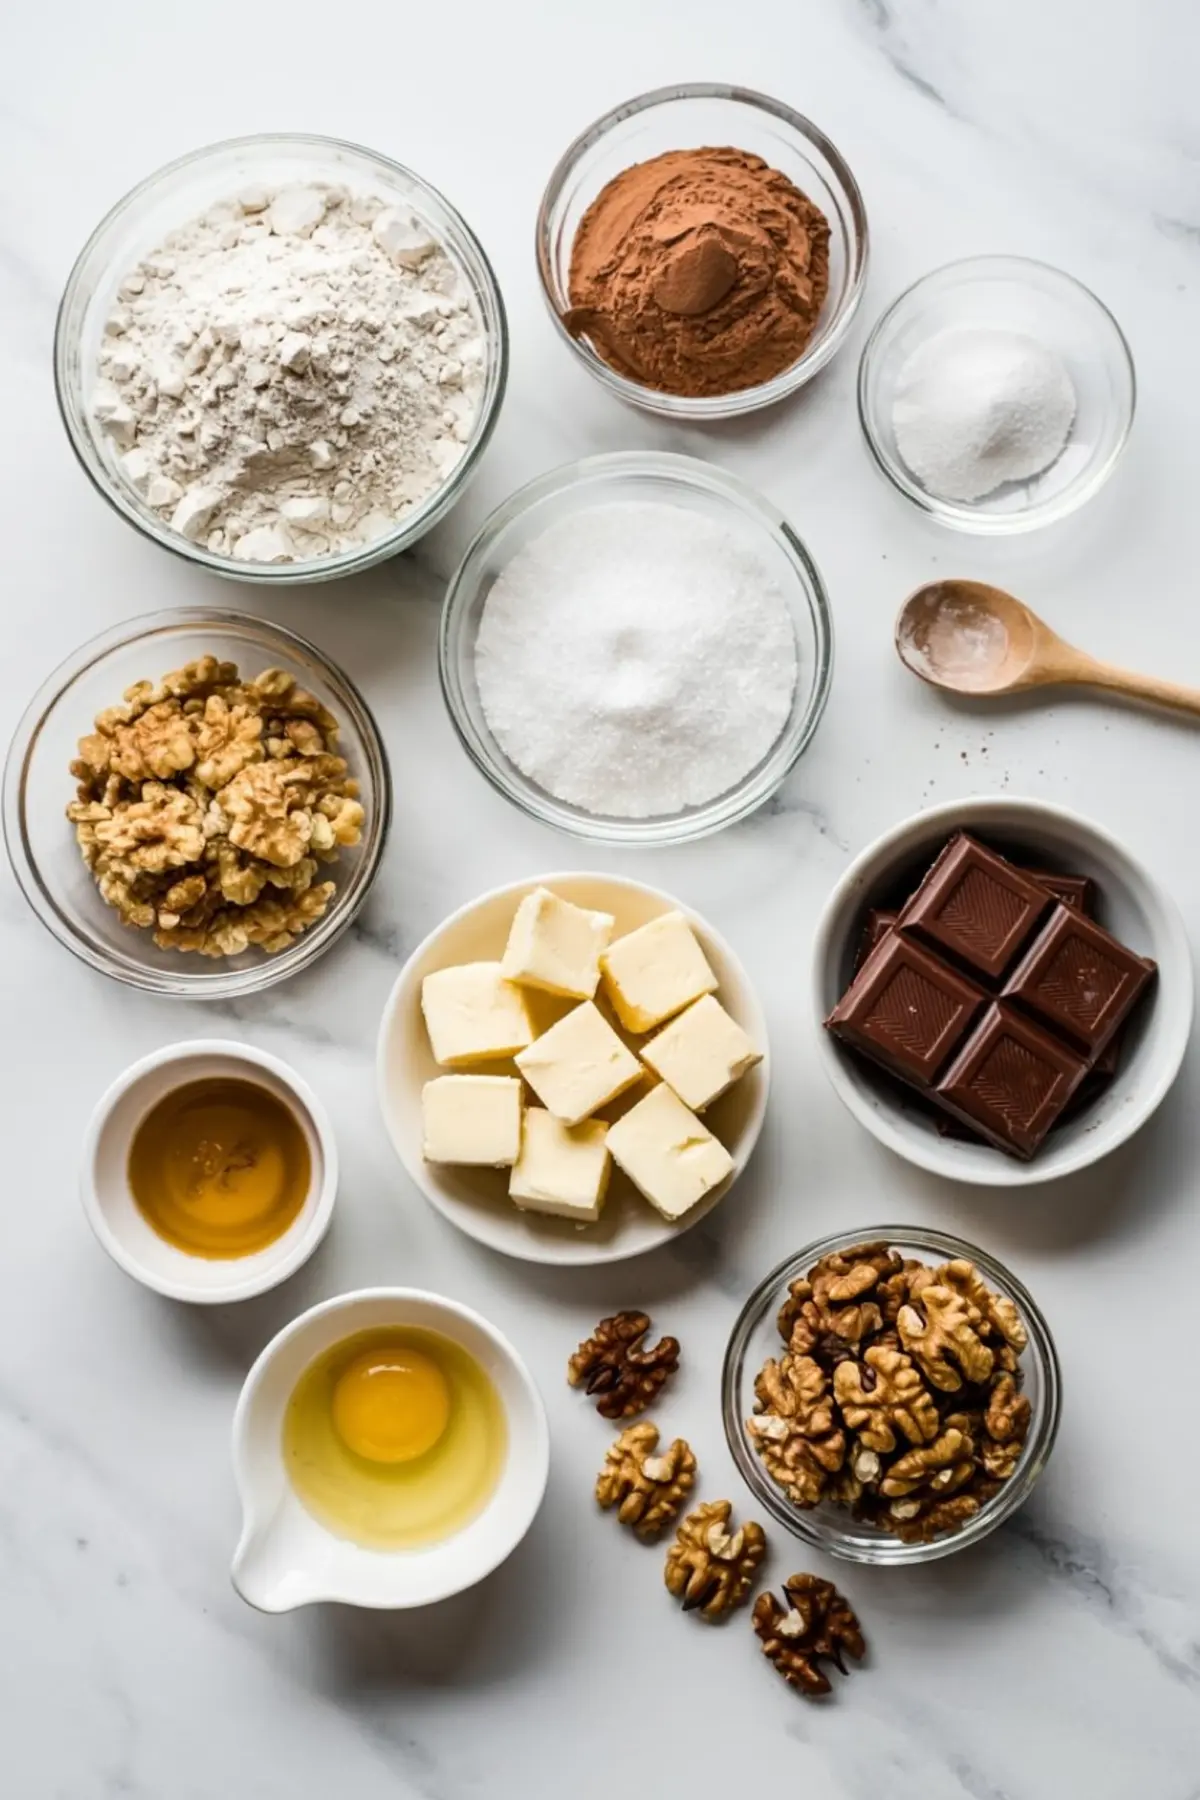
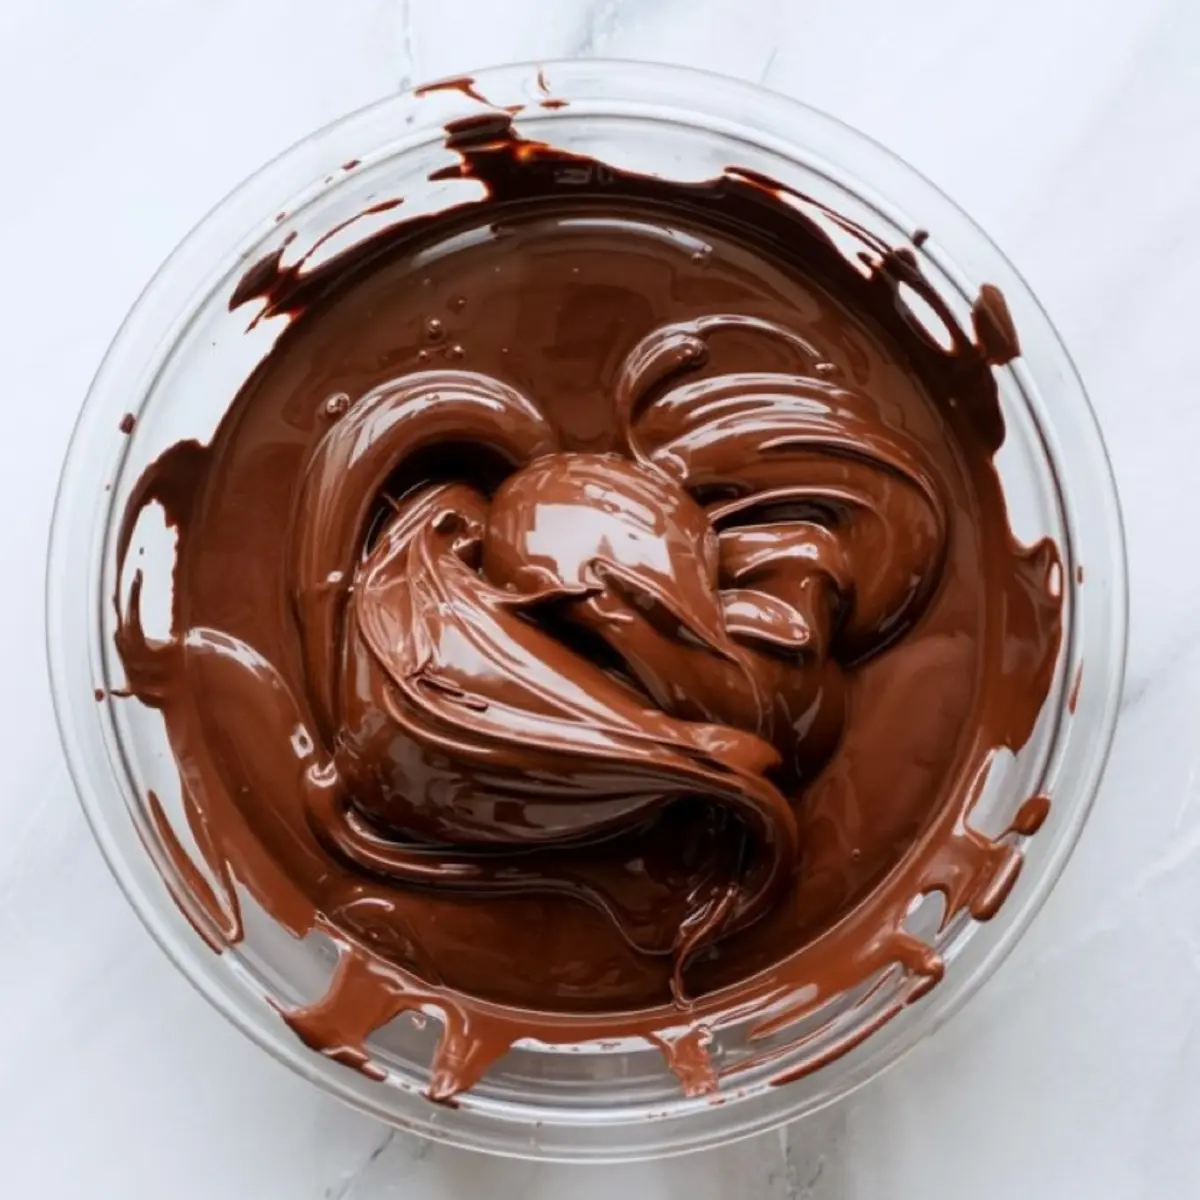
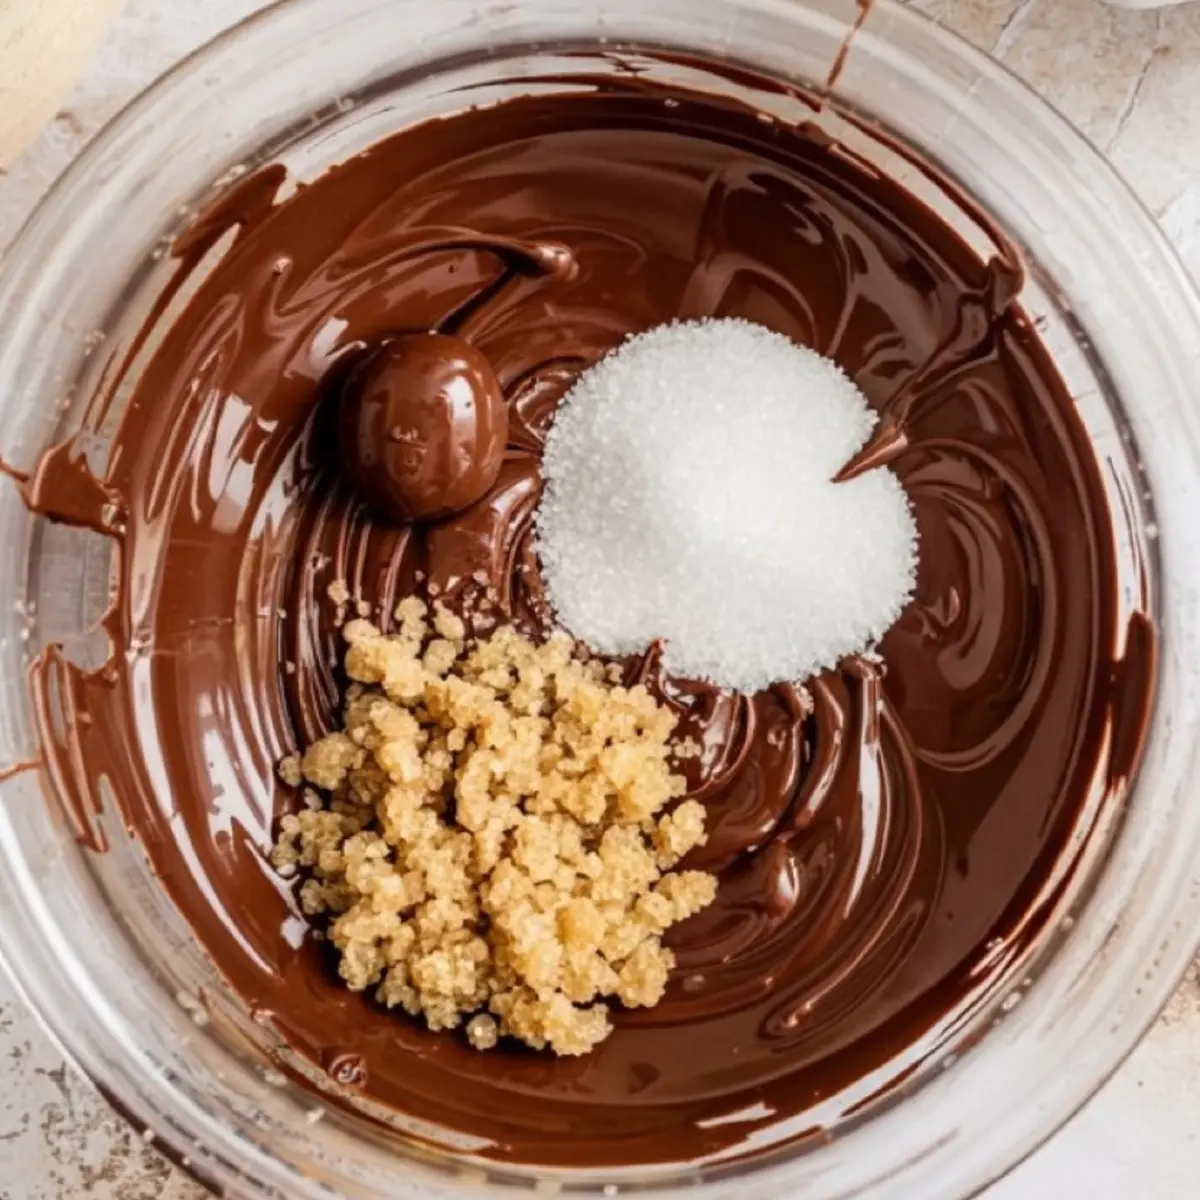
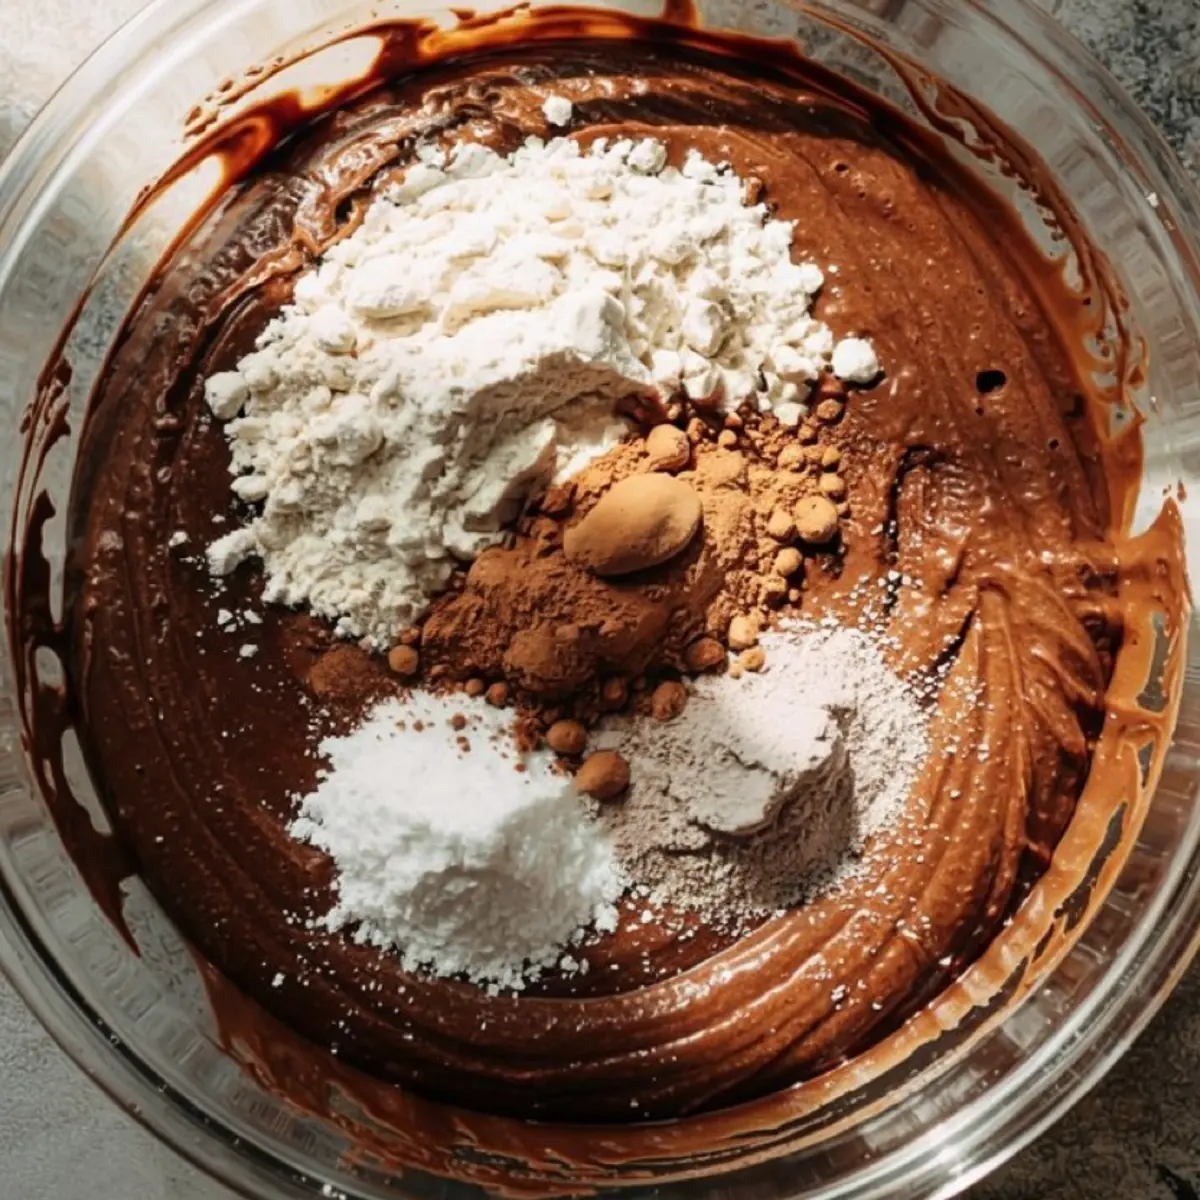
Cocoa powder alone gives brownies a deeper, drier crumb. Melted chocolate, on the other hand, keeps the center soft and dense. I use both. The butter and dark chocolate get melted together first, which gives the base its glossy finish. A mix of granulated and brown sugar adds structure and chew.
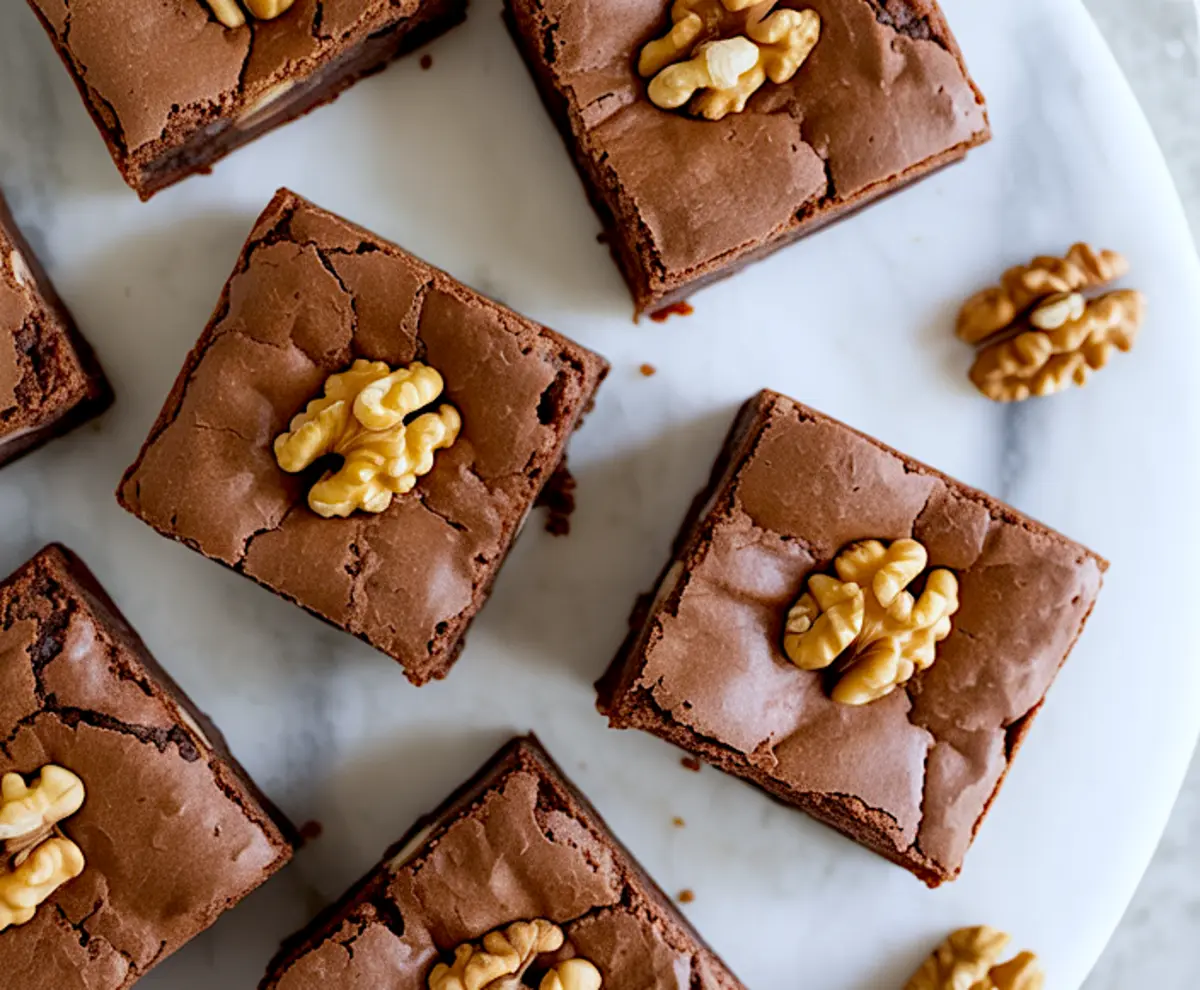
The walnuts do more than add texture. Their toasted edges bring out a bitterness that rounds the sweetness of the batter. I use chopped walnuts inside and walnut halves on top. They don’t just decorate. They mark each square and help with clean slicing.
Brownies with walnuts recipes vary in ratio. Too many nuts can overpower the chocolate. Too few and you lose contrast. One cup of chopped walnuts gives the best balance. Toasting them briefly in the oven before folding into the batter changes everything. Skip that and you miss depth.
Cocoa Powder Brownies use a similar base, where I rely only on cocoa but adjust the fat to compensate.
Mixing Method That Preserves the Texture
The order of mixing matters here. After melting the chocolate and butter, it’s important to cool it slightly before adding the sugars. This allows the mixture to thicken and emulsify properly. Stirring in the vanilla next helps lock in flavor before the eggs go in.
Add the eggs one at a time, beating well after each. This gives structure and sheen. If you rush, the batter won’t emulsify correctly, and the top won’t develop that crackly finish.
I whisk the dry ingredients separately flour, cocoa, salt, baking powder—then fold them gently into the wet mix. Overmixing at this stage ruins the crumb. Stir just until you no longer see streaks.
In my notes, I’ve compared this folding method to using a stand mixer. The latter yields a tougher, cakier brownie. Stirring by hand gives the control needed for fudgy results.
Mummy Brownies use the same fudgy base with a themed twist.
How Toasting Walnuts Makes a Difference
Raw walnuts can sometimes taste bland or even slightly waxy inside baked goods. Toasting brings out their oils and intensifies their flavor. Spread them on a sheet and bake briefly at 350°F. A few minutes are enough. Let them cool before folding into the batter.
The contrast between the chewy brownie and the slightly bitter toasted walnut creates a mature flavor profile. One that doesn’t need extra toppings or glazes.
Place the walnut halves on top before baking. They’ll roast gently while the brownie sets underneath. They also give a visual cue for slicing and portioning.
Halloween Ghost Brownies build on the same base with added marshmallow.
Oven Timing and Texture Control
Thirty to thirty-five minutes gives you that dense, chewy texture. Pull them out when a toothpick near the center comes out with moist crumbs, not dry. Overbaking pushes the texture toward cake.
Cool them fully in the pan. This helps the structure settle. Lift with the parchment overhang only when they’ve cooled completely. If you try too soon, you’ll tear the brownie.
Brownies like these slice best after several hours or even the next day. The structure tightens up and the walnut oils fully absorb into the crumb.
Sweet Potato Brownies share the same chewy core.
Serving and Storage Tips from My Kitchen Notes
These brownies with walnuts stay moist for up to five days if stored in an airtight container at room temperature. For longer storage, freeze tightly wrapped portions and let them thaw slowly overnight.
I don’t frost them. The top already has a glossy, crisp layer. But I’ve swirled in a bit of extra melted chocolate before baking to push them closer to a chocolate cake recipe. It works well for special occasions.
Serve them chilled for a firmer bite, or microwave briefly for a softer, meltier center. They hold up beautifully in lunchboxes, dessert trays, and gift boxes.
Red Velvet Cheesecake Brownies use layers to create color and texture in a completely different way.
Comparison: Cocoa Powder vs. Melted Chocolate
I’ve made brownies using only cocoa powder and others with only melted chocolate. Cocoa creates a darker, drier base. It’s intense but needs more fat to avoid crumbling. Melted chocolate gives softness and shine but can feel heavy.
This recipe combines both. It gives the chew of cocoa and the richness of melted chocolate. I’ve tried versions that skip one or the other, and they miss the balance. For chewy brownies that hold their shape and taste rich, this mix works best.
More Brownie Recipes To Explore
If you’re looking to experiment with different brownie variations, try one of these from the archive:
- Red Velvet Cheesecake Brownies
- Ghost Brownies
- Cocoa Powder Brownies
- Mummy Brownies
- Sweet Potato Brownies
Each one brings a slightly different texture or flavor, depending on the base.
Save This Recipe and Share Your Bake
If these chewy walnut brownies earn a spot in your recipe rotation, save this post to your Brownies With Walnuts Recipes board. Come back and let me know how yours turned out. Did you toast the nuts? Did you adjust the sweetness?
Leave a comment below. I always read them. And if you’ve got a twist I should try, I’d love to hear it.
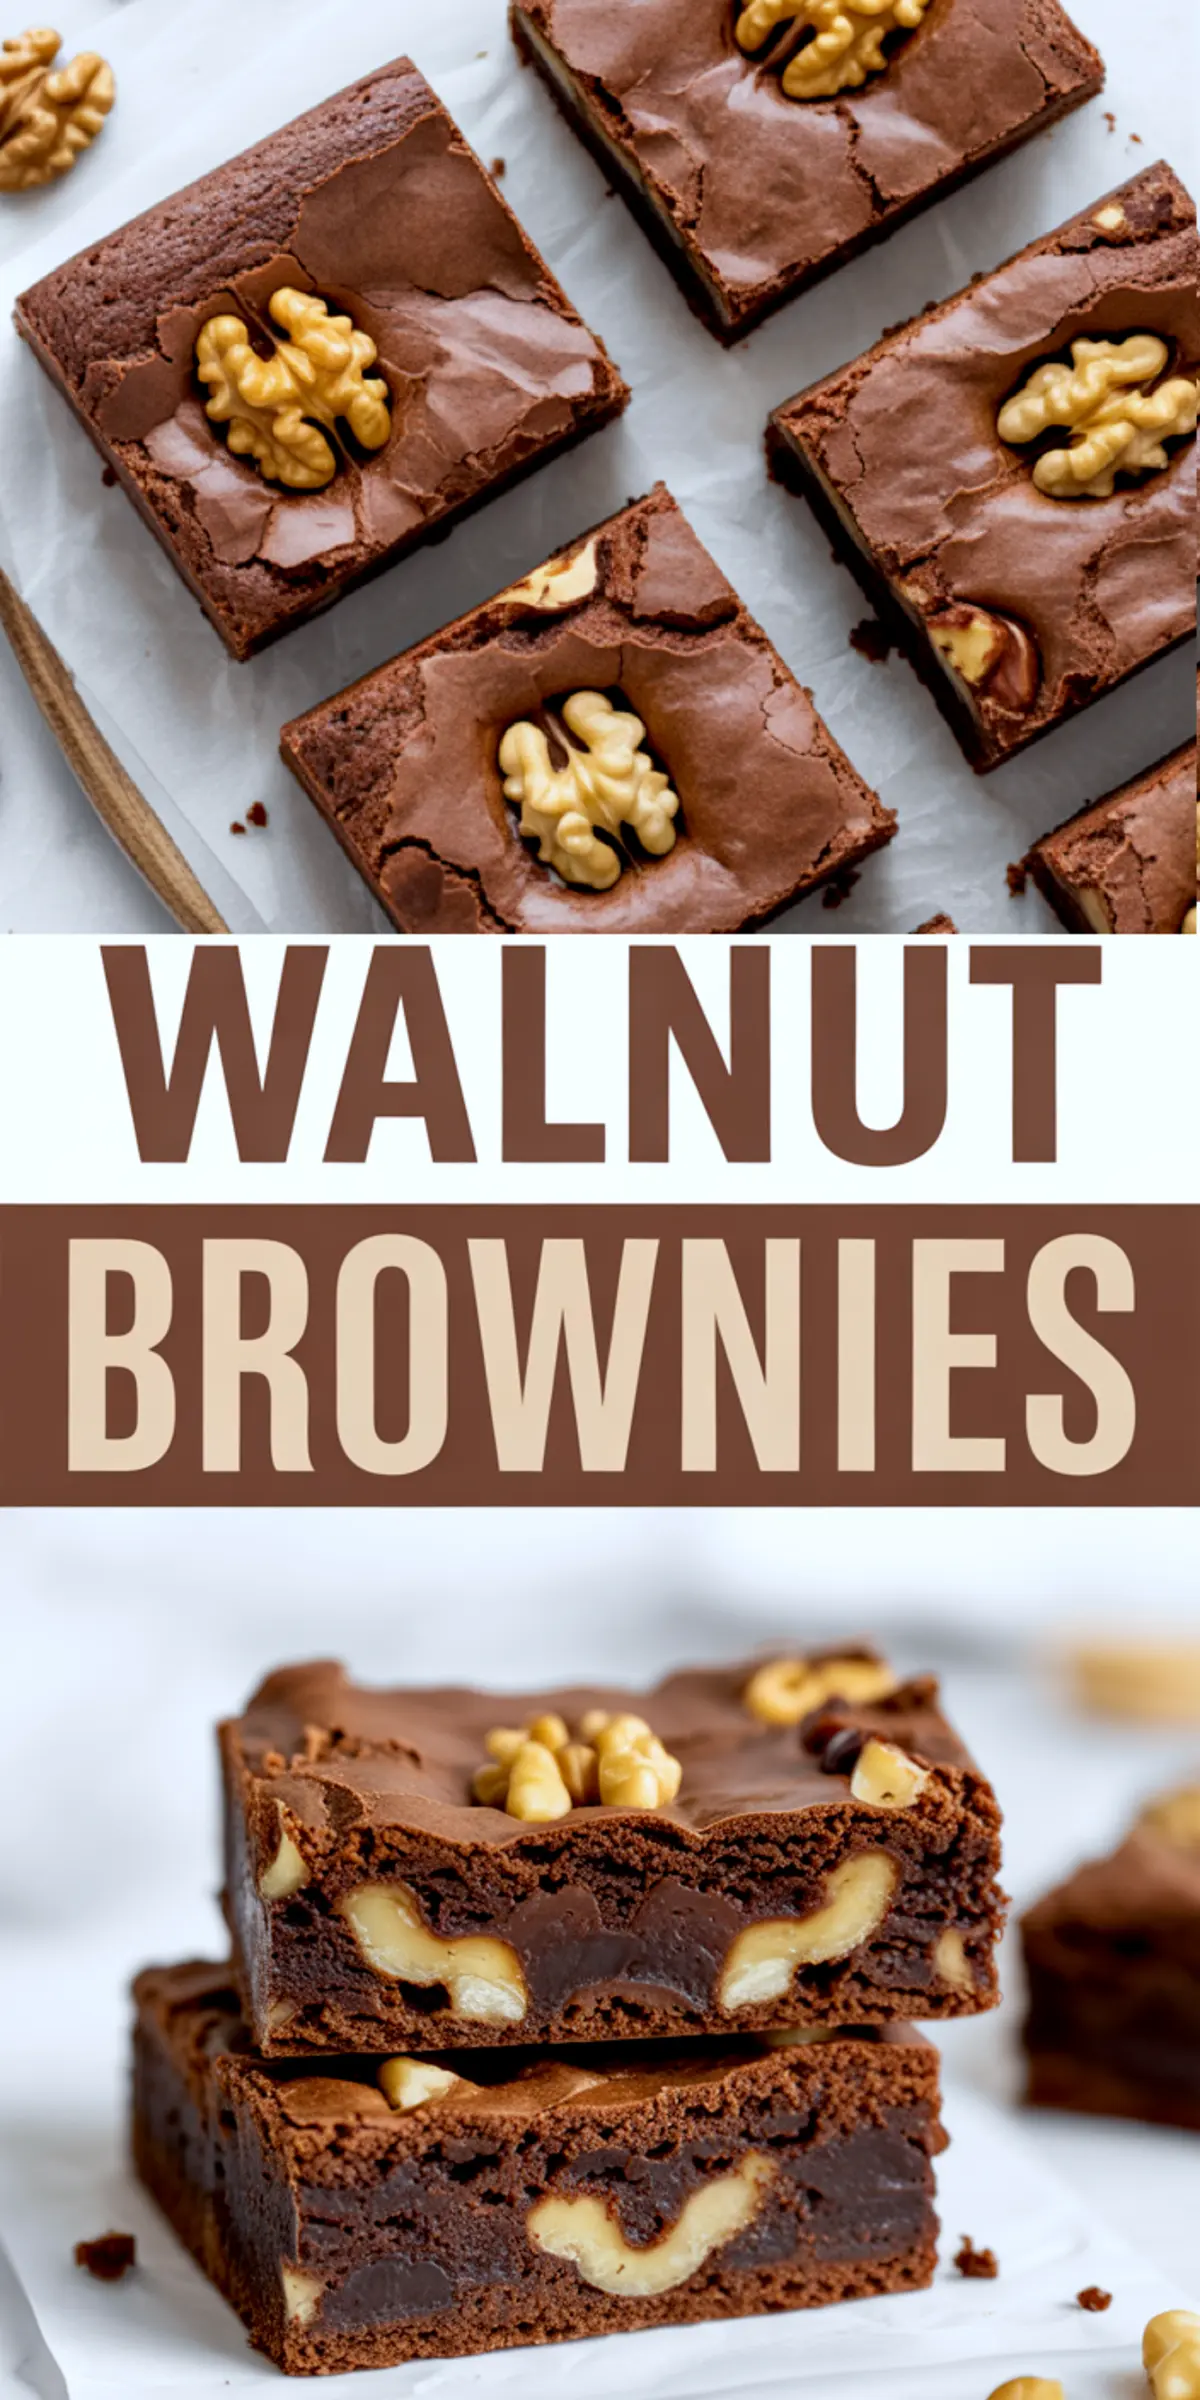
Walnut Brownies Recipe

Walnut brownies bake up rich and chewy with crisp edges and crunchy toasted walnuts in every bite. I use melted chocolate and brown sugar to keep the texture soft and dense—true fudgy brownies, not cakey. This walnut brownie recipe holds its own without frosting, but you can swirl in extra chocolate if you want to lean closer to a chocolate cake recipe. I’ve tested a lot of brownies with walnuts recipes, and this one wins for flavor and texture. Whether you’re after chocolate walnut brownies or just a batch of homemade brownies that doesn’t fall apart, these are it. I make them often for gifts, parties, or just weeknight baking. Keep this in your list of brownies with walnuts recipe homemade and chewy brownies that actually satisfy.
Ingredients
- ¾ cup (95g) all-purpose flour
- ½ cup (45g) unsweetened cocoa powder
- ½ tsp salt
- ¼ tsp baking powder
- ½ cup (115g) unsalted butter
- ¾ cup (135g) dark chocolate chips or chopped dark chocolate
- 1 cup (200g) granulated sugar
- ½ cup (100g) brown sugar
- 3 large eggs, room temperature
- 1½ tsp vanilla extract
- 1 cup (100g) chopped walnuts, lightly toasted
- 12–16 walnut halves, for topping (optional but recommended)
Instructions
- PREHEAT AND PREPARE: Preheat your oven to 350°F (175°C). Line an 8x8-inch square baking pan with parchment paper, leaving an overhang on two sides to help lift the brownies out after baking.
- MELT CHOCOLATE AND BUTTER: In a heatproof bowl set over a pot of simmering water, melt the butter and chocolate together, stirring until smooth. Alternatively, microwave in 20-second increments, stirring between each, until fully melted. Set aside to cool slightly.
- ADD SUGARS AND VANILLA: Whisk the granulated sugar and brown sugar into the melted chocolate mixture until combined and slightly thickened. Stir in the vanilla extract.
- ADD EGGS ONE AT A TIME: Add the eggs one at a time, whisking well after each addition. The mixture should become glossy and smooth.
- MIX DRY INGREDIENTS: In a separate bowl, whisk together the flour, cocoa powder, salt, and baking powder until evenly combined.
- COMBINE WET AND DRY INGREDIENTS: Fold the dry ingredients into the wet chocolate mixture using a spatula. Mix just until no dry streaks remain—do not overmix.
- ADD WALNUTS: Gently fold the chopped toasted walnuts into the batter, distributing them evenly.
- POUR AND DECORATE: Transfer the batter to the prepared pan and smooth the surface with a spatula. Press walnut halves evenly across the top for decoration and easy portioning.
- BAKE: Bake for 30–35 minutes, or until a toothpick inserted near the center comes out with a few moist crumbs. Avoid overbaking to maintain a fudgy texture.
- COOL AND SLICE: Let the brownies cool completely in the pan on a wire rack. Once cool, use the parchment overhang to lift them out and slice into squares.
Notes
For deeper flavor, use dark chocolate with 60–70% cocoa. To toast walnuts, spread them on a baking sheet and bake at 350°F (175°C) for 6–8 minutes, stirring halfway through. Let cool before using.