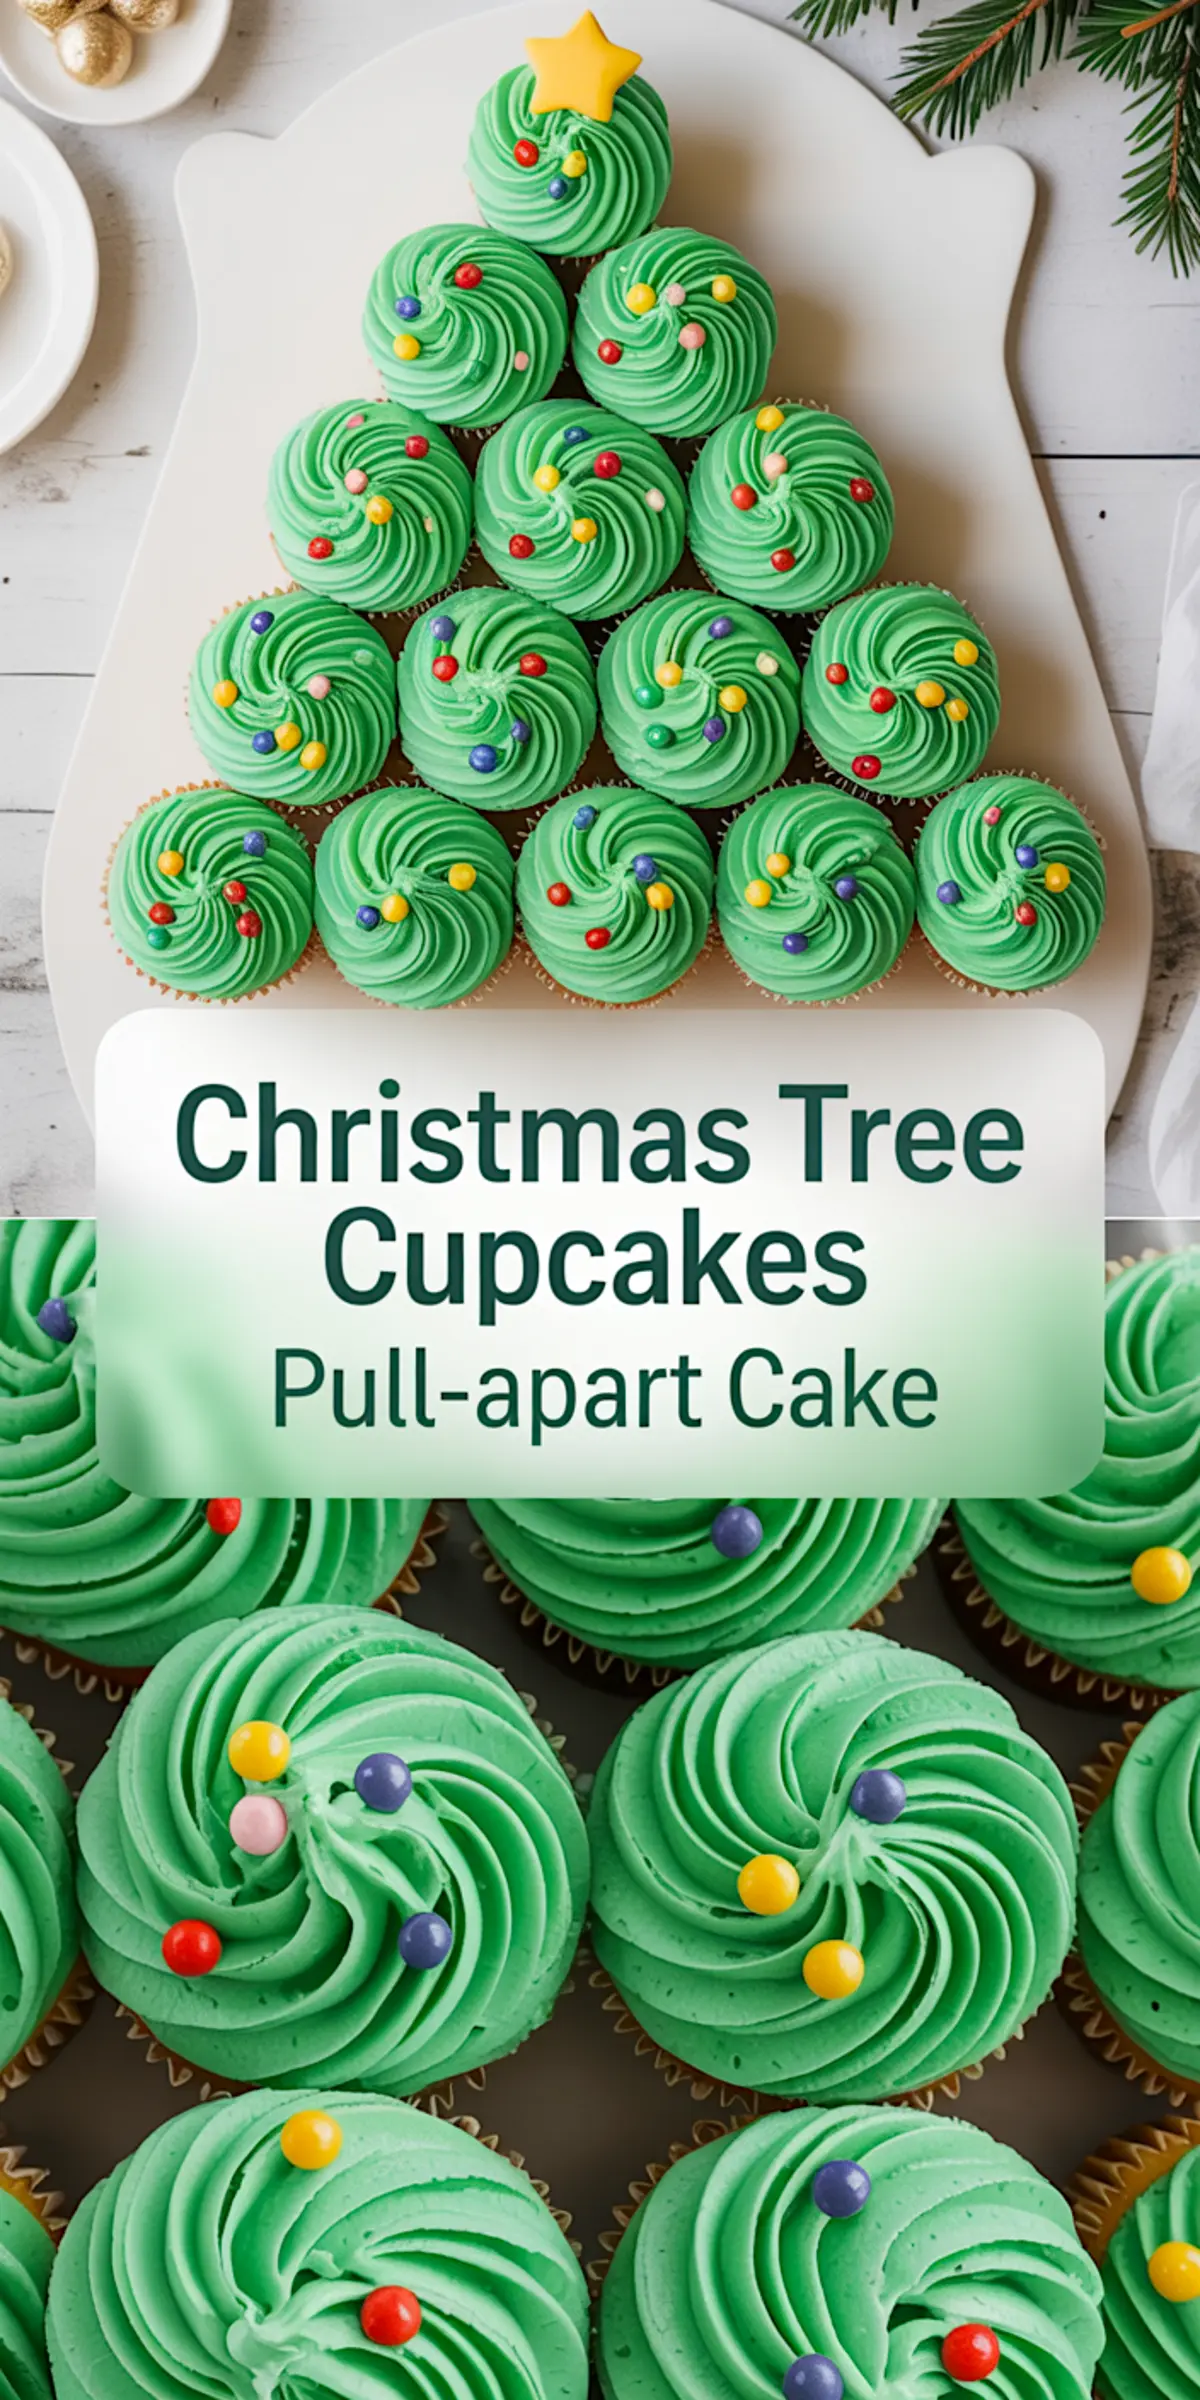
This cheerful Christmas Tree Cupcake Cake is exactly what it sounds like: a tree made of cupcakes, shaped and decorated like a showstopper, yet simple to assemble. You’ll bake a batch of soft vanilla cupcakes, whip up a smooth buttercream tinted green, and arrange the pieces into a festive pull apart cupcake cake.
You’re here because you want your Christmas dessert table to stand out without spending hours on piping bags or complicated sculpting. This cake brings you a centerpiece and a treat in one. I’ve made it with kids at my table, for neighbors, and at school parties. Every time, someone asks how long it took. And every time, I smile and think less than you’d guess.
You’ll also learn how to balance moisture, how the sour cream makes all the difference in the batter, and why this is more than just a cute shape. It’s a reliably soft, flavorful vanilla base paired with a creamy, stable frosting that holds up under sprinkles and swirls.
Following a special diet?
Every recipe on this site can be converted to gluten-free, vegan, dairy-free, keto, nut-free or egg-free with adjusted ratios so nothing falls flat.
Try the Recipe Converter →What You’ll Learn From This Recipe
This article will guide you through:
- Baking moist vanilla cupcakes that aren’t too airy
- Making green buttercream that pipes cleanly without melting
- Arranging and decorating your Christmas Tree Cupcake Cake with confidence
You’ll also get tips for serving and storing that I use every year.
Why Sour Cream and Milk Together Matter for the Cupcakes
Sour cream adds a tender, slightly tangy structure that keeps the crumb moist even a day later. I’ve tested this recipe with just milk, and the cupcakes dry out too quickly. Milk alone helps loosen the batter and creates a nice lift in the oven, but the sour cream fills in the texture.
The balance of the two gives you a cupcake that doesn’t crumble when you bite in. You get structure and softness, which is exactly what you need if you plan to frost and transport them. I wouldn’t swap one for the other.
These are the same cupcakes I use for my Gingerbread Cupcakes, just without the spice. They hold frosting well and stay fresh overnight.
How Butter Temperature Impacts the Texture
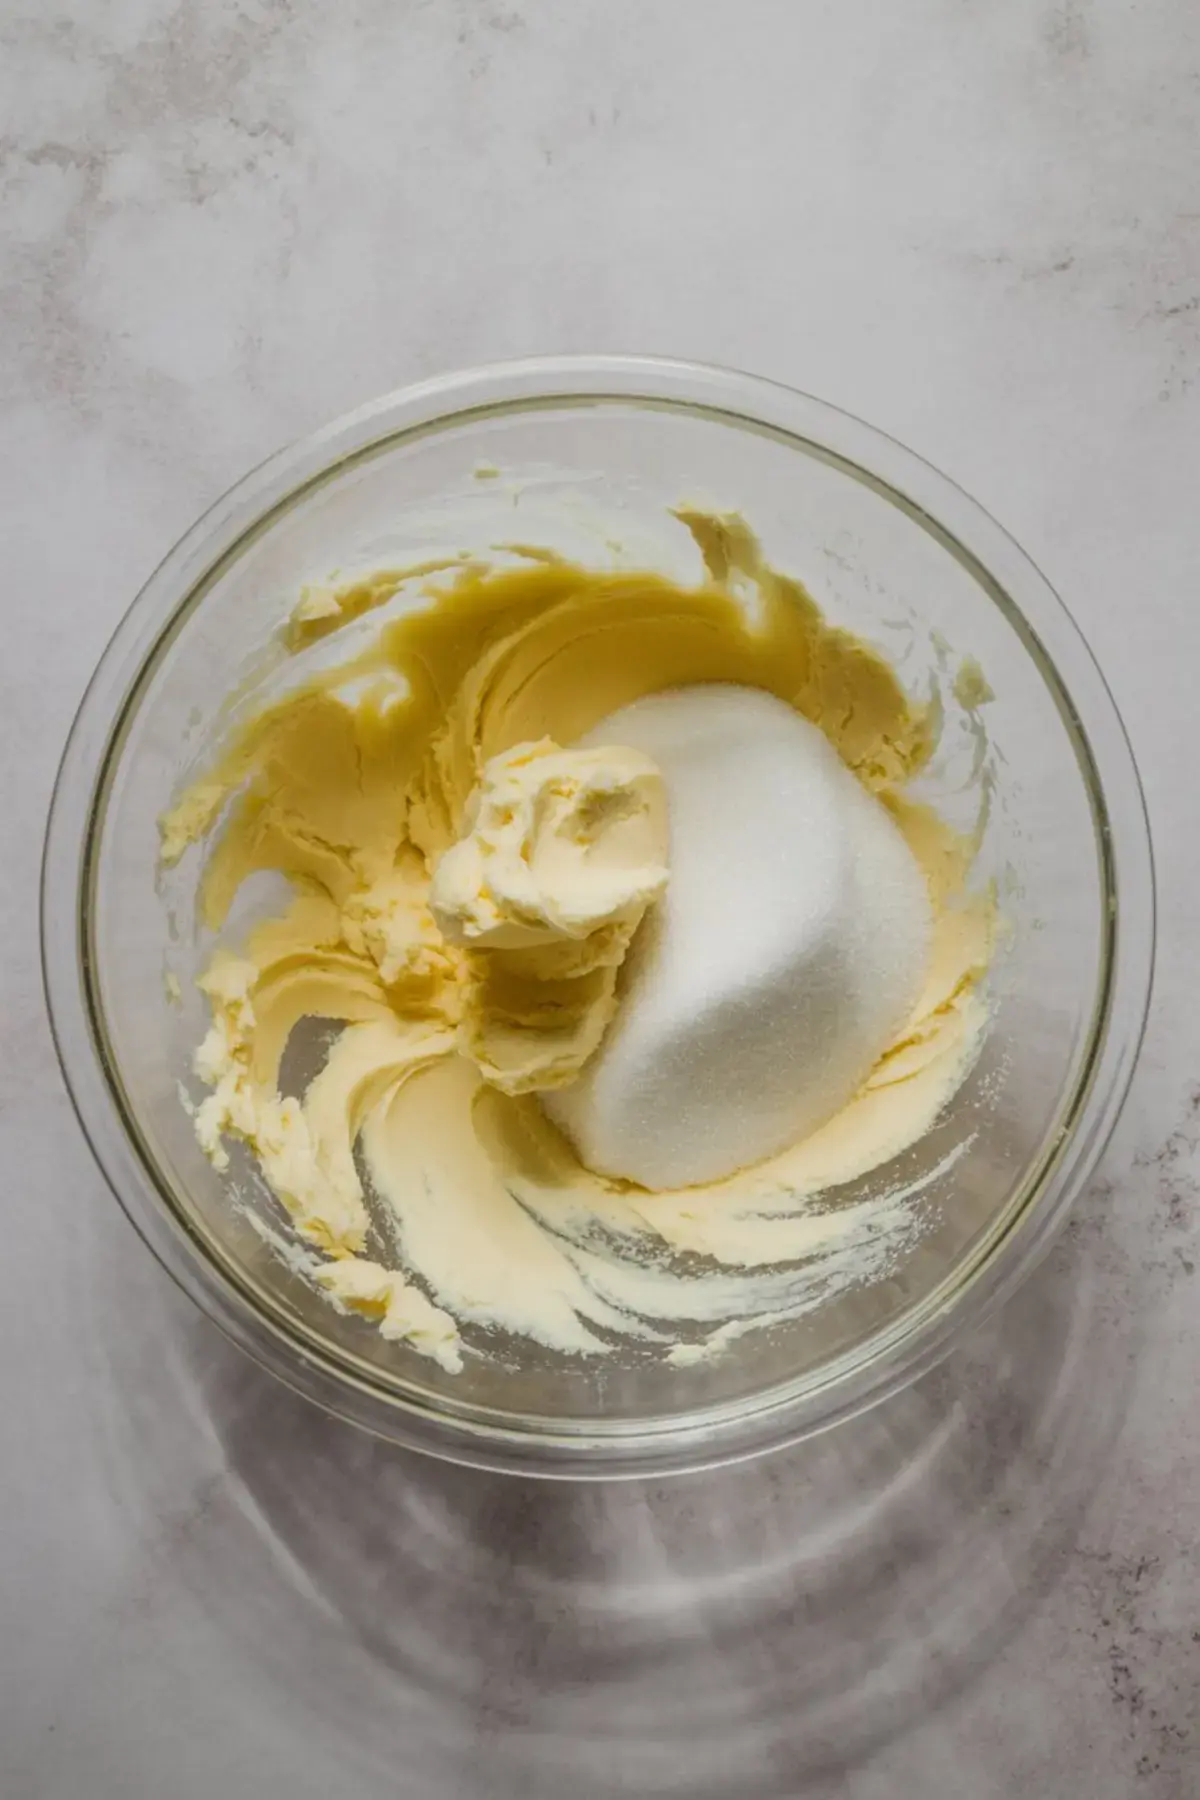
Room temperature butter is a quiet detail that changes everything. Cold butter doesn’t cream well with sugar. Melted butter makes the cupcakes dense. Softened butter, when beaten for a few minutes, traps air. That air expands in the oven and gives you lift.
I usually leave my butter out for an hour before I start, especially in colder months. If I forget, I cut it into cubes and let it sit near the oven while it preheats. That short wait makes a big difference.
Same goes for the frosting. The base of the Candy Cane Cupcakes uses this same method, and it always pipes clean and firm.
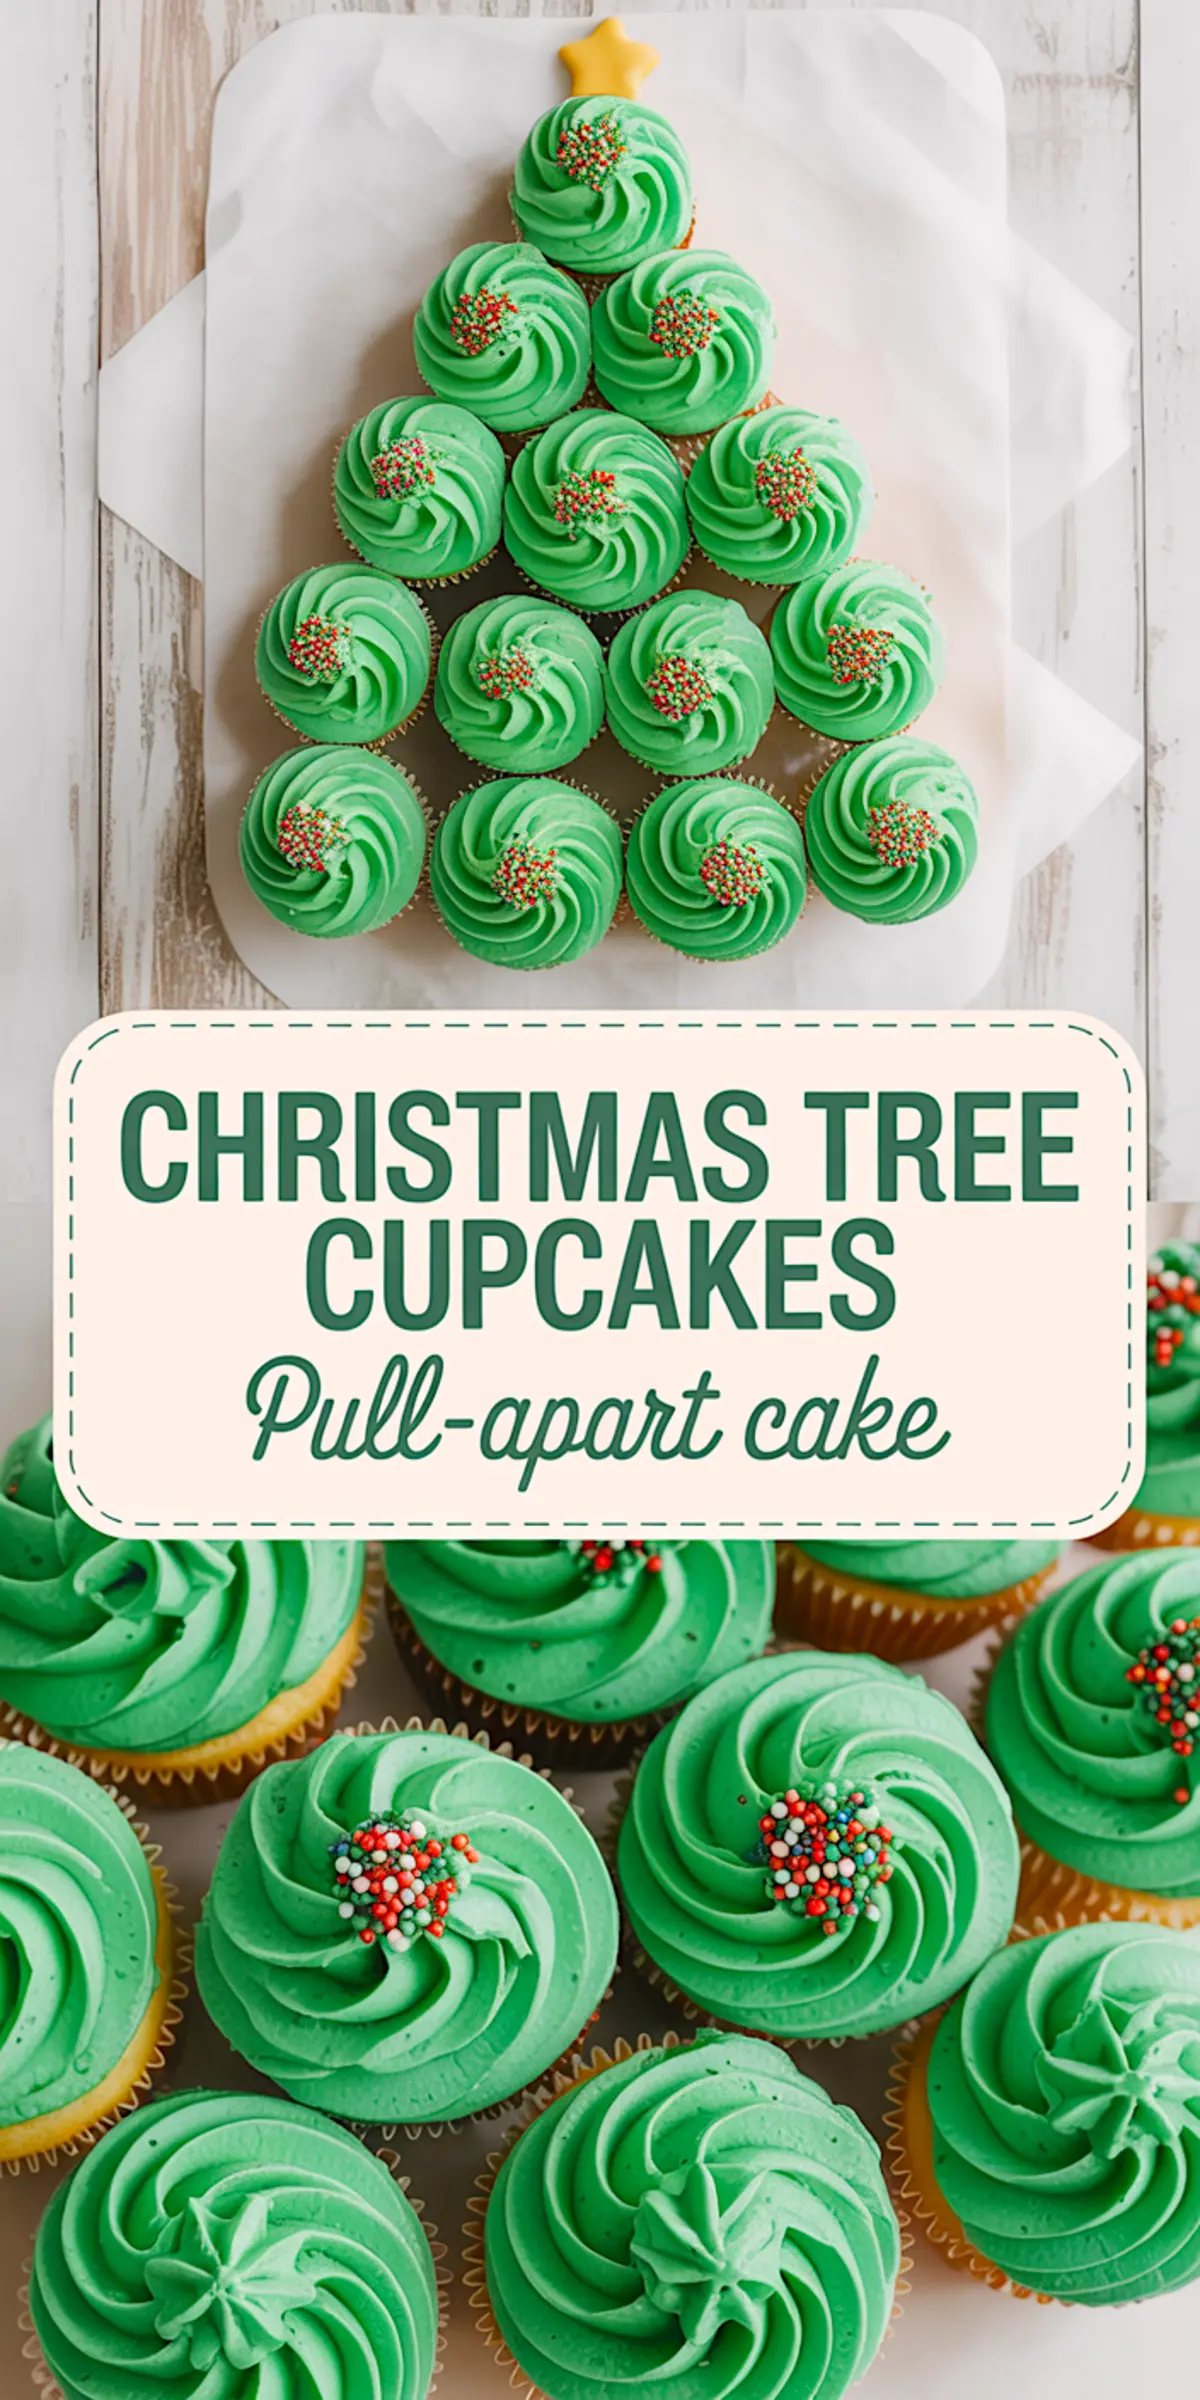
How to Arrange the Tree Without a Template
There’s a natural rhythm to arranging this pull apart cupcake cake. I start with one cupcake at the top, then build rows: two, three, four, five. That gets you a neat triangle. I add two cupcakes at the bottom for the “trunk.”
I lay out the cupcakes on a tray before I start frosting. That way, I can shift them if the spacing feels off. Once you pipe the frosting, it’s harder to nudge them around.
This layout works well with 18 cupcakes, but you can easily scale it up to 24 for a larger crowd. I’ve even added two “presents” at the base with red frosting for fun.
If you’re in the mood for more cupcake centerpiece ideas, take a peek at my Christmas Wreath Cupcakes too. That one’s more circular but just as simple.
Green Buttercream That Doesn’t Streak or Melt
Buttercream behaves differently depending on your ingredients. I use unsalted butter, sifted powdered sugar, and a few drops of gel coloring, not liquid.
Gel food coloring gives you bright green without watering down the texture. If you use liquid dye, your buttercream will thin out, and the piping won’t hold.
Beat the butter first until smooth, then add the sugar gradually. If the frosting looks too thick, add a tablespoon of heavy cream. I’ve used milk in the past, but heavy cream gives better stability. Especially when the cupcakes sit out for a few hours at a holiday party.
This same frosting base also works beautifully for the Reindeer Cupcakes. Swap green for brown and it’s ready to go.
Serving Tips That Keep the Tree Intact
Serve the tree directly from the tray you arranged it on. If you’re traveling, choose a large board or baking sheet with a small lip. Once it’s decorated, you don’t want to shift it.
Use a large offset spatula if you need to move a cupcake. Don’t grab from the sides—just lift gently from the bottom. And always wait until the frosting sets before covering with plastic wrap.
I’ve stored these overnight at room temperature with no loss in texture. Just cover them loosely to avoid smudging the frosting. If your kitchen runs warm, use a tall cake carrier to store in the fridge and take them out 30 minutes before serving.
Comparing Cream vs Milk in Buttercream
I’ve used both cream and milk in this frosting, and each has a place. If you want softer swirls that spread with a spoon, milk works fine. If you plan to use a piping bag and create defined ruffles, cream holds shape better.
In my notes, cream gives a more stable structure. It’s what I use for all decorated cupcakes. For example, the swirls on these Candy Cane Cupcakes kept their texture for hours on the dessert table.
A Festive Treat That Doubles as Decor
This Christmas Tree Cupcake Cake isn’t just another Christmas cupcake recipe. It’s your edible centerpiece. It draws people in, both kids and adults. I’ve seen guests hesitate to take the first one because they don’t want to mess up the tree. That’s how pretty it looks.
Yet it’s still made from scratch. No mix, no shortcuts. You get control over the flavor and the feel. And you get a dessert that actually tastes as good as it looks.
If you’ve been scrolling through Christmas Tree Cake Ideas and feeling overwhelmed, let this one bring you back to simple joy. Bake, frost, arrange. That’s it.
Save This for Your Board and Share Your Twist
If you’re collecting Christmas Tree Cupcakes With Frosting ideas on Pinterest, go ahead and save this post now. It belongs on your holiday board.
And if you give it a try, come back and let me know. Did you use different candies for the ornaments? Did you double the recipe for a bigger tree? Drop your story in the comments. I always read them.
Christmas Tree Cupcake Cake
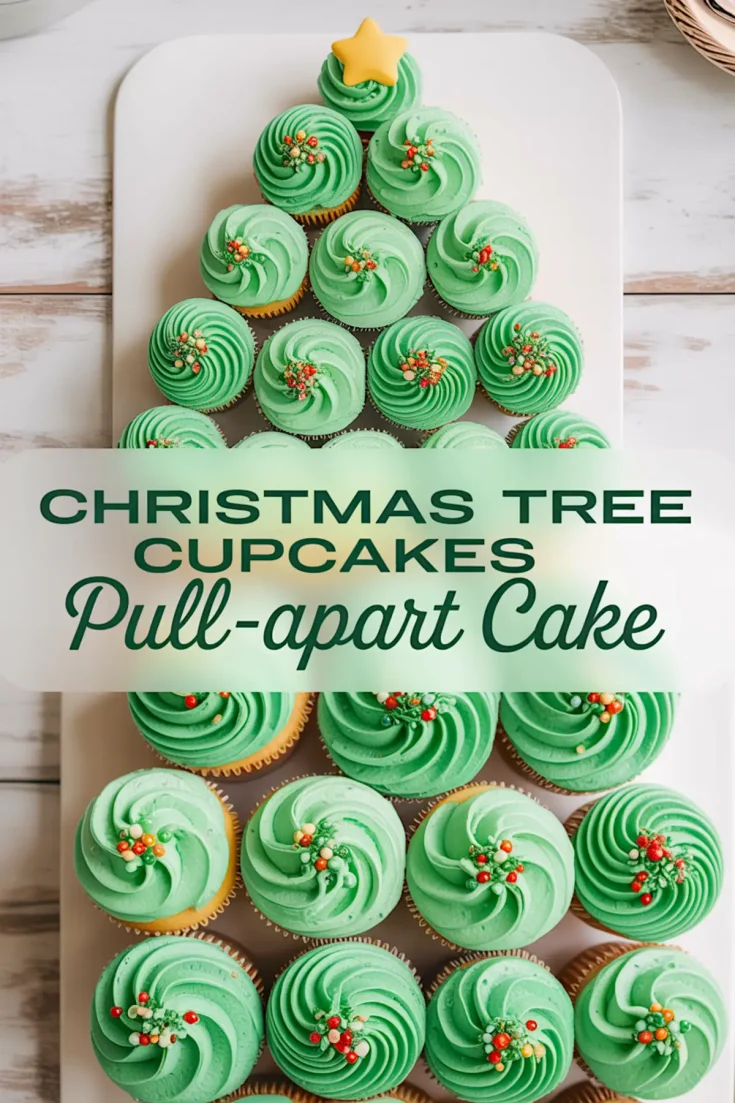
Make this Christmas Tree Cupcake Cake for your holiday table! This festive pull-apart cupcake cake is shaped like a tree and topped with rich buttercream frosting, making it one of the easiest Christmas tree cupcakes you’ll ever decorate. Perfect for your next party or dessert spread, this cheerful Christmas tree shaped cake is made from simple Christmas cupcakes and arranged to form a stunning centerpiece. Great for bakers of all levels, this treat blends Christmas tree cake ideas with the ease of cupcakes. Add it to your collection of Christmas tree desserts and wow your guests this season!
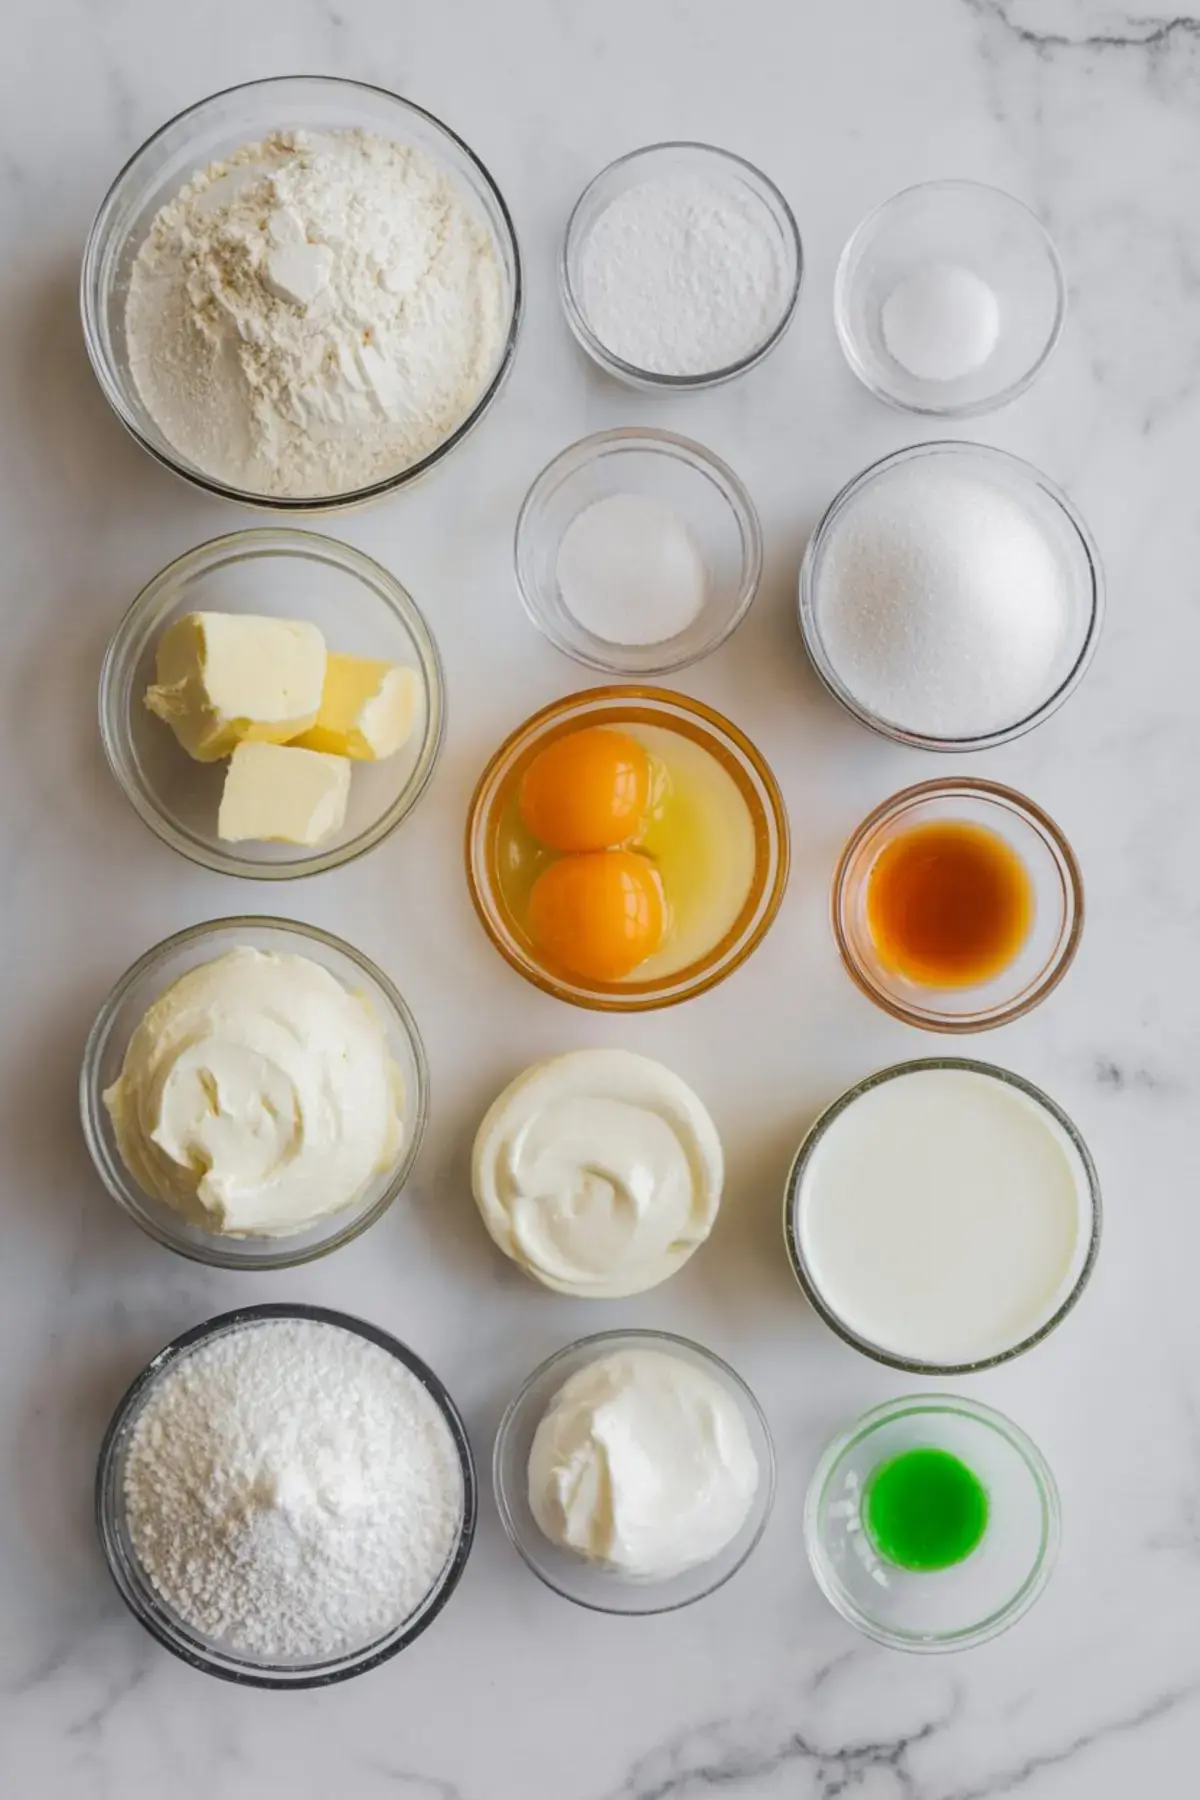
Ingredients
- FOR THE CUPCAKES
- 1 ½ cups all-purpose flour
- 1 ½ teaspoons baking powder
- ½ teaspoon baking soda
- ¼ teaspoon salt
- ½ cup unsalted butter, room temperature
- ¾ cup granulated sugar
- 2 large eggs
- 2 teaspoons vanilla extract
- ½ cup sour cream
- ¼ cup whole milk
- FOR THE VANILLA BUTTERCREAM
- 1 cup unsalted butter, softened
- 3 ½ cups powdered sugar, sifted
- 2 tablespoons heavy cream or milk
- 2 teaspoons vanilla extract
- Green gel food coloring (start with a few drops)
- FOR DECORATING
- Red and green sprinkles or nonpareils
- Small colorful candies (such as mini M&Ms or Sixlets)
- Fondant star or yellow candy for the tree topper
Instructions
- PREHEAT AND PREP: Preheat the oven to 350°F (175°C) and line a standard muffin tin with 18 cupcake liners.
- MIX THE DRY INGREDIENTS: In a medium bowl, whisk together the flour, baking powder, baking soda, and salt. Set aside.
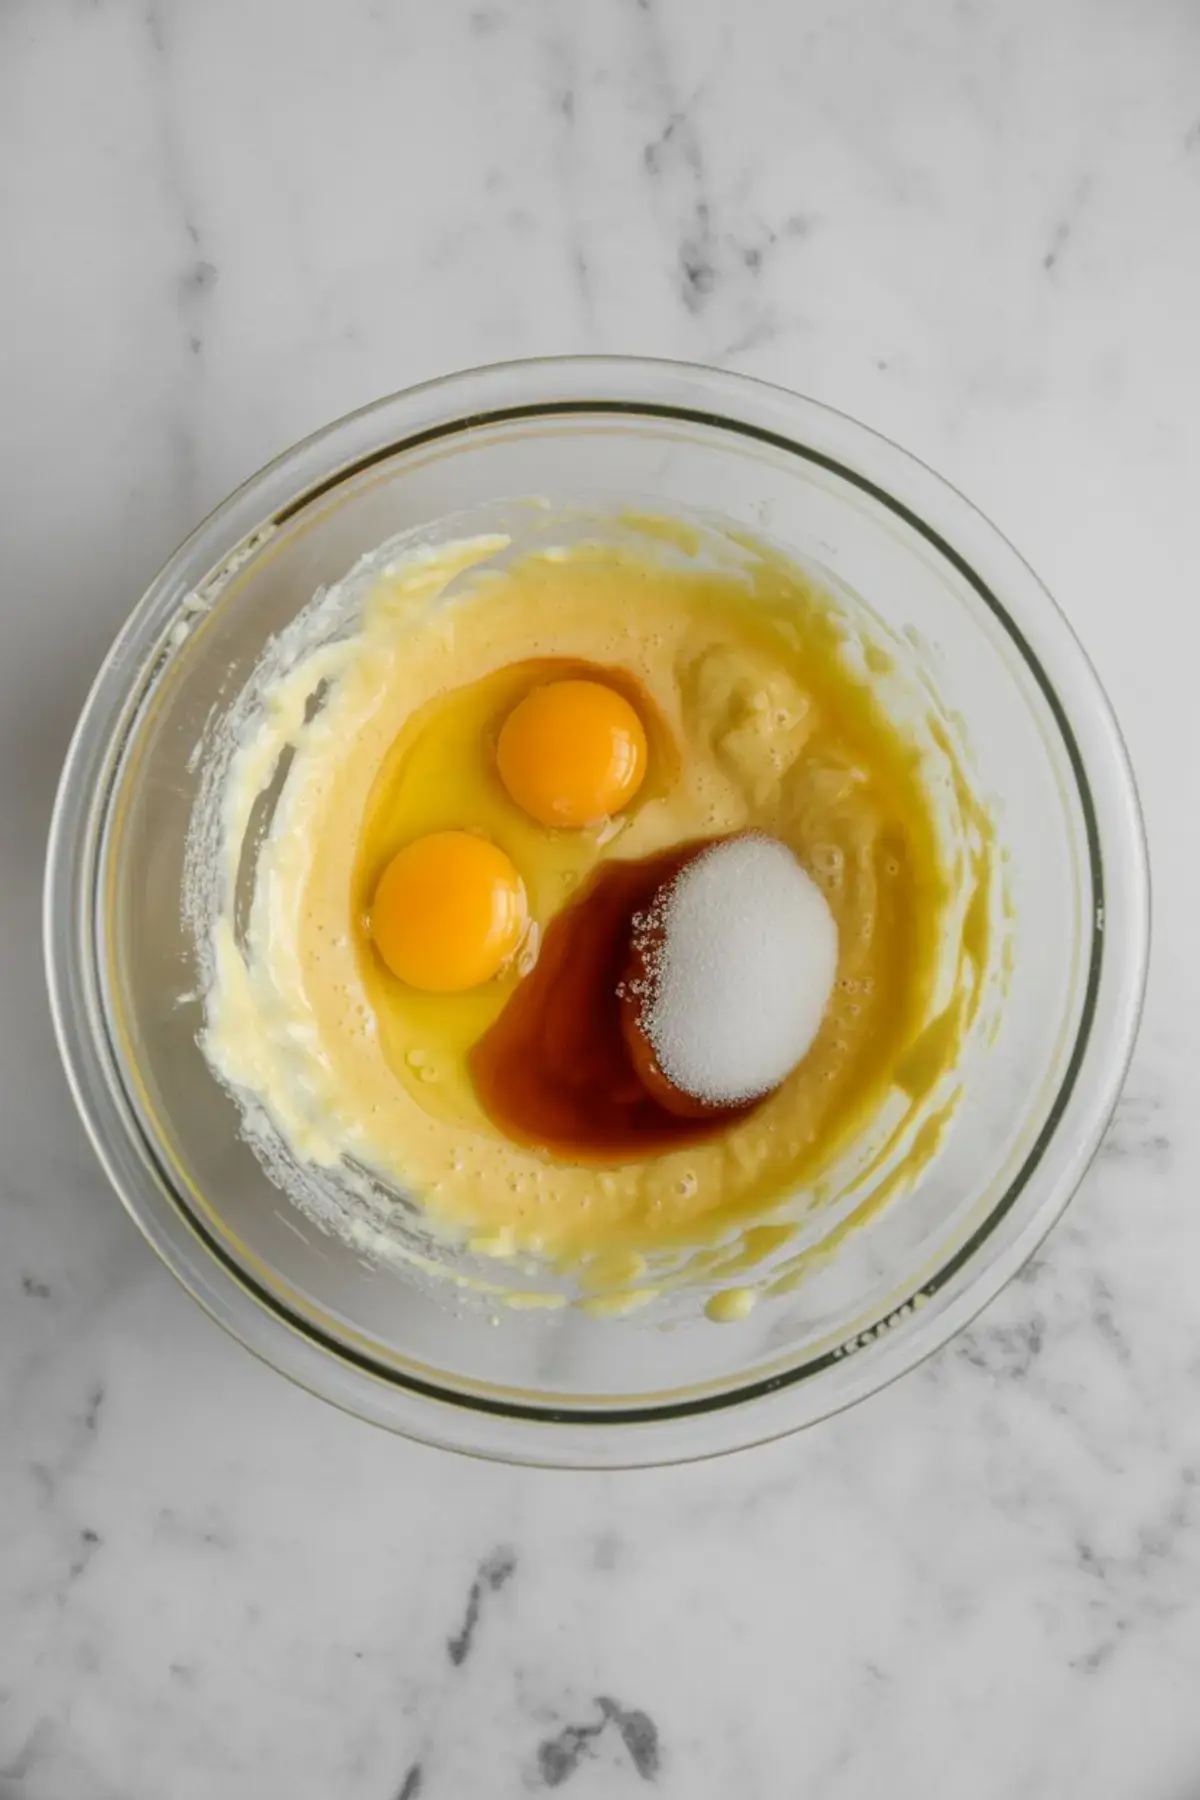
- CREAM THE BUTTER AND SUGAR: In a large mixing bowl, cream the butter and granulated sugar using a hand or stand mixer on medium speed for 2 to 3 minutes until light and fluffy.
- ADD EGGS AND VANILLA: Add the eggs one at a time, beating well after each addition, then mix in the vanilla extract.
- COMBINE WET AND DRY: Add the dry ingredients in two parts, alternating with the sour cream and milk. Mix on low speed until just combined. Do not overmix.
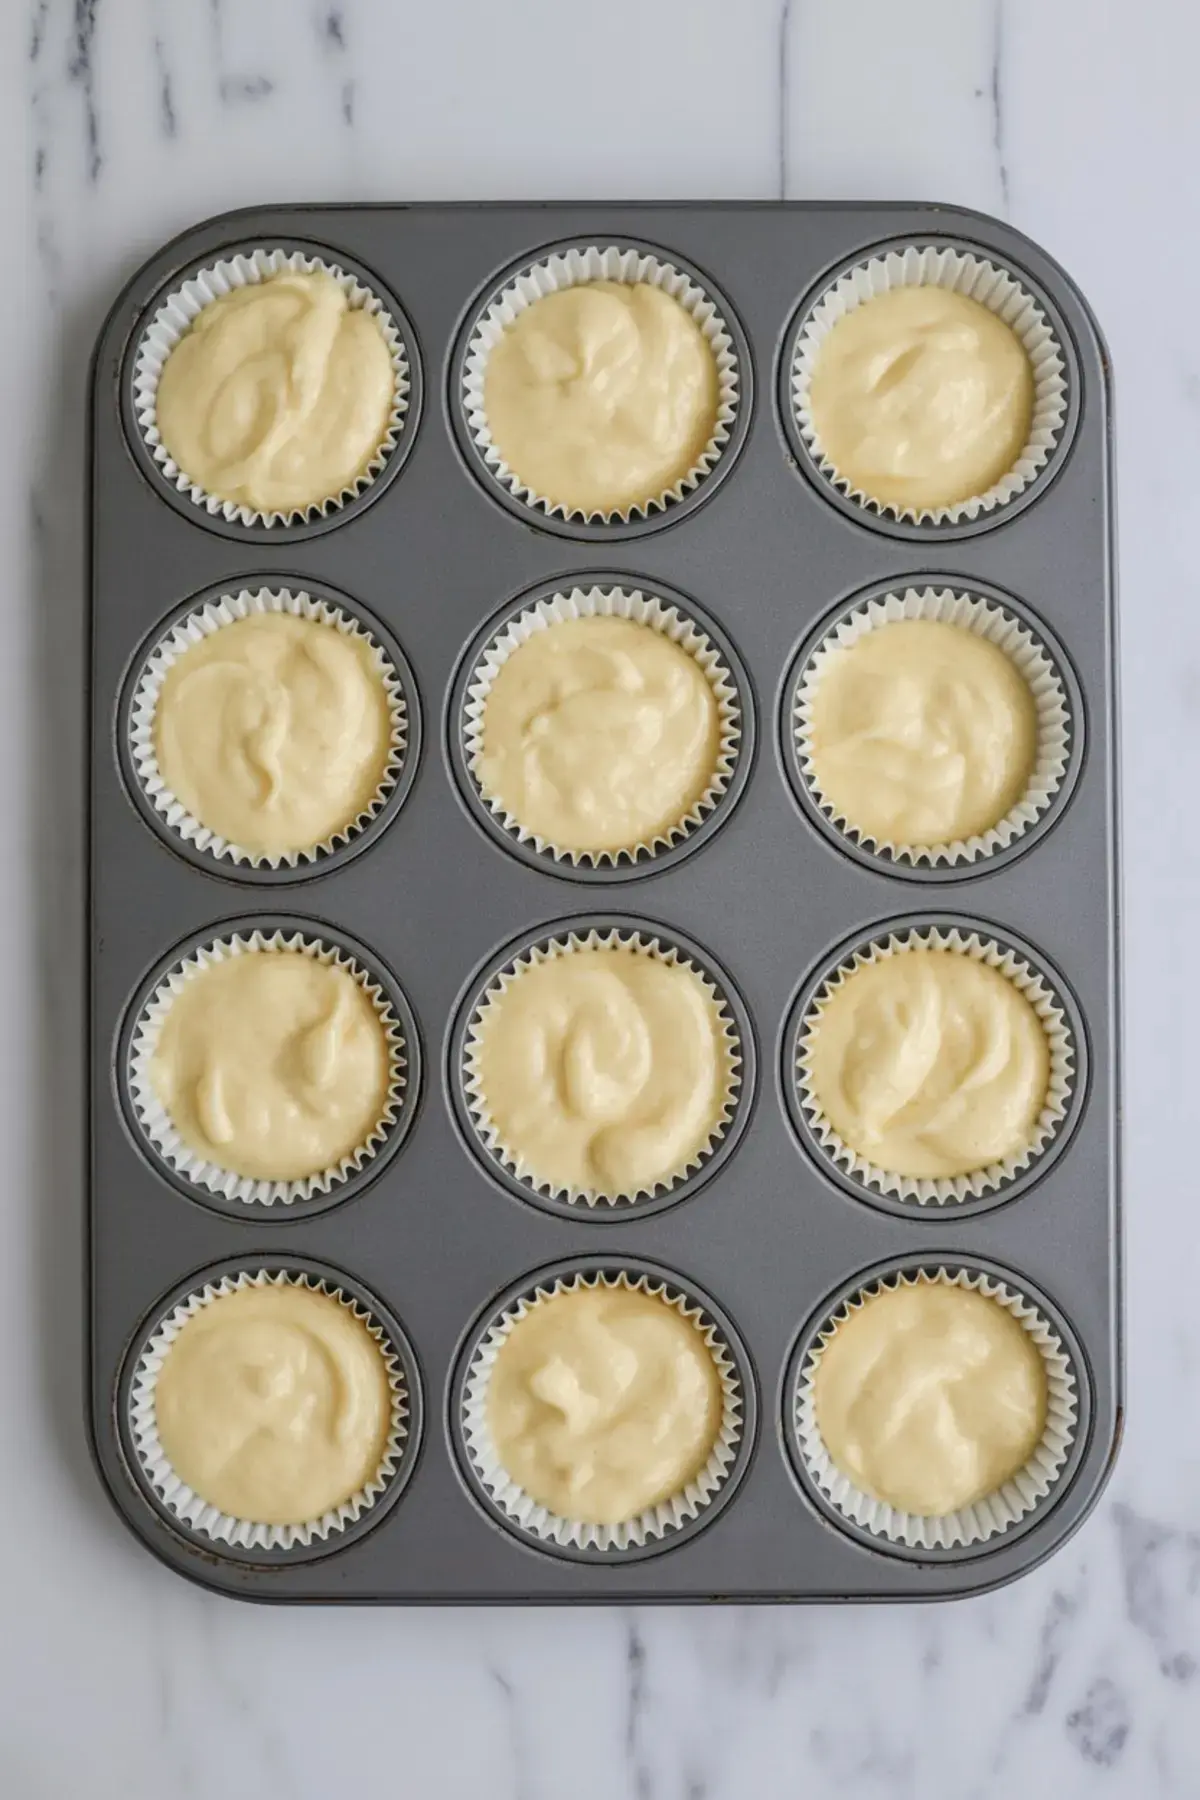
- FILL AND BAKE: Divide the batter evenly among the cupcake liners, filling each about two-thirds full. Bake for 18 to 20 minutes or until a toothpick inserted into the center comes out clean. Let cupcakes cool completely before decorating.
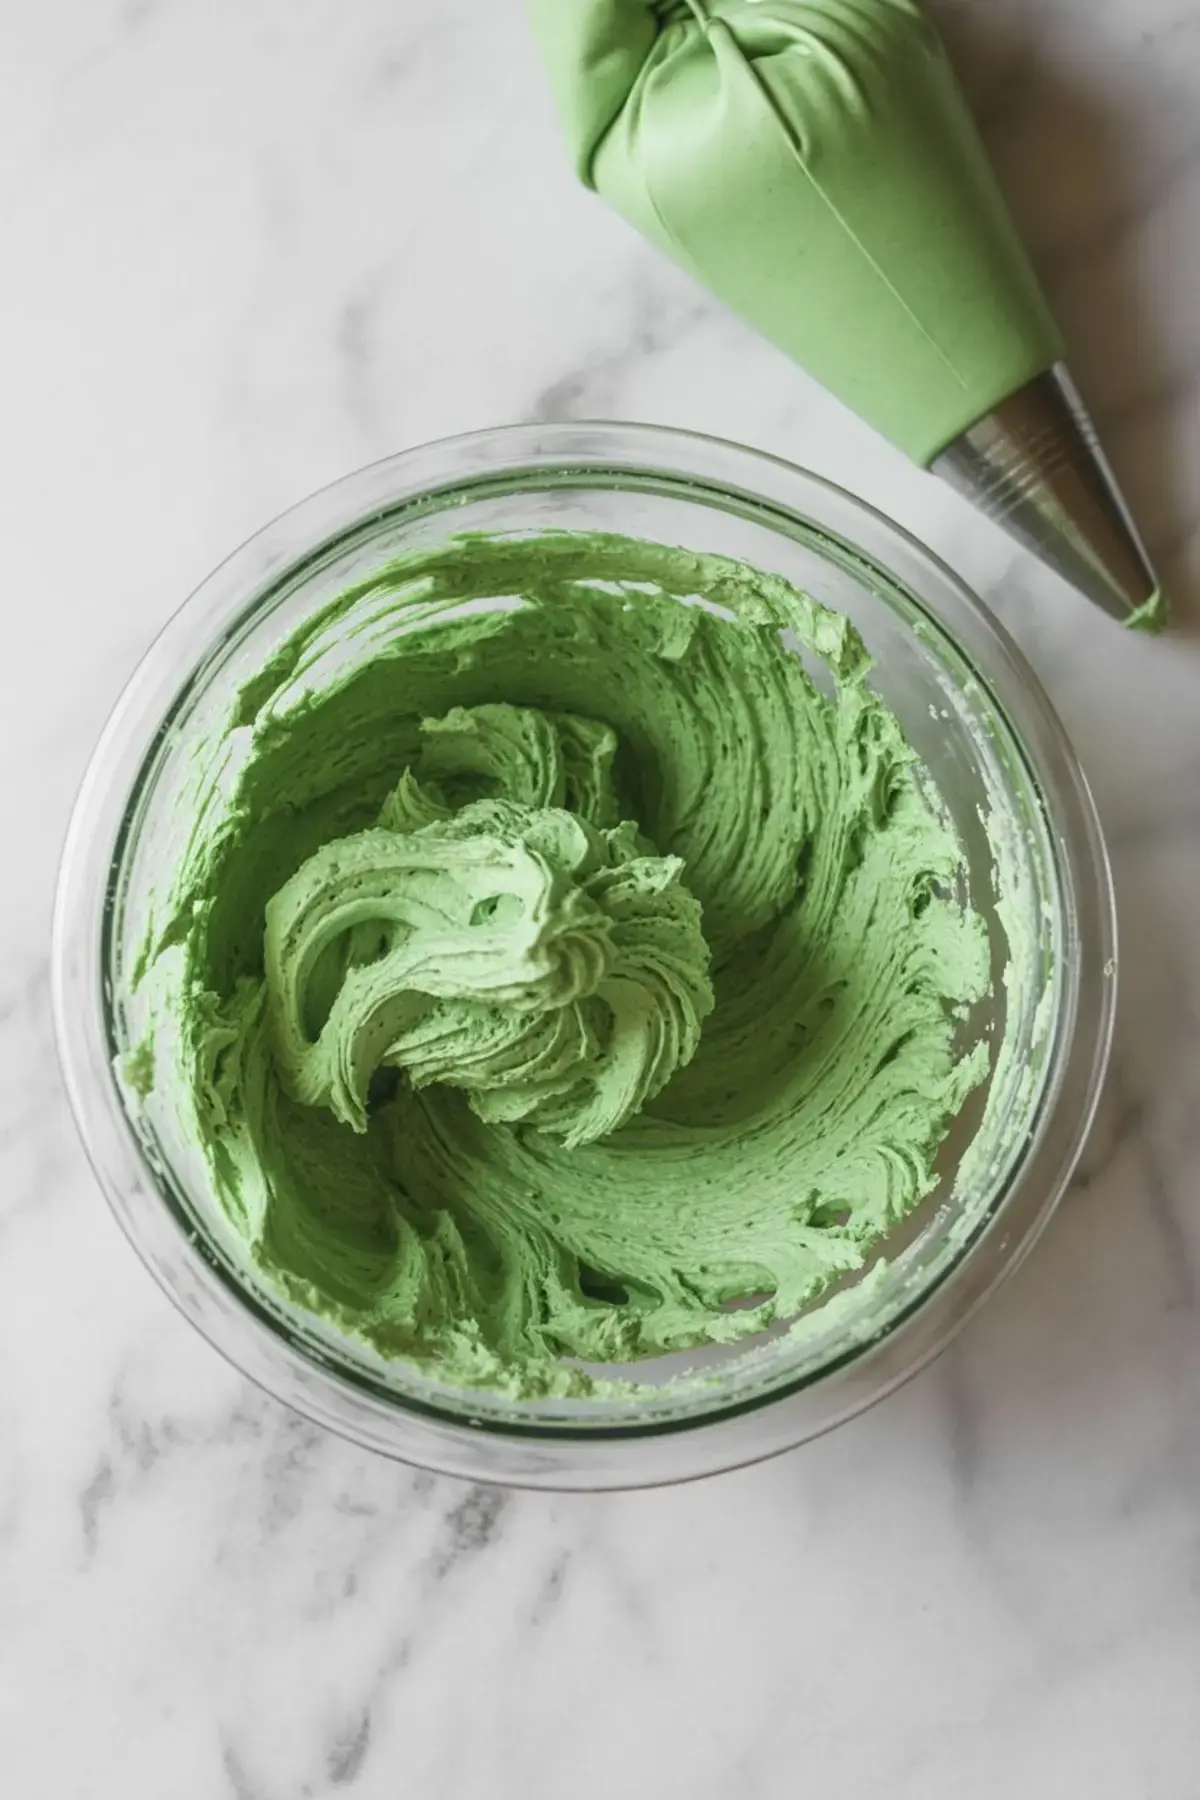
- MAKE THE BUTTERCREAM: In a large bowl, beat the butter until smooth and creamy. Gradually add powdered sugar, then mix in vanilla extract and cream. Beat for 2 to 3 minutes until fluffy. Add green gel food coloring a few drops at a time, mixing until the frosting reaches your preferred shade of green.
- ASSEMBLE THE TREE: On a large serving board or tray, arrange the cooled cupcakes in a tree shape. Start with 1 cupcake at the top, then 2 directly below, followed by rows of 3, 4, and 5. Use 2 cupcakes at the base for the trunk.
- DECORATE: Using a piping bag fitted with a large star or swirl tip, frost each cupcake with the green buttercream. Add sprinkles, candies, and a fondant or candy star at the top to complete the tree look.
Notes
Cupcakes can be baked a day ahead and stored at room temperature in an airtight container. Frost and decorate the day you plan to serve for best texture and color vibrancy. For easy piping, use a large open star tip (such as Wilton 1M or 2D).
Nutrition Information
Yield
18Serving Size
1Amount Per Serving Calories 361Total Fat 19gSaturated Fat 12gTrans Fat 0gUnsaturated Fat 7gCholesterol 70mgSodium 141mgCarbohydrates 45gFiber 0gSugar 35gProtein 3g