
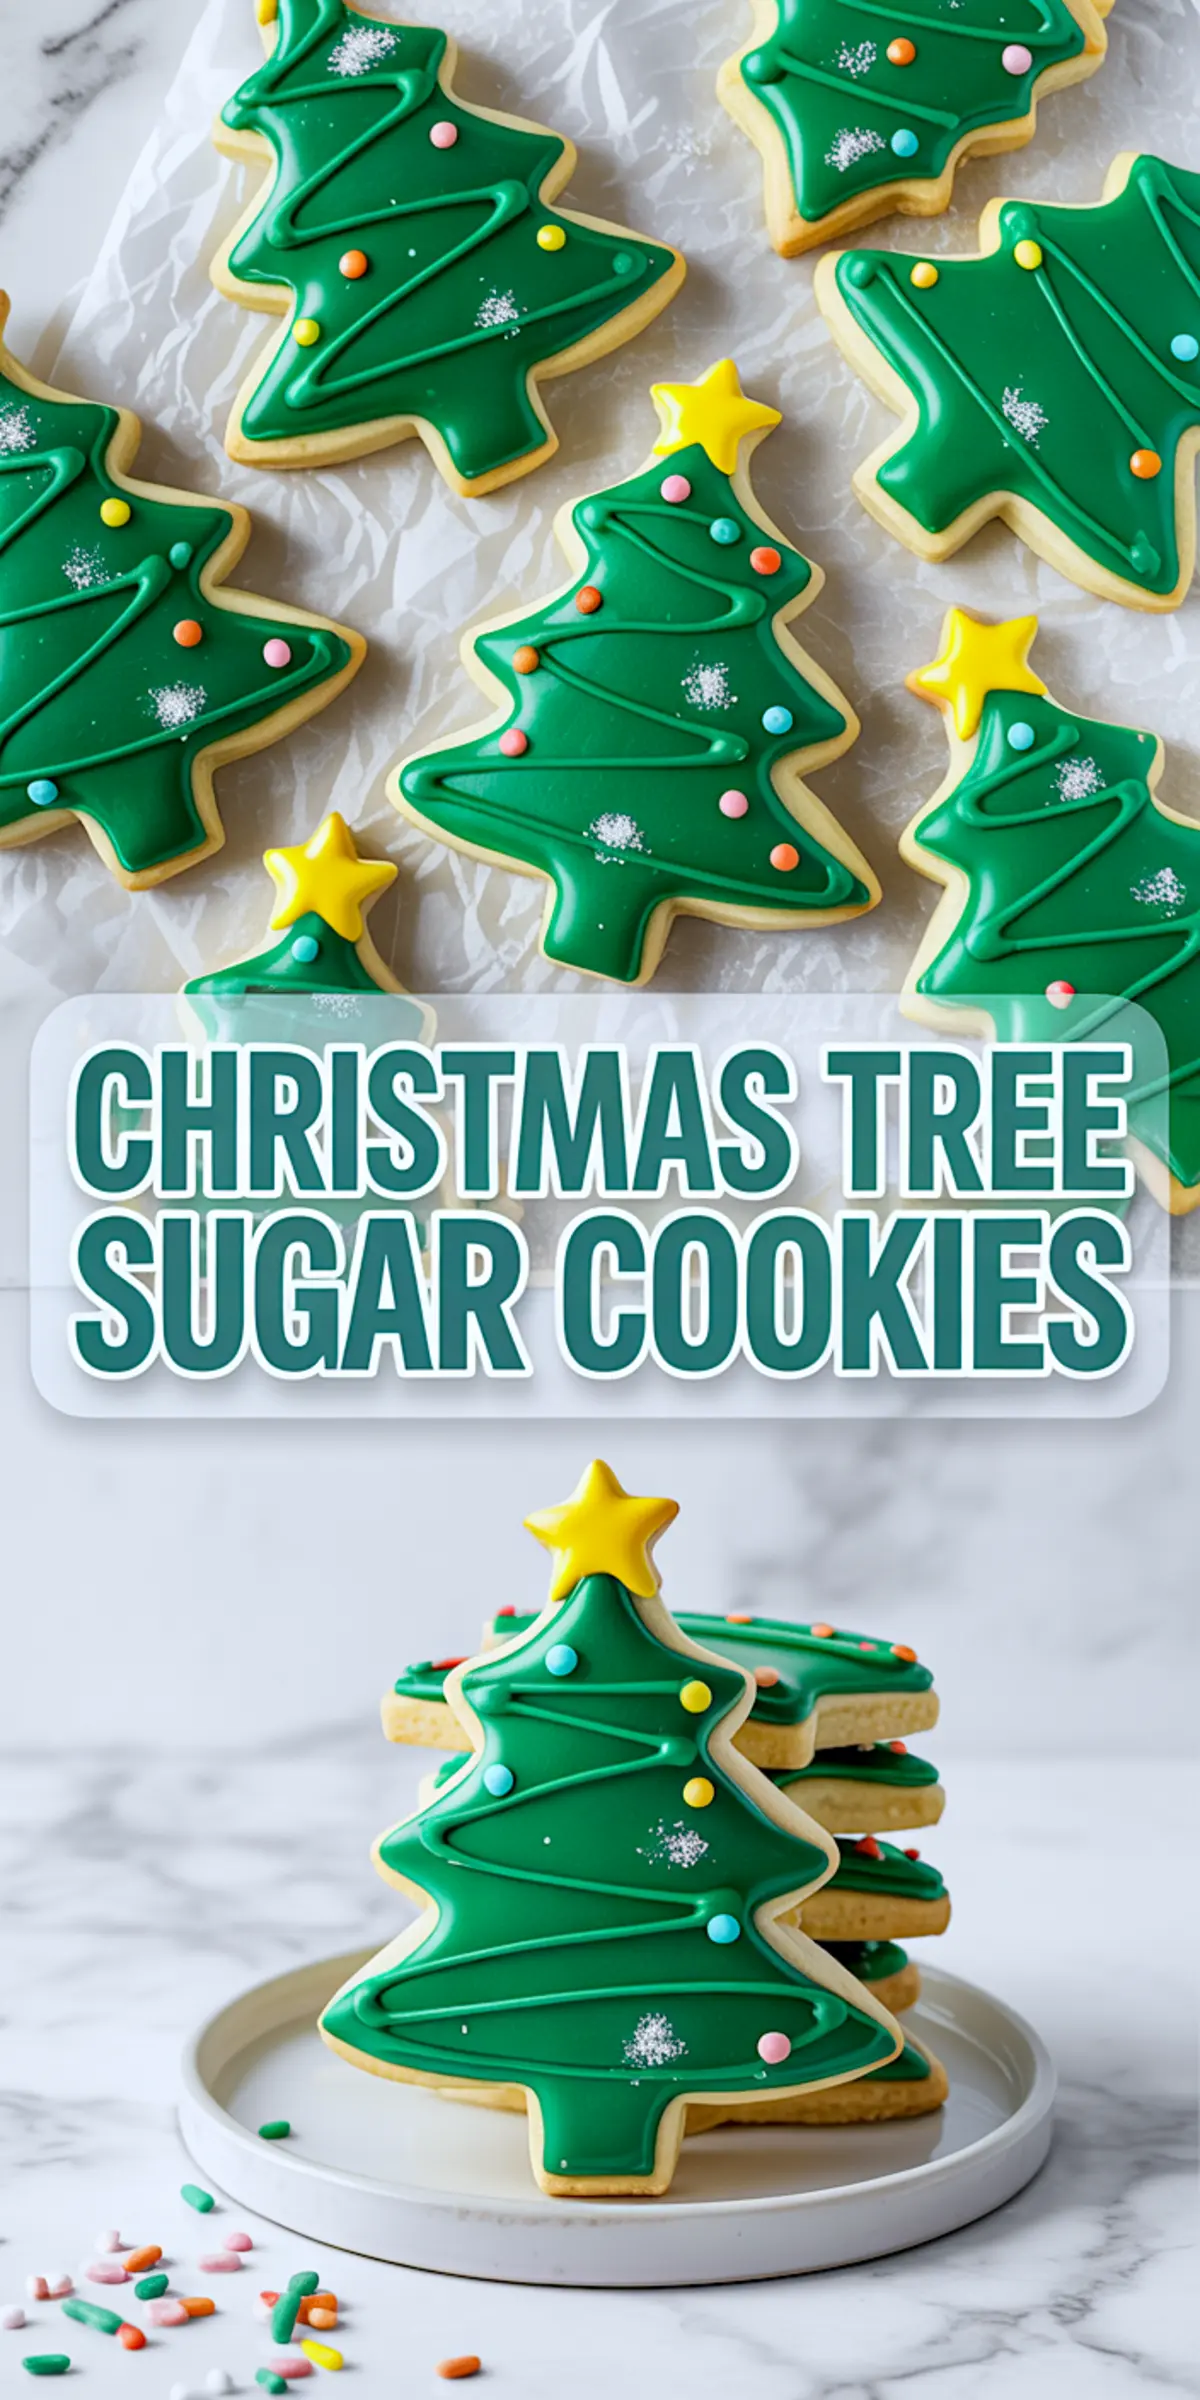
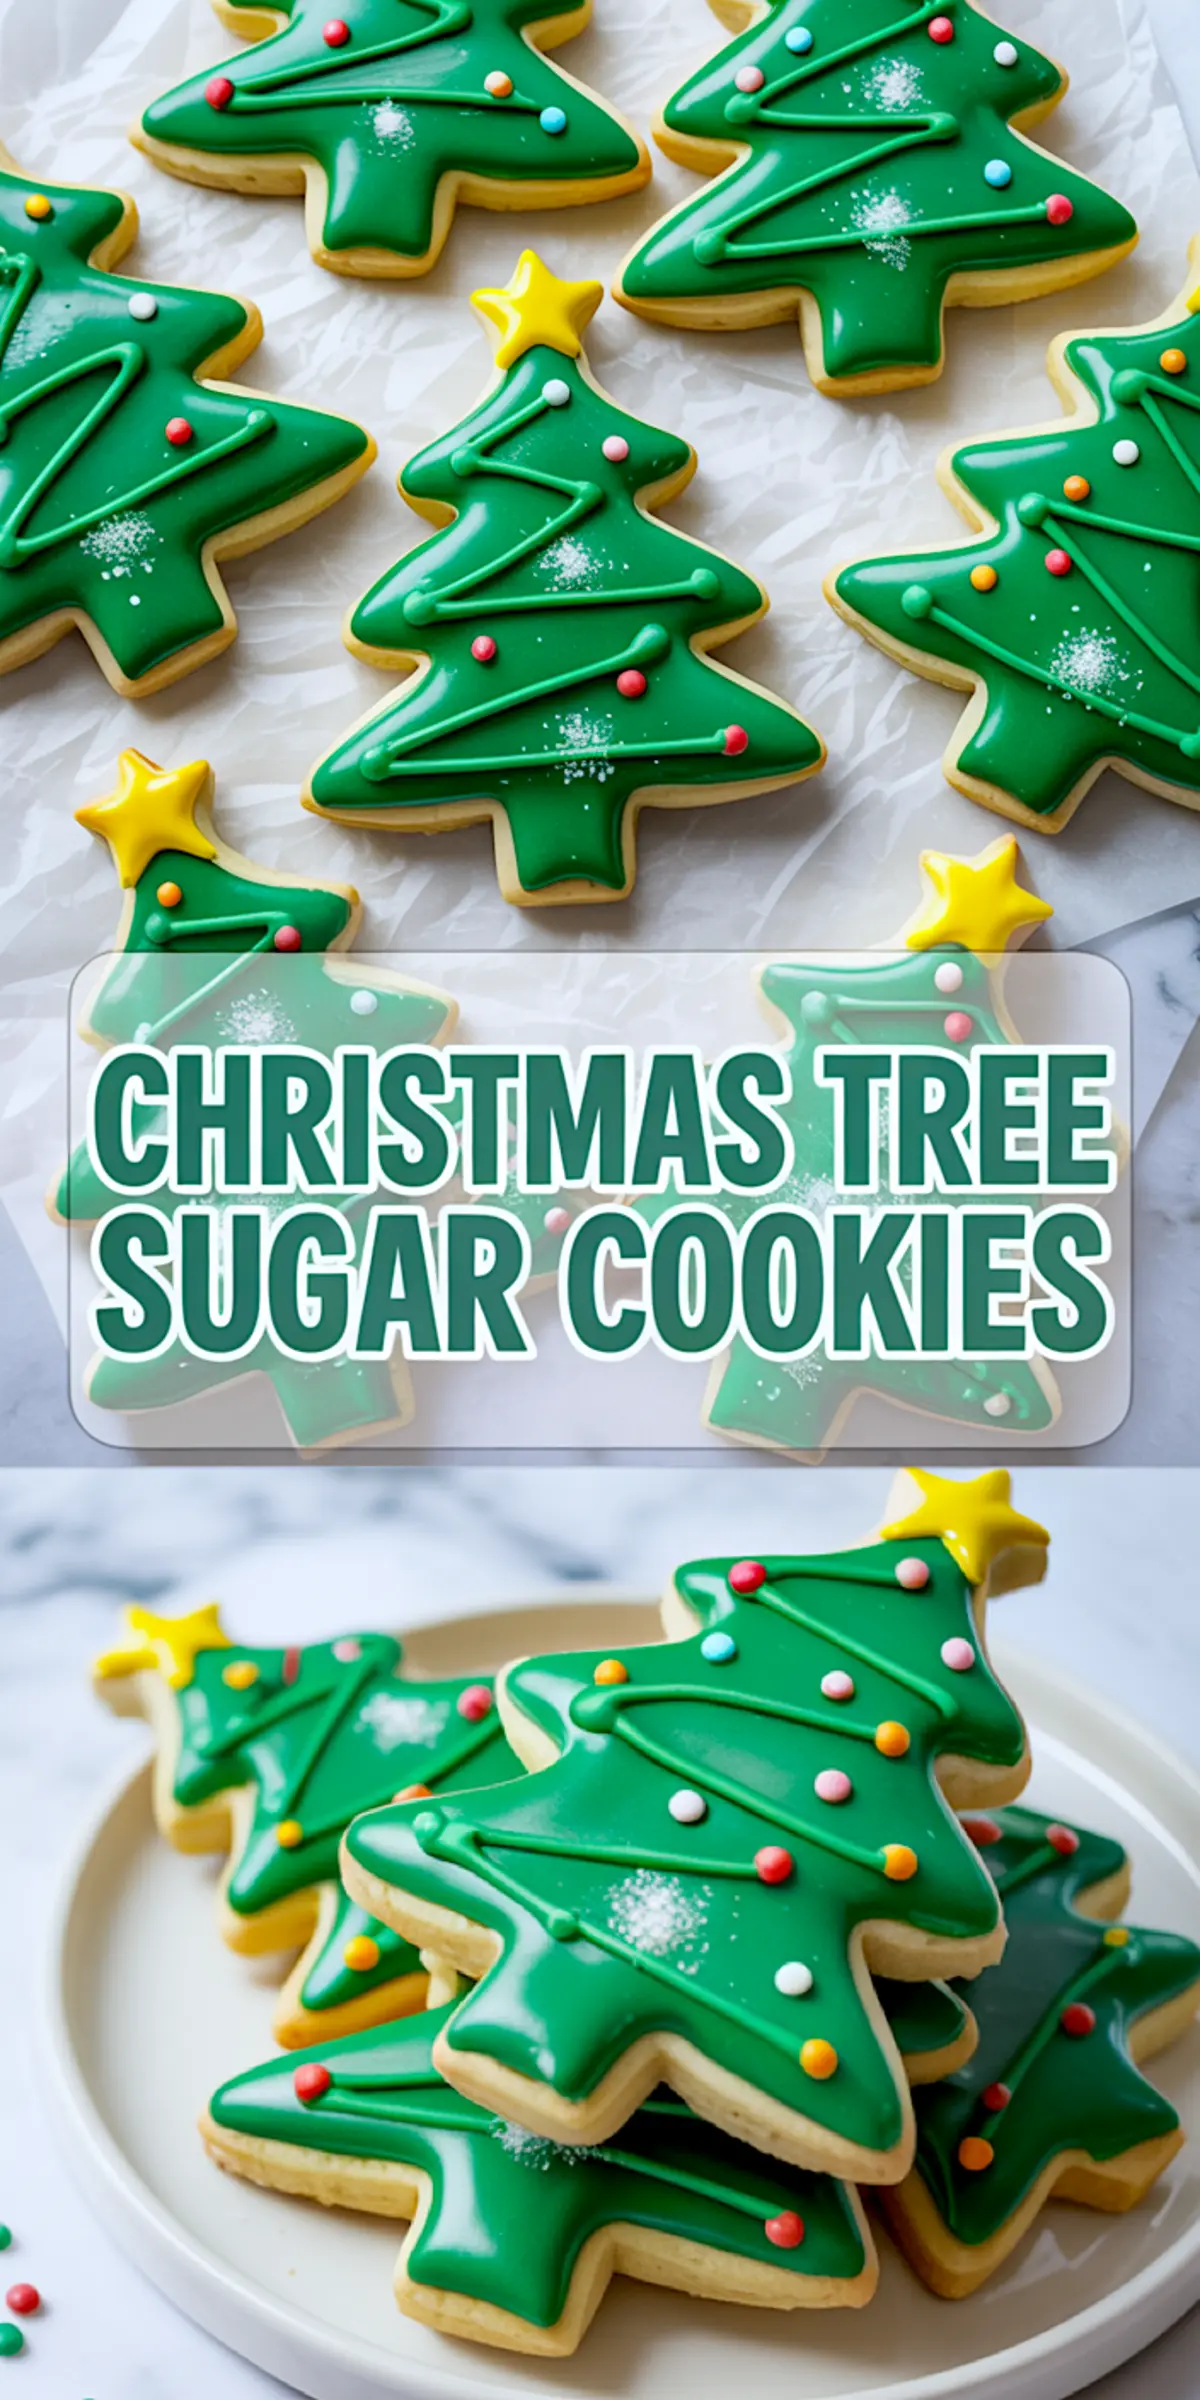
How to Make Tree Cookies That Stay Soft, Hold Shape, and Look Stunning
These Christmas Tree Sugar Cookies bring two things to the table structure and sparkle.
You’ll get a cookie that holds its shape through baking and decorating, yet still bites like a soft sugar cookie should. No hard crunch. No dry centers. Just a buttery, vanilla-rich base that pairs well with detailed icing work and a sturdy tree silhouette.
These Christmas Tree Cookies Decorated with royal icing turn into edible ornaments. They stack well for gifts, sit beautifully on a cookie platter, and hold up in the hands of kids during family Christmas cooking sessions.
And that matters. Especially when you’re baking for both taste and presentation.
Following a special diet?
Every recipe on this site can be converted to gluten-free, vegan, dairy-free, keto, nut-free or egg-free with adjusted ratios so nothing falls flat.
Try the Recipe Converter →Why I Chose Each Ingredient
The Small Swaps That Make a Big Impact
Flour sets the foundation. I use all-purpose flour for a reason—it gives structure without making the cookies too dense. A cake flour blend doesn’t hold the shape as cleanly, especially with detailed cutters like sugar cookie Christmas tree shapes.
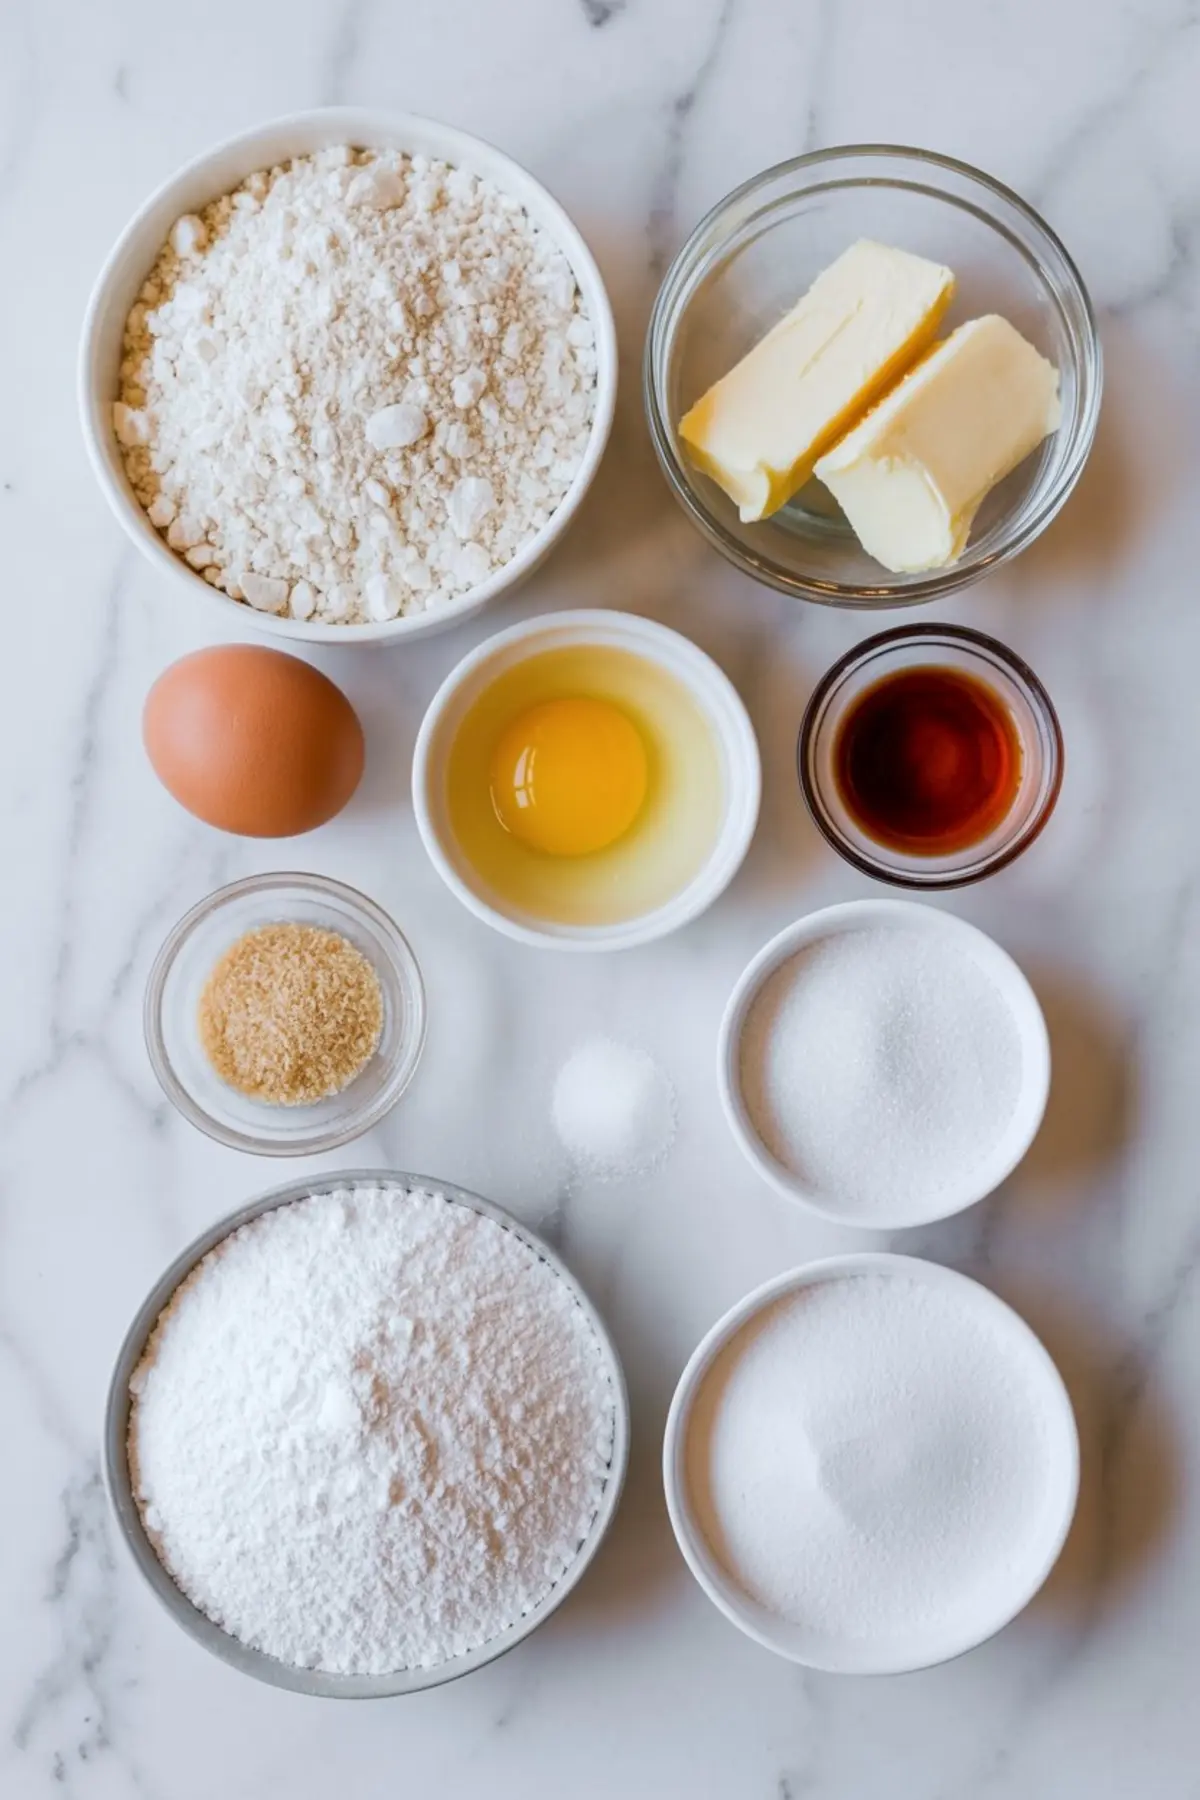
Unsalted butter adds richness and keeps the texture soft. I’ve tested with margarine in a pinch, but the flavor fell flat and the texture became gummy after a day.
Granulated sugar sweetens and supports the cookie’s crisp edges without interfering with the softness inside.
Vanilla extract and almond extract bring warmth. I add both. The almond is optional, but it adds that subtle bakery-style depth that makes people pause and ask, “what’s that?”
One large egg brings it all together. I’ve used egg yolk only versions before, but the whole egg helps these hold shape without drying out.
As for the icing—meringue powder is the key. No raw egg whites needed. This powder stabilizes the icing, gives a glossy finish, and keeps the piping firm after drying. That’s how the decorations stay neat even days later.
Use gel food coloring, not liquid. Gel gives concentrated color without thinning the icing. That matters when you’re outlining sugar cookies Christmas decorated with trees and stars.
How to Roll and Cut Cookies Without Losing Shape
Keeping Edges Sharp, Even After Baking
Once the dough is chilled, take your time rolling. I roll to exactly ¼ inch thickness. That depth gives just the right chew without sacrificing clean edges.
Use a well-floured surface and move the dough often to prevent sticking. A little patience here pays off in presentation.
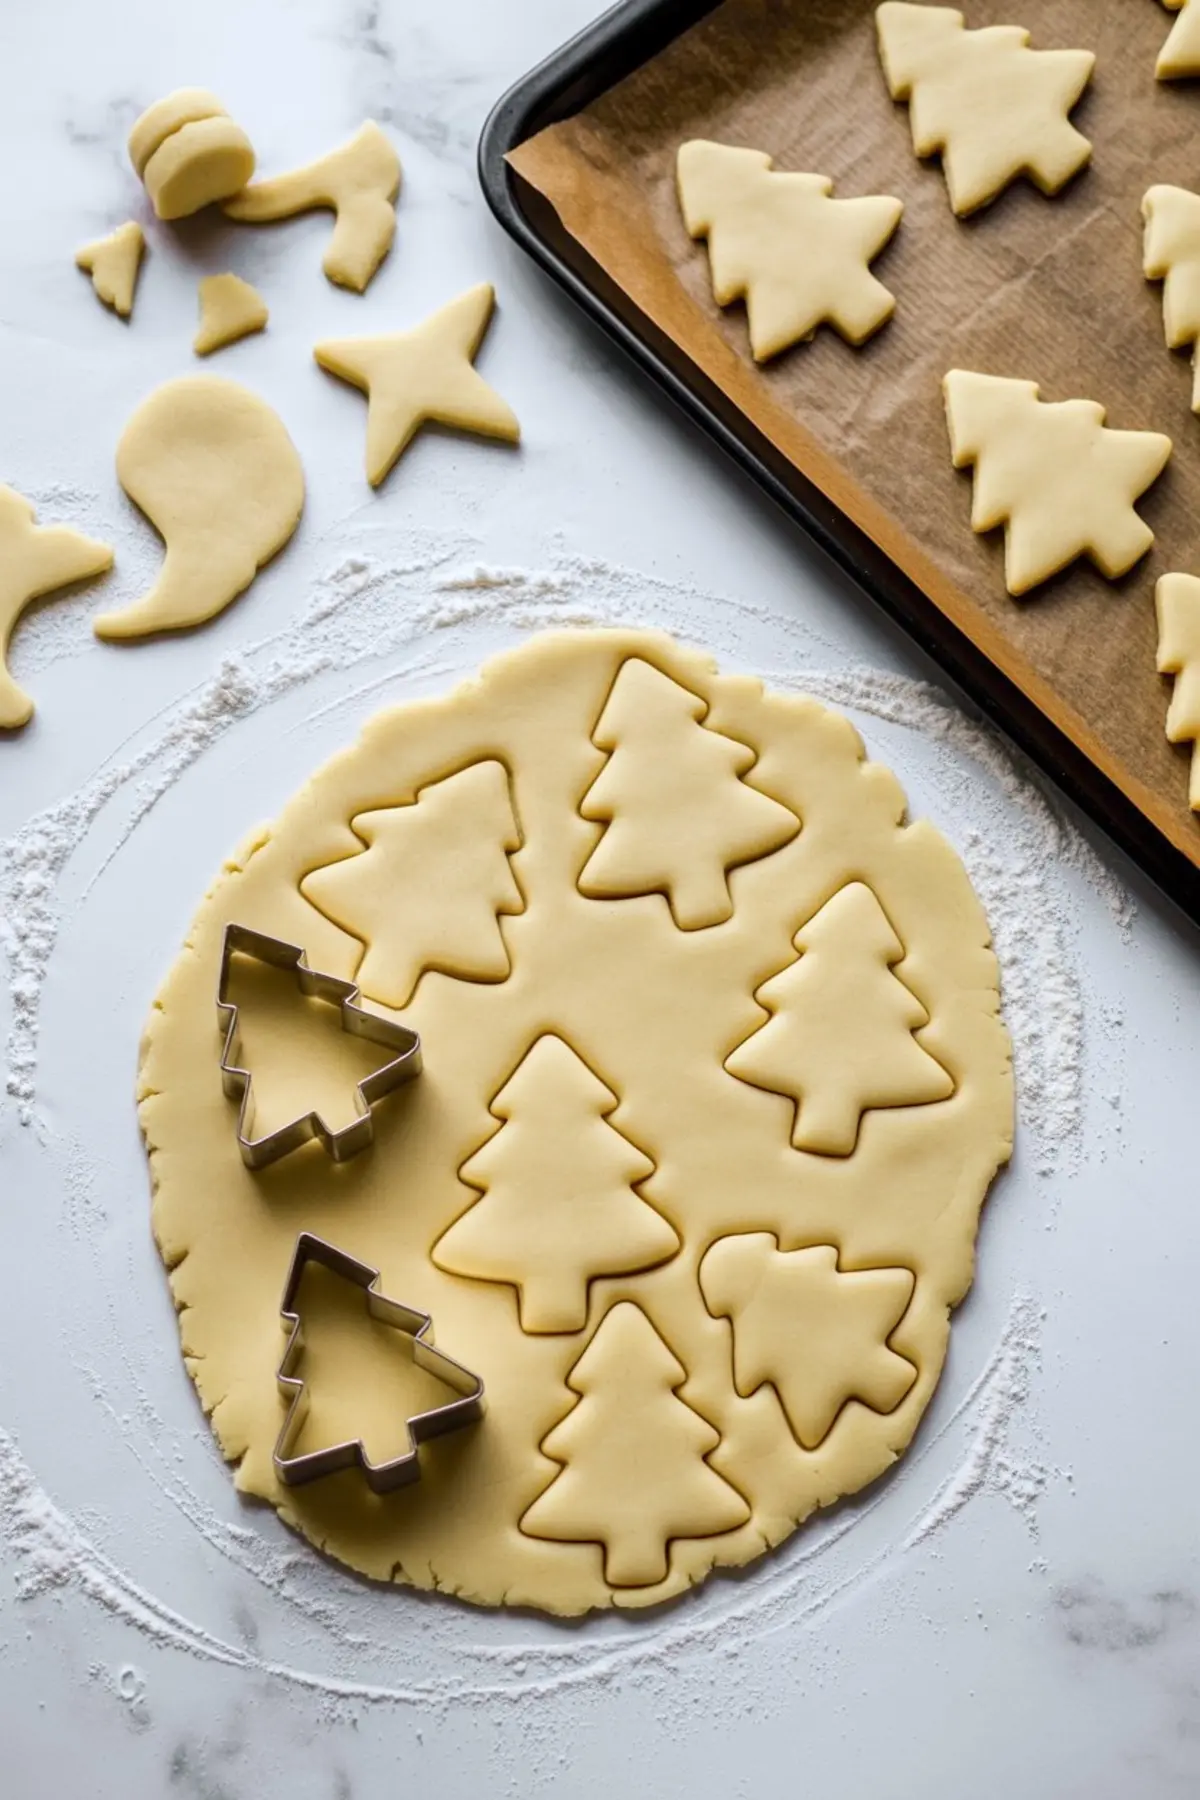
I use a Christmas tree cookie cutter with sharp edges and a clear top point. Rounded trees lose definition after baking. Sharp cutters give sharp results.
After cutting, transfer the shapes to a parchment-lined sheet. Don’t overload the tray. One inch of space keeps them from melting into each other.
Bake until the edges just begin to color. Not brown. Not golden. Just a whisper of gold around the base. That’s your cue to take them out.
If you’re looking for another visual showstopper this season, these Christmas Tree Cream Puffs are another option to bookmark.
The Icing Process That Keeps Colors Bright and Clean
How to Use Royal Icing for Professional-Looking Tree Cookies
Mix your royal icing until it forms soft peaks. That means it’s thick enough to pipe outlines without flooding the cookie entirely.
Separate into bowls before coloring. Green for the tree. Yellow for the star. Keep a little white if you want to add snow accents.
To flood the cookies after outlining, thin the icing slightly. Add water a few drops at a time. It should flow but not run over the sides.
Decorate while the icing is wet. This helps sprinkles and glitter stick cleanly and prevents cracking later. I always press the star sprinkle in gently while the yellow icing is still tacky.
For more icing-forward designs, I recommend the Grinch Cookies Decorated. They show how color layering can create character.
Storing and Serving Without Losing Texture or Detail
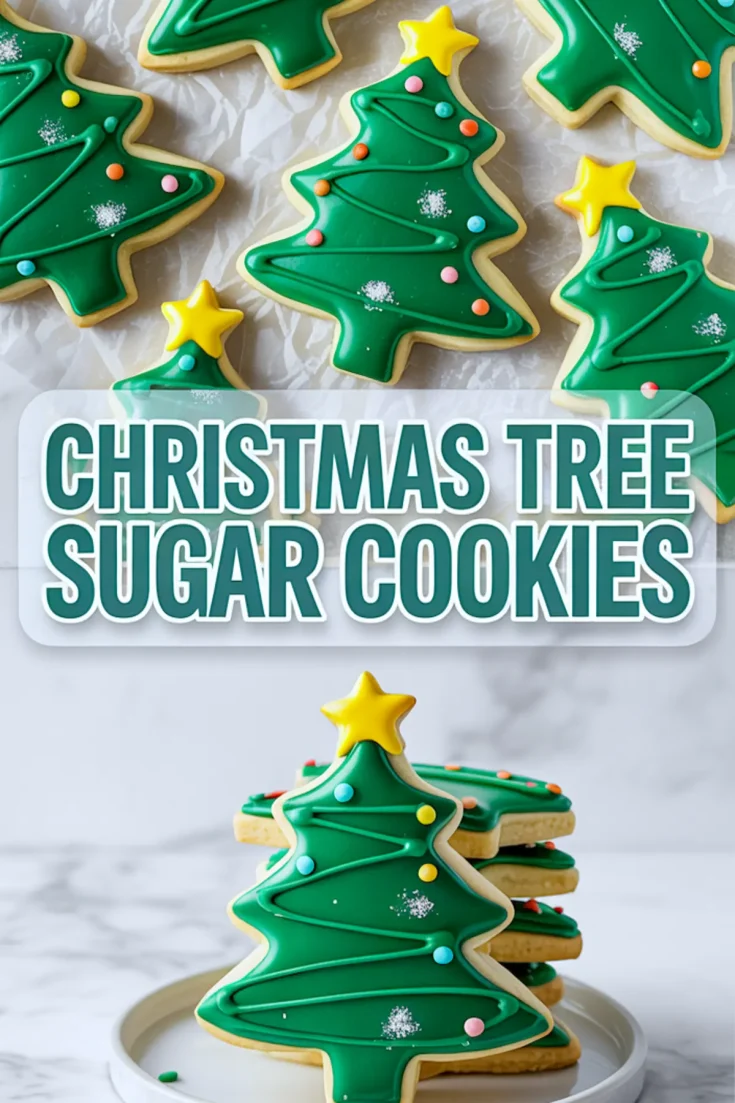
Once dry, the icing will harden enough to stack. I store these Christmas Sugar Cookies Decorated in an airtight tin with layers of parchment between each row.
They last up to one week on the counter, still soft and detailed. If you want to prep ahead, freeze the undecorated cookies. Just decorate after thawing.
I’ve brought these to cookie swaps and school events. They hold their color and shape in transport, and they always spark conversation. Especially when displayed alongside Santa Claus Cookies or Christmas Tree Brownies.
Tips from My Own Kitchen
Let the icing dry overnight before stacking.
Always chill your dough. I learned that the hard way during one humid December, when skipping the chill turned my sugar cookie Christmas tree shapes into blobs.
Decorate with children? Make a second batch of mini trees just for them. Keeps the decorated ones clean, and lets them play freely.
I keep a small notebook of my favorite Christmas Sugar Cookie Designs. Over time, you’ll find the ones that always get compliments, and the ones that look better in your imagination than on the tray.
Save This Recipe & Share Your Cookie Creations
If you try these Christmas Tree Sugar Cookies, I’d love to hear how they turned out. Did you go for classic green and yellow? Or mix in your own twist with candies and silver dragees?
Leave a comment with your favorite designs or your own decorating tips.
And don’t forget to save this to your Christmas cookie board on Pinterest for easy access later.
Christmas Tree Sugar Cookies Recipe
These Christmas Tree Sugar Cookies are the perfect festive centerpiece for any dessert table. With a buttery, soft sugar cookie base and beautiful green icing, these Christmas Tree Cookies Decorated add charm and holiday cheer to cookie exchanges or gifts. Whether you’re planning Christmas Cooking with family or baking for a crowd, these Christmas Sugar Cookies Decorated are fun to make and even more fun to eat. Use your favorite Sugar Cookie Christmas Tree cutter and add sprinkles or stars for extra sparkle. These Xmas Cookies double as edible decor and are ideal for showcasing your favorite Christmas Sugar Cookie Designs this season.
Ingredients
- FOR THE SUGAR COOKIES
- 2 ¾ cups (344g) all-purpose flour
- 1 tsp baking powder
- ½ tsp salt
- 1 cup (226g) unsalted butter, softened
- 1 cup (200g) granulated sugar
- 1 large egg
- 1 ½ tsp pure vanilla extract
- ½ tsp almond extract (optional)
- FOR THE ROYAL ICING
- 4 cups (480g) powdered sugar, sifted
- 3 tbsp meringue powder
- 6 tbsp water (plus more as needed for consistency)
- Green gel food coloring
- Yellow gel food coloring
- Sprinkles, edible glitter, and round candies for decorations
Instructions
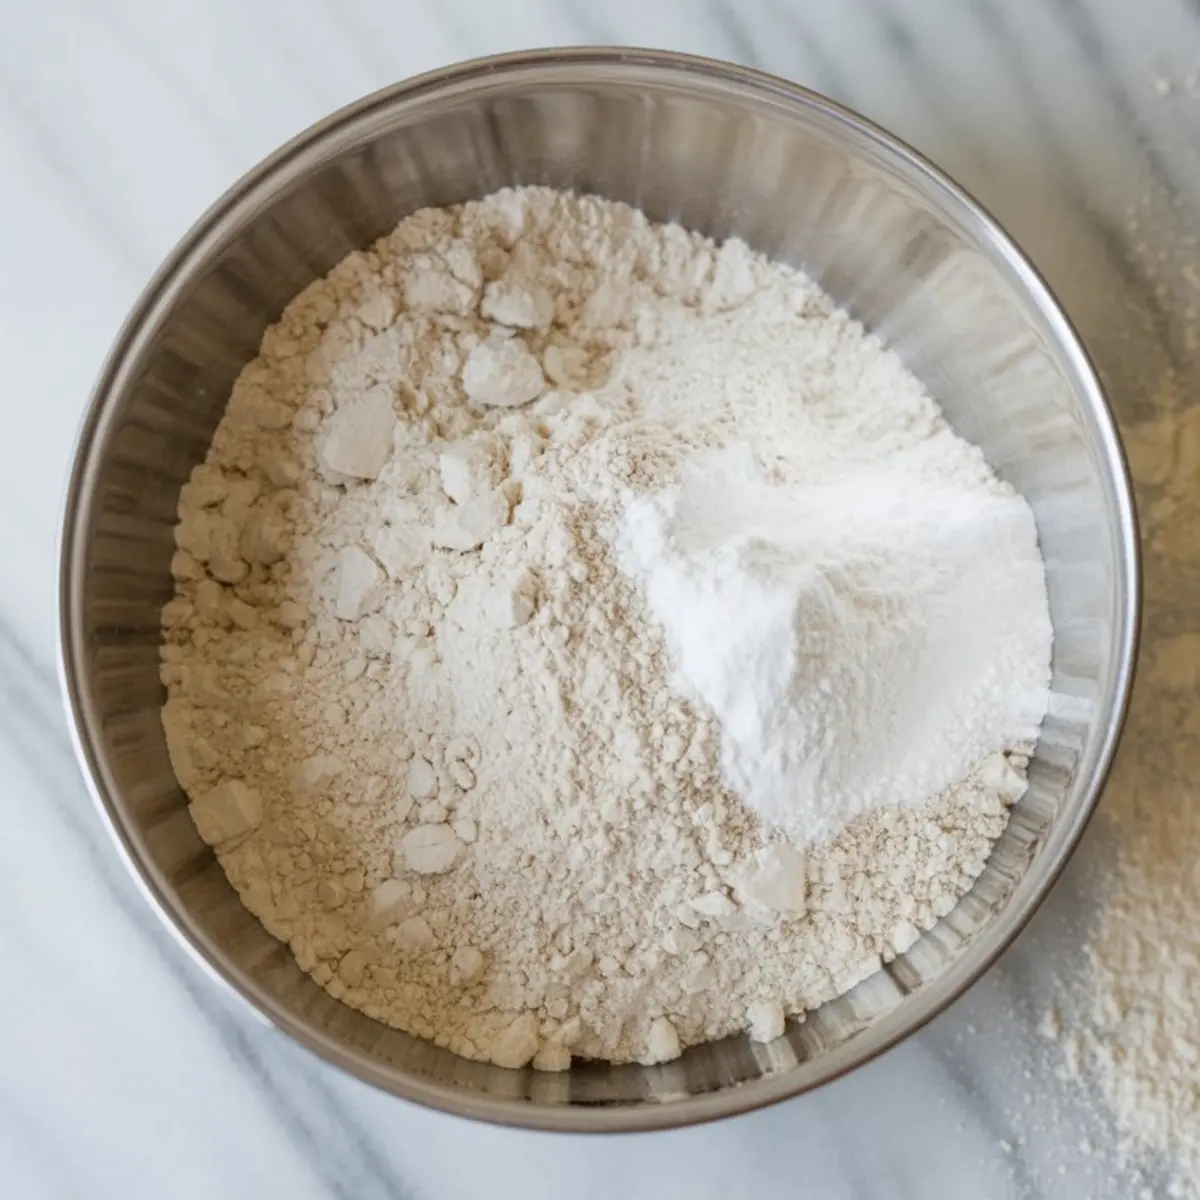
- PREP THE DRY INGREDIENTS: In a medium bowl, whisk together the all-purpose flour, baking powder, and salt until well combined. Set aside.
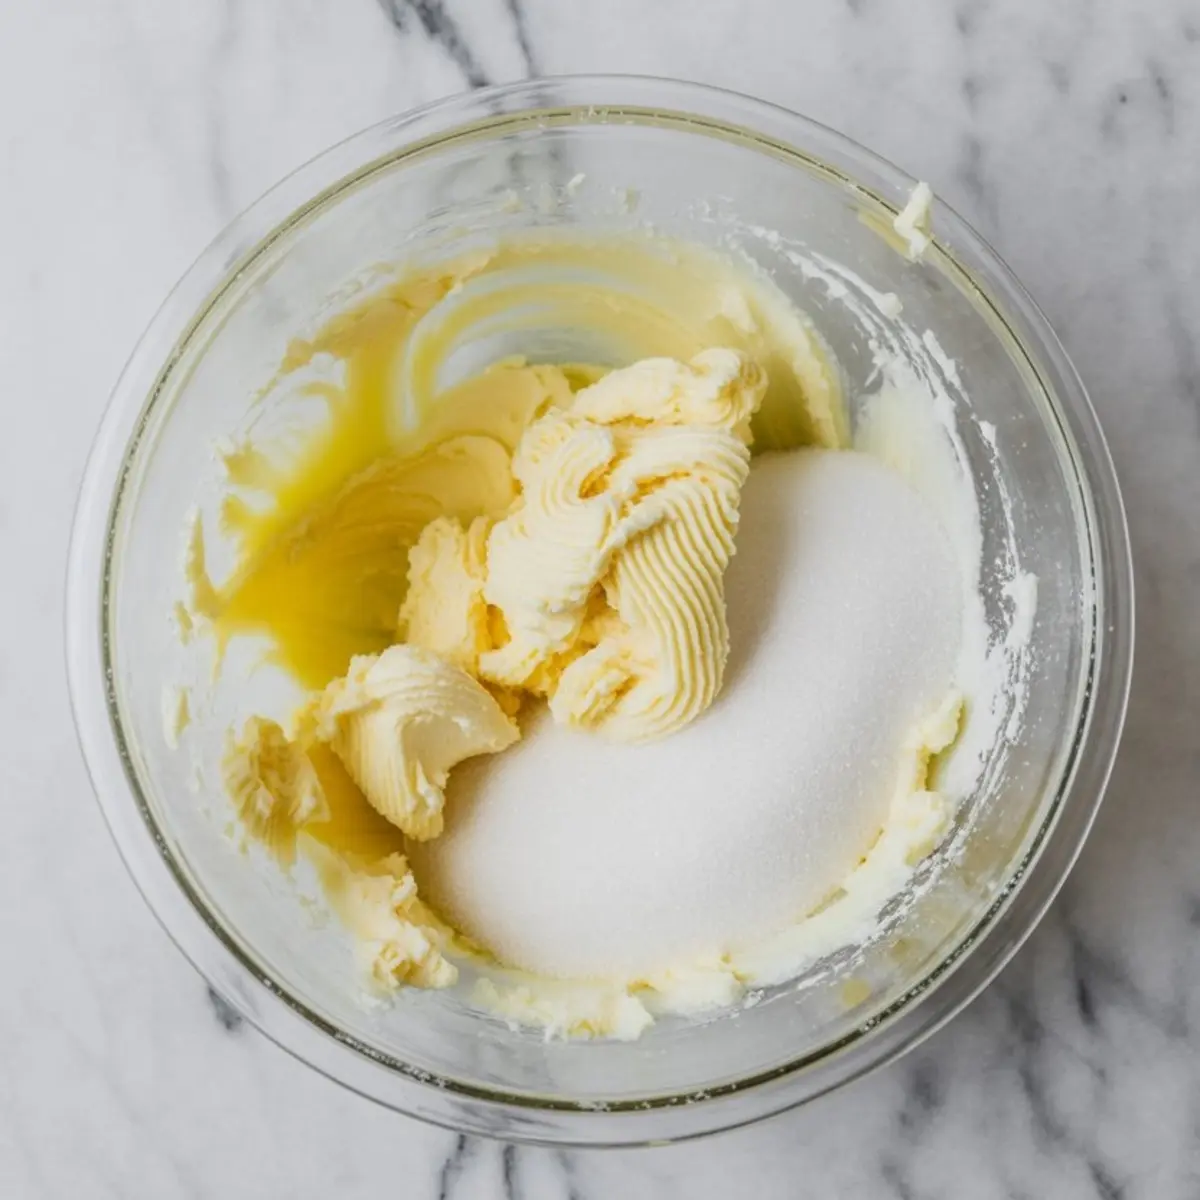
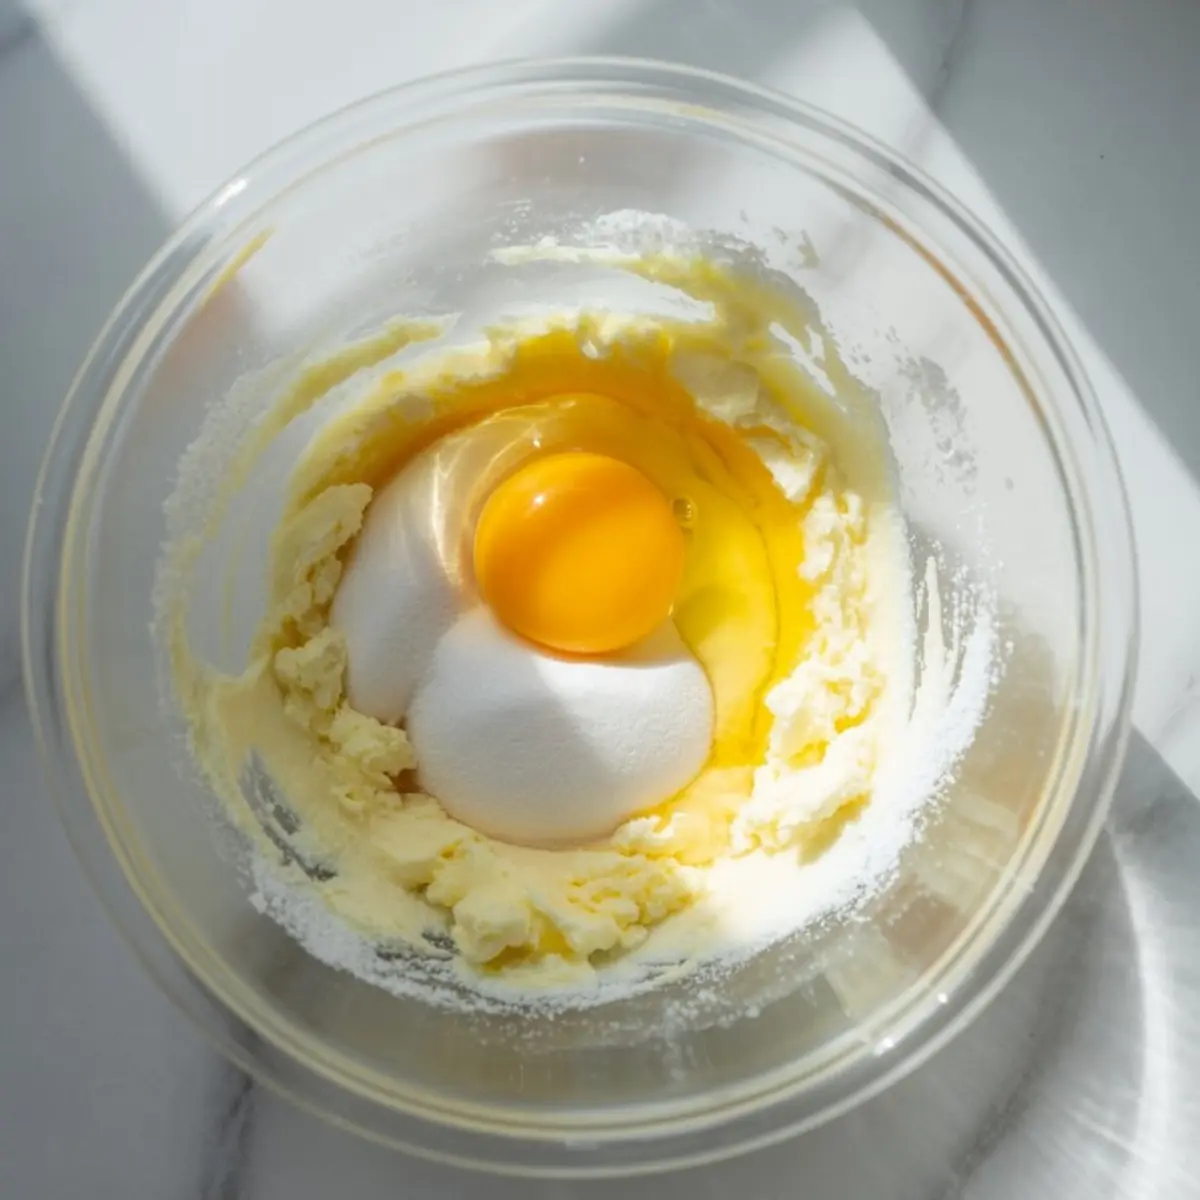
- CREAM THE BUTTER AND SUGAR: In a large mixing bowl, beat the softened butter and granulated sugar together with an electric mixer on medium speed for 2 to 3 minutes until the mixture is light and fluffy.
- ADD THE EGG AND EXTRACTS: Beat in the egg, vanilla extract, and almond extract until the mixture is smooth and fully incorporated.
- INCORPORATE THE DRY INGREDIENTS: Gradually add the flour mixture to the wet ingredients, mixing on low speed until a soft dough forms. The dough should come together but not be sticky.
- CHILL THE DOUGH: Divide the dough into two equal discs, wrap each in plastic wrap, and refrigerate for at least 1 hour or up to overnight to allow the dough to firm up and hold its shape during baking.
- PREHEAT AND PREP: Preheat the oven to 350°F (175°C) and line baking sheets with parchment paper.
- ROLL AND CUT: On a floured surface, roll out one disc of dough at a time to ¼ inch thickness. Use a Christmas tree cookie cutter to cut out shapes and transfer them to the prepared baking sheets, spacing them about 1 inch apart.
- BAKE: Bake the cookies for 8 to 10 minutes or until the edges are just beginning to turn golden. Remove from the oven and let the cookies cool on the baking sheet for 2 minutes before transferring to a wire rack to cool completely.
- MAKE THE ROYAL ICING: In a stand mixer fitted with the paddle attachment, combine the powdered sugar, meringue powder, and water. Mix on low speed for 5 to 7 minutes until the icing is thick, glossy, and holds peaks.
- COLOR THE ICING: Divide the icing into separate bowls. Tint one portion green for the trees, one yellow for the stars, and leave some white if desired for piping snow details.
- ADJUST CONSISTENCY: For outlining the cookies, use a thicker consistency icing. For flooding the cookies, add water a few drops at a time to thin the icing slightly until it flows smoothly but still holds shape.
- DECORATE THE COOKIES: Outline the tree shapes with green icing, then flood the centers to fill. Use yellow icing to pipe stars at the top of each tree. While the icing is still wet, add sprinkles, edible glitter, and candies to decorate. Let cookies dry uncovered for several hours or overnight until the icing is completely set.
Notes
Cookies can be stored in an airtight container at room temperature for up to 1 week. For longer storage, freeze undecorated cookies and decorate after thawing. Adjust icing colors and decorations to match your holiday theme.
Nutrition Information
Yield
30Serving Size
1Amount Per Serving Calories 198Total Fat 7gSaturated Fat 4gUnsaturated Fat 3gCholesterol 23mgSodium 66mgCarbohydrates 33gFiber 0gSugar 23gProtein 2g