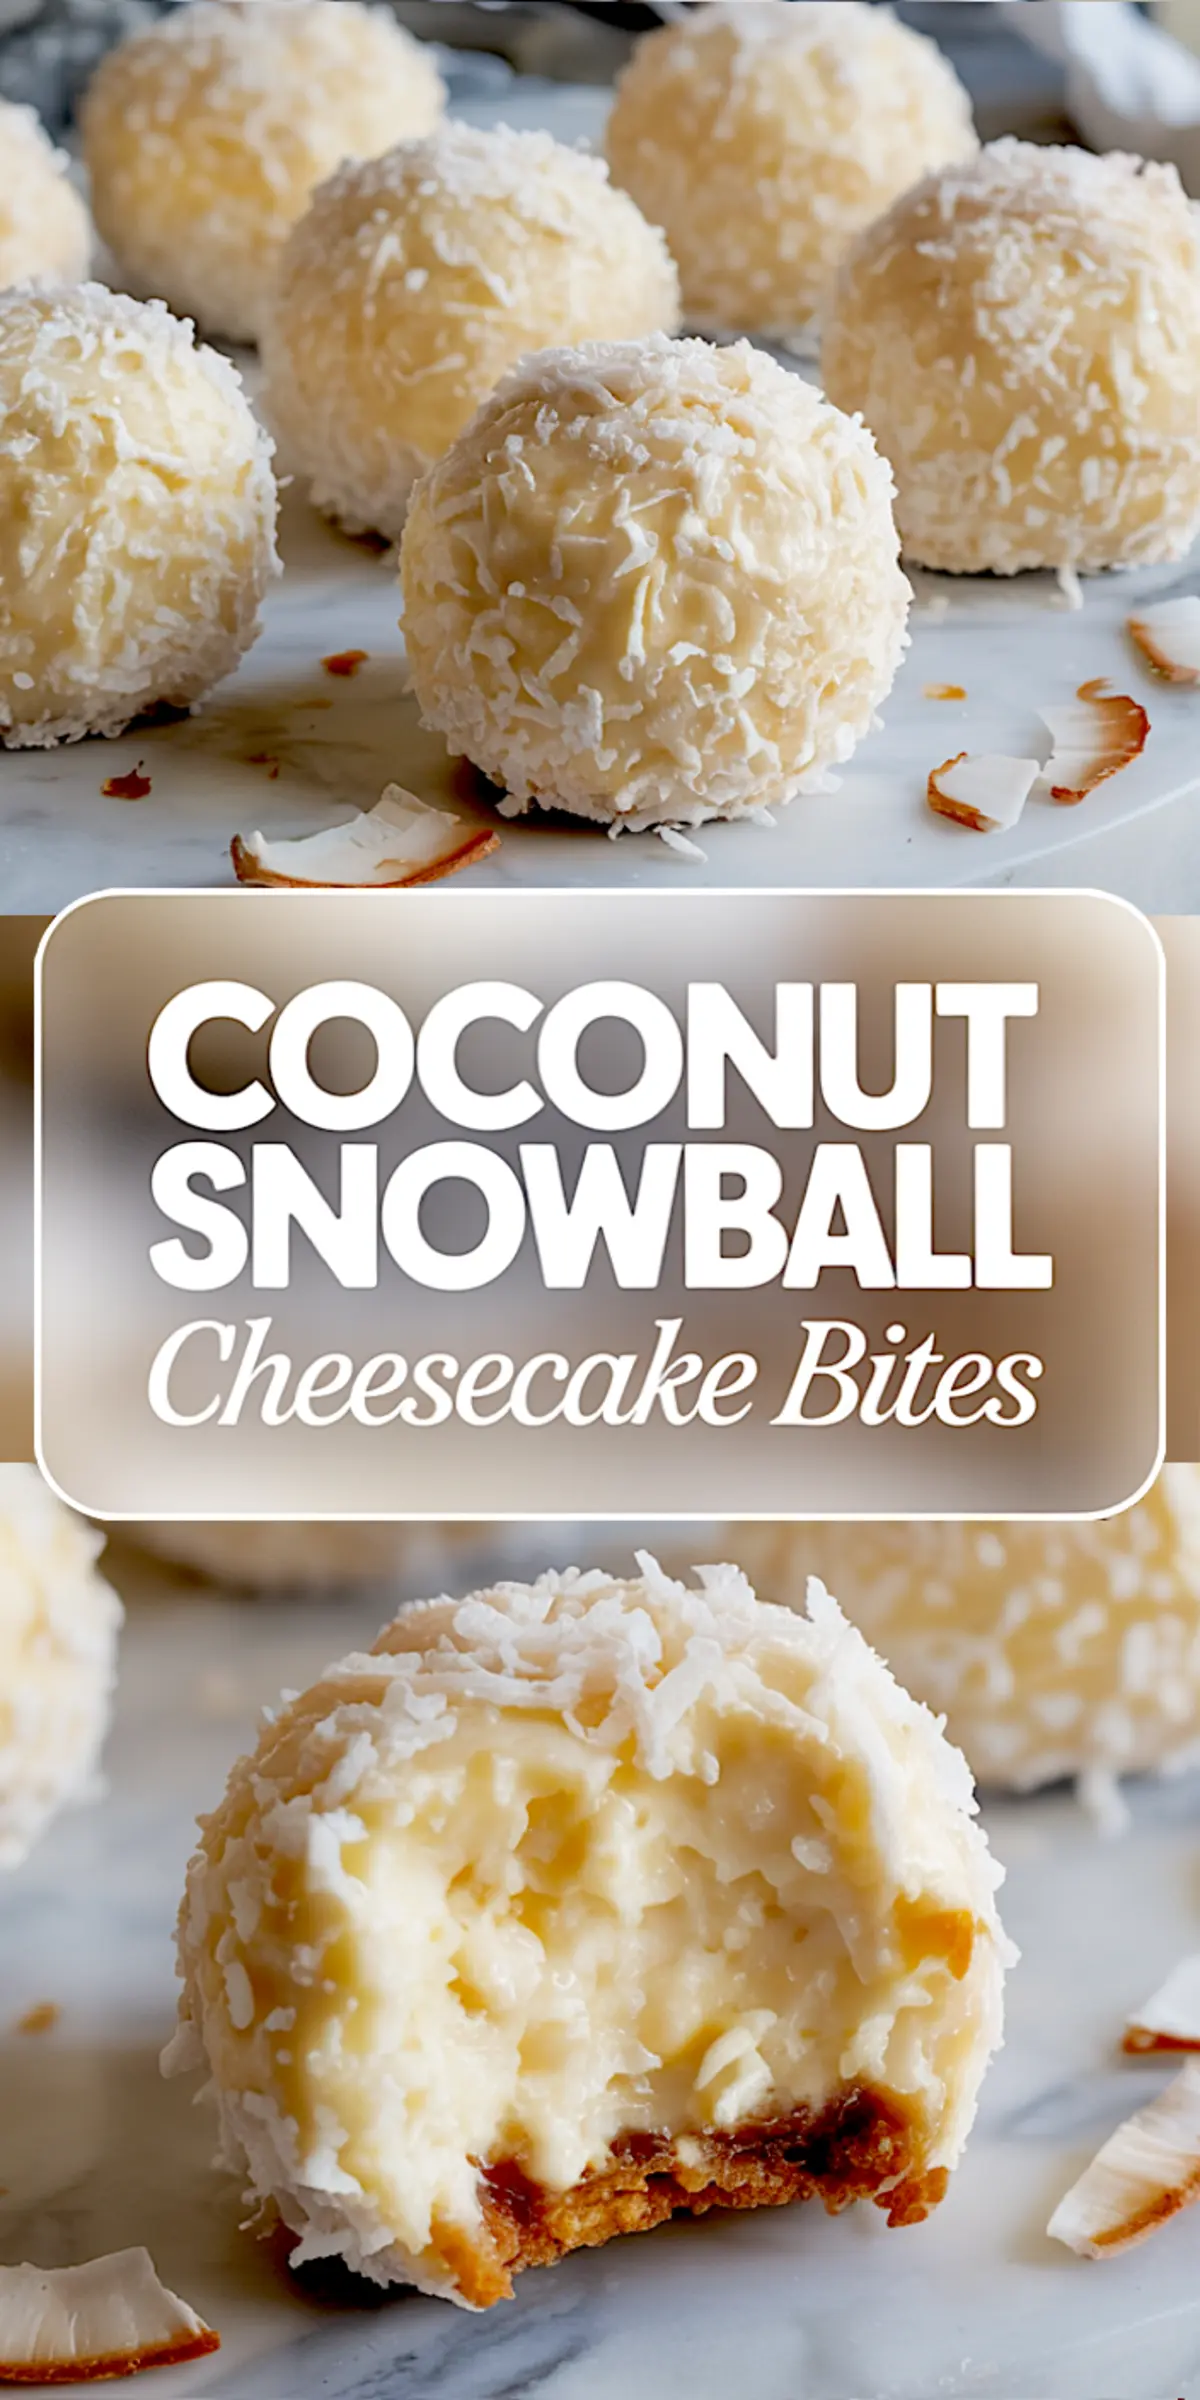
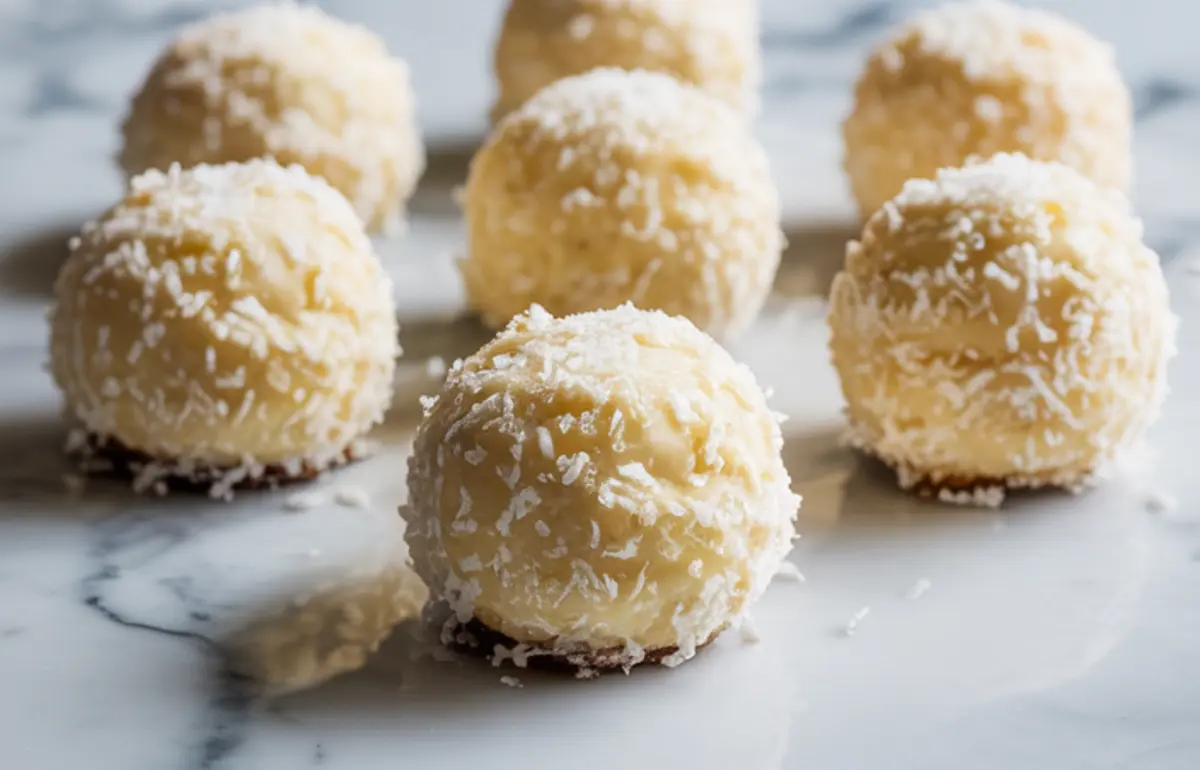
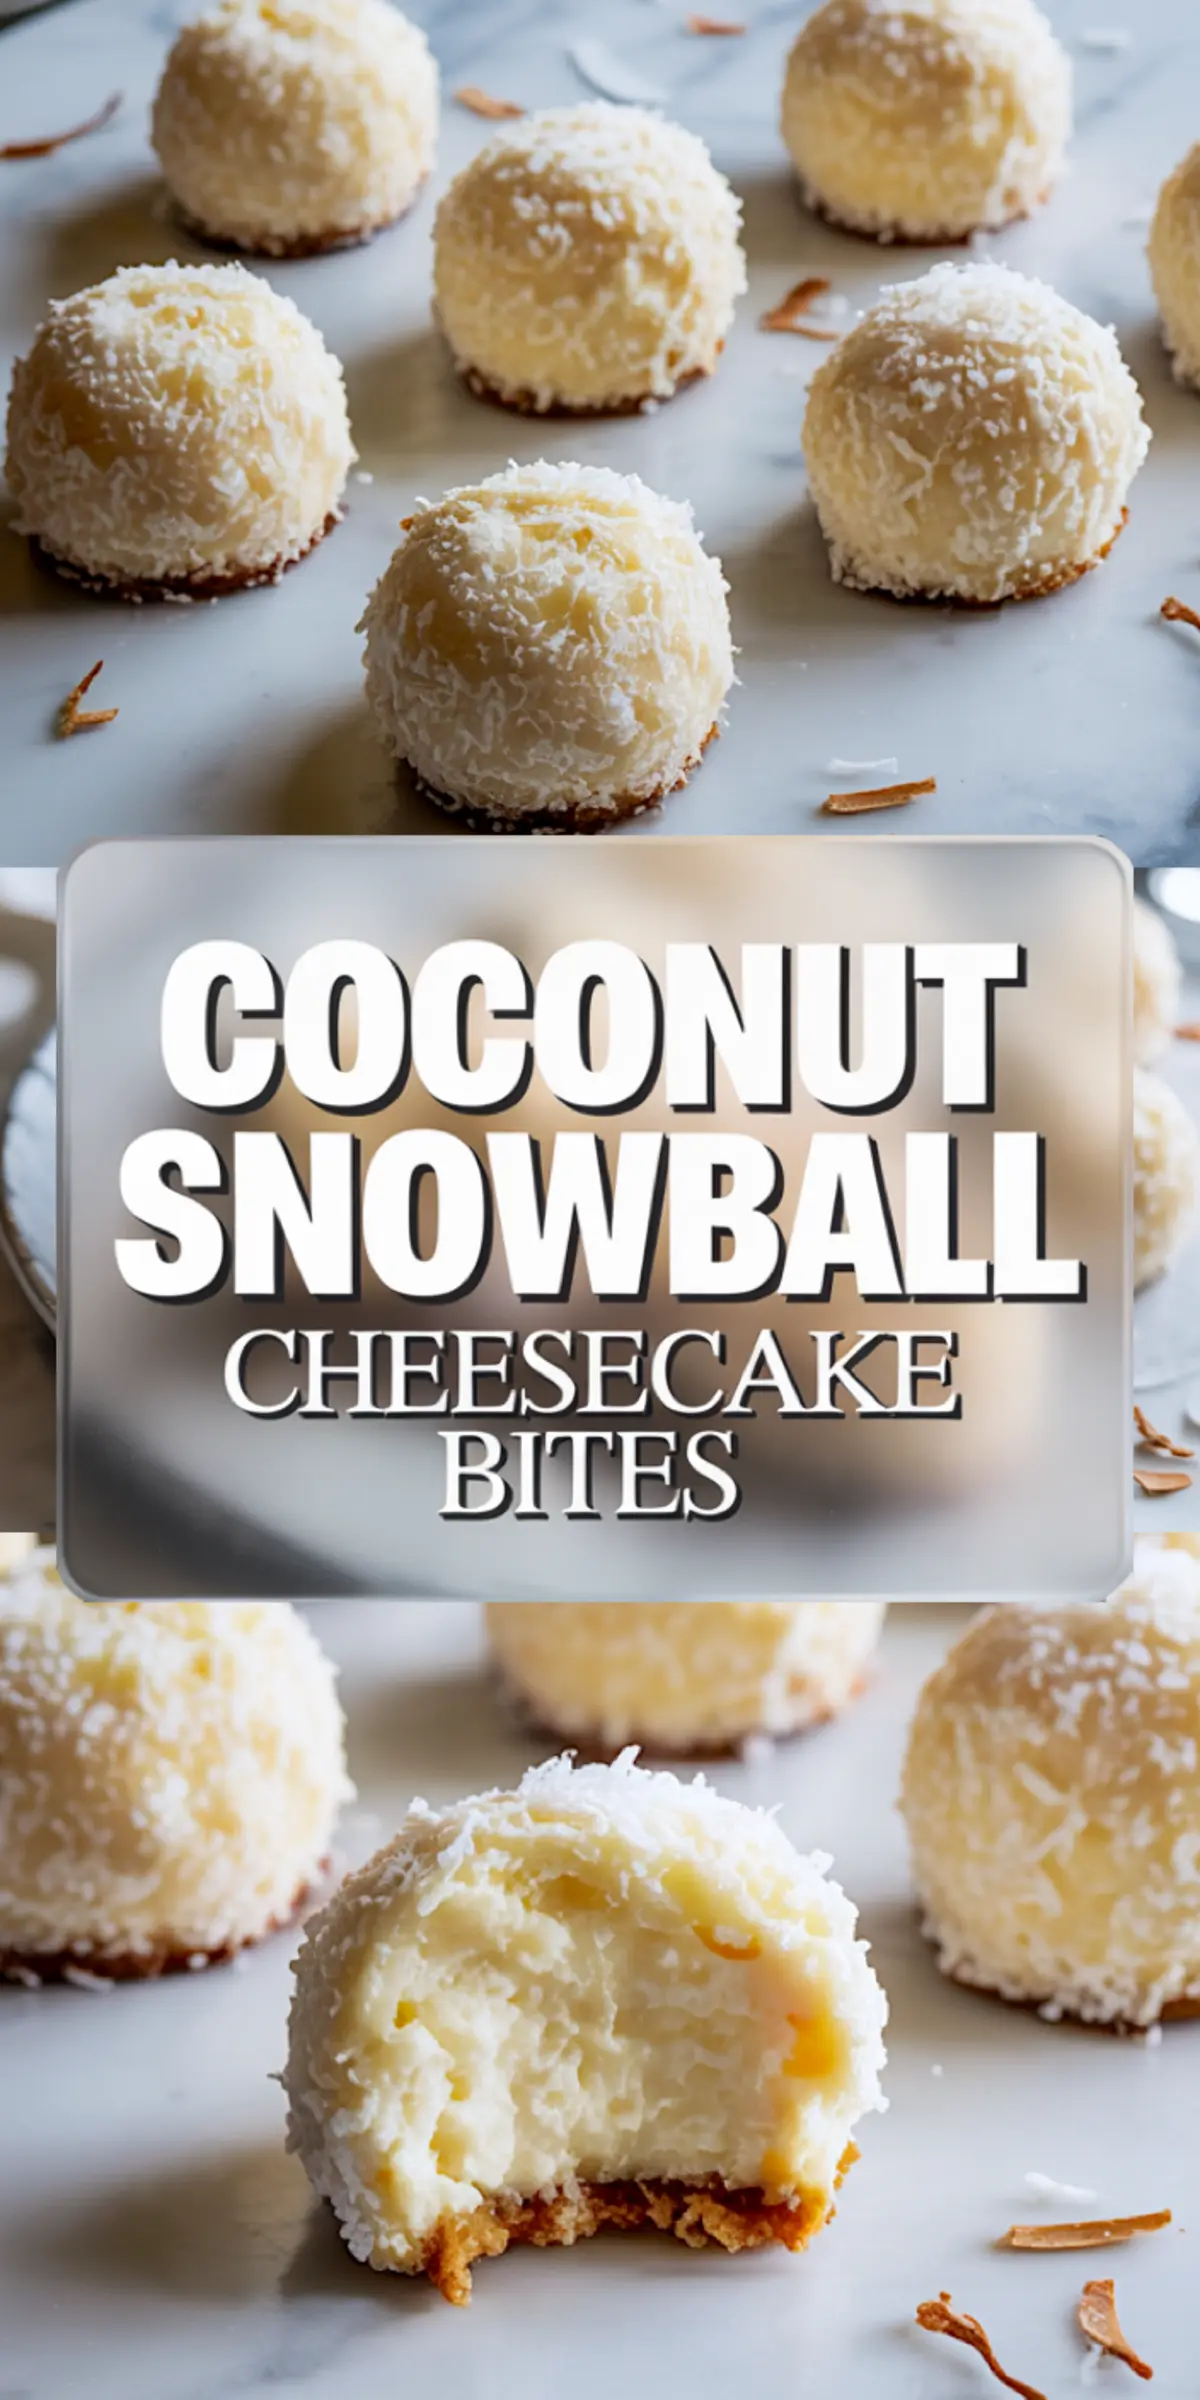
Creamy coconut cheesecake bites with a graham cracker base and snowy coconut coating make a quick, no bake holiday dessert. These coconut snowballs use simple pantry staples and chill instead of bake, making them ideal for Christmas treats, party treats, and winter dessert platters. They combine the flavor of coconut cheesecake bites with the texture of a snowball cake, all in one easy-to-hold piece.
Cream Cheese Holds the Center
The success of this recipe depends on the cream cheese. Use full-fat, block-style cream cheese and let it fully soften. If it’s too cold, it won’t whip smooth and your bites may turn lumpy.
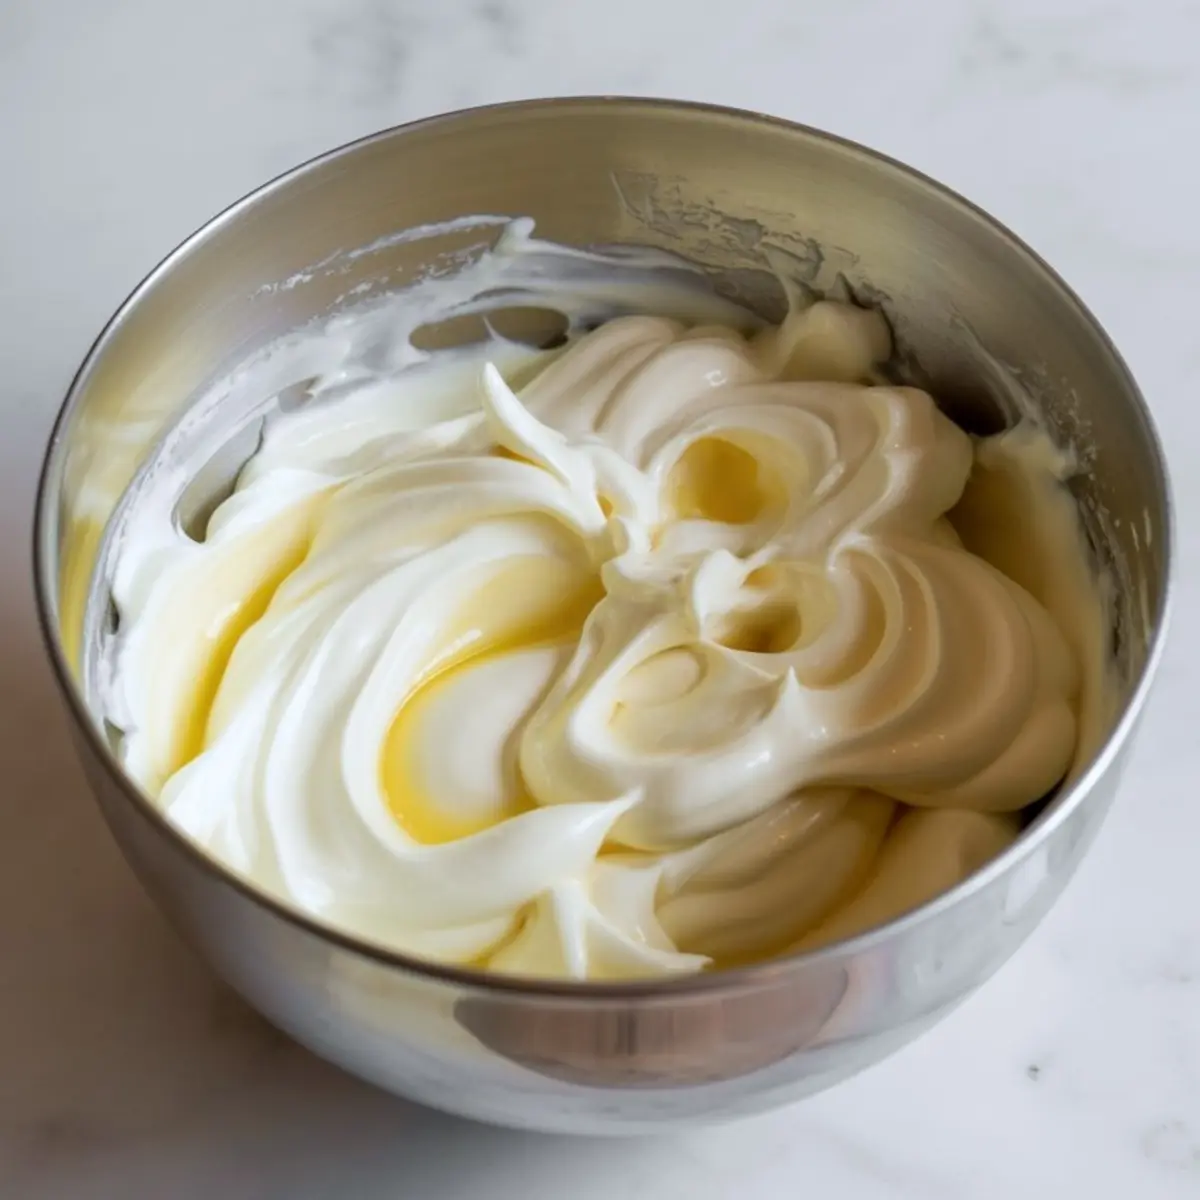
I always beat the cream cheese first before adding anything else. This small step improves the final texture. You want the mixture light but not airy, thick but not heavy. Soft enough to scoop. Firm enough to coat.
If you need a swap, mascarpone can work, though it’s slightly looser. You’ll need to chill the mixture a bit longer. Don’t use whipped cream cheese. It’s too light and won’t set properly.
This same filling base works well in other small no bake cheesecake bites too, especially when paired with seasonal coatings like crushed peppermint or cookie crumbs. You can try it in these Hot Cocoa Brownie Cups if you’re looking for a chocolate version.
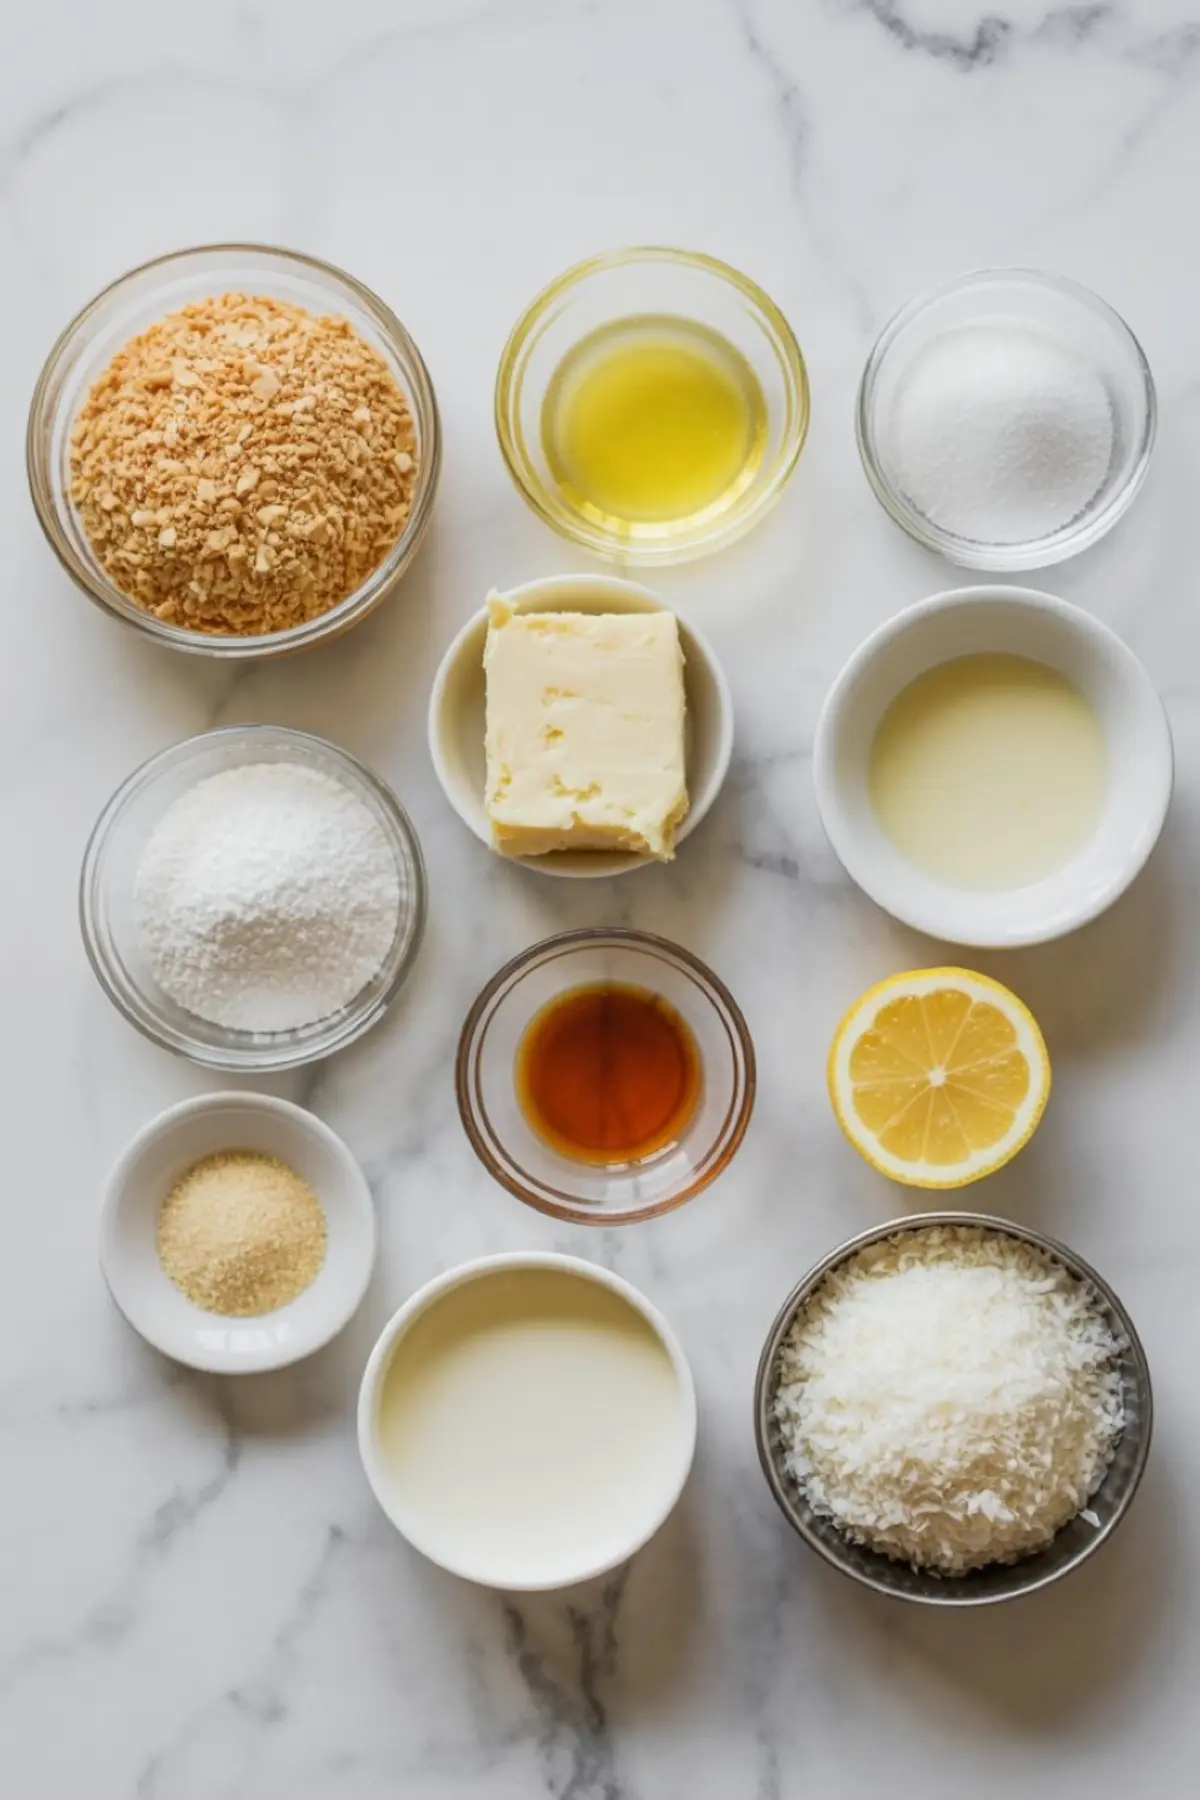
Ingredient Breakdown
The graham cracker base gives each bite structure. I press it gently into silicone mini muffin cups, but you can also form little discs by hand.
Cream cheese adds the rich, smooth foundation. I keep the powdered sugar minimal to avoid a gritty texture. Vanilla extract adds a warm background note. Fresh lemon juice lifts the flavor and helps cut through the richness. A little sweetened condensed milk brings creaminess and stability.
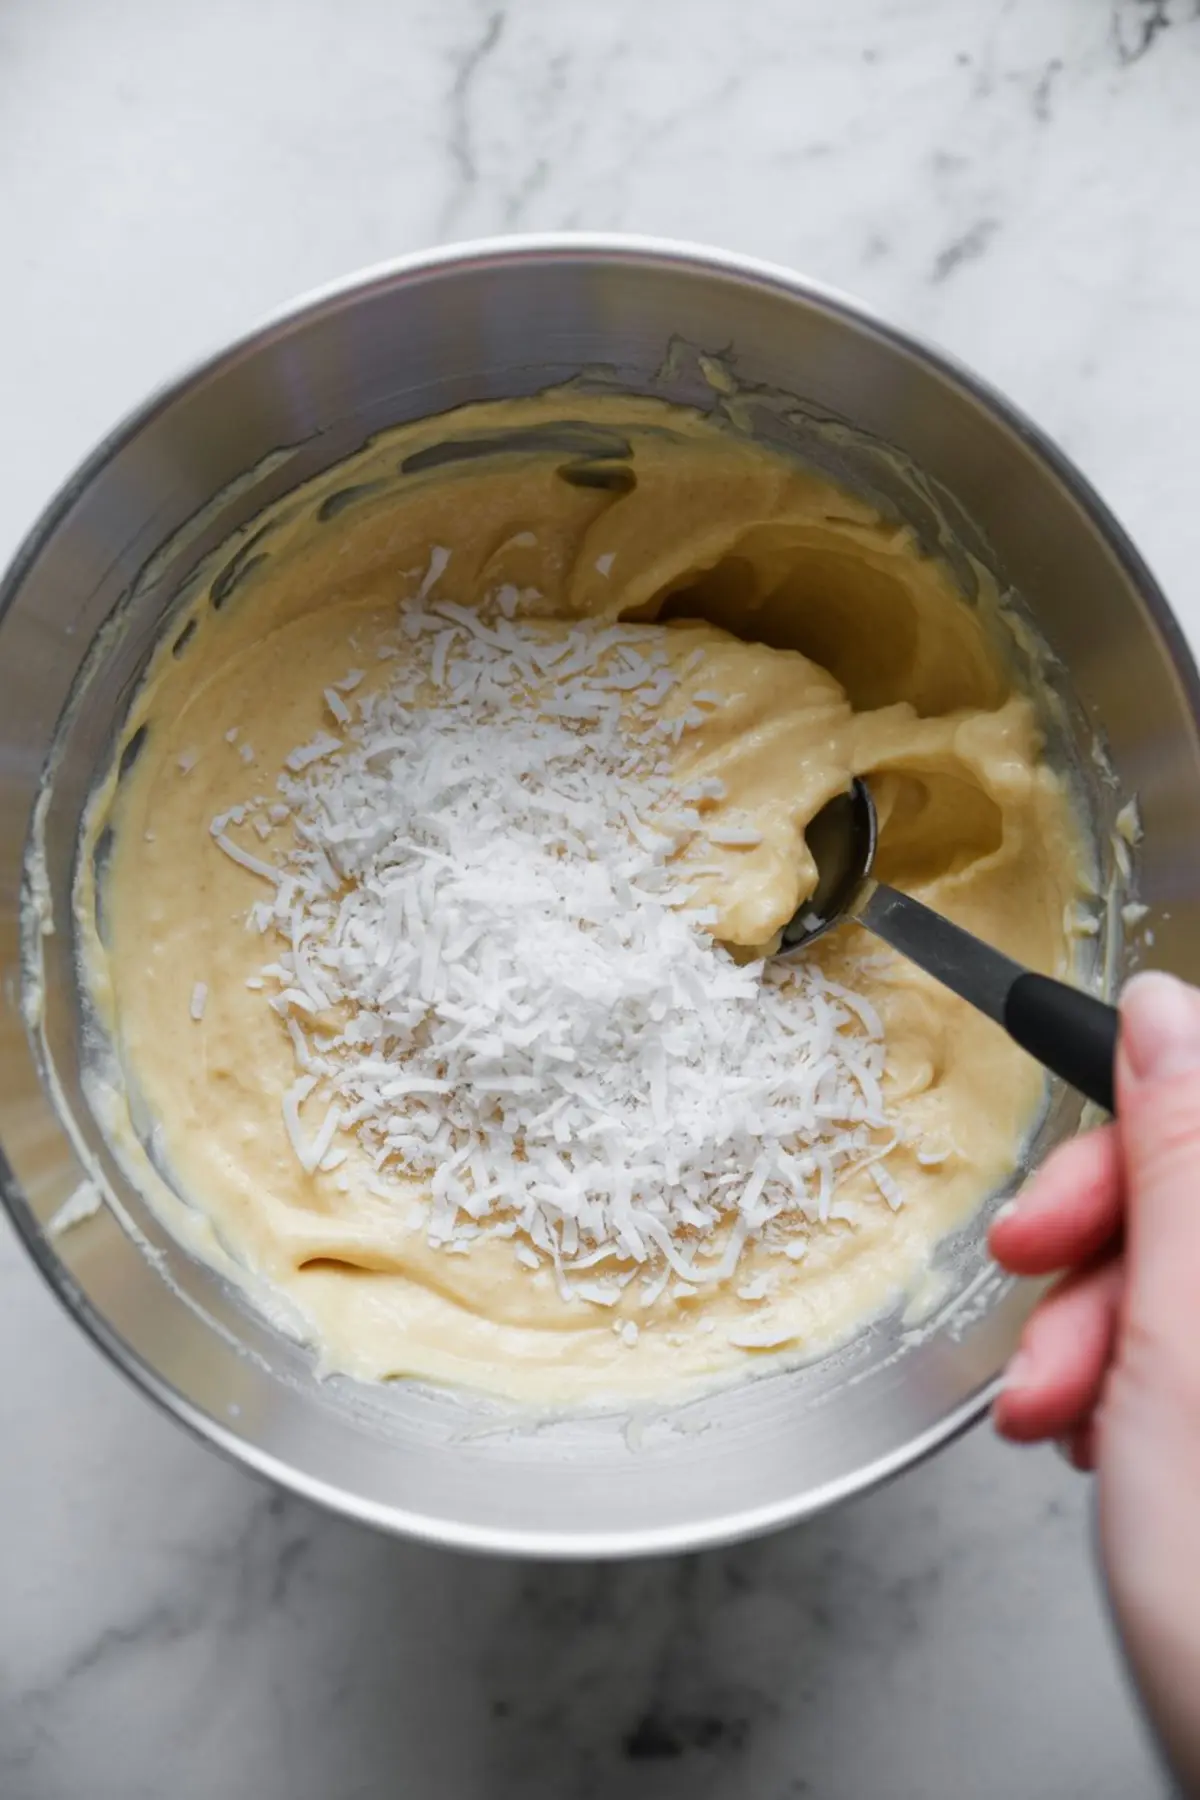
Shredded coconut appears in two places. I fold half a cup into the filling so it runs through the center. Then I roll the bites in more to create that snowball effect. This also prevents them from sticking together when stored.
The coconut flavor deepens overnight. If you enjoy other coconut dessert recipes like Coconut Toffee Bars, this one offers a lighter, no bake take with the same flavor payoff.
What to Watch During Each Step
Once the graham bases chill, the rest comes together quickly. After mixing the filling, chill it just long enough so you can shape it without sticking. About 20 minutes does the trick.
Use clean hands or a cookie scoop to form the balls. Then press them gently onto the base. Don’t mash them together. The goal is to keep the shape round and stable.
Roll the assembled bites in shredded coconut while they’re still tacky. If they’ve warmed too much, chill them again briefly before coating. This helps the coconut stick well.
I finish by refrigerating the assembled bites for at least one hour. They firm up without turning hard. It also deepens the flavor.
You can find a similar chilling technique in these Candy Cane Fudge Snowballs where texture and timing matter just as much.
How to Know They’re Ready

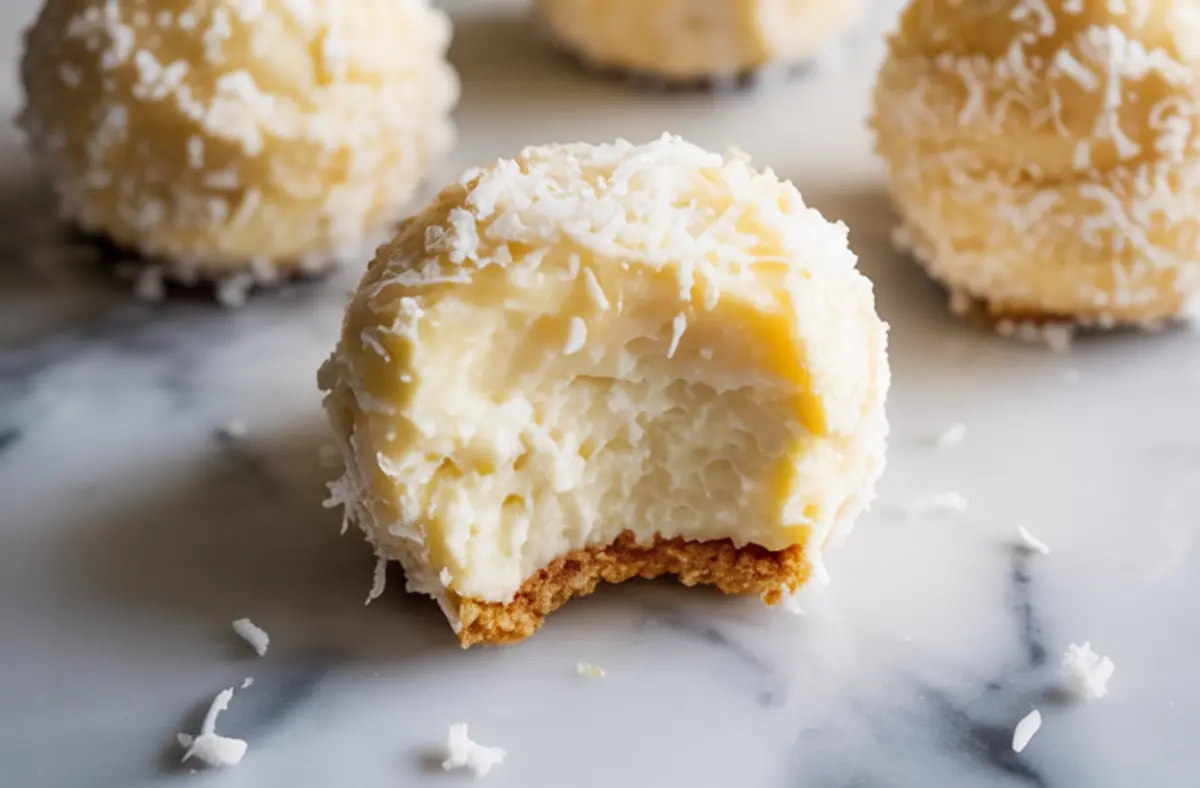
They should hold their shape when picked up. The outside should feel dry, but the inside soft when bitten. If they look glossy or too soft after an hour, give them another 15 minutes.
If your kitchen is warm, add extra chill time before serving. These don’t freeze well because the texture shifts when thawed. Stick with fridge storage.
Variations Worth Trying
You can dip half the bites in melted white chocolate for a different finish. Or mix crushed freeze-dried strawberries into the coating for color and flavor. Want something sharper? Swap lemon juice for lime and add zest.
For less sweetness, roll them in unsweetened coconut. The result still tastes balanced thanks to the condensed milk and graham base.
And if you’re on a cookie tray spree, pair them with these soft Gingerbread Truffles to balance the flavors.
Storing and Serving
These store well in the fridge for five days in a sealed container. Keep them separated by parchment if stacking. Don’t store them at room temperature or they’ll soften too much.
You can prepare the filling and base ahead. Just shape and coat the day of serving. They don’t need reheating.
I often bring these to casual gatherings alongside cut fruit and cocoa. But they also look clean and polished on white trays for holiday dessert tables.
Try adding them to a cookie board with chocolate-dipped shortbread or serve them as part of a no bake spread with peppermint mousse.
Practical Tips from Testing
Use silicone molds or mini paper liners for easy release. Don’t overmix the filling or it may turn too loose. If the filling gets sticky while shaping, chill it again briefly. Always taste your coconut first. Some brands have off flavors or stale textures.
I keep the shredded coconut in the freezer to help it stay fresh. And I always zest my lemon before juicing. Saves trouble later.
Pin and Share This Recipe
Save this to your holiday dessert board so you can find it again when Christmas week hits.
Let me know in the comments if you try a variation or have a tip of your own. I read every single one.
Coconut Snowball Cheesecake Bites
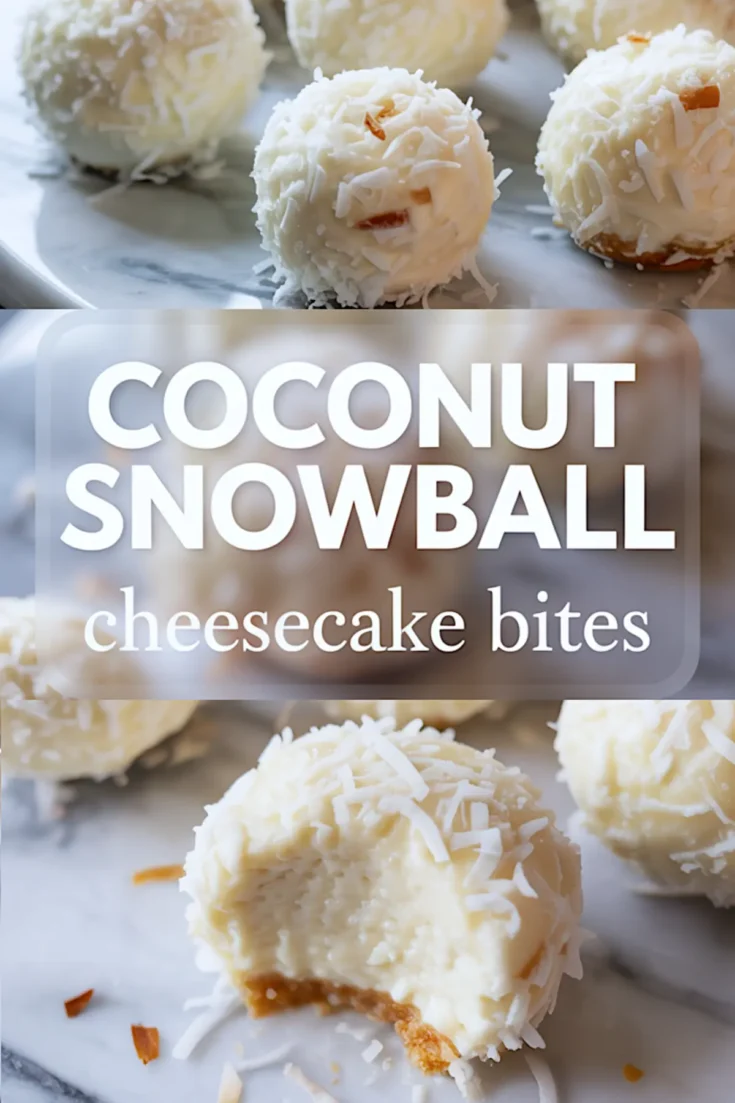
These Coconut Snowball Cheesecake Bites are creamy, festive, and bite-sized. Made with a smooth cheesecake center and coated in shredded coconut, they’re the perfect mix of rich and refreshing. Great for holiday desserts, party treats, or Christmas treats, these coconut cheesecake bites come together fast and look like edible snowballs. Ideal for gifting, dessert platters, or snowy winter snacks. If you love coconut desserts or need easy coconut dessert recipes for your next gathering, save this fun twist on the classic snowballs recipe.
Ingredients
- FOR THE BASE
- 1 cup graham cracker crumbs
- 3 tablespoons melted butter
- 2 teaspoons granulated sugar
- FOR THE CHEESECAKE FILLING
- 8 oz (225 g) cream cheese, softened
- 1/4 cup powdered sugar
- 1 teaspoon vanilla extract
- 1 tablespoon lemon juice, freshly squeezed
- 1/4 cup sweetened condensed milk
- 1/2 cup shredded sweetened coconut
- FOR THE COATING
- 1 1/2 cups shredded sweetened coconut
Instructions
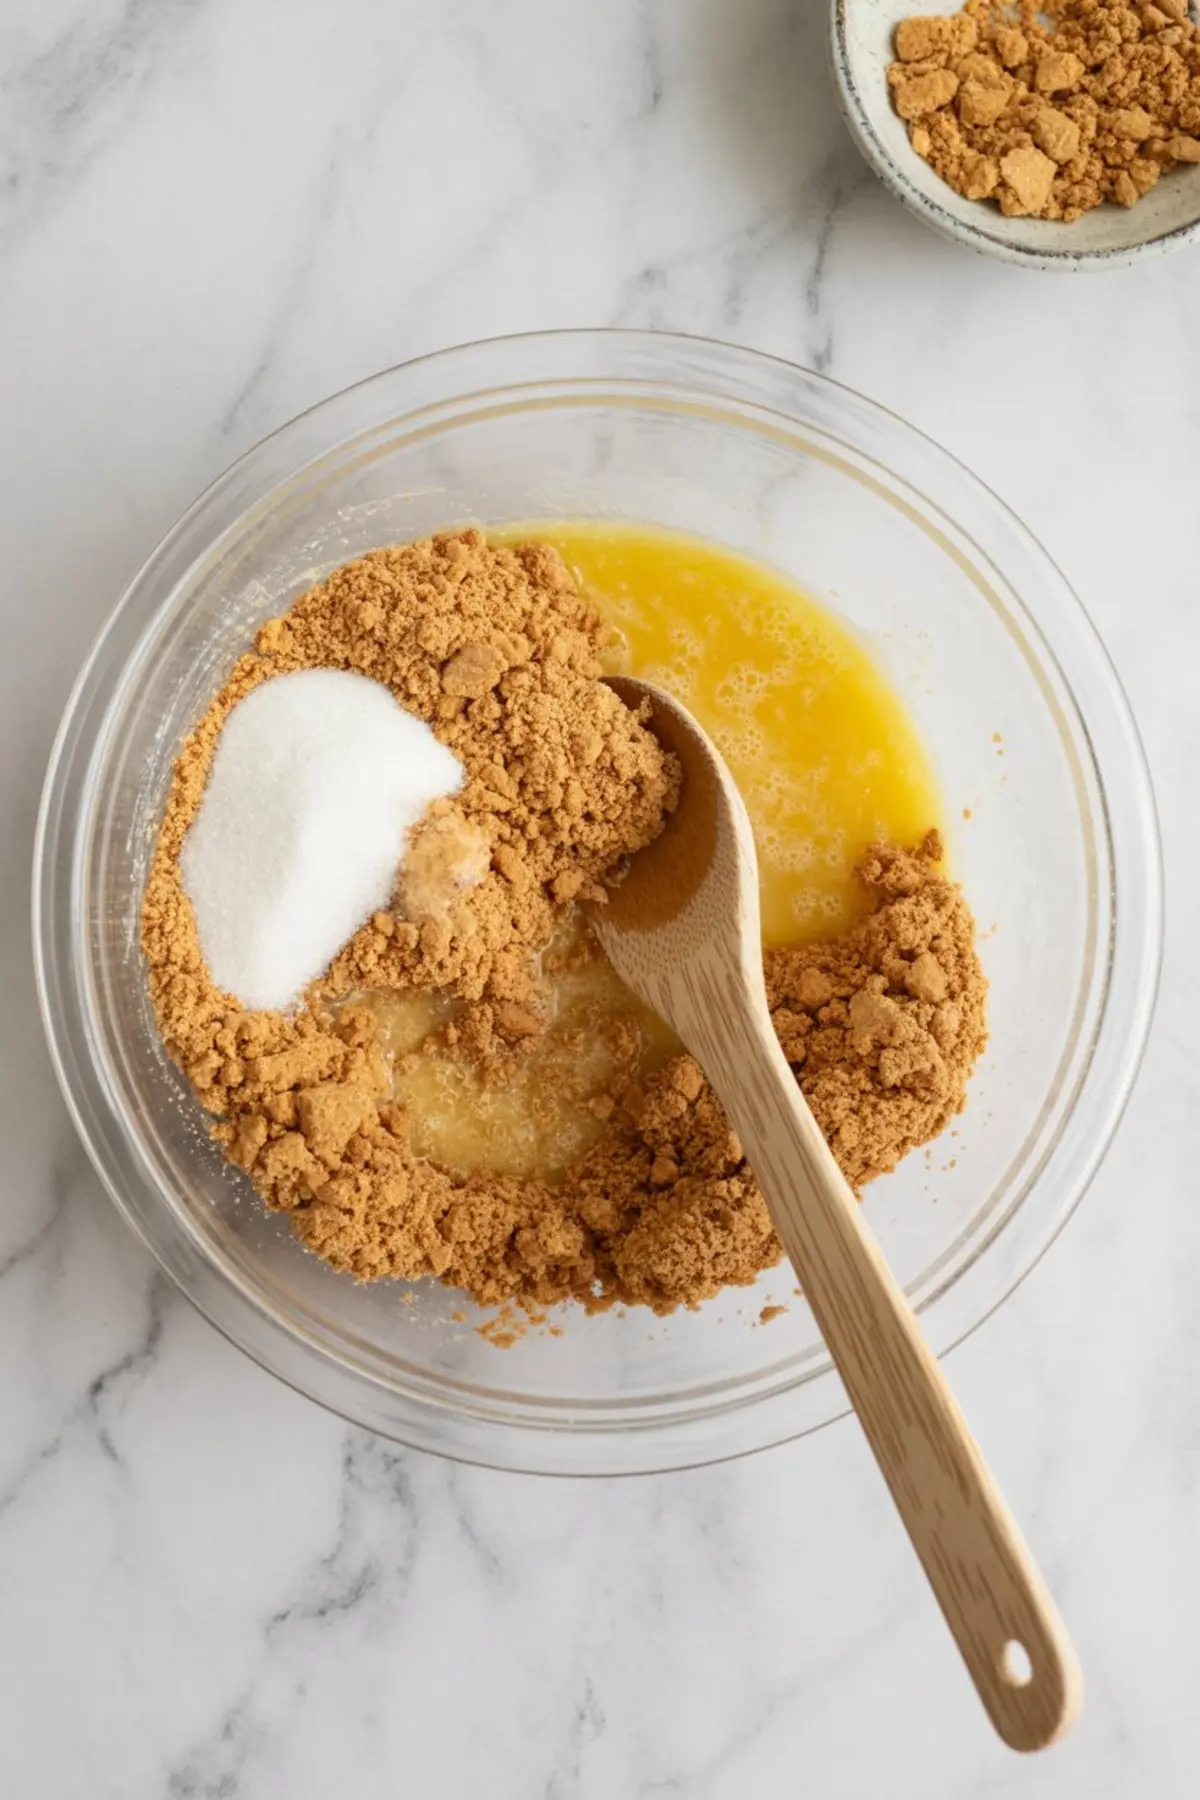
- PREPARE THE BASE: Combine the graham cracker crumbs, melted butter, and sugar in a bowl. Mix until the texture is similar to wet sand.
- FORM THE BASES: Scoop a teaspoon of the mixture and press it into the bottom of a lined mini muffin tin, or shape small flat discs by hand to act as the base for each bite.
- CHILL THE BASES: Freeze the bases for 15 minutes to help them firm up before assembling.
- MAKE THE FILLING: In a large mixing bowl, beat the softened cream cheese until smooth and fluffy using a hand mixer or stand mixer.
- ADD REMAINING FILLING INGREDIENTS: Mix in powdered sugar, vanilla extract, lemon juice, and sweetened condensed milk until fully blended and creamy.
- ADD COCONUT: Fold in 1/2 cup of shredded sweetened coconut for added texture and flavor.
- CHILL THE FILLING: Refrigerate the cheesecake mixture for 20 minutes to make shaping easier.
- SHAPE THE BITES: Scoop about 1 tablespoon of the chilled filling and roll it into a ball using clean hands or a small cookie scoop.
- ASSEMBLE: Press each cheesecake ball gently onto one of the chilled graham cracker bases.
- COAT IN COCONUT: Roll each assembled bite in shredded sweetened coconut until fully covered.
- FINAL CHILL: Arrange the finished bites on a parchment-lined tray and refrigerate for at least 1 hour before serving to allow them to set properly.
Notes
These bites store well in the fridge for up to 5 days in an airtight container. For a variation, drizzle with melted chocolate or use unsweetened coconut for less sweetness.
Nutrition Information
Yield
16Serving Size
1Amount Per Serving Calories 310Total Fat 24gSaturated Fat 5gUnsaturated Fat 18gCholesterol 30mgSodium 418mgCarbohydrates 12gFiber 3gSugar 6gProtein 13g