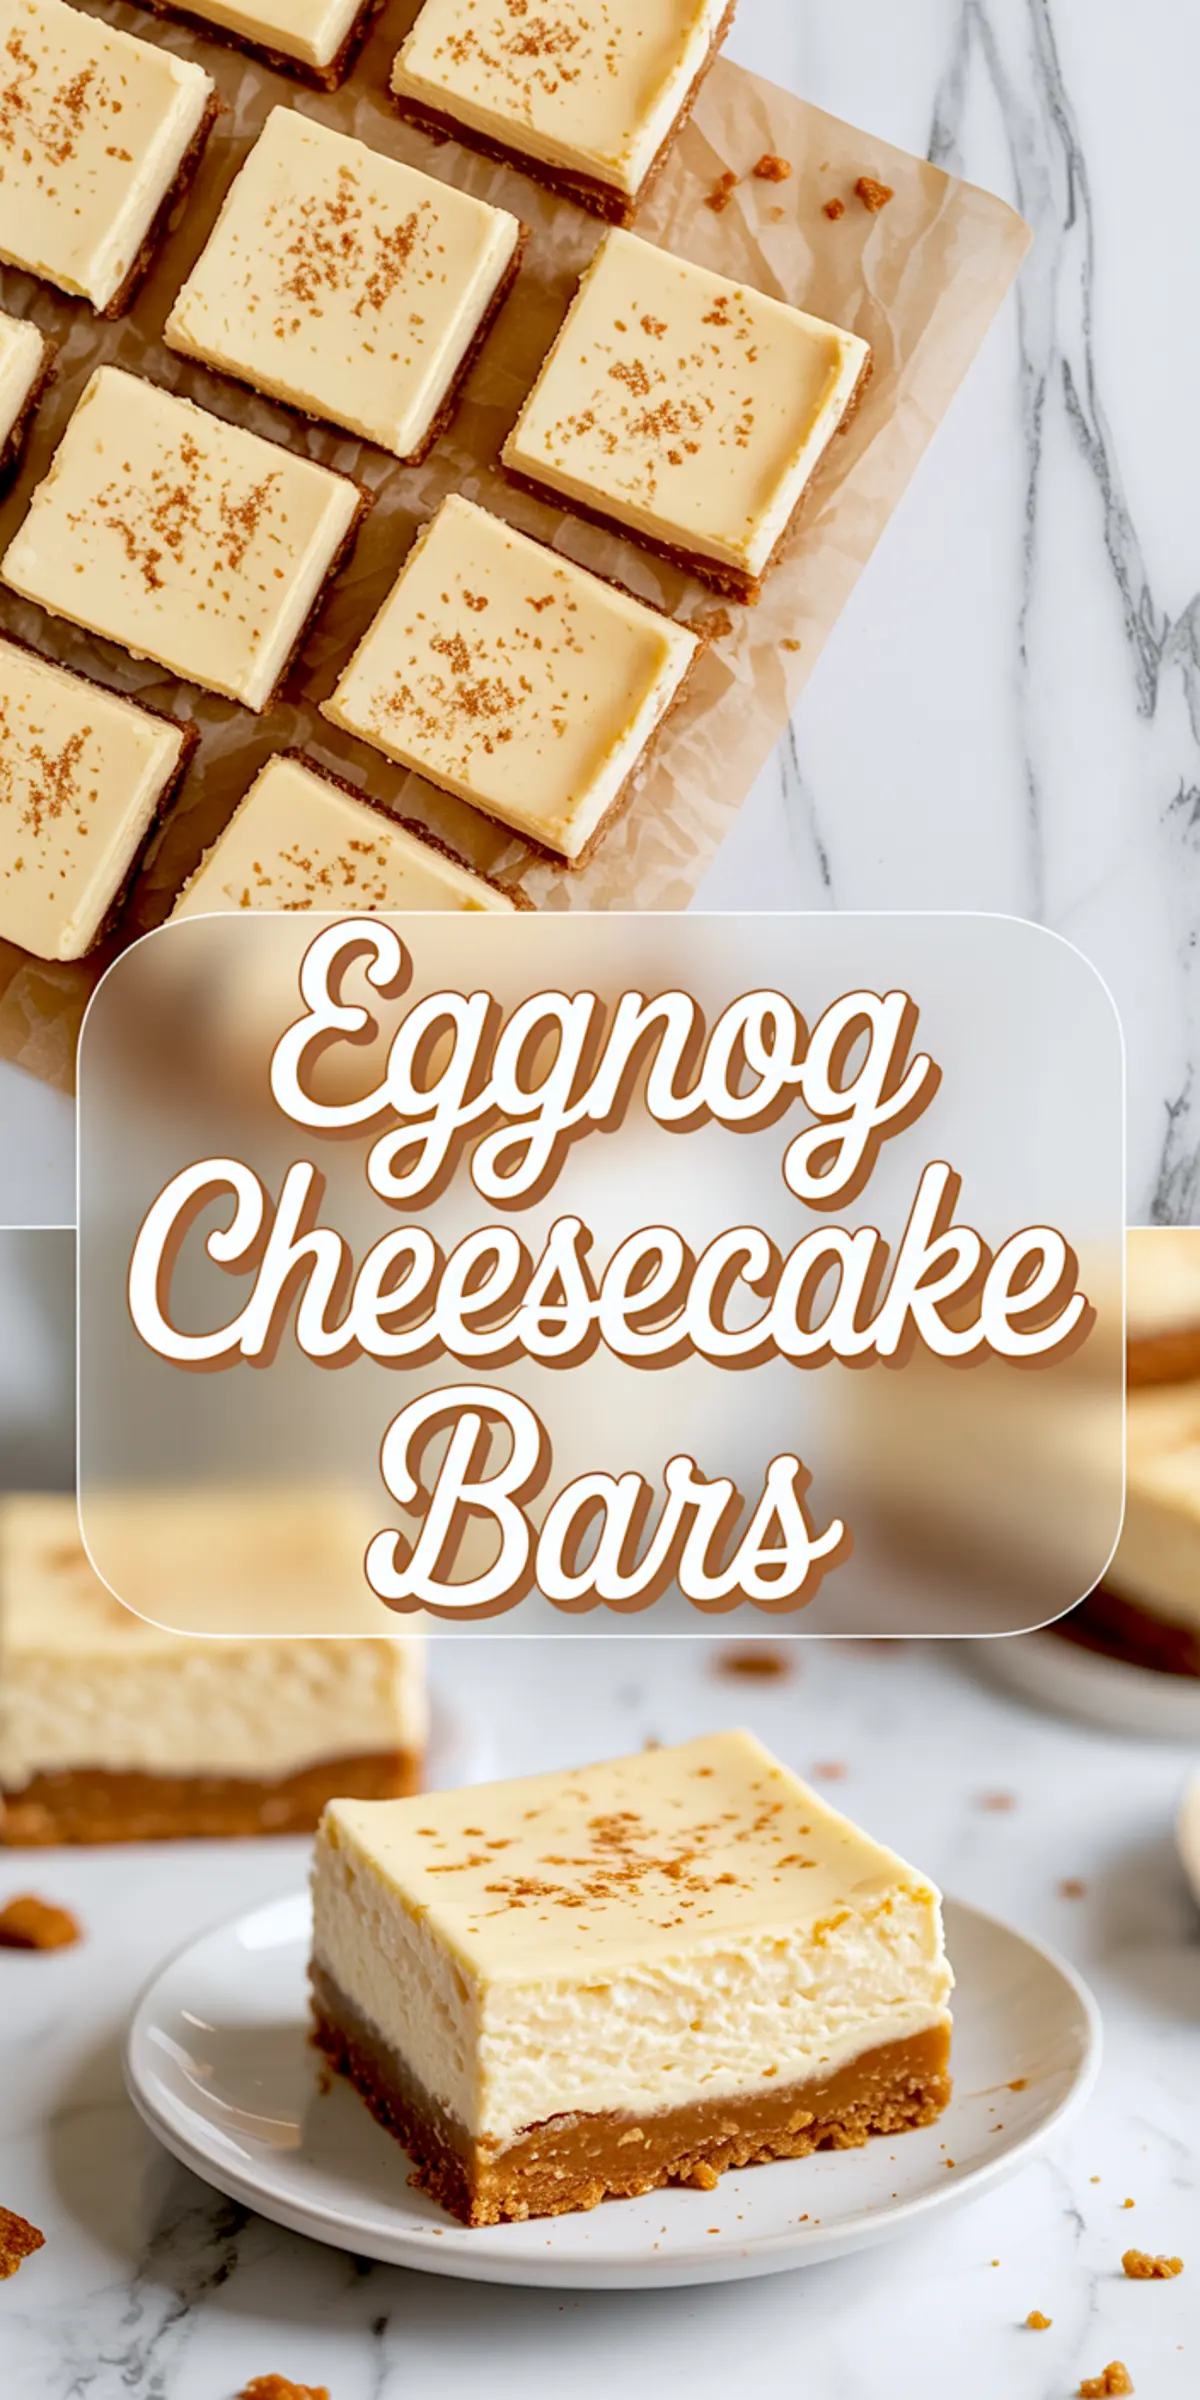
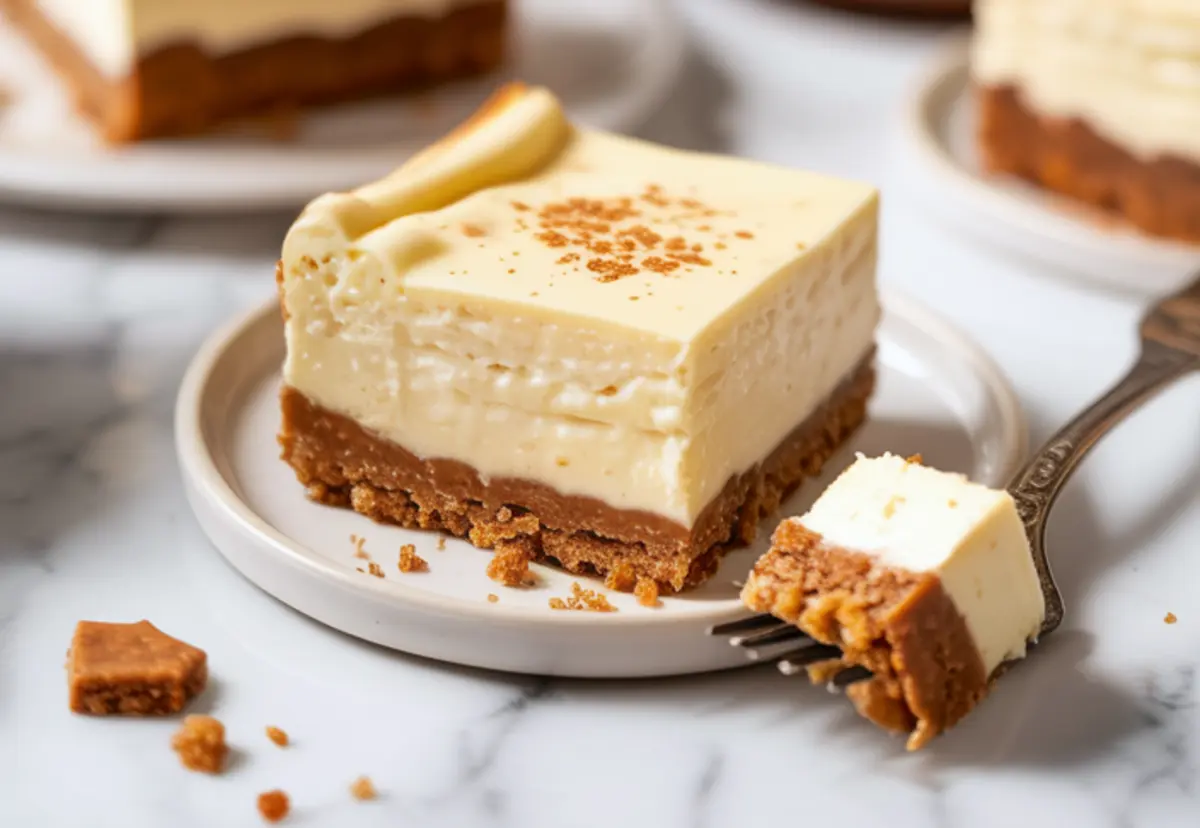
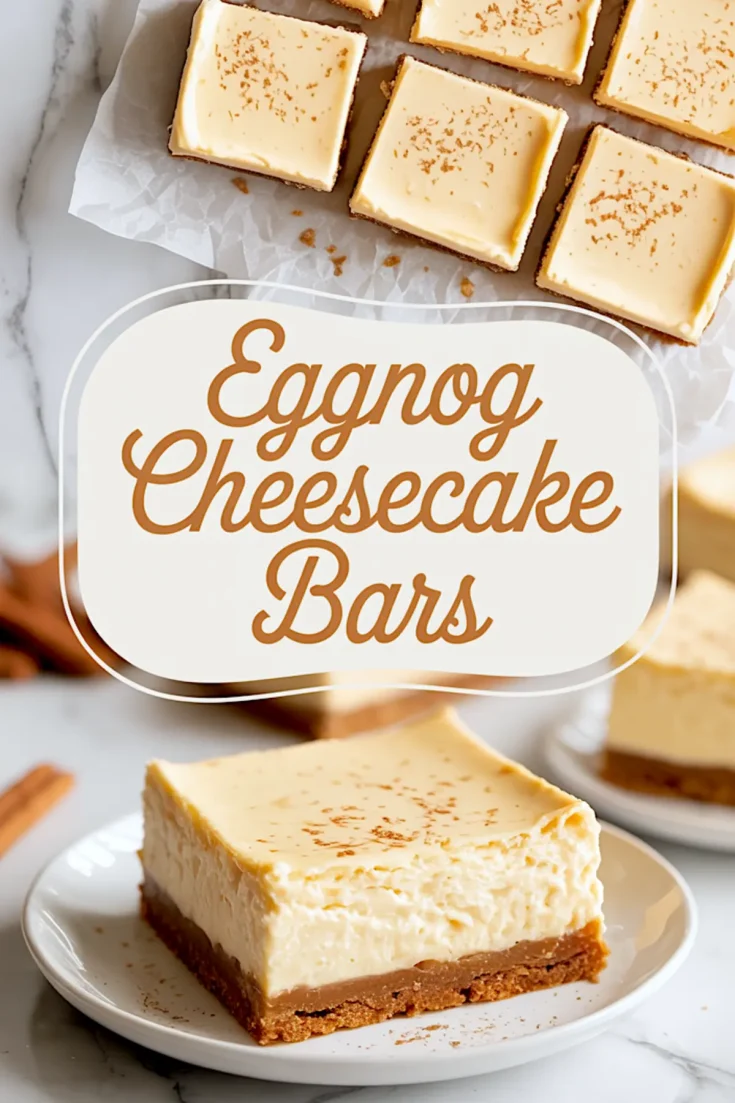
These Eggnog Cheesecake Bars combine the comfort of creamy eggnog with the structure of a classic cheesecake bar. The crust leans into warm spice with graham cracker and cinnamon, and the filling brings the unmistakable richness of eggnog to the forefront.
You’ll learn how to make this eggnog dessert without needing a water bath or fancy techniques. It’s simple, but it doesn’t taste like a shortcut.
If you’ve been scrolling through cheesecake bar recipes hoping to find something festive but grounded, something you’d actually make again after the holidays, this is it. I’ve made this every December for the last five years. Some years for the church bake sale, some years for the kids’ class parties, but mostly for myself.
This recipe gives you structure, flavor, and holiday spirit in equal measure. You’ll come away with neat, spiced eggnog cheesecake squares that slice cleanly and taste like the best parts of December.
Following a special diet?
Every recipe on this site can be converted to gluten-free, vegan, dairy-free, keto, nut-free or egg-free with adjusted ratios so nothing falls flat.
Try the Recipe Converter →Why Graham and Spice Go Further Than You’d Think
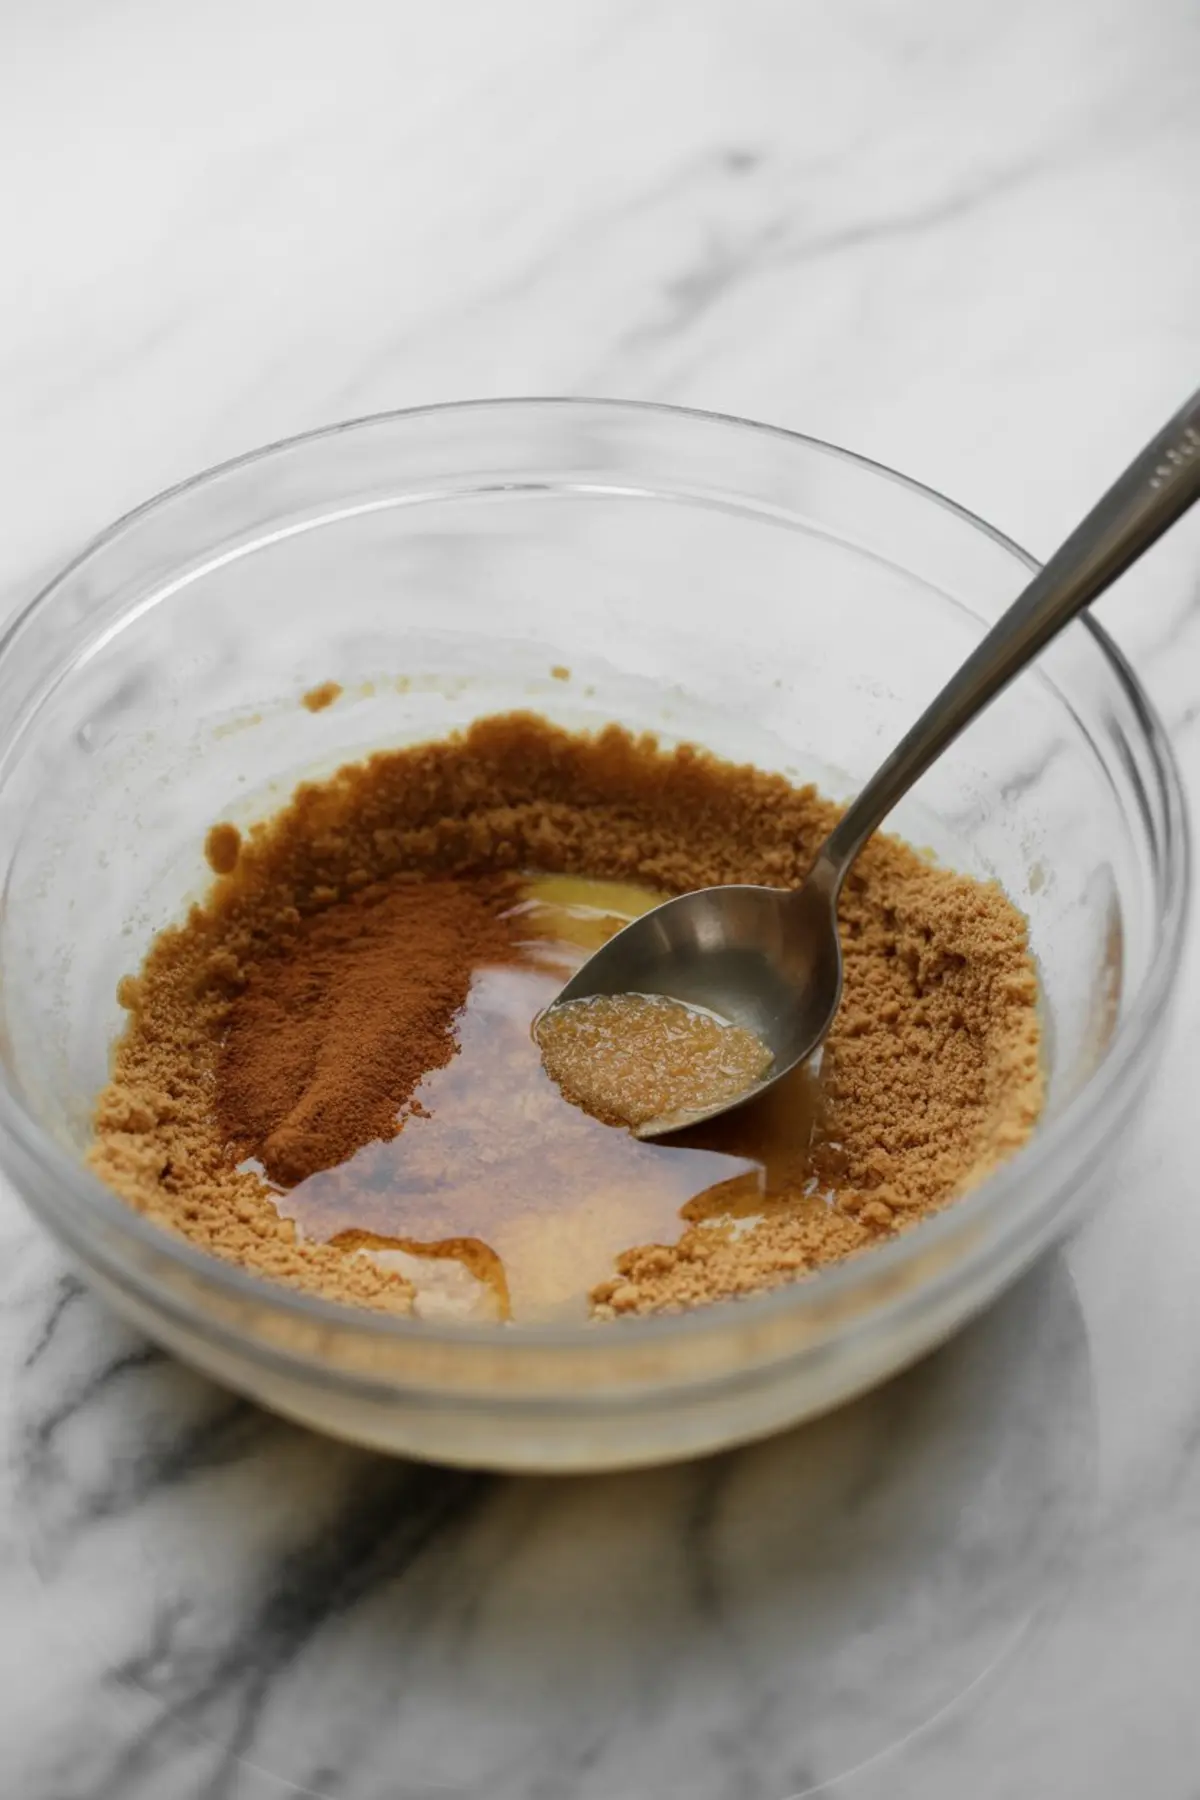
The crust in this recipe doesn’t shout for attention. But it holds everything together and sets the tone from the first bite. I use plain graham cracker crumbs because they’re versatile and they toast up with a quiet warmth in the oven.
I’ve tried spiced cookies as a base. Gingersnaps, even biscoff but I always come back to graham. They let the eggnog filling do the talking. A little brown sugar and cinnamon bring in just enough depth without pulling the balance too far.
I’ve written in my notes that adding more spice in the crust makes the cheesecake taste duller, not brighter. You want contrast, not competition.
This is why I don’t add cloves here. If you want more intensity, keep it in the filling.
Try it with my Eggnog Pie Recipe if you’re deciding between crust styles—this version offers a firmer bite and holds up to slicing better for gatherings.
Cream Cheese Meets Eggnog And It Works
I don’t always like how eggnog bakes. It can get too eggy or too flat. But with cream cheese as the base, it transforms. The texture turns thick but not heavy, and the eggnog flavor comes through as smooth and mellow.
I use full-fat eggnog for this reason. The extra body helps the batter hold together and bake evenly. Thin, low-fat versions will give you soft-set bars that weep at the edges after slicing. I’ve had to spoon failed batches into bowls more than once.
The flour here isn’t for structure alone. It absorbs moisture from the eggnog and keeps the filling from turning gummy. I never skip it.
A touch of vanilla rounds the filling out. You won’t taste it directly, but the bars feel incomplete without it.
If you want a softer eggnog layer with a slightly looser set, I recommend you take a look at my Creamy Eggnog Recipetoo. That version is more spoonable, less structured, ideal if you’re after a spreadable or jar dessert.
Egg vs. No Egg: What Holds It Together Best?
I’ve tested these bars with and without the egg, just to see what difference it makes. Without it, the filling stays pale and soft. It doesn’t fully set, even after a night in the fridge.
With the egg, the texture changes. It firms gently, browns slightly at the edges, and lifts the whole bite. You lose some of that custard-like silkiness, but gain a much-needed structure.
In my experience, the egg makes these bars feel finished. Otherwise, they lean too close to pudding.
Baking to Just-Set Without a Water Bath
There’s no need to overcomplicate this bake. A water bath isn’t required, and you don’t need to baby the oven temperature. Bake until the center no longer jiggles, then remove it.
The top won’t brown much. That’s a good sign. It means your eggnog cheesecake has stayed creamy without overbaking.
Let it cool fully before chilling. I leave mine out on the counter for a full hour, sometimes two if the kitchen is cool. You want the heat to release slowly.
If you prefer baked fruit cheesecake combinations, try these Apple Pie Cheesecake Bars—they use a similar base but lean into tart and sweet layers.
Chill Before Slicing, Always
Four hours is the minimum. Overnight is better. I’ve sliced too many warm cheesecake bars out of impatience, and they never hold their shape.
I use a hot knife, wiped clean between each cut. It sounds tedious, but it makes a big difference. The first slice always tells you if you’ve chilled it long enough. If it drags or bends, put the tray back in.
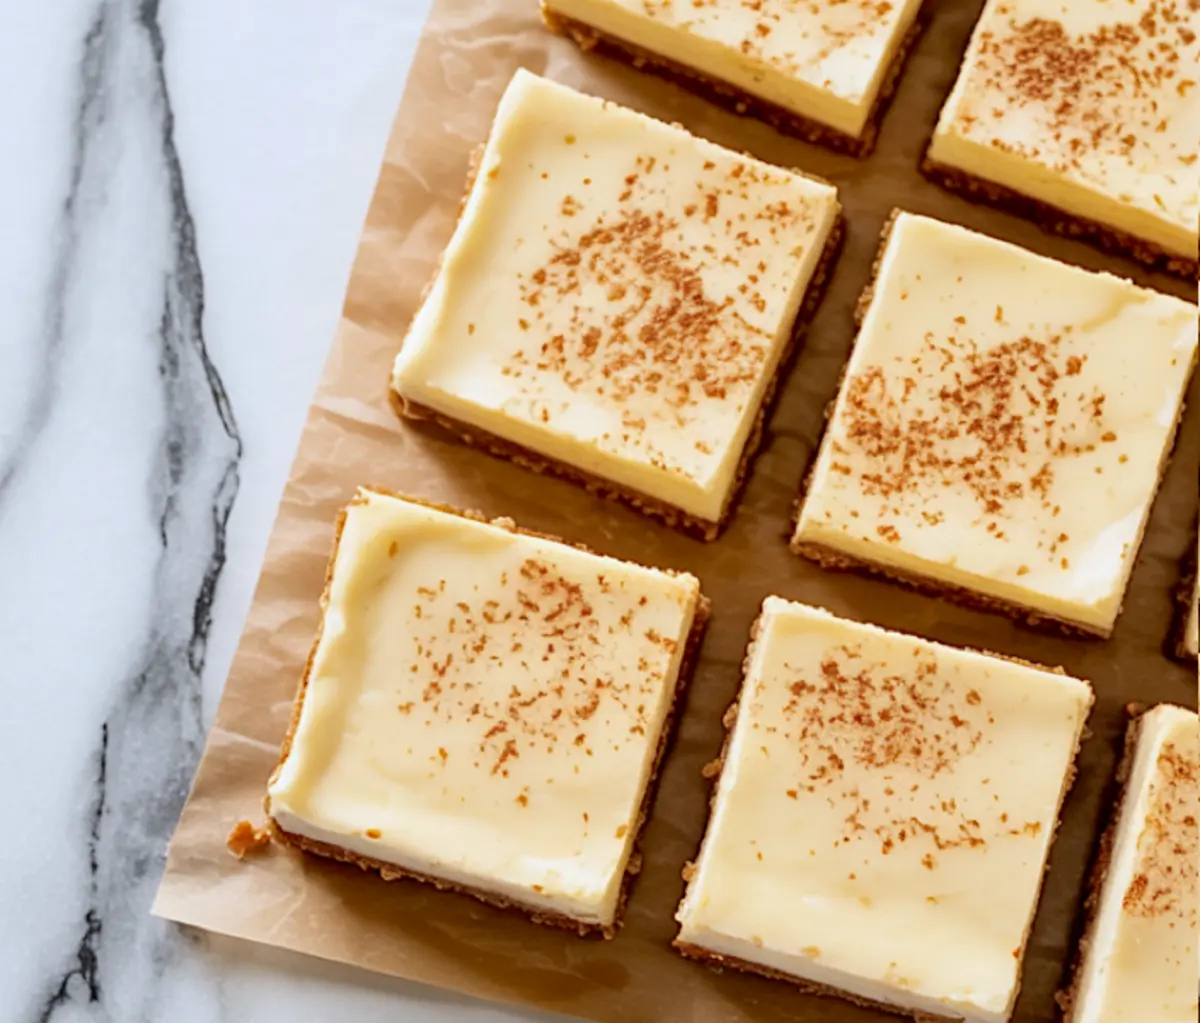
A quick dust of nutmeg at the end brings everything together. It gives a visual cue for what’s inside, and the aroma hits right as you take the first bite. A small thing, but it matters.
How to Store and Serve for the Best Texture
Store these in an airtight container in the fridge. They’ll keep well for up to five days, but the texture is best on day two.
The crust softens slightly overnight, making each bite more cohesive. I serve them straight from the fridge at room temp, no rewarming needed. The spices bloom more when they’re not ice-cold.
These make excellent potluck or make-ahead desserts. They travel well and stack easily. I’ve packed them between layers of wax paper for parties, and they hold up for hours without falling apart.
For more festive cheesecake squares with bold color and flavor, you might also enjoy my Marbled Red Velvet Cheesecake Bars—they’re a showstopper with the same easy slice-and-serve format.
Save This Recipe to Bake Again Next December
These eggnog cheesecake bars aren’t just for one season. They’re dependable, crowd-pleasing, and deeply satisfying to make.
If you’re looking for an eggnog dessert that feels nostalgic but new, something that slices neatly and brings warmth with every bite, you’ll want to save this.
📌 Pin this recipe to your holiday dessert board so you can find it again next season. And if you bake it this year, let me know in the comments—Did you add the cloves? Did you switch the crust? I’d love to hear how you made it yours.
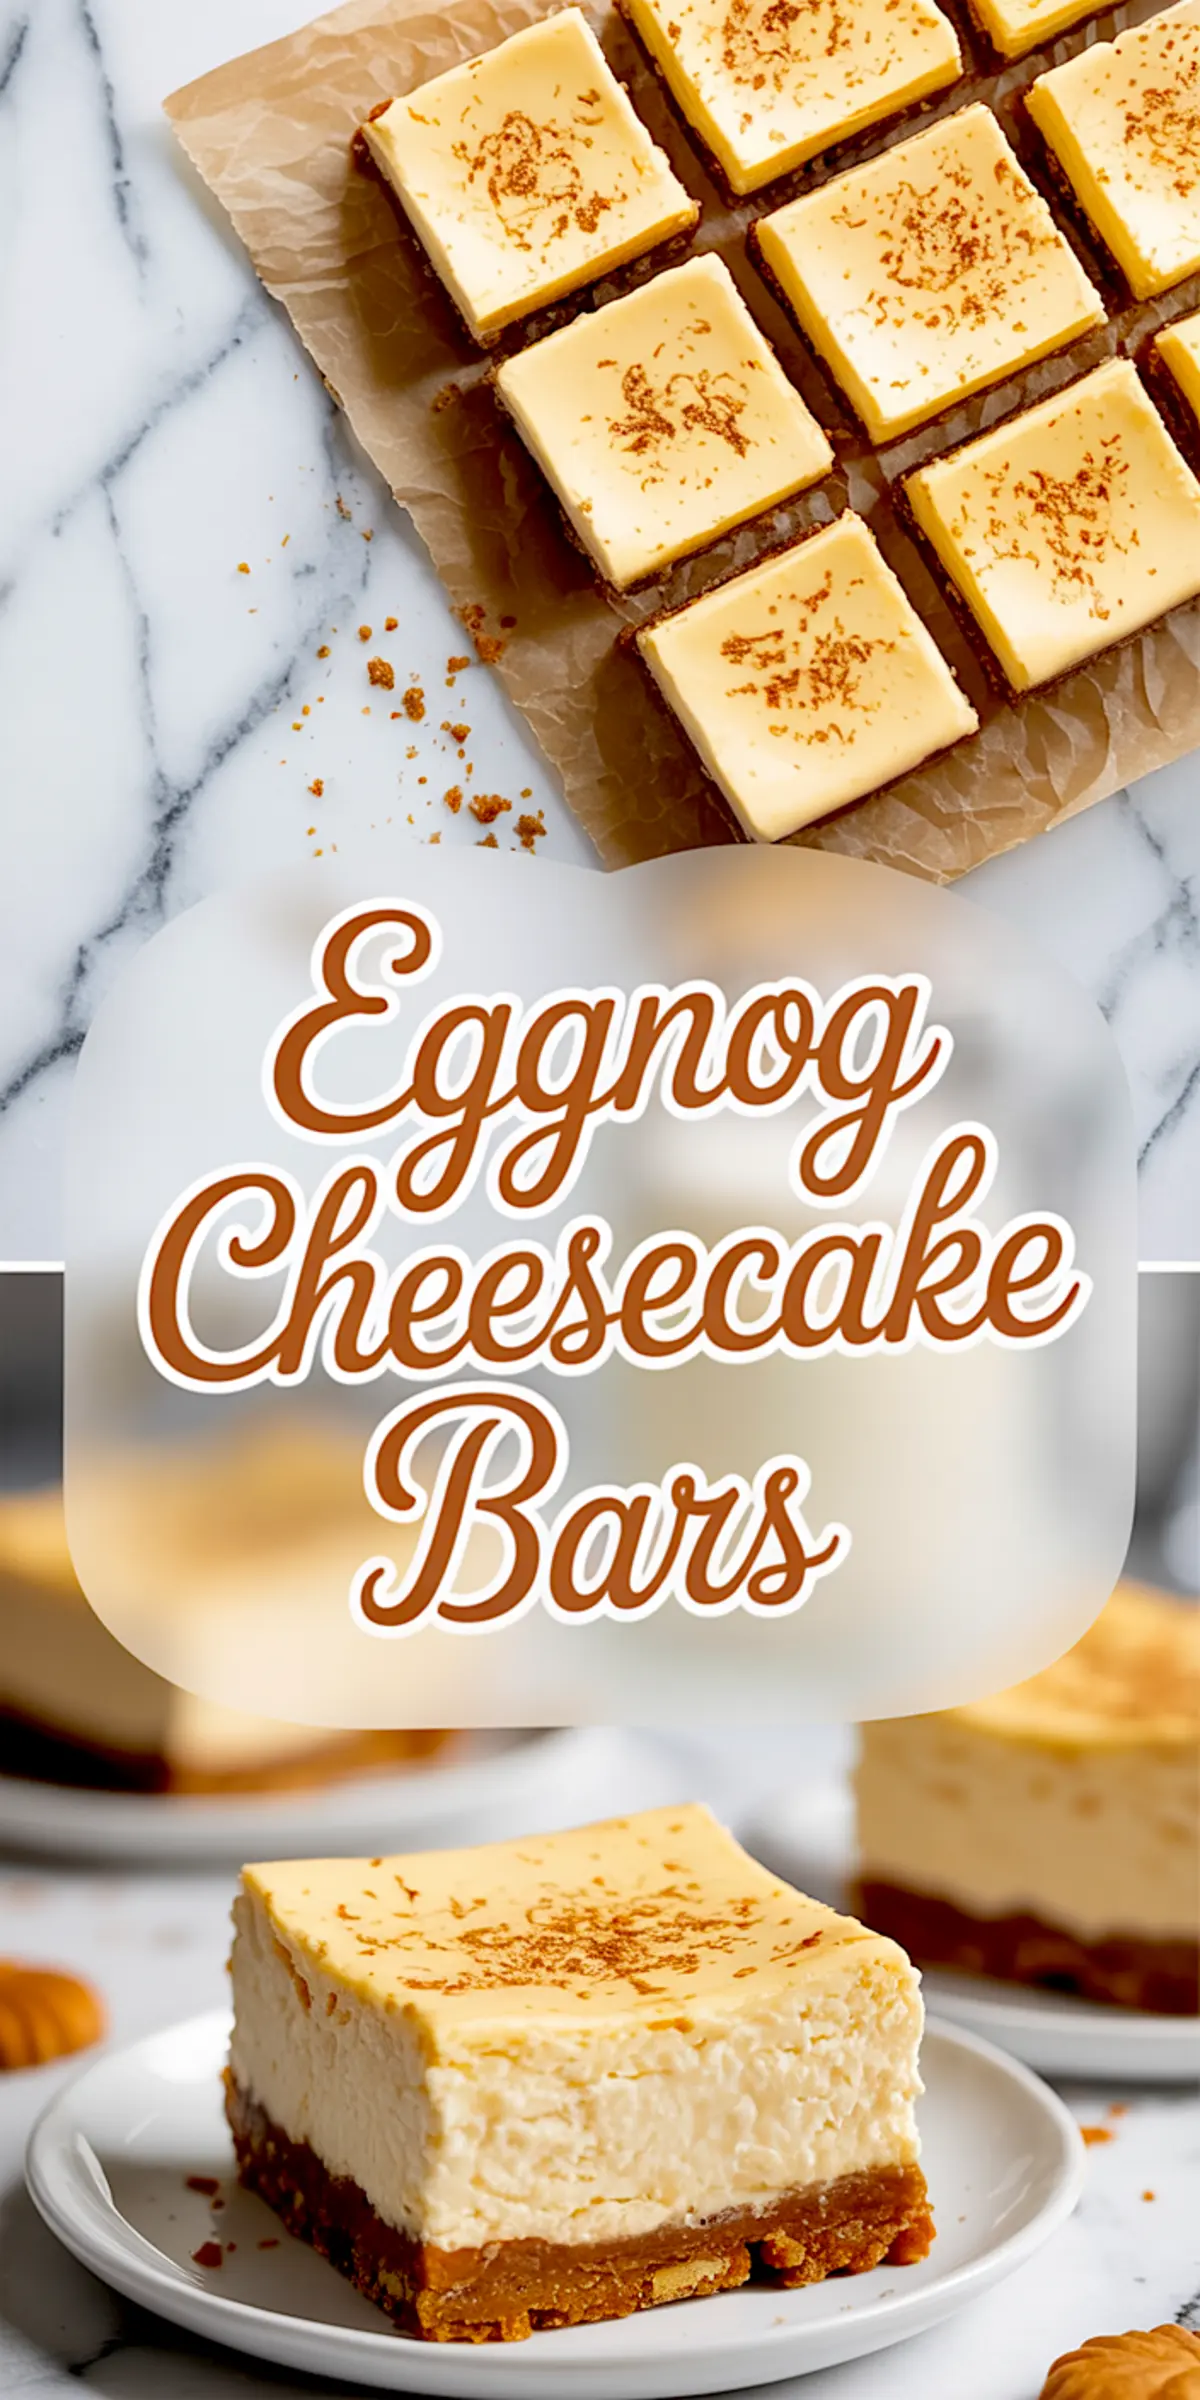
Eggnog Cheesecake Bars Recipe
These Eggnog Cheesecake Bars are the ultimate holiday dessert—rich, creamy, and full of festive flavor. Made with a gingersnap crust and topped with smooth eggnog cheesecake filling, these cheesecake squares are perfect for Christmas parties, potlucks, or cozy nights in. If you’re searching for eggnog dessert ideas or easy cheesecake bar recipes, this holiday twist on a classic treat is a must-try. No water bath required, and the flavor of creamy eggnog shines in every bite. Whether you call them eggnog cheesecake squares or just holiday perfection, they’re a delicious way to celebrate the season. Save this eggnog cheesecake recipe to your festive dessert board now!
Ingredients
- FOR THE CRUST
- 1 1/2 cups graham cracker crumbs (about 12 full crackers)
- 1/4 cup brown sugar
- 1/2 teaspoon ground cinnamon
- 6 tablespoons unsalted butter, melted
- FOR THE CHEESECAKE FILLING
- 16 ounces cream cheese, softened
- 1/2 cup granulated sugar
- 1 tablespoon all-purpose flour
- 2/3 cup eggnog (full-fat preferred)
- 1 large egg
- 1/2 teaspoon vanilla extract
- 1/2 teaspoon ground nutmeg (plus more for topping)
- Optional: pinch of ground cloves or cinnamon for extra spice
Instructions
- PREHEAT AND PREPARE: Preheat the oven to 325°F (163°C). Line an 8x8 or 9x9-inch baking pan with parchment paper, allowing some overhang on the sides to make removing the bars easier after chilling.
- MAKE THE CRUST: In a medium bowl, stir together graham cracker crumbs, brown sugar, and ground cinnamon. Add melted butter and mix until the texture resembles wet sand. Press the mixture evenly and firmly into the bottom of the prepared pan to form a compact crust. Bake for 8 minutes, then set aside to cool slightly while you prepare the filling.
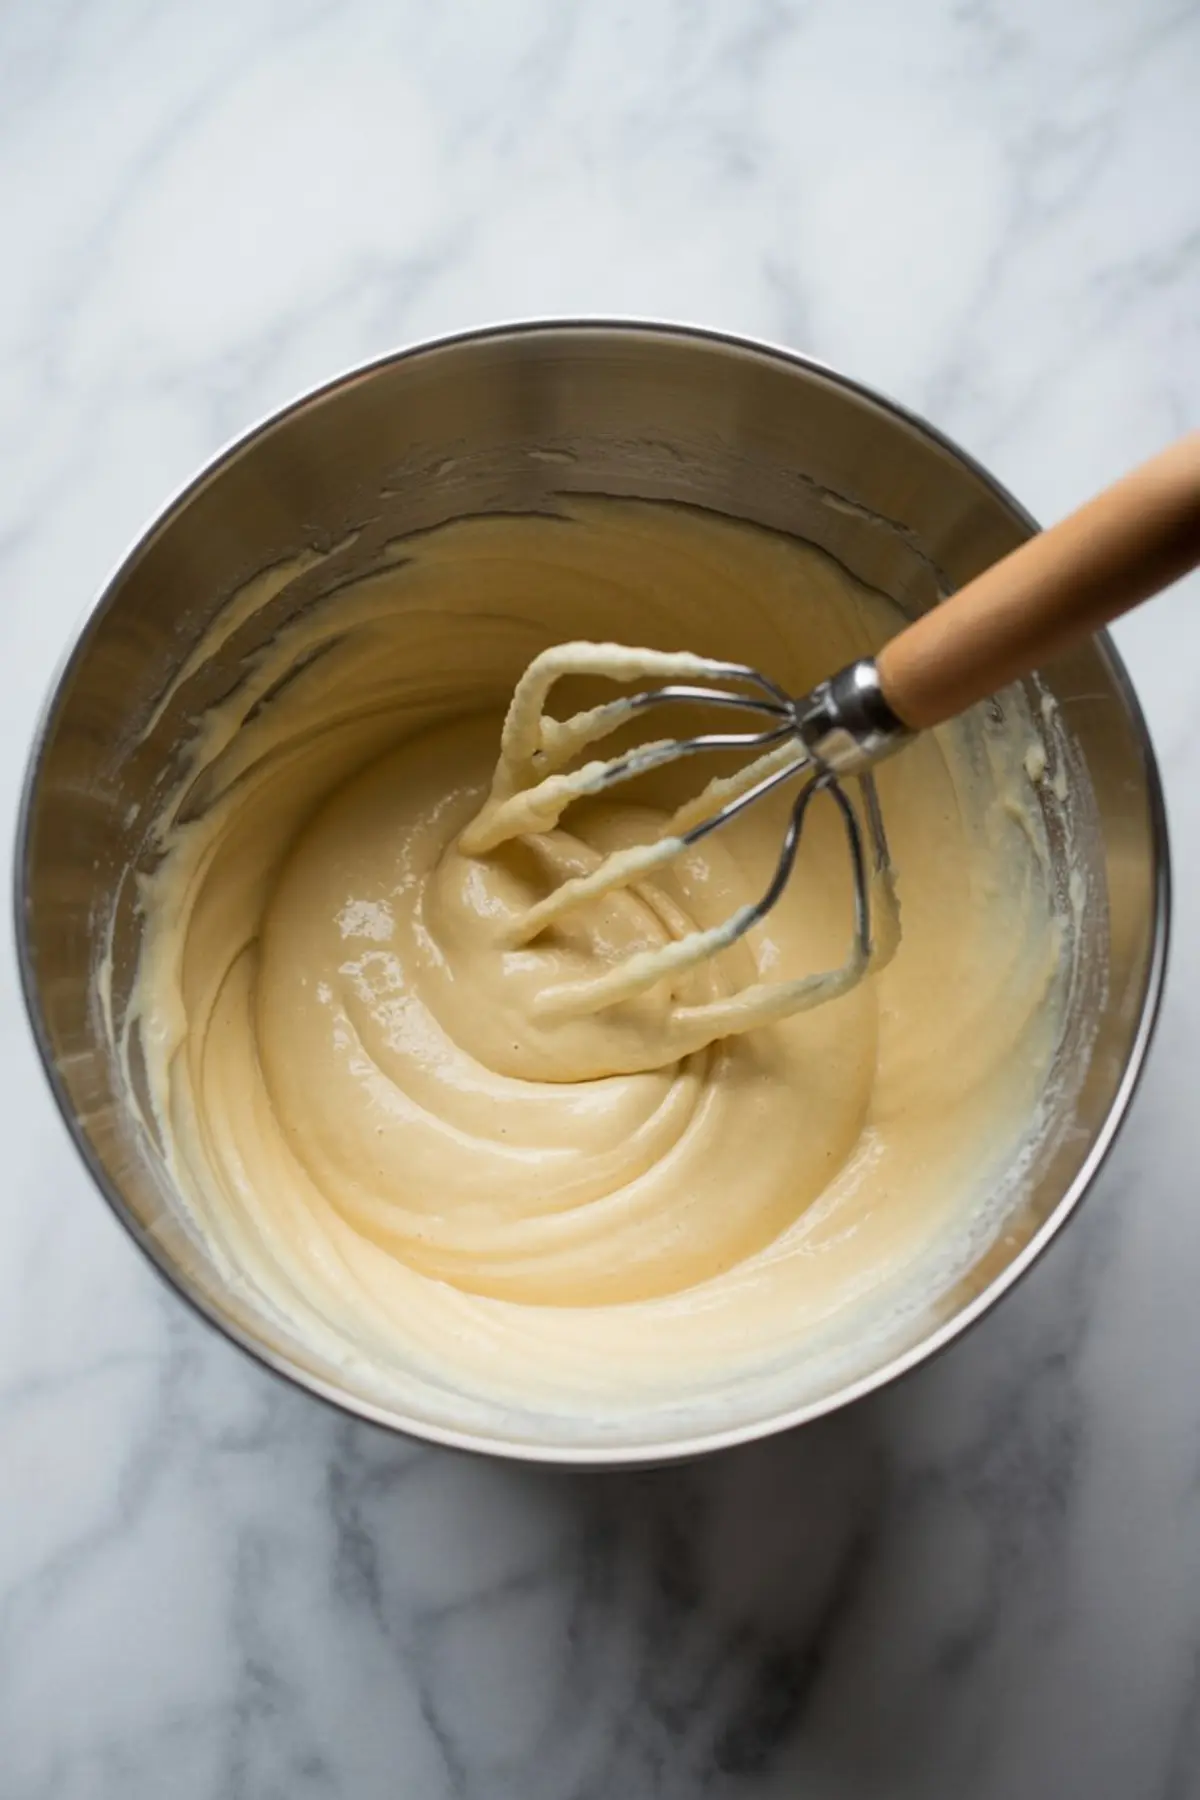
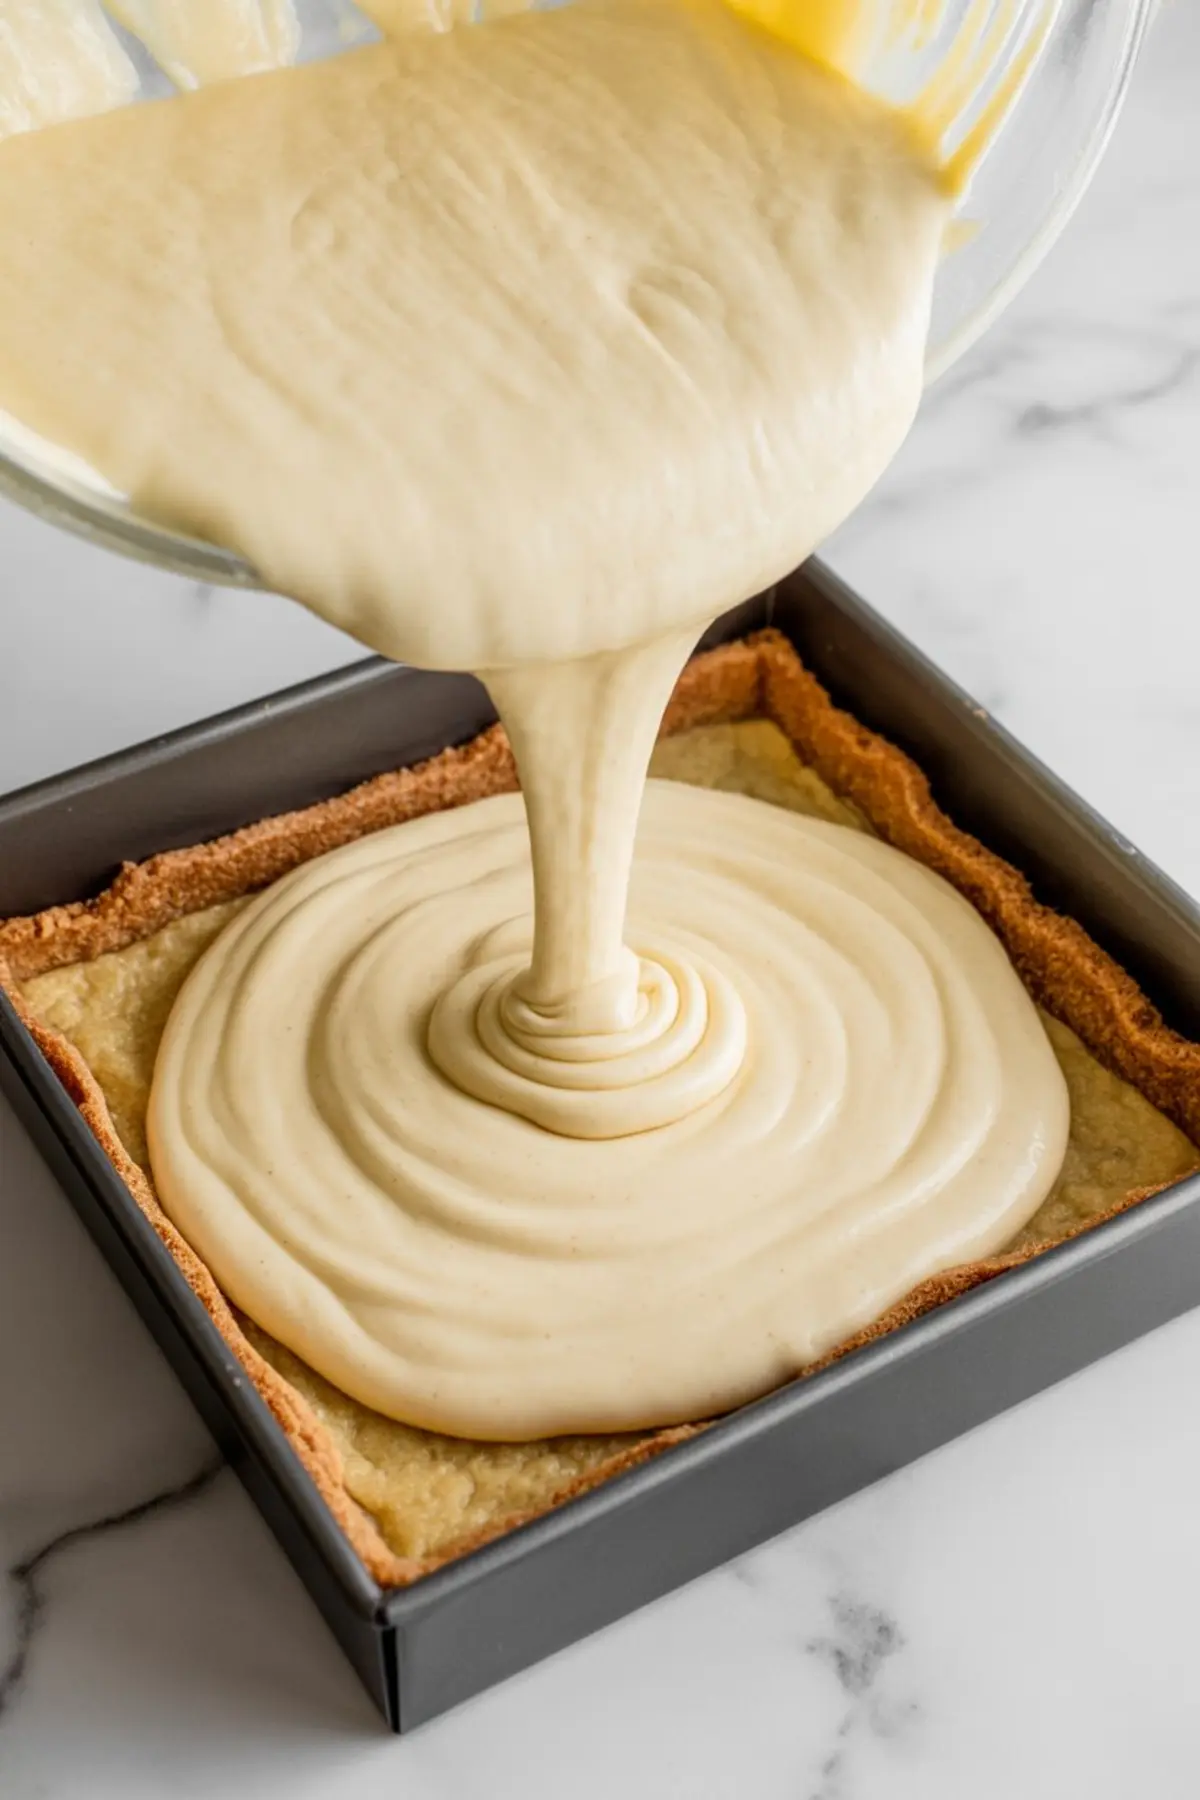
- MAKE THE CHEESECAKE BATTER: In a large mixing bowl, beat the softened cream cheese on medium speed for 2 to 3 minutes until completely smooth and creamy. Add the granulated sugar and flour, and continue mixing until fully combined. Scrape down the sides of the bowl to ensure an even mixture. Add the eggnog, egg, vanilla extract, and nutmeg. Mix on low speed until just combined, being careful not to overmix. The batter should be silky, slightly thick, and free of lumps.
- POUR AND BAKE: Pour the cheesecake batter over the pre-baked crust and smooth the top with a spatula. Bake for 35 to 40 minutes, or until the center is just set and no longer jiggles when gently shaken. Remove from the oven and let cool completely at room temperature before chilling.
- CHILL AND SLICE: Refrigerate the cooled bars for at least 4 hours or overnight until fully set. Once chilled, lift the cheesecake out of the pan using the parchment paper overhang. Slice into squares using a sharp knife, wiping the blade clean between cuts for neat edges. Lightly dust the tops with extra nutmeg before serving.
Notes
For clean slices, chill the bars thoroughly and use a hot knife (wiped between cuts). Store leftovers in an airtight container in the refrigerator for up to 5 days. For a stronger spice profile, add a pinch of cloves or extra cinnamon to the filling.
Nutrition Information
Yield
16Serving Size
1Amount Per Serving Calories 248Total Fat 17gSaturated Fat 10gTrans Fat 0gUnsaturated Fat 6gCholesterol 62mgSodium 171mgCarbohydrates 20gFiber 0gSugar 15gProtein 4g
Would I be able to freeze this cheesecake?
Freezing works well for these bars, Chris. I’ve frozen cheesecake bars many times, and this style holds up nicely 👍
A full chill in the fridge helps them firm up first. I usually cut them into squares, wrap each piece in plastic, then add a layer of foil or place them in an airtight container. That method keeps the texture creamy without picking up freezer flavors.
Thawing in the fridge keeps the surface smooth. A few hours is usually enough, and the flavor stays steady.
Can you make these in cupcake liners?
Hi Patricia,
You can make them in cupcake liners. I’ve done that when I needed single serve portions for a holiday get together 😊. I usually add a spoonful of crust to each liner, press it down firmly, then fill about two thirds with the batter. The bake time drops a bit, so I start checking around the 18 to 20 minute mark. Chill them well and they pop out of the liners with a clean edge.
Can you make these in cupcake liners in a muffin pan?
As for using a muffin pan, that works the same way. The portions hold their shape nicely once they’re fully chilled. I watch the bake time closely since they set faster in smaller wells, usually around that 18 to 20 minute range.