
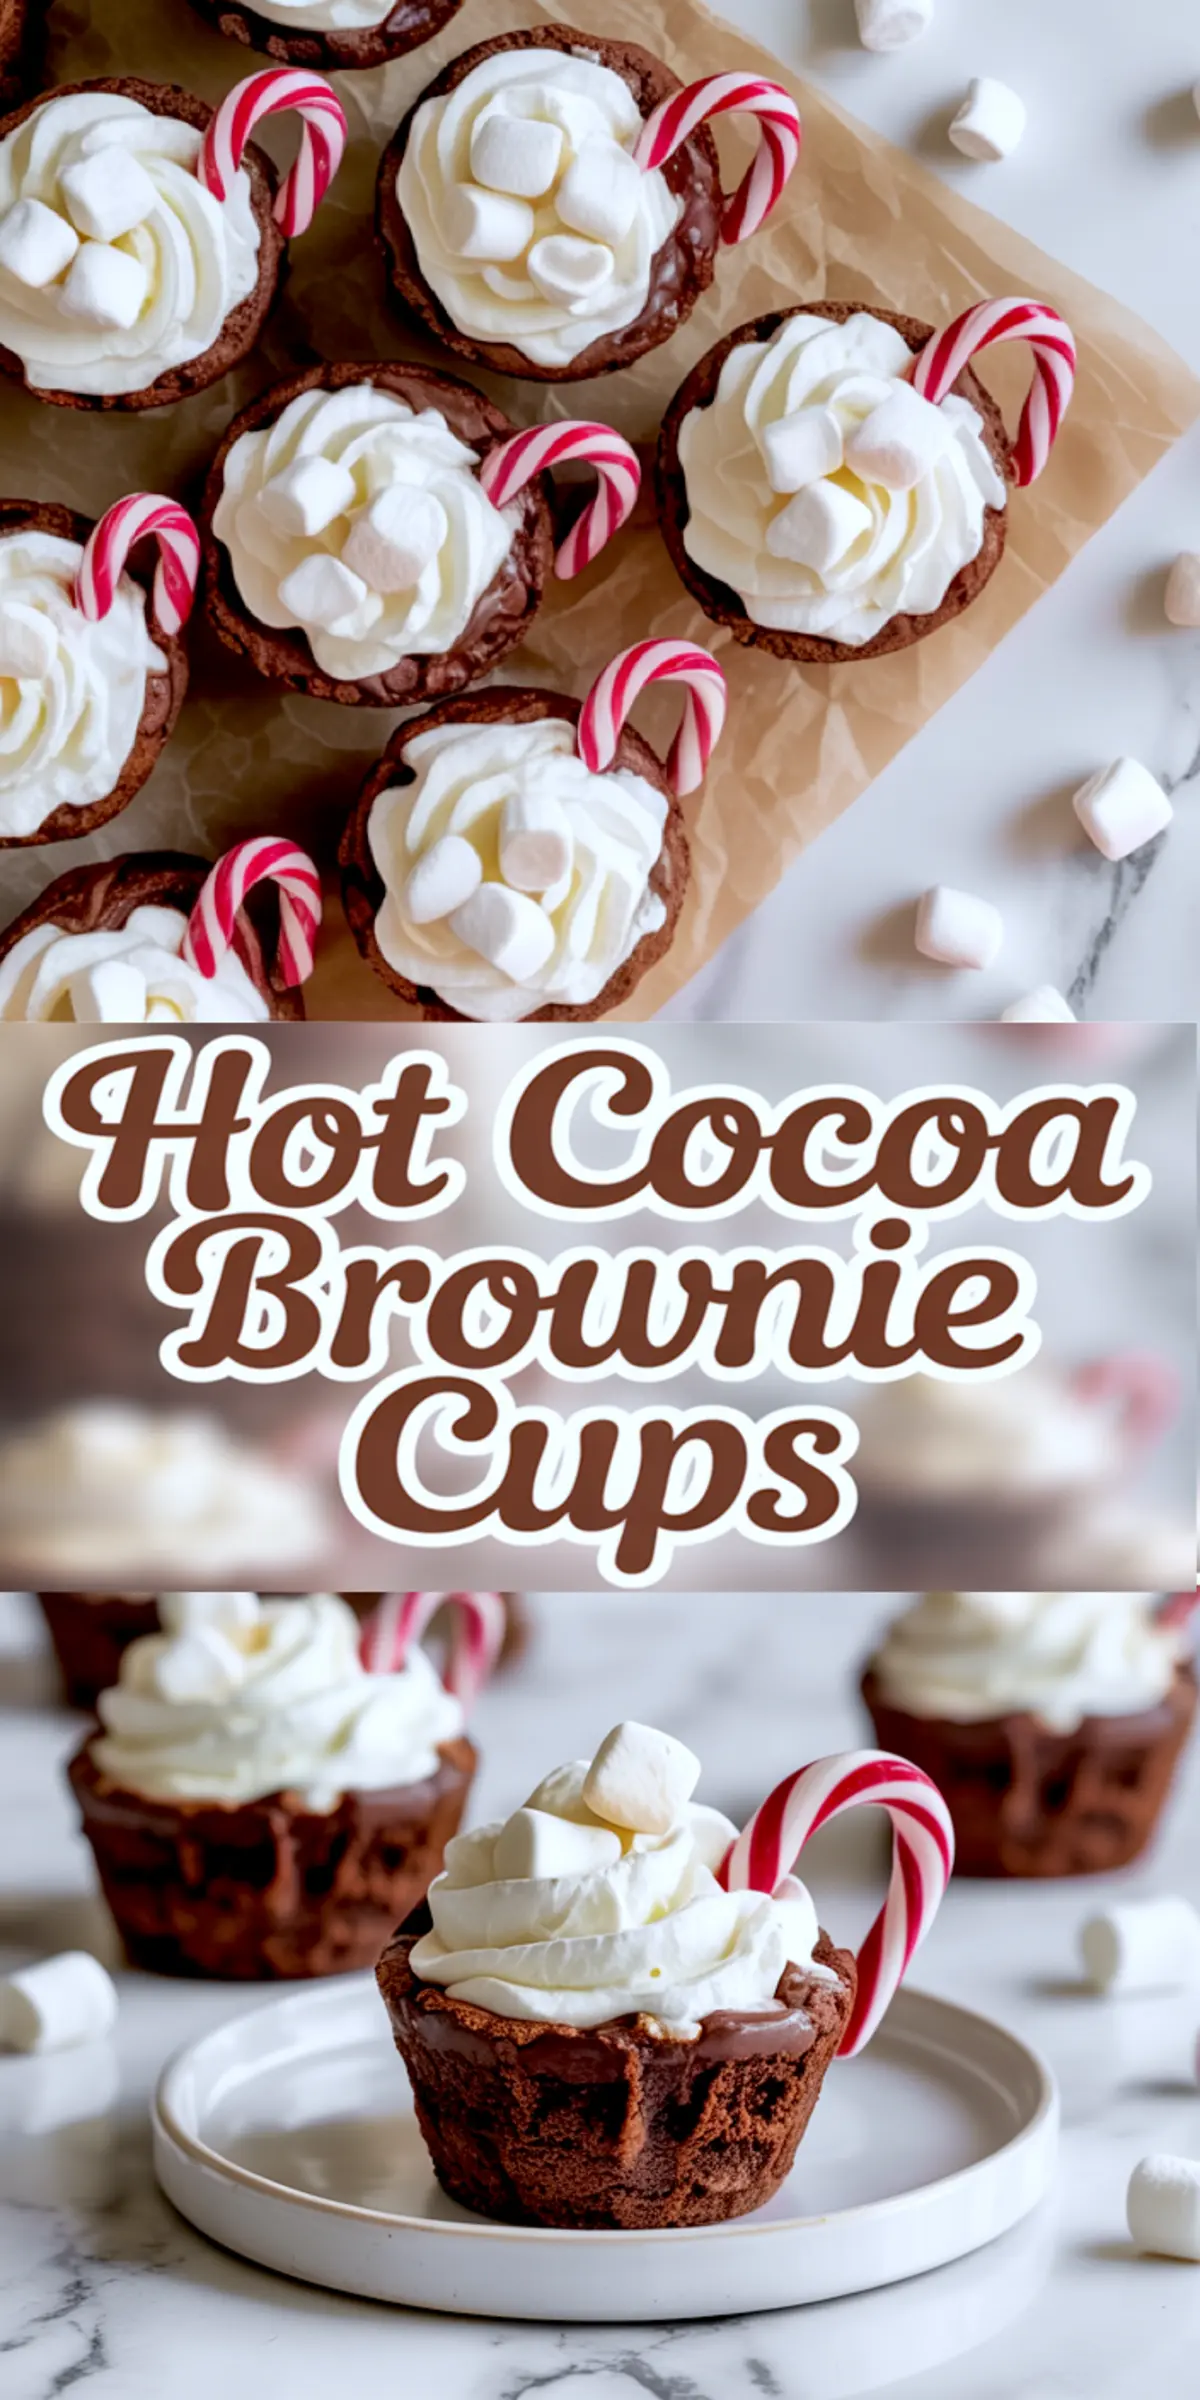
Easy Christmas brownie cups filled with ganache, topped like hot chocolate
These hot cocoa brownie cups bake into rich chocolate brownie bases and transform into tiny edible mugs once filled and decorated. Each one holds a spoonful of glossy ganache, topped with whipped cream and marshmallows. A candy cane turns it into a mini cup of hot chocolate, all in a bite-sized dessert.
The idea started with hot chocolate cookie cups, but I found brownies gave a softer bite and richer flavor. These mini brownies work better for that warm, gooey center that people expect from cocoa brownies. They also freeze well, so I keep a batch ready for December trays.
You’ll learn how to shape warm brownies into cups without breaking them. And how to fill them with ganache that firms just enough to hold its shape.
Following a special diet?
Every recipe on this site can be converted to gluten-free, vegan, dairy-free, keto, nut-free or egg-free with adjusted ratios so nothing falls flat.
Try the Recipe Converter →Why the Brownie Cup Format Works
Using a muffin tin gives each portion a thick brownie edge with a soft center. Unlike a flat hot chocolate cookies cup, the vertical sides hold more ganache and toppings.
This structure also means you don’t need any liners. Just nonstick spray and a spoon. Pressing down while they’re still warm lets you create a cavity without cracking the top.
I’ve tested several methods. Lining the tin with paper led to sticking and ragged edges. Using liners removed too much of that clean look. A generous layer of nonstick spray gave the best release. You can also rub each cup with butter if you prefer.
The Ganache Makes It Taste Like Drinking Cocoa
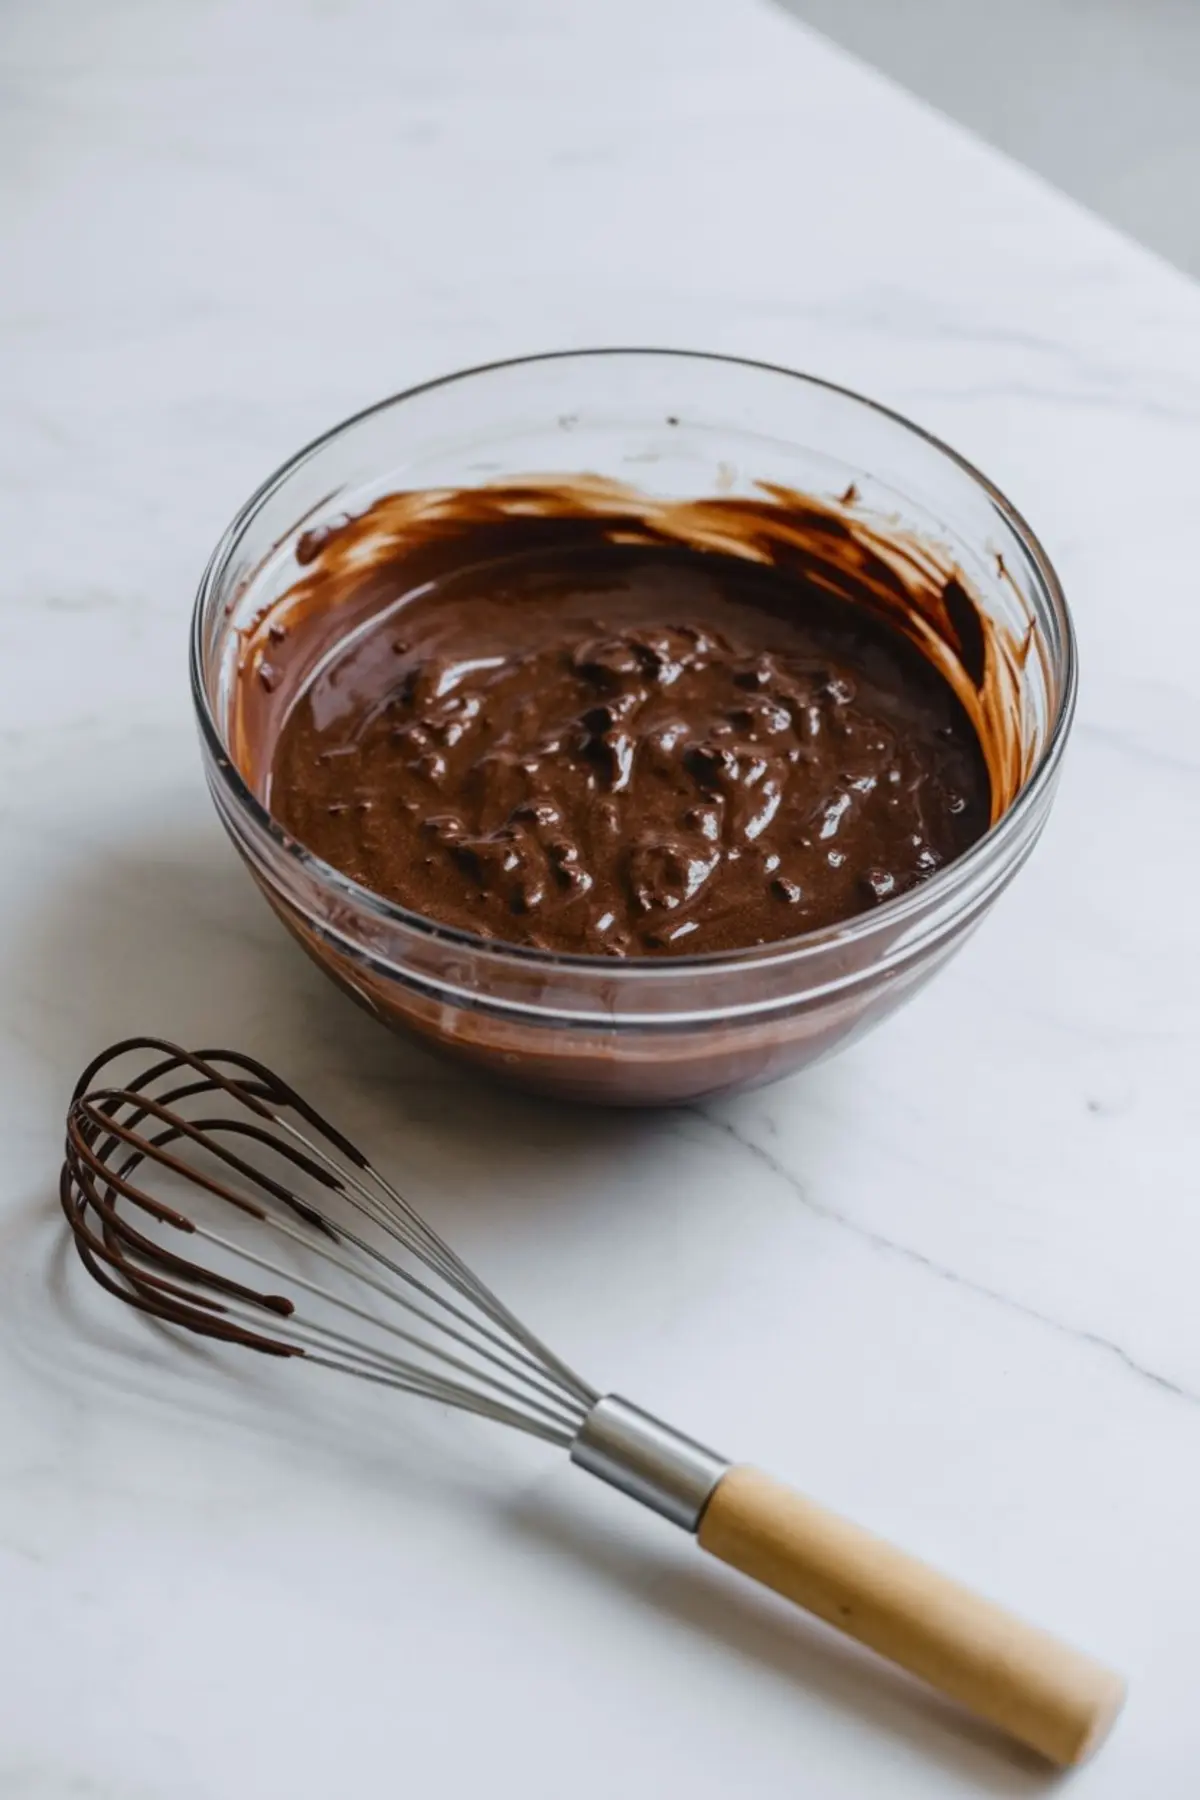
The brownie base handles structure, but the ganache brings flavor. One part hot cream to two parts chocolate creates a soft center with a smooth bite. It sets just enough to keep everything together but still melts slightly when eaten.
If your ganache stays grainy, your cream wasn’t hot enough. You want steam, but no bubbling. Pour over the chocolate and let it sit for one full minute before stirring.
I use semi-sweet chocolate chips for a balanced taste. You can use chopped baking chocolate, but make sure it’s fresh. Chocolate with a white coating from humidity won’t melt as cleanly.
Try this variation after making the base version once. You’ll get a better sense of the correct texture and shine.
I often point people to this homemade hot chocolate recipe to understand how cream and chocolate interact in a heated mixture.
Choosing the Right Ingredients
The boxed brownie mix simplifies things. You can use any brand, but check the back for the ratio. Some call for oil and water, others add melted butter.
Use the full-fat version. Low-fat or “fudge-lite” mixes tend to rise unevenly, which affects cup shaping.
I go with heavy cream for the ganache, not milk. Cream gives you the thickness you need. It also blends smoother with chocolate chips.
Mini candy canes work best for decoration. Larger ones don’t sit well in the brownie edge. If you can’t find mini versions, break full-sized ones into short curved pieces.
Want more hot chocolate variation? See how this Mexican hot chocolate uses spice to warm up the base flavor. You could infuse the cream here with cinnamon before pouring over the chocolate.
From Batter to Cups: What to Expect
Once the batter’s mixed and poured into a muffin tin, watch your bake time. You want to pull them out when the center still shows a few moist crumbs.
That’s usually around 20 minutes at 350°F. Overbaking gives you dry walls that crack when pressed. Underbaking means the middle collapses.
I let the pan sit on the counter for 5 minutes. Then I use the back of a metal teaspoon to press down the center gently. The warmth helps the spoon glide without tearing.
They finish cooling in the pan. Only remove once fully set. Trying to lift them early causes breaks or stuck bottoms.
For an extra cozy variation, top with a dollop from this hot chocolate cheesecake dip. It adds tang and height in one quick motion.
Knowing When They’re Ready
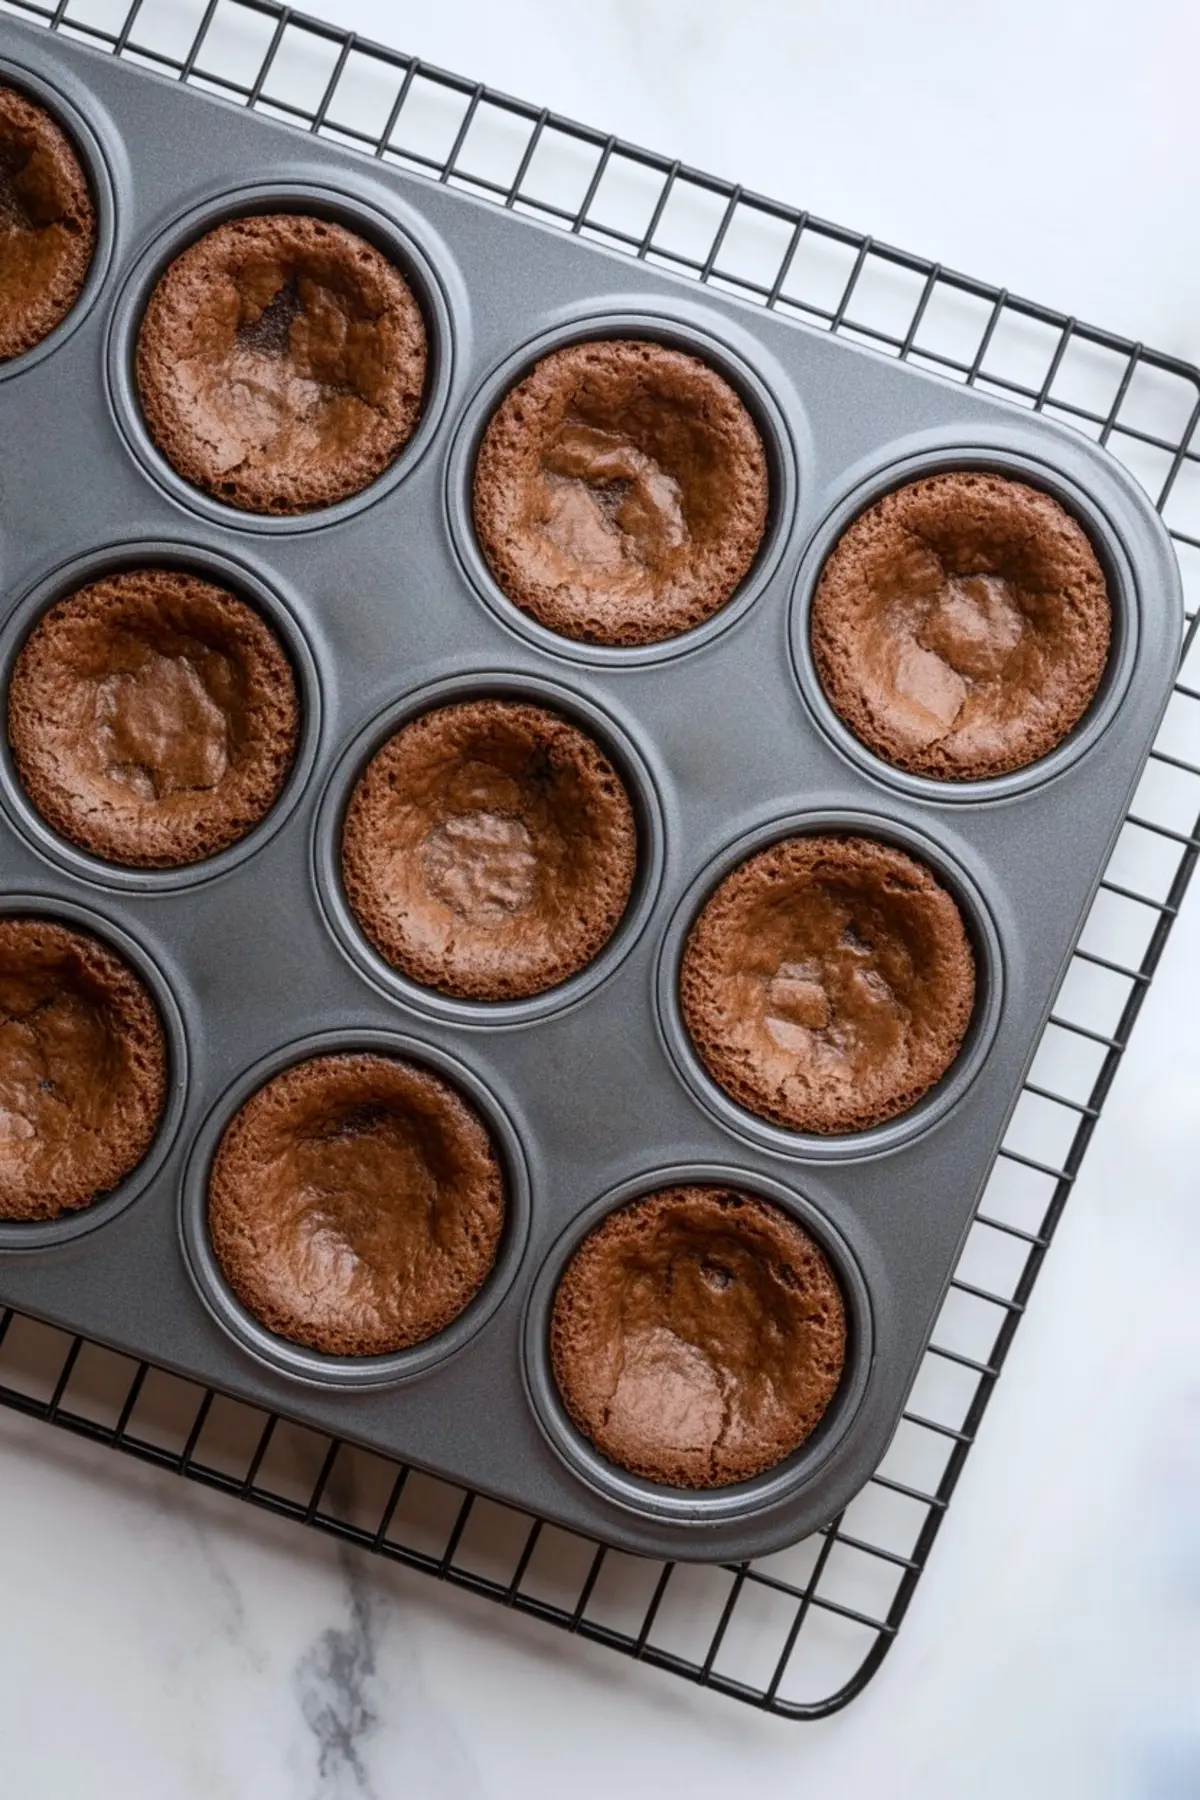
The brownie cups should look firm on the edges with a slightly puffed center. When pressed with a spoon, the top should flatten smoothly without flaking.
The ganache is ready when it stirs into a glossy pool. If it looks oily, you overheated the cream. If it’s too runny, add a tablespoon more chips and stir again.
After filling, the whipped cream adds contrast. I use a piping bag but a spoon swirl works too. Marshmallows go on top, then the candy cane tucks in to finish the look.
You can chill them for 10–15 minutes before serving. This helps the ganache firm slightly without dulling the whipped topping.
Problems and Fixes
If the brownie sticks to the pan, your spray wasn’t enough or you removed them too soon. Let them cool fully. Run a plastic knife around each before lifting.
If your cups collapse, you pressed too soon or too hard. Let them rest for 5 minutes before shaping. Use light pressure in the center only.
If the ganache splits, try stirring in a teaspoon of warm cream. That usually brings it back together.
Ganache too thick? Microwave for 5 seconds and stir again.
Small Changes That Work
Add ½ teaspoon peppermint extract to the brownie batter for a stronger winter flavor.
Top with crushed peppermint instead of candy canes. About 1 tablespoon will cover all 12 cups.
Swap the ganache for peanut butter and use mini chocolate chips on top. That version gets eaten first at bake sales.
Use mini muffin tins for bite-sized brownie shots. Just cut bake time to 12–14 minutes and reduce the filling to 1 teaspoon per cup.
How to Store Them
Store fully decorated cups in the fridge for up to 3 days.
You can make the brownie base ahead and freeze it for 2 months. Wrap each cup in plastic, then seal in a freezer-safe container.
Thaw overnight in the fridge before decorating. Do not microwave to reheat. The candy cane will melt unevenly.
If serving warm, leave at room temperature for 1 hour before topping.
Testing Notes and Tips
Don’t skip greasing the pan. Even nonstick tins benefit from extra coverage.
Use a microwave-safe bowl with some depth for the ganache. Stir slowly to avoid bubbles.
Cool completely before decorating. Warm cups melt whipped cream instantly.
Keep candy canes in a cool spot before using. Heat makes them sticky and hard to place.
A spoon works fine to shape the cups, but a tablespoon measure gives even results across all 12.
Serving Ideas
Set out on a tray of mini Christmas brownies with fresh berries. Serve after dinner with a cup of crockpot hot chocolate.
Wrap each in parchment and tie with string for gifting. Add them to a holiday dessert board with peppermint bark, fudge, and cookies.
Let kids decorate their own with sprinkles and whipped cream options. I usually serve them cold. They hold their shape better and taste more like cocoa.
Save This Recipe and Share

Pin this to your Christmas dessert board so you don’t forget it later. I’d love to hear how yours turned out. Drop a comment if you tried a variation or ran into questions.
Hot Cocoa Brownie Cups
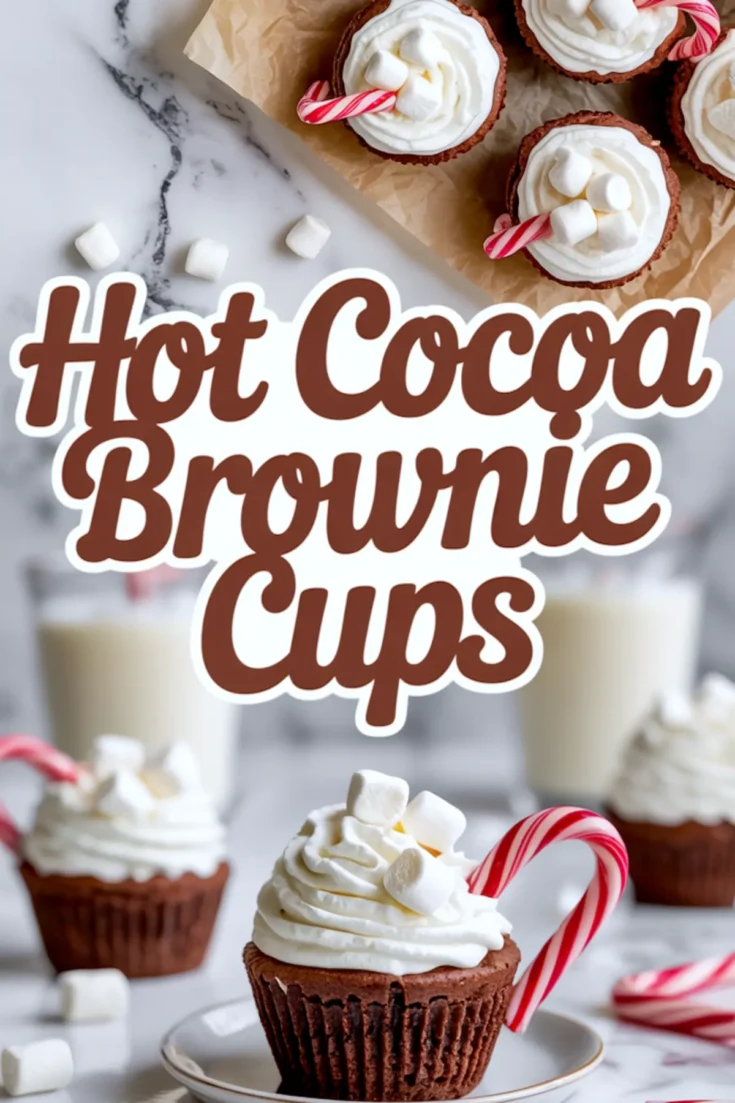
These festive hot cocoa brownie cups combine rich chocolate brownie cups with a gooey marshmallow center and a sprinkle of holiday magic. Baked into a mini brownies format, they’re perfect for cozy gatherings, dessert trays, or gifting. If you love hot chocolate cookies cups or hot chocolate desserts, this easy twist on cocoa brownies is a must-try. Ideal for Christmas brownies, Christmas brownie cups, or any winter celebration. Top with whipped cream, mini marshmallows, or crushed peppermint for an extra seasonal touch.
Ingredients
- FOR THE BROWNIE CUPS
- 1 box brownie mix
- Eggs, oil, and water as required by mix instructions
- Nonstick cooking spray
- FOR THE TOPPINGS
- 1 cup semi-sweet chocolate chips
- ½ cup heavy cream
- Whipped cream
- Mini marshmallows
- 12 mini candy canes
Instructions
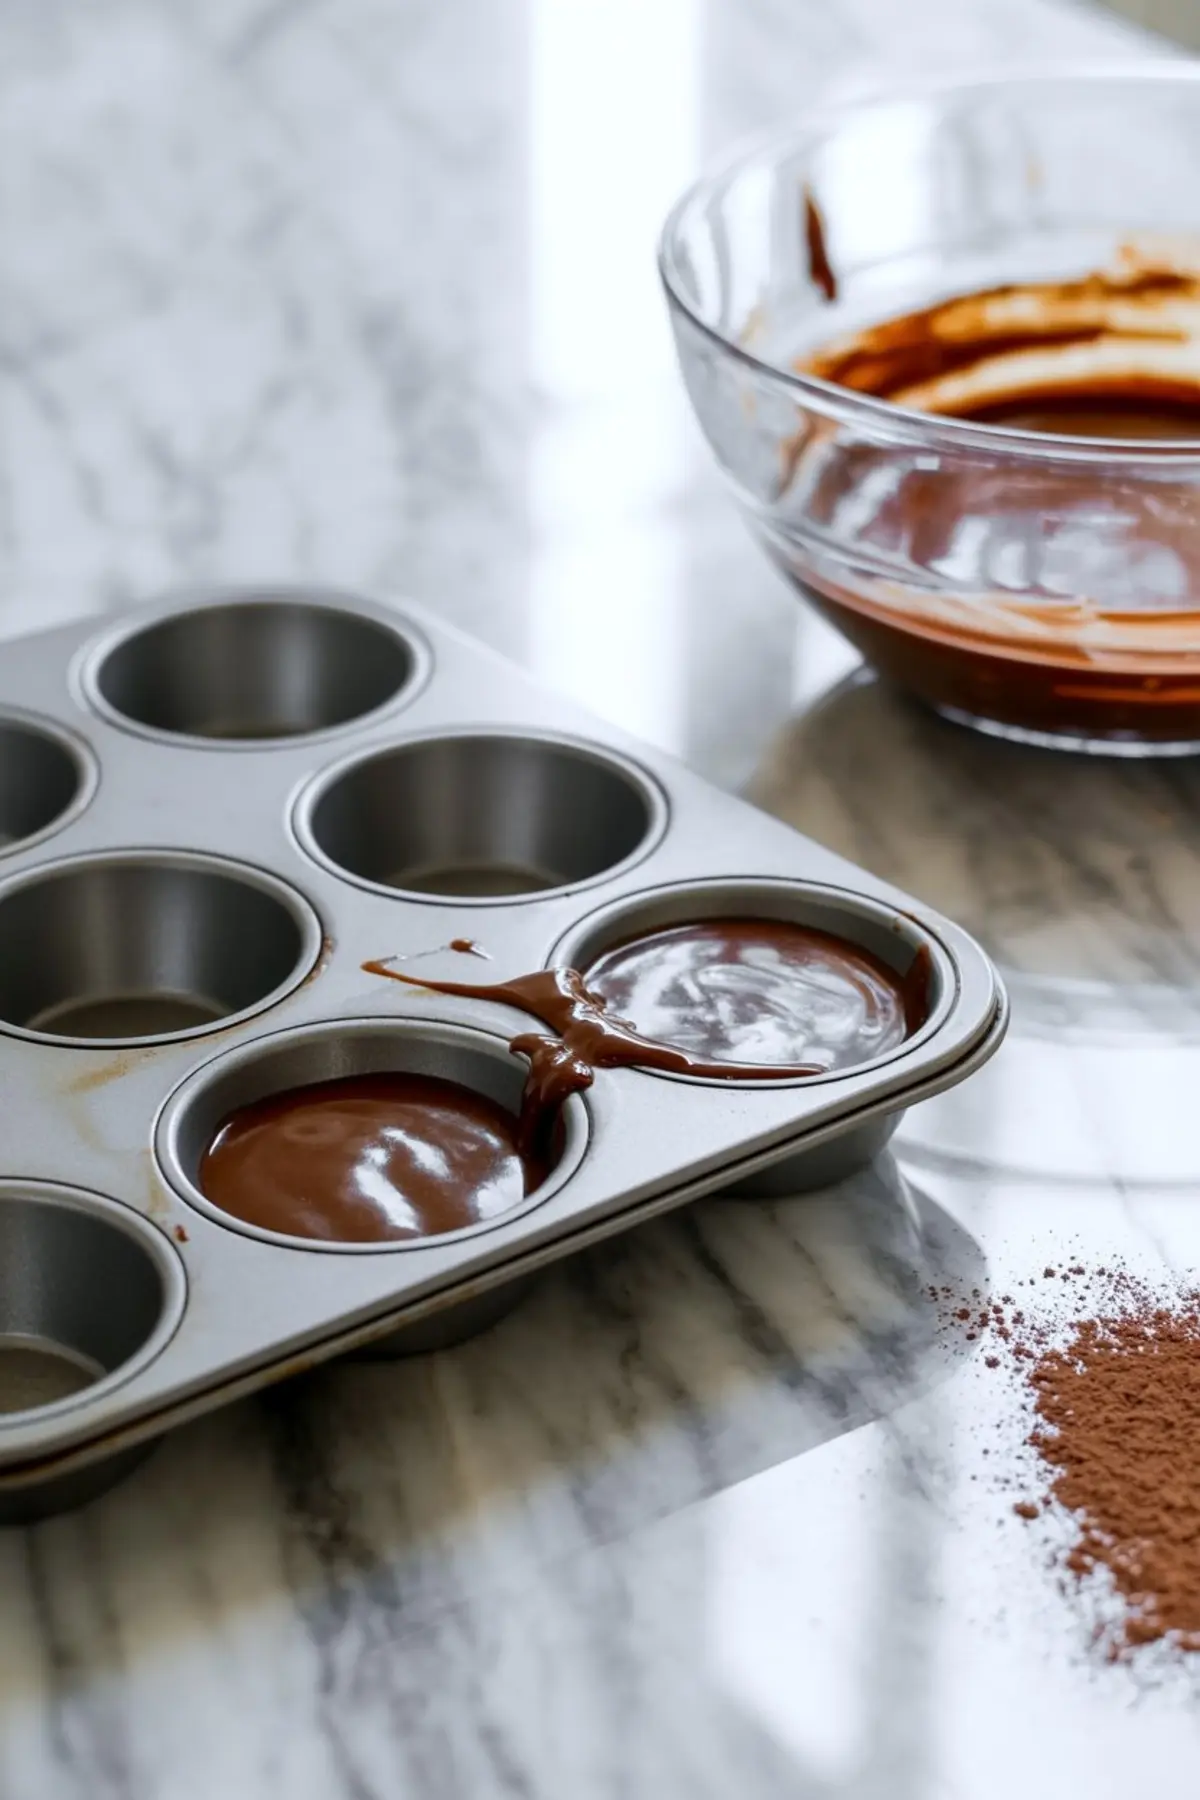
- PREPARE THE BROWNIE BASE: Preheat the oven to 350°F (175°C). Spray a standard 12-cup muffin tin with nonstick cooking spray, ensuring all sides are well-coated. Do not use paper liners. Prepare the brownie batter according to the instructions on the box or using your homemade recipe. Fill each muffin cup about three-quarters full with batter.
- BAKE AND COOL: Bake the brownie cups for 18–22 minutes, or until a toothpick inserted in the center comes out with a few moist crumbs. Remove from the oven and let them cool in the tin for 5–10 minutes.
- SHAPE THE CUPS: While the brownies are still warm but not hot, use the back of a spoon to gently press down the center of each brownie, forming a cup shape. Allow them to cool completely in the tin before removing.
- MAKE THE GANACHE: In a microwave-safe bowl, heat the heavy cream for about 30 seconds until hot but not boiling. Pour the hot cream over the chocolate chips and let sit for 1 minute. Stir until completely smooth and glossy.
- FILL THE CUPS: Spoon 1 to 2 teaspoons of ganache into the center of each brownie cup, filling the cavity evenly.
- DECORATE: Pipe whipped cream on top of each filled brownie cup. Add a few mini marshmallows to each. Carefully insert a mini candy cane into the side of each cup to mimic a mug handle. Chill for 10–15 minutes if desired, or serve immediately.
Notes
Store in an airtight container in the refrigerator for up to 3 days. Brownie cups can be made a day ahead and filled and decorated just before serving for best texture.
Nutrition Information
Yield
12Serving Size
1Amount Per Serving Calories 276Total Fat 15gSaturated Fat 7gTrans Fat 0gUnsaturated Fat 8gCholesterol 41mgSodium 88mgCarbohydrates 35gFiber 1gSugar 17gProtein 3g