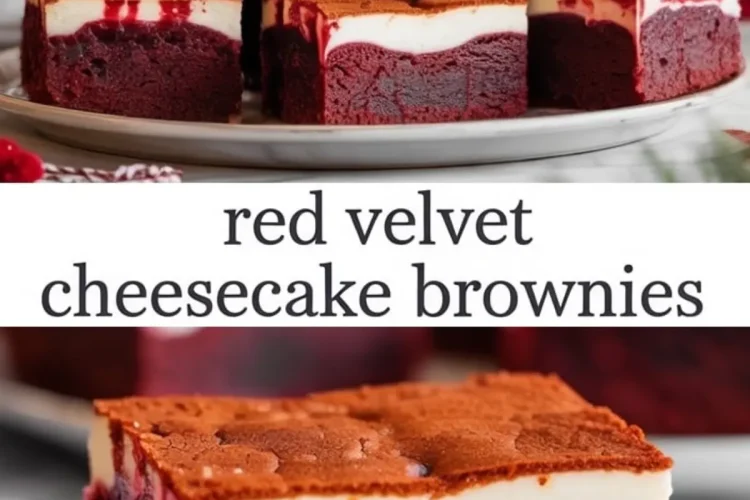
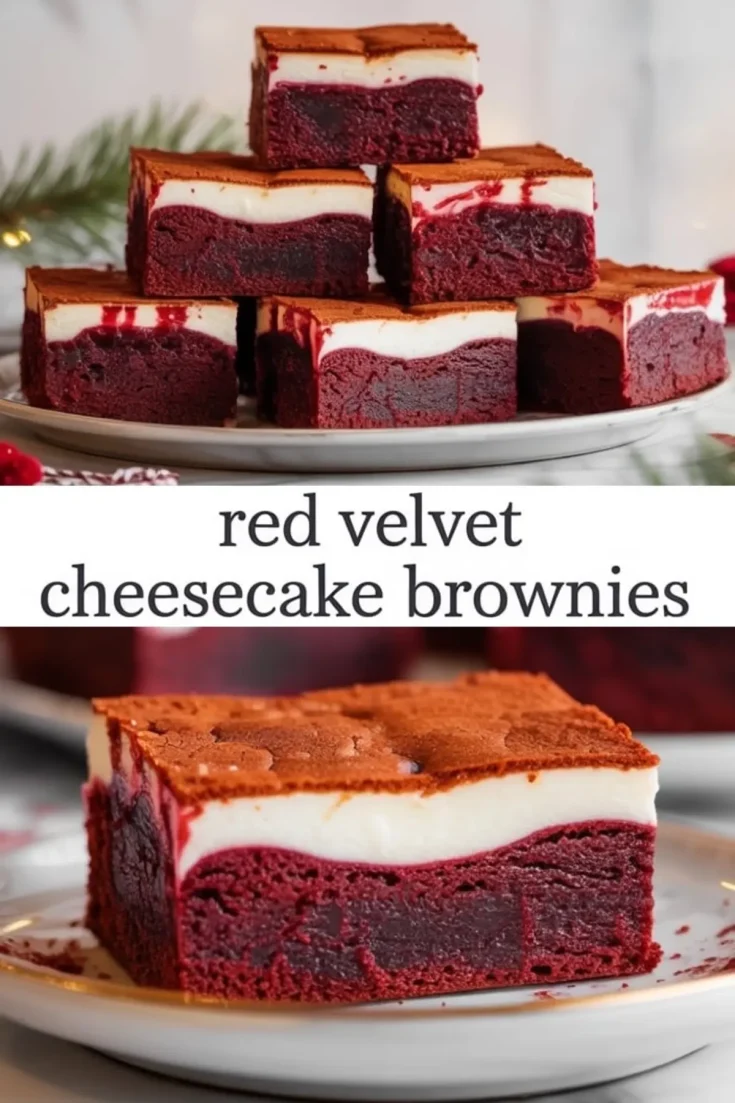
Red velvet cheesecake brownies bring together two beloved desserts in one bite-sized square. You get the deep cocoa flavor and chewy edge of a brownie, along with the smooth, tangy contrast of creamy cheesecake. These aren’t just red velvet brownies with a swirl. They bake up with clean lines, a velvety crumb, and a top layer that sets gently without cracking. The combination creates something that stands out on a dessert tray, without demanding too much from you in the kitchen.
You’ll learn how to layer the cheesecake just thin enough to bake evenly, and how to achieve that deep red velvet color without affecting texture. These red velvet cheesecake brownies look festive, slice beautifully, and travel well. That makes them one of my go-to brownie recipes during the holiday season. They also sit comfortably among other red velvet desserts when you want something slightly unexpected, yet easy to pull off.
Following a special diet?
Every recipe on this site can be converted to gluten-free, vegan, dairy-free, keto, nut-free or egg-free with adjusted ratios so nothing falls flat.
Try the Recipe Converter →What Makes This Recipe Different from Other Cheesecake Brownies
The cheesecake topping doesn’t sink. That’s the first thing you’ll notice. It spreads in a thin, even layer rather than marbling into the batter. That technique helps it set faster and cut cleaner.
Using a splash of vinegar in the batter keeps the red food coloring vibrant and bright even after baking. I prefer gel food coloring for this because it gives better control over the shade, and doesn’t thin the batter like liquid options do.
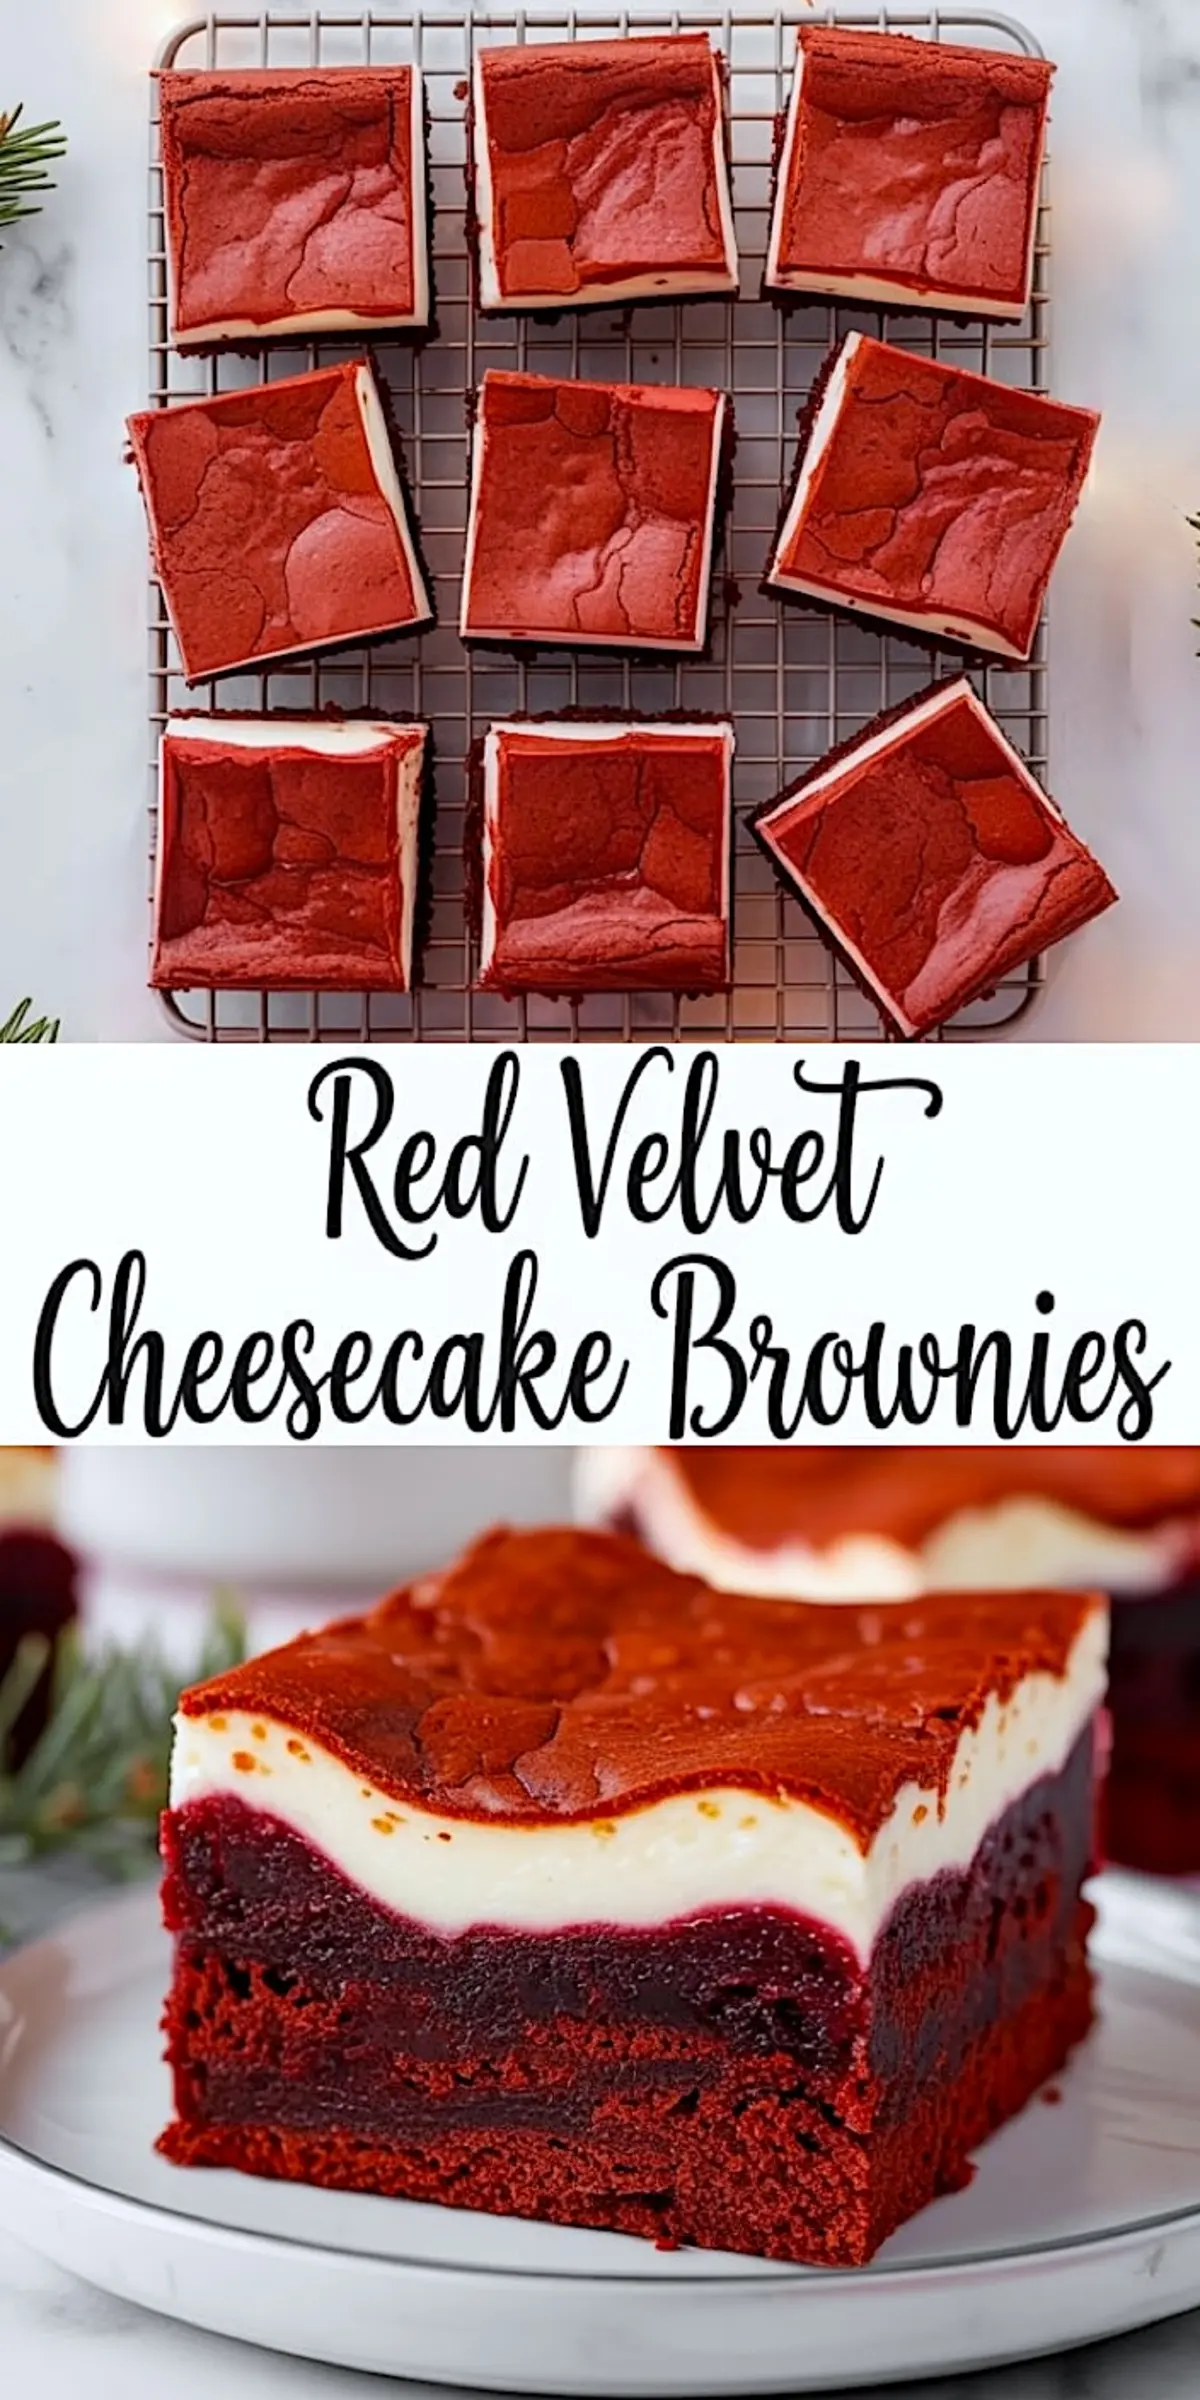
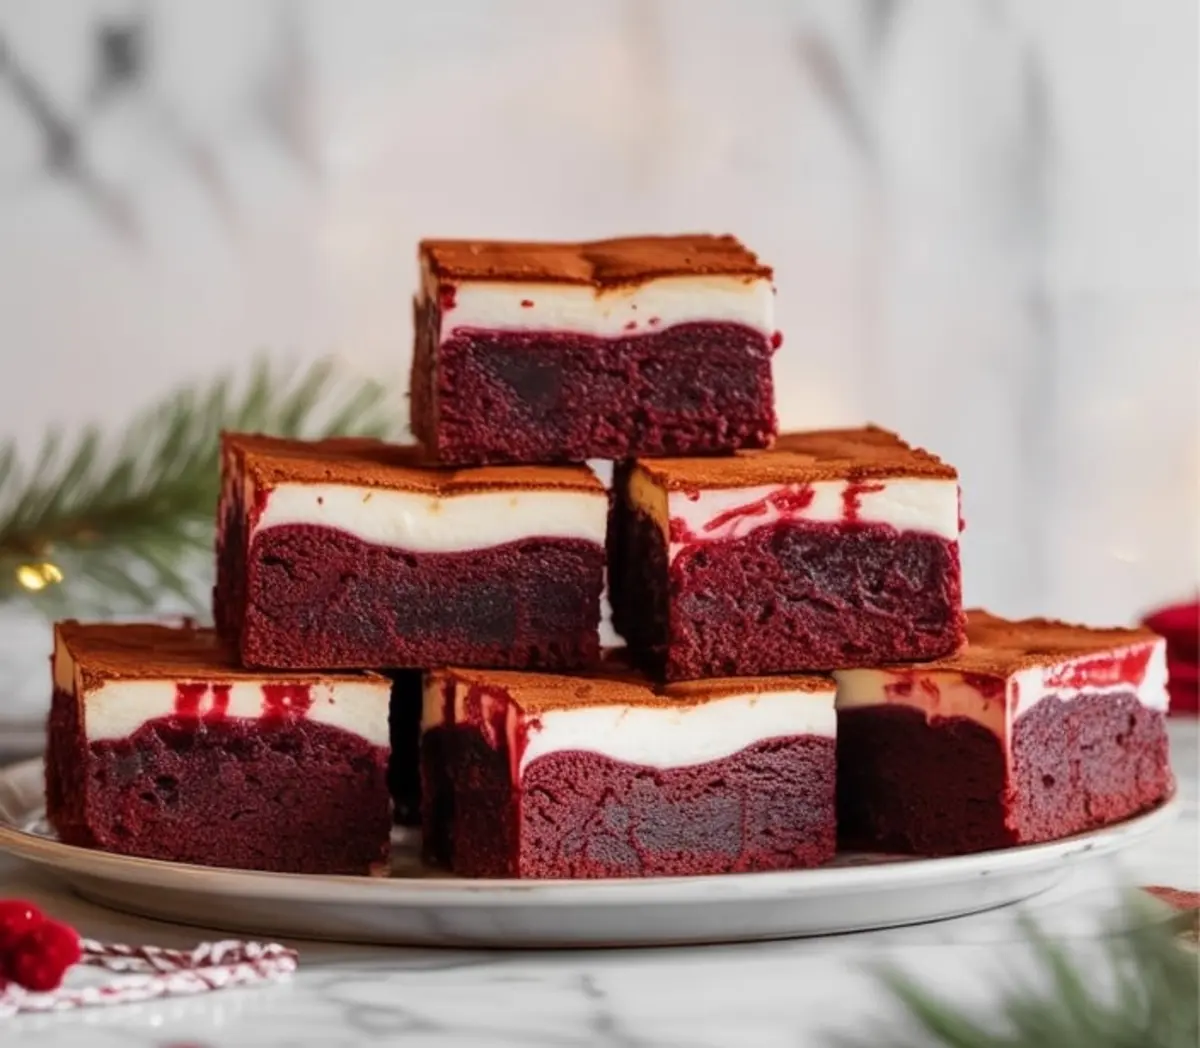
The result is a layered bar with strong contrast. Red on the bottom, creamy white on top. The brownies taste rich, with a hint of cocoa and a dense crumb that stays soft even after refrigeration.
Choosing the Right Cream Cheese Makes a Difference
Full-fat cream cheese holds up better during baking and gives a smoother finish. I’ve tried using reduced-fat blocks, and the top came out grainier, almost sponge-like.
Stick with the full-fat kind. Let it soften fully before mixing, so it whips into a smooth, pourable consistency. Cold cream cheese won’t blend properly and creates lumps that show after baking.
How the Red Velvet Batter Comes Together
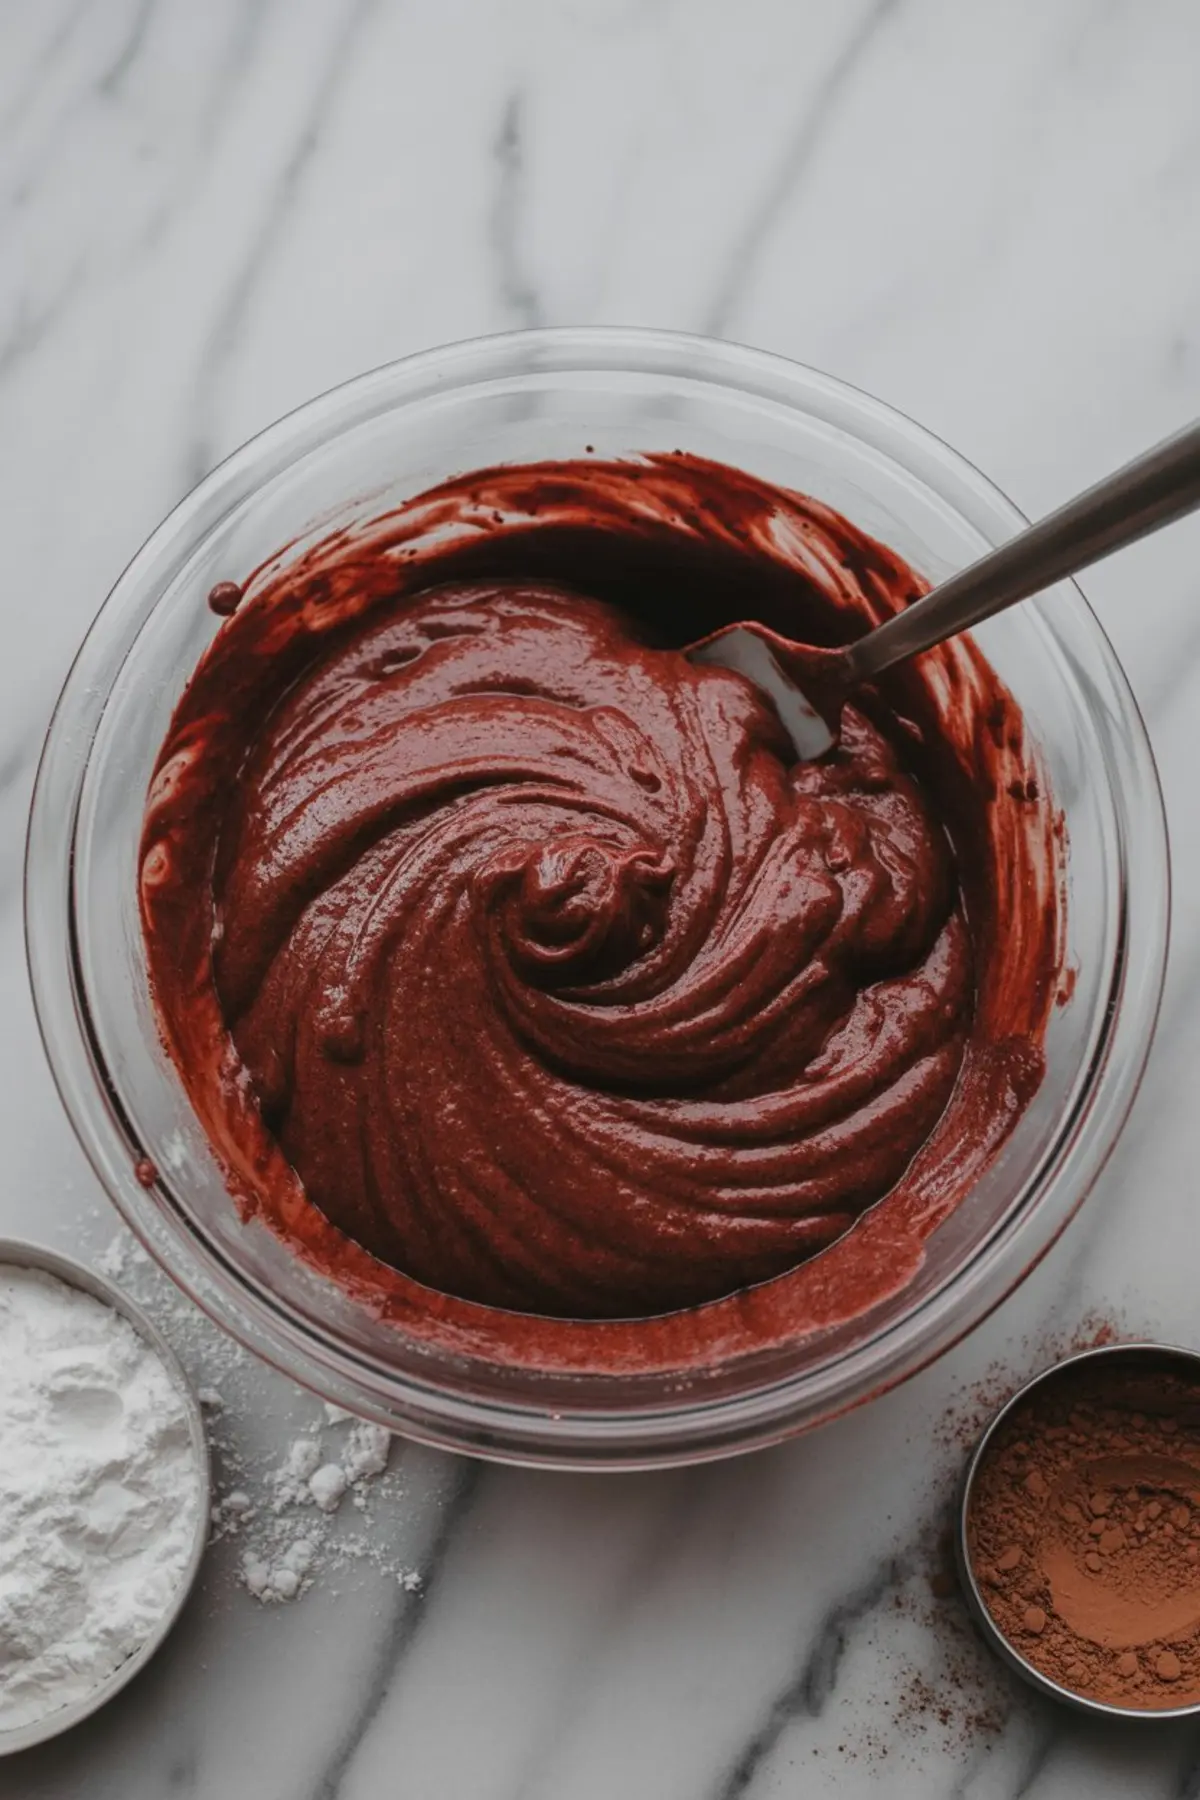
Start with melted butter and sugar. Whisk until the mixture becomes glossy and thick. That step builds a shiny top and chewy texture in the final brownies.
The cocoa, vanilla, salt, vinegar, and red food coloring go in next. Mixing these first ensures even distribution of color and flavor before adding the eggs.
The eggs get whisked in one at a time. This helps the batter hold structure while staying soft. Once you fold in the flour, be careful not to overmix. A few streaks at the end are better than an overworked batter.
Cheesecake Layer vs. Swirl – What I Recommend
I’ve tried both styles. The swirl looks pretty, but the texture suffers. The cheesecake layer sets better when spread evenly across the top instead of being dragged through the batter.
In my notes, I’ve found that a thin cheesecake layer bakes faster and stays creamy without turning rubbery. It also gives the bars a more elegant finish when sliced.
You can try reserving a tablespoon of the brownie batter and spooning it on top for a slight swirl, but keep the base and top layers separate. The visual and texture payoff is worth it.
Baking Notes for Consistent Results
Use parchment with overhangs on two sides so you can lift the bars cleanly after chilling. Grease the paper lightly if your pan tends to stick.
The brownies need to cool fully in the pan before chilling. If you move them while warm, the cheesecake can sag or wrinkle. I chill them uncovered at first, then cover tightly once cold.
Use a clean, sharp knife to cut. Wipe between each slice. That’s how you keep those edges defined.
How to Store and Serve Red Velvet Cheesecake Brownies
These brownies hold their shape best when cold, so I keep them refrigerated in a covered container. They stay fresh for up to 5 days.
For serving, I sometimes let them sit out for 15 minutes so the brownie layer softens slightly. That makes the texture feel more fudgy and less firm. They also hold up well on cookie platters or holiday dessert tables next to other favorites like Red Velvet Snowball Cookies or Peppermint Red Velvet Blossom Cookies.
Red Velvet Recipes That Pair Well with These Brownies
If you’re making a red velvet-themed spread, these brownies work beautifully alongside a classic Red Velvet Cake with White Chocolate Frosting or the more playful Red Velvet Cheesecake Bars. Each one brings a different texture to the table layered cake, creamy bars, chewy brownies.
You don’t need frosting on these, but a small dusting of powdered sugar can help them pop if you’re plating them for guests.
Pin This Recipe and Share Your Results

These red velvet cheesecake brownies offer clean slices, chewy texture, and creamy topping without extra effort. They bake consistently, store well, and make a bold addition to any dessert tray.
Save this recipe on Pinterest so you can find it again for your next gathering. And if you make it, let me know how it went in the comments. I always love hearing how readers tweak or serve these.
Red Velvet Cheesecake Brownies
Red velvet cheesecake brownies are a dessert that never lasts long in my kitchen. The red velvet brownies recipe creates a fudgy base, and the creamy cheesecake swirl adds a rich, tangy contrast that makes every bite irresistible. It’s one of my favorite brownie recipes to share during the holidays because the red food coloring makes them look extra festive. Cheesecake swirl brownies feel fancy but are simple enough for any baker, and they fit right in with other red velvet desserts when you want something special. I love including red velvet cheesecake brownies on dessert trays—they’re easy to slice, full of flavor, and guaranteed to get recipe requests from anyone who tries them.
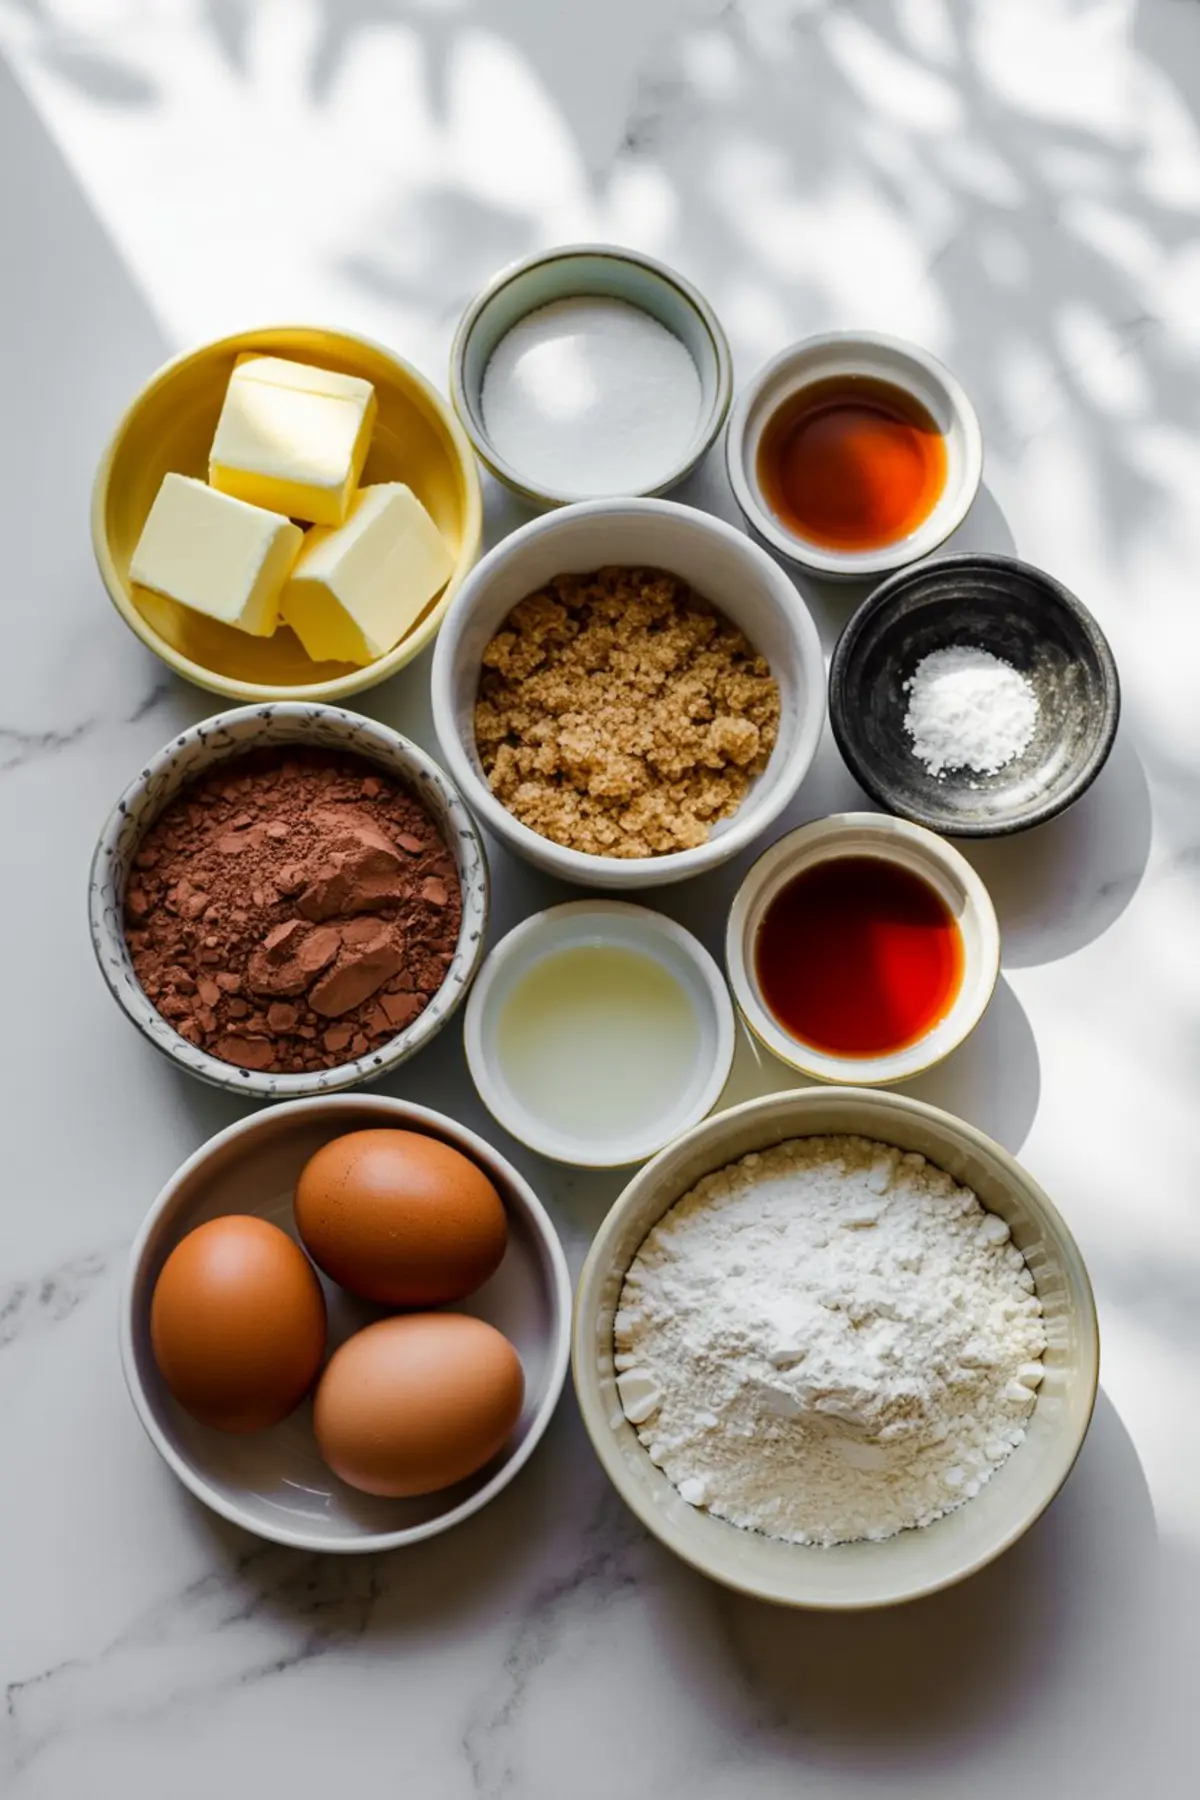
Ingredients
- FOR THE RED VELVET BROWNIE BASE
- ½ cup (115g) unsalted butter, melted
- 1 cup (200g) granulated sugar
- 1 teaspoon vanilla extract
- ¼ cup (21g) unsweetened cocoa powder
- ⅛ teaspoon salt
- 1 tablespoon liquid red food coloring (use gel for deeper color)
- 1 teaspoon white vinegar
- 2 large eggs
- ¾ cup (95g) all-purpose flour
- FOR THE CHEESECAKE TOPPING
- 8 oz (225g) cream cheese, softened
- ⅓ cup (67g) granulated sugar
- 1 egg
- ½ teaspoon vanilla extract
Instructions
- PREPARE THE PAN: Preheat the oven to 350°F (175°C). Line an 8x8-inch square baking pan with parchment paper, leaving a 1- to 2-inch overhang on two sides for easy lifting after baking. Lightly grease the parchment paper if desired.
- MAKE THE RED VELVET BROWNIE BASE: In a medium mixing bowl, whisk together the melted butter and granulated sugar until the mixture is smooth and glossy. Stir in the vanilla extract, cocoa powder, salt, red food coloring, and white vinegar. Add the eggs one at a time, whisking until fully incorporated. Gently fold in the flour using a spatula, mixing just until no dry streaks remain. Do not overmix. Pour the red velvet batter into the prepared pan and spread into an even layer.
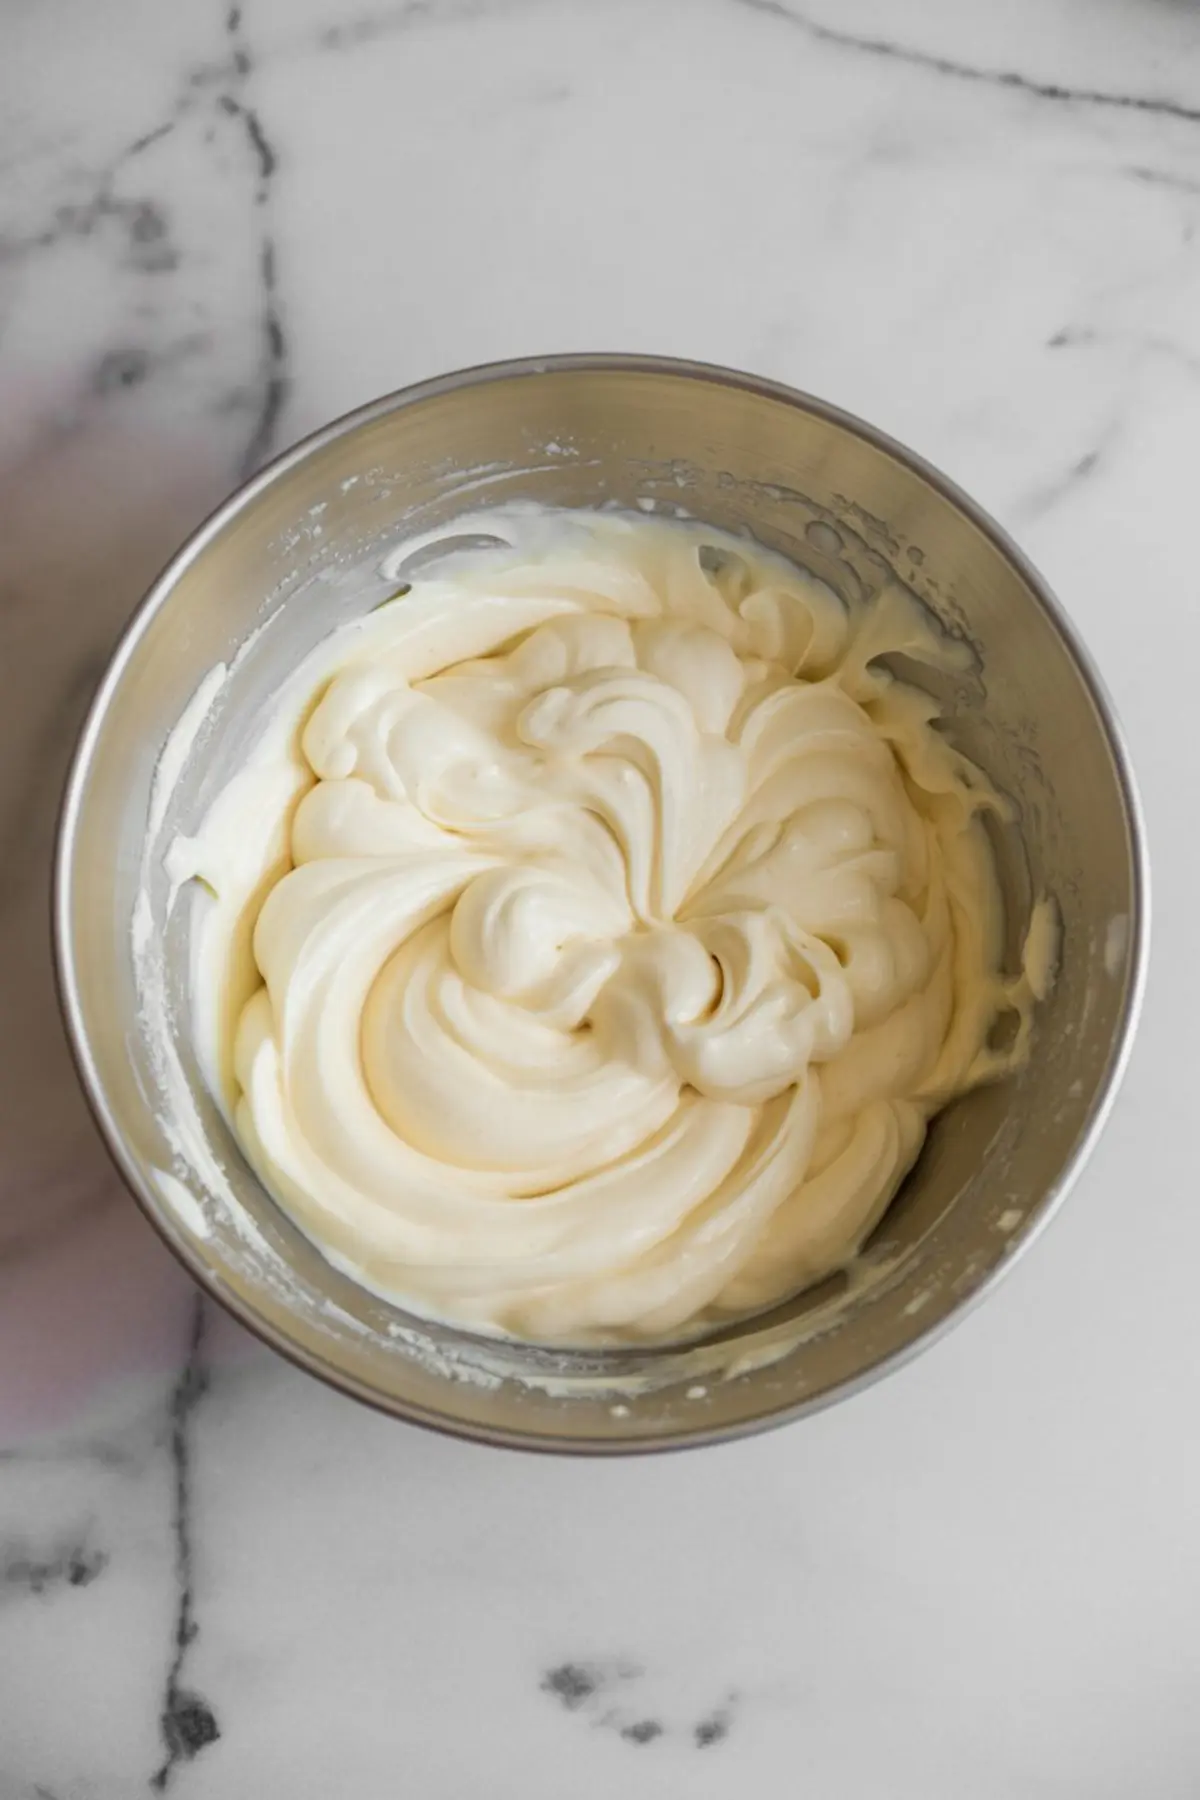
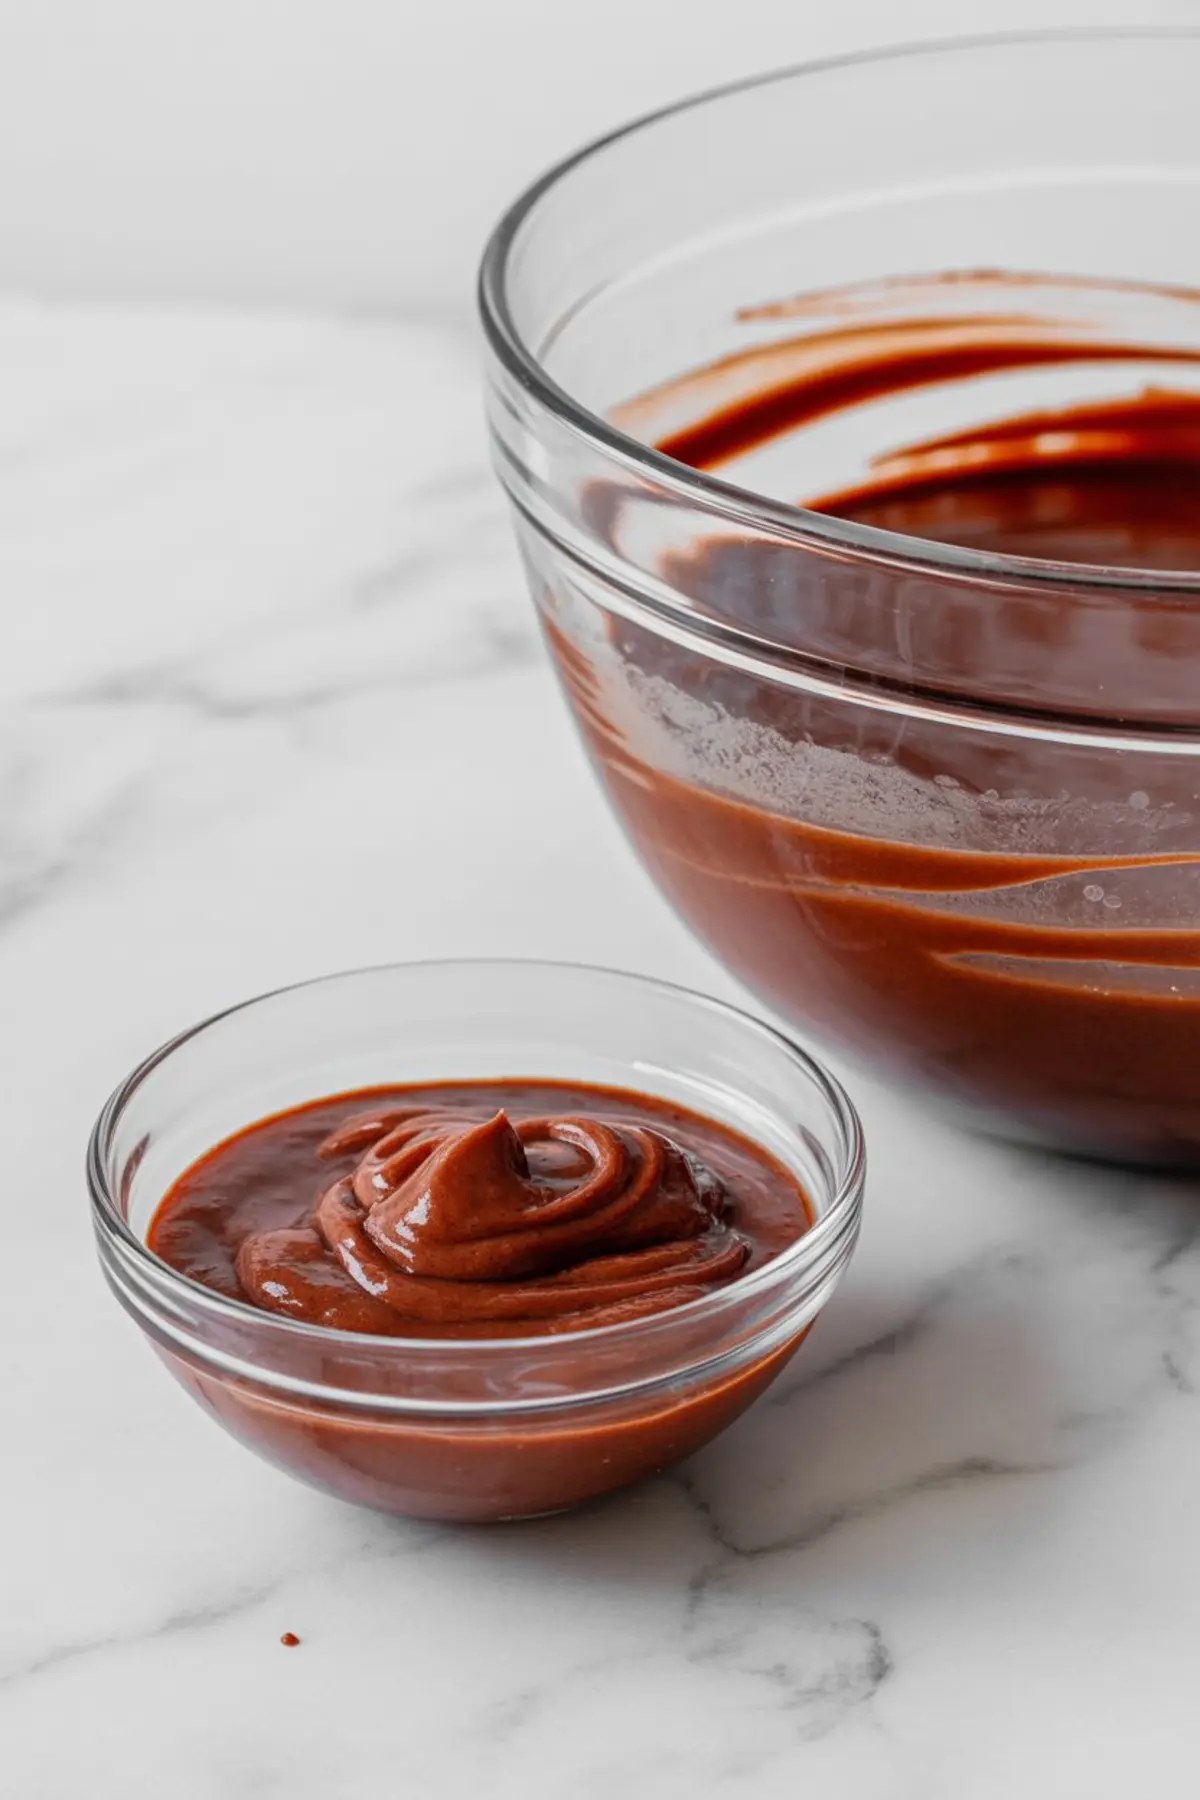
- MAKE THE THIN CHEESECAKE LAYER: In a separate bowl, beat the softened cream cheese with a hand mixer or stand mixer until completely smooth. Add the sugar, egg, and vanilla extract, then mix again until the mixture is fully combined and silky in texture.
- SPREAD THE CHEESECAKE LAYER: Pour the cheesecake mixture over the red velvet base. Use a small offset spatula or the back of a spoon to gently spread it into a very thin, even layer, covering the brownie batter completely from edge to edge. The cheesecake should form a smooth topping rather than a second thick layer.
- BAKE UNTIL SET: Place the pan in the preheated oven and bake for 28 to 32 minutes, or until the cheesecake layer is just set and the edges show a slight golden tint. Avoid overbaking to prevent drying out the cheesecake topping.
- COOL AND CHILL BEFORE SLICING: Allow the brownies to cool completely at room temperature in the pan. Transfer to the refrigerator and chill for at least 1 hour before lifting out and slicing. Use a clean, sharp knife for neat edges, wiping between cuts if needed.
Notes
Use full-fat cream cheese for best texture. Gel food coloring gives a more vivid red hue than liquid. Store brownies covered in the refrigerator for up to 5 days. For cleaner swirls, warm the reserved batter slightly before spooning on top.
Nutrition Information
Yield
16Serving Size
1Amount Per Serving Calories 137Total Fat 9gSaturated Fat 4gTrans Fat 0gUnsaturated Fat 4gCholesterol 56mgSodium 169mgCarbohydrates 9gFiber 0gSugar 2gProtein 6g