
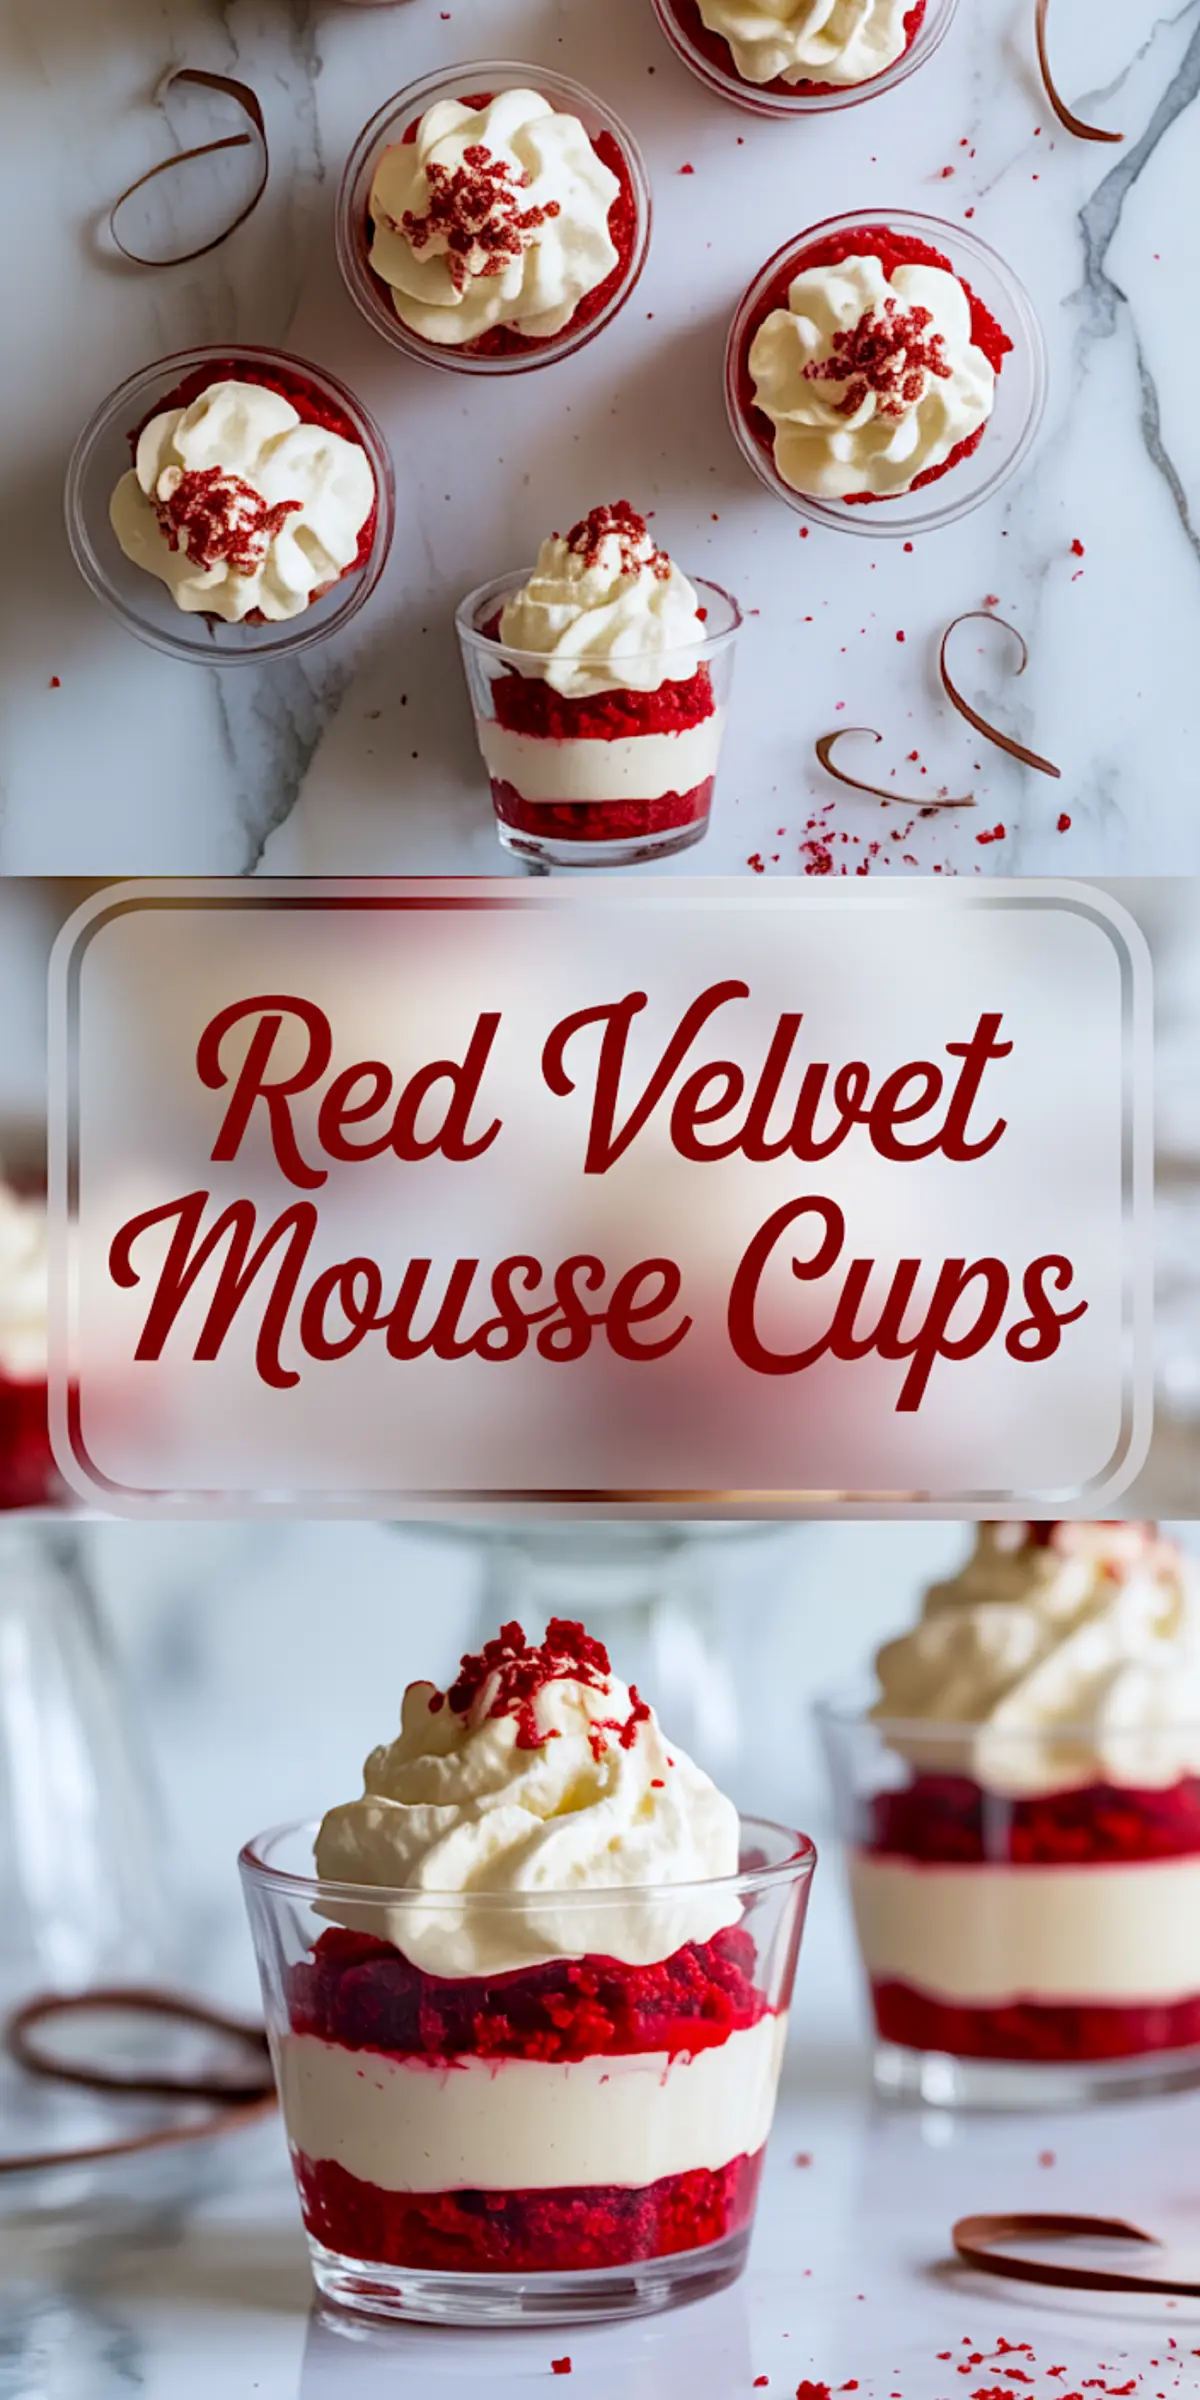
These Red Velvet Mousse Cups bring two textures into one spoonful. Crumbed red velvet cake and soft vanilla mousse meet in clear dessert glasses, making each layer visible and intentional. There’s nothing hidden here. No frosting piled high or sprinkles to distract. Just color, contrast, and clean flavor.
This recipe offers a smart way to use leftover cake or a boxed mix without feeling like you’ve cut corners. You still build it by hand. You still shape the outcome. You just save time for the things that matter—presentation, flavor, and serving ease. In return, you get a set of red velvet trifle cups that feel elegant, not forced. Individual desserts that feel thought-out, not overdone.
Following a special diet?
Every recipe on this site can be converted to gluten-free, vegan, dairy-free, keto, nut-free or egg-free with adjusted ratios so nothing falls flat.
Try the Recipe Converter →You’ll learn how to build structure into soft ingredients. You’ll learn how to balance red food coloring with flavor. And you’ll leave with a method that holds for parties, holidays, or quiet evenings. This dessert doesn’t try too hard. It doesn’t need to.
The Red Velvet Foundation Isn’t Just for Show
Red velvet cake asks for a few specific things. Cocoa, acidity, and the right kind of fat. In this recipe, oil replaces butter. That keeps the crumb soft even when chilled. The color comes from liquid red food coloring, which distributes evenly in a buttermilk-based batter.
A boxed mix will work if you’re pressed for time. I’ve used it myself for last-minute mousse cups. But when I do have a moment, I make the batter from scratch using the recipe card above. It takes less than an hour, and the crumb holds together better after crumbling. The color turns out deeper too. Not bright red. More like wine-soaked velvet.
A small amount of cocoa gives the base its edge. Without it, the cake leans too sweet and reads more like tinted sponge. The balance of buttermilk and vinegar lifts the flavor, and the texture benefits from a light hand, no overmixing.
Here’s a comparison worth noting. I’ve tested both oil-based and butter-based red velvet cakes for mousse cups. Butter gives better flavor when the cake is served warm. But once it’s chilled and layered with cream, oil holds moisture better. So for these red velvet dessert cups, oil wins. Texture stays clean and never turns dry.
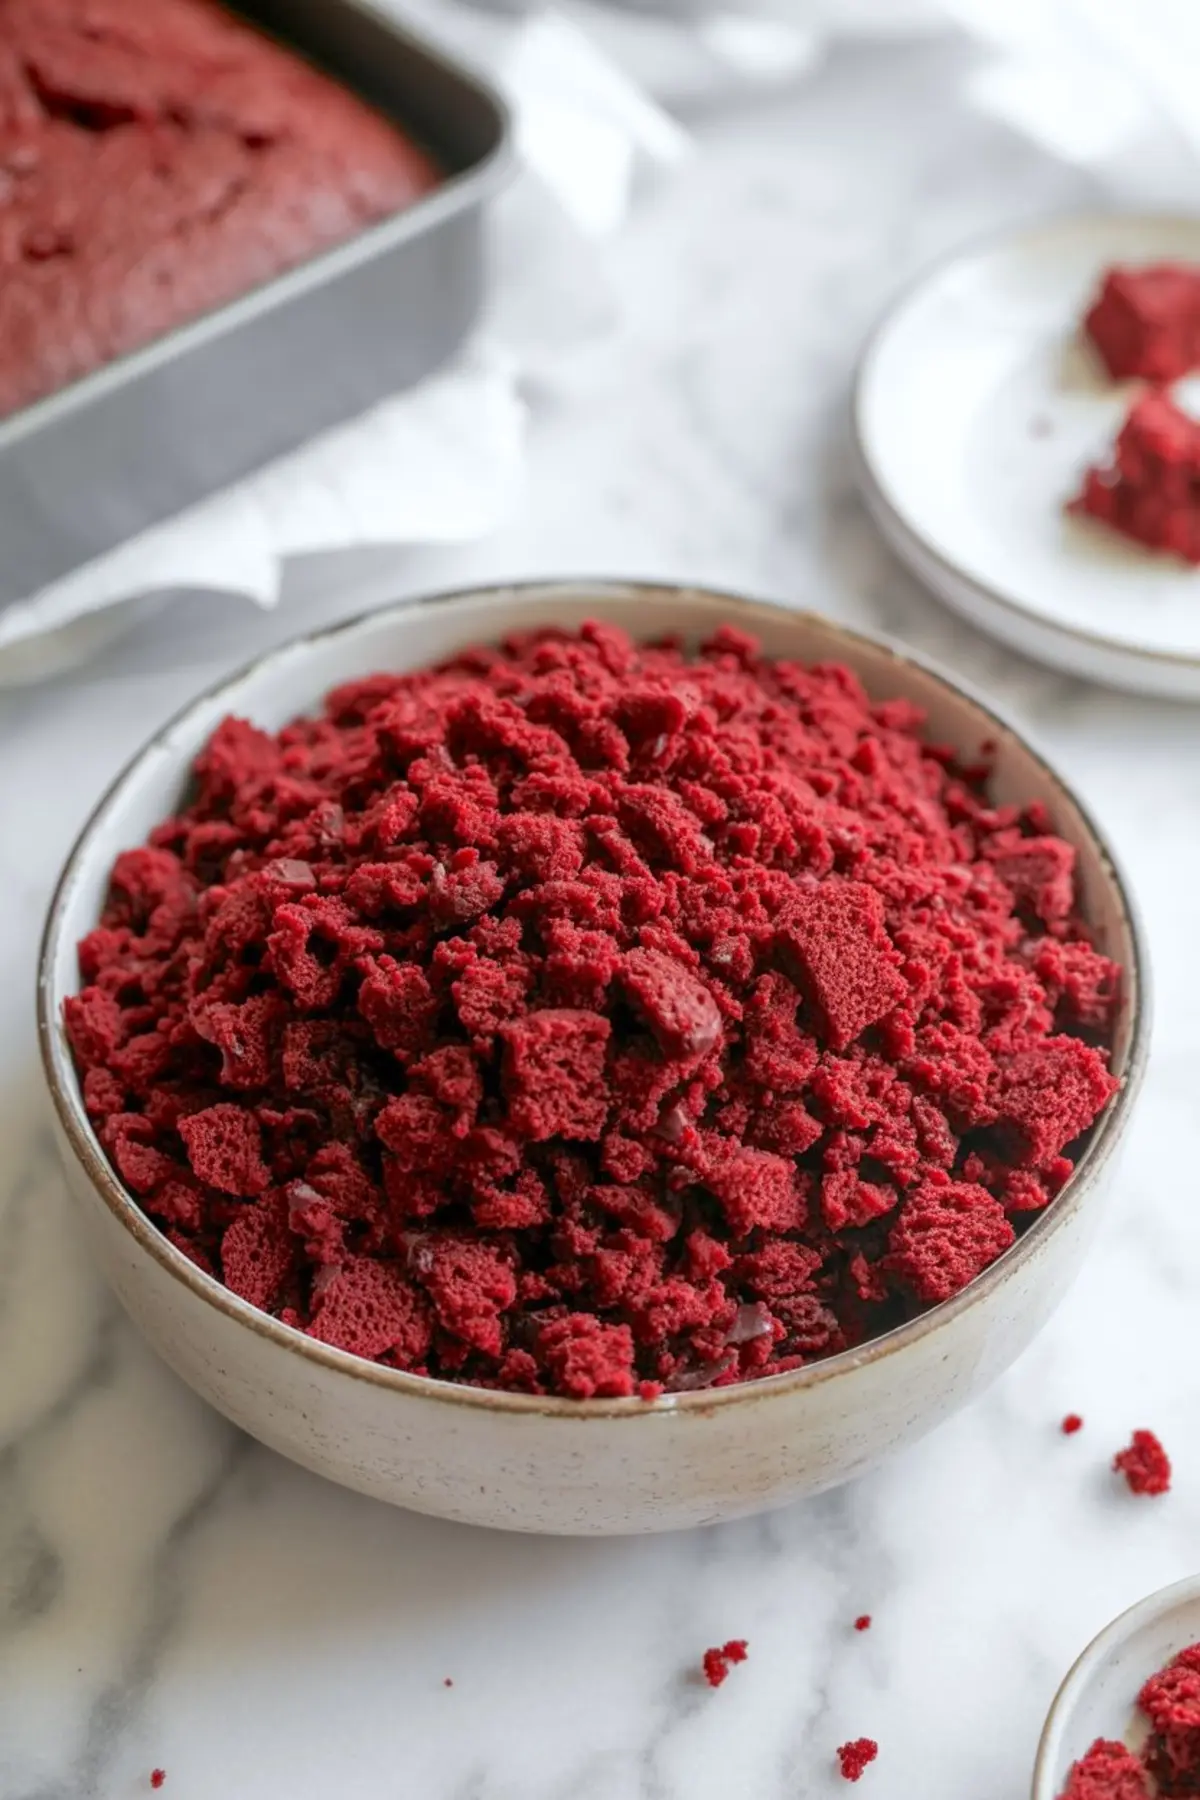
You don’t need large chunks. Just crumble it gently once cooled. Not too fine. You want the texture to hold against the mousse but not feel gritty. I press gently between my fingers until the pieces resemble soft pebbles rather than dust.
Vanilla Mousse That Holds Its Own
Mousse shouldn’t slump. It should spoon like silk and settle into the glass with quiet confidence. That’s why this version relies on mascarpone instead of whipped cream alone. Cream cheese works too, but mascarpone brings a clean, mild richness that doesn’t overpower the red velvet.
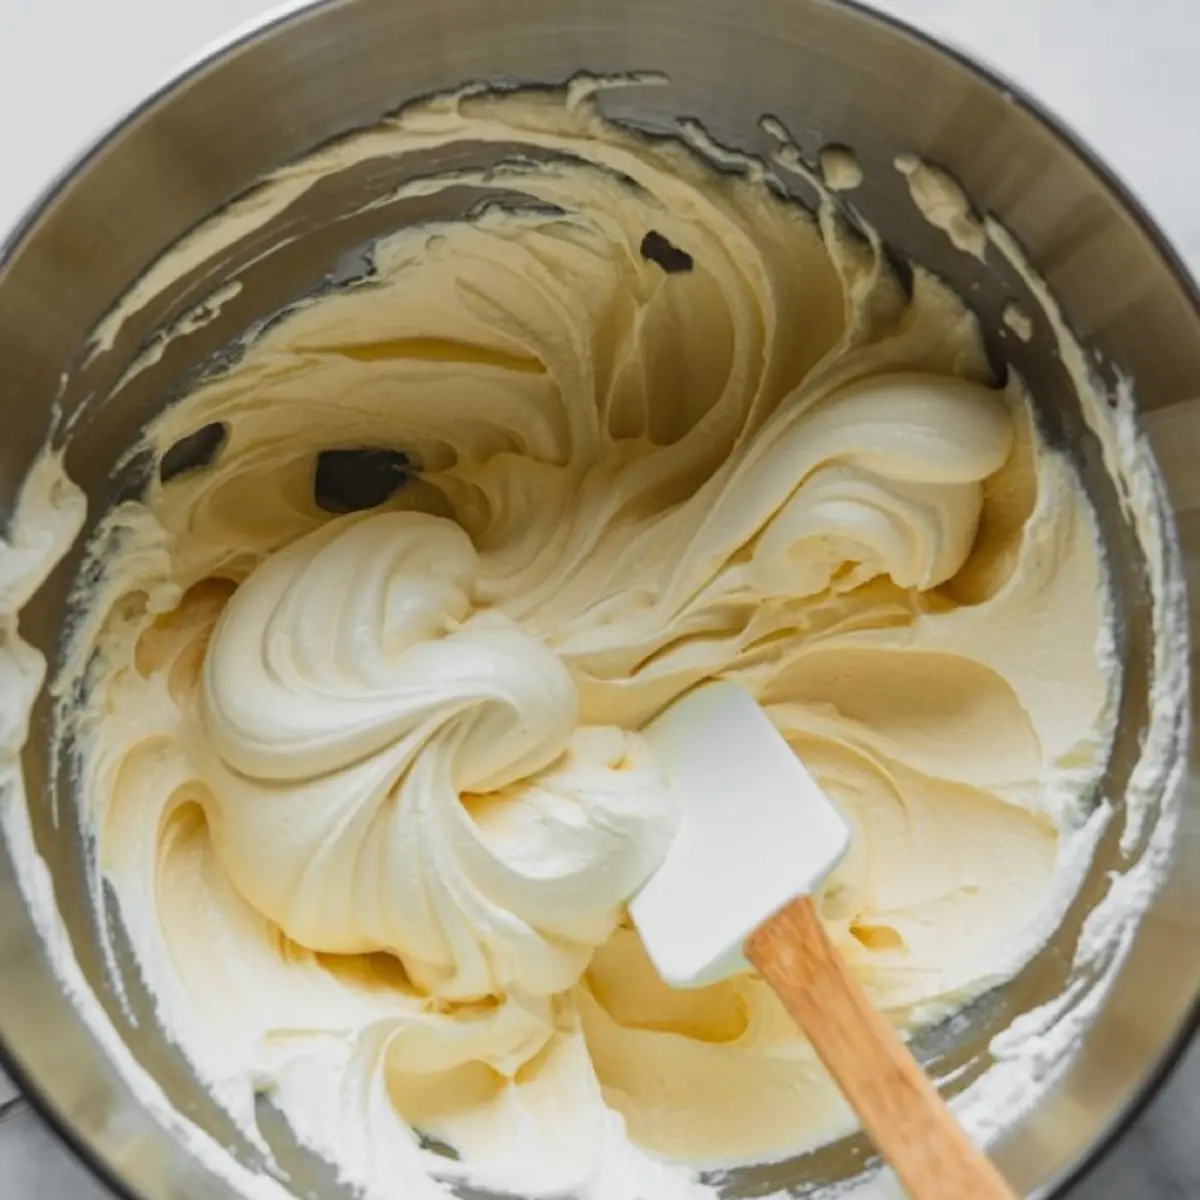
Powdered sugar blends in smoothly, and vanilla rounds out the flavor without competing. I whip the cream to soft peaks separately, then fold it into the mascarpone mixture by hand. It takes a few turns to come together. The goal is texture, not volume. You want body, not fluff.
The mousse sets quickly in the fridge. That helps during assembly, especially if you’re making several cups at once. I’ve used piping bags, but a spoon works just as well. It depends on the shape of your serving glasses. For wide jars, a spoon gives more control. For narrow parfait cups, piping keeps the layers clean.
If you’re in the mood for more ideas like this, try the Red Velvet Crinkle Cookie next. That one also balances color and softness in a unique way, and the texture plays well with hot drinks.
Assembling the Cups Without a Fuss
The layering order matters. Start with cake. Let it form the base so it can soak up a little moisture from the mousse. That prevents soggy bottoms and gives each bite a clean start. Add the mousse second. Press gently if you want flat layers, or let it fall naturally for a more rustic look.
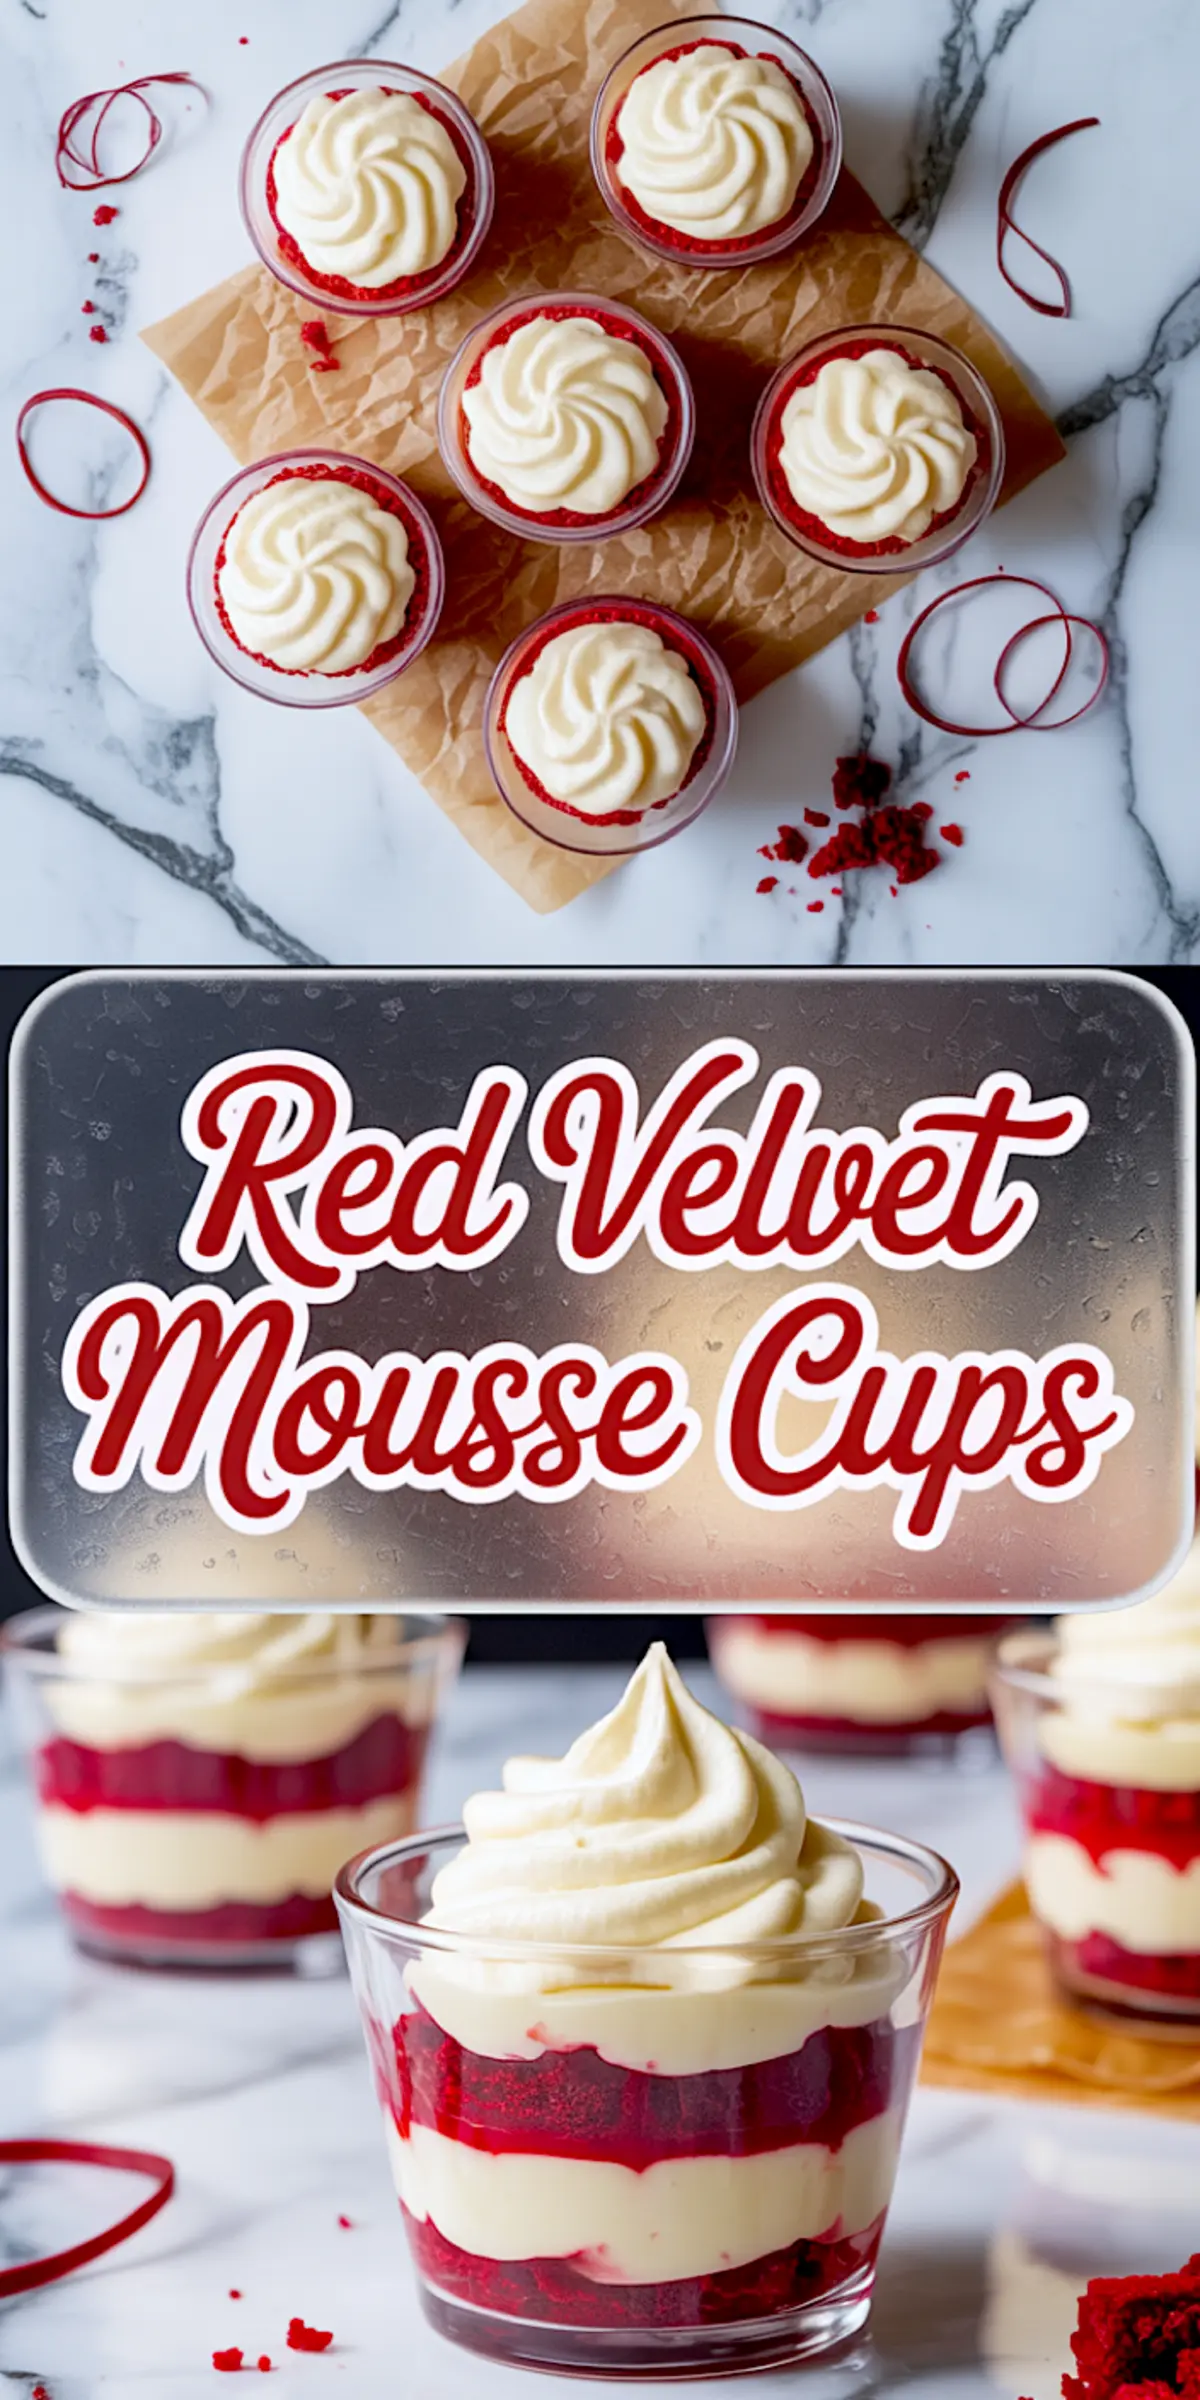
If your cups are deep, repeat the process. I usually stop at two layers to keep the proportions balanced. The final layer should be mousse, topped with whipped cream and a few cake crumbs. That crumb topping makes the color pop and gives the dessert a finished look without extra garnish.
The Red Velvet Cake Recipe includes helpful notes on crumb texture and baking time if you’re making the cake from scratch. I refer to it often, especially around Christmas when I need multiple red velvet bases for different desserts.
Serving and Storage, the Smart Way
These red velvet mousse cups do well chilled. I usually assemble them a few hours before serving and keep them in the fridge uncovered for a short time to set the mousse, then covered loosely with plastic wrap to keep them from drying out.
If you want to prep ahead, make the cake and mousse separately a day early. Assemble the day of serving. Add whipped cream just before presenting. It keeps the top clean and soft.
For gatherings, I prefer clear jars or small glasses. The layers speak for themselves. If you’re planning individual portions for a larger event, small plastic dessert cups work fine. Just keep the size consistent.
More layered inspiration? Try the Red Velvet Tiramisu Cups. They use the same color base but add coffee-soaked texture for a completely different experience.
Why This Dessert Earns Its Place at the Table
This isn’t a red velvet pudding in disguise. It isn’t a mousse with cake on the side. It’s both, in conversation. The texture contrast is real. The visuals are clean. And the ingredients hold their shape and flavor without trying to compete.
There’s no frosting in this recipe. That’s intentional. It lets the mousse stand as the creamy element, and it frees the red velvet to play a structural role. The whipped cream on top finishes the look without weighing it down.
If you want something festive, try the Festive Red Velvet Snowball Cake. It takes the same base flavor but dresses it in a way that suits centerpieces. These mousse cups, though, suit close friends and quiet gatherings. They don’t take over the table. They invite you in.
Save It. Share It. Try It Again with Your Own Twist.
If this recipe made sense to you, pin it now so you can come back to it later. Red velvet desserts hold strong on holiday boards, especially when they’re clean, simple, and clearly layered.
I’d love to hear how yours turned out. Did you use boxed mix or scratch-made cake? Did you pipe the mousse or go freehand? Share in the comments. Let’s keep the conversation going.
Red Velvet Mousse Cups Recipe
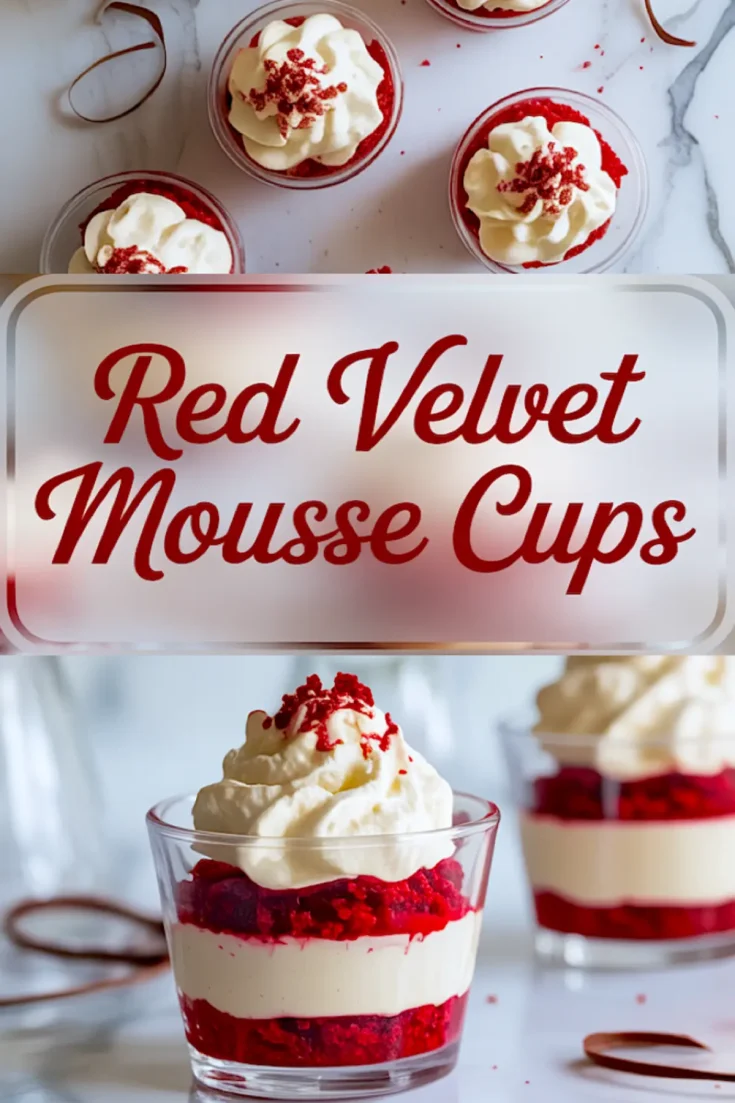
These festive Red Velvet Dessert Cups feature soft red velvet cake pieces layered with creamy vanilla mousse for an easy, elegant twist on a holiday parfait. Served in clear glasses or jars, they offer the perfect individual serving size for entertaining. Whether you’re prepping for a party or looking for last-minute red velvet desserts, these red velvet trifle cups deliver both visual wow and rich flavor. No baking from scratch needed—use leftover cake or boxed mix for a quick shortcut. Ideal for holiday spreads, Christmas dinners, or romantic desserts, this recipe checks all the boxes for beautiful red velvet cups, layered parfait desserts, or creamy red velvet pudding alternatives.
Ingredients
- FOR THE RED VELVET CAKE
- 1 ¼ cups all-purpose flour
- 1 cup granulated sugar
- 1 tbsp unsweetened cocoa powder
- ½ tsp baking soda
- ½ tsp salt
- 1 large egg
- ½ cup vegetable oil
- ½ cup buttermilk
- 1 tsp vanilla extract
- 1 tsp white vinegar
- 1 tbsp red food coloring
- FOR THE VANILLA MOUSSE
- 1 cup cold heavy whipping cream
- ½ cup mascarpone cheese (or cream cheese)
- ⅓ cup powdered sugar
- 1 tsp vanilla extract
- FOR THE WHIPPED CREAM TOPPING
- ½ cup heavy whipping cream
- 2 tbsp powdered sugar
- Red velvet cake crumbs (for garnish)
Instructions
- PREPARE THE CAKE BATTER: Preheat the oven to 350°F (175°C) and grease and line an 8x8-inch square pan. In a large bowl, sift together flour, granulated sugar, cocoa powder, baking soda, and salt. In a separate bowl, whisk the egg, vegetable oil, buttermilk, vanilla extract, white vinegar, and red food coloring until fully combined. Pour the wet ingredients into the dry ingredients and mix until just combined without overmixing.
- BAKE THE CAKE: Pour the batter into the prepared pan and bake for 22–25 minutes, or until a toothpick inserted in the center comes out clean. Allow the cake to cool completely in the pan. Once cooled, crumble the cake into small pieces using your fingers or a fork and set aside.
- MAKE THE VANILLA MOUSSE: In a medium bowl, beat the mascarpone cheese until smooth. Add the powdered sugar and vanilla extract, and mix until well combined. In a separate bowl, whip the heavy cream to soft peaks using a hand mixer or stand mixer. Gently fold the whipped cream into the mascarpone mixture using a spatula until the mousse is smooth and fluffy. Refrigerate until ready to use.
- PREPARE THE WHIPPED CREAM TOPPING: In a clean mixing bowl, whip the heavy cream and powdered sugar together until soft peaks form. Keep refrigerated until assembling.
- ASSEMBLE THE MOUSSE CUPS: In small dessert glasses or jars, layer red velvet cake crumbs on the bottom. Add a layer of vanilla mousse using a spoon or piping bag. Repeat with another layer of cake crumbs and mousse if the cups are deep enough. Top each cup with a dollop of whipped cream and a sprinkle of red velvet cake crumbs for garnish.
Notes
You can substitute boxed red velvet cake mix if preferred—bake according to package instructions, then crumble once cooled. Mousse cups can be made a few hours ahead and stored chilled. For best texture, assemble the whipped cream topping shortly before serving.