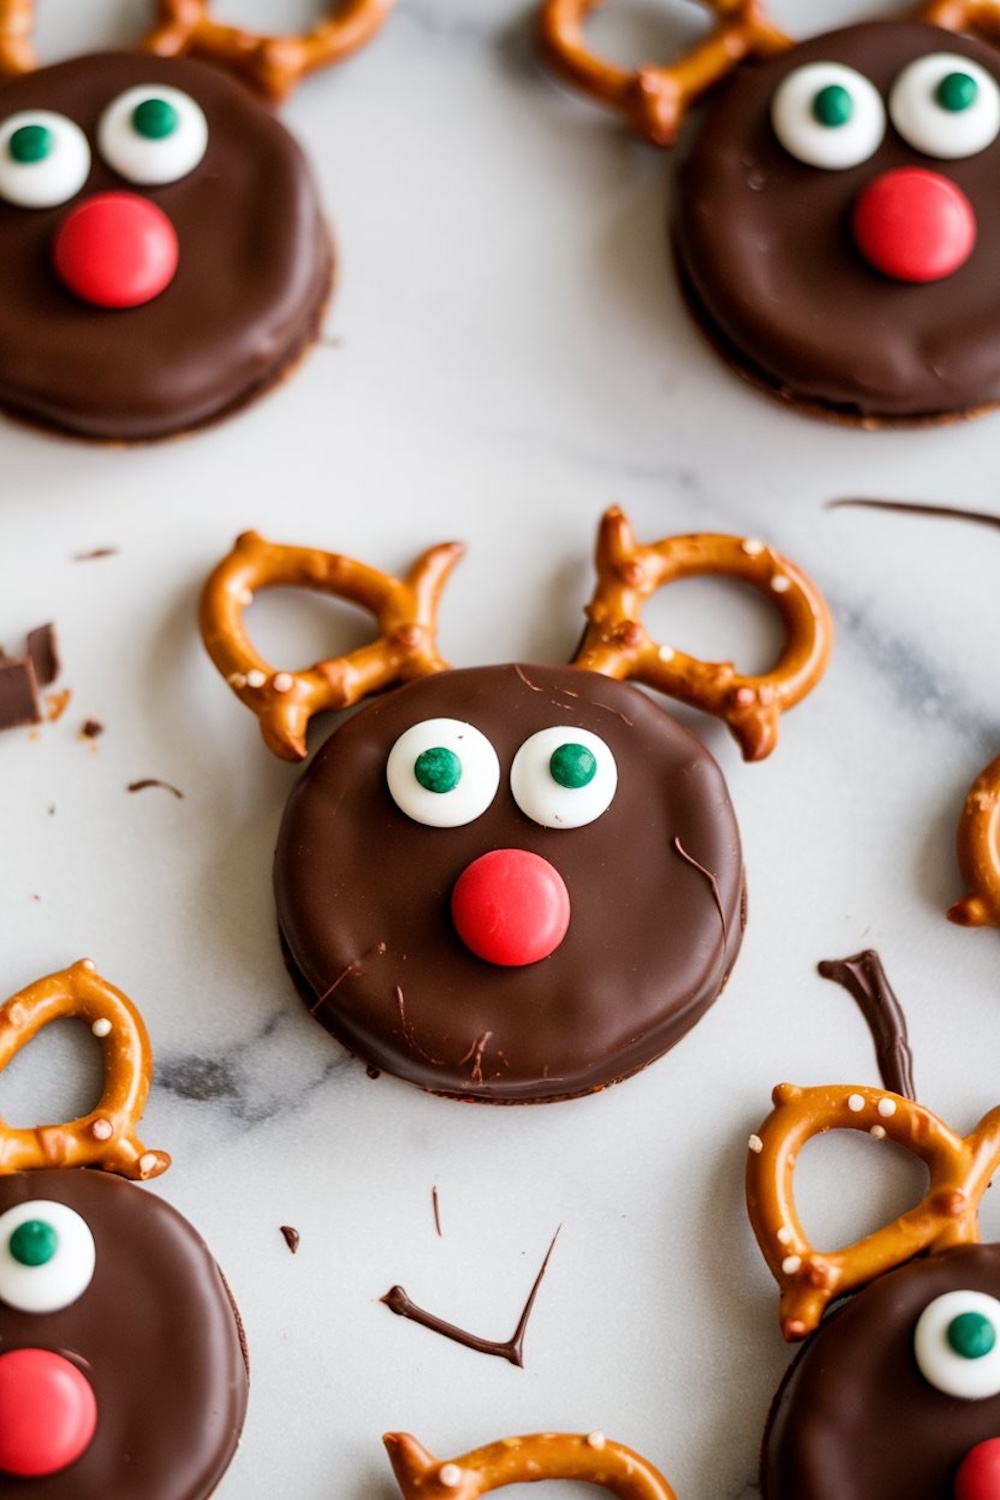
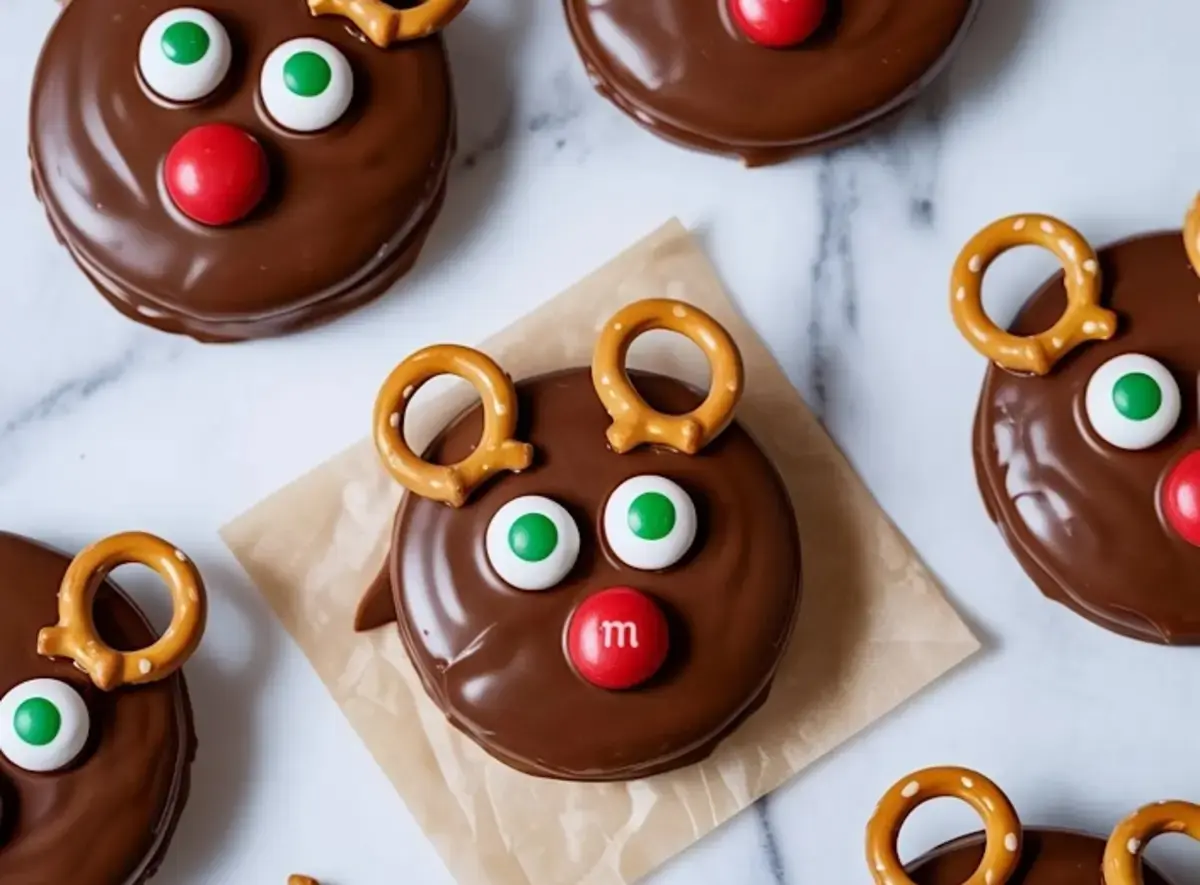
This Christmas cookie recipe turns plain sandwich cookies into shiny, chocolate-coated reindeer faces with candy eyes, mini pretzel antlers, and that bright red Rudolph nose.
You won’t need an oven or a stand mixer. You’ll just need a bowl of melted chocolate, a parchment-lined tray, and a little decorating rhythm. If you’ve searched for no bake Christmas cookies, cute holiday cookies, or edible Christmas crafts, this method fits the moment.
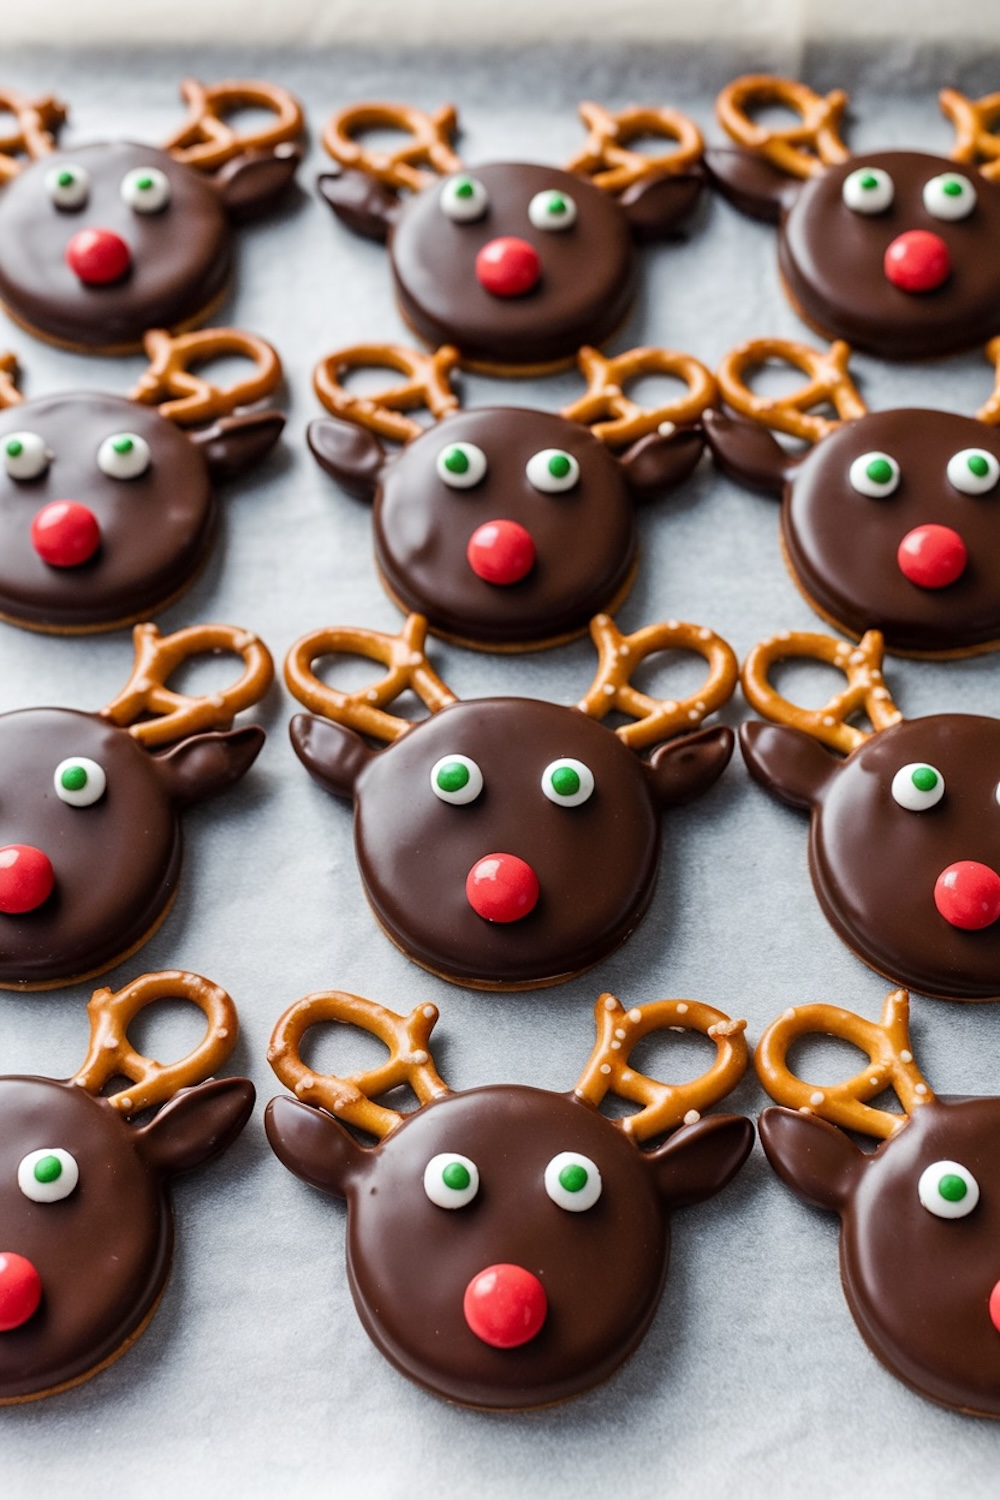
I return to these Reindeer Cookies every December when my hands are full, but my trays still need something festive. These cookies set without baking, travel well, and always bring smiles. Even a beginner can make them look polished. That’s the real trick here—easy, store-bought ingredients dressed up with care.
Let’s take a closer look at how this works.
Following a special diet?
Every recipe on this site can be converted to gluten-free, vegan, dairy-free, keto, nut-free or egg-free with adjusted ratios so nothing falls flat.
Try the Recipe Converter →The Cookie Base Makes the Whole Structure Work
I use plain, double-stuffed sandwich cookies, not coated. That extra filling helps them hold their shape when dipped in warm chocolate. I’ve tested with single-stuffed and they tend to break under the pretzels or when dipped.
The neutral outer shell takes on the chocolate coating smoothly. If you’ve ever made Stained Glass Cookies, this recipe follows a similar idea. We start simple, then build something charming.
Cookies with flavoring, like mint or peanut butter, add a twist, but for a classic Rudolph look and taste, plain chocolate or vanilla works best.
Why the Chocolate Coating Matters
The milk chocolate coating gives structure, shine, and flavor. It holds the decorations in place and firms up just enough to protect the cookie underneath.
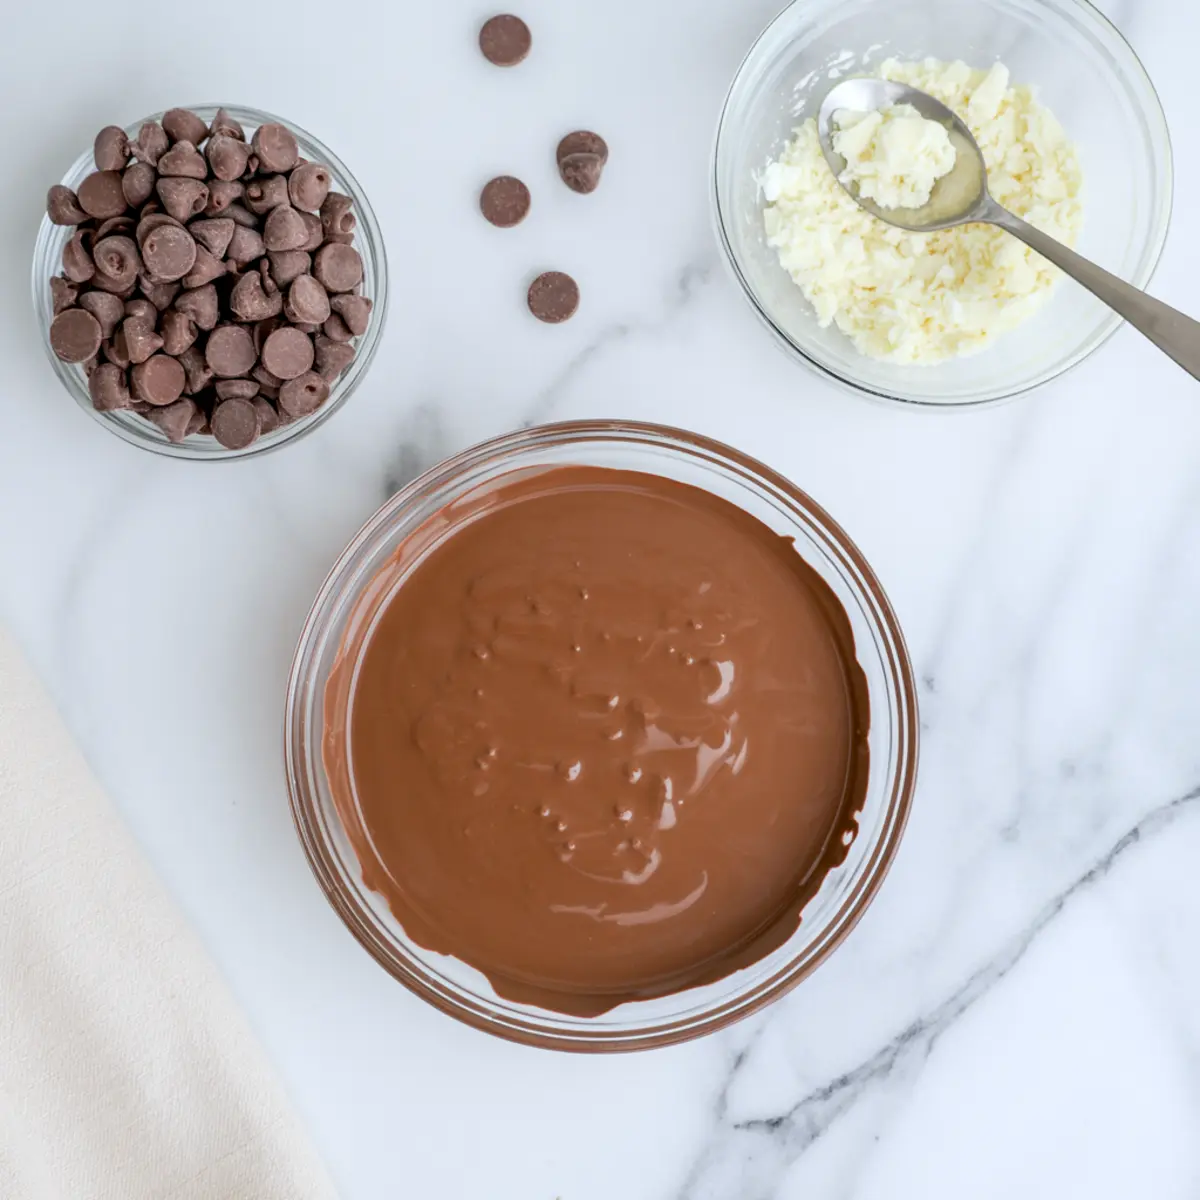
I melt 1½ cups of chocolate chips with a spoonful of coconut oil. That oil helps the chocolate melt more evenly and gives the dipped cookie a smoother finish. You can skip it, but the results are less glossy.
If you’re comparing coating methods, here’s what I’ve found:
I’ve tested dipping with both melting wafers and real chocolate chips. The wafers are easier and more consistent. Chips taste richer but may seize up faster without the oil. If kids are helping, use wafers. If you want a richer bite, go with chips and keep a close eye on temperature.
This step reminds me of making Holiday Pinwheel Cookies. Precision in the middle makes the end product look polished.
Decorate While the Chocolate Is Wet No Waiting

Timing matters here. Dip, then decorate quickly while the chocolate is still soft.
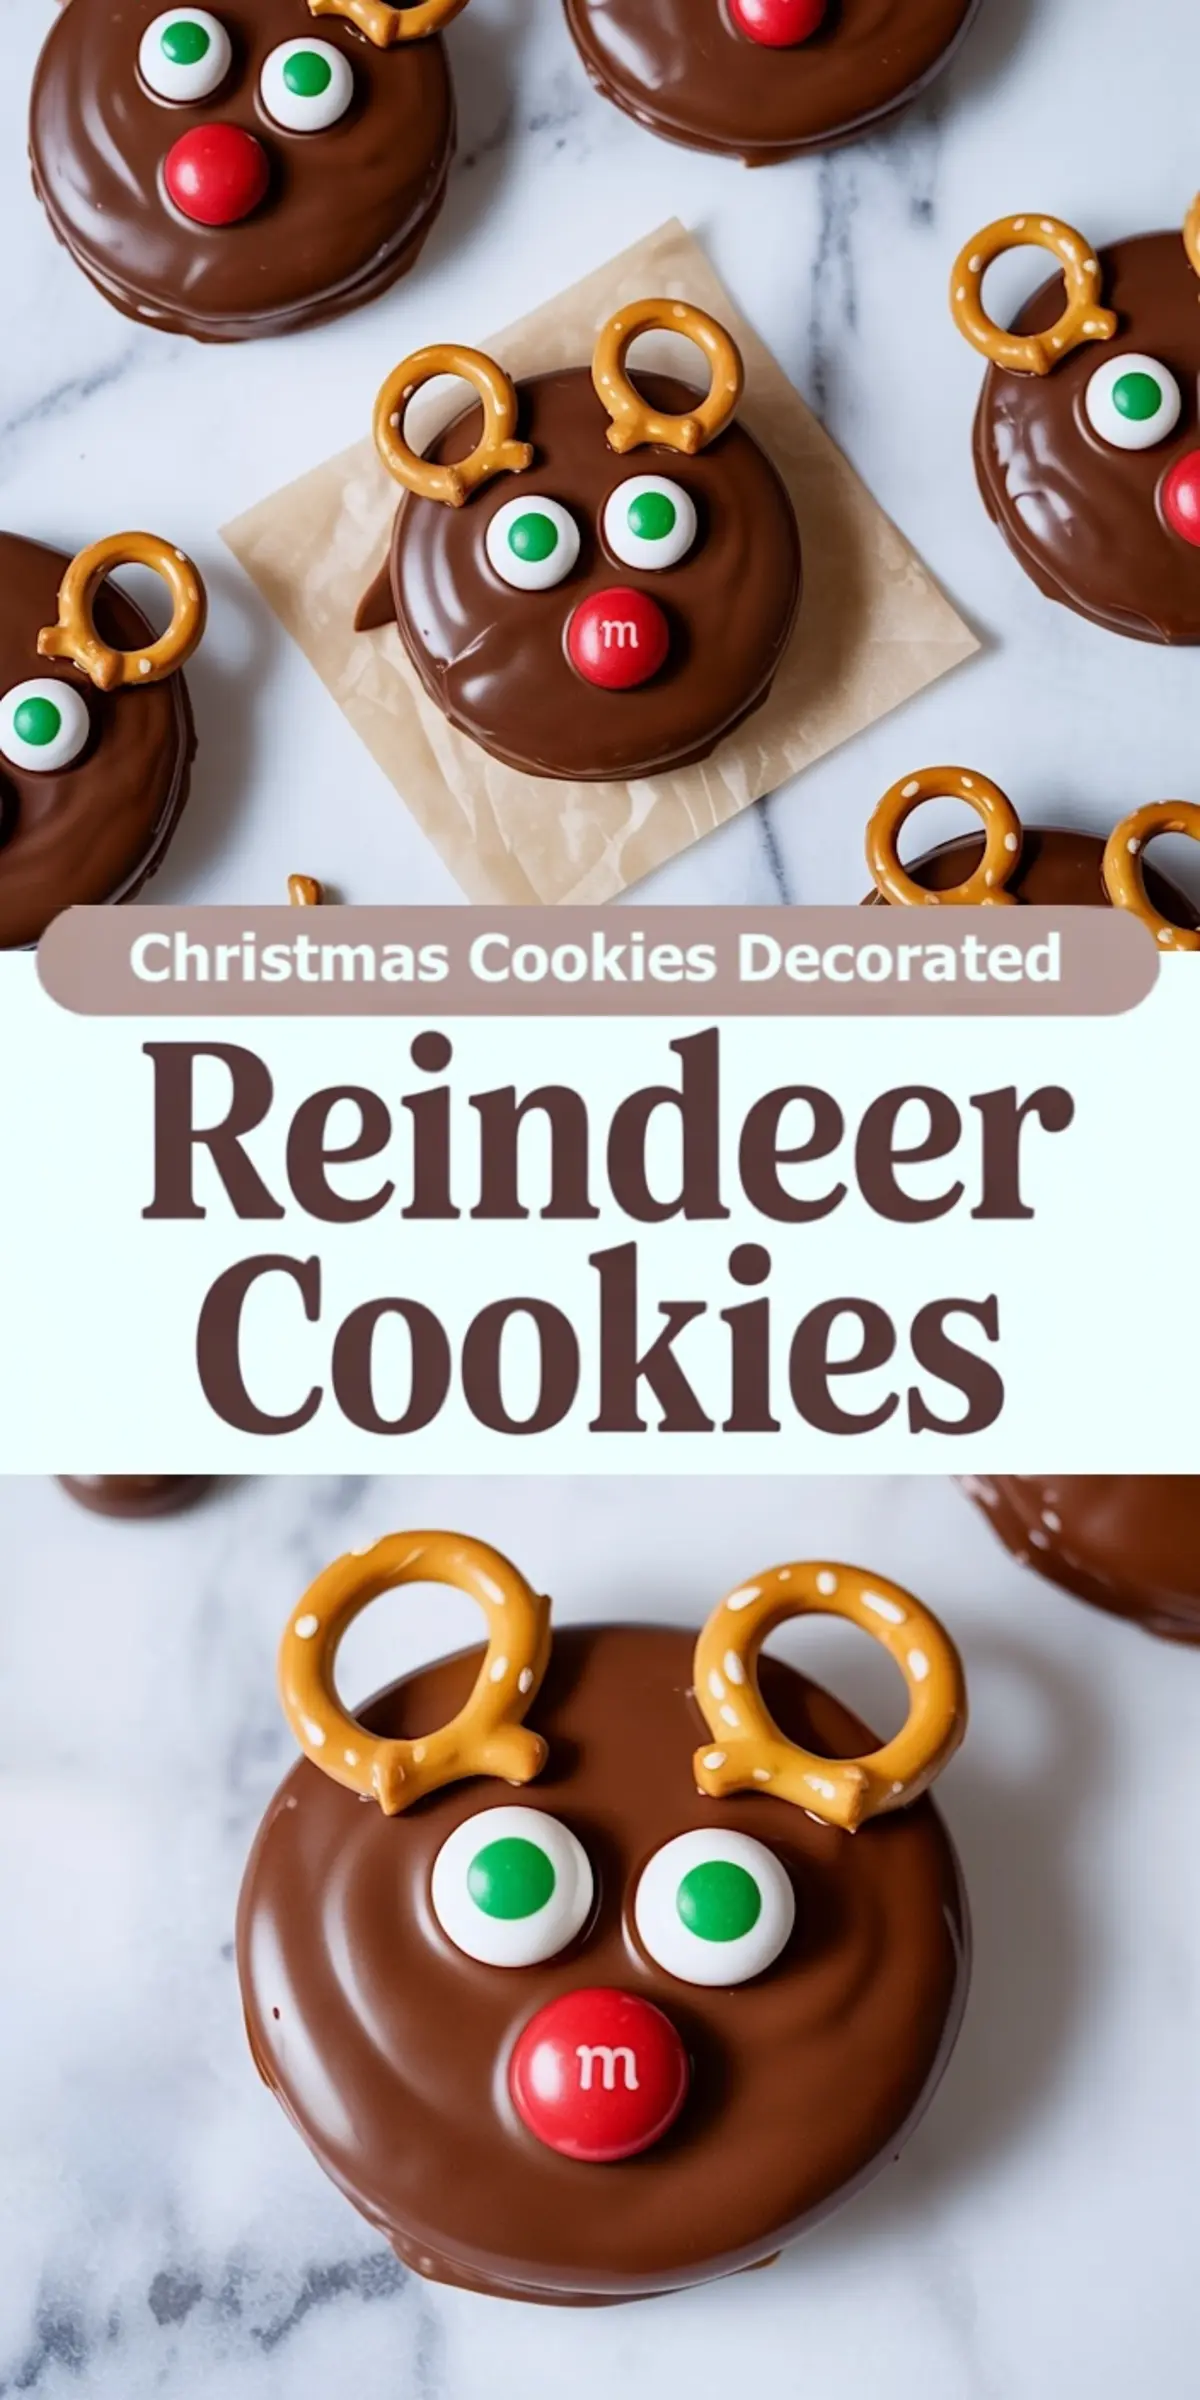
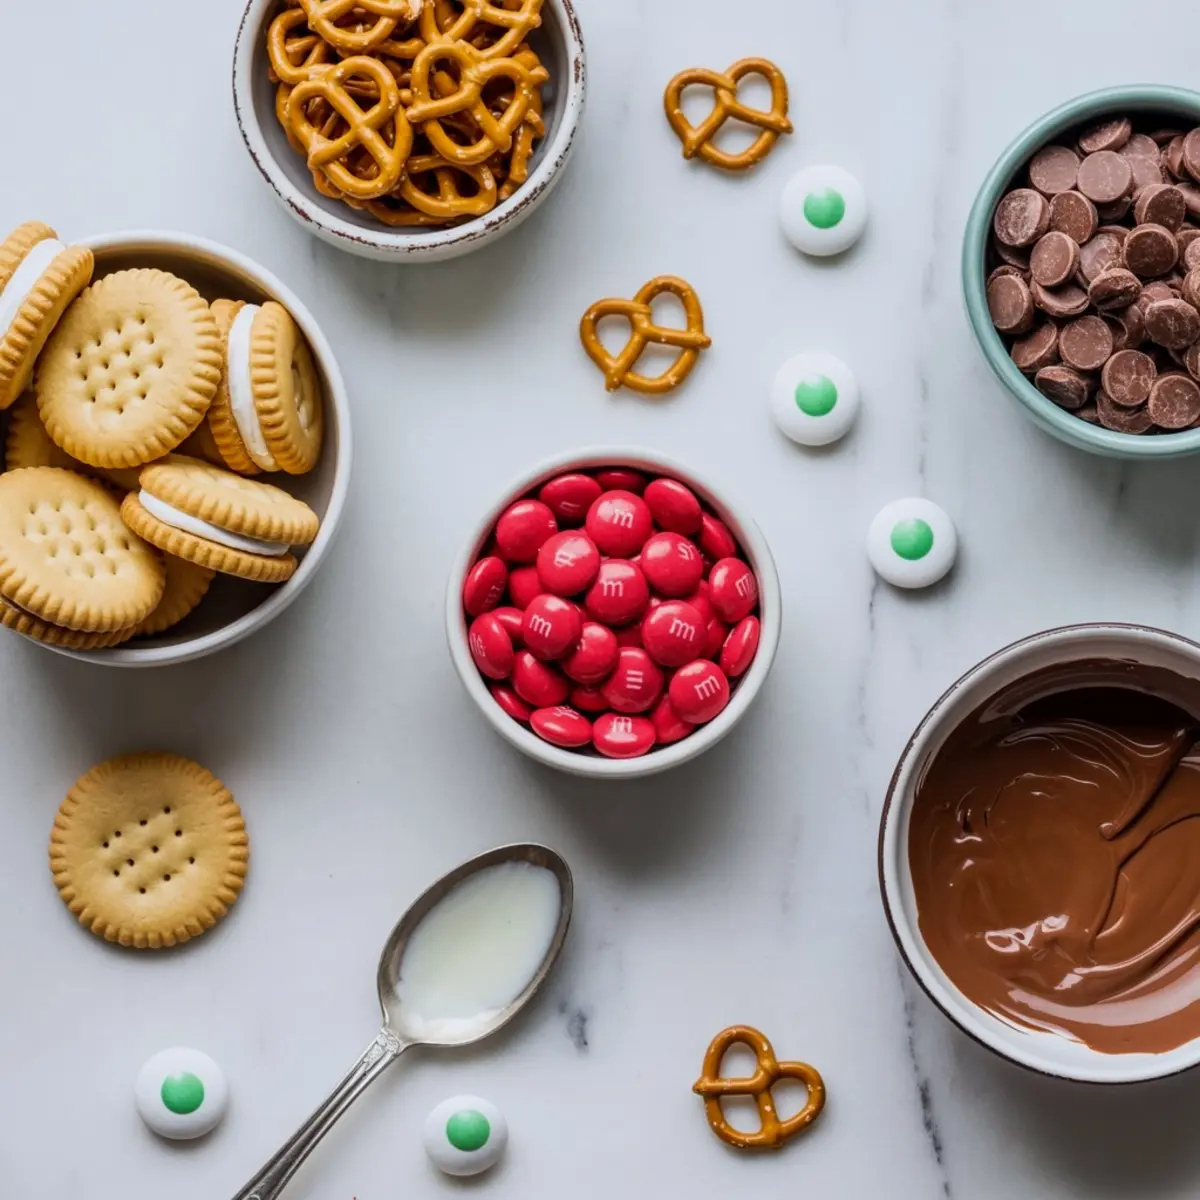
Set out your decorations ahead of time. Use two mini pretzels for antlers, two candy eyes below that, and one red M&M centered near the bottom. These go fast once you find your rhythm.
Broken pretzels often make better antlers than whole ones. They look more natural and playful. I usually sort the bag first and pick out the best ones, then let the rest go into holiday snack mix.
You’ll find a similar playful precision in my Snowflake Cookies. Both recipes start with a basic shape and build character through simple details.
Setting Time Makes or Breaks the Finish
Once decorated, the cookies need to set. If you rush this part, the chocolate may smear or smudge.
Leave them out at room temperature for about 30 minutes. Or place the tray in the fridge for 15 minutes if you’re short on time. I’ve done both. For parties, I use the fridge to move fast. For gifting, I let them set slowly for a smoother finish.
Don’t stack them directly. Layer them with parchment if you need to pack them in tins. That way, the antlers and eyes stay in place.
If you’ve made Snowman Cupcakes, you’ll know how decorations can shift if not handled gently. These cookies behave the same way once coated.
Storing and Serving Reindeer Cookies the Right Way
These cookies hold best at cool room temperature for 2 to 3 days. If your kitchen runs warm, store them in the fridge, but let them come to room temp before serving.
Avoid stacking unless you use parchment between layers. The pretzels are fragile and shift under pressure.
For trays or holiday cookie boxes, I recommend placing each cookie in a small paper cupcake liner. It cushions the base and adds polish.
They go well with other decorative cookies like Stained Glass Cookies or Snowflake Cookies. If you’re building a mixed tray, alternate these with plain cookies to make them pop visually.
What to Expect From Each Bite
You’ll get a soft crunch from the pretzel. A creamy bite from the sandwich cookie. A smooth coat of chocolate and a tiny snap from the red candy nose.
That combination of texture and color makes these stand out on any table. Even after a dozen other cookies, this one pulls focus. It looks cheerful, but it’s not just for show. Every piece contributes to the experience.
I’ve served these at classroom parties, winter bake sales, and family cookie exchanges. They hold up in transport, spark conversation, and bring a nostalgic charm. Especially for those who remember crafting as kids with marshmallows and candy canes.
Save and Share Your Reindeer Cookie Creations
If you make these Reindeer Cookies, save this post to your Christmas Cookies or Holiday Baking Pinterest board.
These treats come together quickly, but leave a lasting impression.
Let me know in the comments how they turned out or if you added your own twist. I’d love to hear what your kids, friends, or guests thought of them.
These little reindeer never last long on my holiday trays—and I don’t expect them to last on yours either.
These cookies are part of the delights you’ll find in my ‘24 Days of Christmas Desserts‘ selection or recipes.
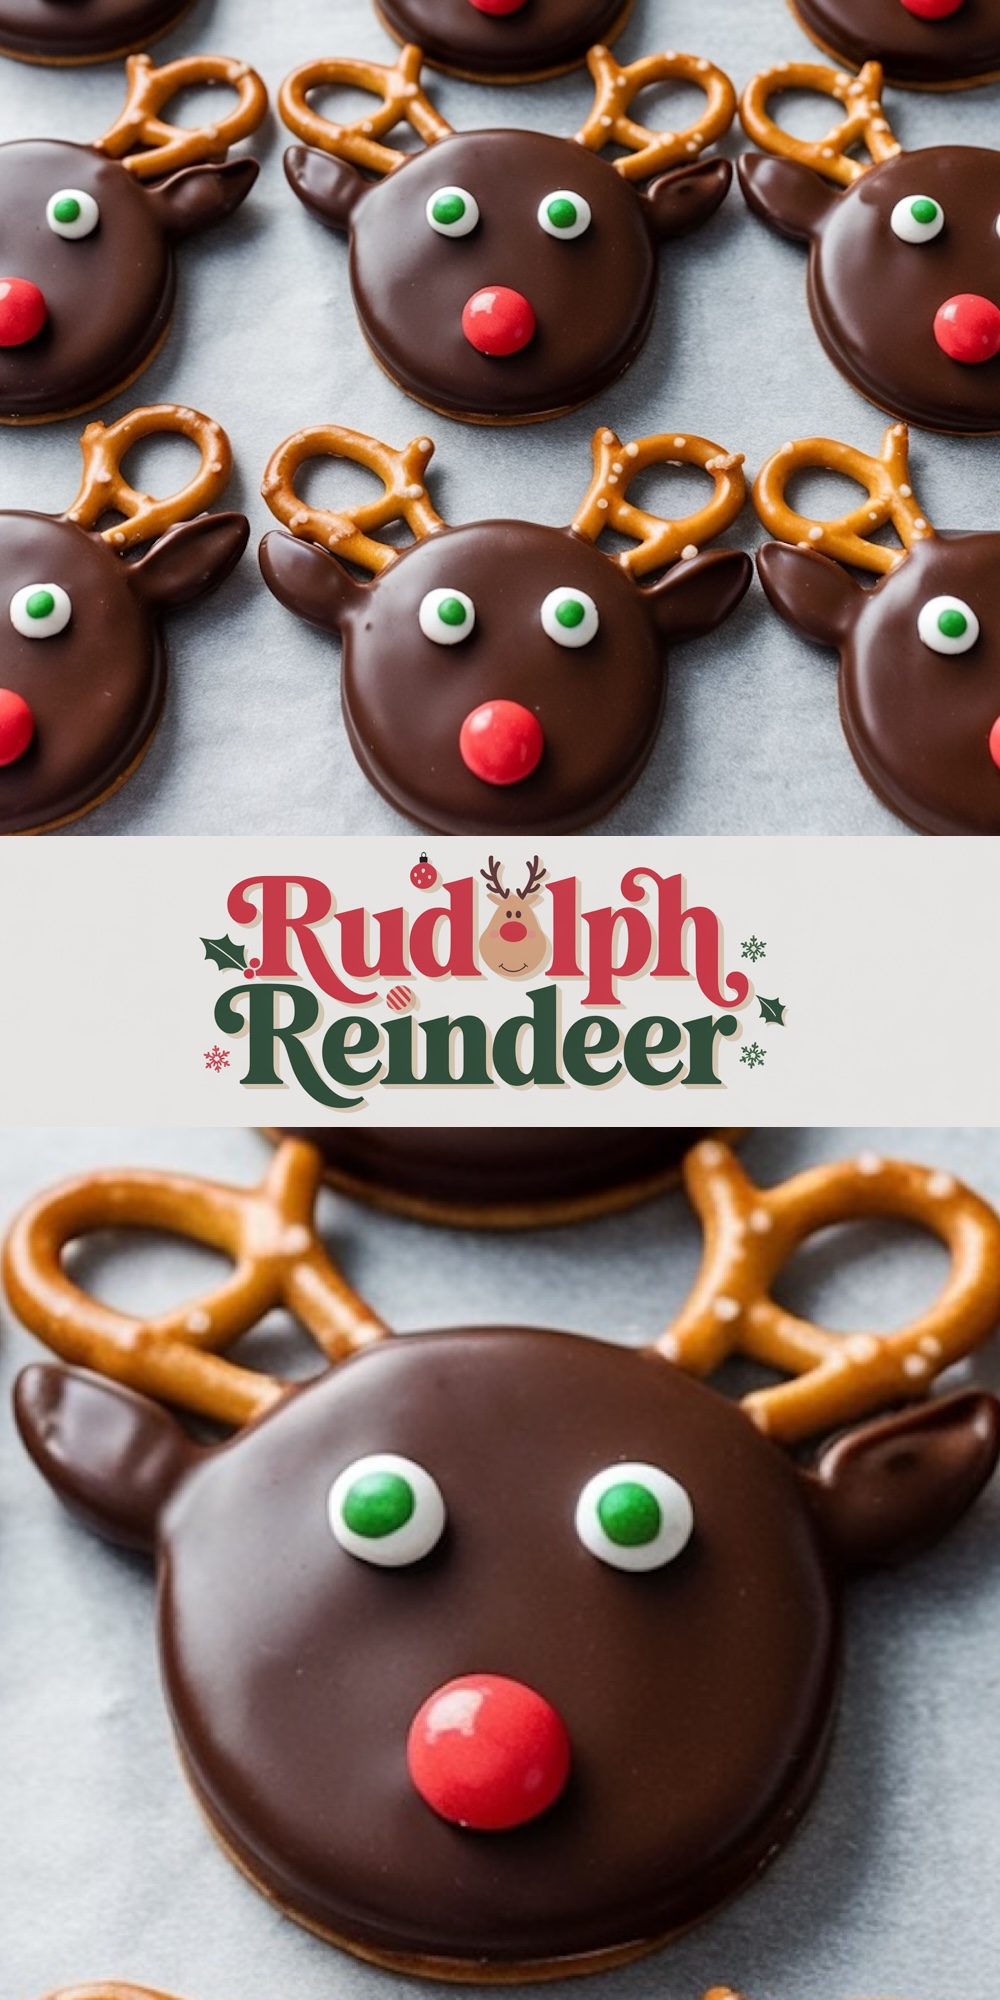
Reindeer Cookies Recipe

Reindeer cookies come together fast with ready-made sandwich cookies, mini pretzels for antlers, candy eyes, and a red M&M nose for that classic Rudolph look. I use this reindeer cookies recipe when I want a cute Christmas cookie that needs zero baking. You just melt a little chocolate to hold the pieces together and let them set. These Christmas reindeer cookies are fun to make in batches and easy to pack for trays, swaps, or holiday parties. If you’re looking for Christmas cookies recipes that double as holiday crafts, these cute Christmas cookies check every box. It’s my go-to when I want a treat that looks festive without turning on the oven.
Ingredients
- FOR THE COOKIE BASE
- 15 plain sandwich cookies (any brand; double-stuffed works best for sturdiness)
- FOR COATING
- 1½ cups milk chocolate chips or chocolate melting wafers
- 1 tablespoon coconut oil (optional, for smoother melting)
- FOR DECORATING
- 30 mini pretzels (for antlers)
- 30 candy eyes
- 15 red M&Ms (for noses)
Instructions
- PREP YOUR SETUP: Line a baking sheet with parchment or wax paper. Arrange the mini pretzels, candy eyes, and red M&Ms in small bowls so they’re easy to access during decorating.
- MELT THE CHOCOLATE: In a microwave-safe bowl, combine the chocolate chips and coconut oil (if using). Microwave in 30-second intervals, stirring well after each, until the chocolate is fully melted and smooth. Do not overheat, as chocolate can scorch quickly.
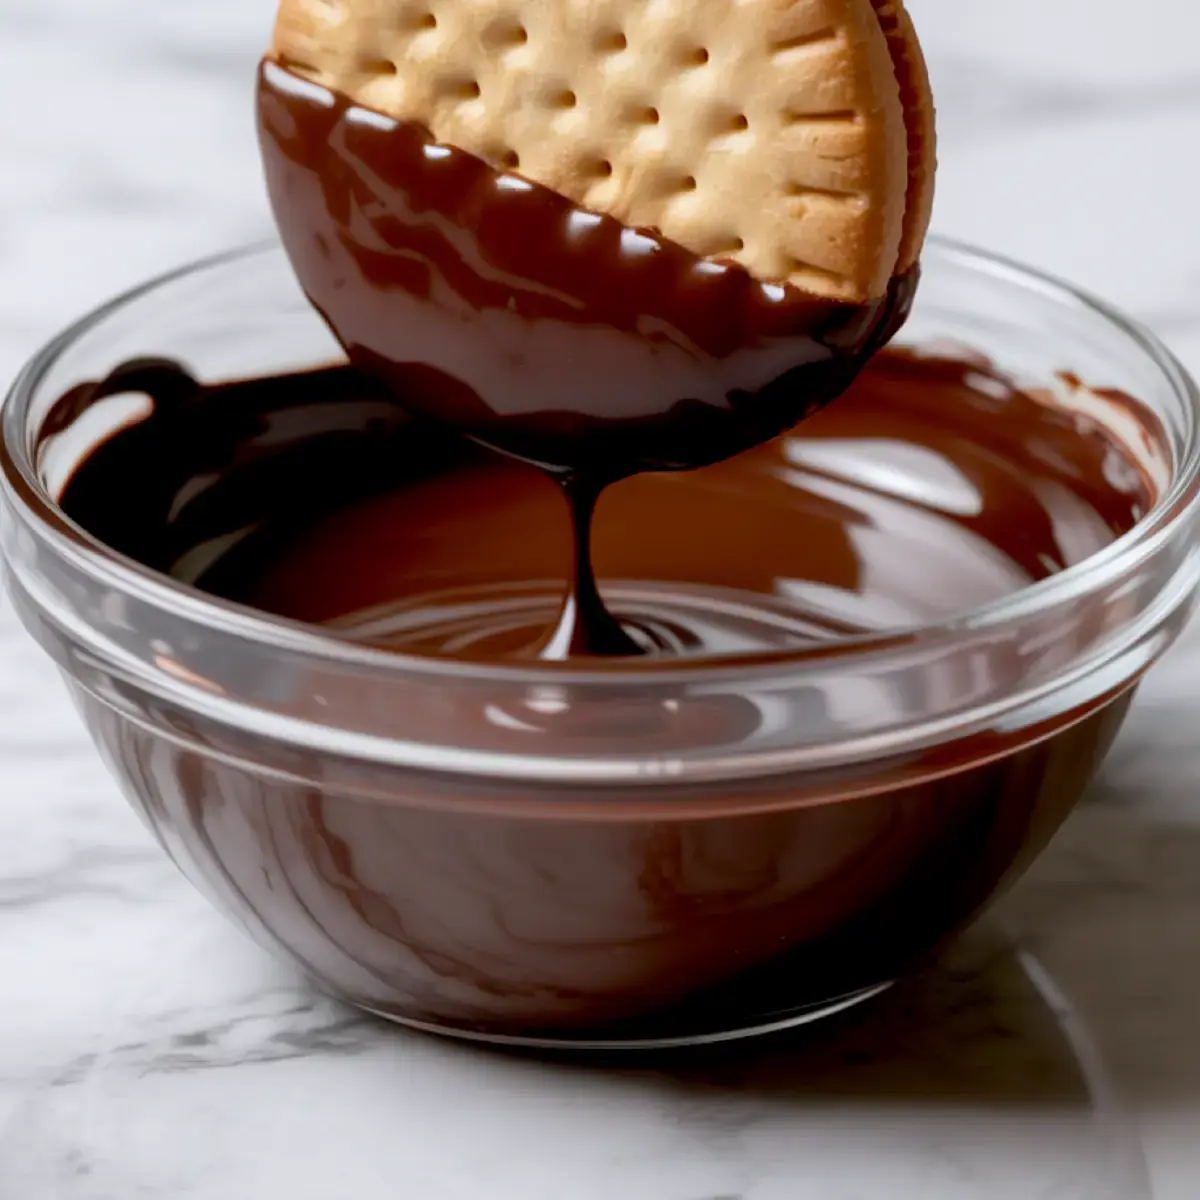
- DIP THE COOKIES: Using a fork or dipping tool, lower each sandwich cookie into the melted chocolate and coat it completely. Gently tap off any excess chocolate and place the coated cookie on the prepared tray.
- DECORATE THE REINDEER FACES: While the chocolate is still wet, press two pretzels into the top of the cookie to form antlers. Add two candy eyes just below the pretzels. Place a red M&M in the center near the bottom to create the nose. Repeat for all cookies.
- LET THEM SET: Allow the cookies to sit at room temperature for 30 to 45 minutes, or refrigerate for 15 minutes, until the chocolate coating is completely firm.
Notes
• Candy eyes are available in most baking aisles or online. If unavailable, pipe dots of white chocolate and add mini chocolate chips for a DIY version.
• Double-stuffed cookies are sturdier and easier to decorate.
• Broken pretzels make great natural-looking antlers, use them creatively.
• Store cookies in a single layer or separate layers with parchment to prevent sticking.
Nutrition Information
Yield
15Serving Size
1Amount Per Serving Calories 708Total Fat 20gSaturated Fat 11gTrans Fat 0gUnsaturated Fat 7gCholesterol 11mgSodium 917mgCarbohydrates 120gFiber 5gSugar 52gProtein 13g