
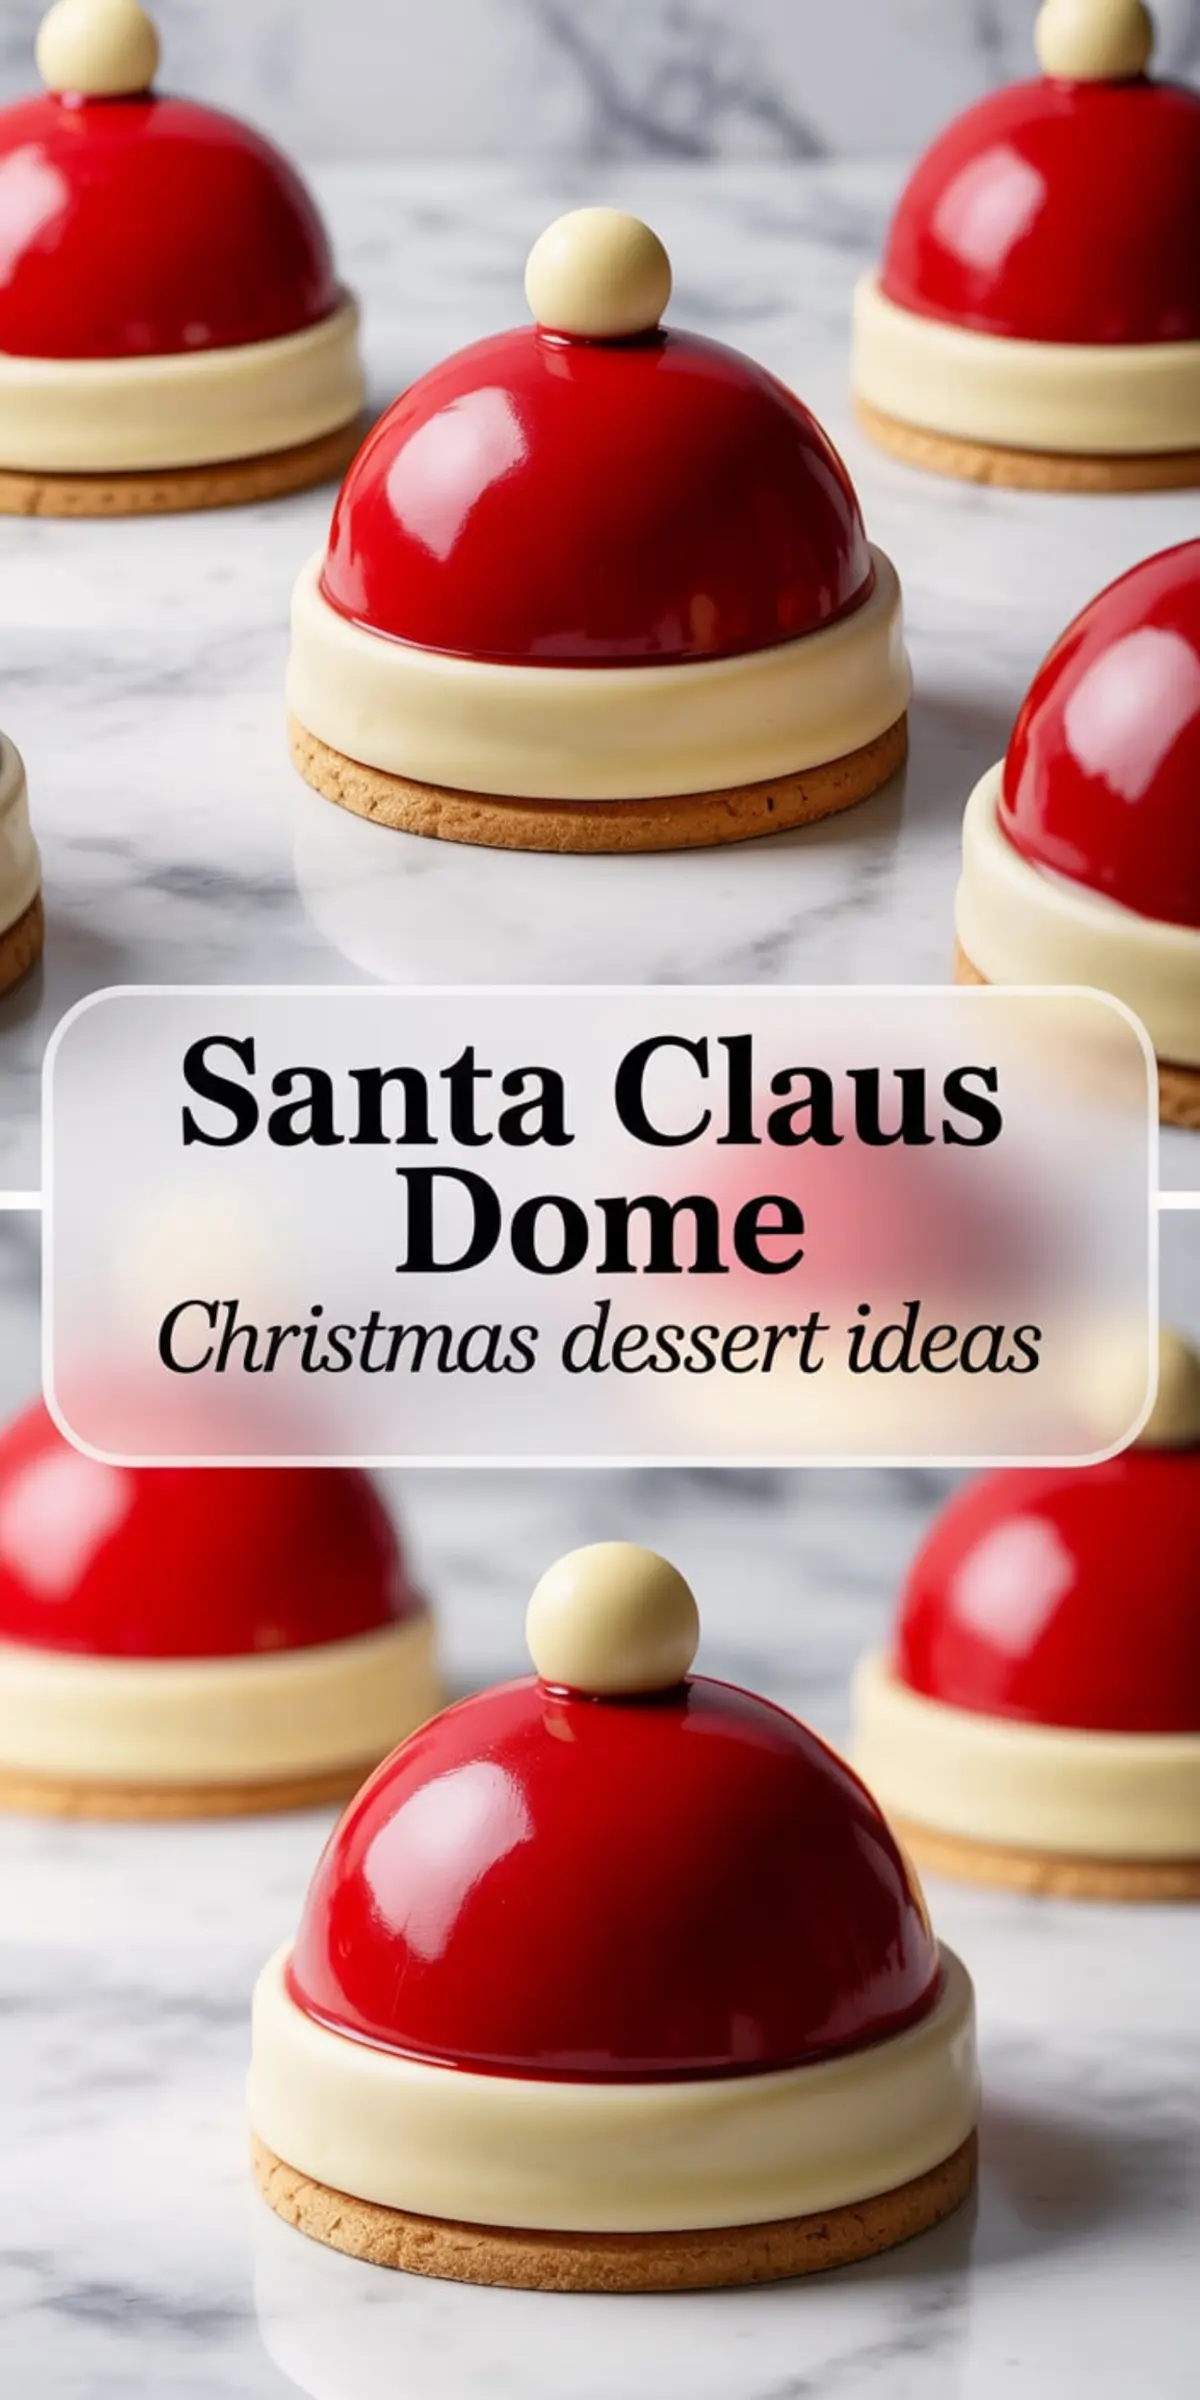
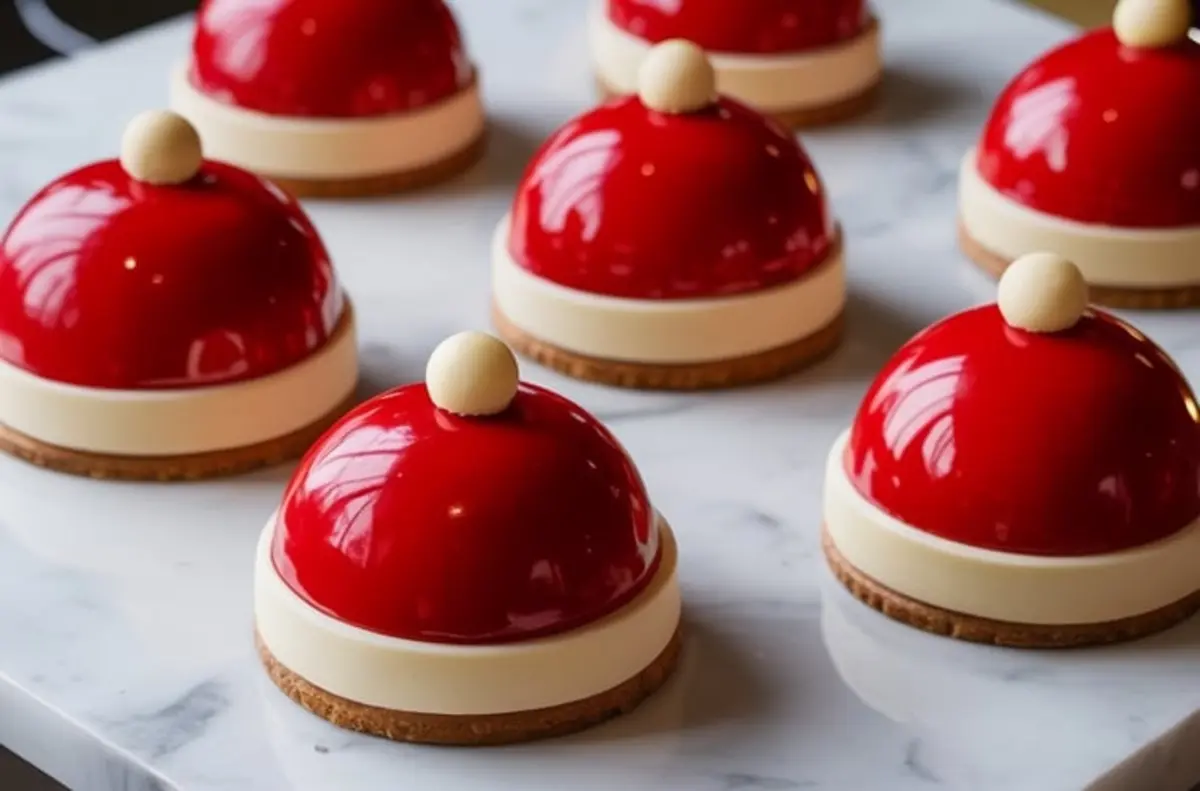
These Santa Claus Dome Cakes combine vanilla bean mousse, a whole strawberry center, sablé cookie bases, and a shiny red mirror glaze that captures the shape of Santa’s hat. These mini Christmas desserts are ideal for December holiday baking. The flavor is smooth and creamy inside with a crisp base, and the appearance always gets attention at gatherings. From Christmas parties to family baking days, these make a strong addition to any holiday desserts lineup. They’re also a smart make-ahead option for Xmas food prep.
The structure depends on two key techniques. First, the mousse is stabilized with gelatin so it holds shape when frozen and unmolded. Second, the dome is glazed while frozen, which sets the mirror coating instantly and locks in a glossy finish. This method avoids smears or soft spots.
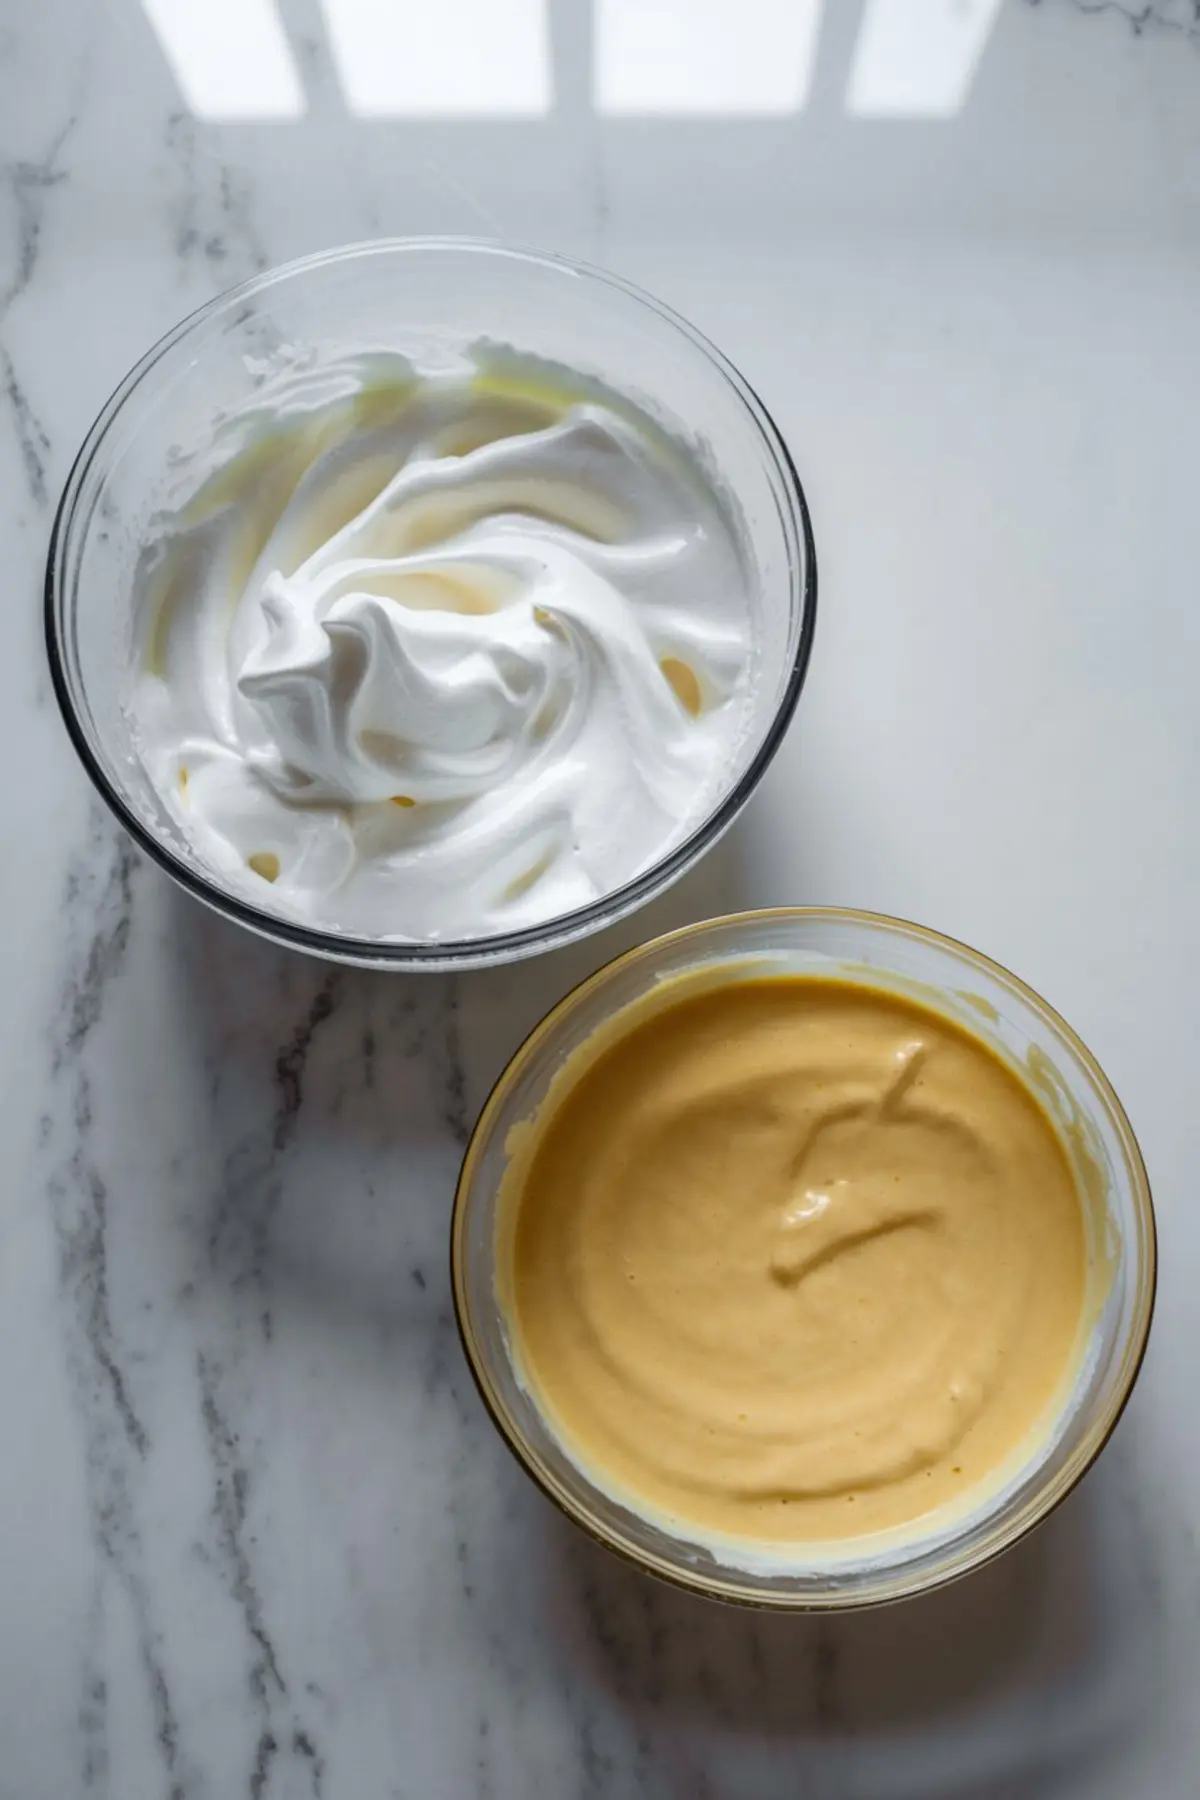
The mousse follows a stable custard ratio: 3 egg yolks, 250 ml milk, and 300 ml whipped cream. The texture stays light but doesn’t collapse under glaze. Each dome includes a whole strawberry, which helps break up the richness and adds moisture once it thaws. That balance between creamy, fruity, and crisp is what makes the texture work from first bite to last.
The sablé base provides a firm but tender foundation. It supports the mousse without going soggy, even after a day in the fridge.
Spotlight on the Mousse and Its Freeze-Thaw Structure
The vanilla mousse in this recipe sets into a firm yet creamy texture that can hold a shape without slumping. This matters for mini dome desserts, especially when they’re covered in mirror glaze. If the mousse stays too soft, the glaze won’t sit cleanly.
I prefer using a vanilla bean instead of just extract here. The bean infuses the milk directly and gives better flavor definition. If you’re using extract, go with pure extract, no artificial blends. You can also sub in vanilla paste at a 1:1 ratio.
The trick with mousse-based domes is letting them freeze solid overnight. That full freeze makes them easy to unmold and keeps the glaze from soaking into the surface. You’ll know the mousse set correctly if you can press the mold gently and feel no softness underneath.
Ingredient Choices That Shape the Result

Fresh strawberries go into the center of each dome. I look for small ones, fully ripe but firm. They need to fit without touching the mold’s walls or they’ll cause bulging. This center keeps the mousse interesting and adds moisture on the spoon.
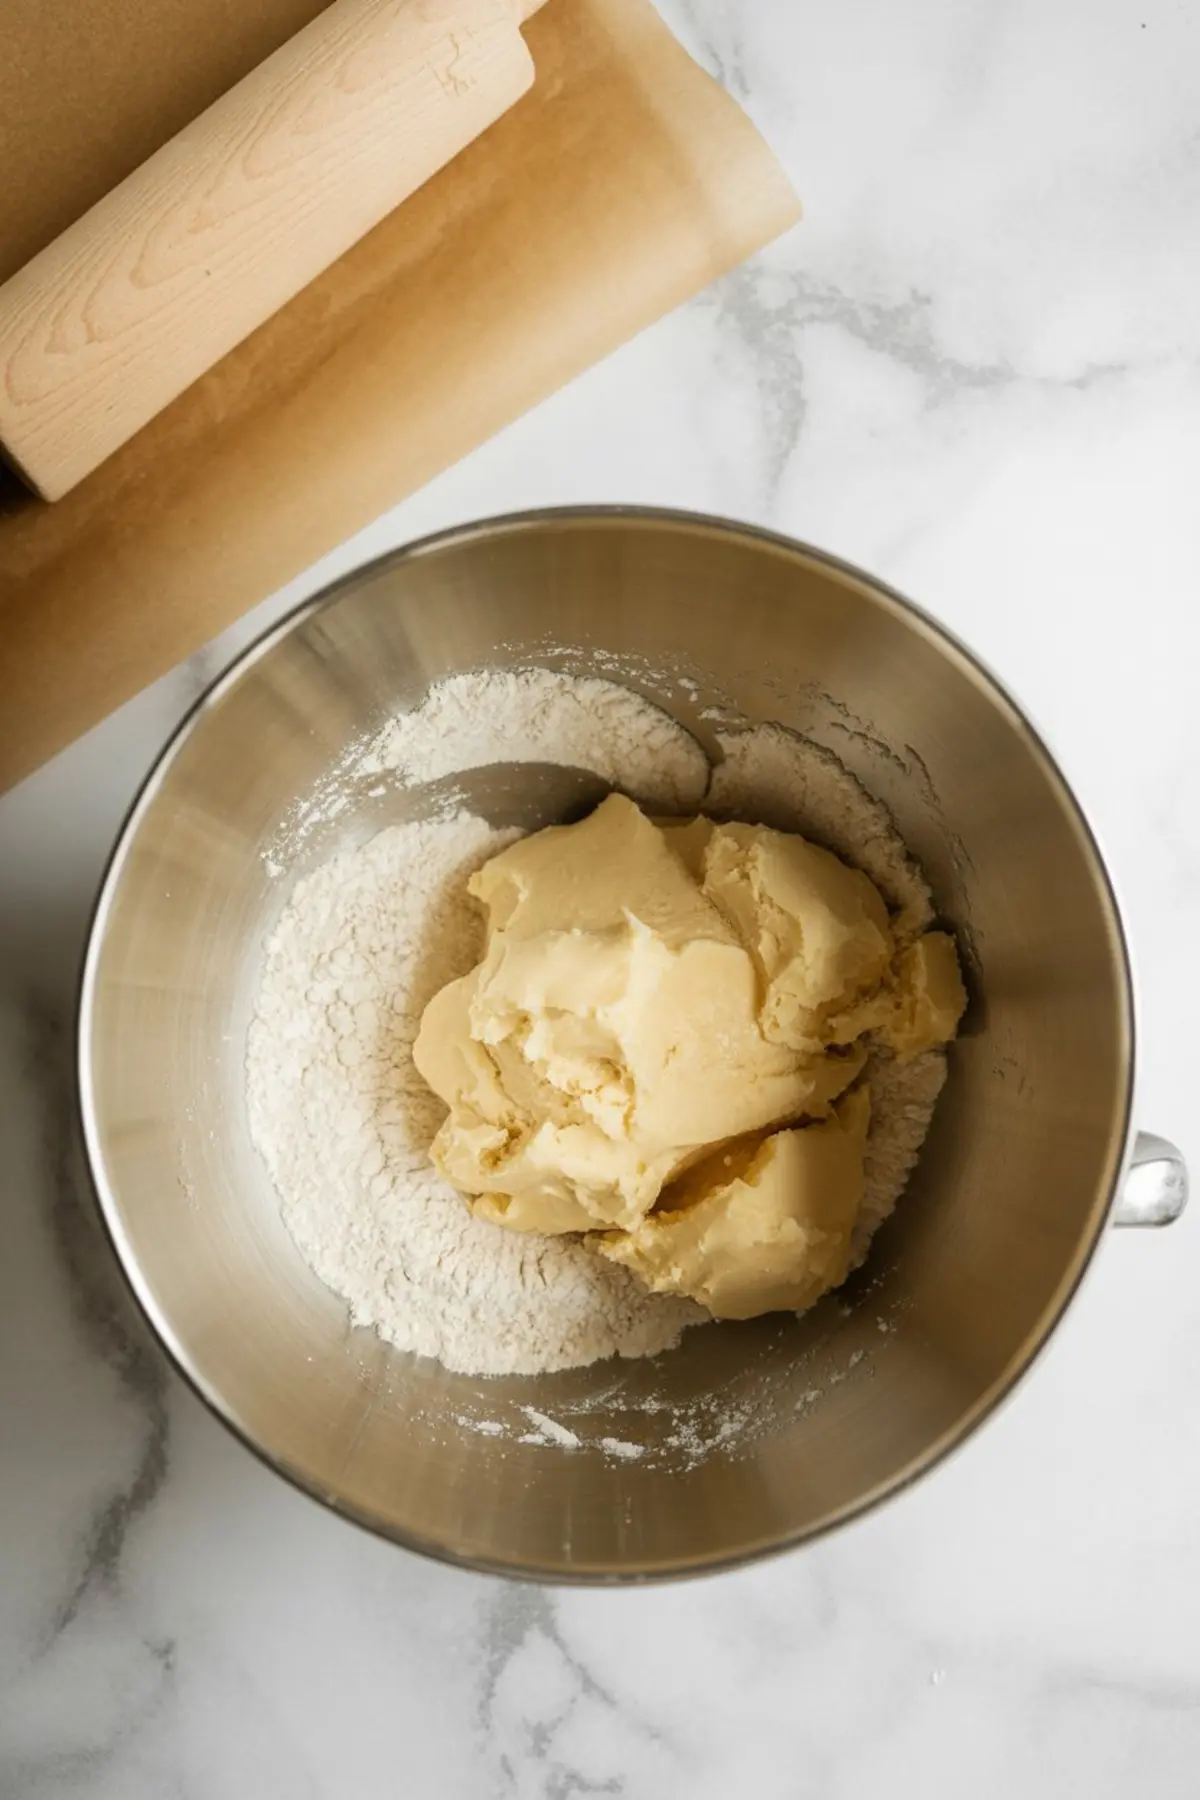
The sablé dough uses powdered sugar for a fine crumb. Regular sugar changes the texture, makes the cookie coarser, and affects how it bakes. The butter should be soft but not greasy. If it looks shiny, it’s too warm. Chill the dough before cutting to keep clean edges.
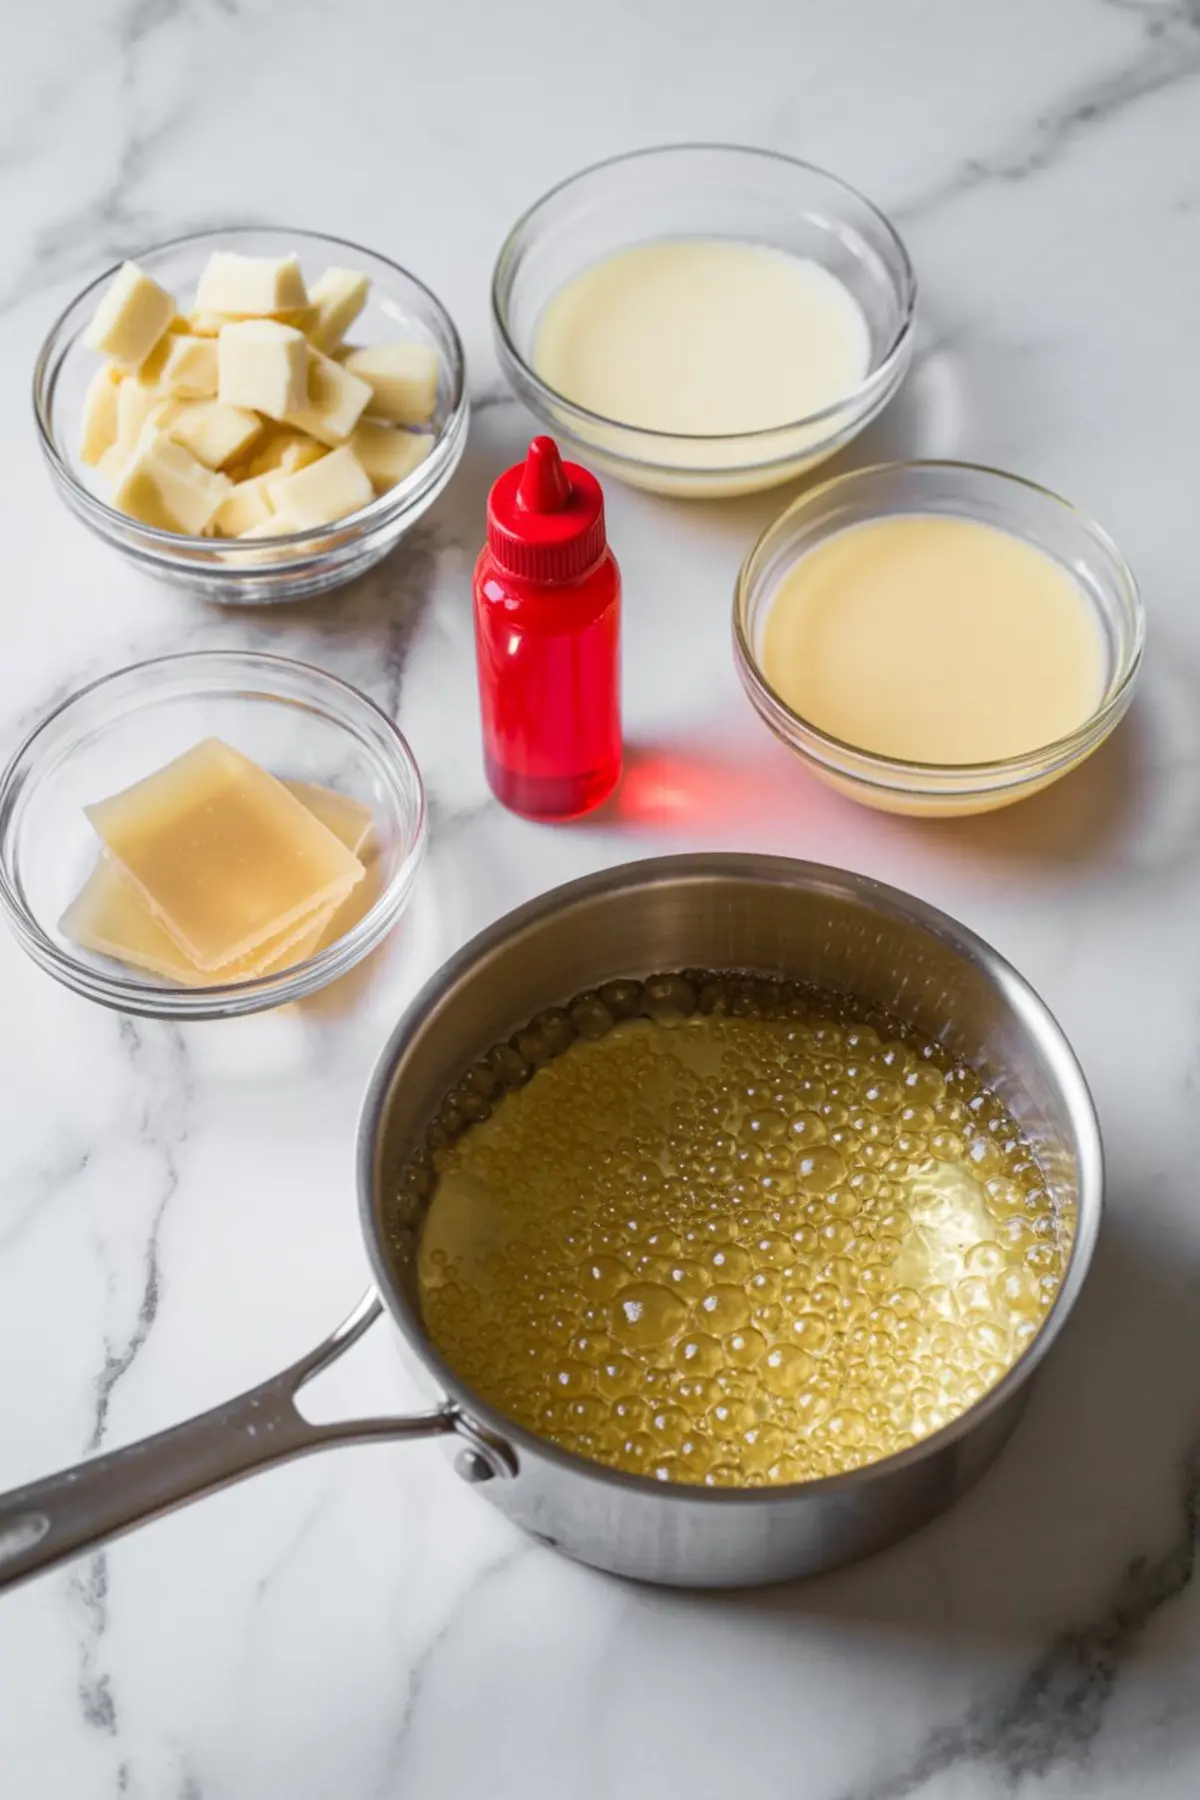
For the mirror glaze, I always choose white chocolate that lists cocoa butter as the first or second ingredient. Lower-quality white chocolate will seize or split. I color it with a red gel, never liquid. Gel coloring gives a bold red without thinning the glaze.
Try a similar glaze technique in my Santa Hat Brownie Skewers too.
Working Through the Steps Smoothly
The mousse takes about 20 minutes to prepare and needs a full overnight freeze. The cookie bases can be made ahead and stored in a sealed container. Once the glaze is ready, work quickly and pour it at 32–35°C. That’s the temperature window where it flows evenly but doesn’t run off.
Keep the domes frozen until you’re ready to glaze. That temperature difference between cold mousse and warm glaze is what gives you that clean, smooth coat. After glazing, let the domes sit for 5–10 minutes before moving. The surface will set quickly.
Check out my Santa Hat Chocolate Cupcakes if you want another festive red-and-white idea using vanilla and strawberries.
How to Know It’s Done Right
Your mousse should hold a dome shape without wobble. The glaze should coat in a smooth layer without air bubbles. If it’s streaky or dull, it was either too hot or too cool.
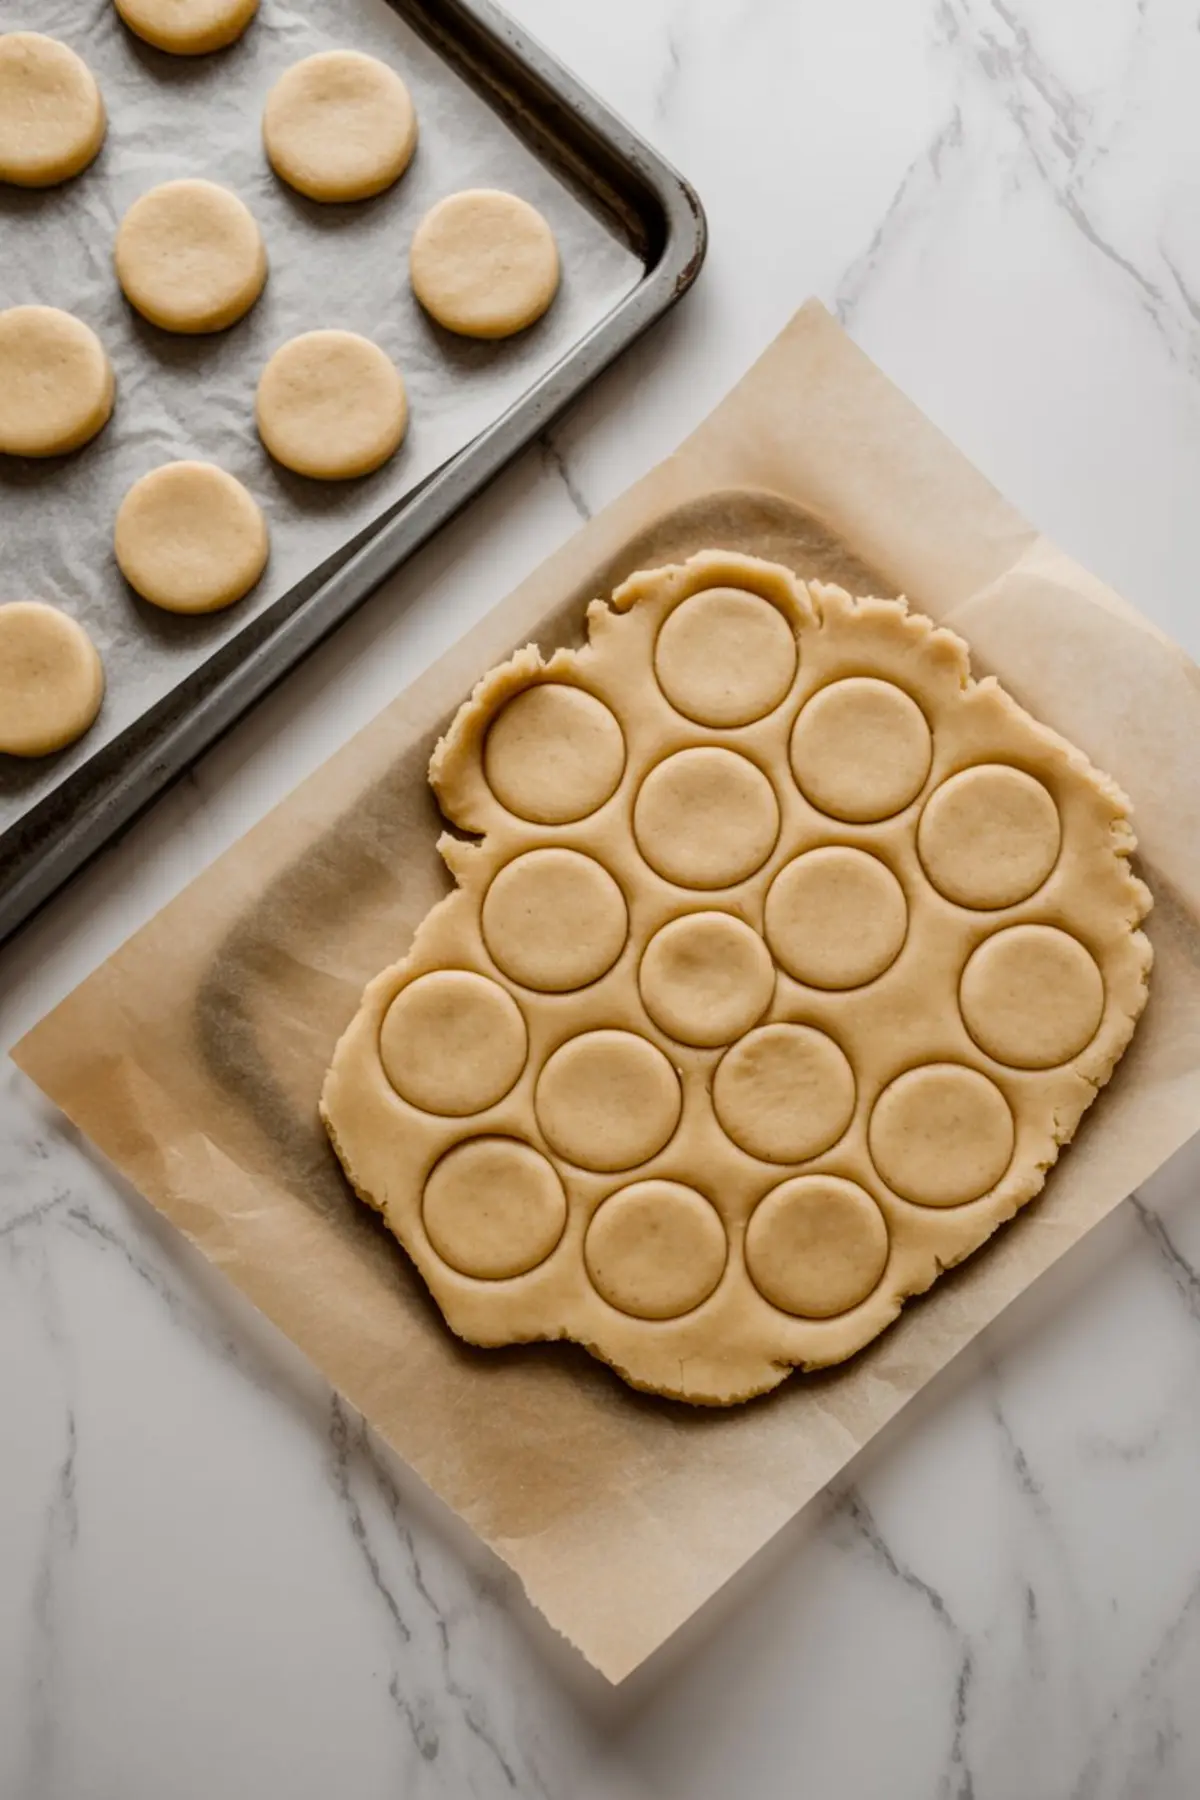
Cookies should be lightly golden and firm to the touch. If they spread too much, your dough was too warm or rolled too thin. Glaze that puddles underneath often means the domes weren’t cold enough.
You’ll know your dome is ready when the glaze doesn’t slide. It stays put with a slight sheen. Trust that visual cue.
You can also tint the glaze pink and add crushed candy cane for a more playful finish, similar to the style I use in Santa Belt Macarons.
How to Store Them
Once assembled, these domes hold well in the fridge for up to 48 hours. Keep them uncovered for the first 30 minutes, then gently tent with plastic wrap. This avoids glaze smudging.
You can freeze the mousse domes on their own up to a week ahead. Glaze after removing from the freezer. Do not freeze the glazed domes. The shine and texture won’t hold.
The sablé bases can be stored at room temperature for 2 days. Keep in a sealed tin.
How to Present Santa Claus Dome Cakes
Serve chilled with a silver dessert fork. Place on individual white plates for a clean contrast.
Group on a tiered cake stand for a holiday dessert table centerpiece. Box individually for edible Christmas gifts.
Pair with peppermint coffee for December brunch. Serve alongside Santa Belt Macarons for a full mini Christmas desserts board.
Save and Share This Recipe
Save this recipe to your Christmas baking board for your next holiday prep. I’d love to hear how your Santa Claus Dome Cakes turned out. Drop your questions, tweaks, or results in the comments and let’s make this a shared tradition.
Santa Claus Dome Cakes

These Santa Claus Dome Cakes are rich, festive, and perfect for your holiday table. Ideal for Christmas baking, they combine smooth layers of cake and mousse in a jolly red shell that looks just like Santa’s hat. A show-stopping idea for your list of festive desserts, these mini domes shine on any Christmas dessert table. Great for December parties, Xmas food spreads, and anyone looking to impress with holiday desserts that are both adorable and delicious.
Ingredients
- FOR THE VANILLA MOUSSE
- 300 ml heavy cream (cold)
- 250 ml whole milk
- 1 vanilla bean or 2 tsp pure vanilla extract
- 3 egg yolks
- 80 g granulated sugar
- 6 g powdered gelatin (about 2 tsp) + 30 ml cold water
- 6–8 fresh strawberries (small, stem removed)
- FOR THE SABLÉ COOKIE BASE
- 120 g unsalted butter (room temperature)
- 80 g powdered sugar
- 1 egg yolk
- 200 g all-purpose flour
- Pinch of salt
- 1 tsp vanilla extract
- FOR THE RED MIRROR GLAZE
- 150 g sugar
- 150 g glucose syrup
- 75 ml water
- 100 g sweetened condensed milk
- 150 g white chocolate (finely chopped)
- 10 g powdered gelatin + 60 ml water
- Red gel food coloring
- FOR THE DECORATIONS
- 100 g white chocolate for the ring and ball
Instructions
- BLOOM THE GELATIN FOR THE MOUSSE: Combine 6 g powdered gelatin with 30 ml cold water in a small bowl and let sit for 10 minutes until fully bloomed.
- HEAT THE MILK AND INFUSE VANILLA: In a saucepan, heat the whole milk and vanilla (bean or extract) over medium heat until warm but not boiling. Remove from heat once warmed through.
- PREPARE THE EGG YOLK MIXTURE: In a separate bowl, whisk the egg yolks and granulated sugar until pale and slightly thickened.
- COOK THE CUSTARD BASE: Slowly pour the warm milk over the egg mixture while whisking constantly. Return the mixture to the saucepan and cook over low heat, stirring gently, until it reaches 82°C (180°F) and thickens slightly.
- INCORPORATE GELATIN AND COOL: Remove the custard from heat, stir in the bloomed gelatin until fully dissolved, and let cool to room temperature.
- FOLD IN WHIPPED CREAM: Whip the cold heavy cream to soft peaks, then gently fold it into the cooled custard base until smooth and fully combined.
- FILL MOLDS WITH MOUSSE AND STRAWBERRIES: Spoon a small amount of mousse into each silicone dome mold, press one whole strawberry into the center, and cover with additional mousse until the mold is filled. Smooth the tops.
- FREEZE THE MOUSSE DOMES: Transfer the molds to the freezer and freeze overnight until completely solid.
- MAKE THE SABLÉ COOKIE DOUGH: Cream the butter and powdered sugar together in a bowl until smooth. Add the egg yolk and vanilla, then mix in the flour and salt until a dough forms.
- ROLL AND CHILL THE DOUGH: Roll the dough between two sheets of parchment paper to a 4 mm thickness. Chill in the refrigerator for 30 minutes.
- BAKE THE COOKIE BASES: Cut rounds slightly larger than your dome molds and place them on a baking sheet lined with parchment. Bake at 170°C (340°F) for 12–14 minutes until lightly golden. Cool completely.
- BLOOM THE GELATIN FOR THE GLAZE: In a small bowl, combine 10 g powdered gelatin with 60 ml water and let bloom for 10 minutes.
- HEAT SYRUP BASE FOR GLAZE: In a saucepan, bring sugar, glucose syrup, and water to a boil and cook until it reaches 103°C (217°F).
- FINISH THE GLAZE: Remove the syrup from heat and stir in sweetened condensed milk and the bloomed gelatin until fully dissolved. Pour over chopped white chocolate and let sit for 1 minute.
- BLEND AND COLOR THE GLAZE: Use an immersion blender to blend the mixture until smooth. Add red gel food coloring until it reaches a bright Santa hat red. Let cool to 32–35°C (90–95°F) before using.
- UNMOLD AND GLAZE THE DOMES: Remove the frozen mousse domes from the molds and place on a wire rack over a tray. Pour the red mirror glaze over each dome, letting it coat evenly. Let set for 5 minutes.
- ASSEMBLE THE DOMES ON COOKIES: Use a spatula to gently lift each glazed dome and place it on a sablé cookie base.
- DECORATE WITH WHITE CHOCOLATE: Pipe or mold a ring of melted white chocolate around the base of each dome to create the “fur trim.” Add a small white chocolate ball to the top of each dome to complete the Santa hat look.
Notes
Use high-quality white chocolate for smooth melting and a glossy glaze. Choose strawberries that are small enough to fit into the center of the mold without touching the sides. The domes should remain frozen until glazing for the best finish. Store assembled domes in the refrigerator for up to 48 hours.
Nutrition Information
Yield
6Serving Size
1Amount Per Serving Calories 854Total Fat 35gSaturated Fat 21gUnsaturated Fat 14gCholesterol 186mgSodium 255mgCarbohydrates 123gFiber 2gSugar 84gProtein 13g