
There’s something about a cake pop that draws people in. Maybe it’s the bite-sized shape. Maybe it’s the way it balances soft cake, creamy frosting, and crisp chocolate in one neat, festive ball.
Snowman cake pops do all that, then add a layer of charm that makes people smile before they’ve even taken a bite.
This recipe uses easy cake pop steps, the kind you can make with kids on a snowy afternoon or prep ahead for a party tray. You’ll find it listed under snowman cake pops easy or Christmas cake pops recipe, and for good reason. It’s simple, creative, and hard to get wrong if you follow the right order.
You’ll learn how to build, dip, and decorate cake pops into adorable snowmen. You’ll also find a smart frosting-to-cake ratio that avoids greasy texture or crumbling. The peanut butter cup hat is more than cute — it gives structure. It makes them stand taller, firmer, and easier to store.
Let’s begin with what makes this version work reliably, without frustration.
Following a special diet?
Every recipe on this site can be converted to gluten-free, vegan, dairy-free, keto, nut-free or egg-free with adjusted ratios so nothing falls flat.
Try the Recipe Converter →Cake Pops Start With Texture That Holds Its Shape
You can use a box mix or homemade cake recipe. Either works well if the cake cools fully before crumbling. I’ve tested both warm and room temperature versions. The warm ones turn gummy. That’s no good.
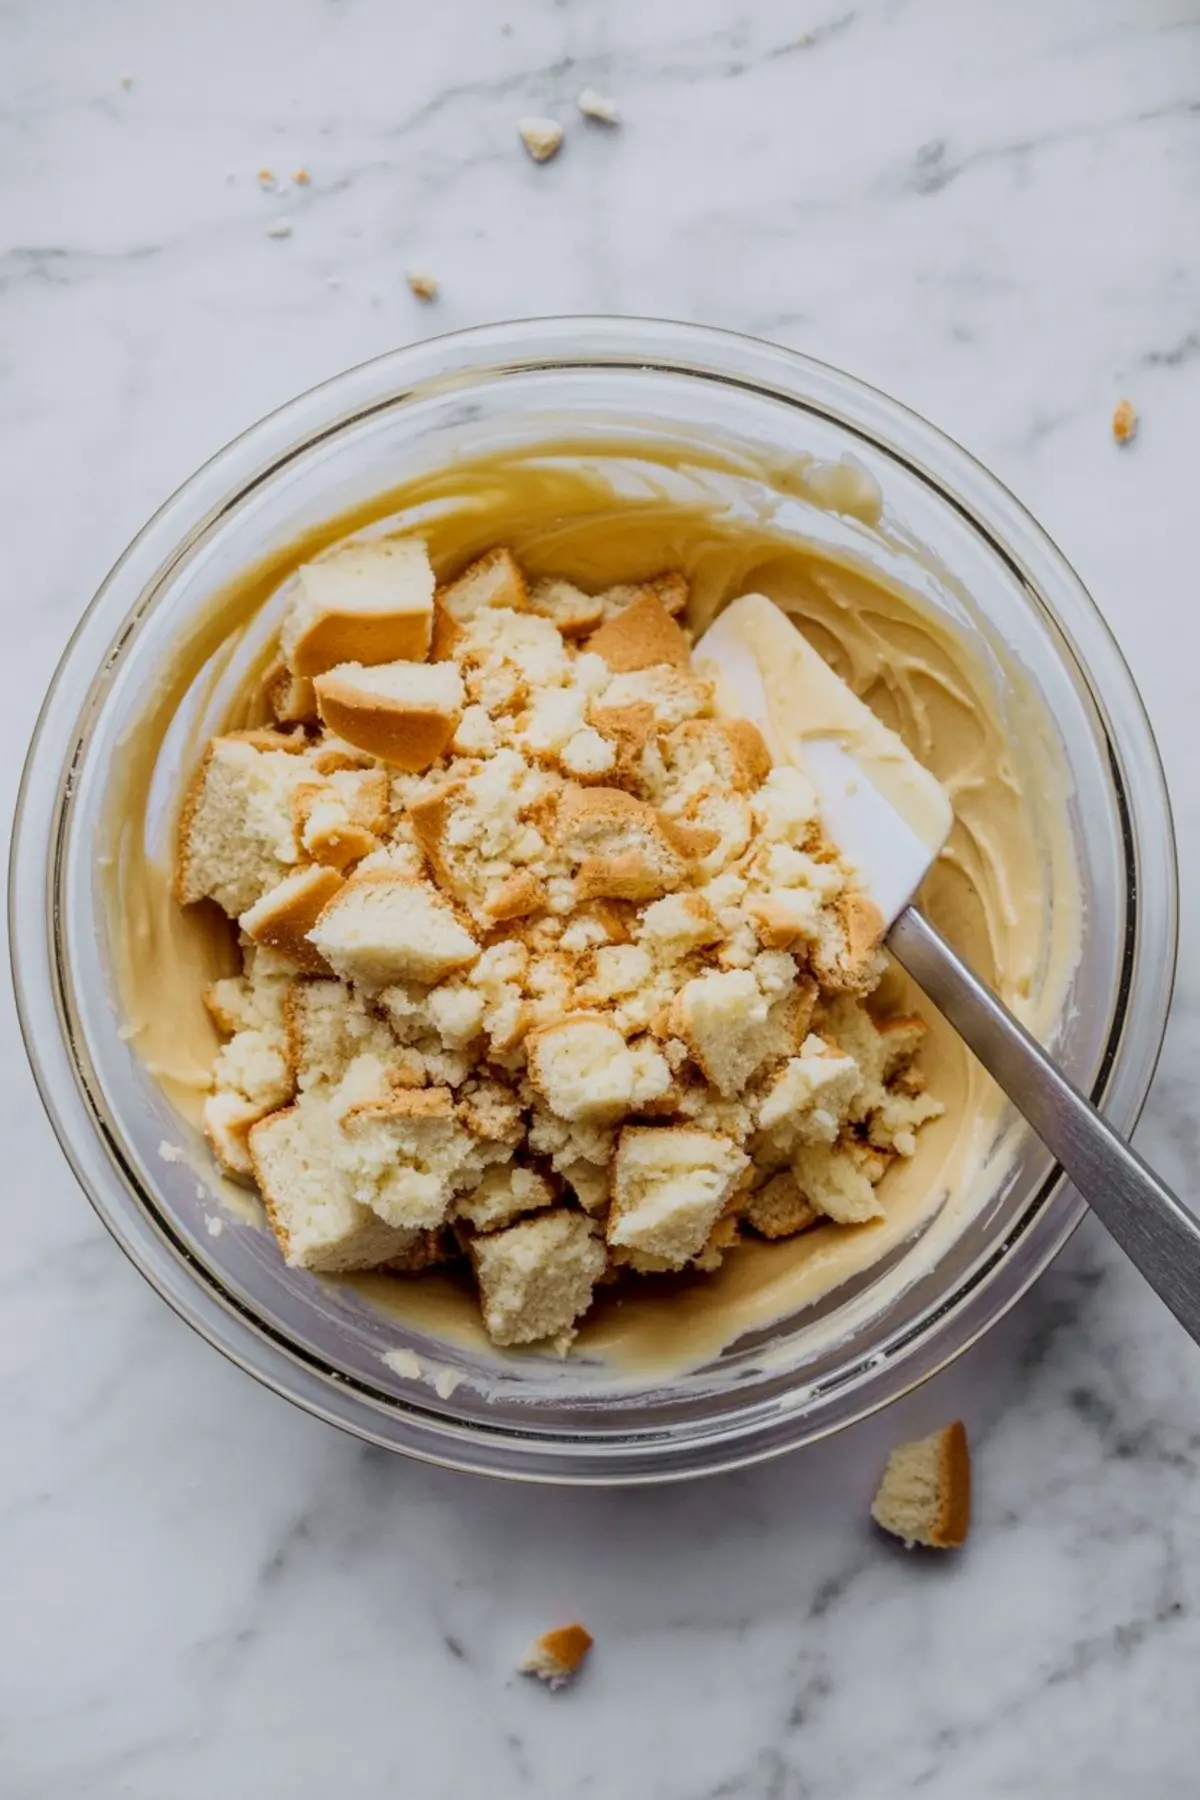
Once crumbled, use your hands to feel the texture as you mix in the frosting. You’re aiming for something like cookie dough soft but firm enough to roll and hold.
My notes say: if it crumbles apart, you need a bit more frosting. If it feels greasy, you’ve added too much. Add gradually, mixing as you go.
You can use vanilla or chocolate cake here. I lean toward vanilla during Christmas baking because it keeps the color light under white chocolate coating. The contrast stays cleaner.
A Smooth Vanilla Frosting Helps Everything Stick
This frosting recipe uses butter, powdered sugar, and a little cream. I’ve tried shortening-based frostings too, but butter gives the mixture better flavor and a softer set when mixed into cake crumbs.
If you make your frosting too thin, it won’t hold the crumbs together. If it’s too thick, the cake balls might crack while rolling. Add the cream slowly. Just enough to loosen the texture into something spreadable.
Once mixed into the cake, this frosting binds the crumbs without overpowering the base flavor. It melts slightly into the cake during chilling, which creates that even, truffle-like texture inside each bite.
Chilling Cake Balls Gives You a Cleaner Dip
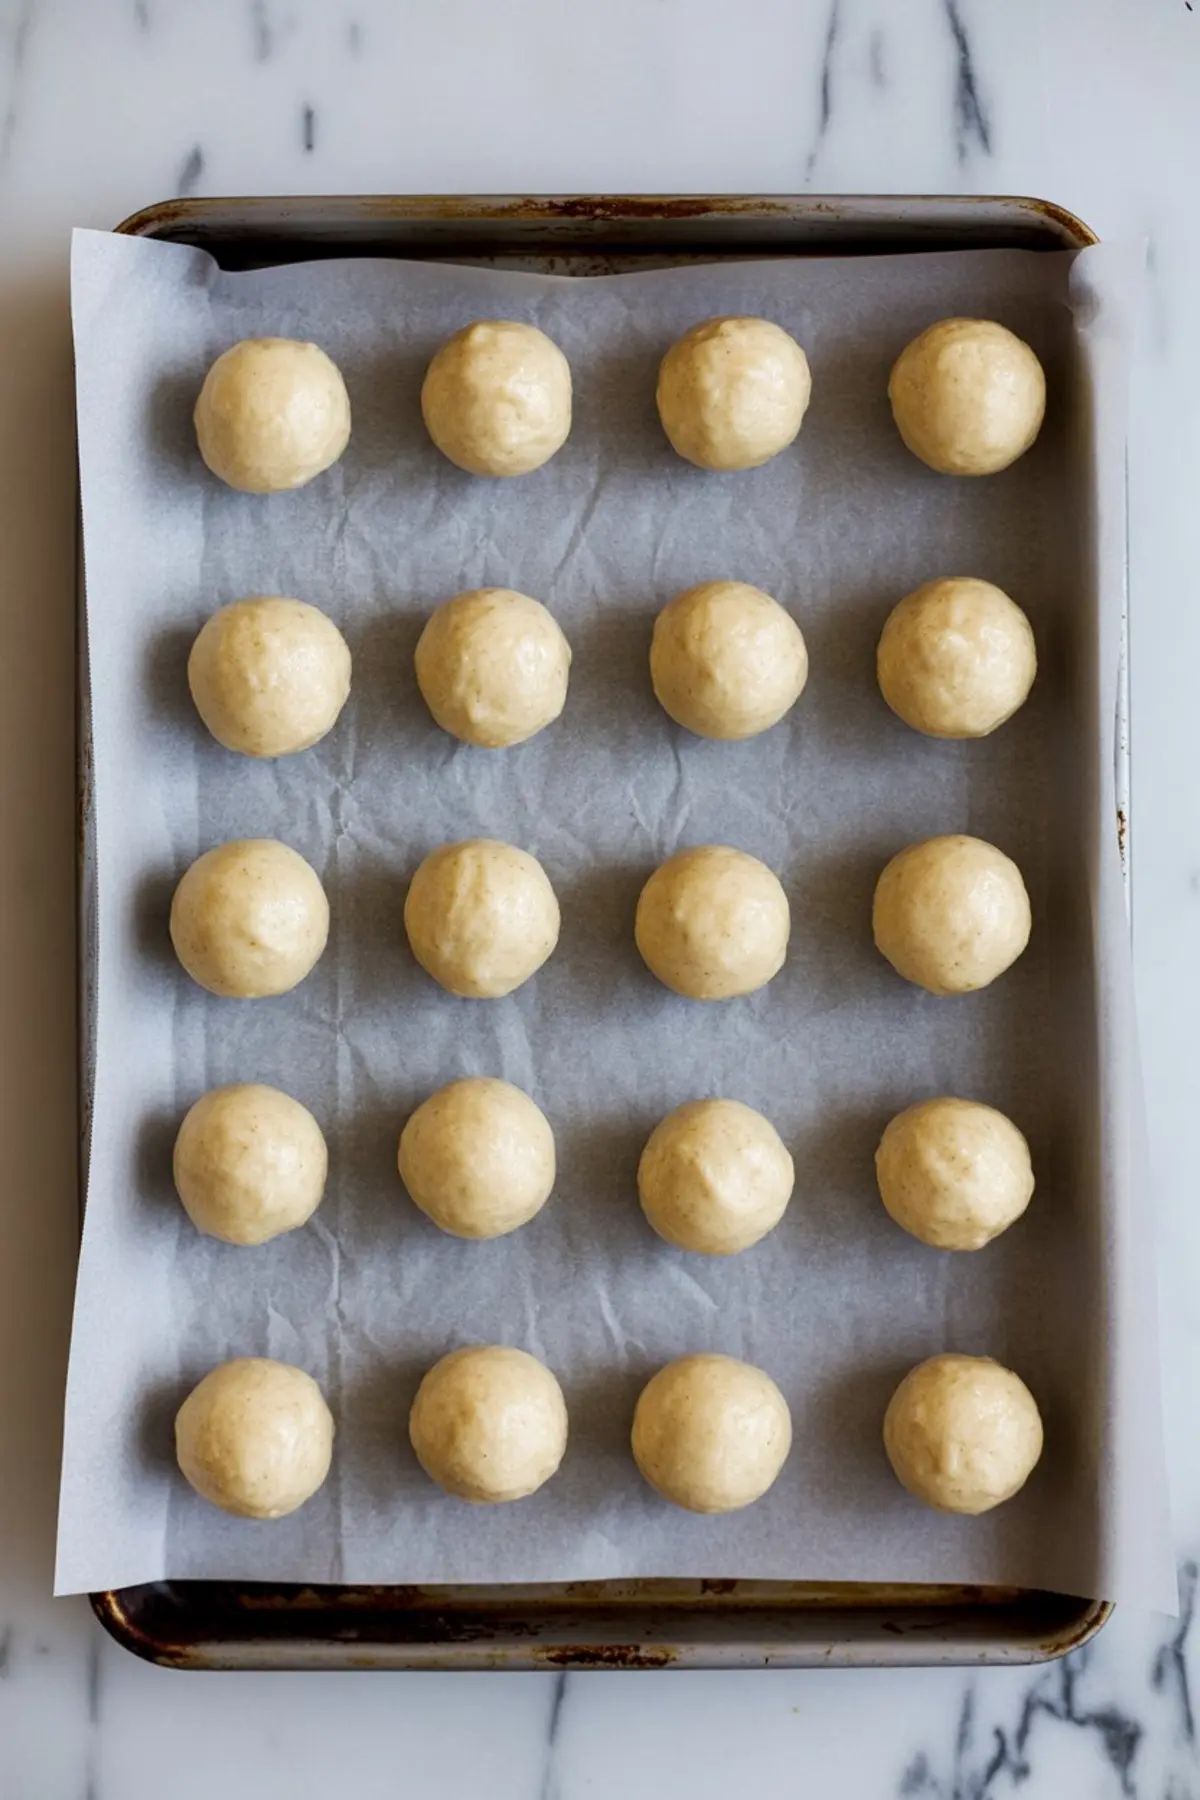
After forming the balls, let them firm up in the fridge for two hours. Or freeze them for 30 minutes if you’re short on time.
The chilling step prevents the cake from sliding off the stick once dipped. If you’ve ever had a pop fall off mid-dip, this is likely why.
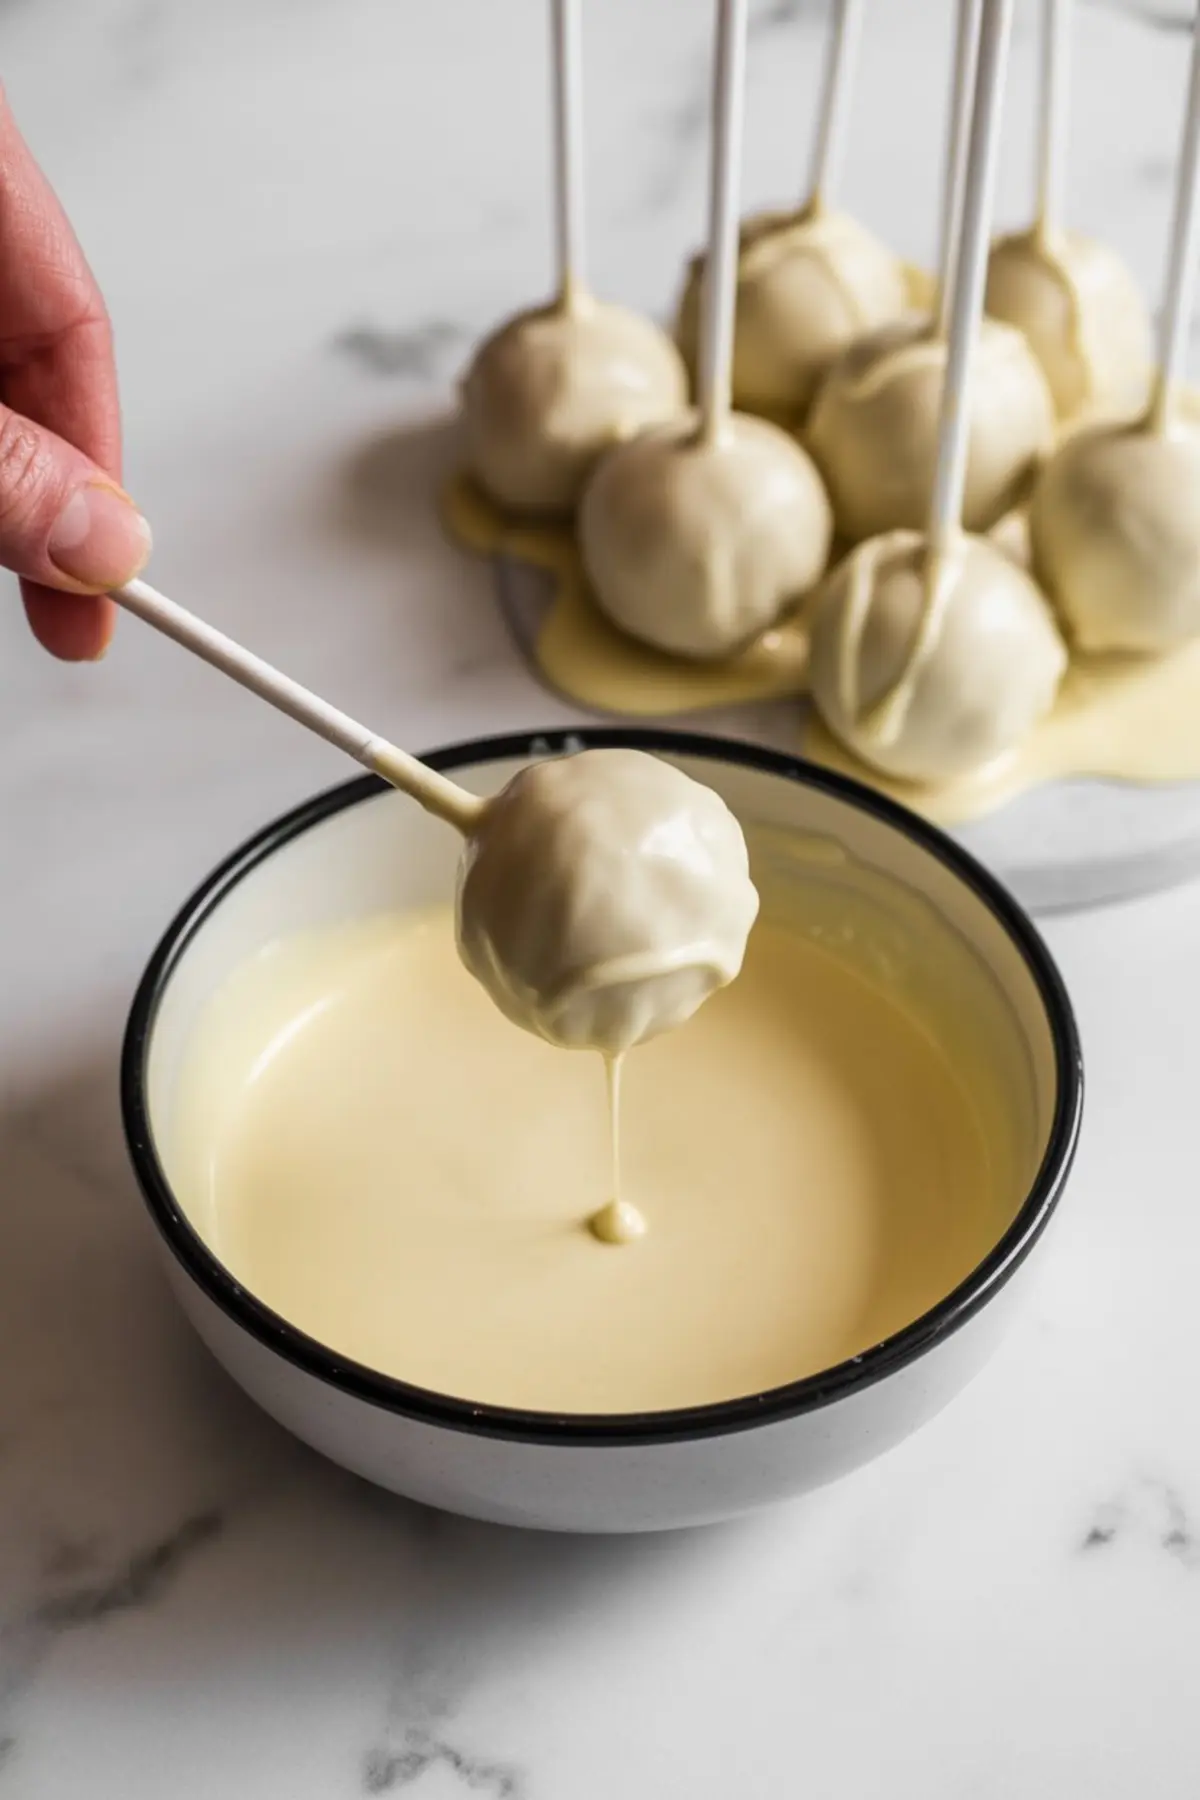
Before dipping, melt a bit of the candy coating and use it to secure the sticks. Just a little dab works. It sets fast and anchors each ball in place.
If your kitchen runs warm, place the tray back in the fridge for another ten minutes after adding the sticks. It buys you time when it comes to dipping.
If you’re planning other Christmas baking recipes at the same time, this is when you can prep these Sparkling Snowflake Christmas Cookies.
White Chocolate or Candy Melts? Here’s the Difference
I’ve used both. Candy melts coat thicker and dry faster. They’re easy to work with and come in bright white.
White chocolate, especially good-quality bars, tastes richer but needs more attention. You’ll need to add a small amount of vegetable shortening to thin it out.
For appearance and speed, I go with candy melts. For taste and a slightly softer bite, white chocolate wins. It depends on your goal — presentation or depth of flavor.
On a cookie tray surrounded by other Christmas desserts easy, I stick with candy melts. They hold up better under lights or at room temperature.
Decorate Snowman Faces Before the Coating Sets
Once you dip each cake pop, work quickly. Add the mini chocolate chips for eyes and buttons before the candy dries. For the nose, a sprinkle rod or sliver of orange melt works well.
Let the coating harden before you press the peanut butter cup hat on top. That extra time keeps the hat from sliding or cracking the shell.
If you want to go further, pipe a small smile or scarf detail with melted chocolate. A zip-top bag works if you don’t have a piping bag on hand.
While you’re at it, you might like these Chilly Snowman Marshmallow Cupcakes. They carry the snowman theme across your dessert table.
Serving and Storing Snowman Cake Pops
Arrange them upright in a block or cake pop stand. That keeps the decorations clean and avoids flat spots.
These hold well at room temperature for about three days. If you need more time, store them in an airtight container in the fridge. Just let them come to room temperature before serving. The chocolate shell softens slightly and the texture inside becomes more pleasant.
Don’t freeze decorated cake pops. The chocolate cracks and the surface becomes spotty.
If you’re making a full spread, these pair beautifully with Peppermint Snowball Cookies. Both travel well and bring strong holiday shapes to the table.
Let Them Be a Part of the Celebration
Snowman cake pops aren’t just treats. They bring a playful, handmade touch to the season. They invite people to pause, notice the detail, and taste something made with intention.
I’ve used this recipe during cookie swaps, classroom parties, and even as place settings. You can write names on the sticks. Kids adore that.
It’s one of those recipes that looks like it took hours, even when the steps are simple. That’s why I keep coming back to it year after year.
Save This Recipe and Share Your Snowmen
If you’re building your Christmas baking board, be sure to save this pin for later.
And if you try them, I’d love to hear in the comments how yours turned out. Did you go with chocolate or vanilla? Did the hats stay straight?
Let’s keep the ideas flowing for everyone.
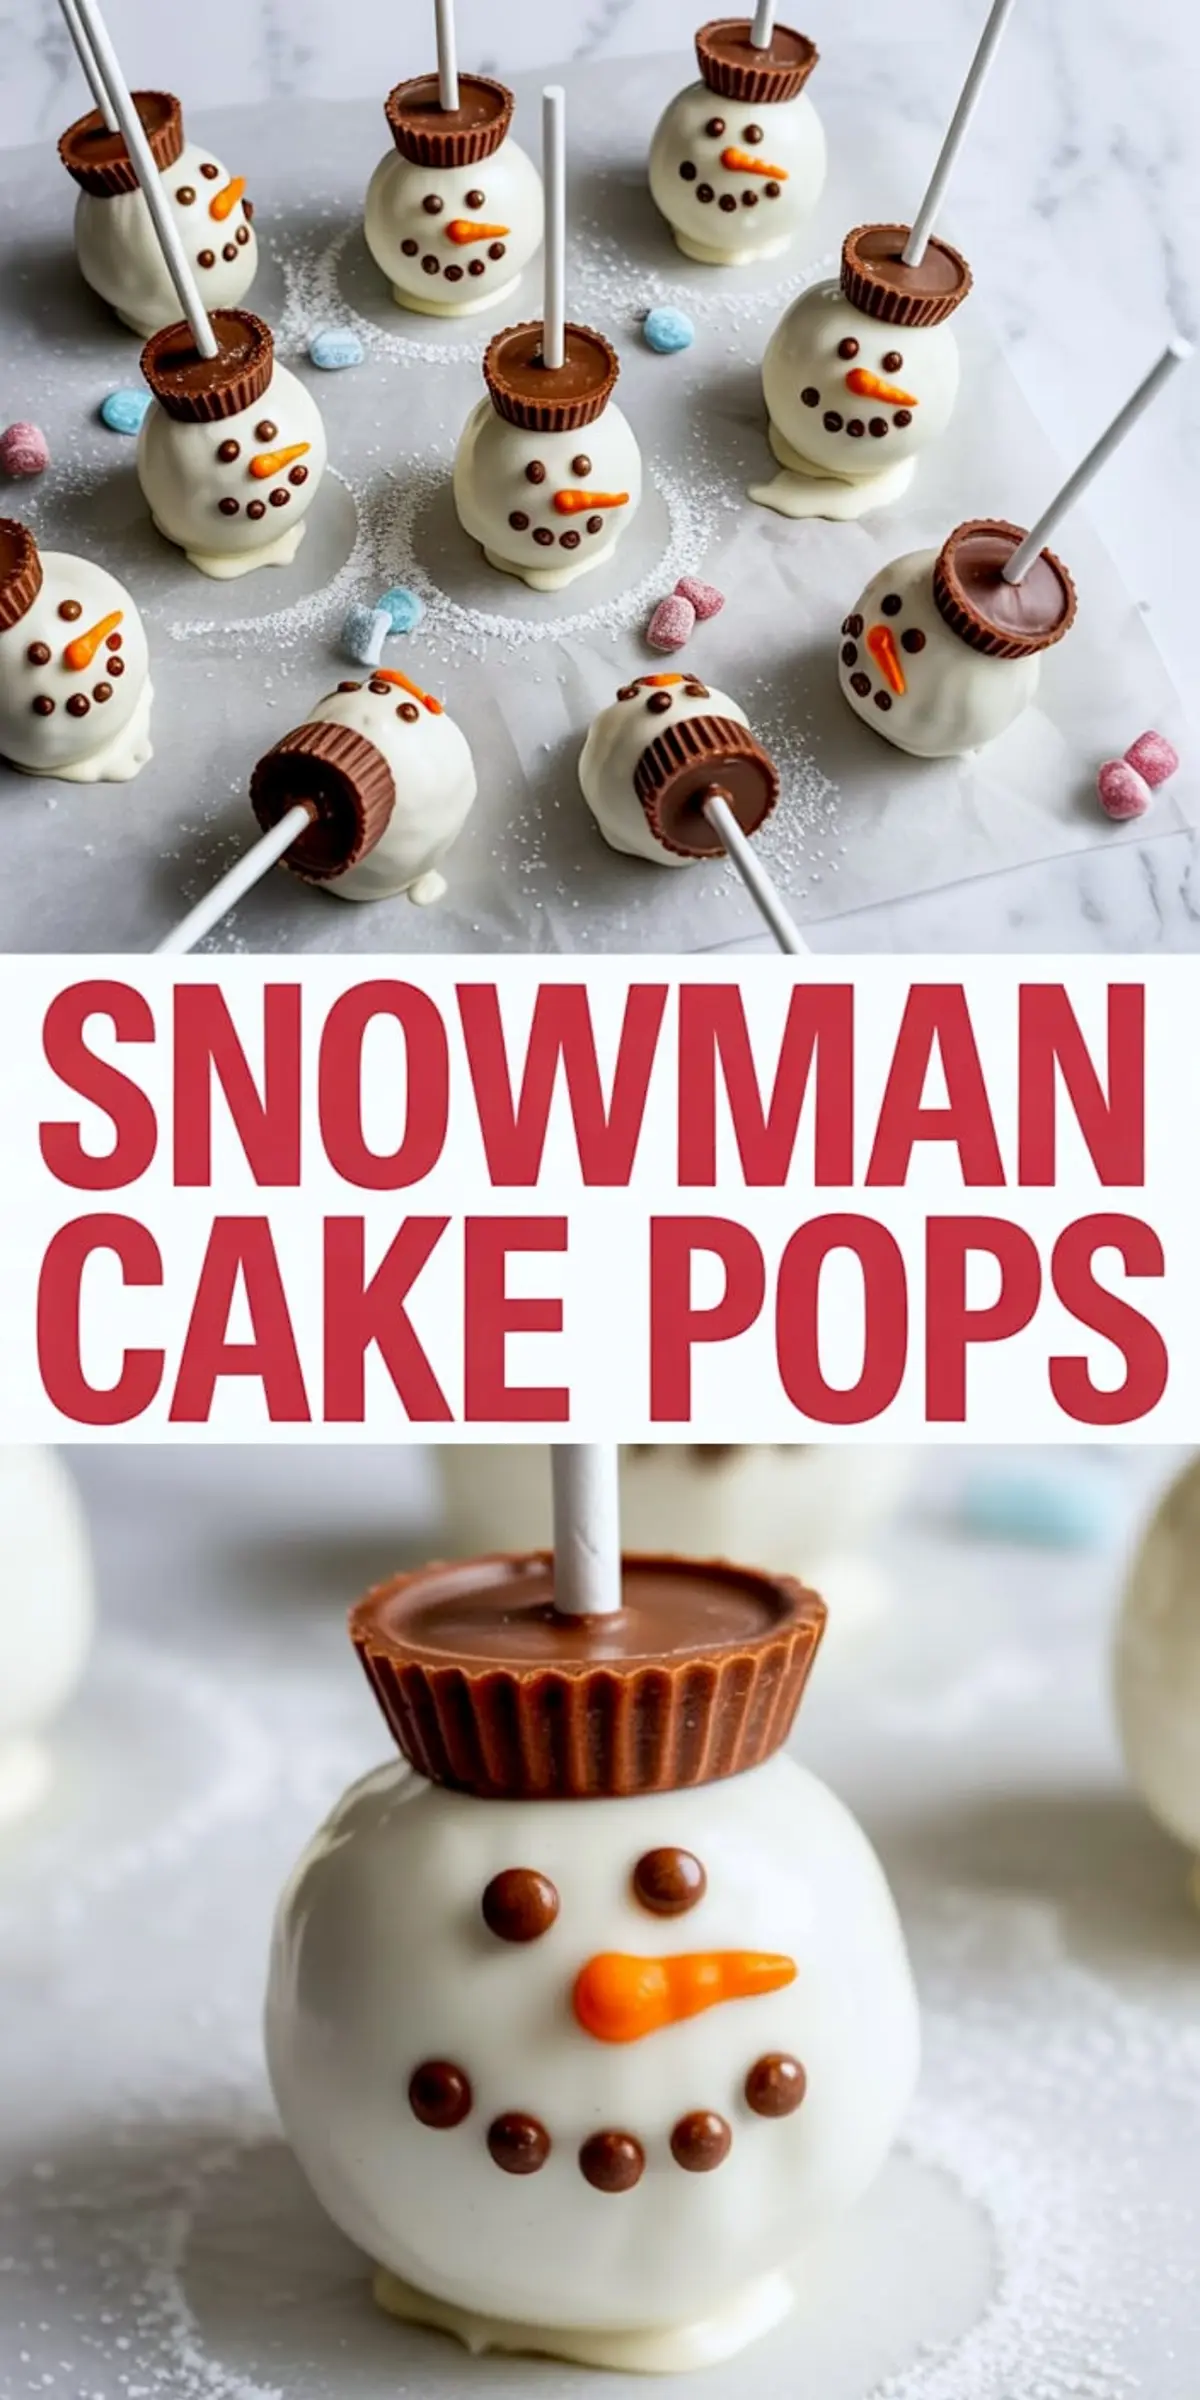
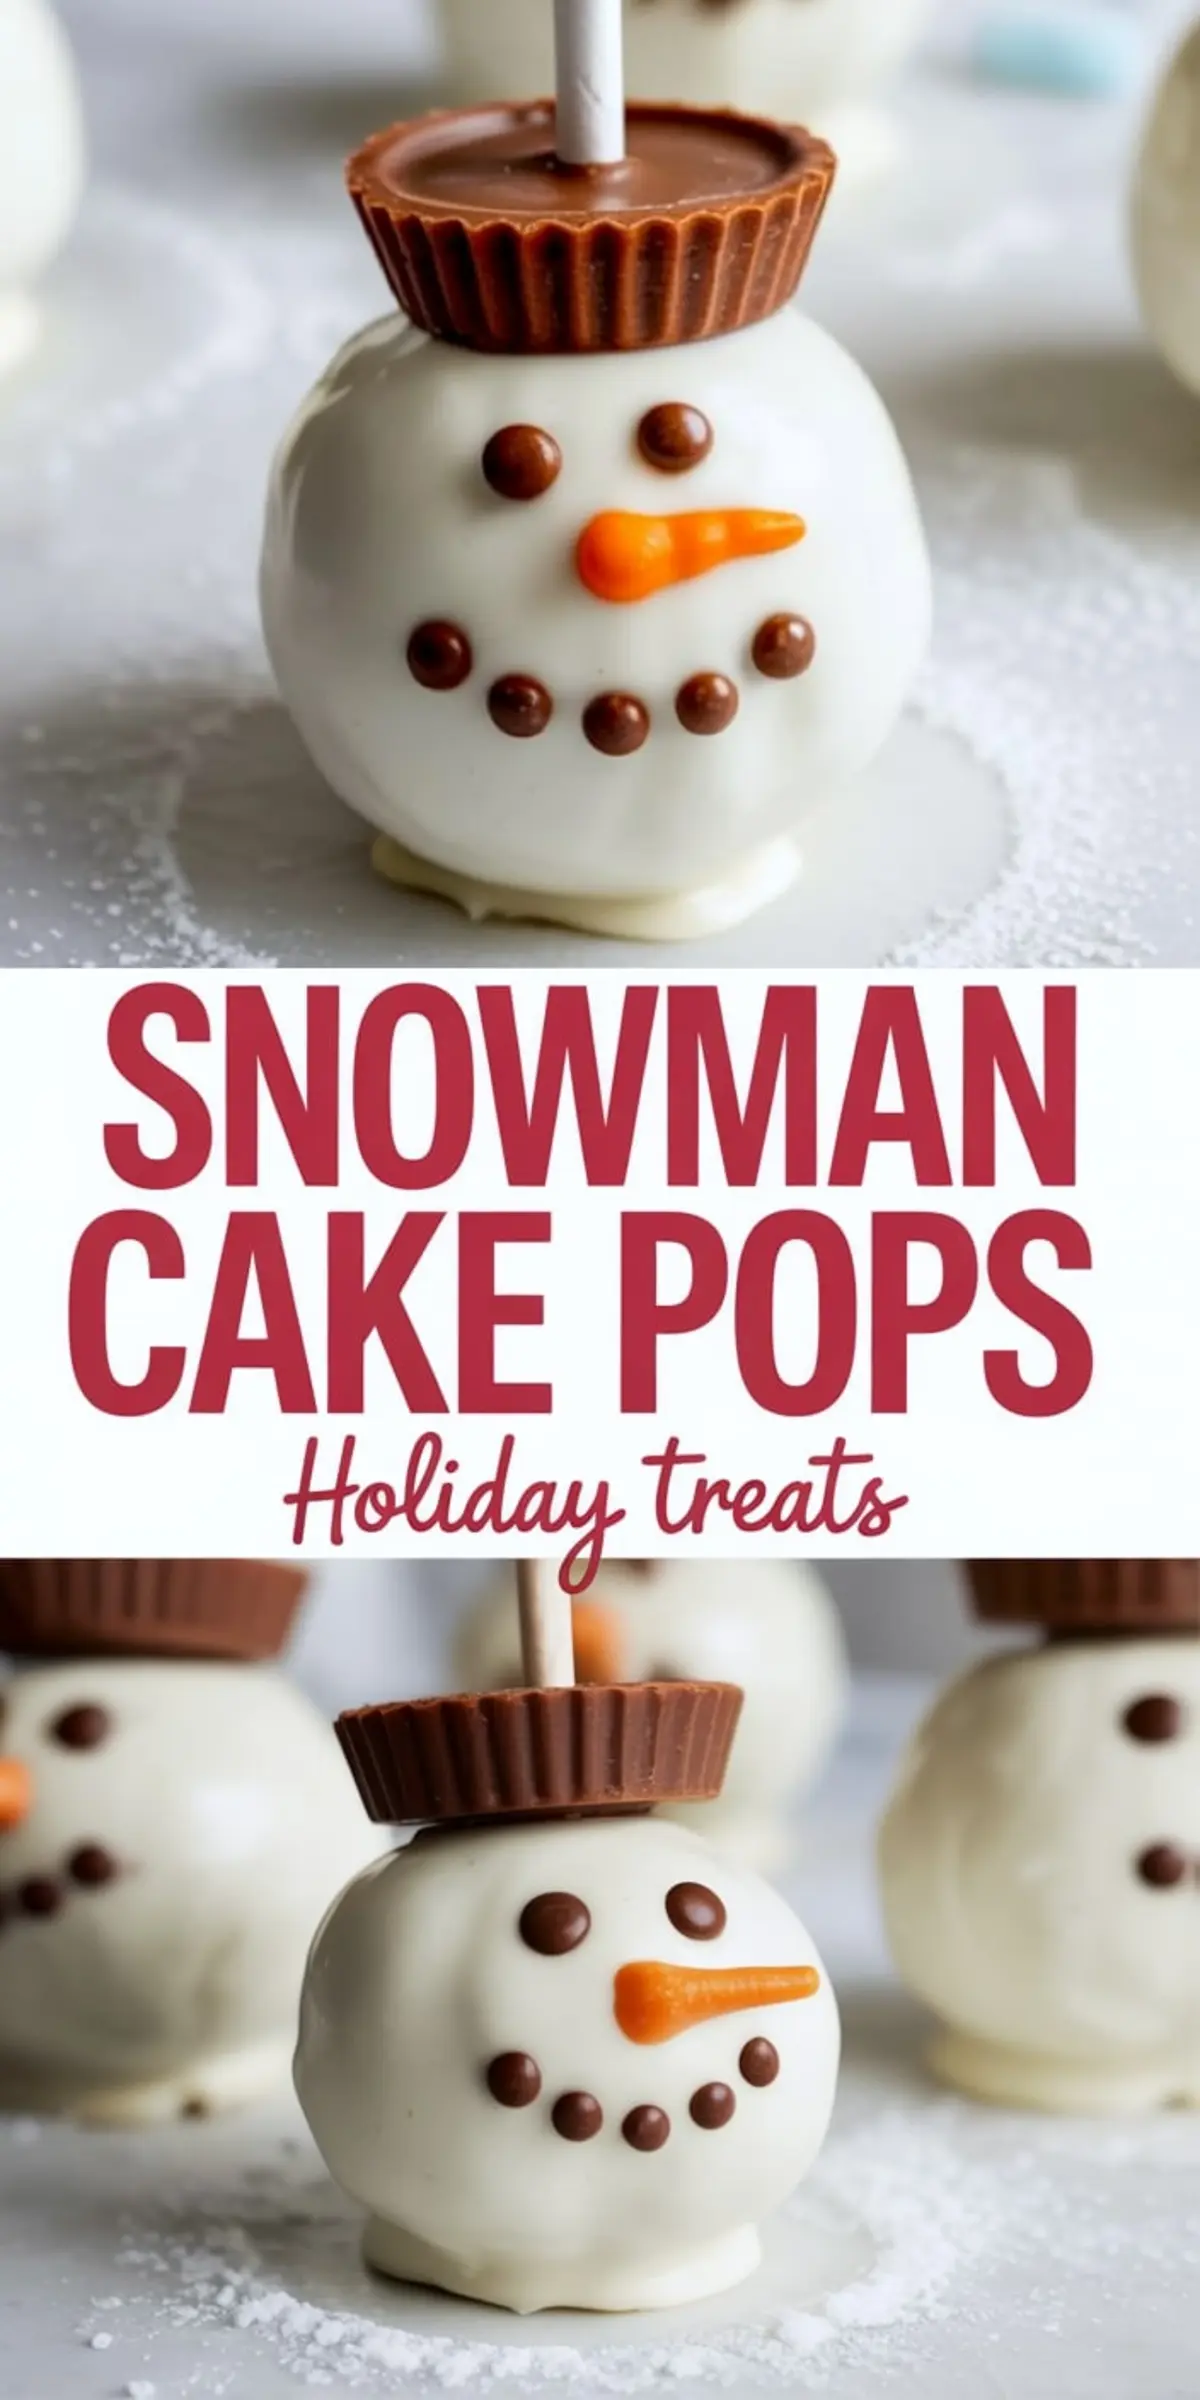
Snowman Cake Pops

Snowman cake pops are one of my favorite Christmas desserts, combining crumbled cake and frosting into bite-sized treats dipped in chocolate and decorated like little snowmen. They’re fun to shape, easy to decorate, and look adorable on a holiday table. I like using simple cake pop recipe easy steps, so even beginners can join in the Christmas baking fun. Some people call them snowman cake pops easy, others list them under Christmas cake pops recipe or cake pop designs, but every version captures the holiday spirit. I’ve served them alongside snowman cake ideas, Christmas cakes easy, and other Xmas desserts, and they always steal the spotlight. Among Christmas baking recipes, these snowman cake pops stand out as festive, shareable, and a sweet way to brighten any holiday gathering.
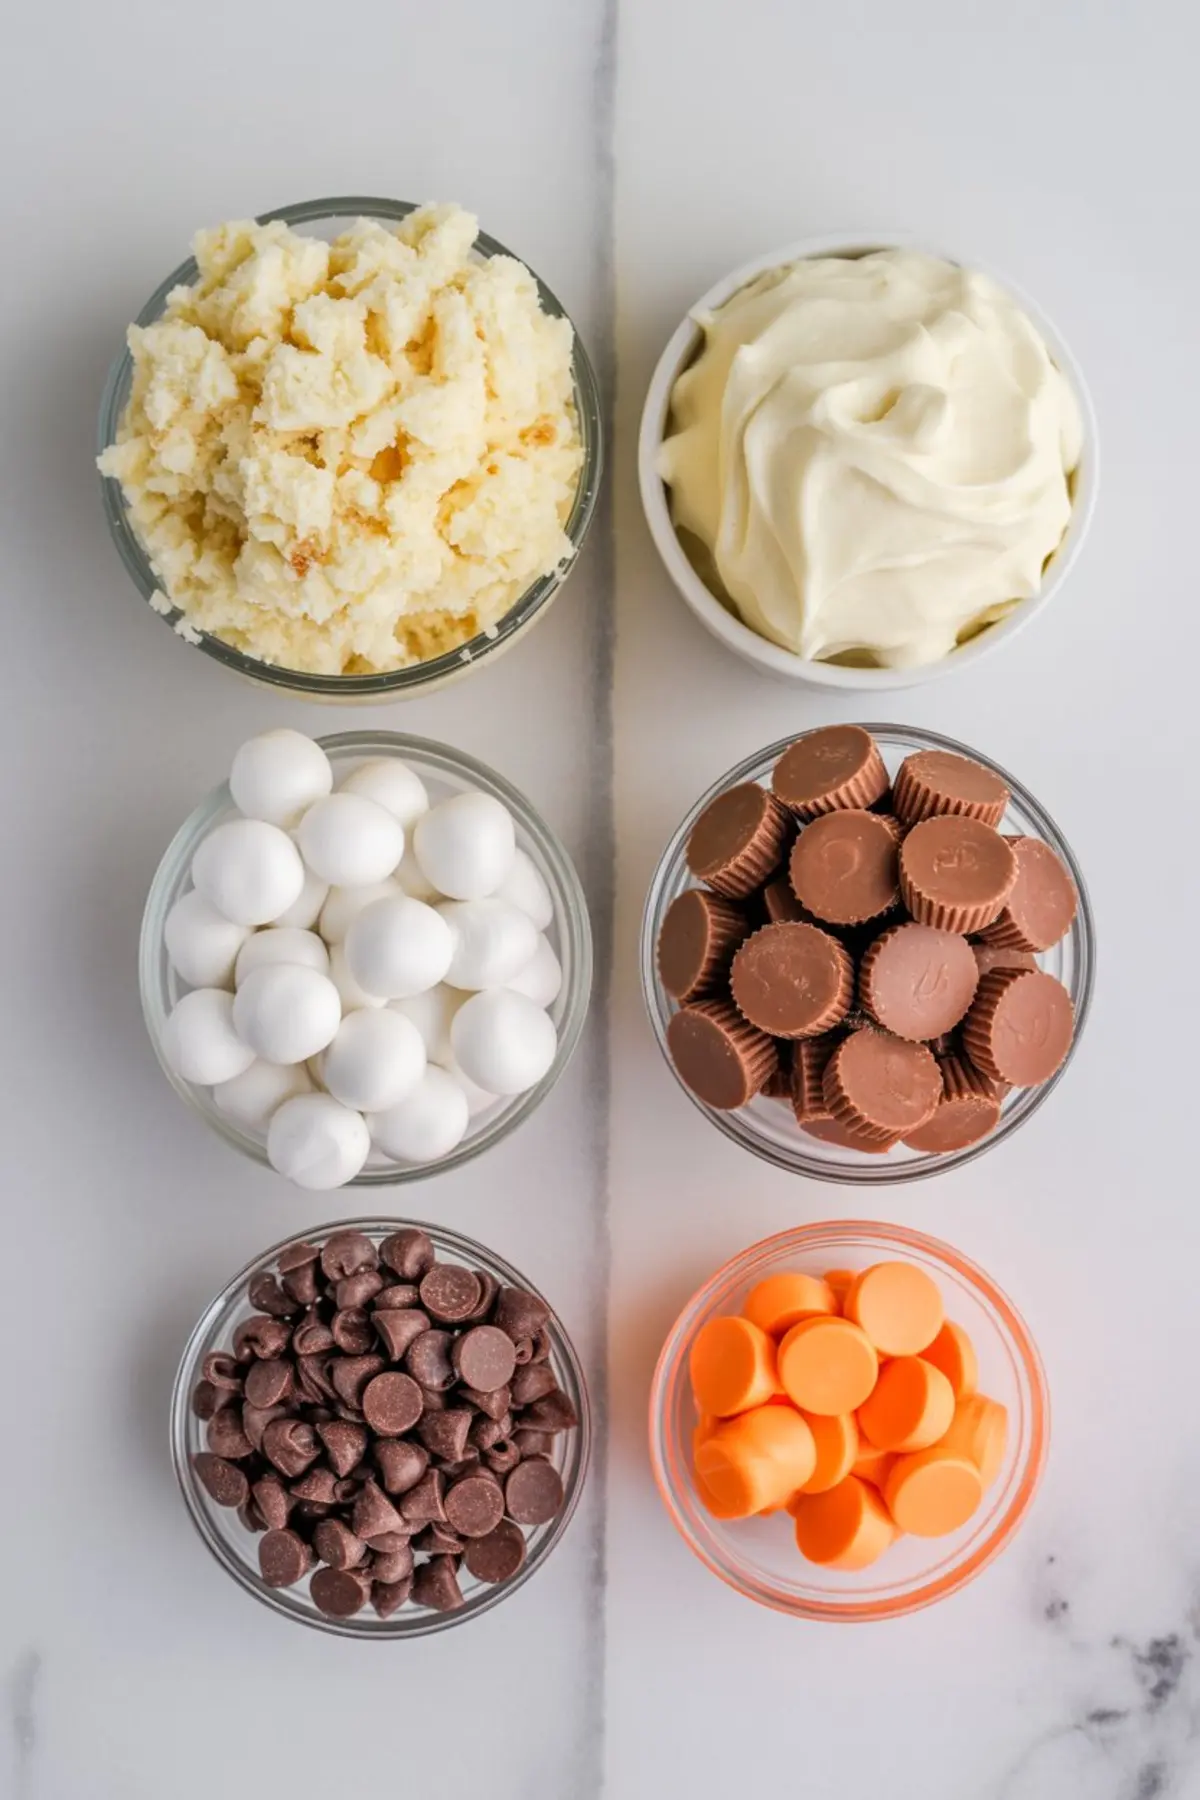
Ingredients
- FOR THE CAKE:
- 1 box vanilla or chocolate cake mix (plus required ingredients listed on the box)
- or your favorite homemade cake recipe
- FOR THE FROSTING:
- ½ cup butter, softened
- 1½ cups powdered sugar
- 2 tablespoons heavy cream or milk
- ½ teaspoon vanilla extract
- FOR COATING AND DECORATING:
- 16 oz white candy melts or white chocolate
- Mini Reese’s peanut butter cups (for hats)
- Mini chocolate chips or brown M&M minis (for eyes and buttons)
- Orange candy melts or orange sprinkle rods (for noses)
- Lollipop sticks
- Sprinkles (optional for decoration)
- Small piping bag or sandwich bag (for details)
Instructions
- BAKE THE CAKE: Prepare the cake according to the box or homemade recipe instructions and allow it to cool completely before handling to avoid a sticky texture during mixing.
- MAKE THE FROSTING: In a mixing bowl, beat the softened butter until light and fluffy. Add powdered sugar, heavy cream, and vanilla extract, then beat again until smooth and creamy.
- FORM THE CAKE BALLS: Crumble the cooled cake into a large bowl using your hands or a fork. Add about three-quarters of the frosting and mix until the mixture holds together like cookie dough. Add more frosting as needed. Roll the mixture into 1½-inch balls and place them on a parchment-lined baking sheet. Chill in the refrigerator for 2 hours or freeze for 30 minutes.
- INSERT STICKS: Melt a small portion of the white candy melts. Dip one end of each lollipop stick into the melted coating, then insert it halfway into each cake ball. Return the tray to the fridge for 10 minutes to help set the sticks.
- COAT THE CAKE POPS: Melt the remaining white candy melts in a microwave-safe bowl in 30-second intervals, stirring between each interval until smooth. Dip each chilled cake pop into the melted coating, gently tap off any excess, then place upright in a styrofoam block or cake pop stand to set completely.
- DECORATE THE SNOWMEN: Before the coating fully sets, press two mini chocolate chips or brown M&M minis into each cake pop for eyes and three for buttons. Add an orange sprinkle rod or piece of orange candy melt for the nose. Once fully dry, press an upside-down mini peanut butter cup on top for the hat. Optional: use a piping bag filled with melted chocolate to add smiles or scarf details.
Notes
Letting the cake cool fully before crumbling ensures the best texture. For smoother dipping, thin candy melts with ½ teaspoon of vegetable shortening if too thick. Store finished pops in an airtight container at room temperature for up to 3 days or refrigerate for longer storage.
Nutrition Information
Yield
24Serving Size
1Amount Per Serving Calories 240Total Fat 9gSaturated Fat 5gTrans Fat 0gUnsaturated Fat 3gCholesterol 16mgSodium 78mgCarbohydrates 40gFiber 1gSugar 30gProtein 2g