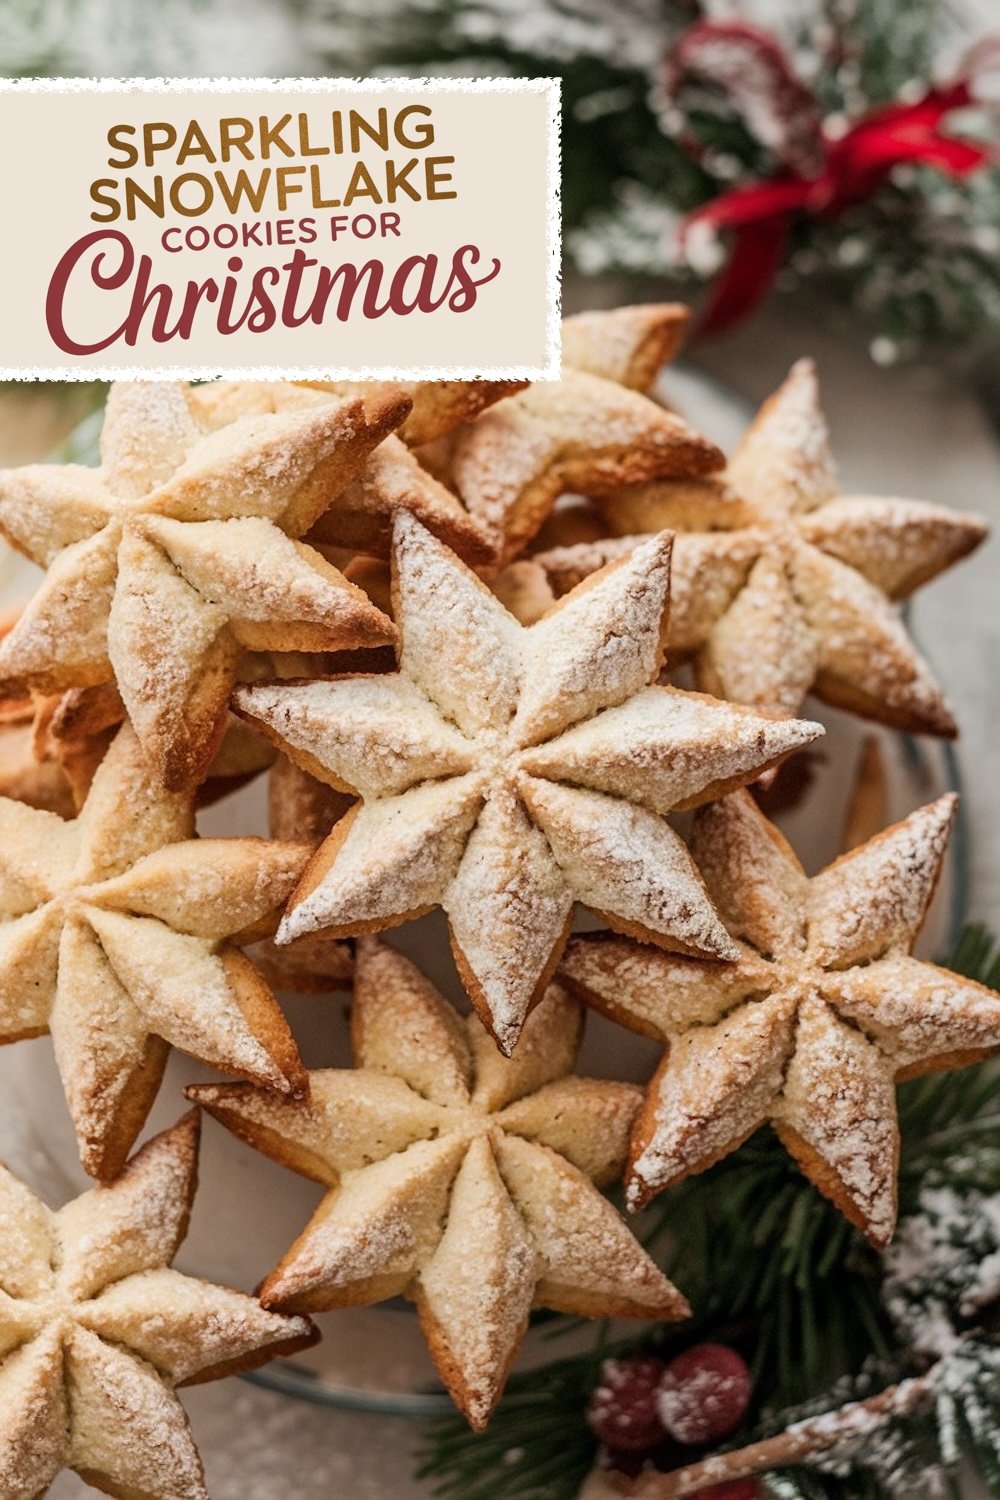
These Sparkling Snowflake Christmas Cookies are everything: cool designs and the ability to finish them in so many different ways; you can absolutely make them your own with different toppings-everything from classic powdered sugar sprinkles to something a little more fun.
They really capture that winter vibe and let you get creative on how you want it, which puts them right at the top of your holiday baking list.
Following a special diet?
Every recipe on this site can be converted to gluten-free, vegan, dairy-free, keto, nut-free or egg-free with adjusted ratios so nothing falls flat.
Try the Recipe Converter →Crafting the Perfect Snowflake: Tips for Dough and Design
Creating these stunning snowflake cookies does require a bit of patience and attention to detail, but the result is absolutely worth the effort. Here’s what you’ll need to know:
Preparing the Cookie Dough
Start by creaming together unsalted butter with a mix of granulated and powdered sugar. This dual-sugar blend adds a slightly lighter, more delicate sweetness and a smooth texture. You’ll add in a touch of vanilla and almond extracts, giving the cookies that classic holiday aroma. An egg binds everything together, creating a rich and pliable dough. After combining the dry ingredients (flour and a pinch of salt), slowly mix them into the butter mixture until it all forms a soft dough.

Combine flour with a pinch of salt and add to the mix with butter. Mix everything until it gets to a soft dough.
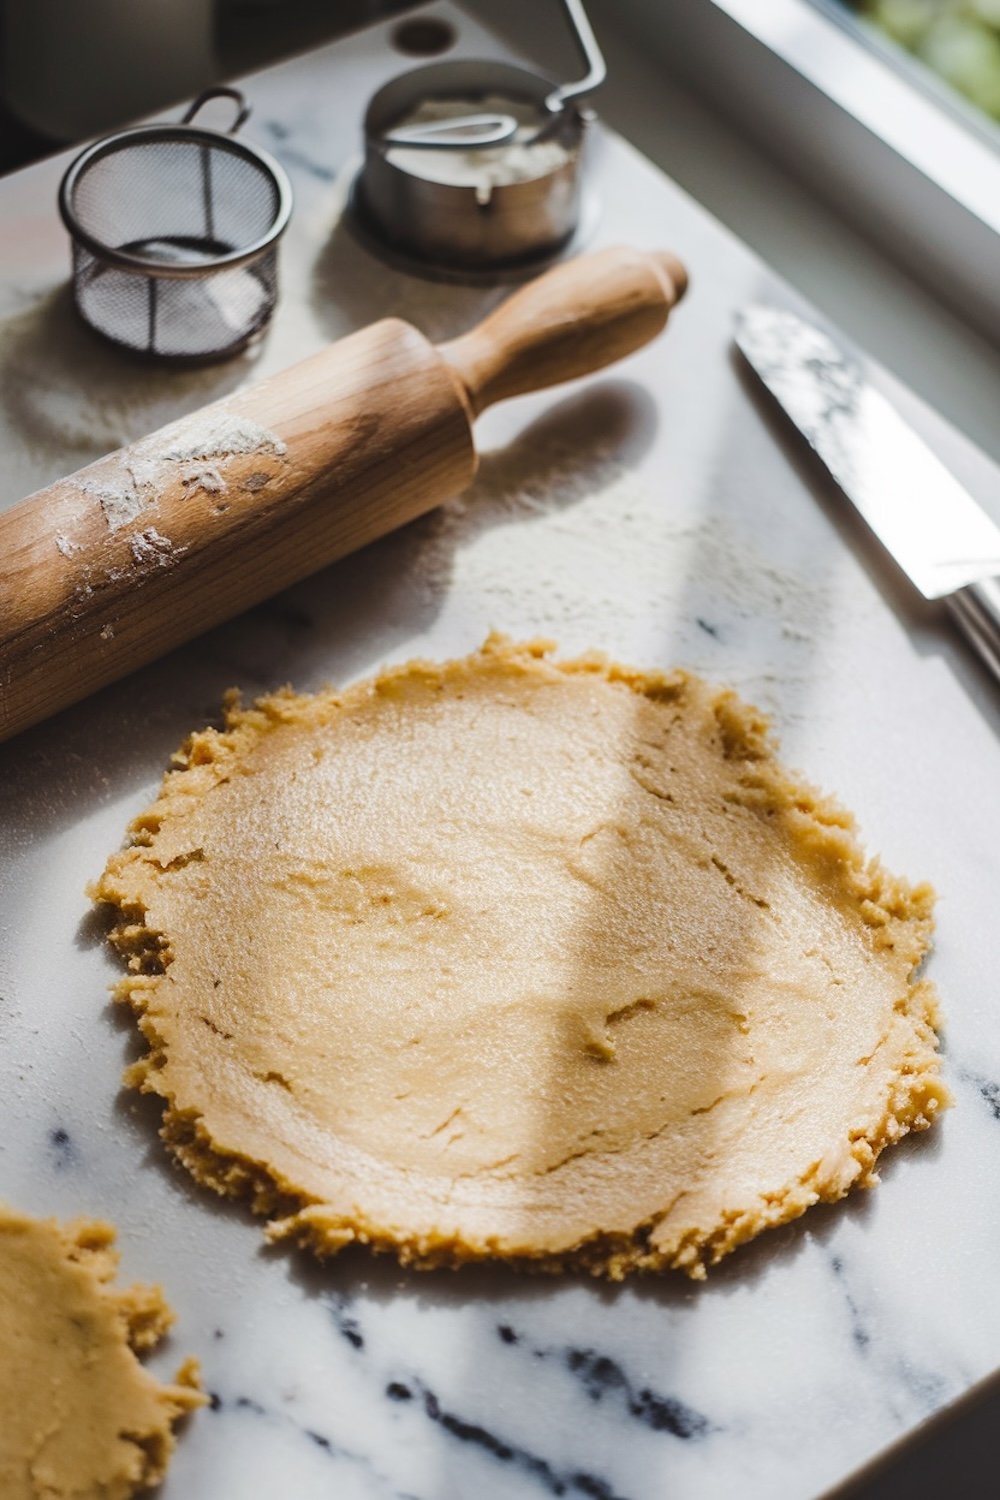
Divide the dough into two disks, wrap it with plastic, and refrigerate for at least an hour; this is essential because that way it does not stick when rolling and cutting out cookies and it gives clean edges.
Snowflake Cookies Without Special Cutter
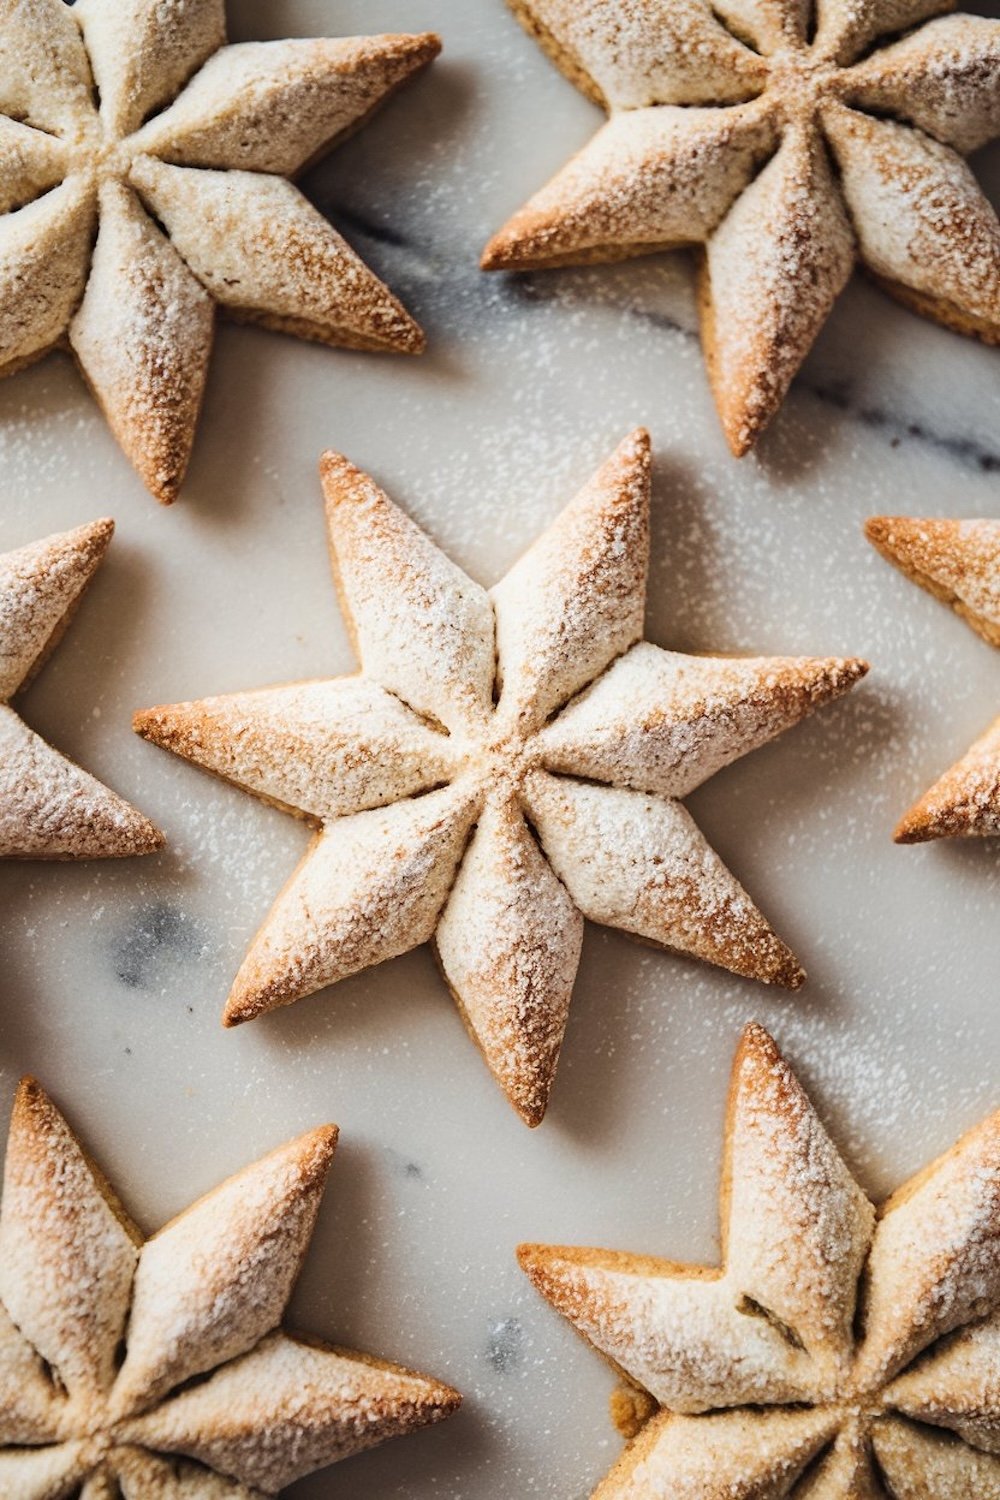
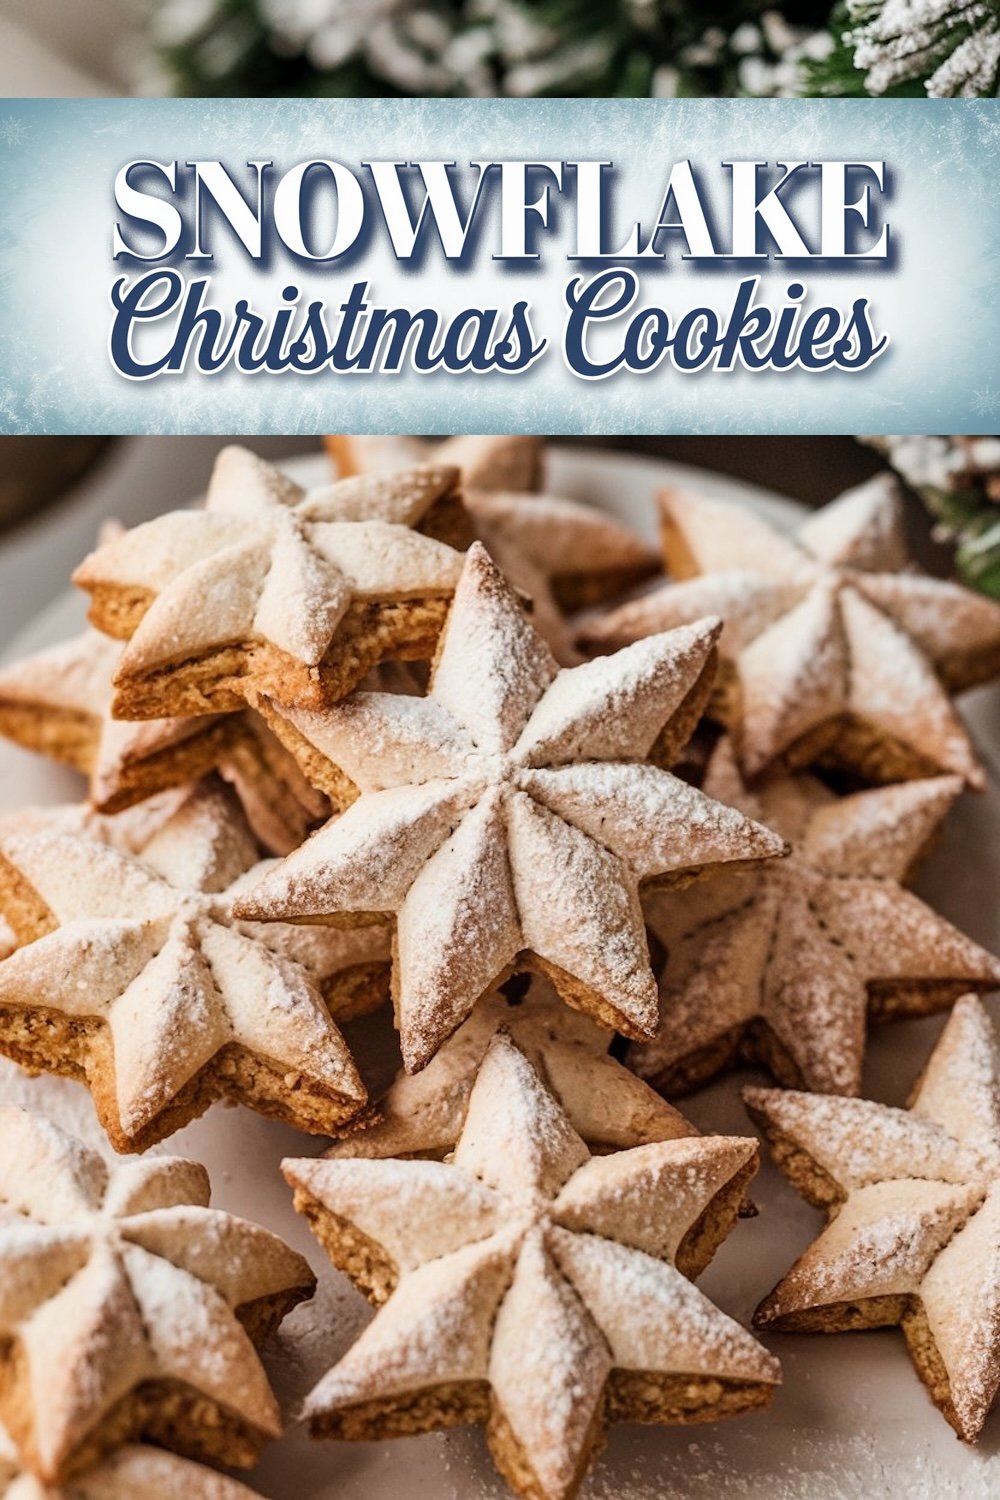
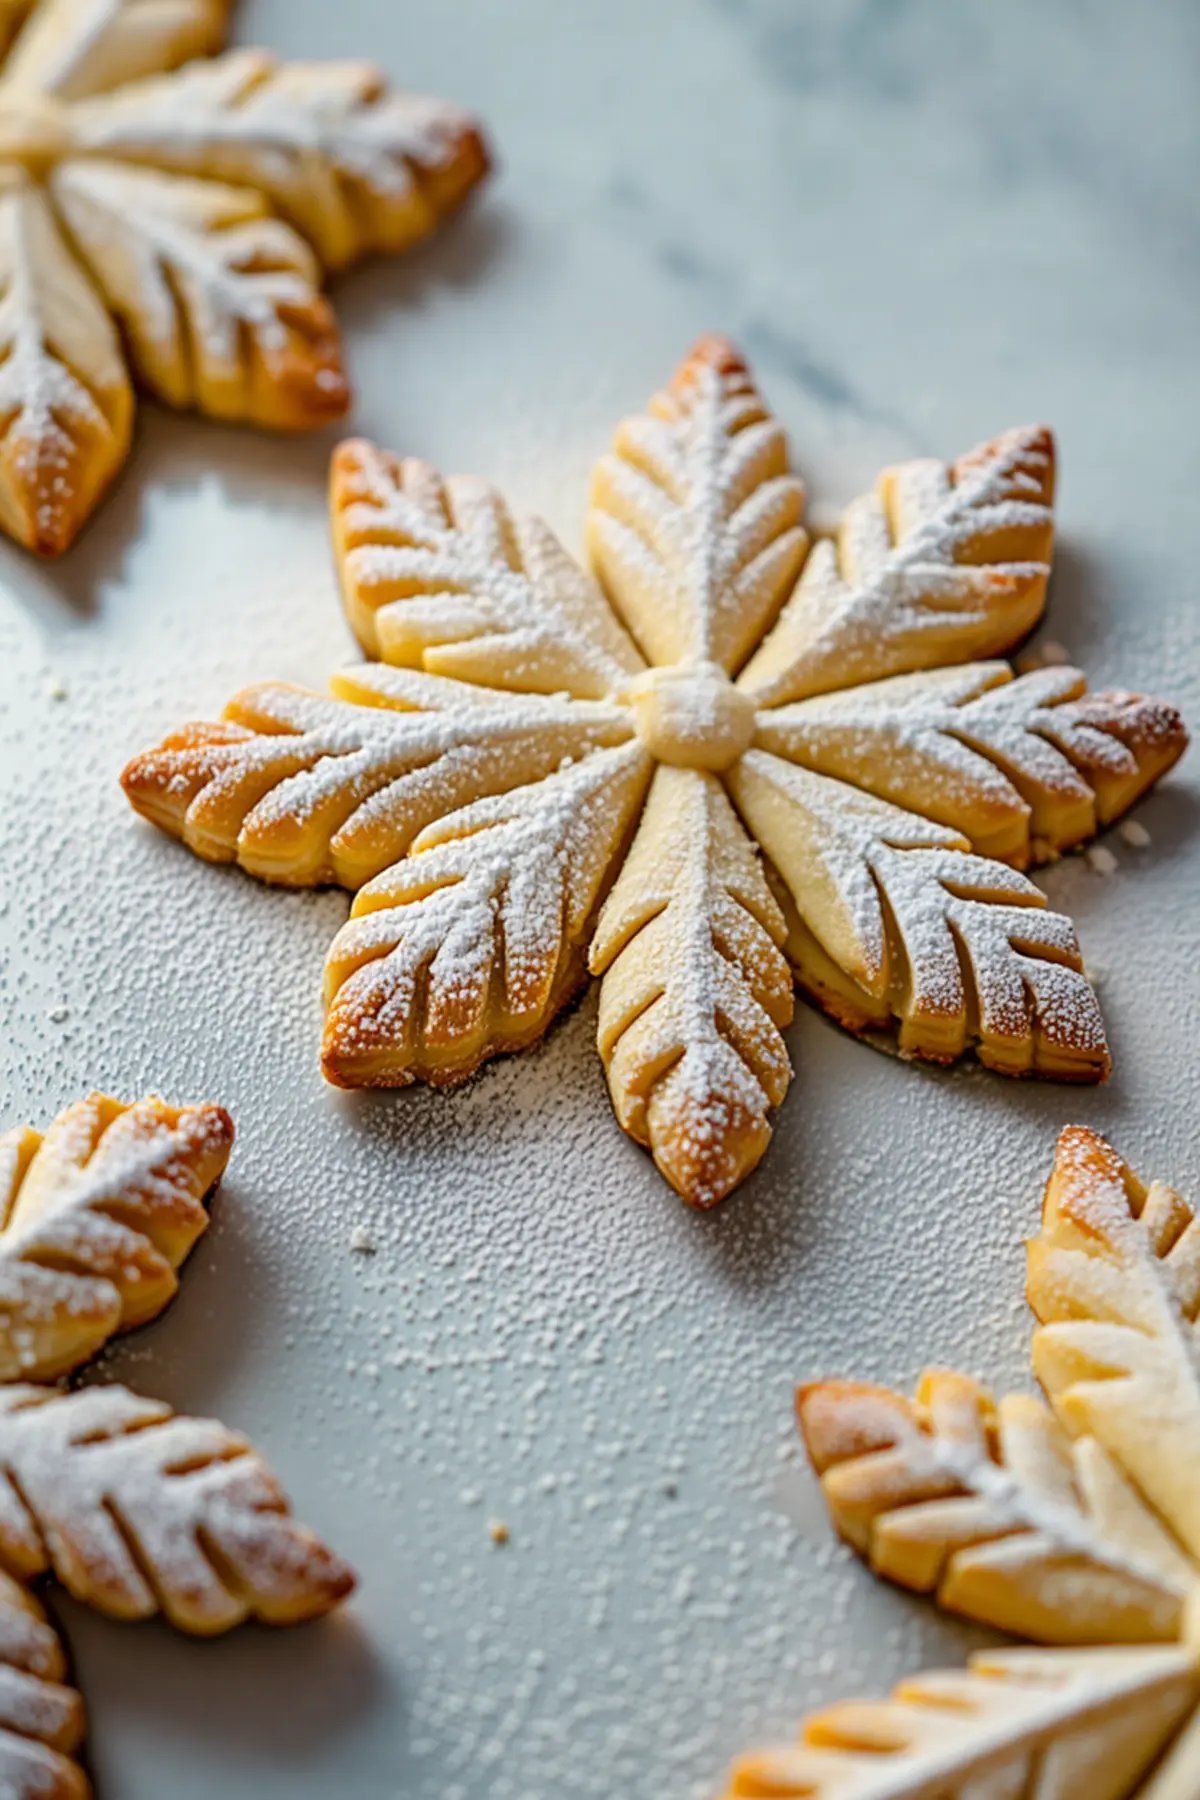
But the best part, what makes these cookies extra special, is that you don’t need any special snowflake cookie cutters! You will simply cut circles out with a round cutter and then make the arms of the snowflake by pinching in segments along the edge. For six-pointed snowflakes, simply mark six even points around each cookie and pinch each one in to make a beautiful star.
For seven-pointed snowflakes, mark seven sections to create a really detailed, fanciful type of snowflake shape. Change the orientation of the “arms” so each cookie is a different snowflake design-just like nature!
Baking to Golden Perfection
Line a baking sheet with parchment paper and preheat the oven to 350°F (175°C). The cookies bake quickly and get a light golden brown around the edges in about 10-12 minutes. Allow the cookies to cool completely on a wire rack before adding the finishing touches, as the dough can be delicate when warm.
Finishing Touches Ideas
1. Classic Powdered Sugar Dusting
After the cookies cool down, sprinkle some powdered sugar on them. It really gives it that frosting-snow-kissed vibe that is absolutely needed for the whole holiday thing.
2. Vanilla Glaze
For that shiny finish, combine 1 cup of powdered sugar with 2 tablespoons of milk or water and 1/2 teaspoon of vanilla extract. Finally, drizzle the glaze on cooled cookies to give it sheen and sweetness. For extra festiveness, sprinkle sanding sugar or edible glitter on top of the wet glaze.
3. Lemon Icing
If you wanted something a little different, stir together 1 cup of powdered sugar with 2 tablespoons of lemon juice. This light, zesty icing pops well against the buttery cookies. You could dip the tops of the cookies in the icing, or get out a piping bag for piping some cute lines onto the arms of the snowflakes.
4. White Chocolate Drizzle
Melt 1/2 cup white chocolate chips and drizzle onto the cookies. It really does look quite fancy, actually, and a nice contrast to the vanilla/almond flavors in the dough. If you like, sprinkle some crushed candy canes on top for a cool peppermint vibe.
5. Sparkling Sanding Sugar
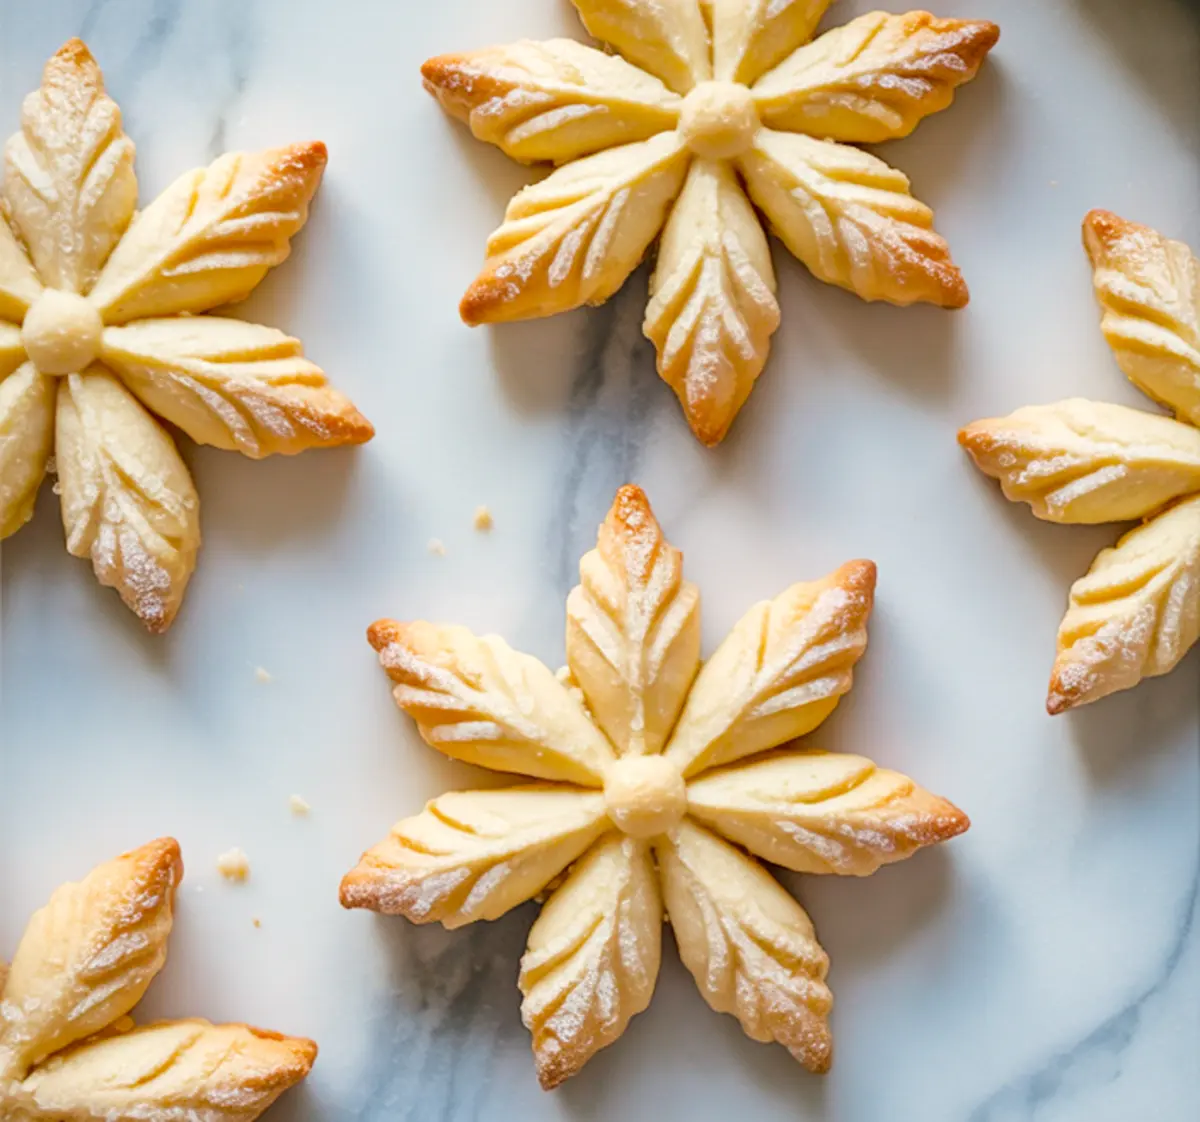
If you want these extra fancy, just brush the unbaked cookies with a little egg white and pile on some sanding sugar. It will melt a little while it bakes, creating that awesome crunchy-sweet layer on top.
Serving Information
- Servings: Makes about 24 cookies
- Prep time: 1 hour (plus chilling time)
- Bake time: 12 minutes
- Calories per cookie: Approximately 120 calories
Emma’s Tips
- Keep your cookies uniform: To ensure all cookies bake evenly, aim for consistent thickness when rolling out the dough.
- Chill again before baking: For the best results, pop the shaped cookies into the fridge for 10 minutes before baking to help them hold their detailed shape.
- Play with flavors: Add a dash of cinnamon or nutmeg to the dough for extra warmth or a bit of orange zest for a citrusy kick.
Storing and Pairing Sparkling Snowflake Christmas Cookies
When it comes to storing Sparkling Snowflake Christmas Cookies, ensuring their crispness and maintaining their aesthetic appeal is crucial. After baking, allow the cookies to cool completely on a wire rack. This step is essential to prevent any moisture from making them soggy. Once cooled, the cookies should be stored in an airtight container. To prevent the cookies from sticking together, you can layer them between sheets of parchment paper.
If stored properly at room temperature, these cookies will keep fresh for up to a week. For extended storage, they can be frozen for up to three months. To freeze, place the cookies in a single layer on a baking sheet to freeze individually, then transfer them into airtight bags or containers. This prevents them from breaking and maintains their shape. When you’re ready to serve them, simply thaw at room temperature, ensuring they retain their original texture and flavor.
Pairing these cookies with the right beverages and settings can elevate the festive spirit of any holiday gathering. Sparkling Snowflake Christmas Cookies, with their delicate flavors of vanilla and optional almond, pair wonderfully with warm beverages. A classic choice is hot chocolate, which complements the sweetness of the cookies with its rich, creamy texture. For a more adult pairing, a glass of eggnog or a spiced mulled wine offers a delightful contrast to the cookies’ sugary notes.
These cookies also serve as a perfect accompaniment to a holiday tea selection, pairing well with both black and herbal teas, especially those with cinnamon or apple notes. Whether served at a casual family gathering or as part of a more formal holiday feast, these cookies add a touch of whimsy and joy to the table, reflecting the sparkle and magic of the season.
Getting excited for the holidays? Make each day leading up to Christmas even more special with exclusive treats from my ‘24 Days of Christmas Desserts’ eBook, featuring a delightful new recipe for every day of the season.
So Here We Go
These Sparkling Snowflake Cookies are absolutely my holiday favorite at home, and I do so hope they will be your favorite, too! Whether you go classic with powdered sugar on top or get creative with one of the cool variations, they really will add a little extra sparkle to your season. Drop a note in the comments below, letting me know what style you tried and how it turned out. Just can’t wait to see your snowy creations!
Snowflake Cookies Recipe
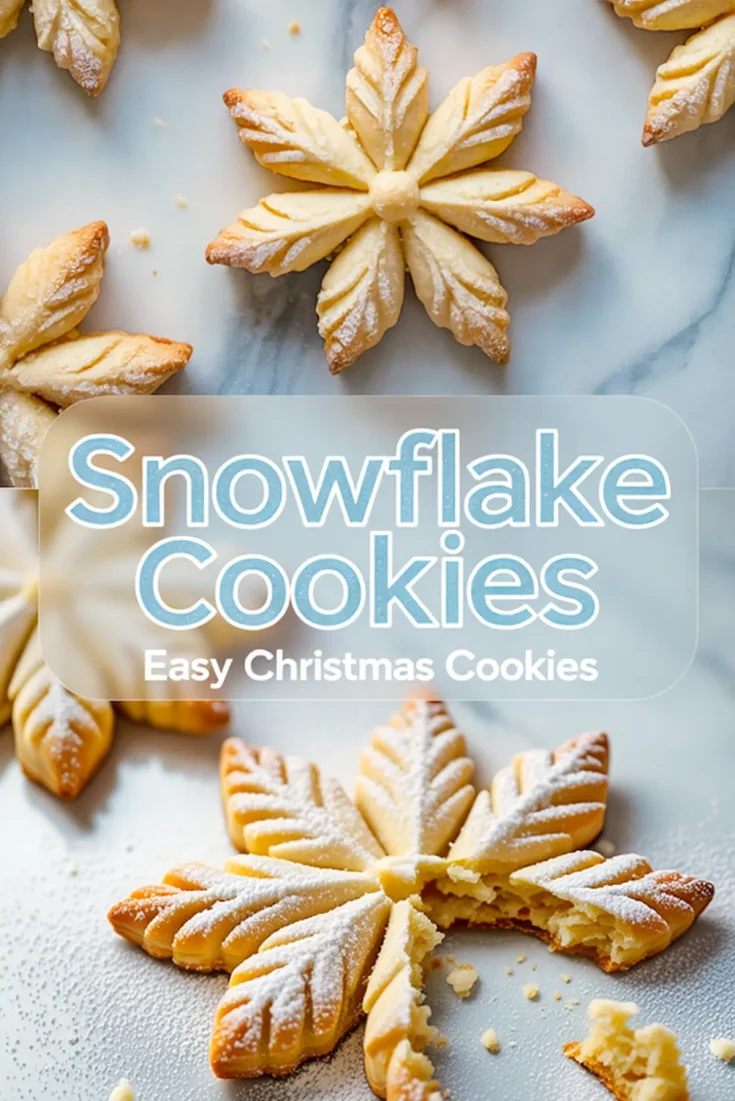
Snowflake cookies bake into soft, buttery shapes with crisp edges and a delicate dusting of powdered sugar. I make this snowflake cookies recipe when I want something simple and pretty for a Christmas tray without the need for icing. The dough holds detail beautifully, so the snowflake cutters leave clean, sharp patterns that still show through under the sugar. These are the kind of Christmas cookies that look elegant but don’t take much effort. If you want a winter cookie that’s easy to share and perfect with coffee or cocoa, this one fits the bill. It also works well for Christmas cooking days when you’re prepping a few types of Xmas cookies at once.
Ingredients
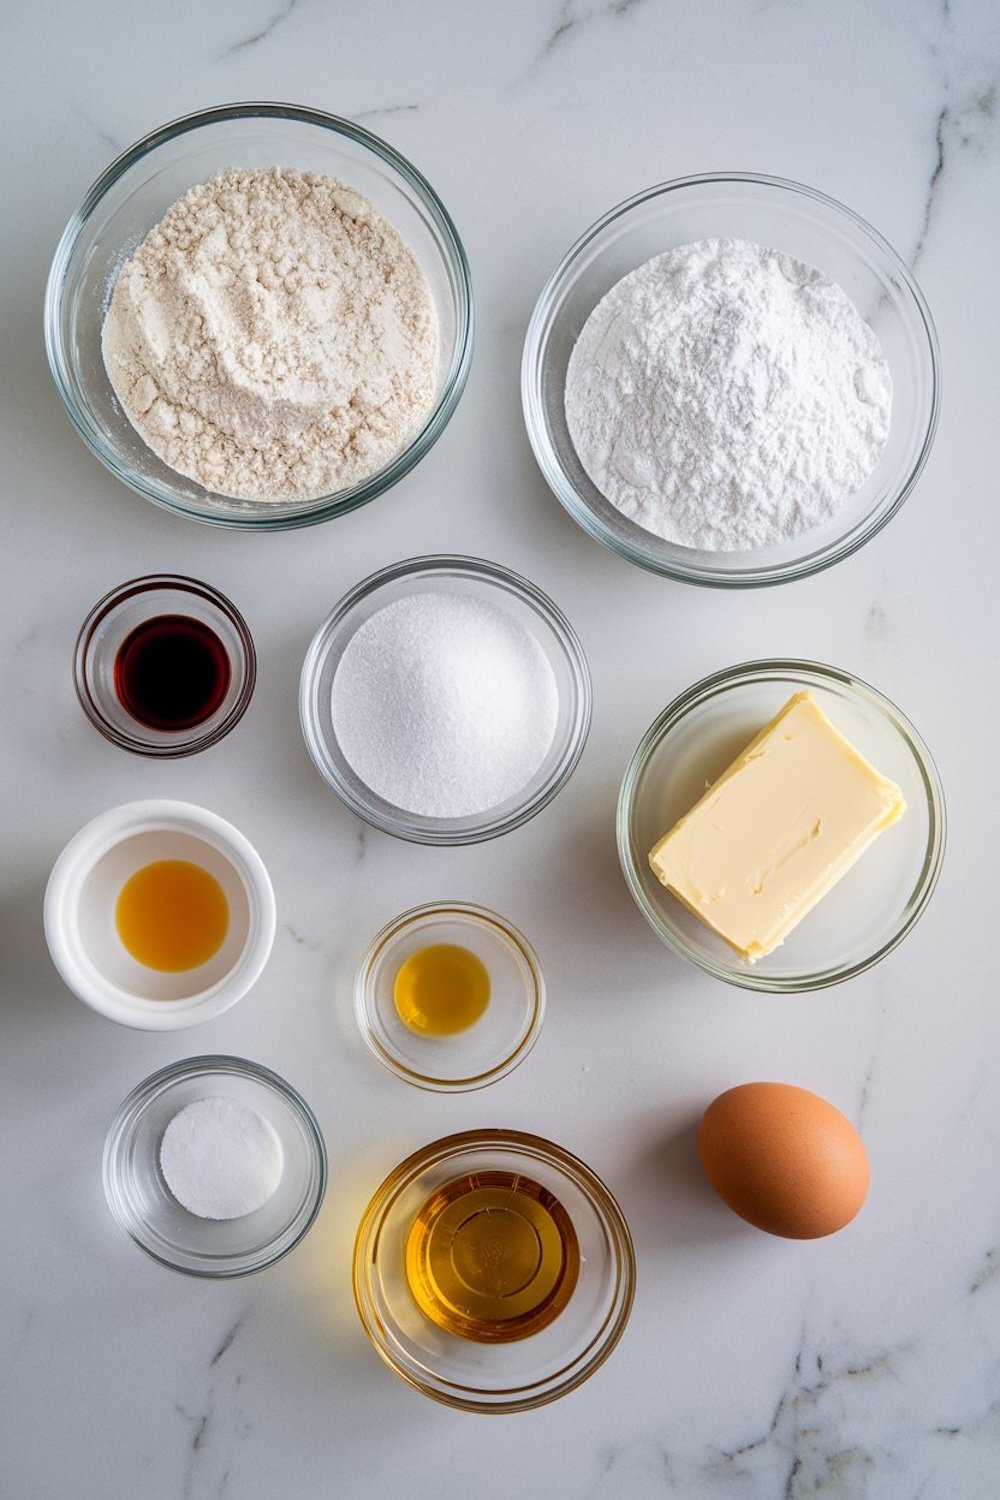
- 2 cups all-purpose flour
- 1/2 cup powdered sugar (plus extra for dusting)
- 1/4 cup granulated sugar
- 1 cup unsalted butter, softened
- 1 teaspoon vanilla extract
- 1/4 teaspoon almond extract (optional)
- 1/2 teaspoon salt
- 1 large egg
Instructions
- PREPARE THE DOUGH: Cream together the softened butter, granulated sugar, and powdered sugar in a large bowl using a hand mixer or stand mixer on medium speed until light and fluffy, about 3 minutes. Add the egg, vanilla extract, and almond extract (if using), and beat until fully combined.
- ADD DRY INGREDIENTS: In a separate bowl, whisk together the flour and salt. Gradually add the dry mixture to the wet ingredients, mixing on low speed just until a smooth dough forms. Do not overmix.
- CHILL THE DOUGH: Divide the dough into two equal portions. Flatten each into a disc, wrap tightly in plastic wrap, and refrigerate for at least 1 hour or until firm enough to roll out.
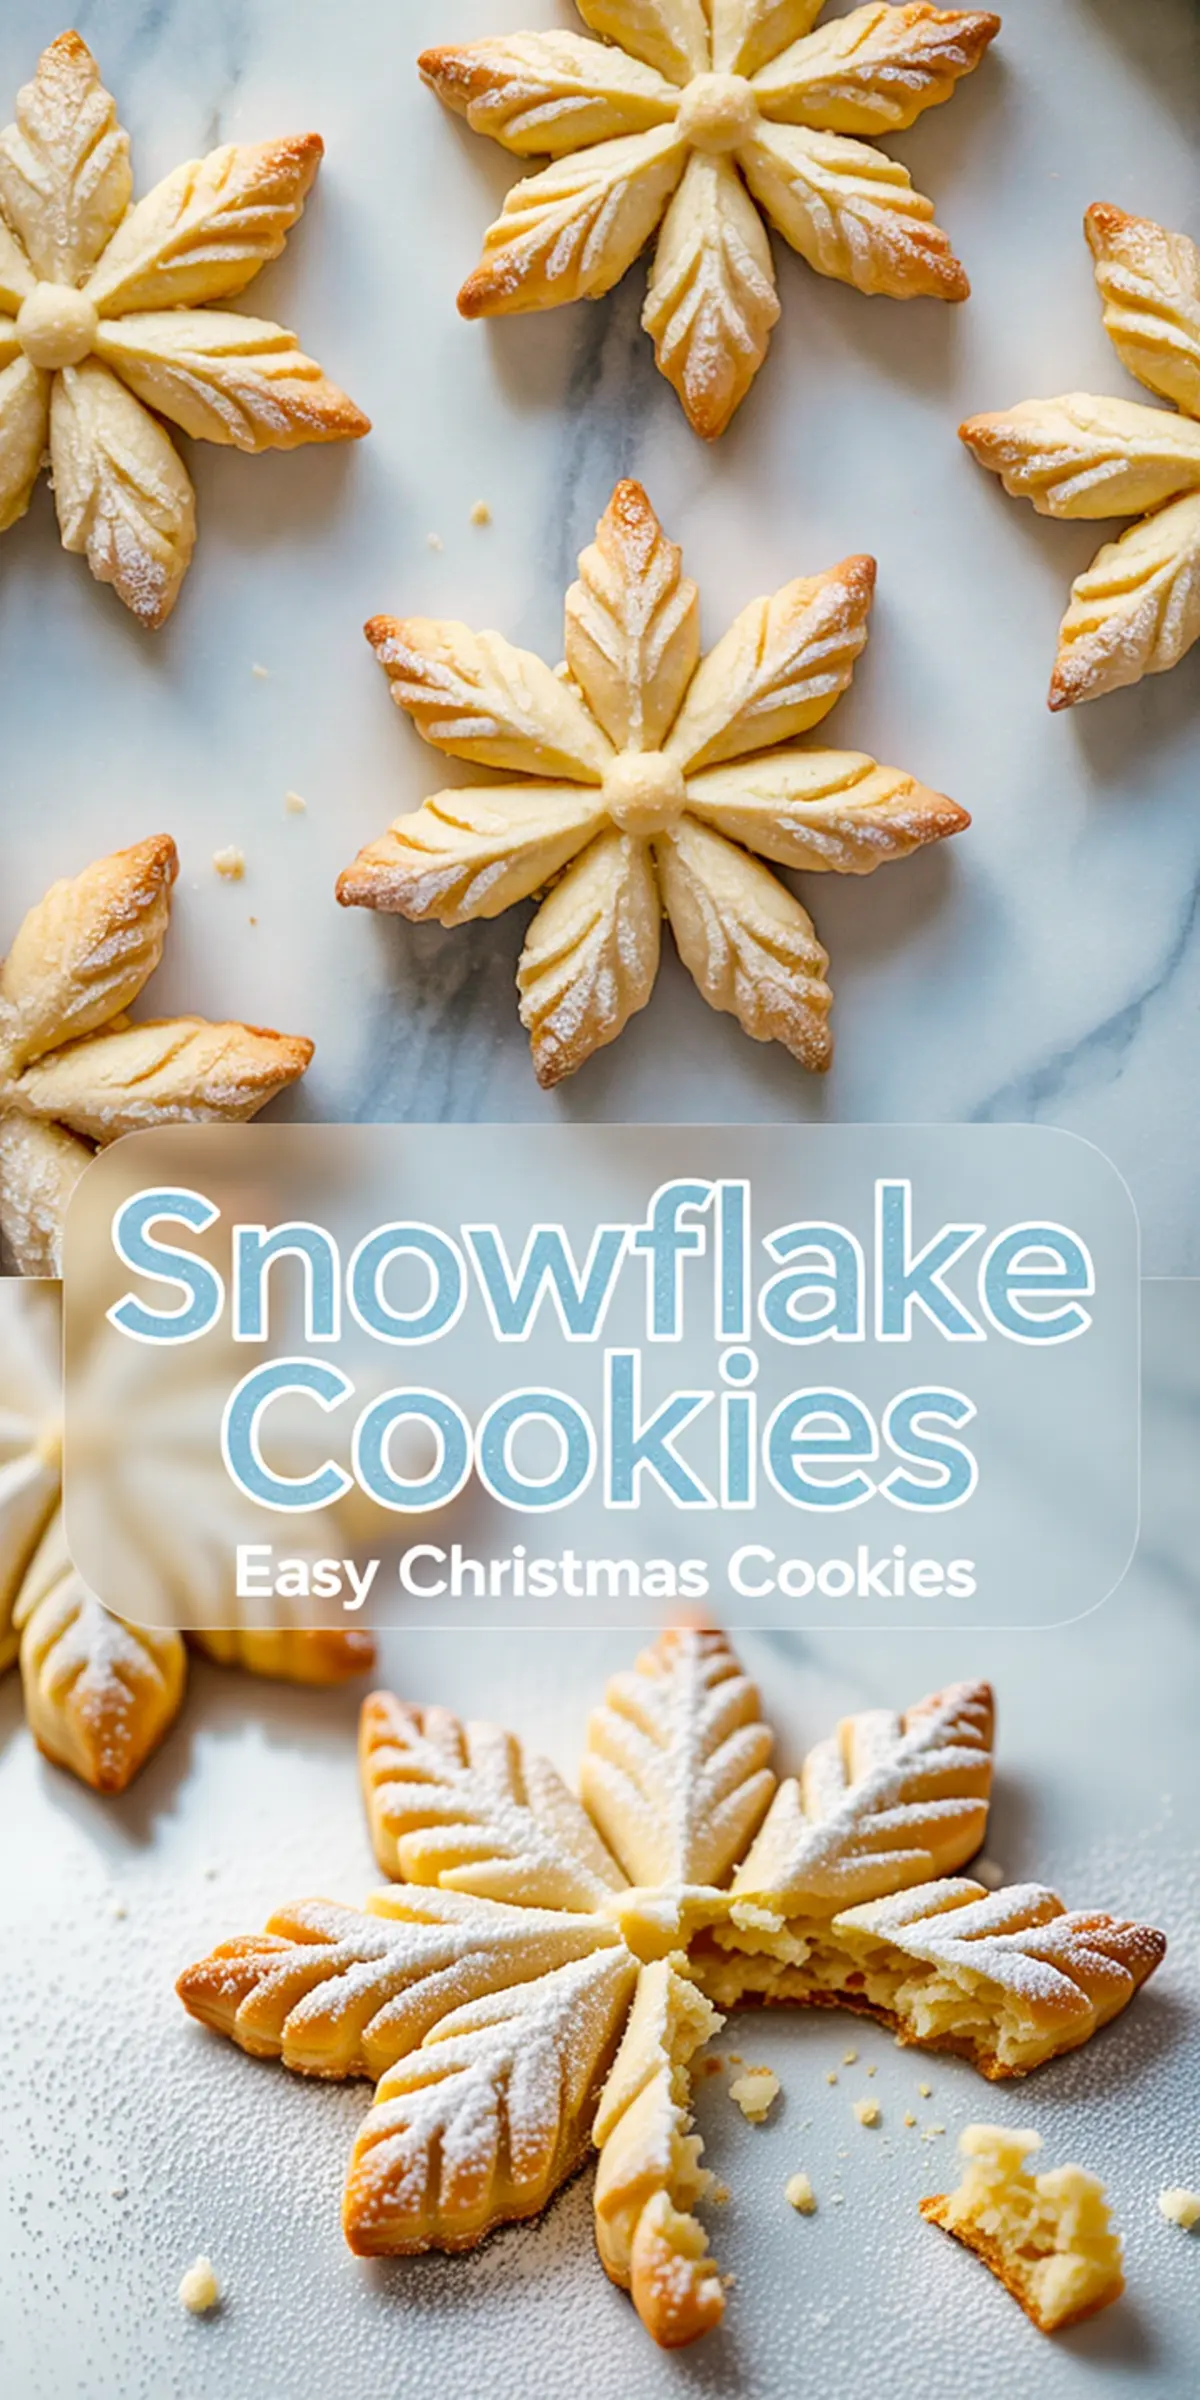
- ROLL AND SHAPE (SIX-POINT SNOWFLAKES): On a lightly floured surface, roll one disc of dough to 1/4-inch thickness. Use a round cookie cutter to cut circles. Use a knife or toothpick to mark six evenly spaced points around the edge of each circle, then gently pinch the dough at each point to create snowflake arms.
- ROLL AND SHAPE (SEVEN-POINT SNOWFLAKES): For variation, mark the edges of the dough circles into seven segments instead of six, and pinch each segment to form a seven-point snowflake shape.
- BAKE THE COOKIES: Preheat your oven to 350°F (175°C) and line baking sheets with parchment paper. Arrange the shaped cookies 2 inches apart. Bake for 10–12 minutes or until the edges are lightly golden. Do not overbake.
- COOL AND DUST: Allow the cookies to cool completely on wire racks. Once cooled, lightly dust with powdered sugar for a snowy finish before serving or packaging.
Notes
To prevent sticking, keep the dough cold and use a dusting of flour as needed when rolling and shaping. These cookies hold their shape well and can be stored in an airtight container at room temperature for up to 1 week.
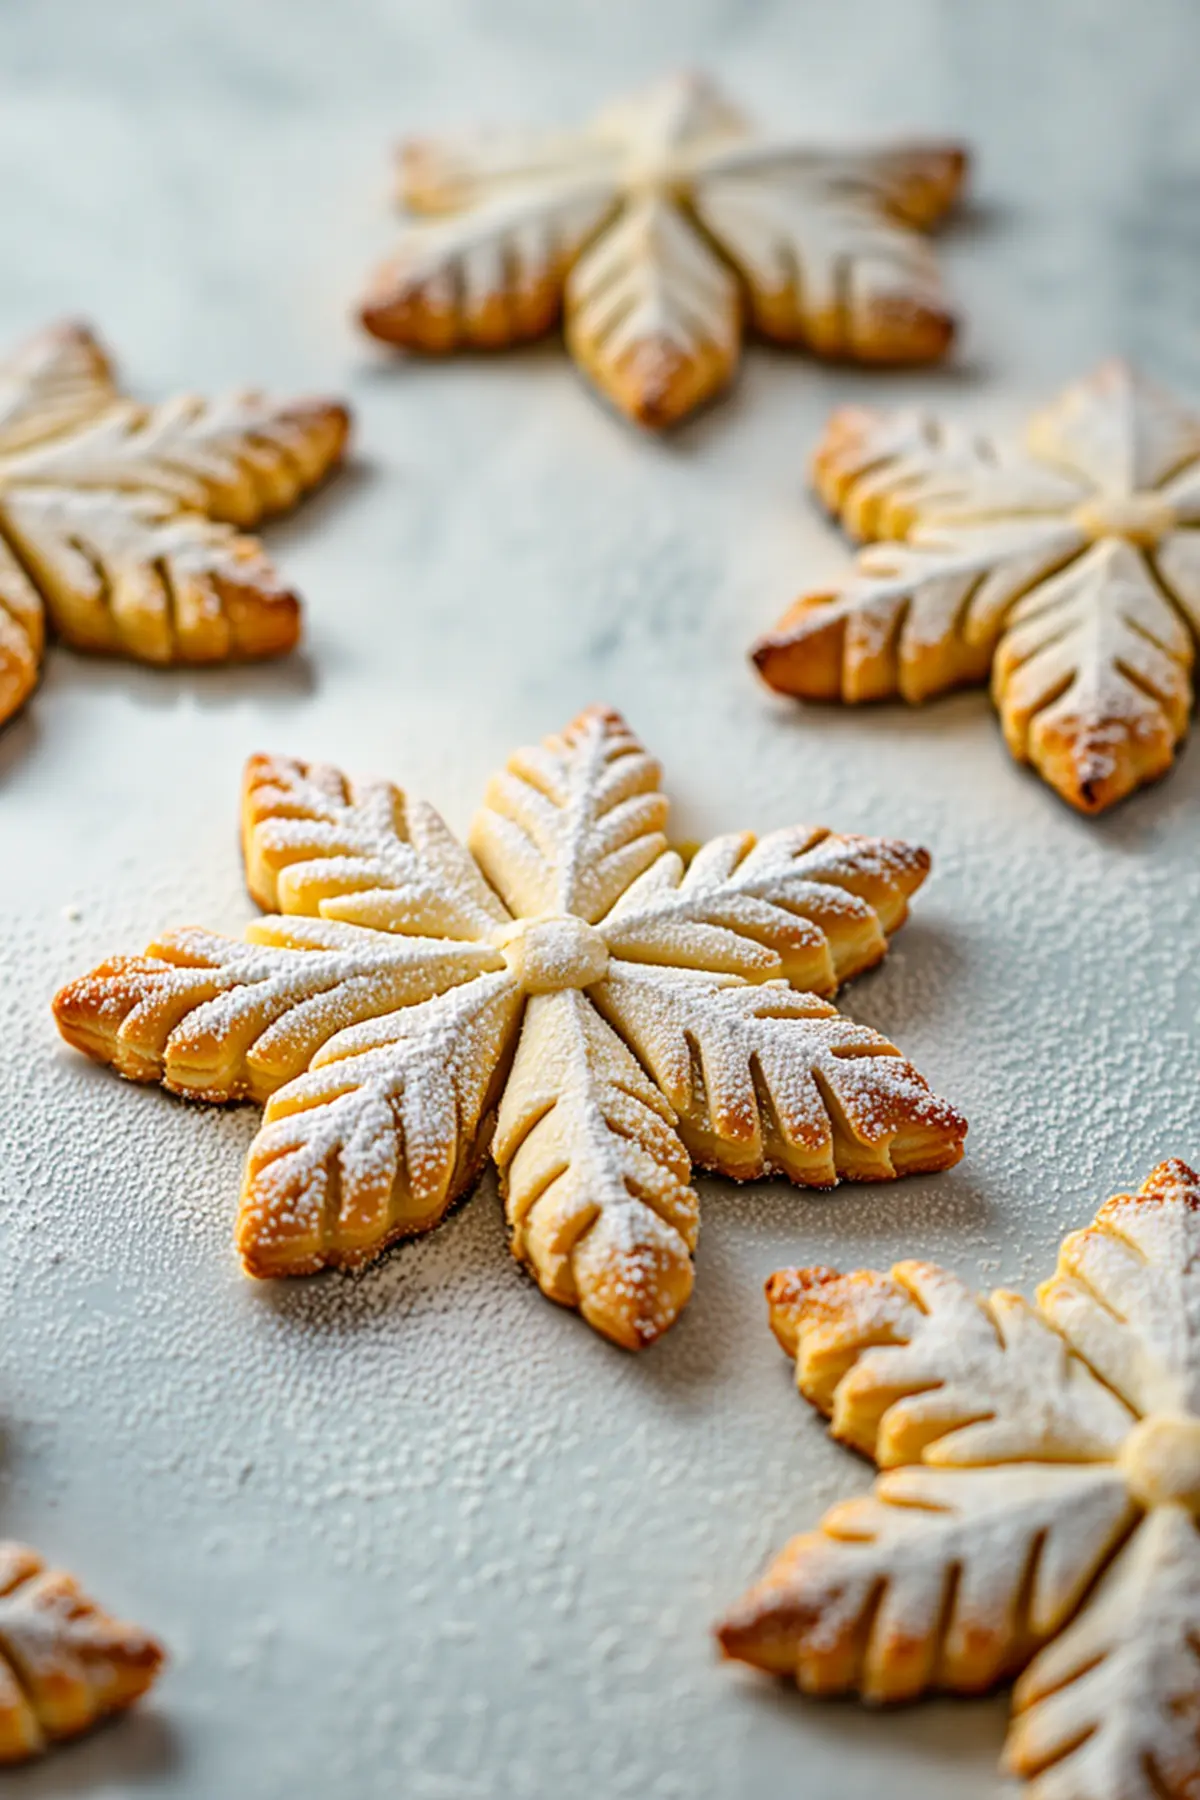
Snowflake Christmas Cookie Inspiration from Last Year’s Bake
Here’s a look at how my last year’s snowflake cookies turned out. Use these for decorating ideas or batch presentation inspiration.