
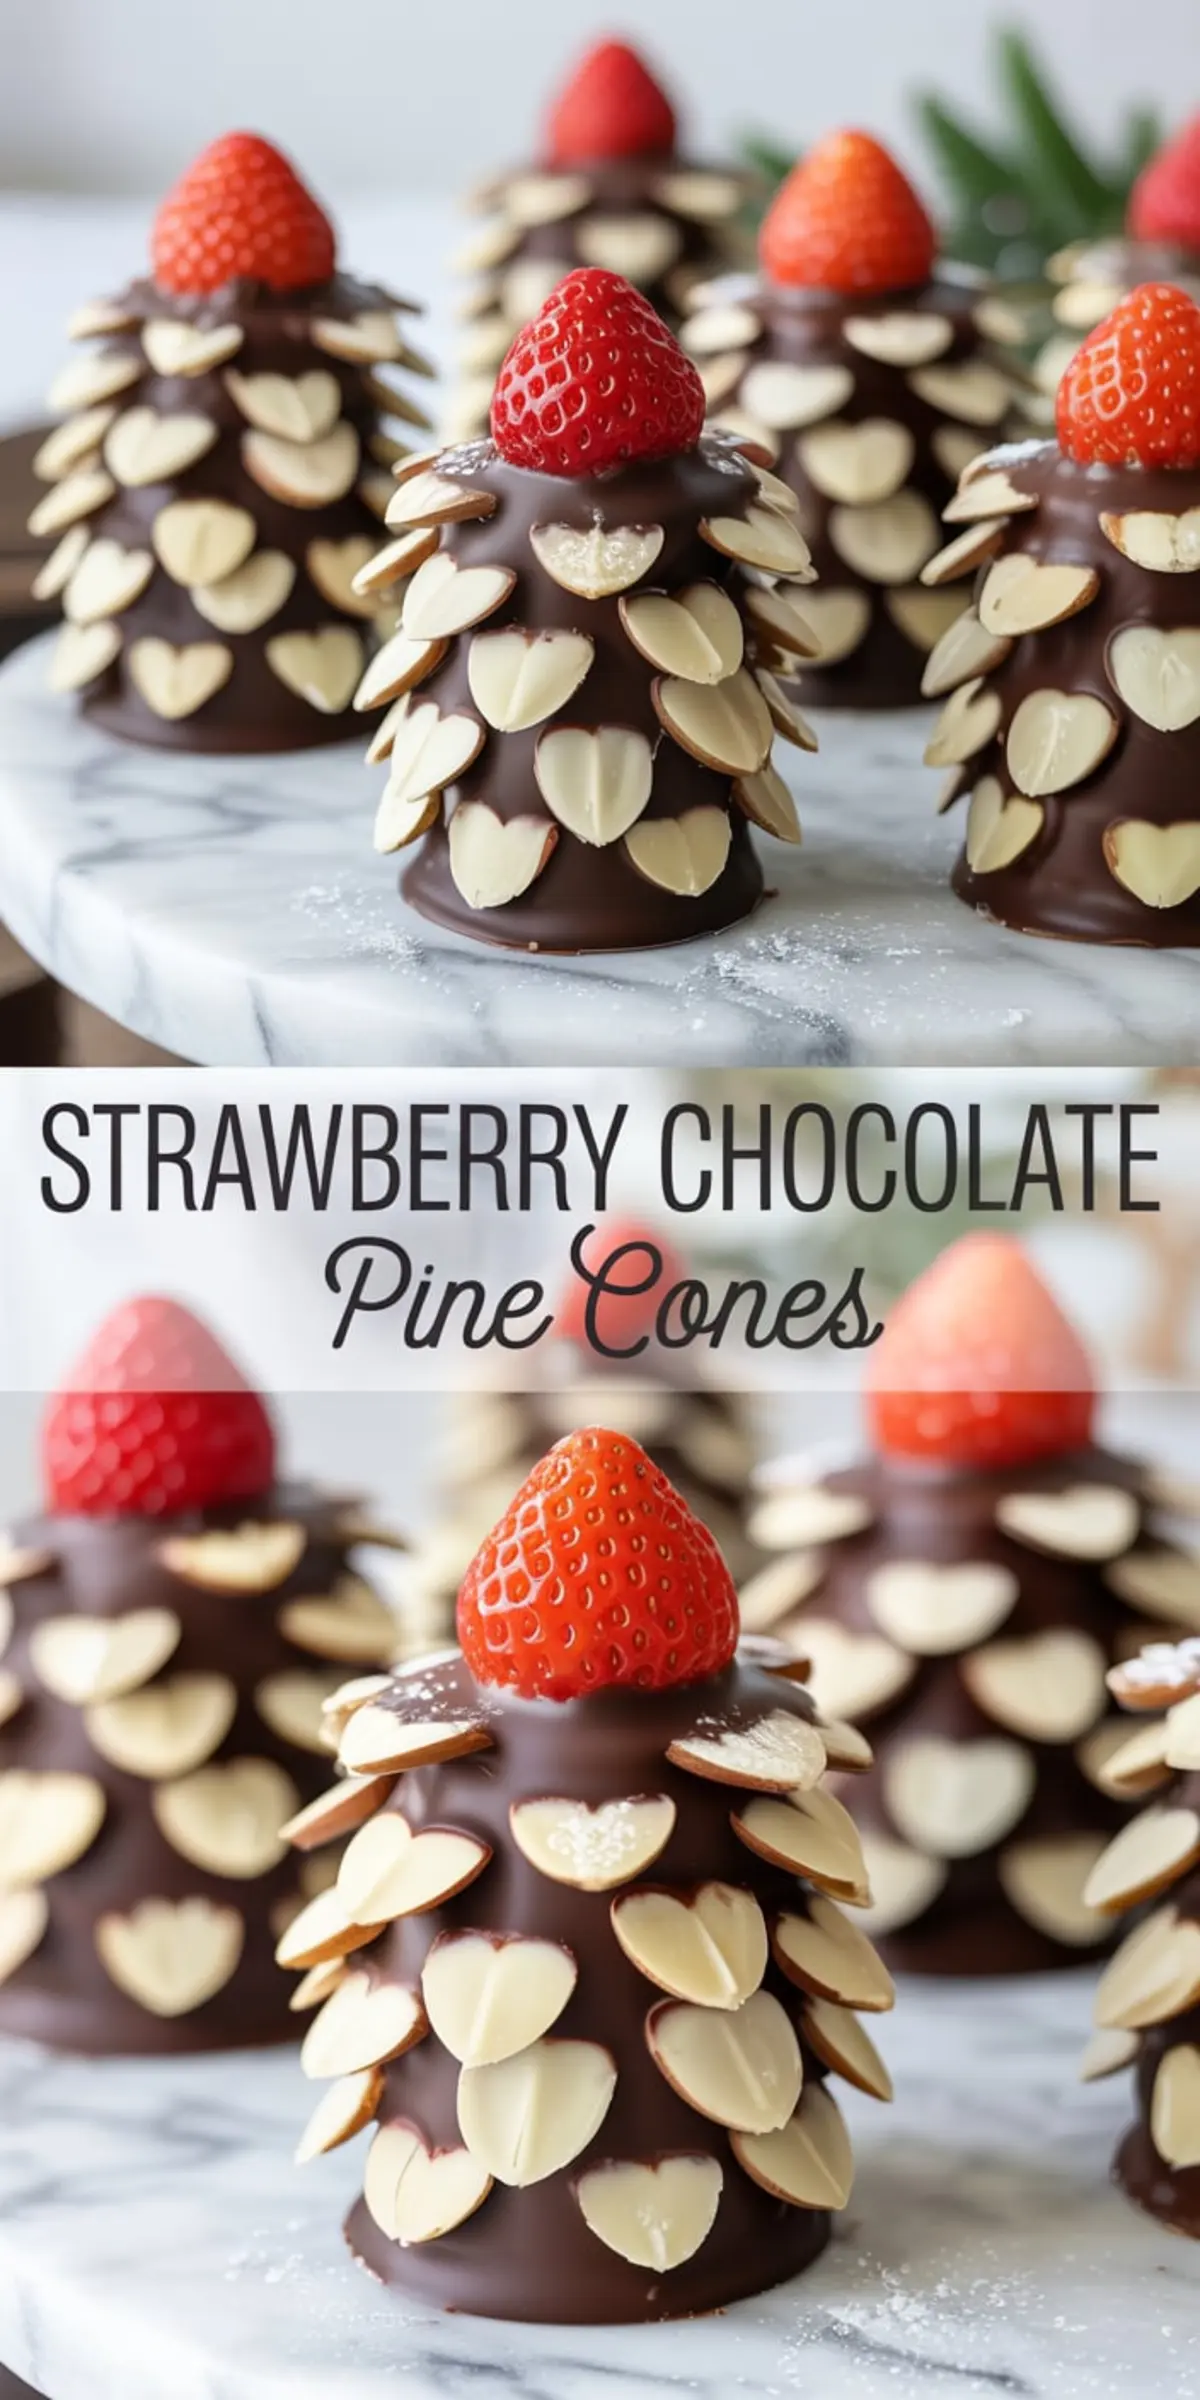
These Strawberry Chocolate Pine Cones combine a biscuit cookie base, dark chocolate coating, and fresh strawberries into fun Christmas snacks that look decorative but come together fast. They fit easily into chocolate dessert recipes, festive desserts, and any holiday treats platter. This recipe works well for December events and makes a standout addition to Christmas party food.
The base uses digestive biscuits crushed into a fine, sandy crumb. I chose them instead of graham crackers because they press into shape without cracking. They create a compact texture that doesn’t fall apart. The butter helps it hold while the honey adds mild sweetness and tack. That small amount of honey also smooths the chocolate’s bitterness without pushing the sugar too high.
The ratio matters here. Two hundred fifty grams of biscuit to one hundred grams of butter gives a pressable dough that keeps its shape. If the butter is too low, the cones crumble. Too high, and they go greasy.
I shape them using my hands and a smooth plate to flatten the base. A dozen cones take about ten minutes. I often prep them while the chocolate is melting.
This method pairs well with other festive ideas like these Mini Christmas Drip Cakes which also play with shape and structure.
Chocolate and Strawberry Choices Matter
I use dark chocolate with about sixty percent cocoa. It melts smoothly and sets with a glossy snap once chilled. Chocolate chips tend to have stabilizers that affect melt and texture. Go for a bar instead. Melt it slowly and stir well for a smooth coat that firms up cleanly.
Strawberries give this treat height, color, and a fresh contrast to the chocolate. Medium ones work best. Look for berries with narrow tips and a firm, dry surface. Avoid berries with soft spots. If the strawberry collapses, the cone tilts, and the almonds slide.
Another fun shape-based holiday treat is the Donut Snowman which layers ingredients vertically, just like this one.
Getting the Almond Layers Right
After dipping each cone in chocolate, let the surface rest for about a minute. It should still feel tacky, not fully set. This helps the almond slices hold. If you press too early, they slip. If you wait too long, they won’t stick.
I start layering almonds from the bottom and work up in overlapping rows. Use the curve of the almond slice to follow the shape of the cone. Keep the strawberry tip uncovered. That point is what makes the pine cone look complete.
Once everything is coated and layered, chill the tray for twenty-five to thirty minutes. The chocolate should look matte and feel firm to the touch.
You can create a similar showpiece effect with these Cookie Tree Dippers which use stacked cookie shapes to mimic pine trees.
Ingredient Notes and Smart Swaps
Digestive biscuits press better than most, but Maria cookies also work. If using graham crackers, reduce butter slightly. For butter, unsalted gives the best flavor control. Salted adds too much sharpness with the dark chocolate.
Dark chocolate gives a rich contrast, but milk chocolate offers a softer bite. It may need extra chill time to fully firm. Sliced almonds create the pinecone texture. Coconut flakes can work too, but the shape becomes looser and less defined.
For another fruit-forward festive dessert, try the Orange Syrup Cake which balances citrus and richness in a very different way.
Final Serving Ideas and Tips
Use parchment under the cones to keep the base clean and easy to lift. Chill the cones before dipping if your kitchen runs warm.
Reheat thickened chocolate in short microwave bursts with gentle stirring. Apply almonds while the chocolate still feels slightly soft, not dry.
Dust lightly with powdered sugar before serving for a snow-tipped finish.
How to Serve These Strawberry Chocolate Pine Cones
Serve as edible centerpieces on holiday platters. Wrap in clear bags for gifts or stocking stuffers.
Pair with hot cocoa for cozy chocolate snacks. Use as edible place cards at your Christmas table.
Pack into tins for holiday treat boxes. Add to dessert boards with fresh fruit and cookies.
Save This Recipe and Share Below
Save this recipe to your chocolate dessert recipes or Christmas cooking boards so it’s ready for your next holiday dessert session.
I’d love to hear how your pine cones turned out. Let me know in the comments if you tried something different or have a question!
Strawberry Cookie Pine Cones

These Strawberry Chocolate Pine Cones are a fun addition to your Christmas snacks list. Made with fresh berries and rich chocolate, they’re an easy and creative treat for holiday treats, Christmas party food, or festive desserts. Perfect for chocolate dessert recipes boards, these chocolate covered strawberries turn into edible pine cones that fit right into your Christmas cooking or December menu. Ideal for gifting, snacking, or adding something playful to your dessert table.
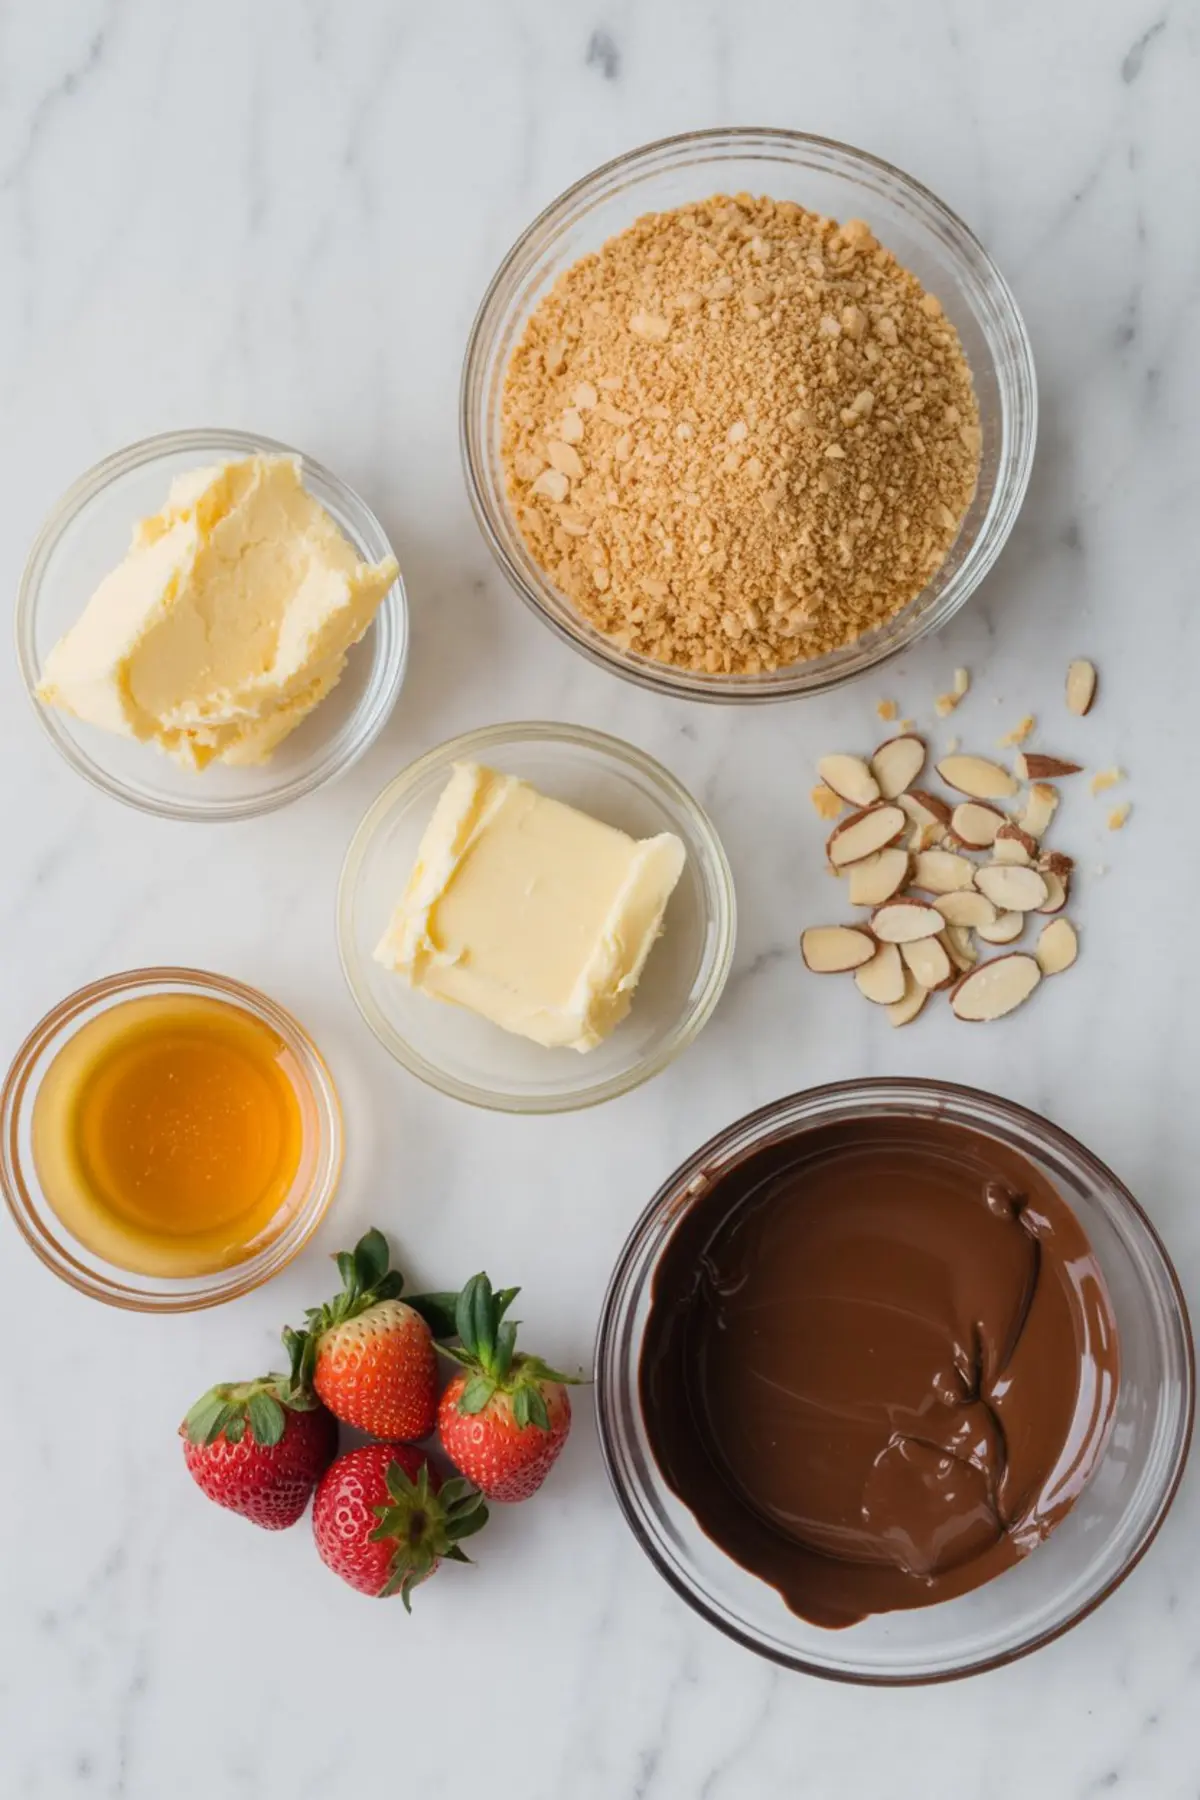
Ingredients
- FOR THE COOKIE CONE BASE
- 250 g crushed digestive biscuits
- 100 g unsalted butter, softened
- 2 tablespoons honey
- FOR THE CHOCOLATE COATING
- 200 g melted dark chocolate
- FOR THE TOPPING
- 12 fresh strawberries, medium size
- 150 g sliced almonds
- OPTIONAL
- Light dusting of powdered sugar
Instructions
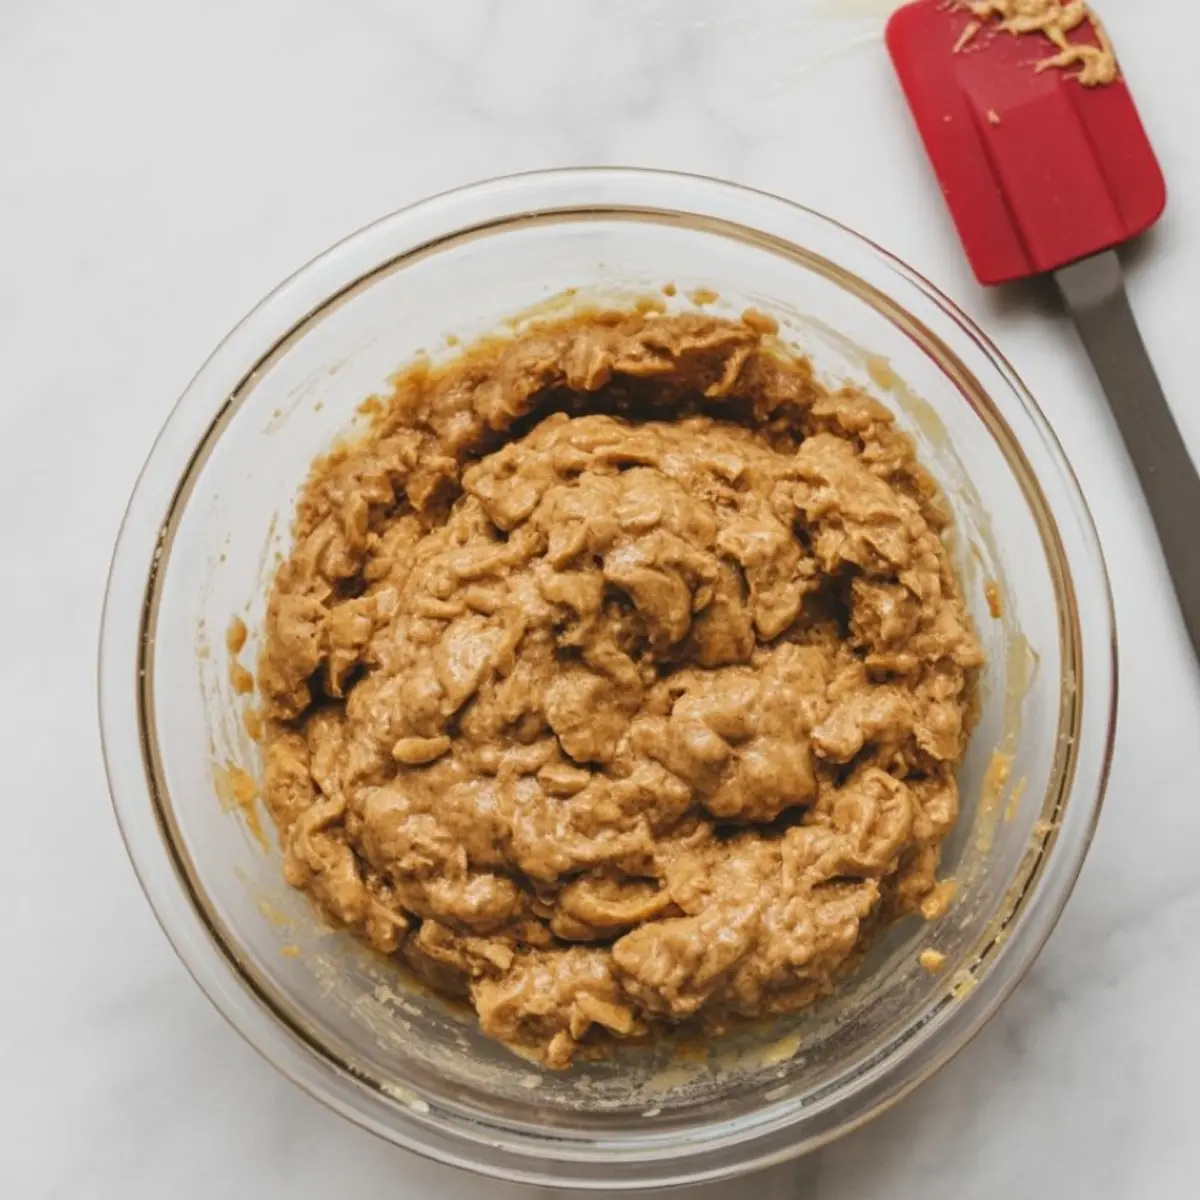
- PREPARE THE COOKIE MIXTURE: Combine the crushed biscuits, softened butter, and honey in a mixing bowl. Stir until the mixture becomes cohesive and slightly sticky, forming a dough that holds its shape when pressed together.
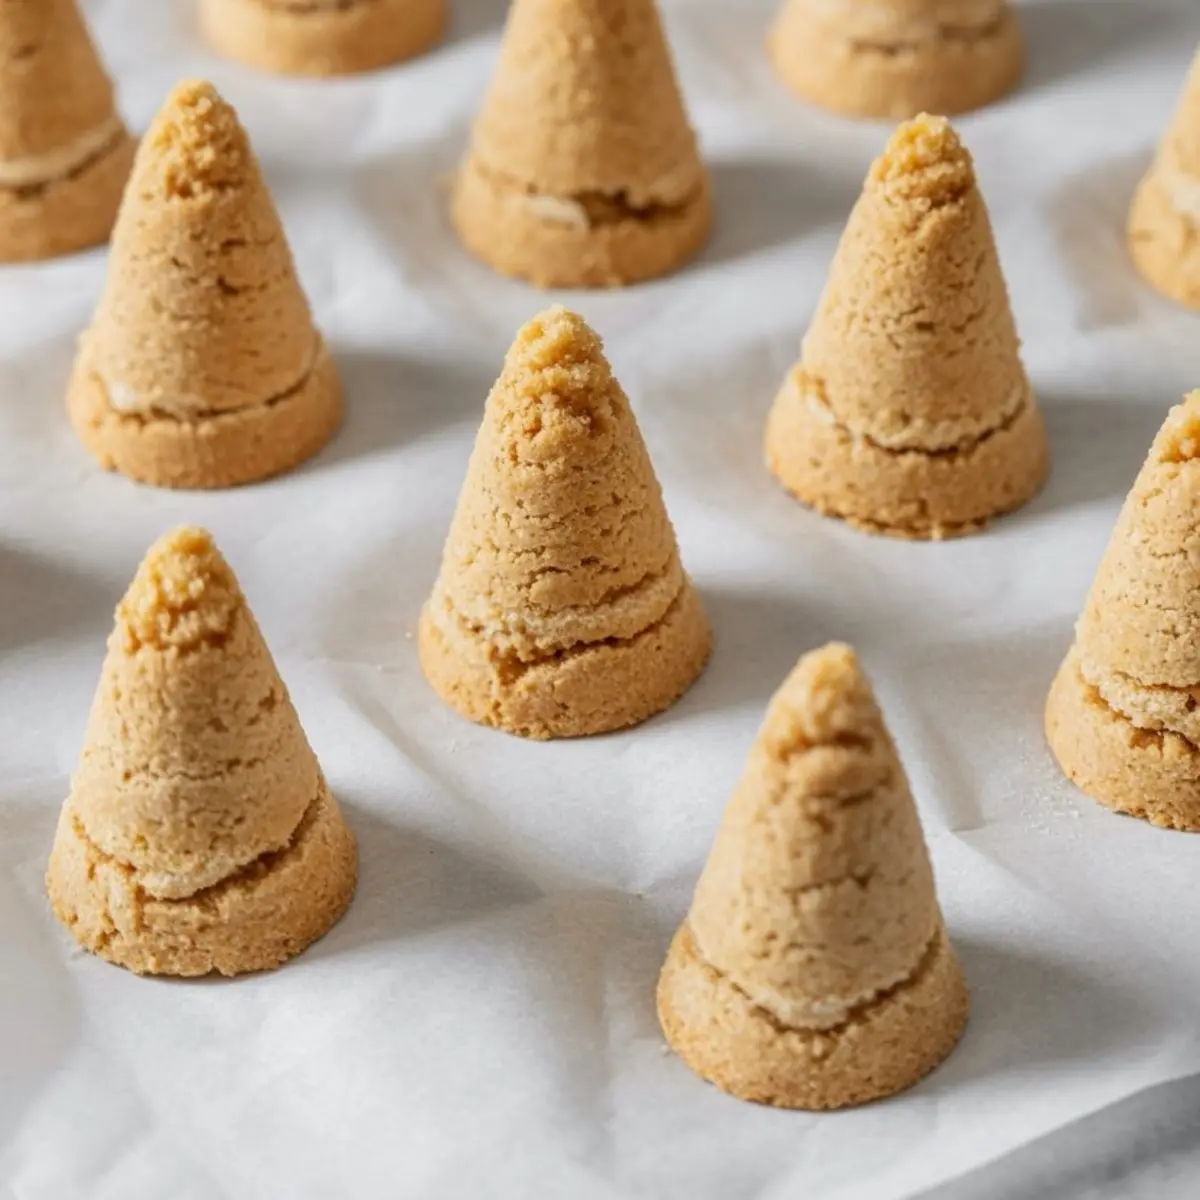
- SHAPE THE CONES: Take small portions of the mixture and press them into cone shapes with flat bottoms. Use your hands and a firm surface to smooth the edges and create a stable base for each cone.
- ATTACH THE STRAWBERRY: Place one strawberry on top of each cookie cone, with the pointed end facing upward. Press gently so the base of the strawberry sits securely on the cone.
- DIP IN CHOCOLATE: Carefully dip each assembled cone into the melted dark chocolate, coating the entire surface evenly. Allow excess chocolate to drip off before setting the cones on a parchment-lined tray.
- LET THE CHOCOLATE SET SLIGHTLY: Let the chocolate-coated cones rest at room temperature until the surface becomes tacky but not fully firm. This texture will help the almonds adhere properly.
- ADD THE ALMOND SLICES: Press sliced almonds into the chocolate in overlapping layers, starting from the base and moving upward. Arrange them to resemble the scales of a pine cone, leaving the strawberry top visible.
- FINAL CHILL: Place the tray in the refrigerator and chill until the chocolate is fully set and the cones are firm to the touch. This typically takes 20 to 30 minutes.
Notes
For a more finished look, dust the cones lightly with powdered sugar before serving. Use firm strawberries for better structure. Cones can be stored chilled for up to 2 days.
Nutrition Information
Yield
12Serving Size
1Amount Per Serving Calories 336Total Fat 22gSaturated Fat 9gUnsaturated Fat 13gCholesterol 22mgSodium 249mgCarbohydrates 31gFiber 4gSugar 16gProtein 6g