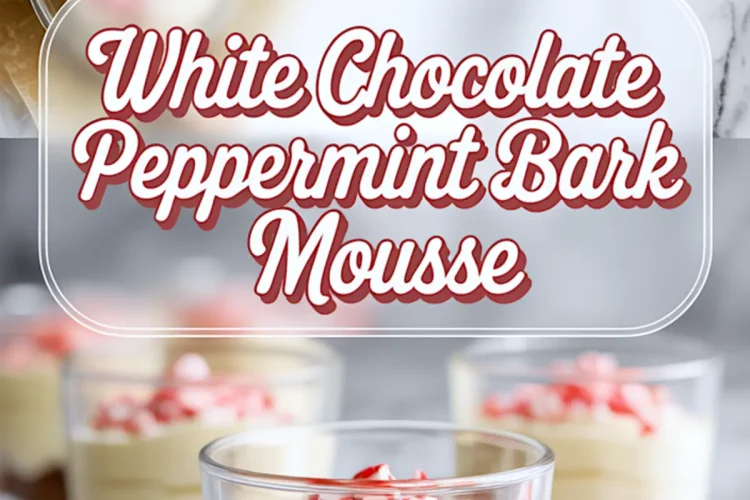
This dessert layers smooth white chocolate mousse over a dark, crunchy base and finishes with peppermint bark sparkles. You’re building the flavor profile of a Cheesecake Factory seasonal favorite, but with more control and cleaner ingredients.
You’ll learn how to combine vanilla bean cheesecake notes with airy chocolate mousse, how to fold cream for volume without collapse, and how peppermint bark transforms texture and flavor. By the end, you’ll know exactly what to expect at each step, with one simple technique that makes a noticeable difference.
These mousse cups offer something a full cheesecake doesn’t. They portion well, set quickly, and store beautifully. More importantly, the chocolate peppermint bark doesn’t sink into a heavy base. It rests where it should—on top.
Why I Use This Crust Every Time
Crushed chocolate cookies and melted butter. That’s the whole story, and it’s a reliable one.
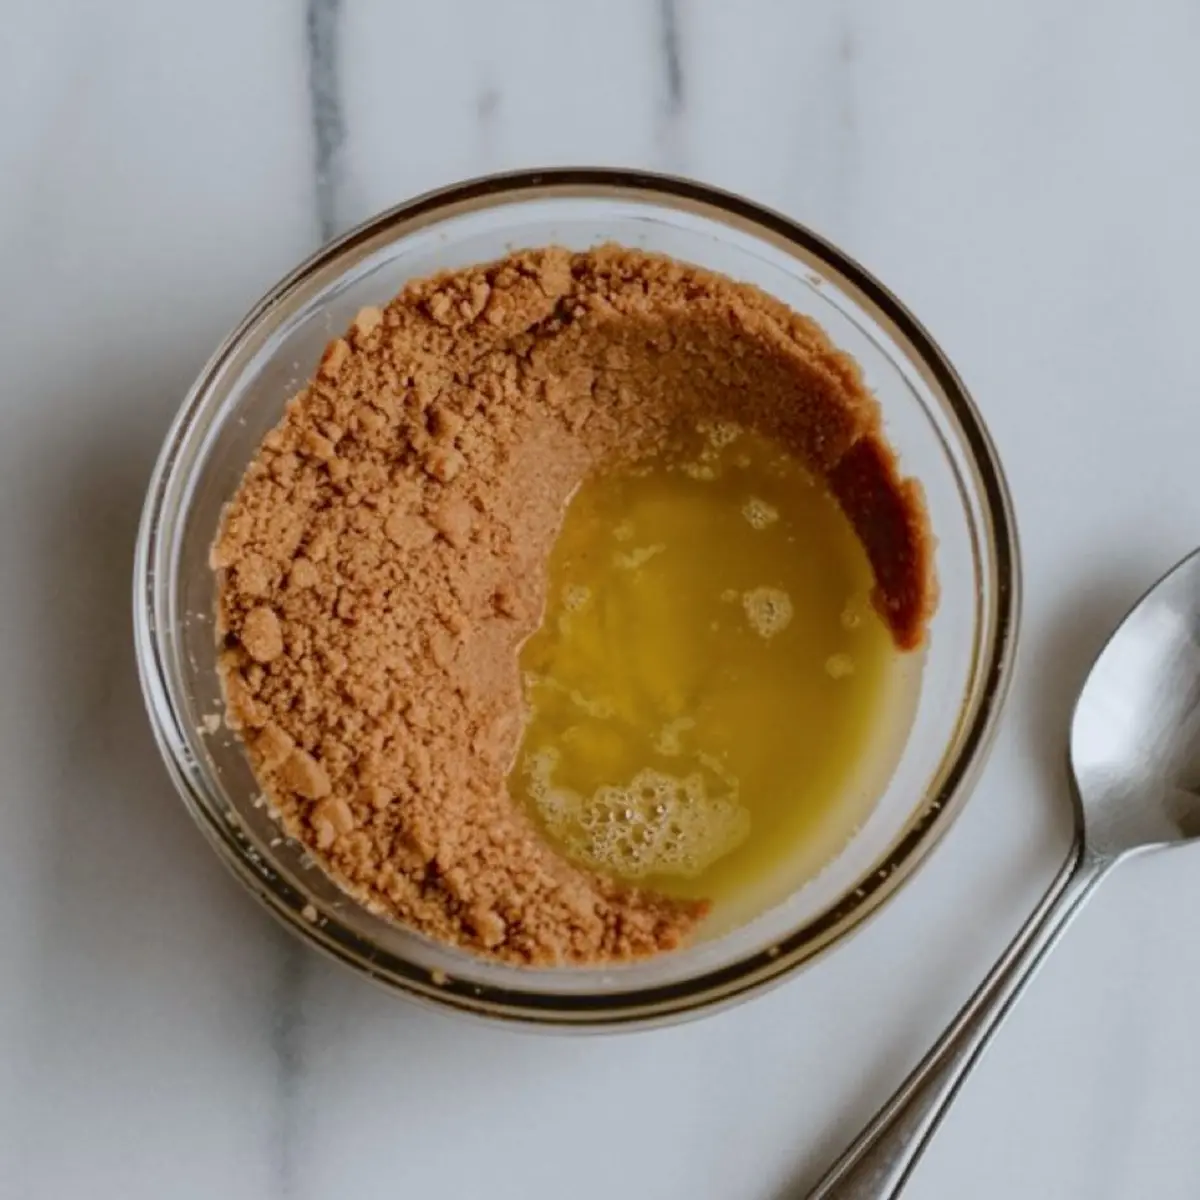
I’ve tried both graham cracker crust and chocolate cookie crumbs here. Graham crackers clashed with the peppermint. Chocolate cookies bring in the rich cocoa base the mousse needs. In my notes, every test with Oreos outperformed others by flavor and texture.
If you’re leaning on that chocolate peppermint bark cheesecake flavor memory, don’t skip the dark crust. It gives the mousse its contrast and keeps it from feeling too sweet.
Try it with my Peppermint Oreo Truffles if you want something equally rich in a different form.
The White Chocolate Matters More Than You Think
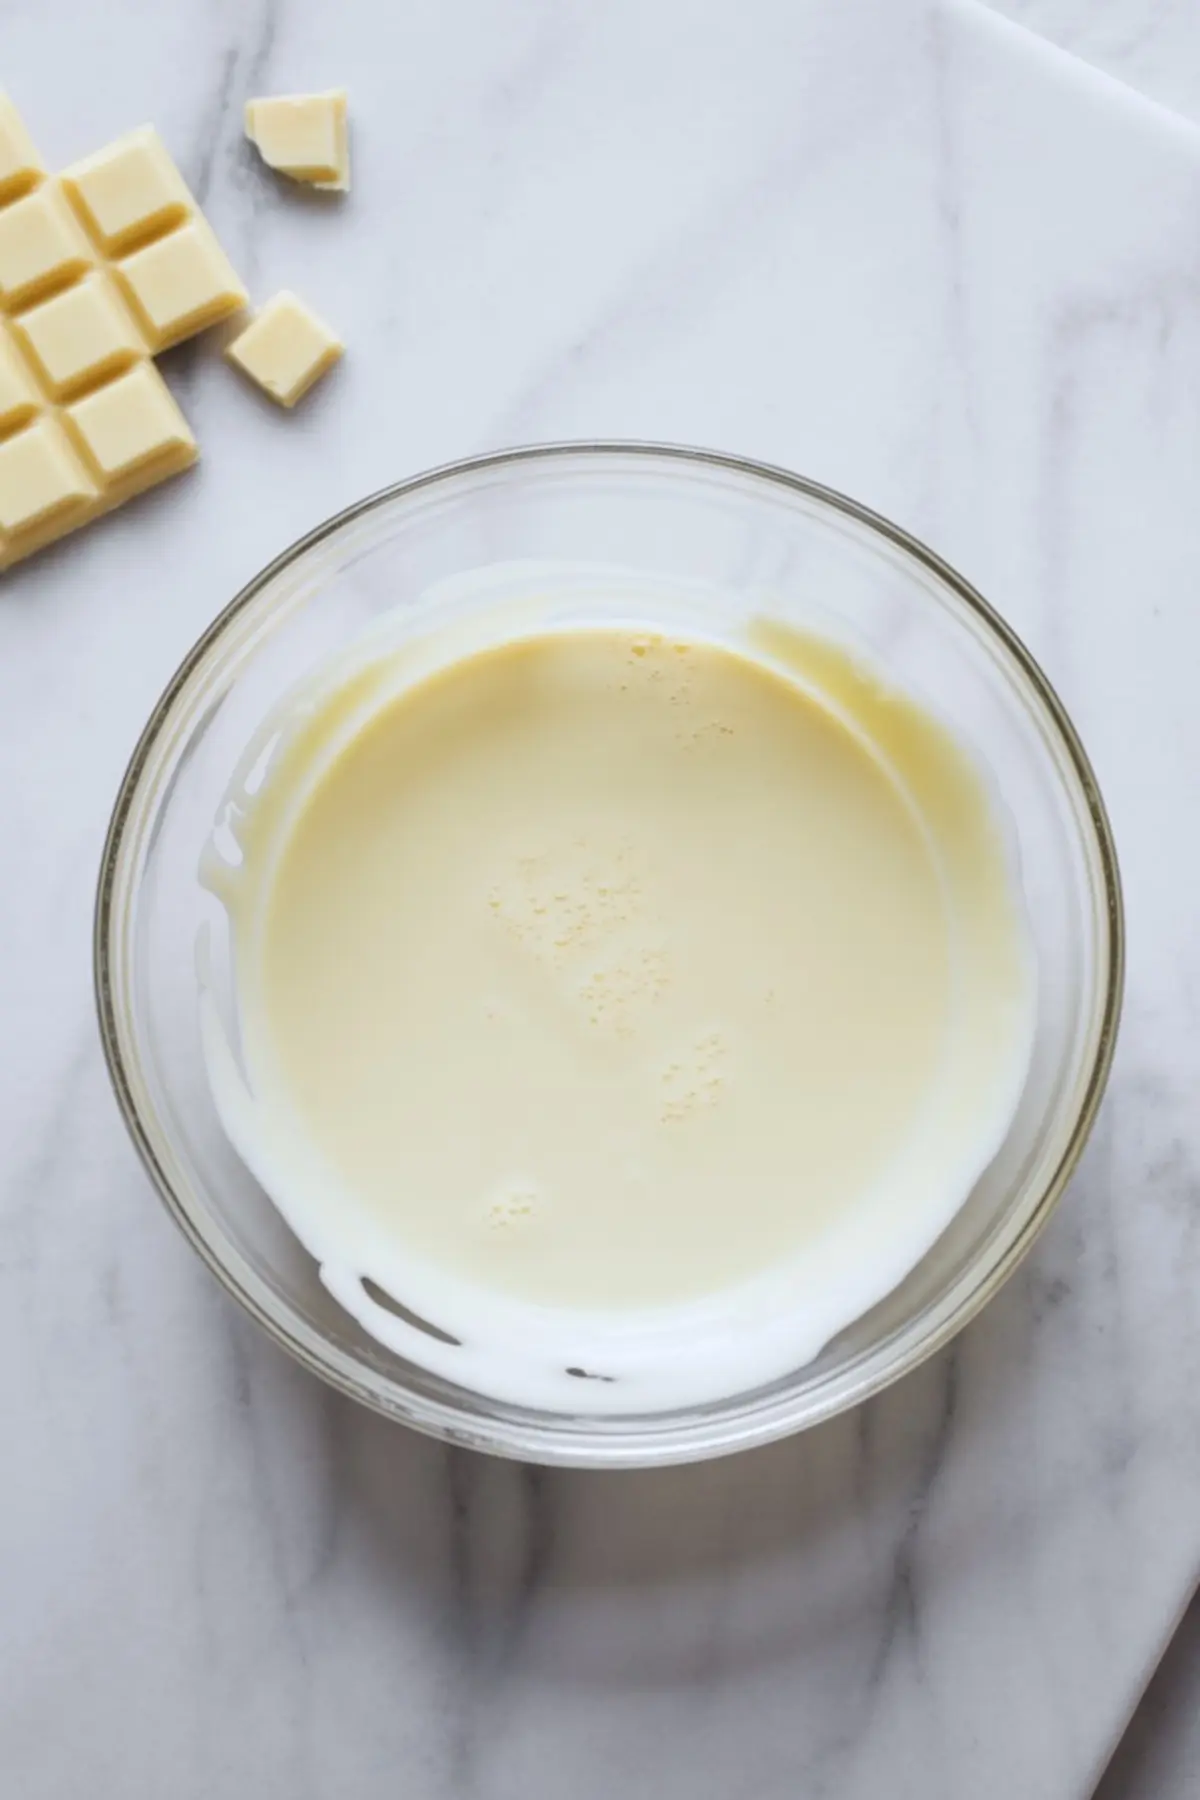
I avoid white chocolate chips in this mousse. Chips contain stabilizers that prevent smooth melting. A chopped white chocolate bar melts better, tastes cleaner, and cools faster.
You want a silky melt that folds easily with whipped cream. Otherwise, you’ll see little shards or streaks. I once used the wrong type, and it crystallized at the bottom of the cup. Lesson learned.
The better the chocolate, the less you need to cover up. That’s where the peppermint extract comes in. Just a quarter teaspoon—enough to lift the flavor without overwhelming it.
My White Chocolate Peppermint Panna Cotta follows the same principle.
Whipping the Cream Is the Step That Decides Texture
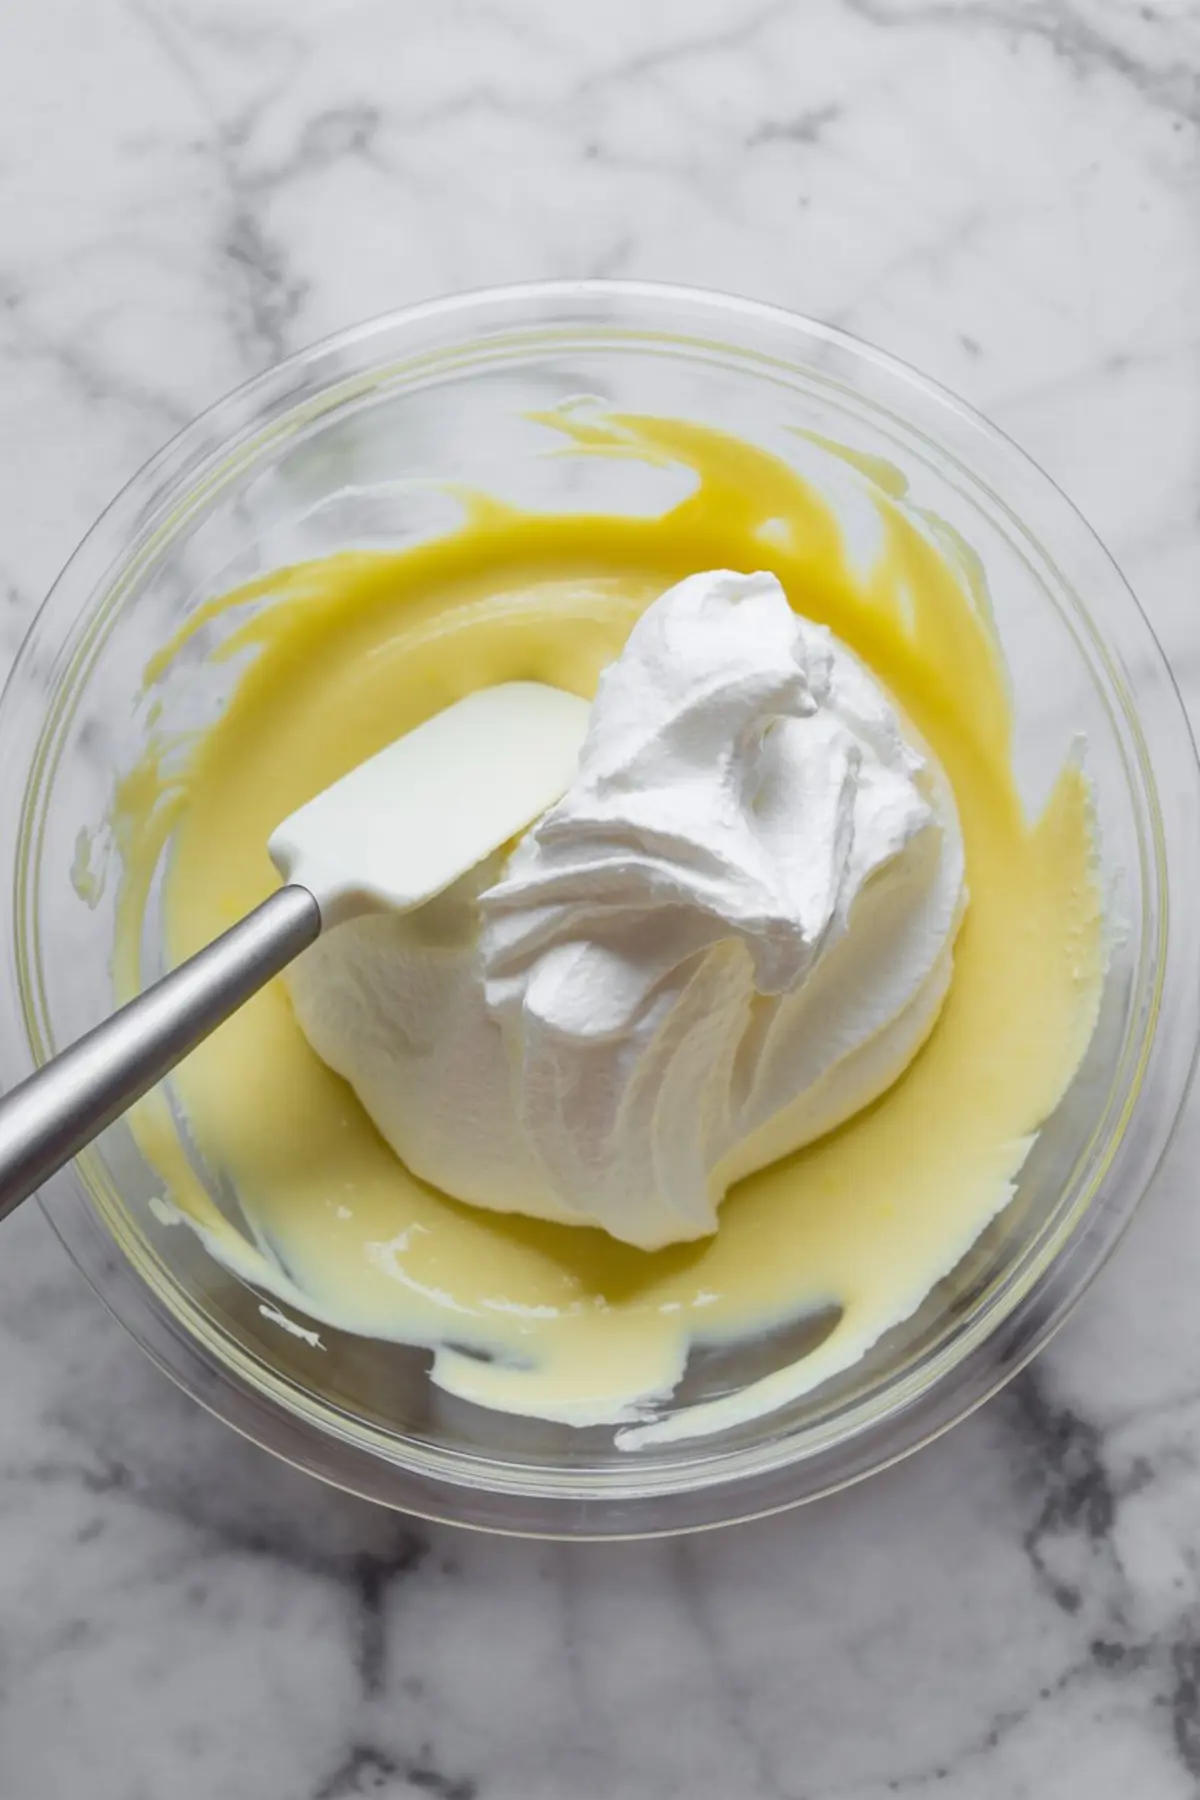
Cold heavy cream and patience. That’s it.
I whip until soft peaks, then I add salt, vanilla, and peppermint extract. Only then do I go for medium peaks. Not stiff. Stiff peaks will give you a mousse that looks nice but feels heavy.
This mousse should feel airy. Fold, don’t stir. I lighten the chocolate first with one spoonful of cream, then fold in the rest in stages.
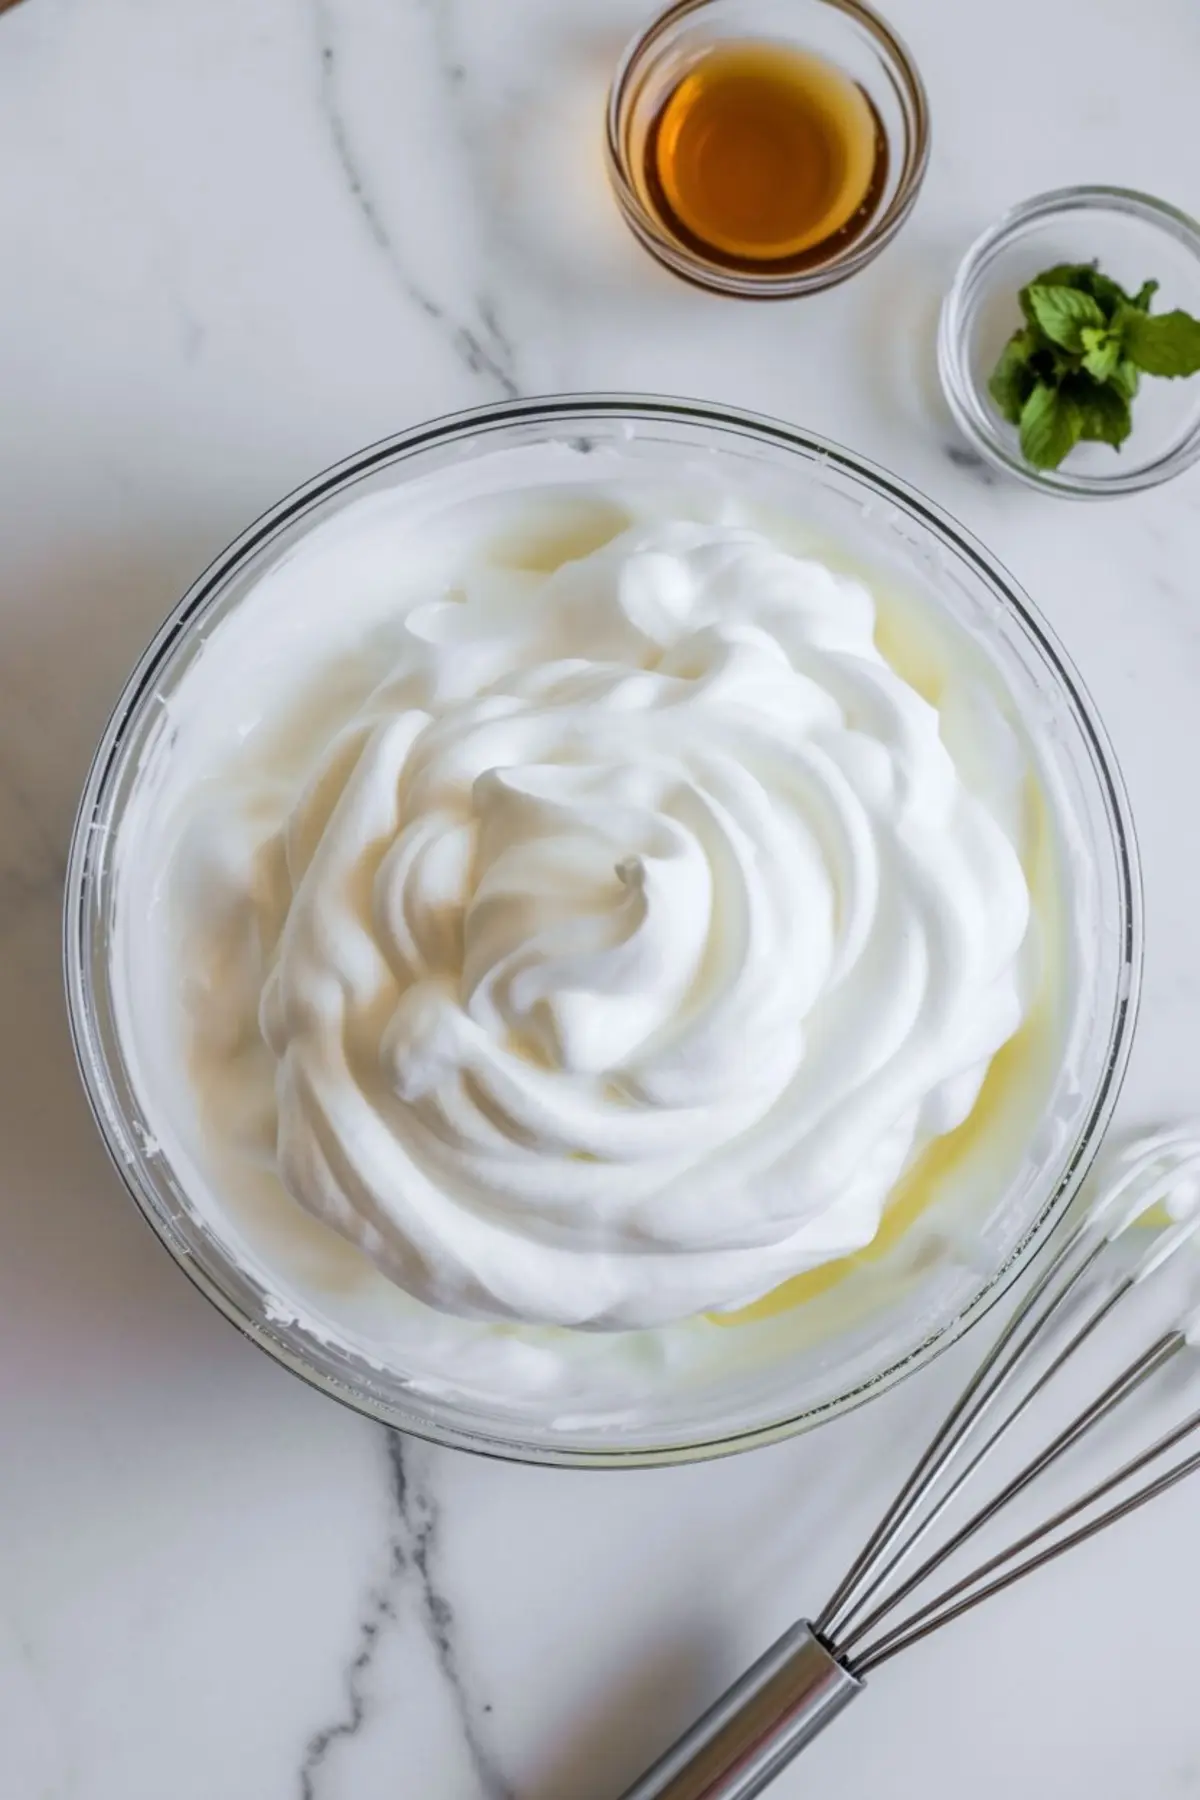
If your kitchen runs warm, chill the bowl and beaters first. That one step prevents the cream from slumping while folding.
Piping Is Optional, Swirling Is Art
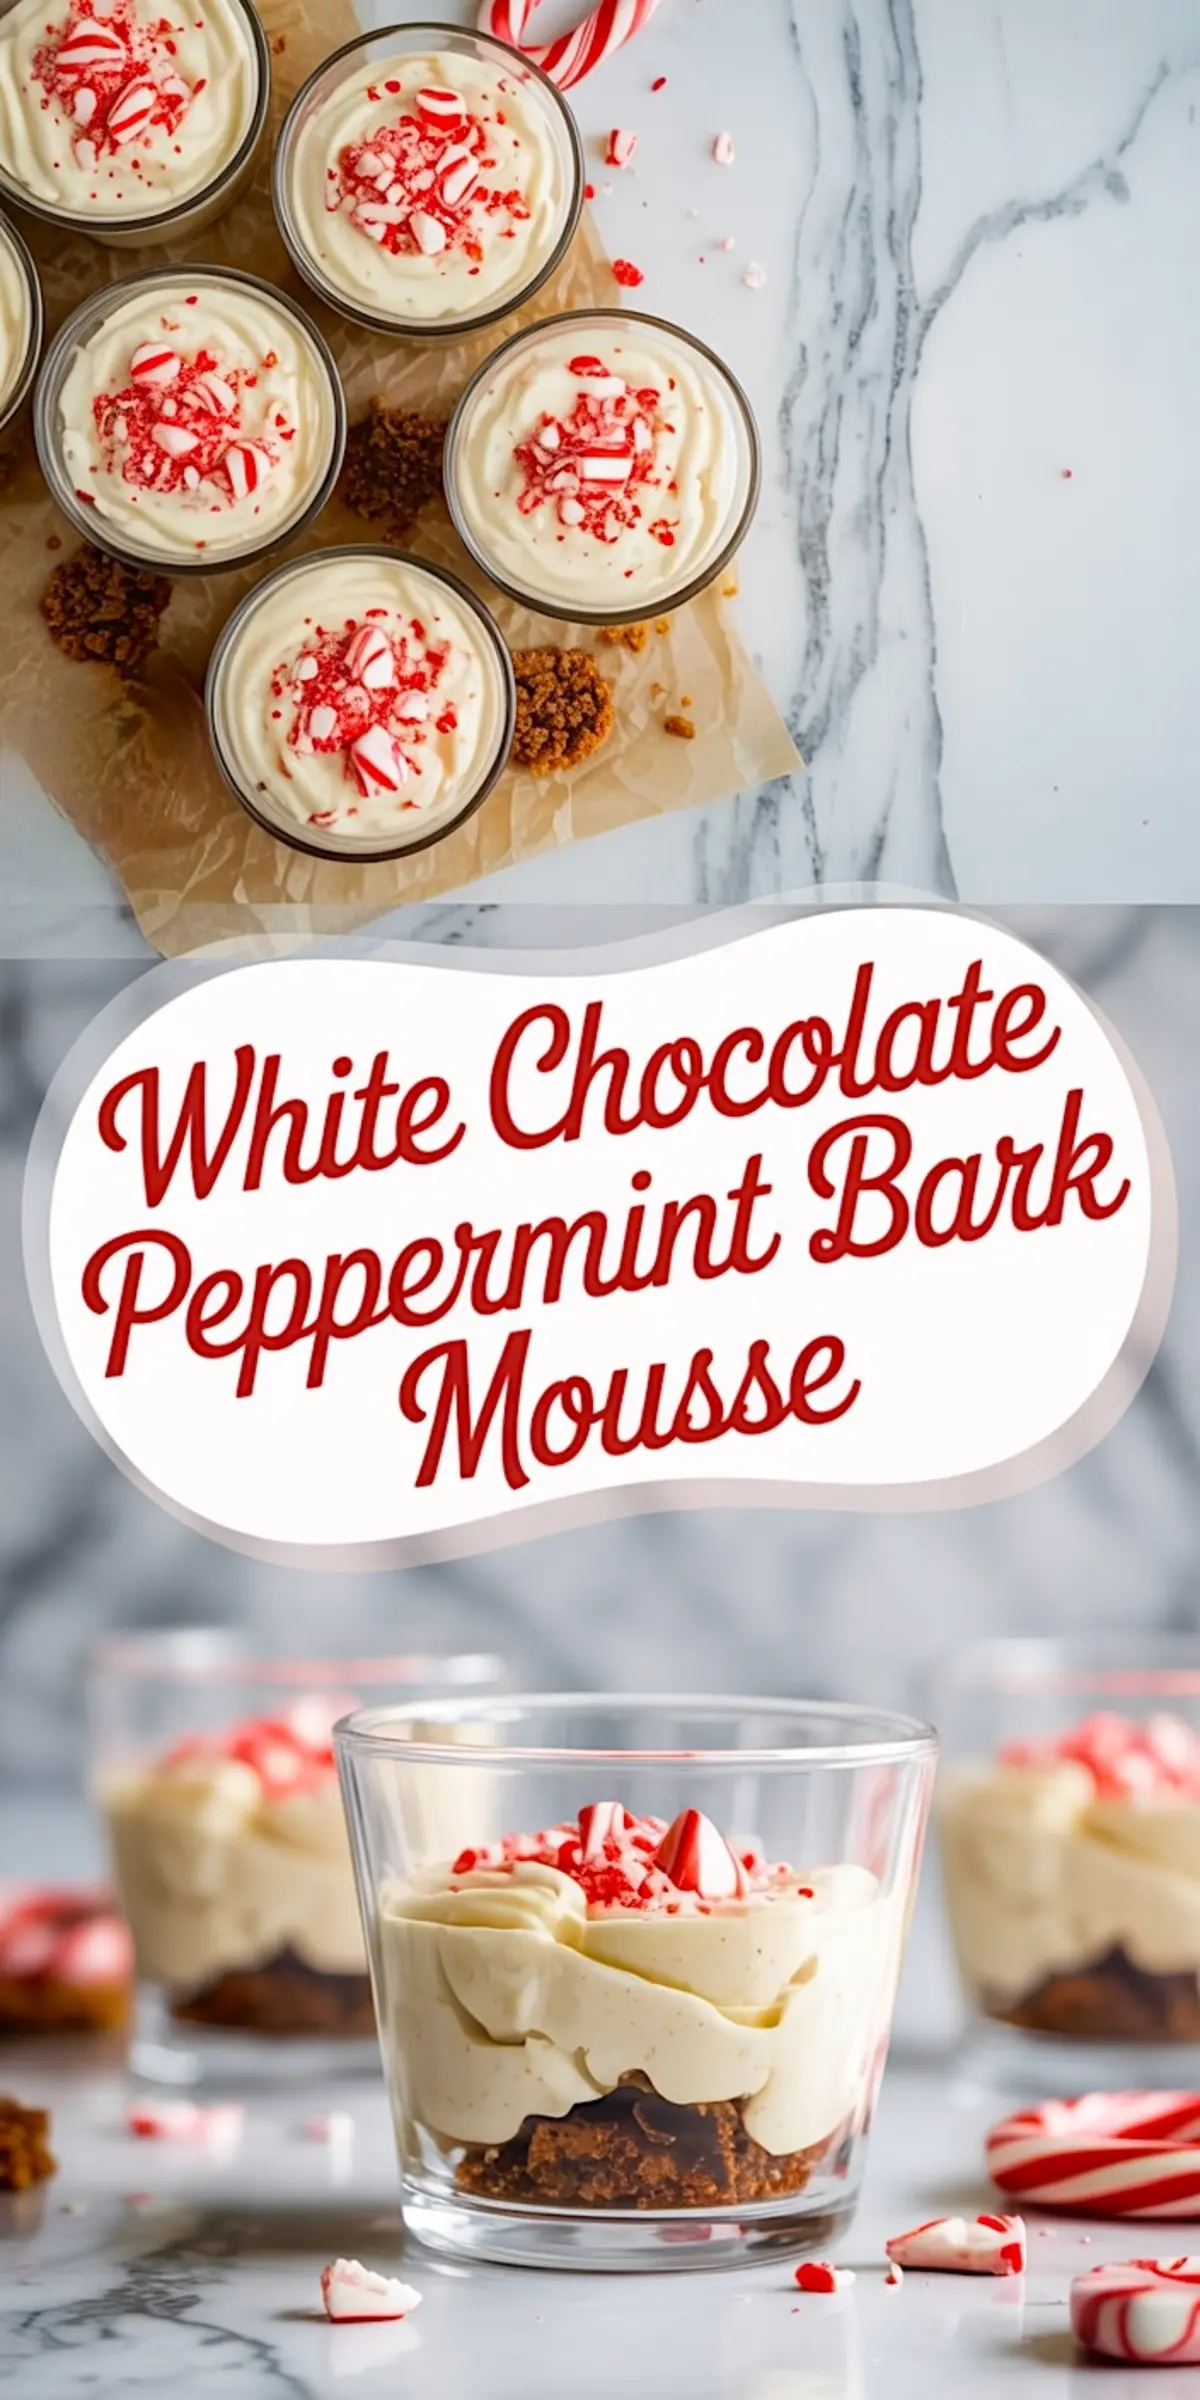
I spoon the mousse into glasses, then use the back of a spoon to create a swirl. That small ridge holds the crushed peppermint and makes each cup look finished.
You can pipe it, but I rarely do. This dessert looks its best when it doesn’t try too hard. A simple swirl topped with peppermint bark feels confident.
The mousse needs two hours to set. I always chill overnight when I make these for gatherings. The texture firms just enough by morning.
If you enjoy chocolate mousse cheesecake flavor without the oven, try these Peppermint Cheesecake Dip cups.
What You Use on Top Adds Crunch and Memory
Crushed peppermint candies are more than garnish. They give you the memory of peppermint bark’s texture.
If you want extra crunch, add mini chocolate chips or shaved white chocolate. I avoid full chunks of bark on top because it makes the first bite too sharp.
Instead, I crumble a bit of bark and let it sit loosely on the swirl. The visual nod to white chocolate peppermint bark cheesecake matters here.
These Peppermint Bark Cheesecake Bars show another way to use that flavor profile in bar form.
White Chocolate Mousse vs Cheesecake Filling
Here’s a quick comparison worth noting.
Cheesecake filling has more structure. It uses cream cheese and often includes gelatin or eggs. Mousse is fluffier and feels lighter on the spoon.
In this recipe, mousse offers better balance with the peppermint. Cream cheese would compete. I’ve made versions with mascarpone too, but that tips into richness.
Mousse keeps it holiday-light. It pairs with cocoa crust without weighing you down.
Serving Notes From My Kitchen Table
I use small dessert glasses, but shallow ramekins work too. I’ve also served this in vintage tea cups at Christmas brunch. Everyone commented on the peppermint bark scent first, then the smoothness of the mousse.
Keep them chilled until right before serving. If you’re traveling, wrap each with plastic film and store in a container with sides to prevent tipping.
My Peppermint Mocha Cheesecake uses the same chilling principle. It improves flavor and texture by the hour.
Make It Ahead Without Losing Texture
You can prepare these mousse cups 24 hours in advance. Keep them covered in the refrigerator. Add toppings only right before serving, so the peppermint pieces don’t dissolve.
I’ve never had leftovers, but if you do, they’ll keep for 48 hours covered. The base softens slightly, but the mousse holds.
If you’re prepping for a party, these set quicker and hold longer than baked peppermint desserts.
Save This for Holiday Baking Boards and Tell Me How It Went
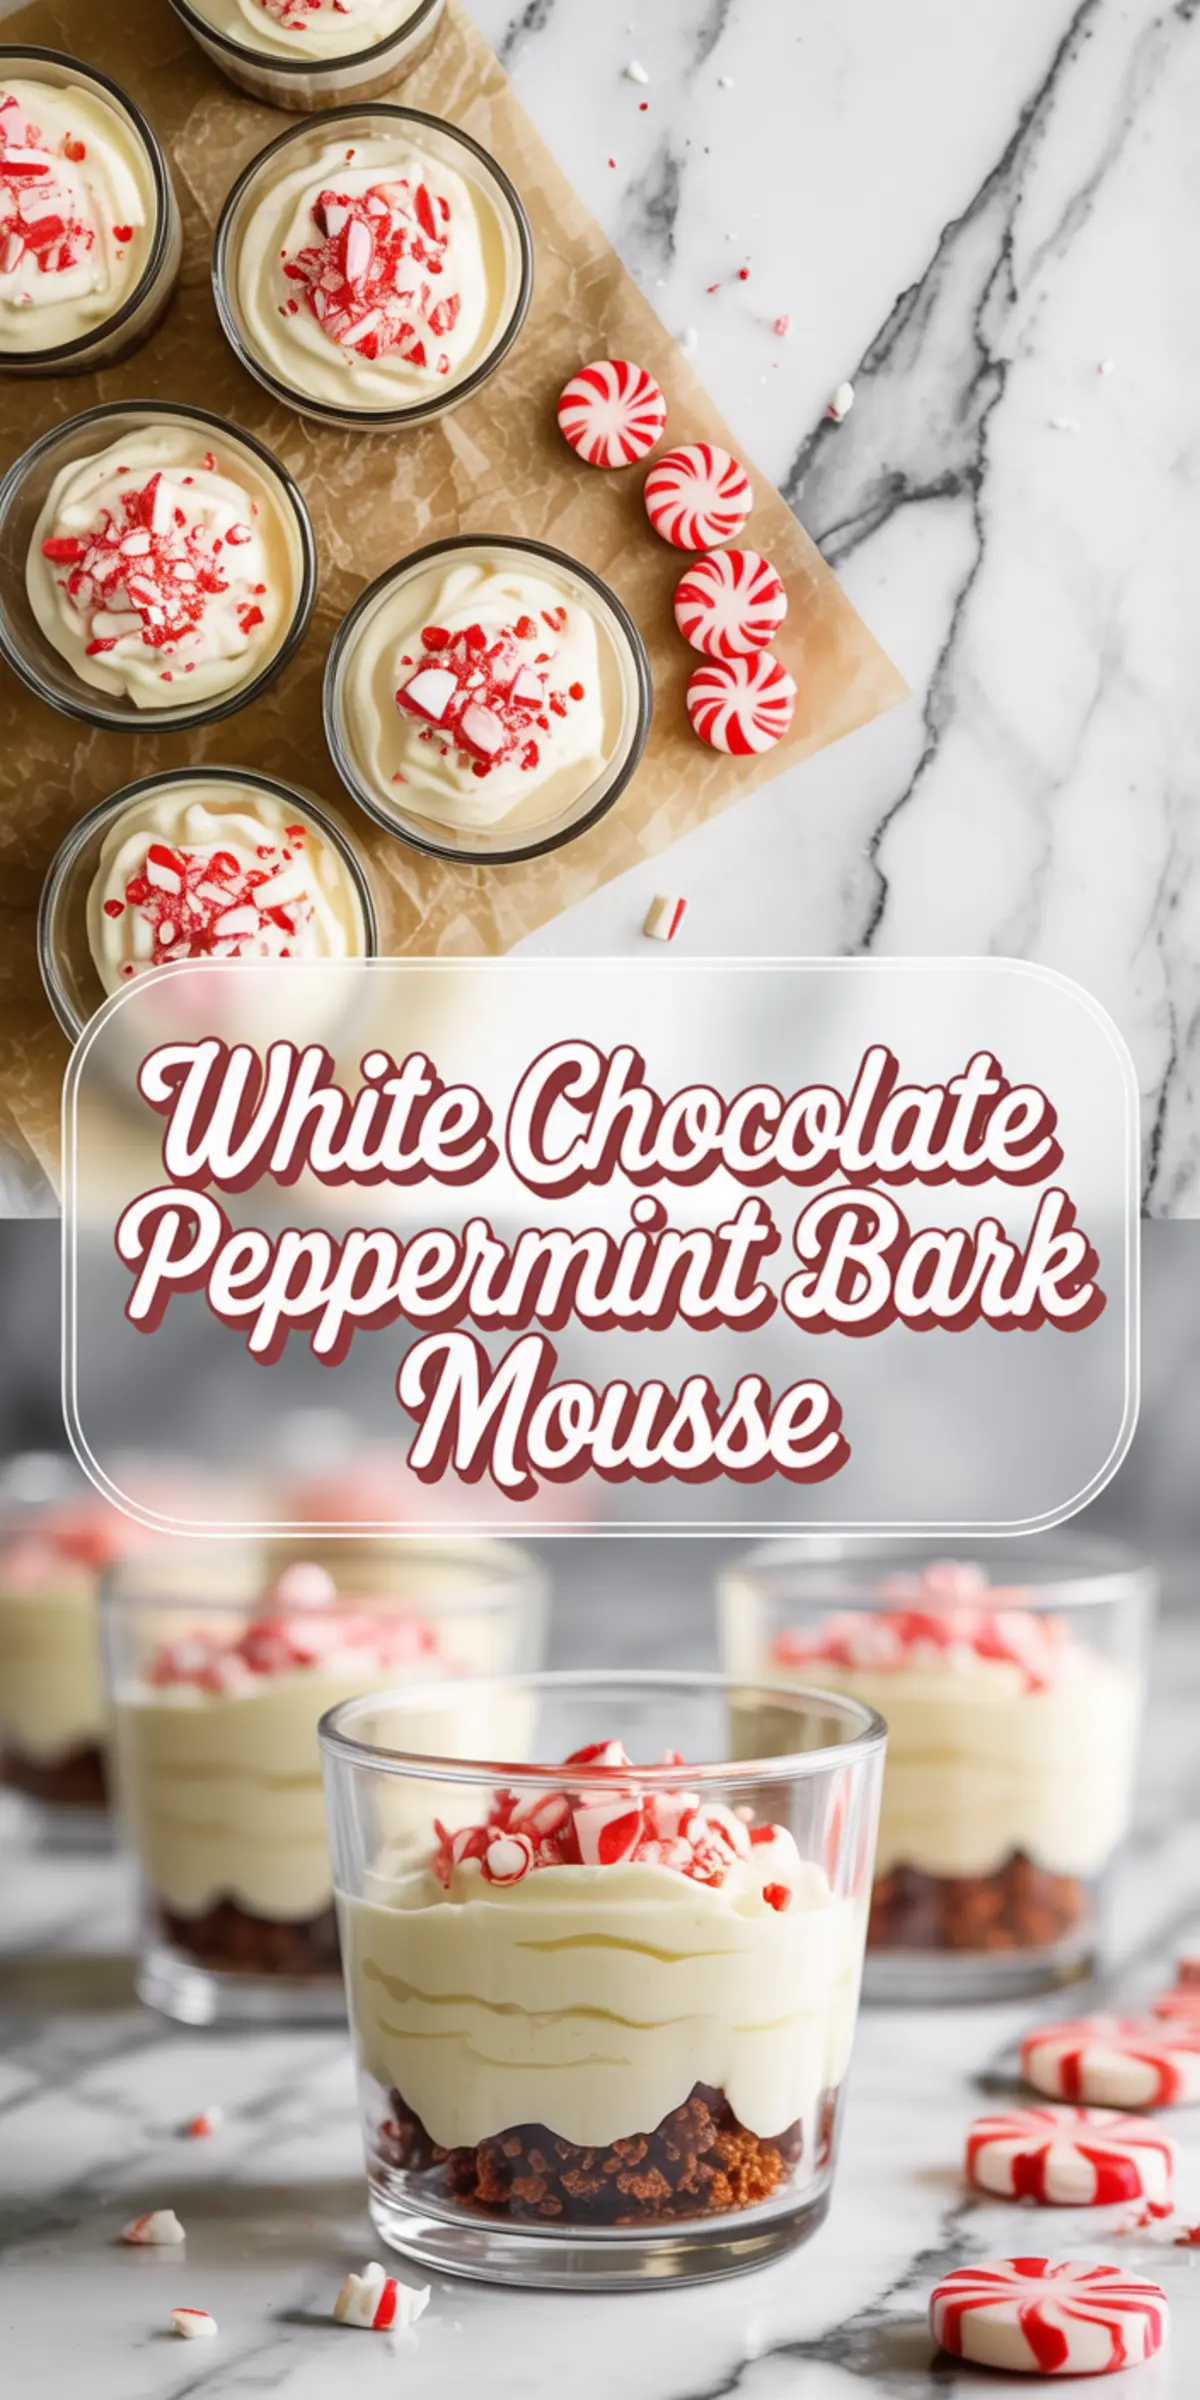
Pin this recipe to your Christmas desserts board so it’s easy to find when you need a no-bake hit. I’d love to hear if you added extra toppings, swapped the crust, or served it in something unexpected.
Drop your questions or results in the comments. I’ll check and reply.
White Chocolate Peppermint Bark Mousse
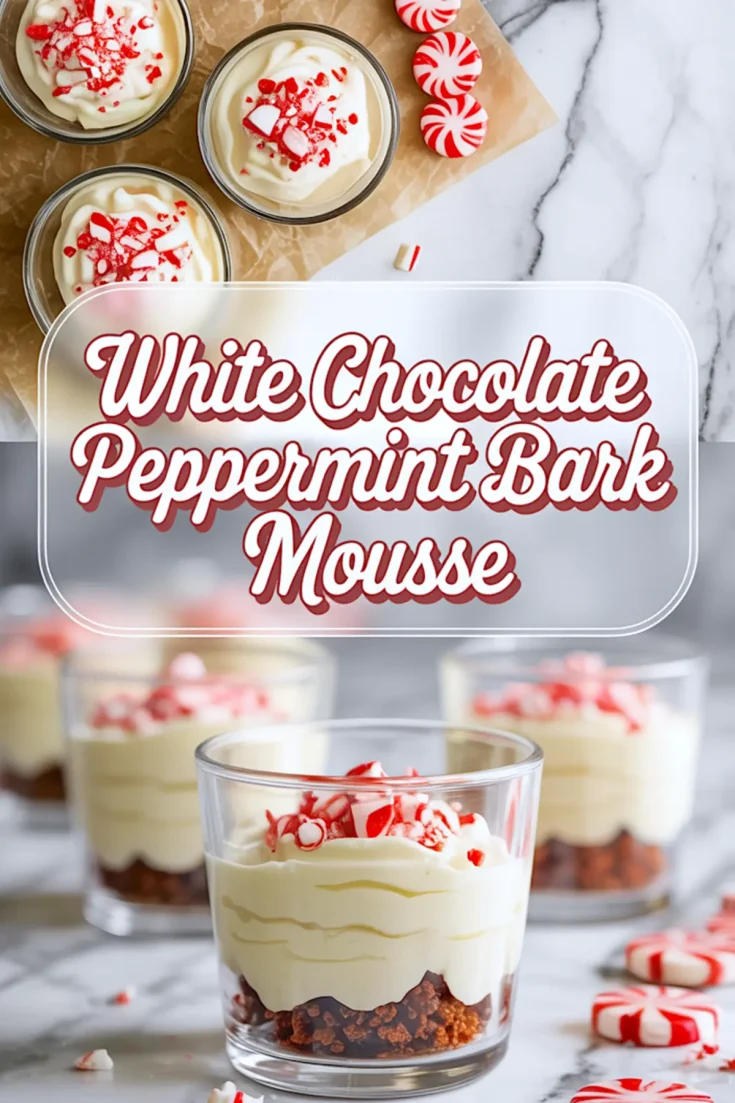
This Peppermint Bark Cheesecake is a rich and festive treat layered with fluffy white chocolate mousse and a crunchy chocolate base. Inspired by holiday flavors, the creamy filling is topped with crushed peppermint bark and swirls of chocolate peppermint bark for a striking finish. If you’re craving something like Cheesecake Factory’s holiday menu, this homemade version hits all the right notes. It’s perfect for fans of white chocolate peppermint bark cheesecake or those who love a festive twist on vanilla bean cheesecake. A must-try chocolate mousse cheesecake to impress at every holiday party or cozy Christmas gathering.
Ingredients
- FOR THE CRUST
- 1 cup finely crushed chocolate cookies (such as Oreos or chocolate grahams)
- 3 tablespoons unsalted butter, melted
- FOR THE MOUSSE
- 8 oz white chocolate, chopped (not chips)
- 2 tablespoons milk or heavy cream
- 1½ cups cold heavy whipping cream
- ¼ teaspoon peppermint extract
- 1 teaspoon vanilla extract
- Pinch of salt
- FOR THE TOPPING
- ¼ cup crushed peppermint candies or candy canes
- Optional: white chocolate shavings or mini chocolate chips
Instructions
- MAKE THE CRUST: In a small bowl, stir together the crushed chocolate cookies and melted butter until the mixture resembles damp sand. Spoon 1–2 tablespoons into the bottom of small dessert glasses and press gently to form an even layer. Set aside or refrigerate while you prepare the mousse.
- MELT THE WHITE CHOCOLATE: Place the chopped white chocolate and milk (or cream) in a heat-safe bowl. Microwave in 15-second intervals, stirring between each, until the chocolate is melted and smooth. Let it cool slightly until lukewarm.
- WHIP THE CREAM: In a large mixing bowl, whip the cold heavy cream with a hand mixer until soft peaks form. Add the peppermint extract, vanilla extract, and a pinch of salt. Continue whipping until medium peaks form.
- FOLD THE MOUSSE: Stir a spoonful of the whipped cream into the melted white chocolate to lighten it. Gently fold in the remaining whipped cream in batches using a spatula, mixing just until incorporated. The mousse should be fluffy and smooth without deflating the whipped cream.
- ASSEMBLE THE CUPS: Spoon or pipe the mousse into the prepared glasses over the crust. Smooth the tops or create a swirl with the back of a spoon. Cover each glass and refrigerate for at least 2 hours, or overnight, until set.
- ADD TOPPINGS AND SERVE: Right before serving, top each mousse cup with crushed peppermint candies. Optionally, add white chocolate shavings or mini chocolate chips for additional texture and visual appeal.
Notes
Use high-quality white chocolate bars rather than chips for smoother melting and better flavor. To make ahead, prepare up to 24 hours in advance and keep covered in the refrigerator until ready to serve.
Nutrition Information
Yield
8Serving Size
1Amount Per Serving Calories 726Total Fat 54gSaturated Fat 32gTrans Fat 1gUnsaturated Fat 18gCholesterol 138mgSodium 183mgCarbohydrates 58gFiber 2gSugar 54gProtein 7g

