
My memories of colorful desserts make me smile. I remember tasting a bright cookie at a friend’s spring party and feeling delighted by every crumb. That joy inspired my fascination with Colorful Blossom Cookies, which I love sharing with everyone.
Spring gatherings often remind me of cheerful colors and sweet treats that bring people together. I have baked many batches of these blossom cookies to capture that lively spirit. Bright hues and a buttery center make each bite satisfying and fun.
Following a special diet?
Every recipe on this site can be converted to gluten-free, vegan, dairy-free, keto, nut-free or egg-free with adjusted ratios so nothing falls flat.
Try the Recipe Converter →Why Colorful Blossom Cookies Stand Out
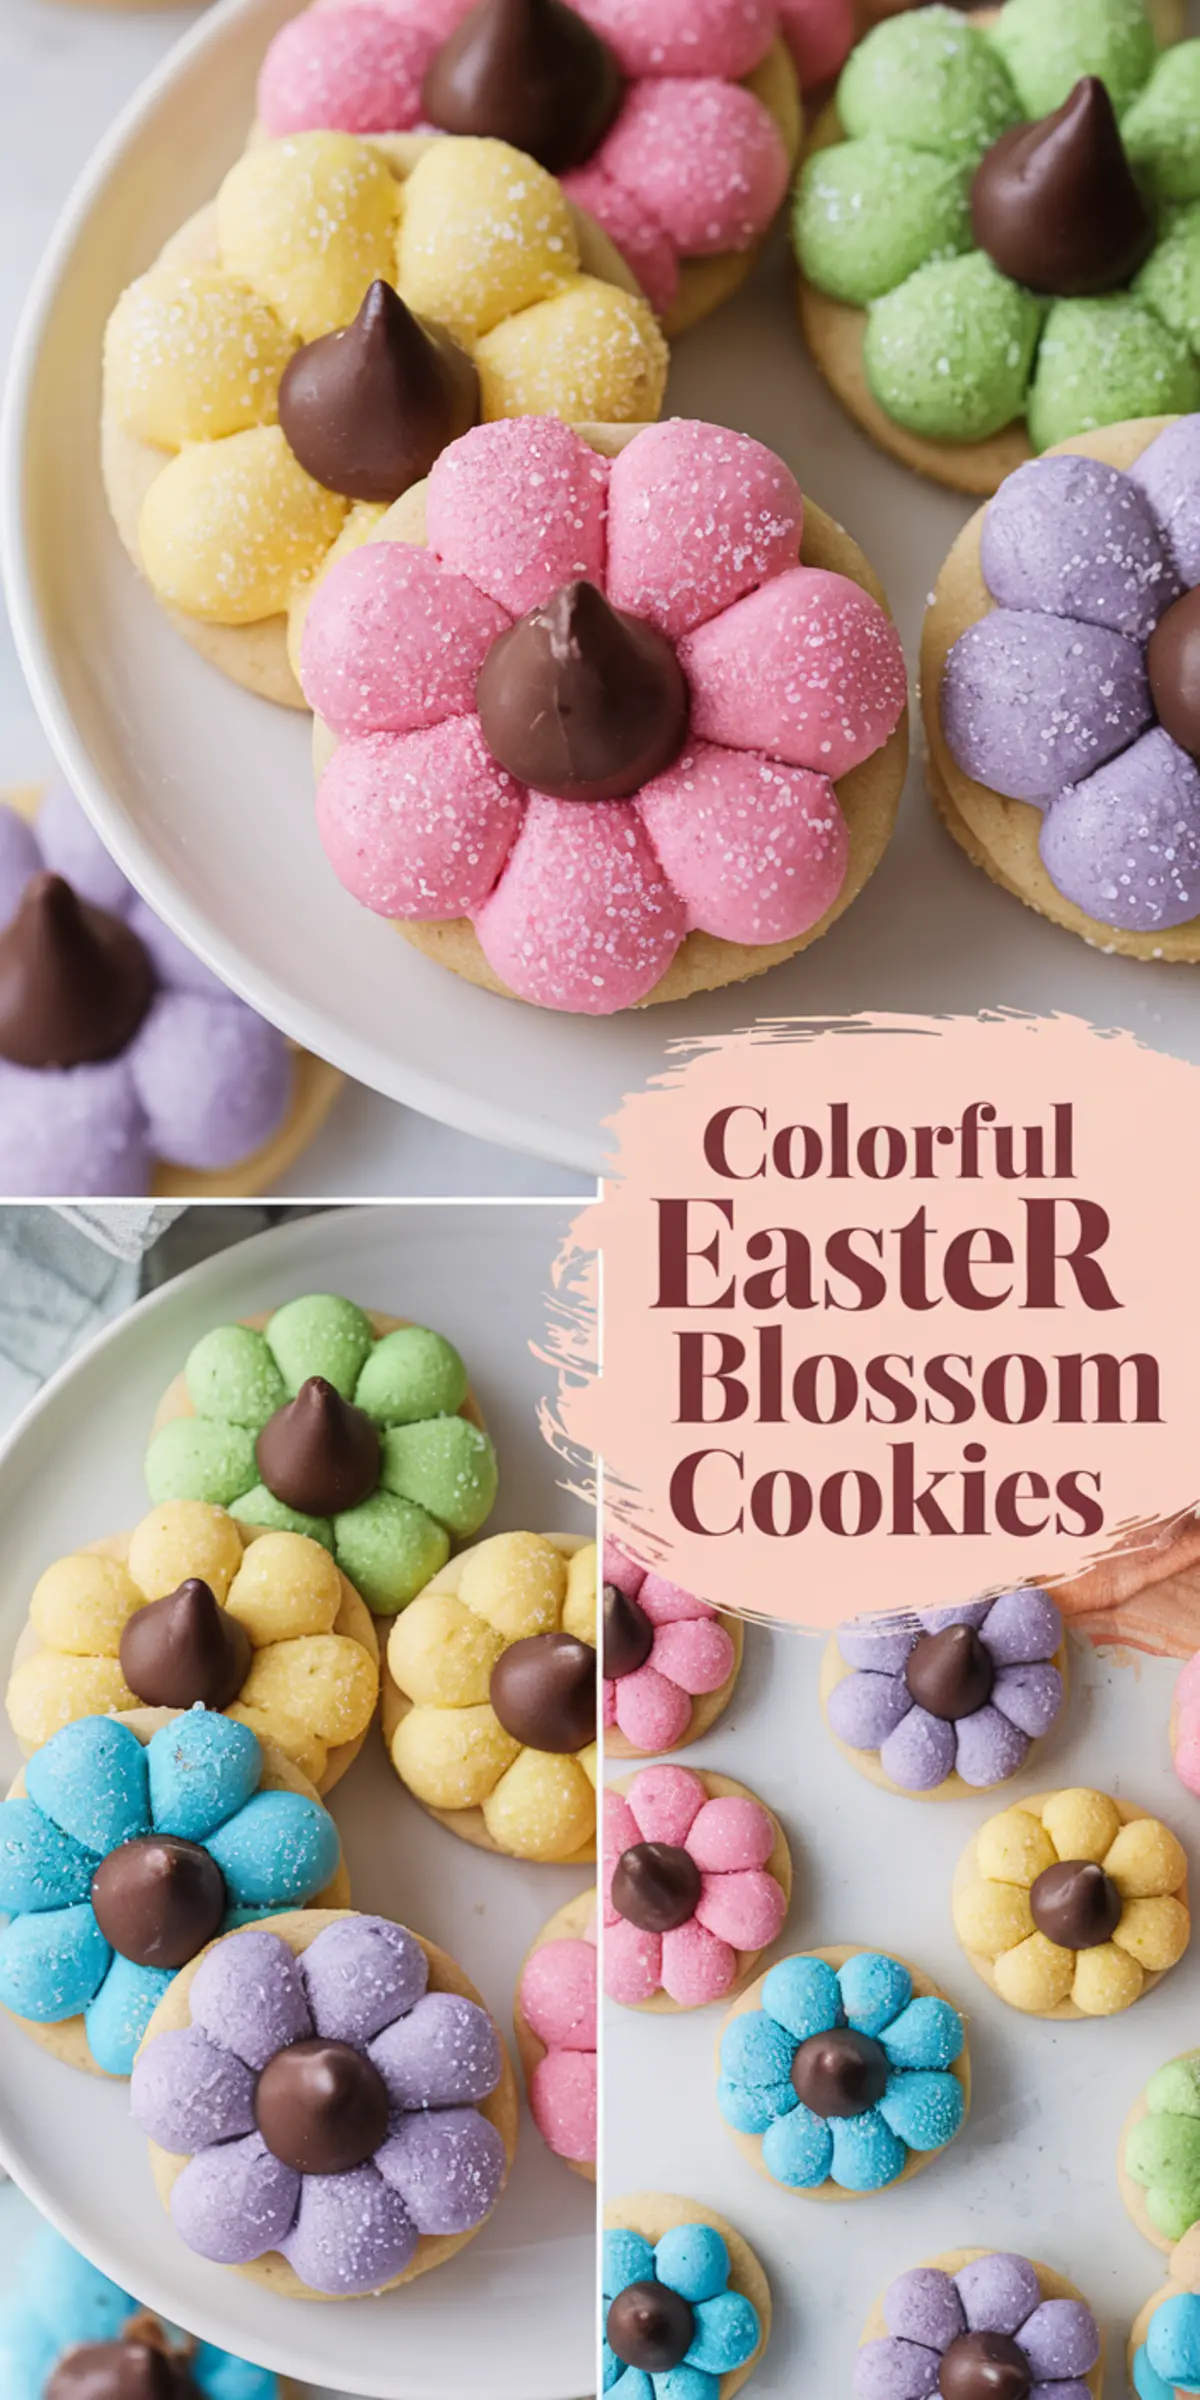
These cookies look vibrant with their sugar-coated petals and rich chocolate center. I admire how the simple base pairs with tinted dough to form a delicate flower shape. Friends often mention that the bright appearance excites them before they even taste a crumb.
Children enjoy creating different color combinations with the dough. Adults love the contrast between buttery sweetness and a smooth chocolate center. Each cookie can feature multiple shades, which turns dessert time into a colorful celebration.
Essential Ingredients for a Buttery Base

This recipe calls for softened unsalted butter, granulated sugar, an egg, and vanilla extract. Flour, baking powder, and salt add the structure that holds each blossom together. Reserving a portion of dough provides the vibrant petals that decorate the top.
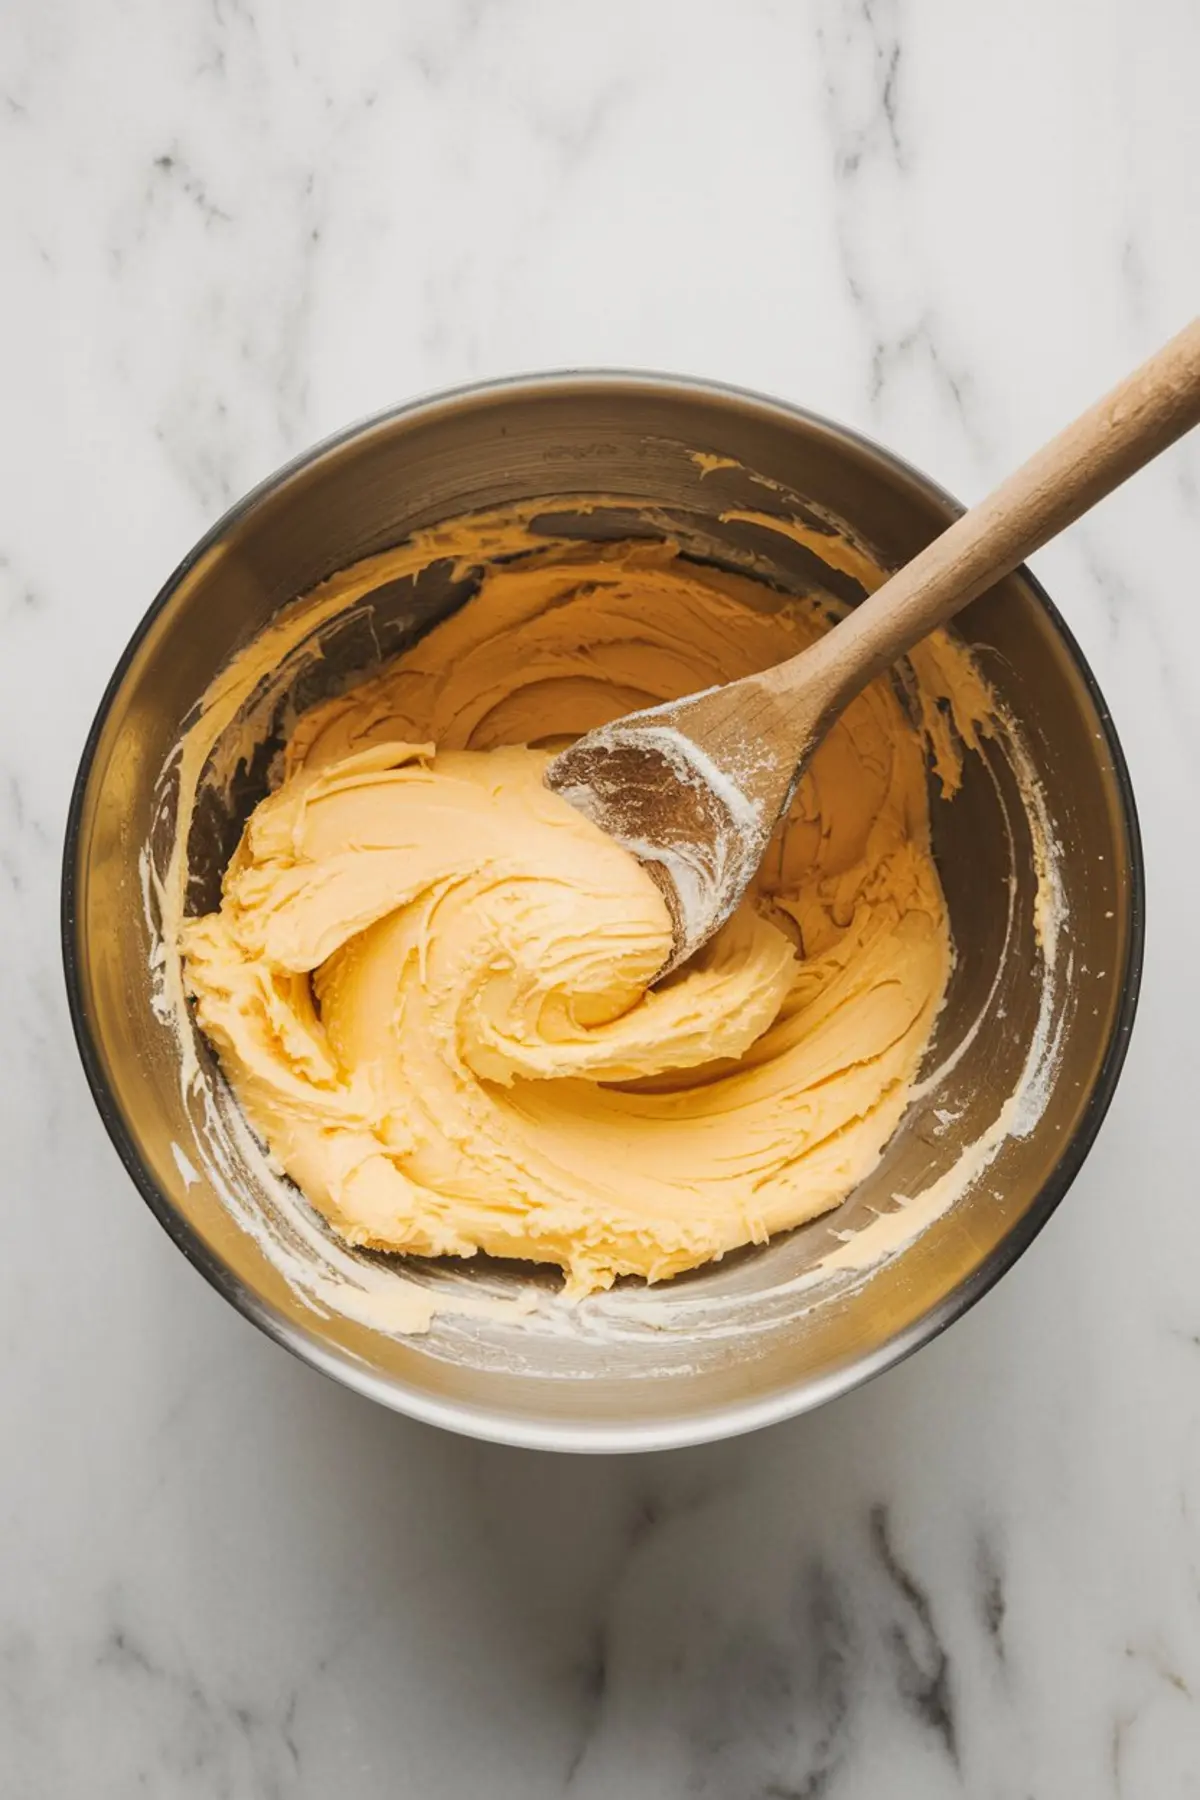
I keep my butter at room temperature for easy blending. That approach helps me create a creamy mixture with sugar in a short time. A soft dough emerges once the dry and wet components come together.
Creating the Colorful Petals
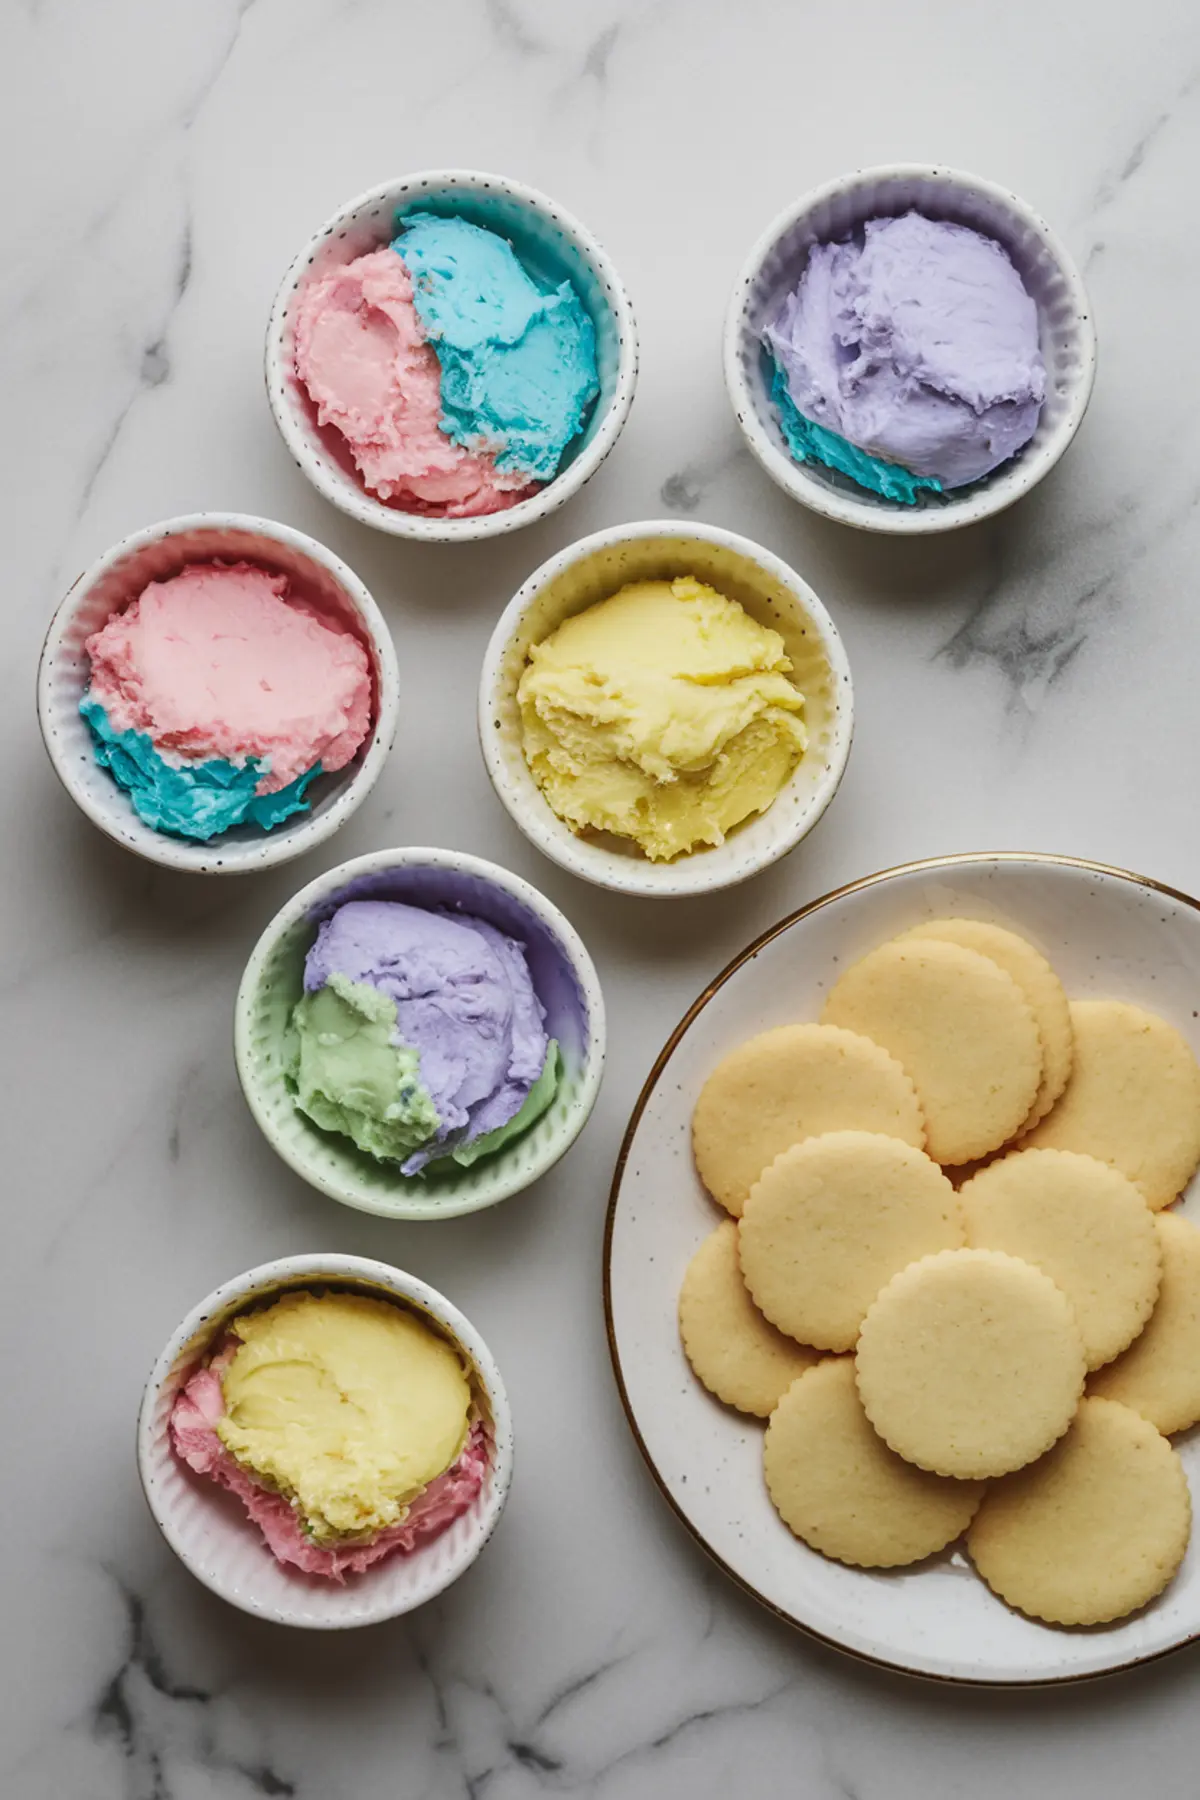
A small portion of dough takes on vivid hues thanks to gel food coloring. I separate that portion into bowls, then tint each bowl with a different color. Rolling each colored piece in sanding sugar adds a final sparkle that glistens after baking.
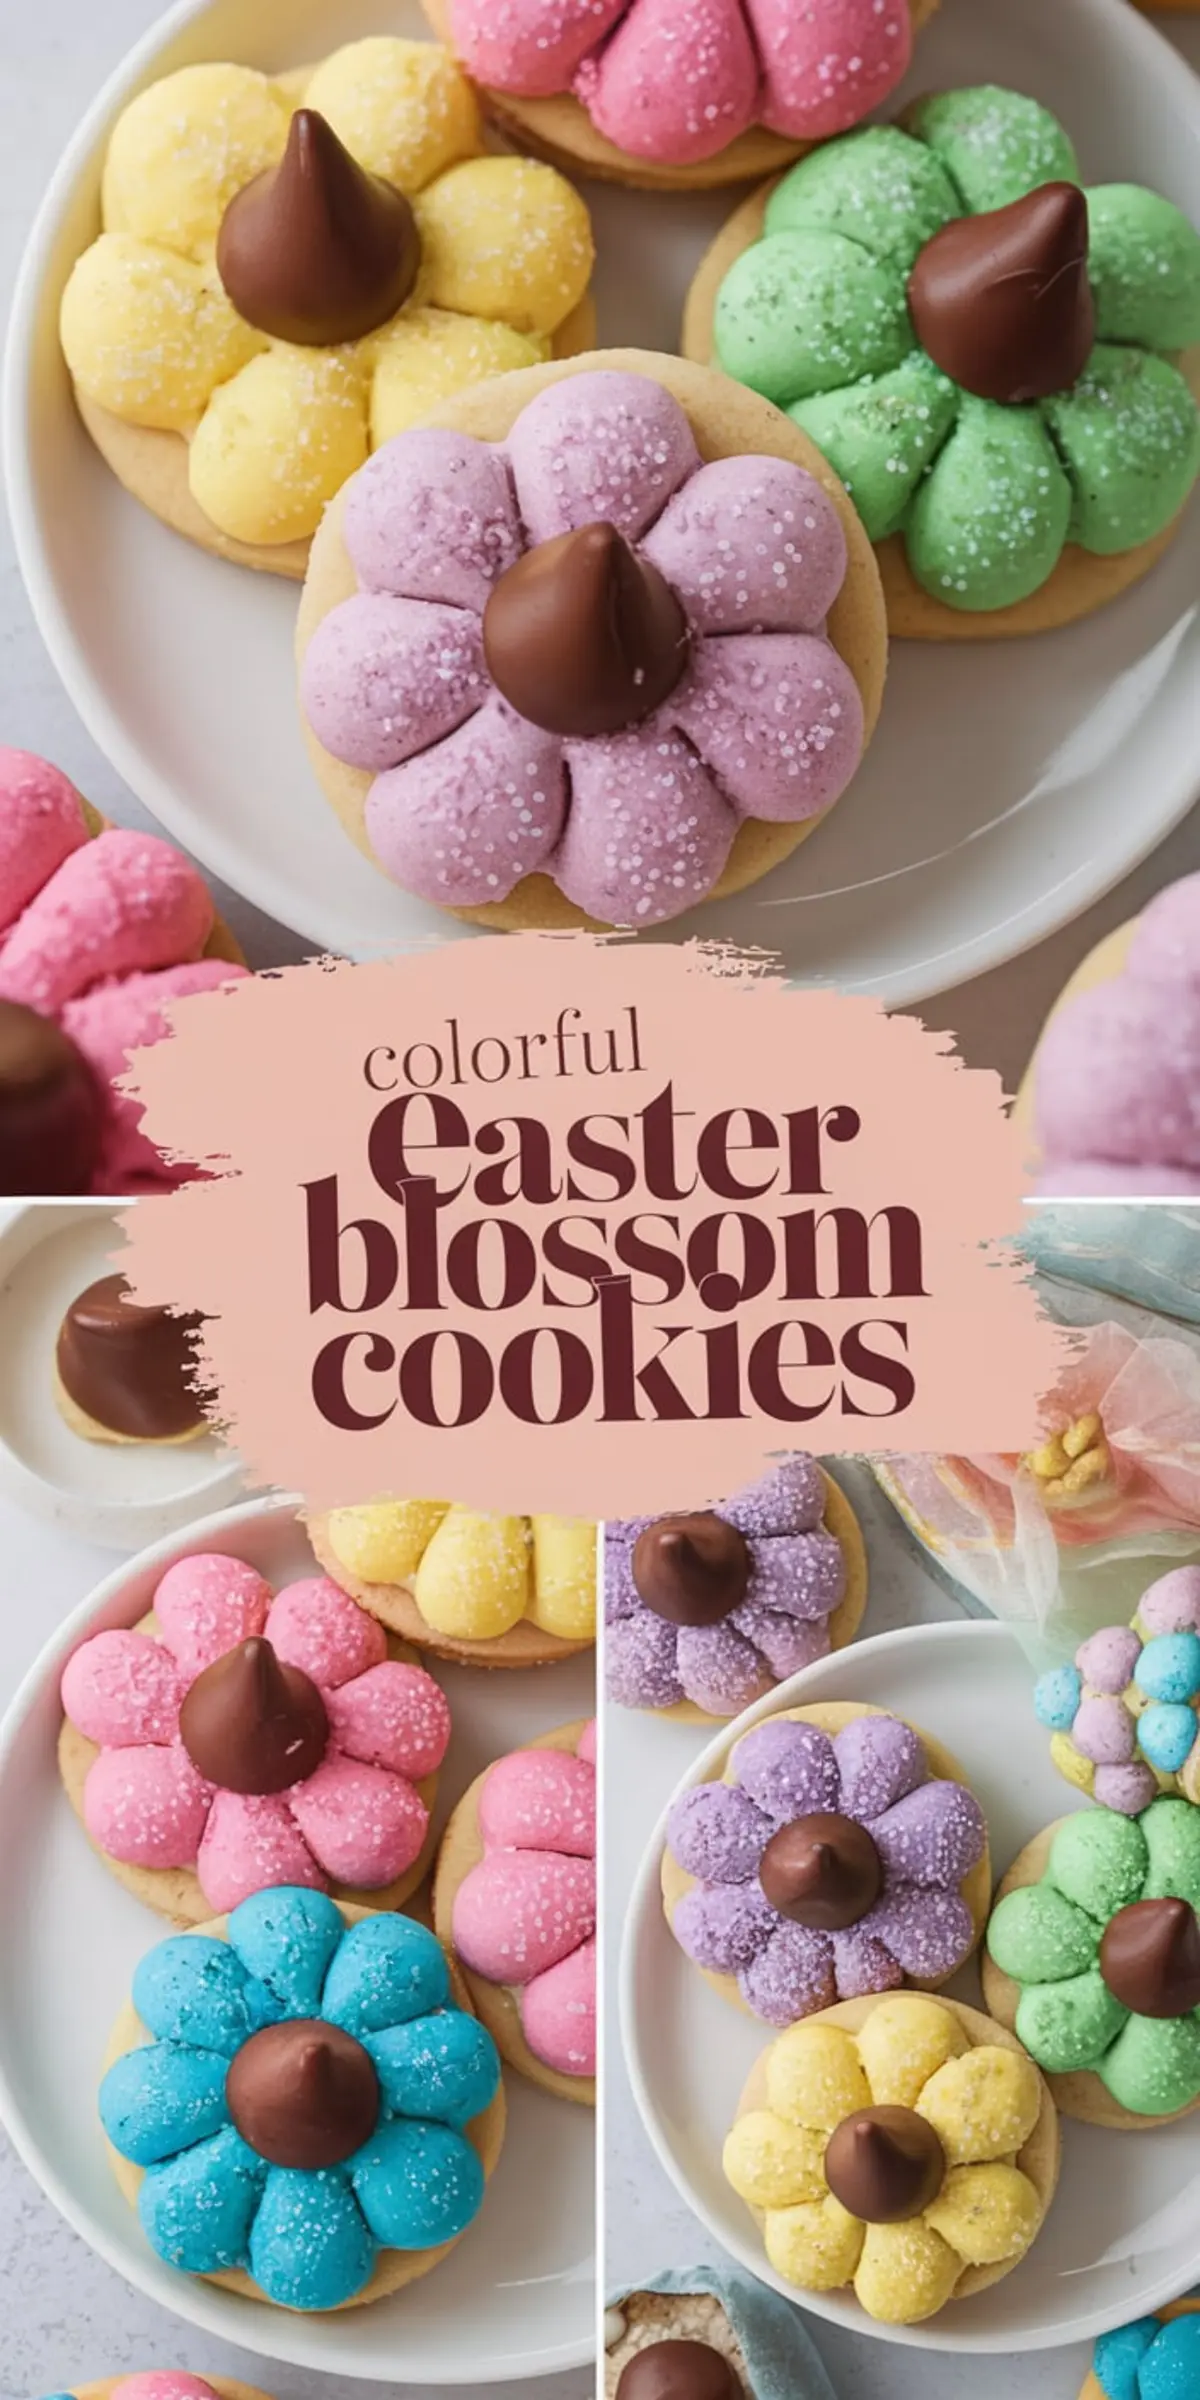
These little dough balls form the petals that circle the chilled cookie base. Pressing them gently keeps them secure while baking. I often use contrasting colors for a standout effect, like pink petals around a yellow base.
Baking Methods for a Soft Texture
I start by forming the round cookie bases and baking them until they are just set. They should remain slightly puffy with minimal browning around the edges. Chilling them afterward prevents the base from spreading when I add the petals.
A second bake binds the petals and chocolate center to the cookie. Keeping a close watch at this stage helps me maintain a soft interior. I remove the tray from the oven once the petals show firmness but still feel tender.
Personal Tips for Flavor Variations
I sometimes add a hint of lemon zest to the base for a bright citrus note. Others prefer a drop of almond extract for a slightly nutty kick. Experimenting with flavor extracts can give the recipe a fresh twist.
A swirl of pastel colors can also create a marbled look in the petals. I mix two shades together just enough to create subtle stripes. Guests often find this approach appealing and memorable.
Serving Suggestions and Storage
I like arranging these cookies on a plate lined with pastel napkins or flower motifs. Airtight containers keep them fresh for up to five days, which allows me to enjoy them throughout the week. Sometimes I freeze a portion of dough for later, so I can bake a fresh batch without starting from scratch.
Feel free to share these cookies at a spring gathering or a casual day with friends. The colors spark conversation, and the flavors keep everyone returning for another nibble. I have seen them brighten dessert tables at baby showers, bridal events, and Easter celebrations.
Explore More Easter Ideas
Easter sugar cookies also deliver bright designs and sweet satisfaction. I admire how that recipe brings out unique shapes and cheerful frosting. Try it for a variety of cookie themes during festive moments.
Chocolate fans might appreciate the Easter Egg Nest Cake for a richer option. I enjoy slicing into a cake that holds a little hidden surprise on top with its candy nest. That dessert can work alongside your colorful blossom cookies to create a lively dessert table.
Fans of marshmallow treats could look at the Easter Rice Krispie Treats recipe for a fun project. I admire how crispy cereal pairs with sweet melted marshmallows in that classic approach. Children often love mixing everything together, and the bright toppings add extra flair.
Step-by-Step Cookie Preparation
Begin by mixing butter and sugar, then add the egg and vanilla extract to form a smooth blend. Combine flour, baking powder, and salt, then stir those dry elements into the creamed mixture for a soft dough. Shape small portions into cookie bases, bake them briefly, and chill them before adding petals.
Color the reserved dough with gel food coloring and roll into small sugar-coated spheres. Arrange them around the cooled bases, then press a chocolate kiss in the center. Bake once more until the blossoms hold their shape and the petals feel set.
Final Thoughts and Reader Interaction
I hope you add these colorful blossoms to your next celebration. Save this idea on Pinterest, and pin it for later so you can revisit the recipe. Share your results in the comments, and let me know if you tried new colors or flavors.
Memories and Special Occasions
I have fond memories of baking a batch with my sister before an Easter brunch. She loved rolling pink dough while I took care of the yellow petals. We joked about whose cookies turned out brighter, and everyone enjoyed the final outcome.
Family gatherings often spark creativity in the kitchen. I have seen relatives experiment with different sanding sugar colors or even add small sugar pearls. That spirit of collaboration creates a comforting bond at the dessert table.
Practical Tips for Pinterest Success
Eye-catching photos make a difference on Pinterest, so consider photographing these cookies with soft daylight. Showing the range of colors in a neat arrangement sparks interest from potential bakers. I sometimes include a step-by-step photo collage, which appeals to visual learners.
Adding relevant keywords, such as “spring cookie ideas” or “bright Easter treats,” can boost search visibility. Clear captions with descriptive phrases help people find exactly what they seek. I occasionally reference seasonal trends or holiday names for added reach.
Encouraging Community Feedback
Friends often tag me on social media to show their versions of these cookies. Some folks add pastel sprinkles or skip the chocolate center, revealing their own preferences. I love reading comments because it feels like a shared adventure in baking.
Questions about dough consistency or baking time appear often. I remind people to watch the cookies closely, because ovens vary in heat distribution. A little practice helps everyone achieve the right balance of softness.
Pairing Beverages with Colorful Cookies
A simple cup of tea works well, especially if the dough includes a hint of citrus. Cold milk might please children who crave that classic pairing with sweet treats. I sometimes sip a mild coffee for a slight bitterness that complements the chocolate center.
Guests at weekend brunches enjoy the color splash on their plates alongside fresh fruit or pastries. A small cookie basket can elevate even a quiet afternoon break. I appreciate how these blossoms bring a ray of fun to any meal.
Guidance for Make-Ahead Planning
Freezing the cookie dough helps me stay prepared for any sudden get-together. I thaw it in the refrigerator overnight, then color the petals right before baking. This approach saves time and preserves the freshness that everyone loves.
Wrapping cooled cookies in plastic and storing them in a sealed container can extend their shelf life. I have offered these as gifts by placing a few in clear bags tied with ribbons. They keep well for a few days, which makes them a convenient option for last-minute dessert needs.
Colorful Blossom Cookies Recipe
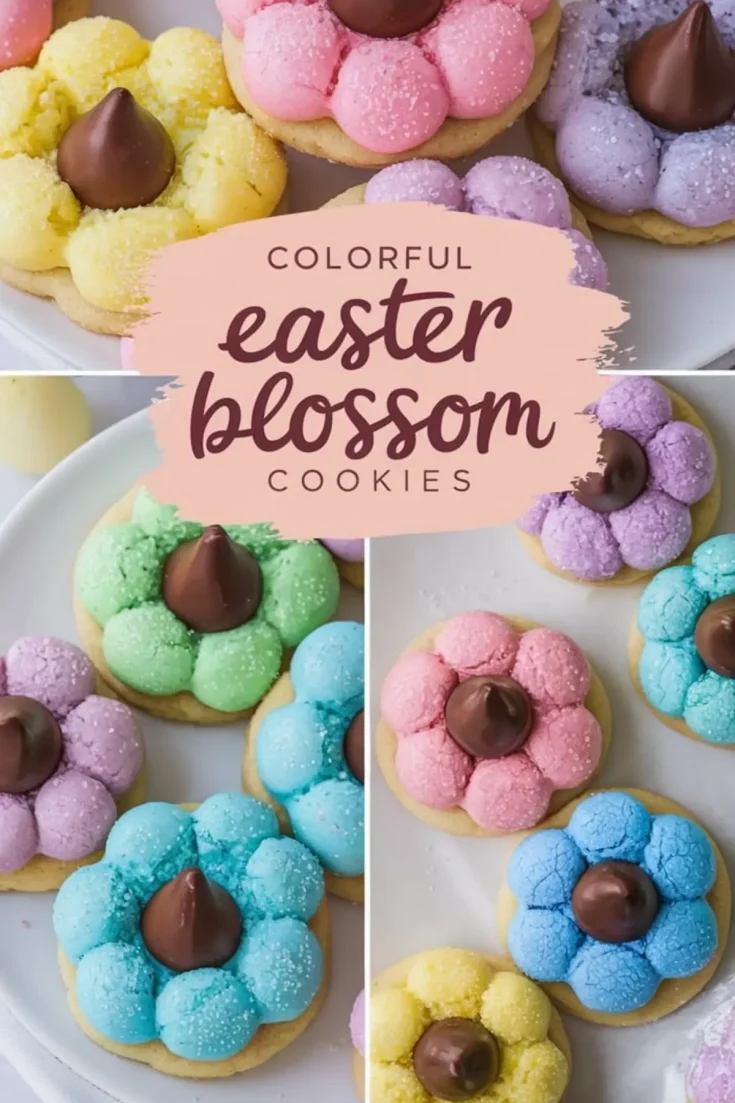
Colorful Blossom Cookies are a bright and cheerful treat, perfect for springtime gatherings. A buttery sugar cookie base is topped with vibrant, sugar-coated petals and finished with a chocolate center. These cookies are as fun to make as they are to eat.
Ingredients
- FOR THE COOKIE BASE:
- 1 cup (226g) unsalted butter, softened
- 1 cup (200g) granulated sugar
- 1 large egg
- 2 teaspoons vanilla extract
- 2 ½ cups (315g) all-purpose flour
- 1 teaspoon baking powder
- ¼ teaspoon salt
- FOR THE FLOWER PETALS:
- 1 cup reserved sugar cookie dough (from above)
- Gel food coloring (assorted colors)
- ½ cup sanding sugar (for rolling)
- FOR THE CHOCOLATE CENTER:
- Chocolate kisses (unwrapped)
Instructions
- PREPARE THE COOKIE BASE: Preheat the oven to 350°F (175°C) and line a baking sheet with parchment paper. In a large mixing bowl, cream the butter and sugar until light and fluffy, about 2-3 minutes. Add the egg and vanilla extract, mixing until smooth. In a separate bowl, whisk together the flour, baking powder, and salt. Gradually add the dry ingredients to the wet mixture, stirring until a soft dough forms.
- SHAPE AND BAKE THE COOKIE BASE: Scoop out small portions of dough and roll into round cookie bases, about 1 to 1.5 inches in diameter. Arrange them on the prepared baking sheet, spacing them at least 2 inches apart. Bake for 8-10 minutes, until set and slightly puffy. Do not overbake—these should remain soft. Let the cookies cool completely, then chill them in the refrigerator while preparing the flower petals.
- PREPARE THE FLOWER PETALS: Divide the reserved dough into separate bowls, one for each color desired. Add a few drops of gel food coloring to each portion and mix until evenly distributed. Roll the colored dough into small balls to form the flower petals. For a decorative touch, roll each ball in sanding sugar.
- ASSEMBLE THE FLOWER COOKIES: Remove the chilled cookie bases from the refrigerator. Arrange the sugar-coated dough balls around the edge of each cookie base, pressing them in slightly to adhere. Use as many petals as desired for a varied look. Gently press a chocolate kiss into the center of each cookie.
- BAKE THE ASSEMBLED FLOWERS: Return the cookies to the 350°F (175°C) oven and bake for another 8-10 minutes, until the dough balls are set but still soft. Remove from the oven and let cool on the baking sheet for 5 minutes before transferring to a wire rack to cool completely.
Notes
For the best color, use gel food coloring rather than liquid. The cookies can be stored in an airtight container at room temperature for up to five days.
Nutrition Information
Yield
24Serving Size
1Amount Per Serving Calories 122Total Fat 3gSaturated Fat 1gTrans Fat 0gUnsaturated Fat 2gCholesterol 10mgSodium 85mgCarbohydrates 21gFiber 0gSugar 9gProtein 2g