
How to Bake Bakery-Style Crinkle Cookies with Fudgy Texture and a Gooey Chocolate Core
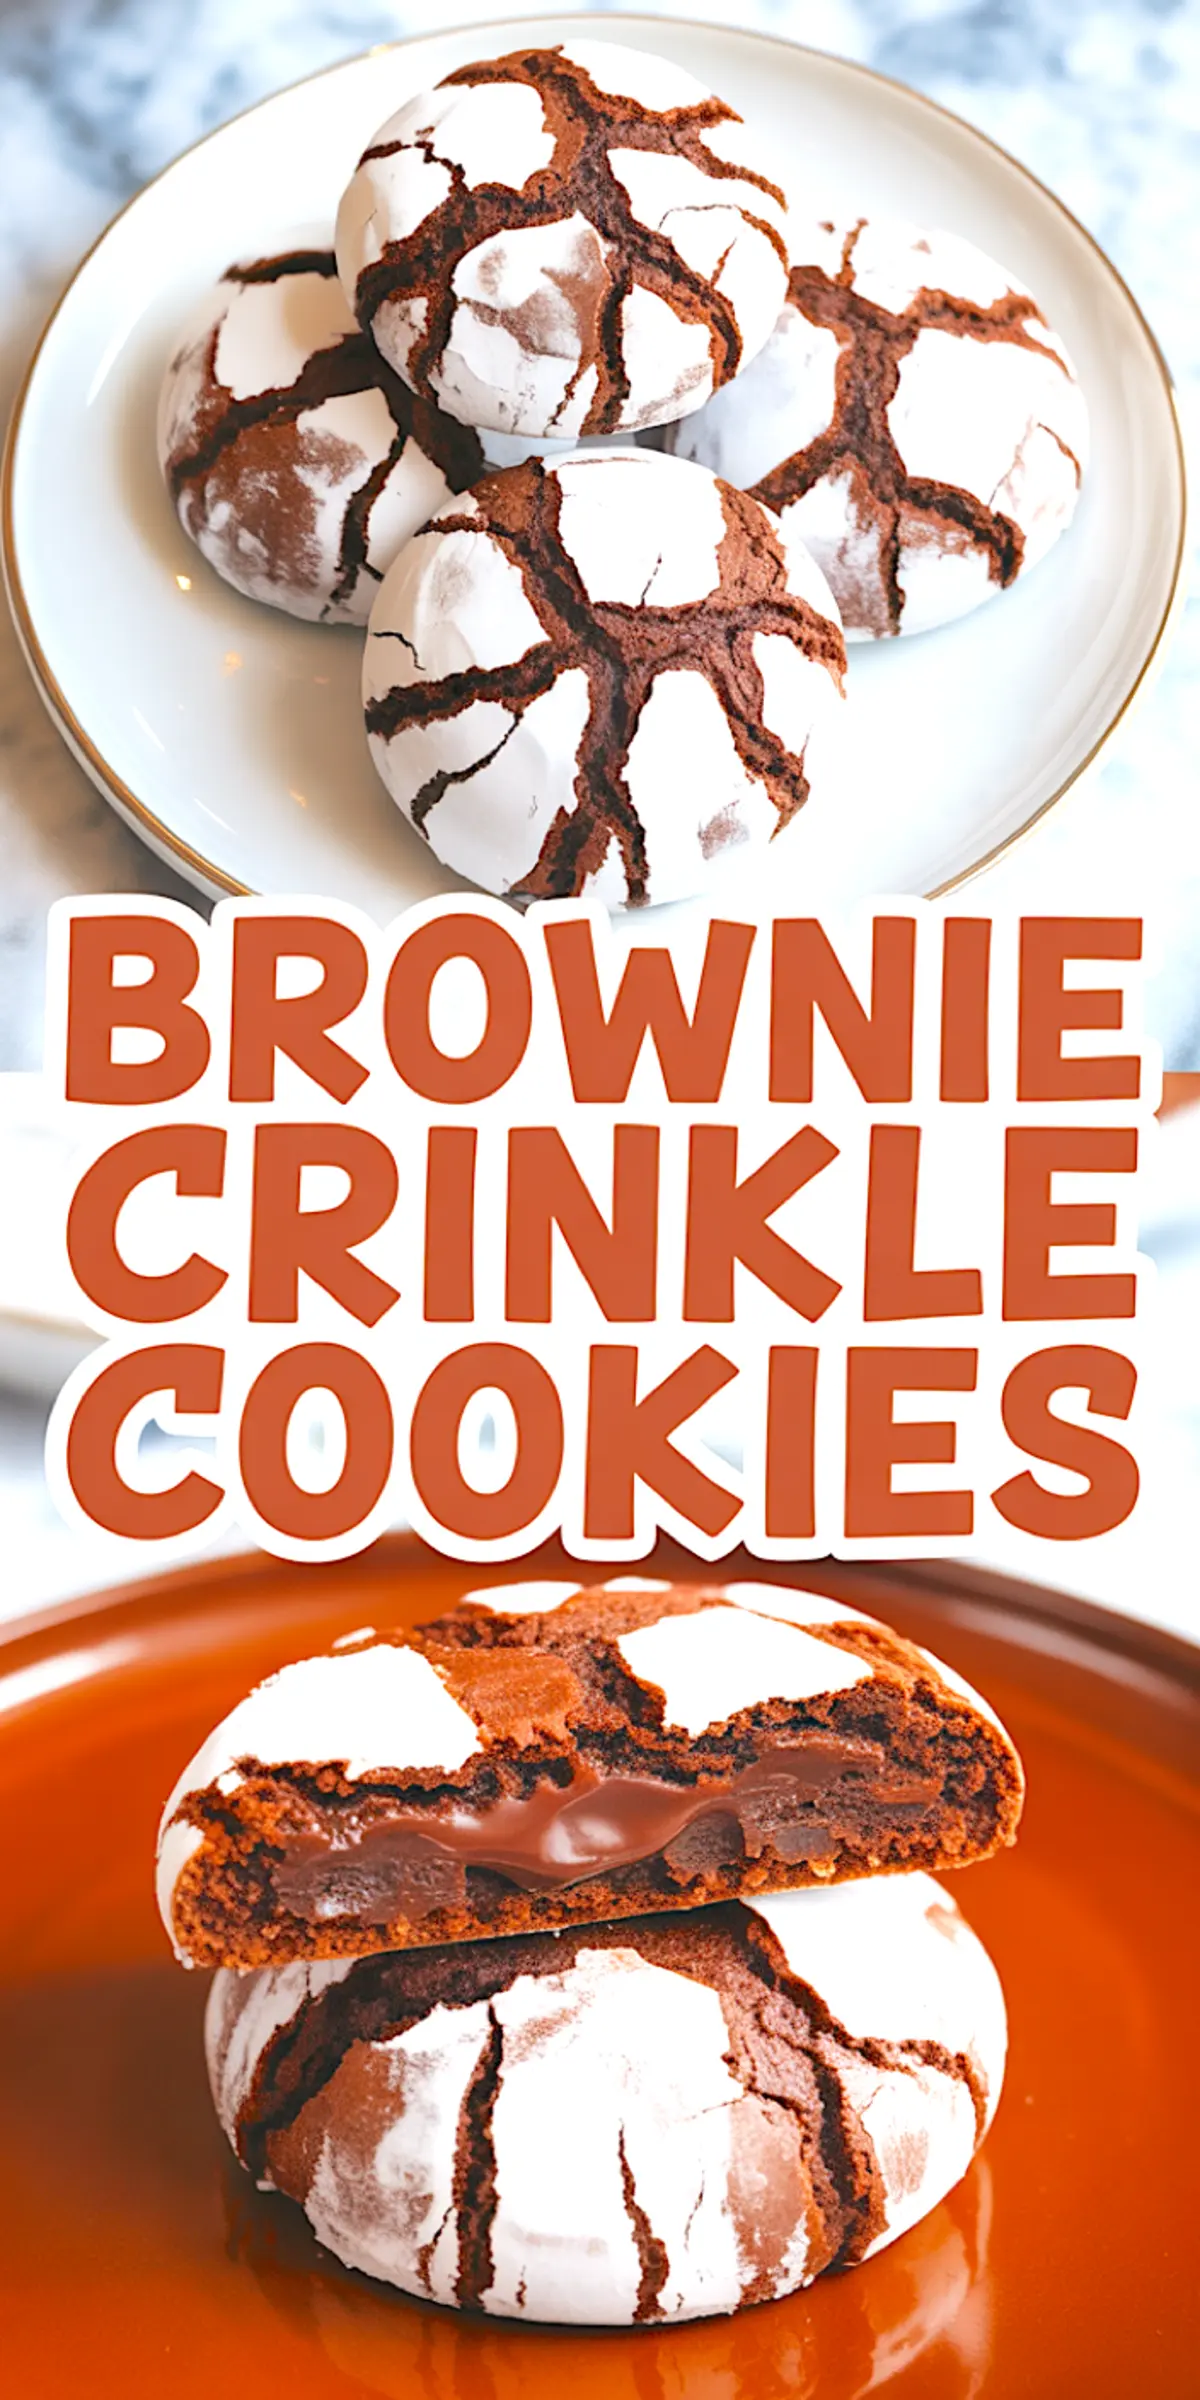
There’s something quietly satisfying about a cookie that gives you both crunch and melt. Brownie Crinkle Cookies do just that. On the outside, they’re crackled and dusted like snowfall. Inside, a square of dark chocolate melts into a soft, warm center. You get the best of a brownie and a cookie without choosing between them.
This recipe walks you through the exact method I use when I want bakery-style results at home. If you’ve ever been disappointed by dull sugar coatings or flat crinkles, this approach fixes that. You’ll learn how to keep the contrast sharp, how to lock in the molten core, and what tricks help the texture stay chewy instead of cakey.
By the end, you’ll feel confident shaping and baking these with the kind of finish that makes people assume you bought them.
Following a special diet?
Every recipe on this site can be converted to gluten-free, vegan, dairy-free, keto, nut-free or egg-free with adjusted ratios so nothing falls flat.
Try the Recipe Converter →What Makes These Brownie Crinkle Cookies Different
A cookie with a hidden center needs more than just clever shaping. You need dough that can hold form, sugar that won’t disappear in the oven, and just enough chill time to hold structure without drying out.
I use a double sugar roll to protect the powdered coating. That outer layer stays visible after baking, giving you a bold, classic crackle look. Inside, the frozen chocolate square melts just enough to stay soft without seeping.
There’s also the depth of flavor. Cocoa in the dough adds bitterness to balance the sweetness of the sugar shell. The brown sugar gives it a bit of chew. These aren’t just sweet—they’re rich, layered, and slightly dark.
If you’ve tried my Chocolate Crinkle Cookies, these offer a deeper flavor with a molten twist.
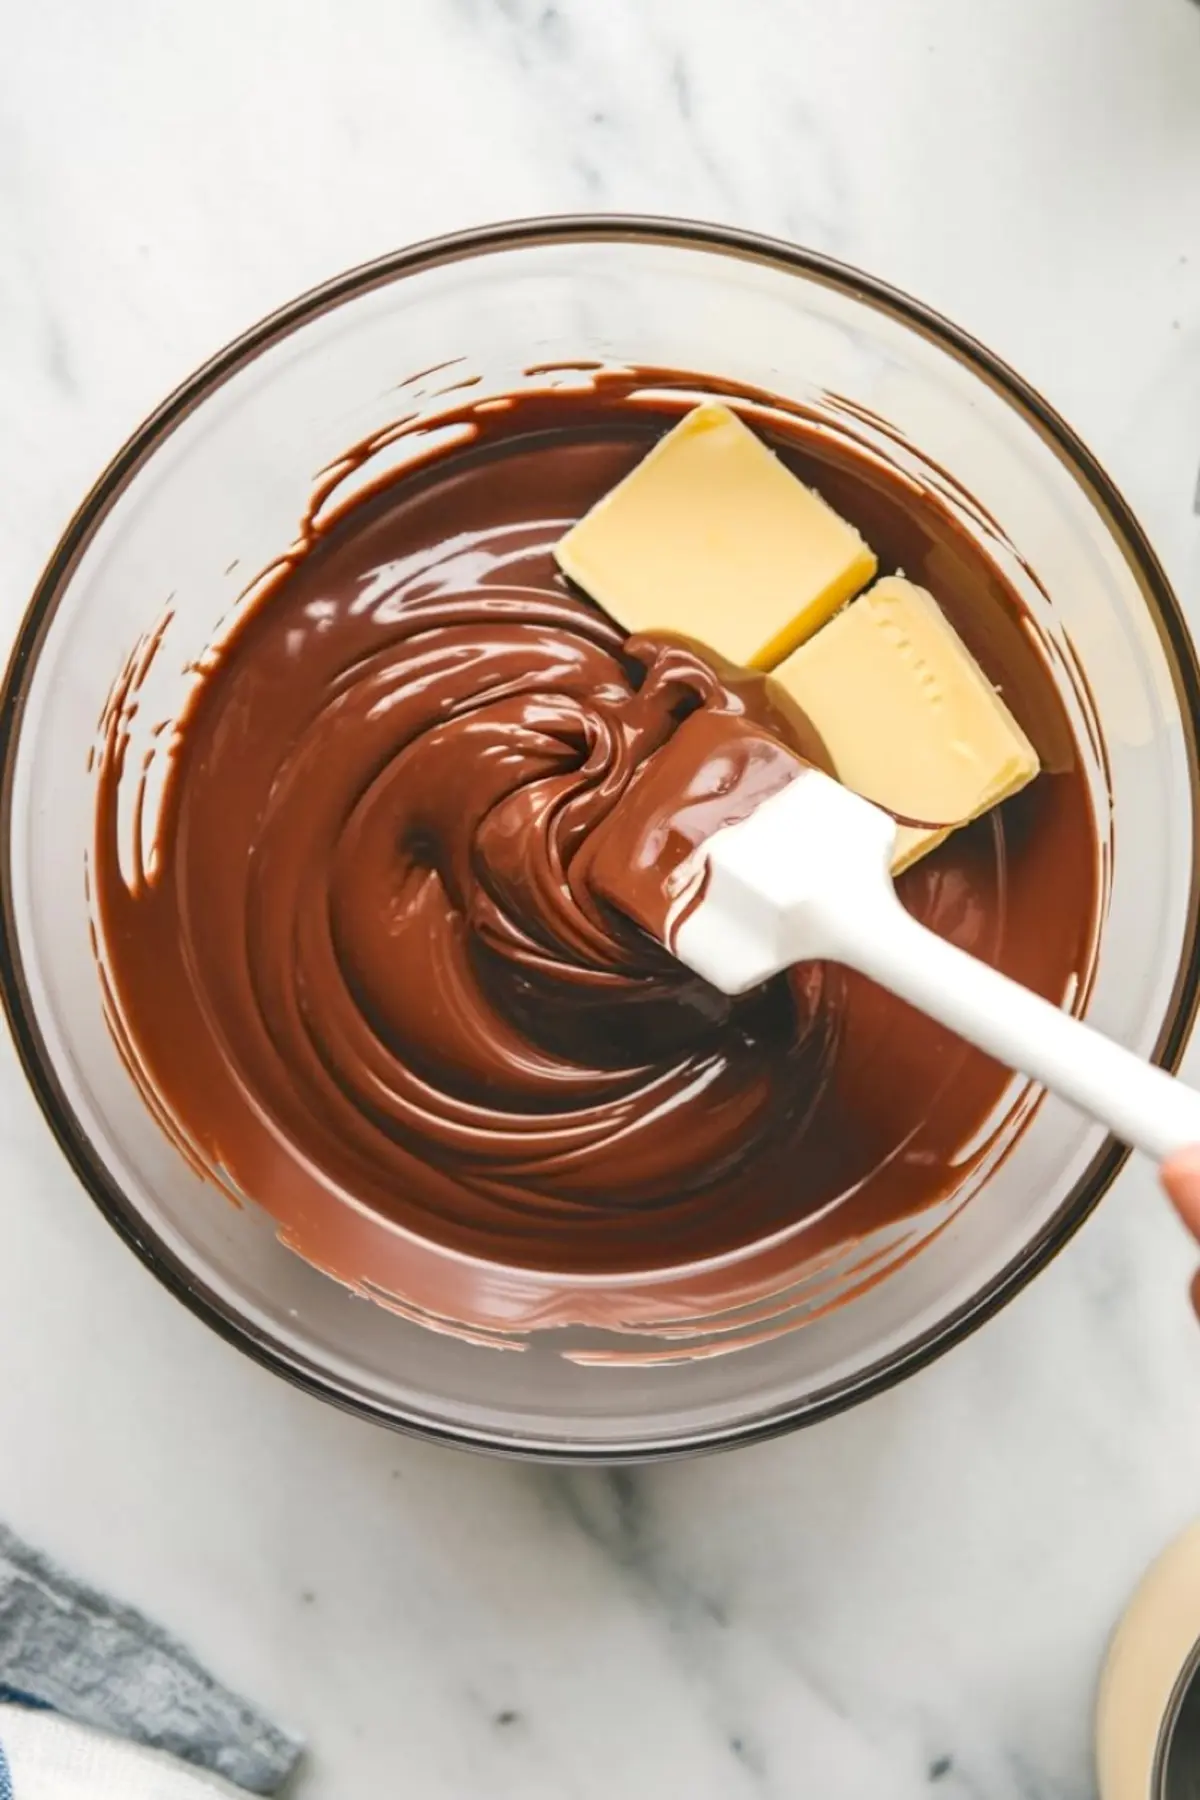
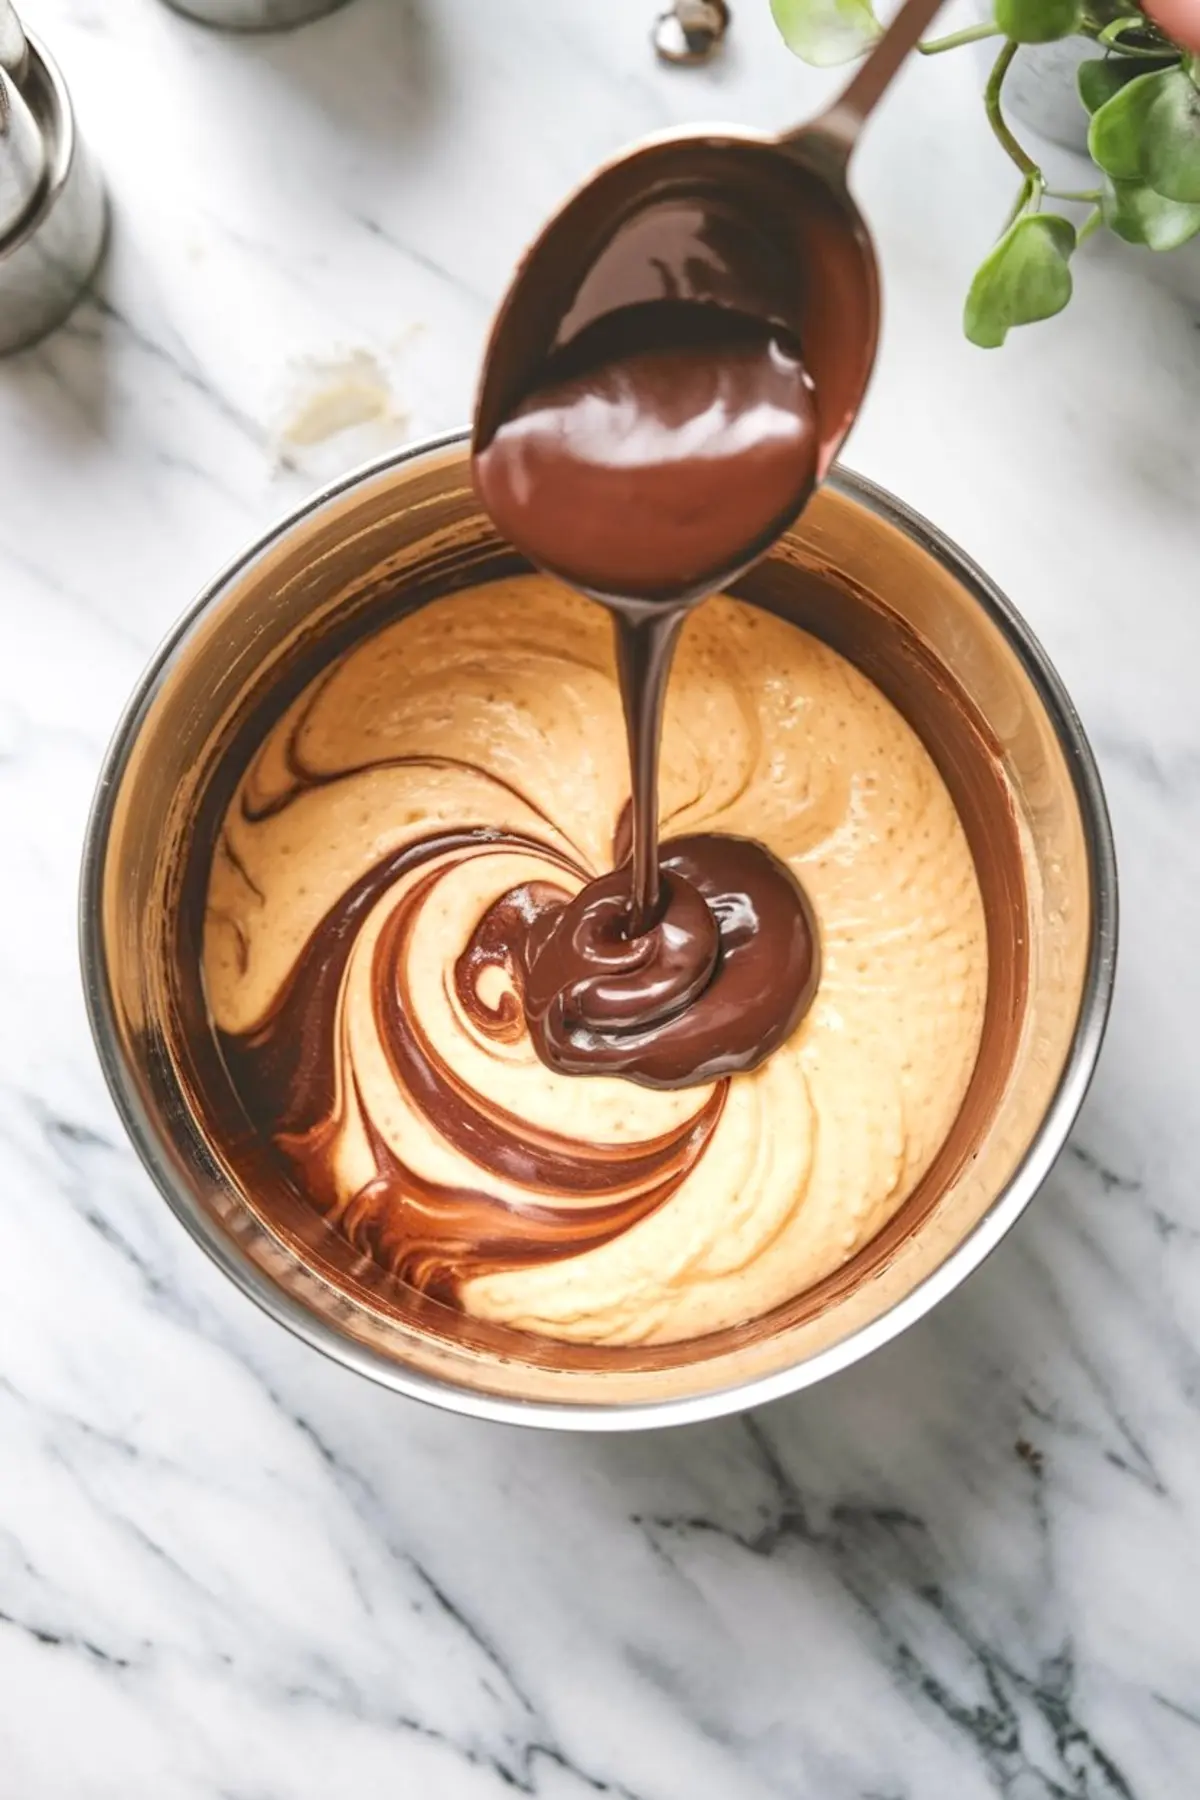
Melting the Chocolate and Butter
I always recommend using the double boiler method here, even if the microwave seems faster. It gives you more control. Chocolate burns fast, and I’ve seen too many ruined bowls from microwave shortcuts.
Once melted and smooth, let it cool before adding to your eggs. Adding it while hot can cook the eggs slightly, and the texture becomes off. Room temperature is your friend here.
If you’re wondering which chocolate chips work best, I’ve had success with both Ghirardelli and Guittard. They melt evenly and don’t go grainy under heat.
Mixing the Wet Ingredients
Whisking the sugars, eggs, and vanilla until thick creates the backbone of that brownie-like crumb. It should look pale and airy before you fold anything else in. This step builds structure that helps the dough rise and crinkle properly.
Don’t skip the brown sugar. I’ve tested versions with only granulated, and they lose the chew. Brown sugar locks in moisture and gives the cookies a deeper taste, especially once cooled.
If you enjoy cookies with rich flavor depth, try my Red Velvet Crinkle Cookies next—they follow a similar sugar structure but lean into vanilla and cocoa together.
Dry Ingredient Blend and Why It Matters
Cocoa powder and flour need even distribution before hitting the wet ingredients. Whisking them separately prevents clumps, especially with the baking powder.
I use natural cocoa here instead of Dutch-processed. The acidity in natural cocoa helps activate the baking powder properly. Dutch versions tend to flatten the cookie slightly in this recipe.
That said, if you’re after a smoother, darker flavor, Dutch will work—you’ll just lose a little lift. I’ve done both. The natural cocoa gives you more texture in the crackle.
For a lighter flavor with a twist, check out the Lemon Pistachio Crinkle Cookies as an alternative.
Chill Time: Why You Shouldn’t Skip It
The dough needs to firm up in the fridge. That chill controls the spread and helps the center chocolate stay molten instead of oozing out.
Two hours minimum works well, but I often leave mine overnight. When chilled properly, the dough is easier to shape, less sticky, and gives you better cracks during baking.
Don’t skip the freezer step for the chocolate either. Cold chocolate holds its shape during baking and melts at the right pace. If it starts at room temp, it leaks too early and you lose that molten bite.
If you like fudgy-centered cookies, my Brownie Mix Cookies offer a faster alternative with similar results.
Rolling, Coating, and Getting the Crackle Right
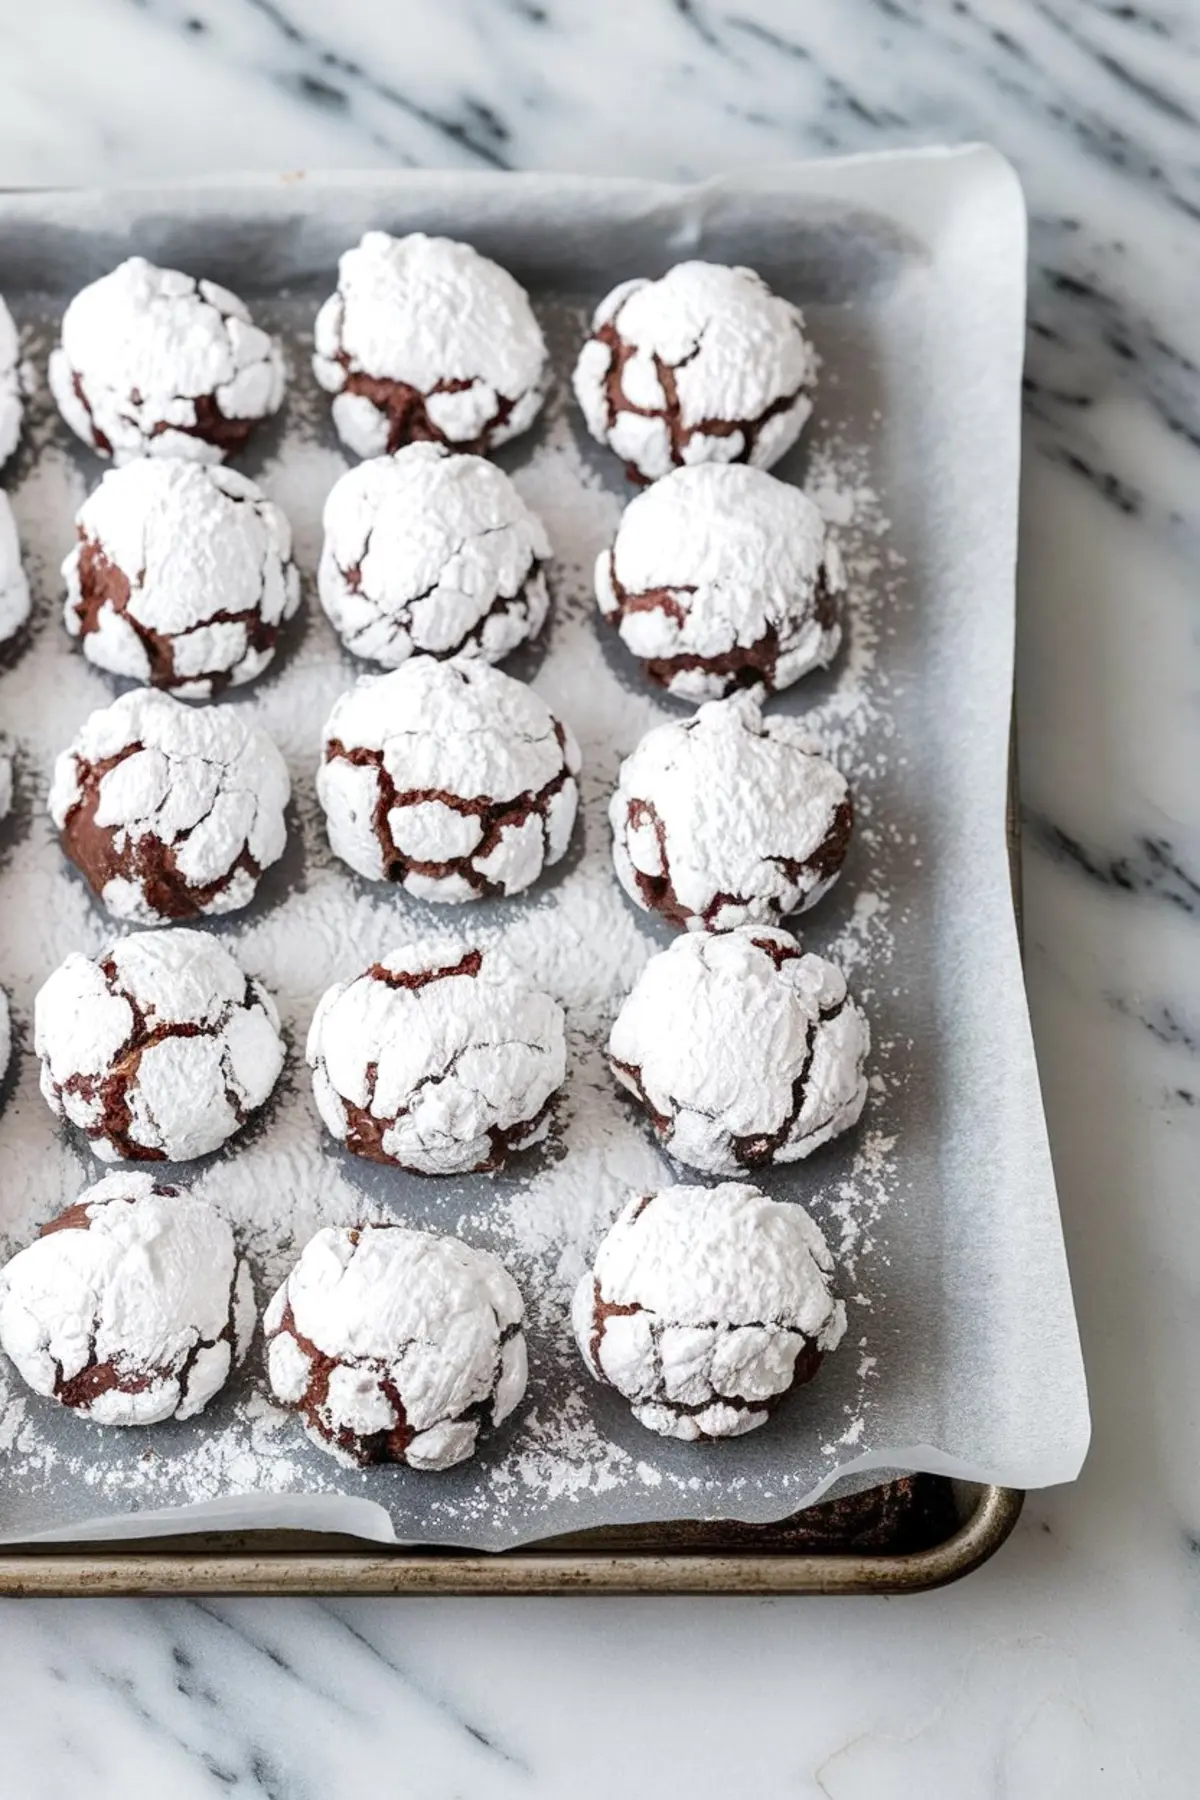
This is where technique matters. Flatten the chilled dough gently in your palm, wrap it around the frozen chocolate, and seal well.
Then comes the two-sugar trick. Roll first in granulated sugar. This layer acts like a barrier and keeps the powdered sugar from soaking in. Skip that step, and your crinkles will disappear into the dough.
After that, coat each cookie generously in powdered sugar. I’ve found that sifting the powdered sugar first gives a fluffier look and better coverage.
If you’re experimenting with colors, the Purple Crinkle Cookies show how this technique works with vibrant doughs too.
Baking Tips for the Right Texture
Bake at 350°F until the tops crack and the edges set. Mine usually take about 12 minutes.
The cookies will look slightly underdone in the center when pulled—this is intentional. That underbaked middle firms up as they cool but leaves the center soft and molten.
Let them sit on the tray for 5 minutes before moving. This step finishes the bake without overcooking the chocolate inside.
If you like nutty versions, you might enjoy Pecan Pie Crinkle Cookies for a completely different texture twist.
Ingredient Comparison: Natural Cocoa vs. Dutch-Processed
I’ve tested both cocoa types in this recipe. Natural cocoa gives the cookies more lift and contrast. Dutch cocoa smooths out the flavor but reduces the rise and deepens the color.
In my notes, I’ve marked the natural version as the one with more crackle and a sharper appearance. Use Dutch if your goal is darker, softer cookies with mellow flavor. But for bakery-style definition, I stick with natural cocoa every time.
Serving Suggestions and Storage Notes
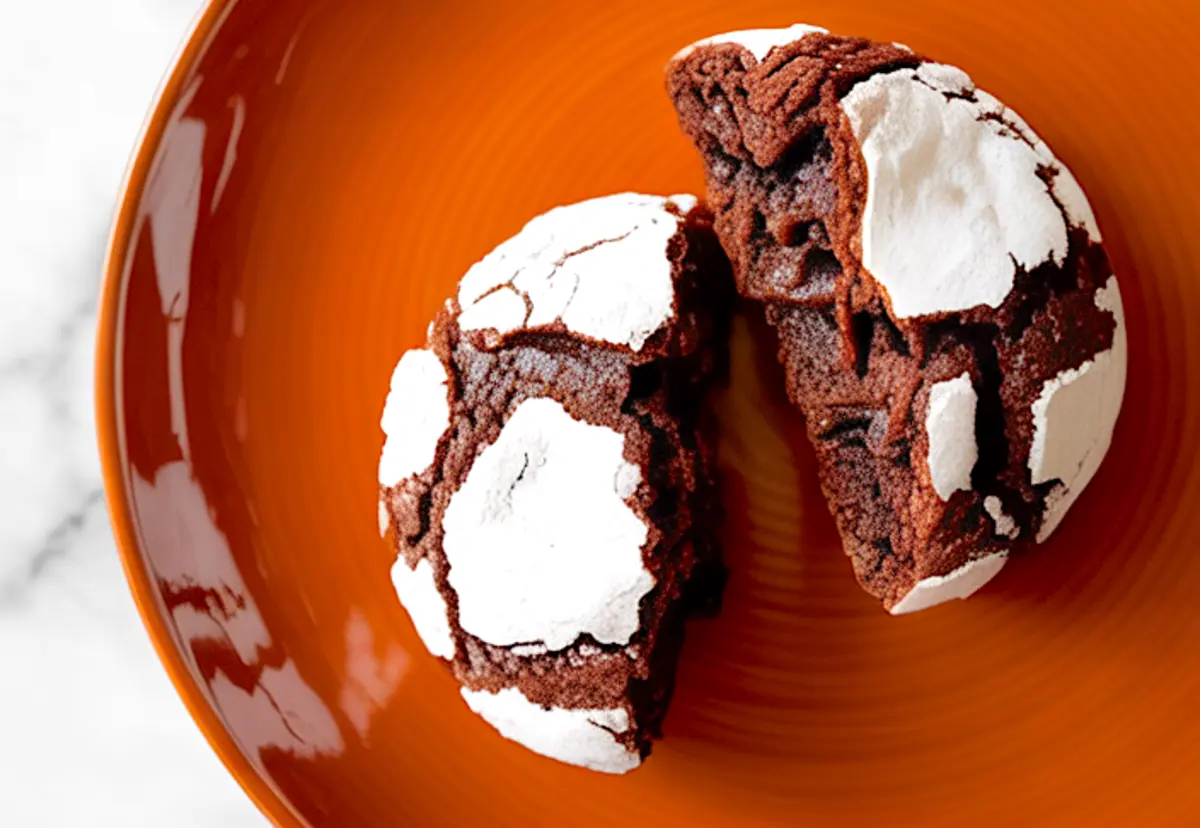
Serve these warm to get the molten effect. A glass of cold milk or a scoop of vanilla ice cream makes it even better.
Once cooled, the centers become firm but still soft. You can reheat them for 10 seconds in the microwave to bring the melt back.
Store them in an airtight container at room temperature for up to 3 days. The sugar coating holds up well if you stack them between parchment.
If you’re baking ahead for a gathering, freeze the shaped, unbaked dough balls. Bake straight from frozen, adding 1–2 extra minutes in the oven.
For more soft-baked cookie ideas, try these Chocolate Crinkle Cookies or the easy Brownie Mix Cookies for quicker prep.
Save and Share
If you try these, pin this recipe to your cookie board for later.
Drop a comment and let me know how they turned out or if you added your own twist—I love hearing how you make them yours.
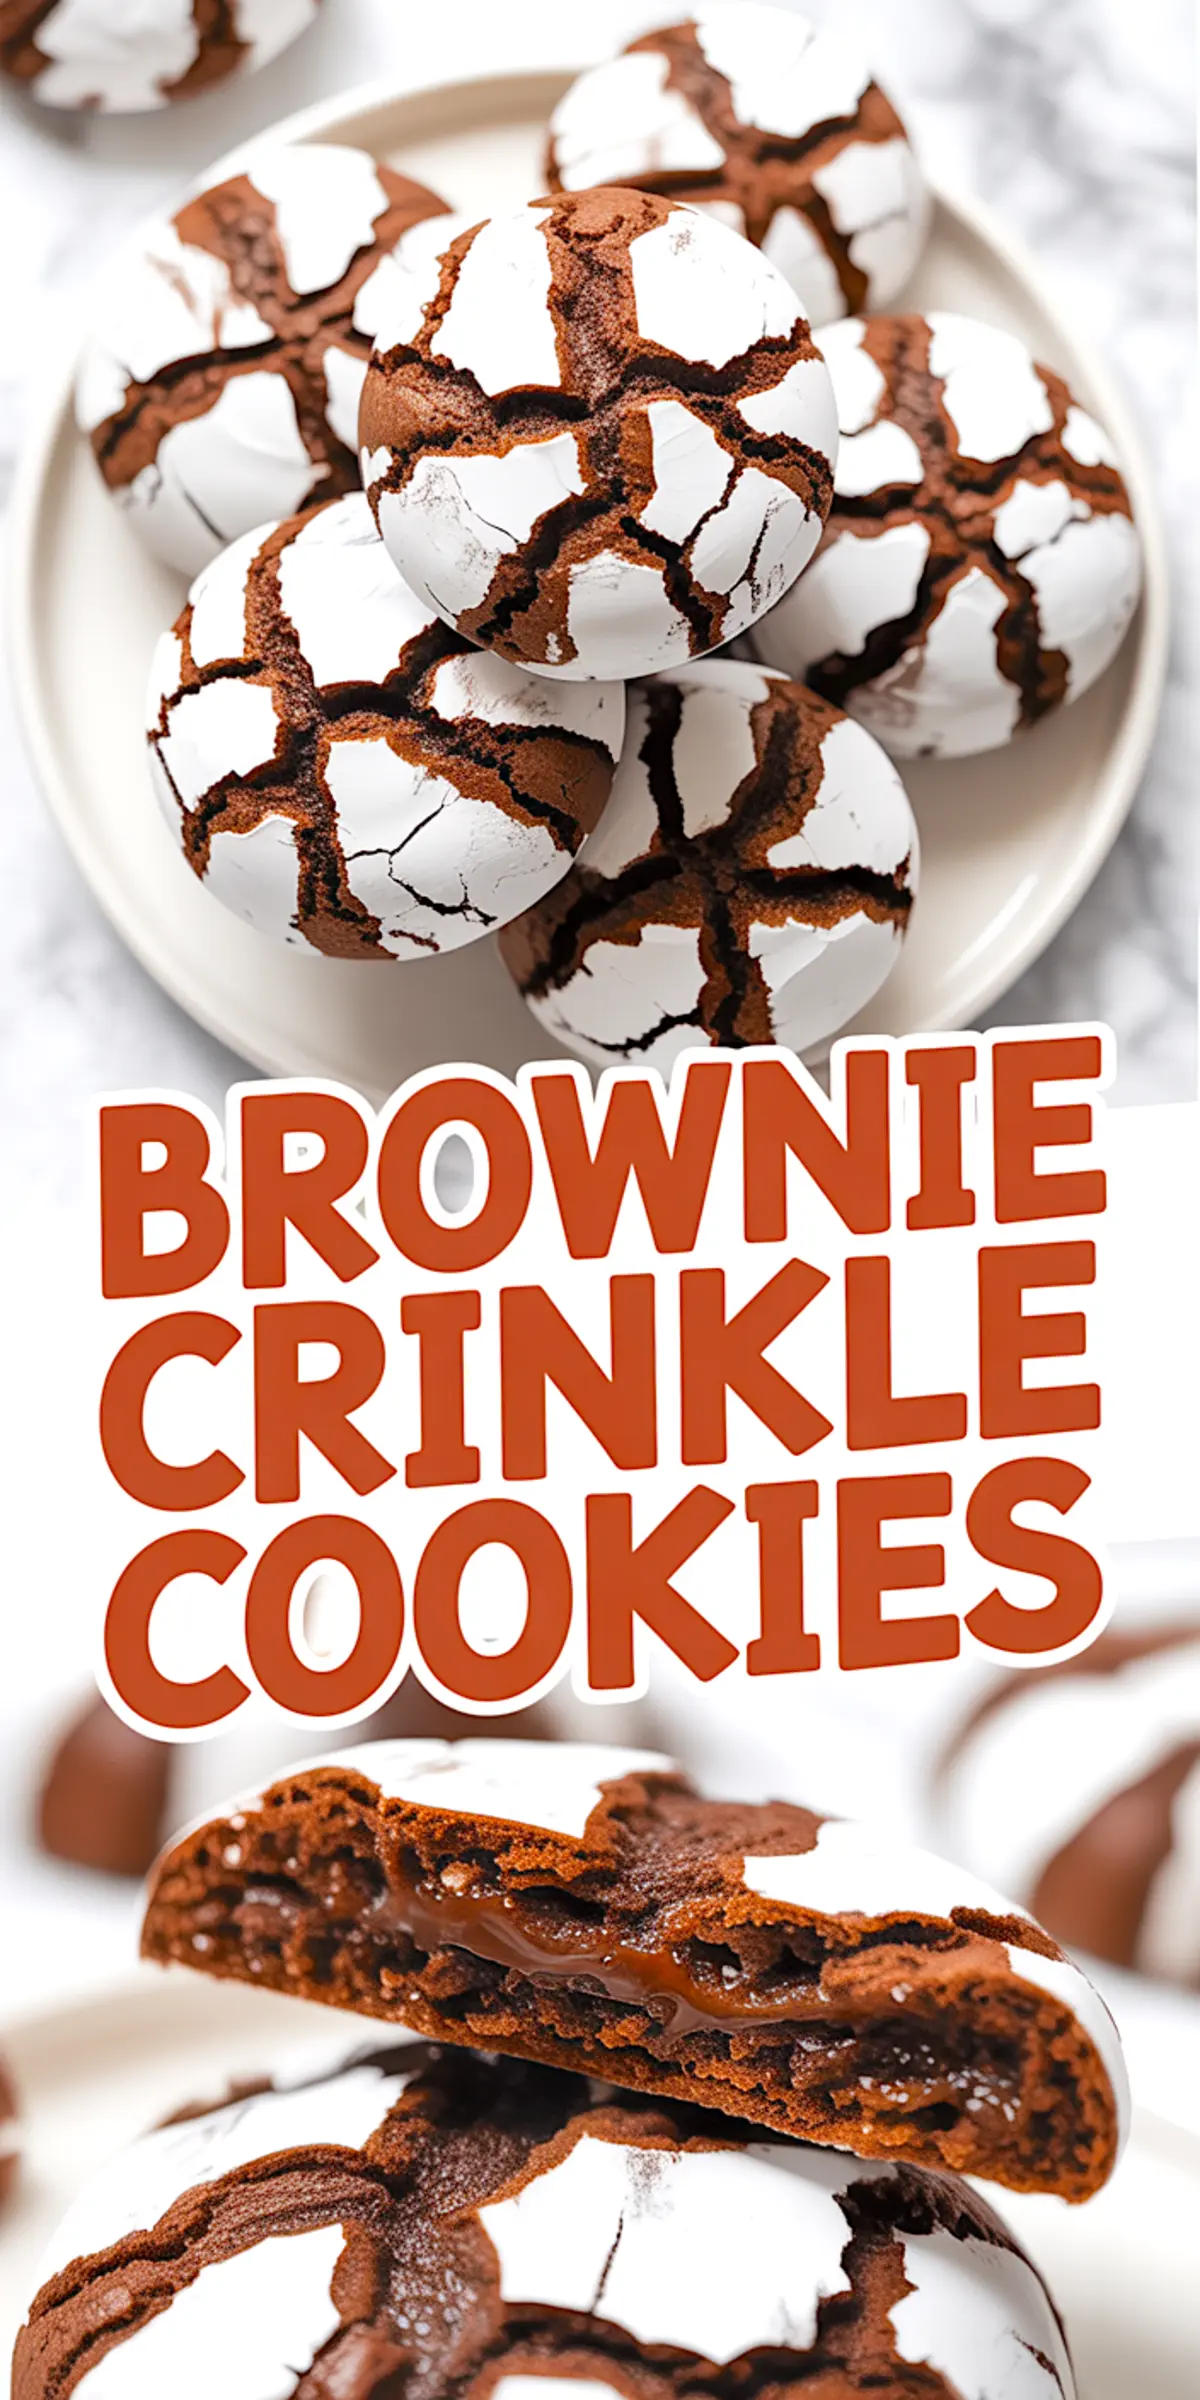
Brownie Crinkle Cookies Recipe
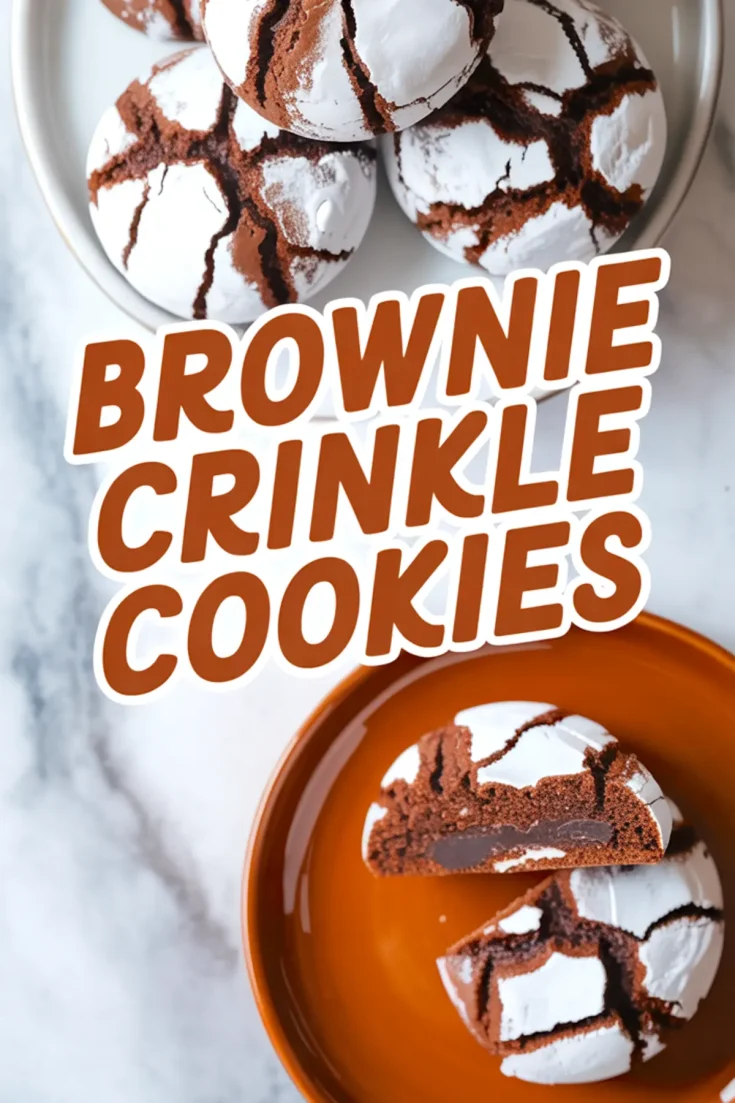
Brownie Crinkle Cookies combine the rich flavor of a fudgy brownie with the classic texture of a crackled cookie. A chilled square of dark chocolate hidden in the center melts during baking to create a molten core. The signature crinkle finish is achieved using a double coating of granulated and powdered sugar, which helps maintain a bold white contrast against the dark dough. These cookies are chewy, chocolate-packed, and bakery-style in both appearance and taste.
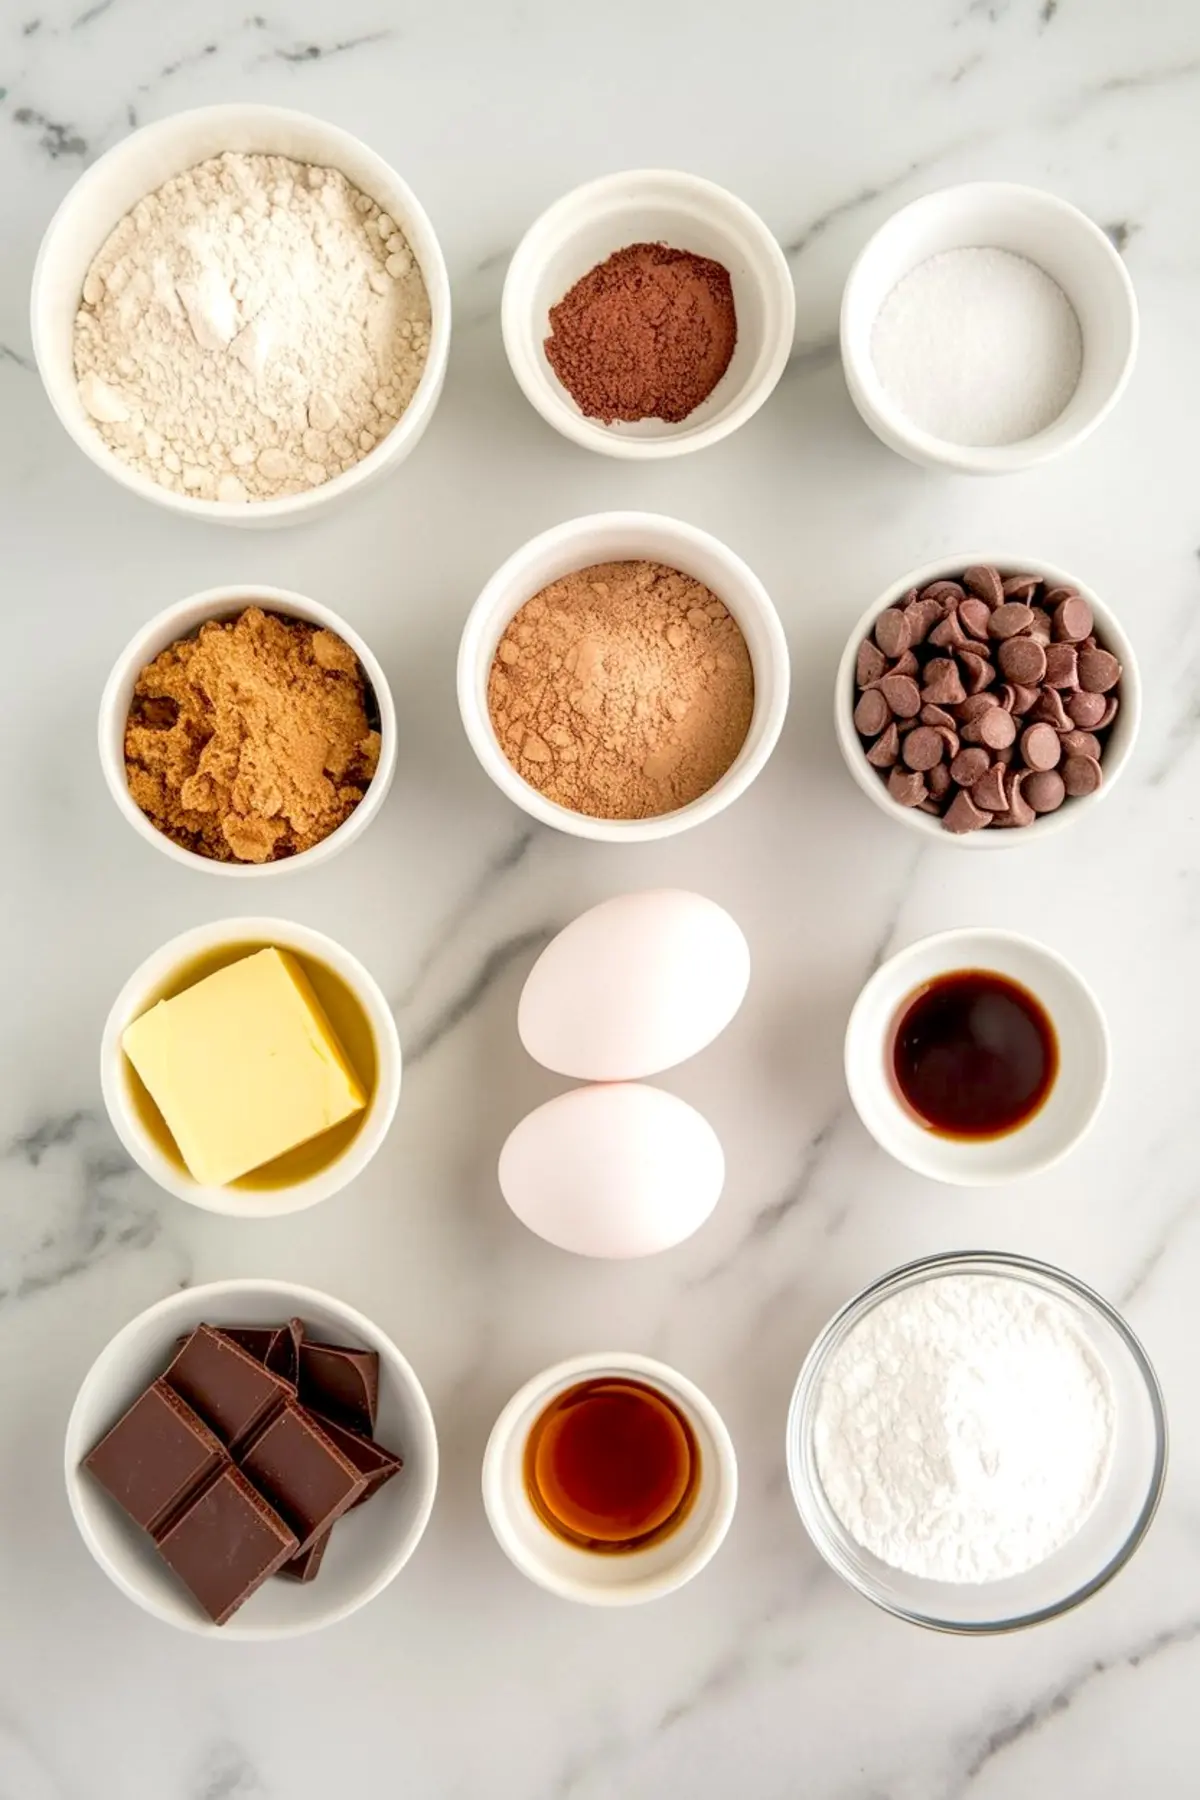
Ingredients
- FOR THE DRY INGREDIENTS
- 1 cup (120g) all-purpose flour
- 1/2 cup (45g) unsweetened cocoa powder
- 1 tsp baking powder
- 1/4 tsp fine salt
- FOR THE WET INGREDIENTS
- 1/2 cup (115g) unsalted butter
- 1 cup (180g) semi-sweet chocolate chips
- 3/4 cup (150g) granulated sugar
- 1/4 cup (55g) brown sugar, packed
- 2 large eggs
- 1 tsp pure vanilla extract
- FOR COATING
- 1/4 cup granulated sugar
- 1/2 cup powdered sugar, sifted
- FOR THE MOLTEN CENTERS
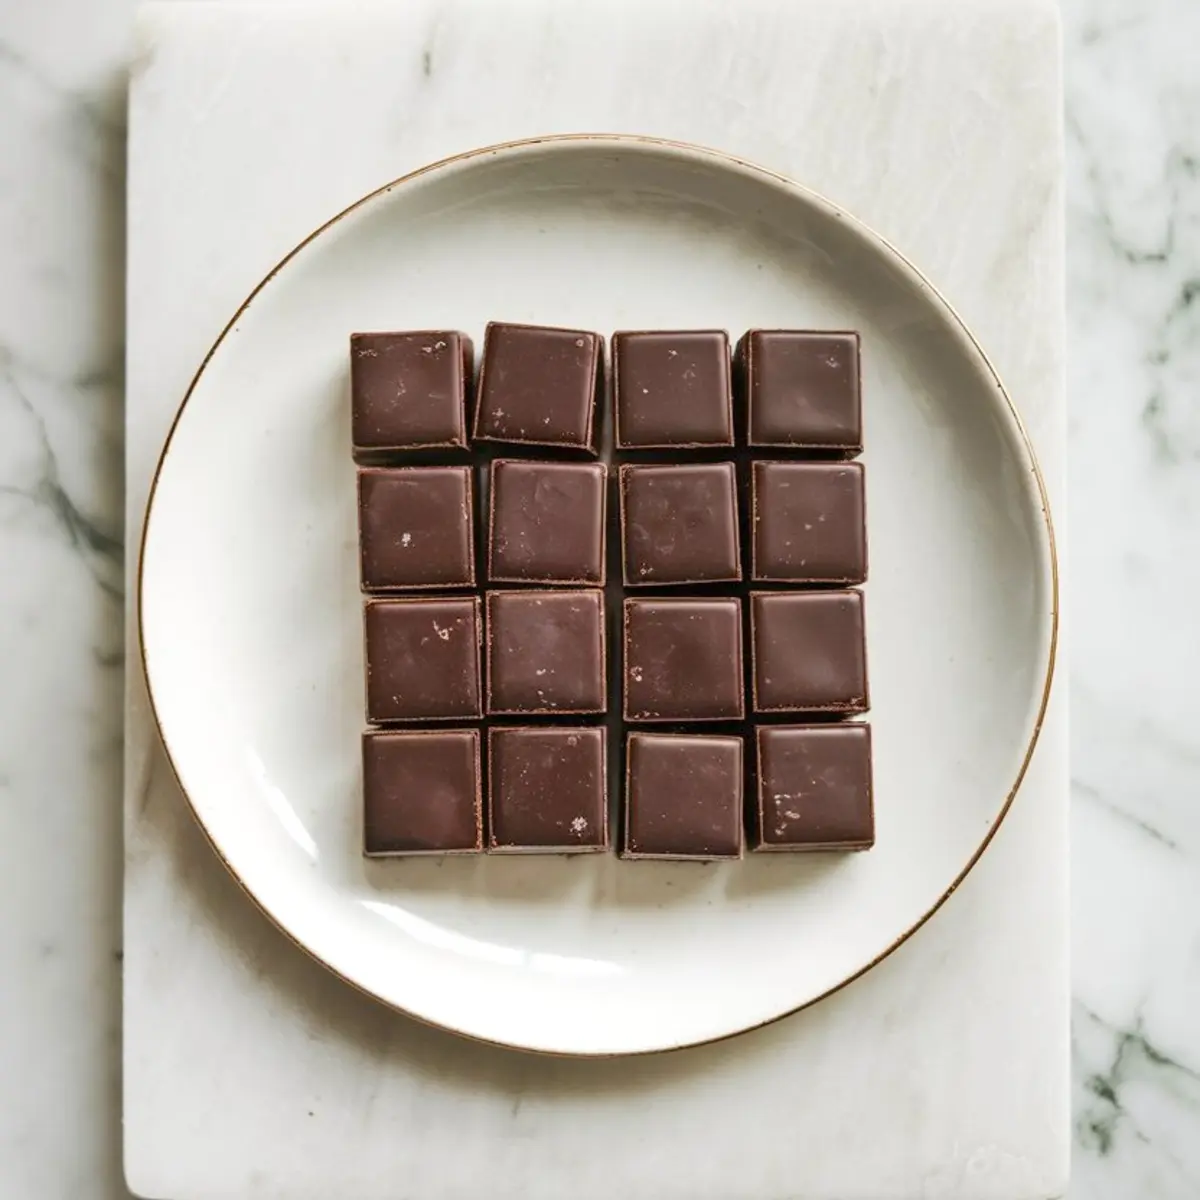
- 12 squares dark chocolate (70% cocoa preferred), chilled or frozen
Instructions
- FREEZE THE CHOCOLATE CENTERS: Place 12 squares of dark chocolate on a plate or tray and freeze for at least 30 minutes to help them stay intact during baking.
- MELT BUTTER AND CHOCOLATE: In a heatproof bowl, melt the butter and chocolate chips over a double boiler or in the microwave in short intervals, stirring between bursts until smooth. Set aside to cool slightly.
- WHISK WET INGREDIENTS: In a large bowl, whisk the granulated sugar, brown sugar, eggs, and vanilla extract together until the mixture is pale and thick, about 2 to 3 minutes.
- COMBINE WITH MELTED CHOCOLATE: Stir the cooled chocolate mixture into the sugar and egg mixture until fully blended and smooth.
- ADD DRY INGREDIENTS: In a separate bowl, whisk together the flour, cocoa powder, baking powder, and salt. Fold the dry ingredients into the wet mixture just until combined. The dough will be soft and sticky.
- CHILL THE DOUGH: Cover the dough and refrigerate for at least 1.5 to 2 hours, or overnight, to firm it up and prevent spreading during baking.
- SHAPE, COAT, AND BAKE: Preheat the oven to 350°F (175°C) and line a baking tray with parchment paper. Scoop out 2 tablespoons of dough, flatten it in your palm, place a frozen chocolate square in the center, and wrap the dough around to form a ball. Roll each dough ball in granulated sugar, then coat thoroughly in powdered sugar. Place on the prepared tray, spacing cookies 2 inches apart. Bake for 11 to 13 minutes, until the tops are cracked and the edges are set. Let cool on the tray for 5 minutes before transferring to a wire rack.
Notes
To keep the powdered sugar coating bright white, do not skip the initial roll in granulated sugar. Use a cookie scoop for even sizing and consistent baking. Chilling the chocolate squares before baking helps preserve the molten center.
Nutrition Information
Yield
12Serving Size
1Amount Per Serving Calories 152Total Fat 5gSaturated Fat 3gTrans Fat 0gUnsaturated Fat 2gCholesterol 33mgSodium 107mgCarbohydrates 25gFiber 1gSugar 15gProtein 3g