
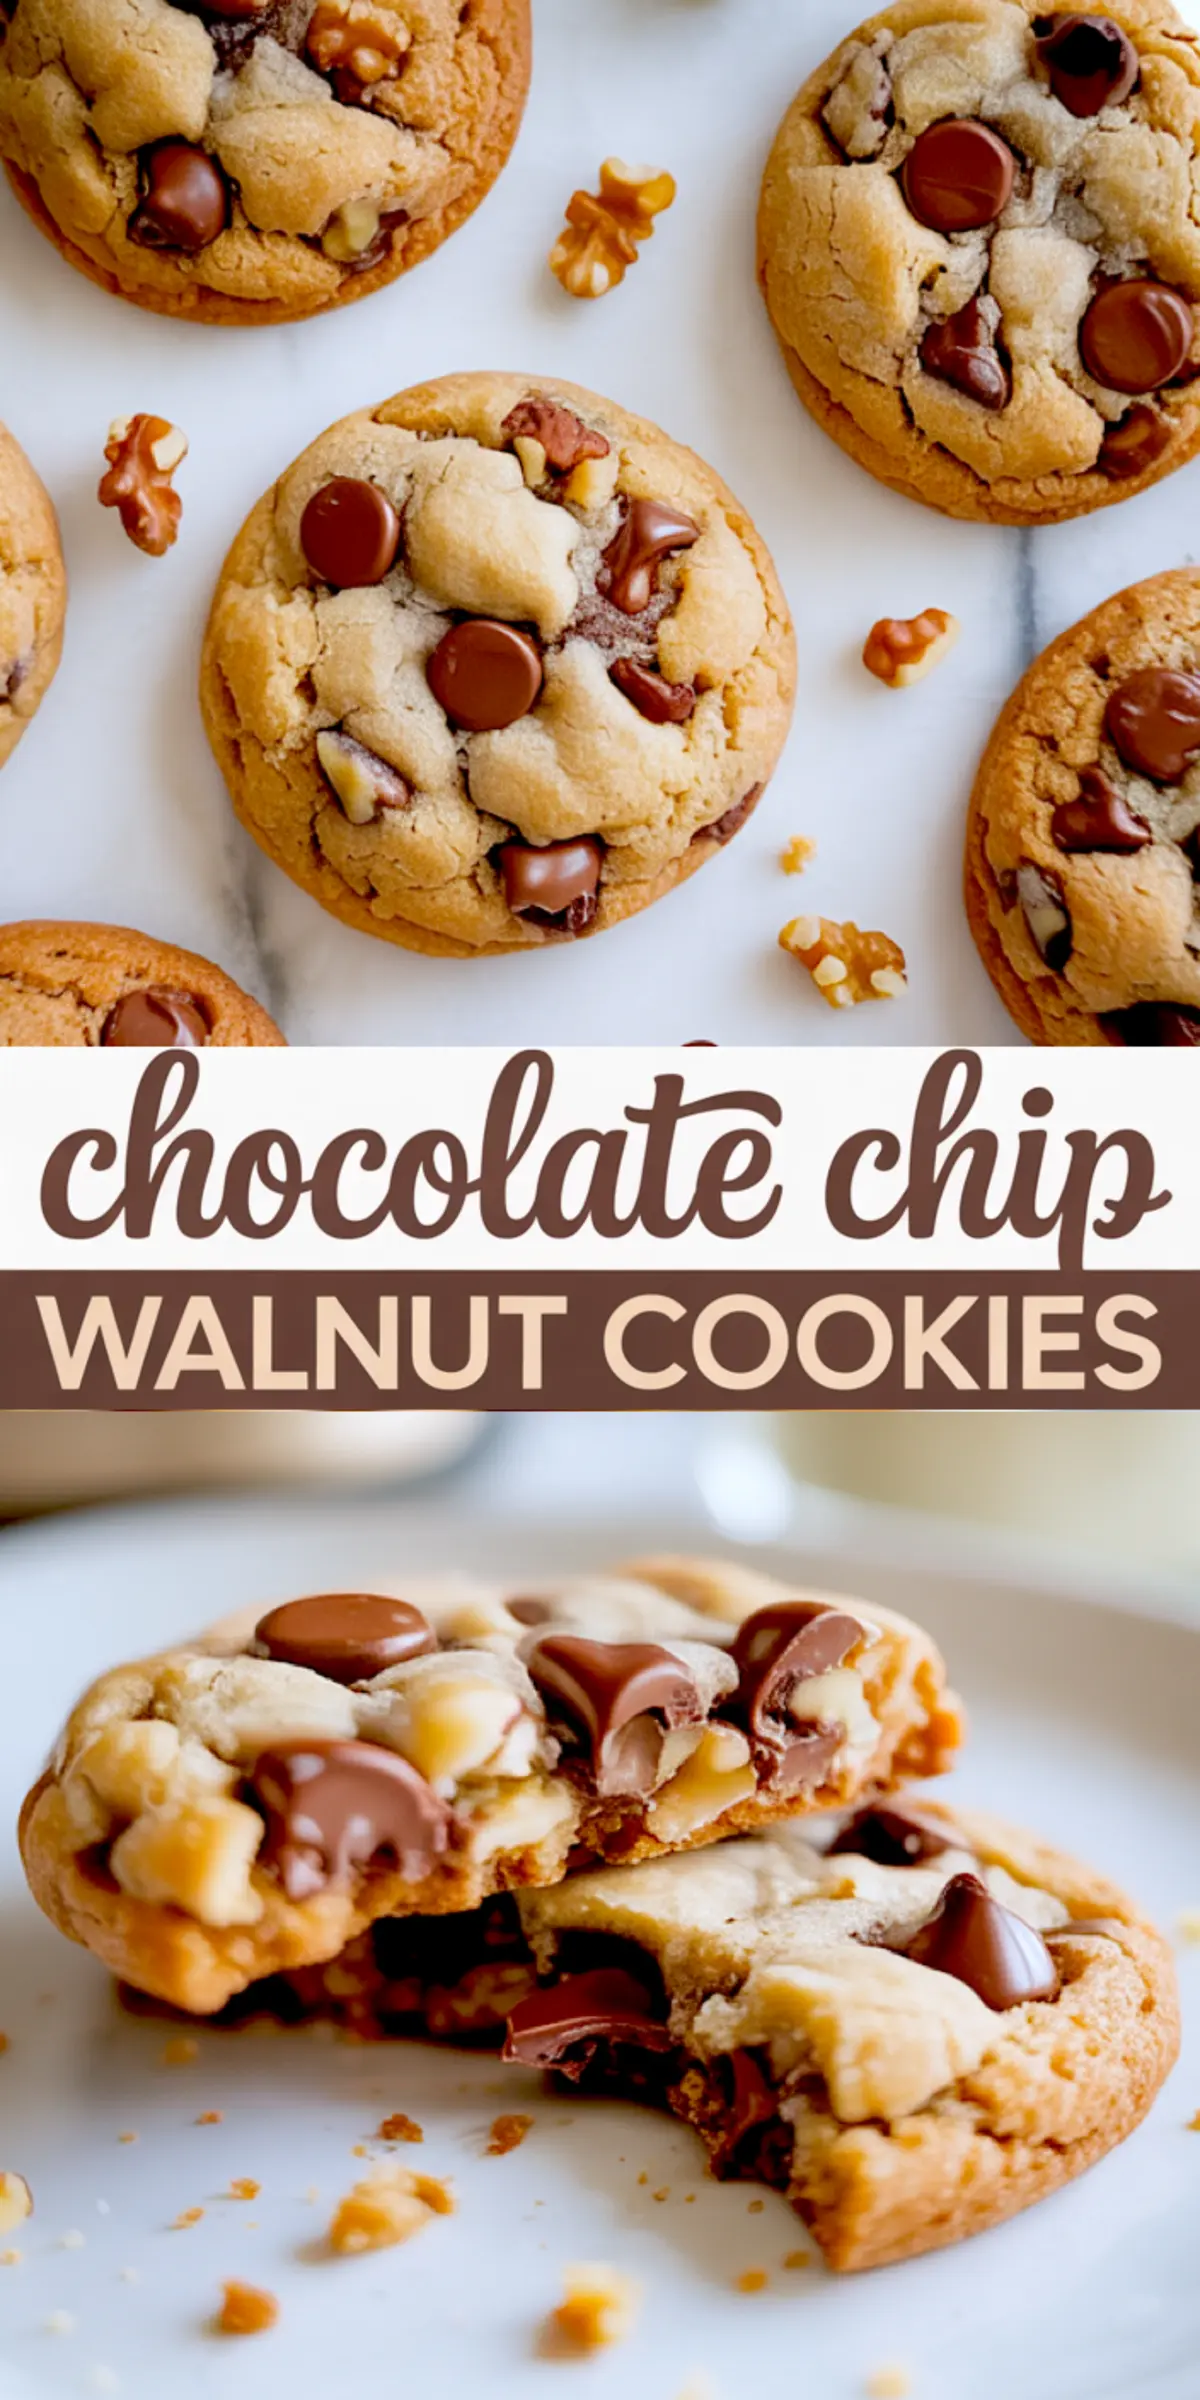
This chocolate chip walnut cookies recipe leans into fall the way I lean into a warm oven on a cool afternoon. You’ll get the satisfying crunch of walnuts, the sweetness of chocolate chips, and a deep richness from browned butter that adds a toasted edge you can’t fake.
You’ll learn how to coax flavor from every step how to make your walnuts taste nuttier, how to get the edges just golden enough, and how to shape the dough so the cookies hold their structure. This is more than a basic chocolate chip walnut cookie recipe. It’s a rhythm I’ve returned to for years.
These are the cookies I bake for bake sales and neighbors. They’re also the ones I make quietly for myself when the leaves start falling and I want something comforting, something familiar.
Following a special diet?
Every recipe on this site can be converted to gluten-free, vegan, dairy-free, keto, nut-free or egg-free with adjusted ratios so nothing falls flat.
Try the Recipe Converter →Why Brown Butter Changes Everything
There’s a reason these cookies smell like more than just sugar and vanilla. I start by browning the butter. Not just melting it. Browning. That step gives the dough an unmistakable aroma. Warm, slightly nutty, and almost caramelized.
You don’t have to brown the butter. But I’ll say this. I’ve made these with regular melted butter too. They’re good. Still soft, still sweet. But once I started browning the butter? I never looked back. The dough carries more depth, the cookies bake up with richer color, and the taste sticks with you.
If you’re curious about other rich cookie options, my brown butter chocolate chip cookies follow a similar base and might be worth adding to your list.
How I Prep the Ingredients for Full Flavor
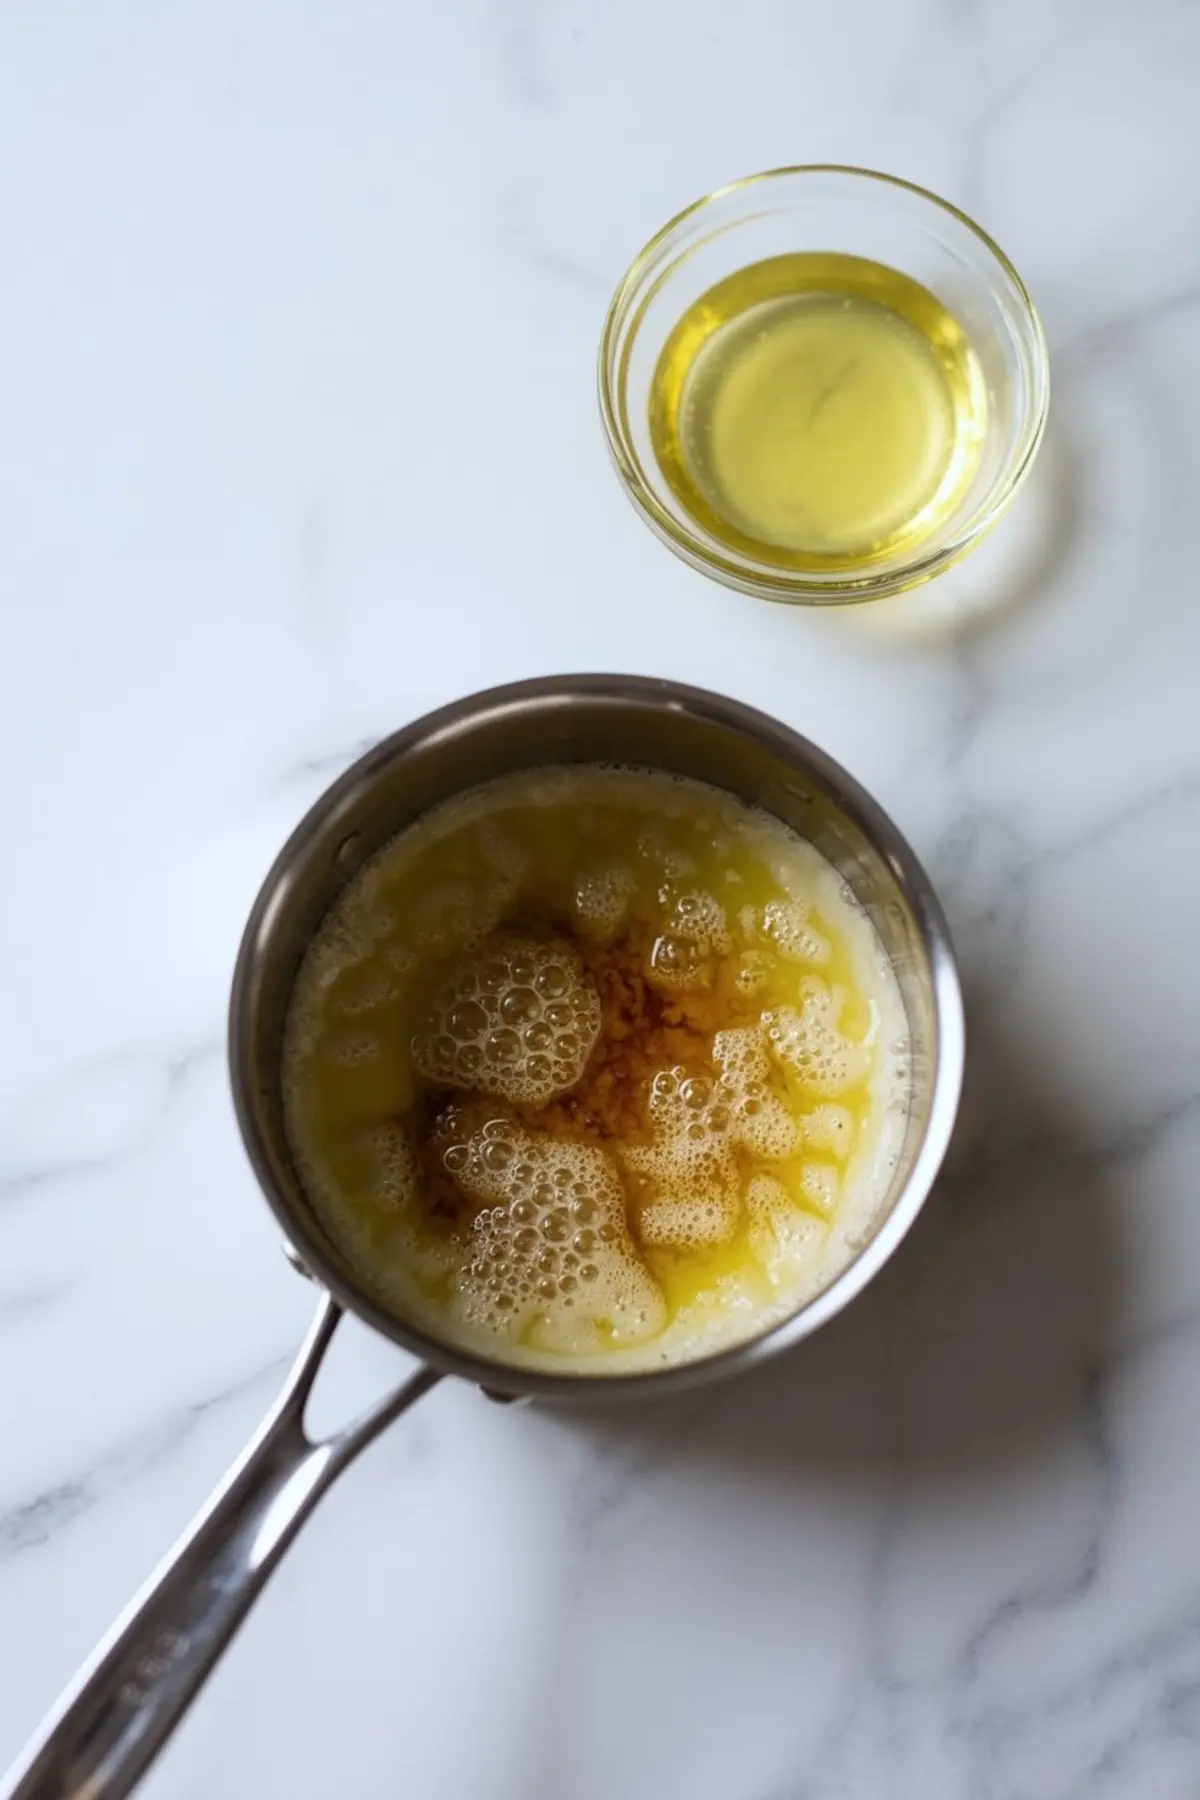
Start with unsalted butter, and let it melt gently in a saucepan. Once it starts foaming and the milk solids begin to brown, it’s ready. Stir constantly. It can shift from golden to burned in a blink. Let the browned butter cool before combining it with the sugars. That pause matters it stops the sugar from melting too early and keeps the texture right.
Use both brown and white sugars. Brown sugar gives chew and a touch of molasses flavor. White sugar sharpens the sweetness. I’ve found that a full cup of brown sugar, packed tightly, helps the cookies stay moist longer. Even on day three, they still taste fresh.
For the walnuts, toast them before mixing into the dough. It draws out their oils, which deepens their flavor and gives them a soft crunch. Use a dry skillet over medium heat, just a few minutes until fragrant. Once cooled, chop roughly. I like the pieces uneven. Some big, some small. You’ll get a better bite that way.
Comparing Chocolate Chip Mixes: Milk vs Semi-Sweet
Here’s where I’ve gone back and forth. I’ve made these cookies with only semi-sweet chips. They’re classic, reliable, and cut through the richness. But I’ve also tried adding a small handful of milk chocolate chips. That combination softens the edges and rounds out the flavor.
In my notes, I’ve marked the milk chocolate version as slightly sweeter, more crowd-pleasing. Especially for kids. If I’m baking for adults or gifting the batch, I usually stick to semi-sweet only. But for weekend baking or casual get-togethers, the mix of both brings balance.
If you love a cookie with a deeply chocolatey finish, my best chocolate chip cookies might be another recipe to bookmark.
How to Chill and Shape for Best Texture
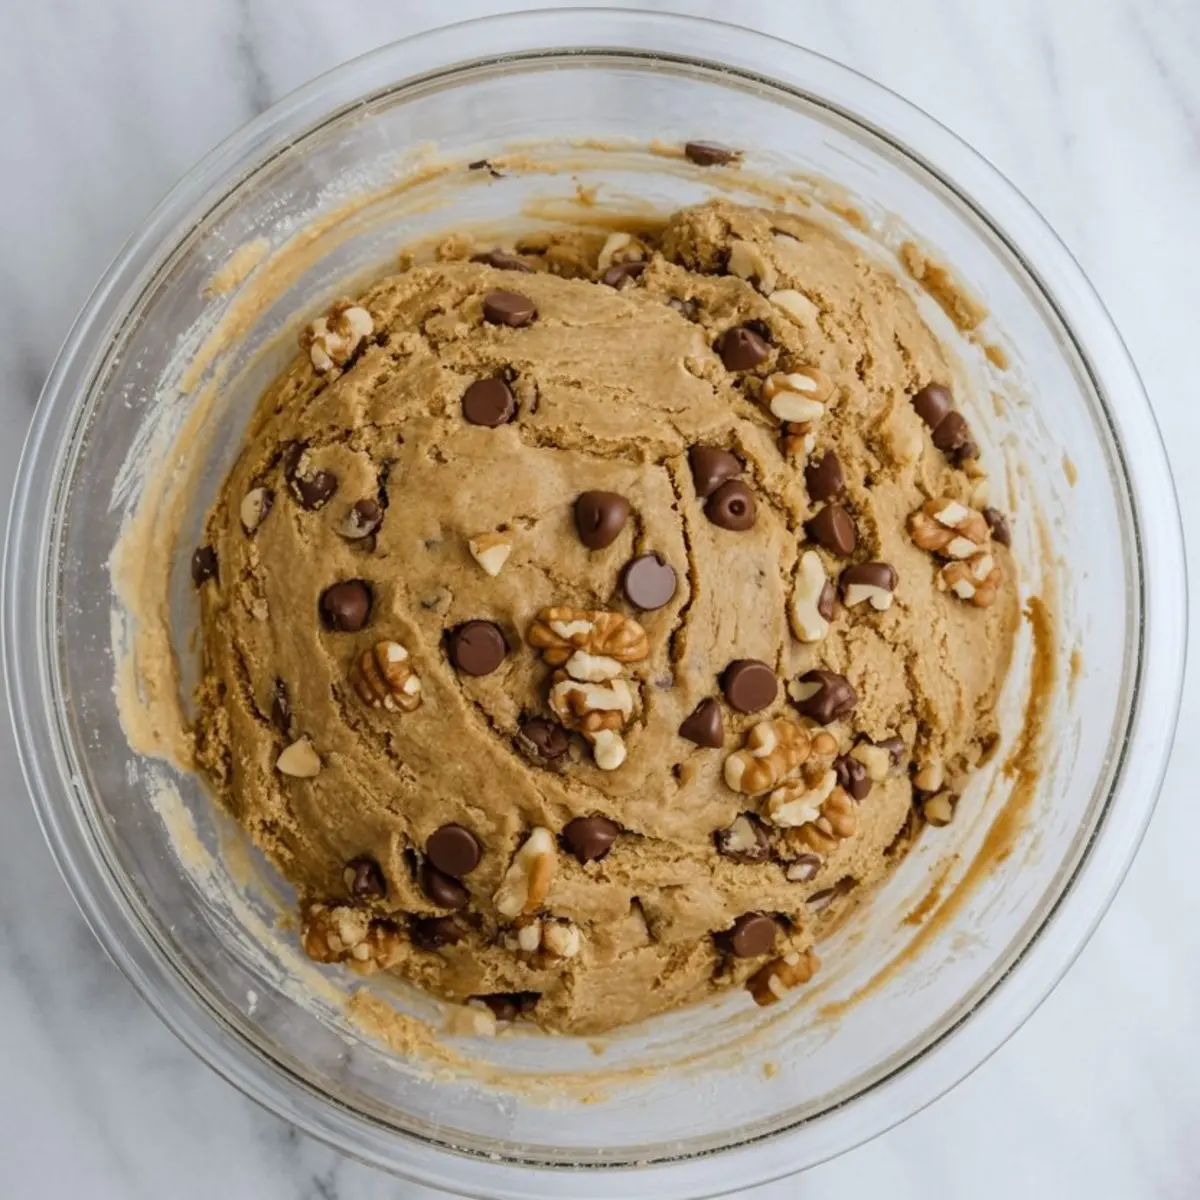
Once the dough is mixed and the chocolate chips and walnuts folded in, cover the bowl and refrigerate. You’ll want to let it rest for at least an hour. That hour lets the flour hydrate and the fats firm up.
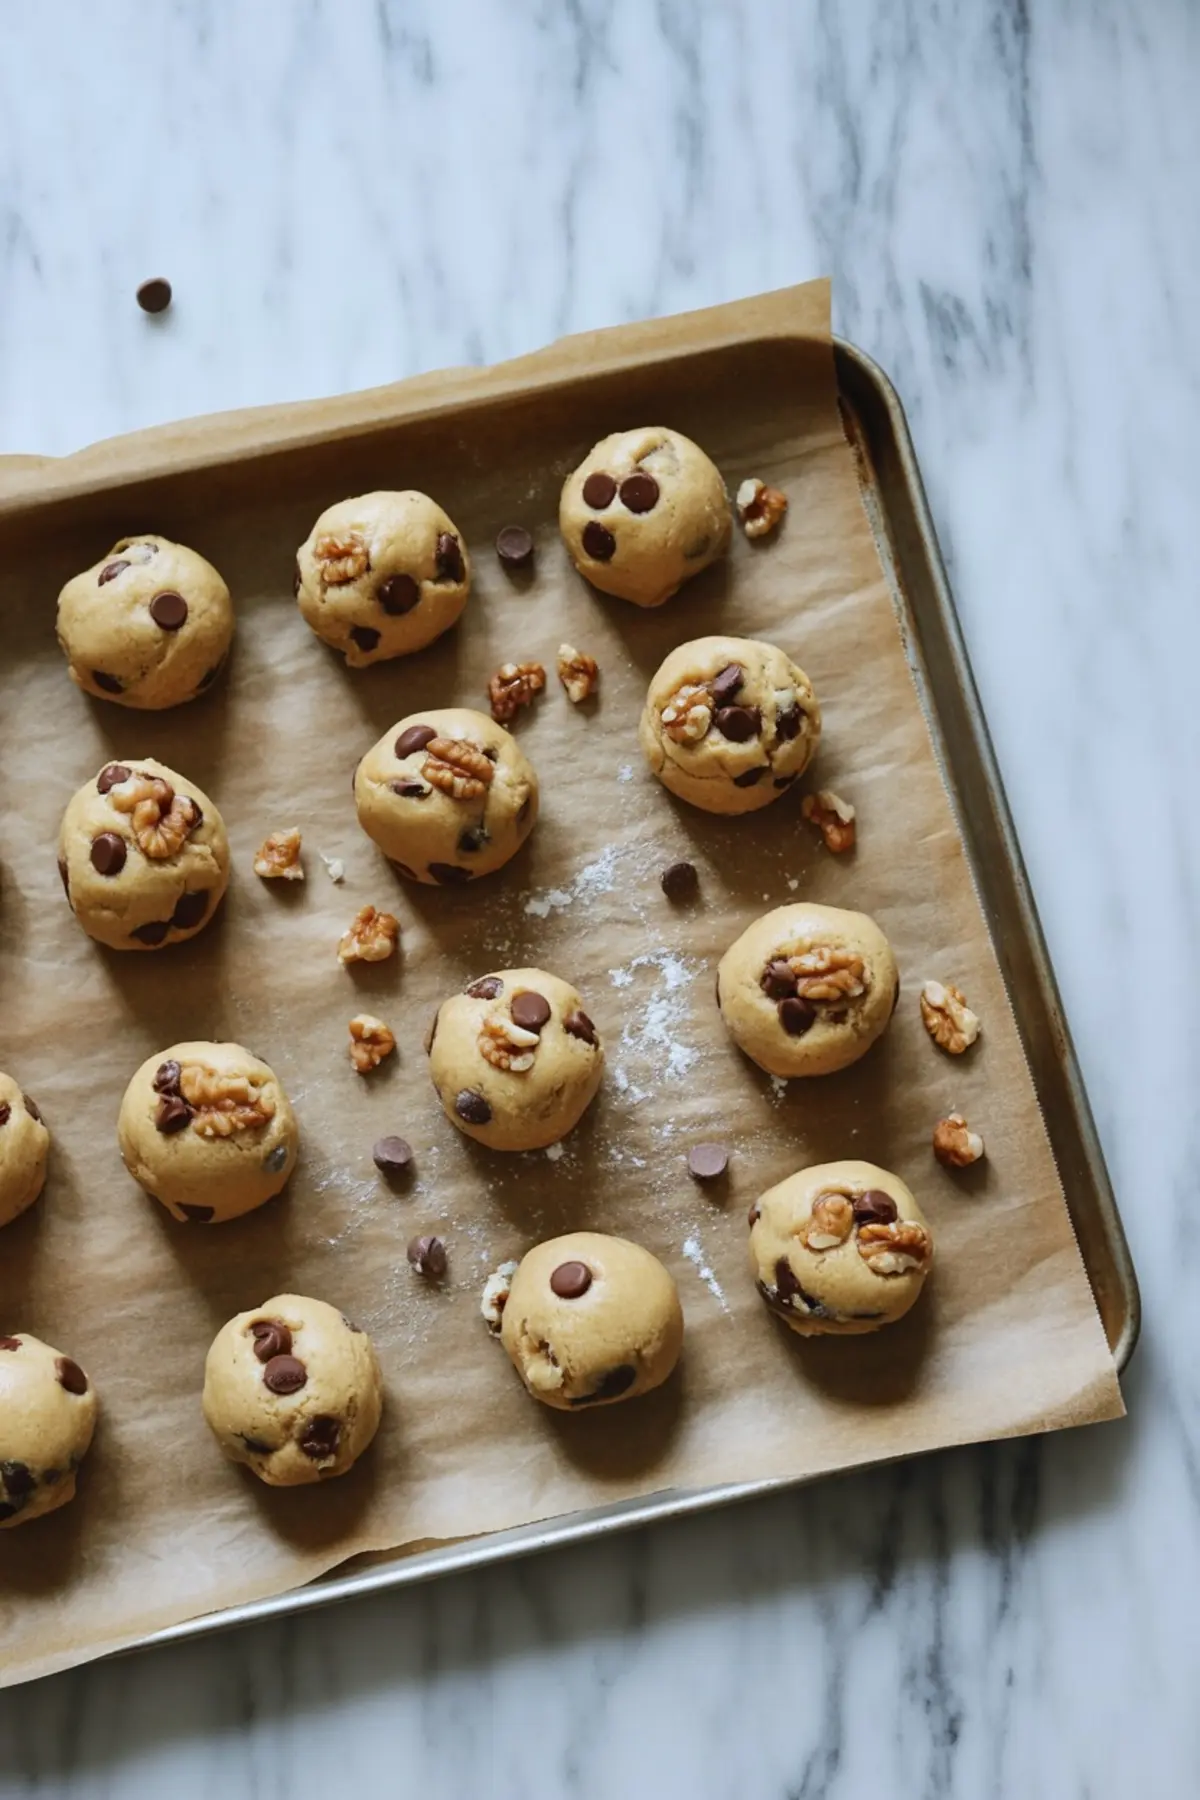
Cold dough bakes taller. It spreads less. So each cookie holds its form with golden edges and a soft, slightly underbaked middle. I use a medium cookie scoop about two tablespoons for even rounds. The size helps the cookies bake through without drying out.
If you’re working your way through walnut cookie recipes, the texture here is worth noting. Crisp edges that give way to a chewy, tender center. That’s the hallmark of this batch.
Baking Notes and Oven Behavior
Bake on parchment-lined sheets at 350°F. Twelve minutes is the sweet spot in my oven. The cookies should look just set in the middle, with edges that are starting to brown. Don’t wait for full browning across the top. They’ll continue cooking on the pan once pulled from the oven.
Let them rest five minutes before moving to a wire rack. That brief cooling time sets the structure and locks in the texture. You can serve them warm for melty centers or let them cool fully for a firm, chewy finish.
My peanut butter chocolate chip cookies follow a similar technique if you’re building a collection of go-to chocolate chip recipes.
How to Store and Serve These Cookies
Once cooled, I store them in a lidded container at room temperature. They hold well for four to five days. But if you need to keep them longer, freeze the baked cookies in a single layer, then transfer to a bag.
They thaw beautifully, and a quick 10 seconds in the microwave brings back the softness. I’ve even sent them in lunchboxes frozen, knowing they’ll be soft again by midmorning.
For serving, I often pair these with coffee or a chilled glass of milk. If you’re hosting or putting together a dessert tray, these balance well beside simpler cookies like these walnut cookies. That contrast plain and nutty versus sweet and chewy makes a tray feel more thought-through.
Save This Cookie Recipe for Later and Join the Conversation
These chocolate chip walnut cookies settle into your baking rhythm quickly. Once you’ve tried them, you’ll know exactly what I mean. The brown butter brings warmth. The walnuts bring crunch. The dough chills down into something you can scoop calmly on a busy afternoon.
📌 Save this recipe to your favorite board so you have it when fall rolls around again.
And if you try it, I’d love to know how yours turned out. Did you keep the milk chocolate? Toast the walnuts a little extra? Share your results in the comments or let me know what you’d change. I read every single one.
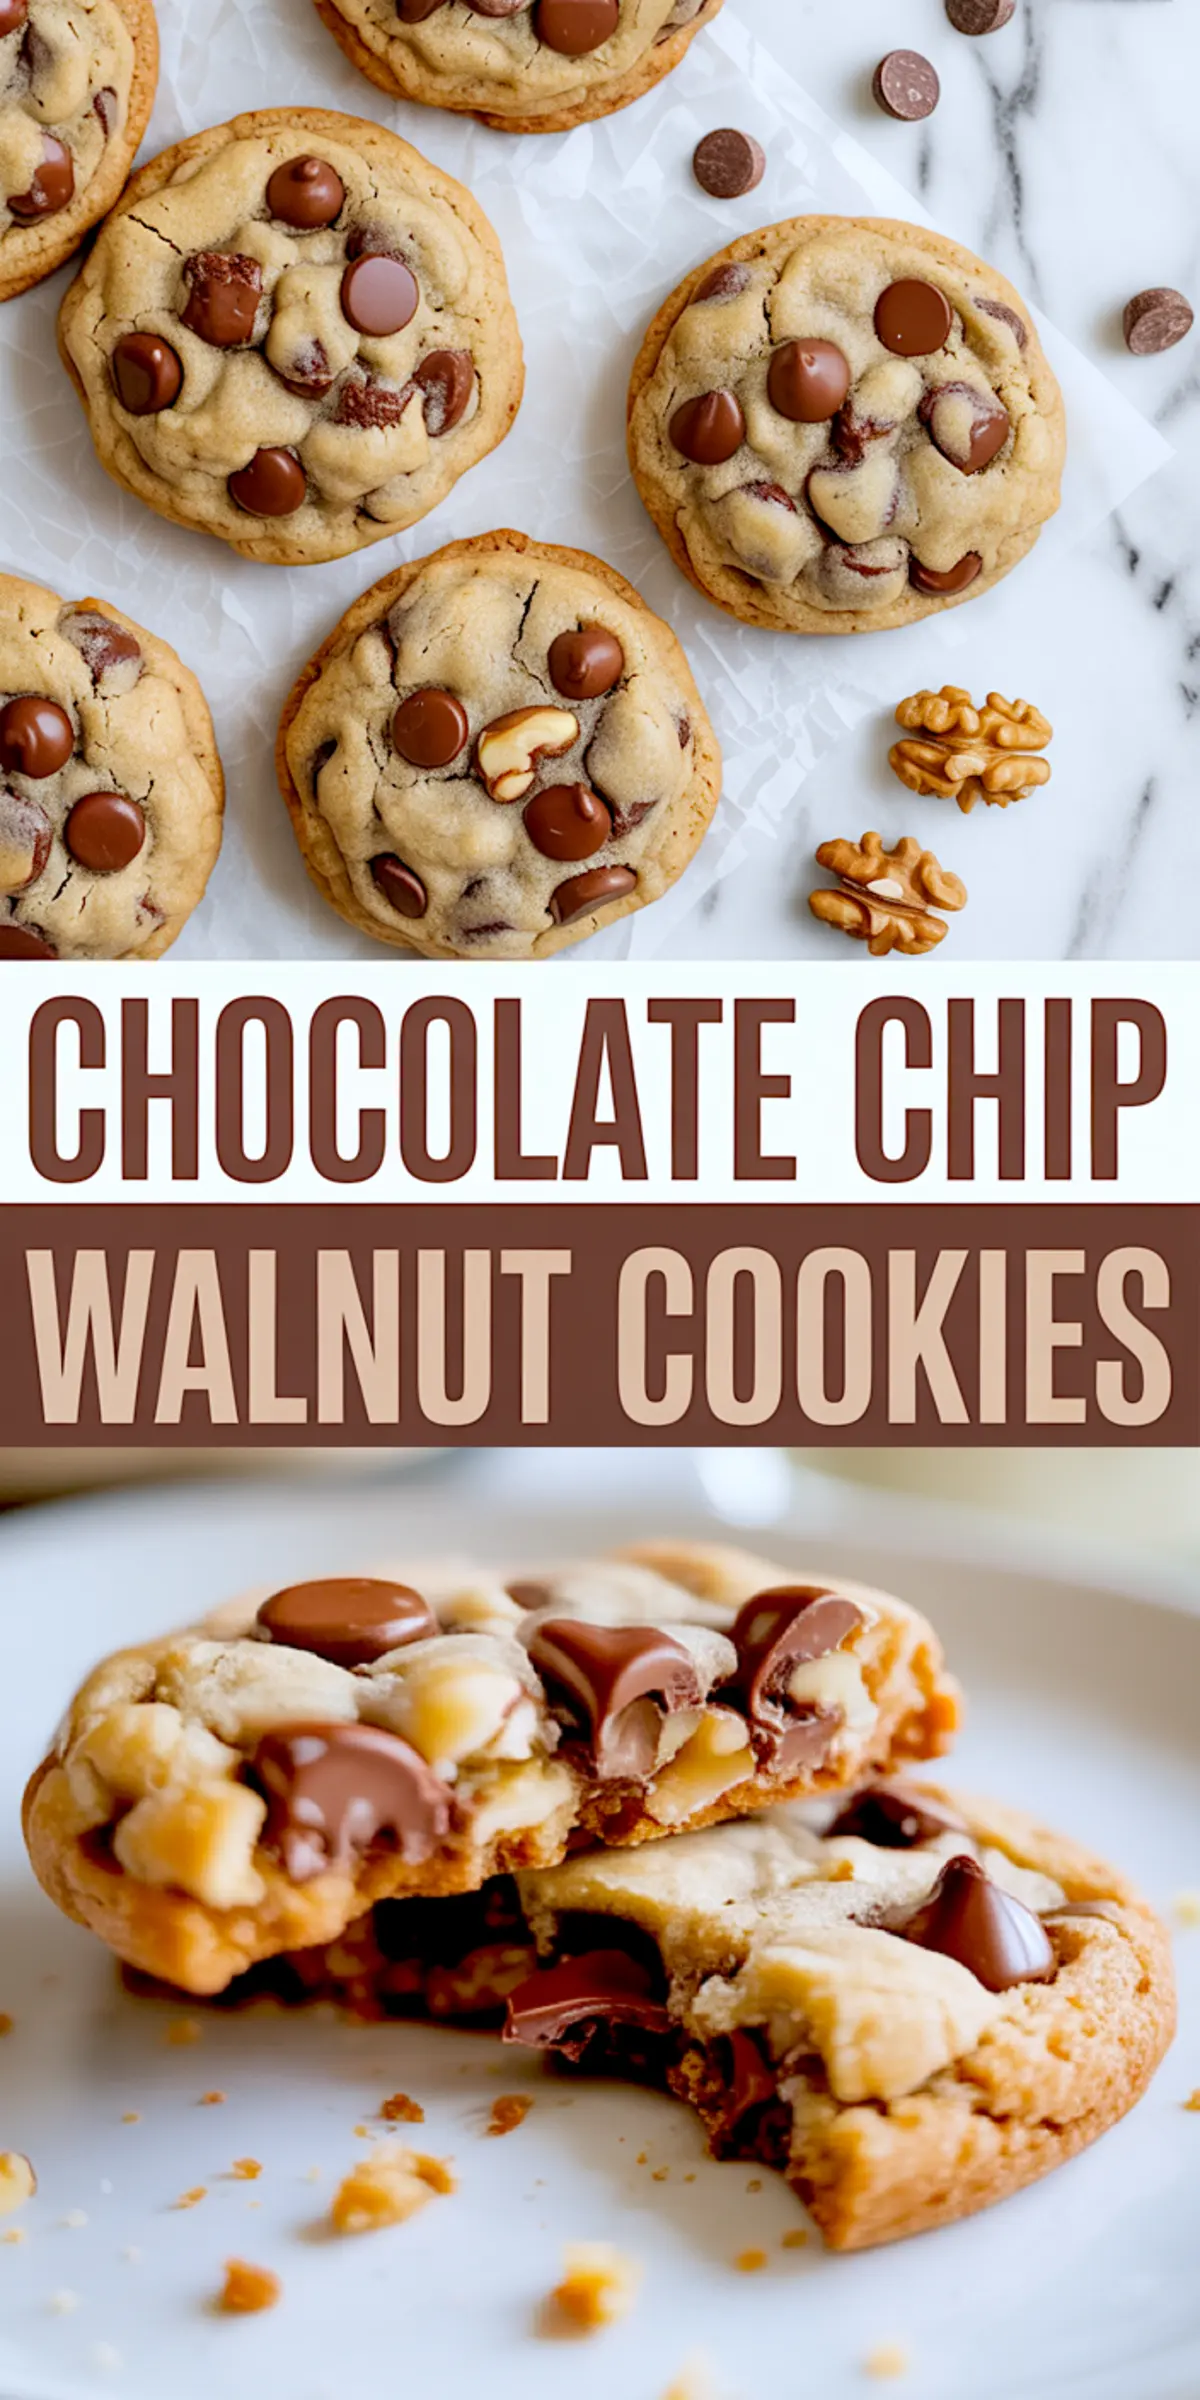
Chocolate Chip Walnut Cookies Recipe
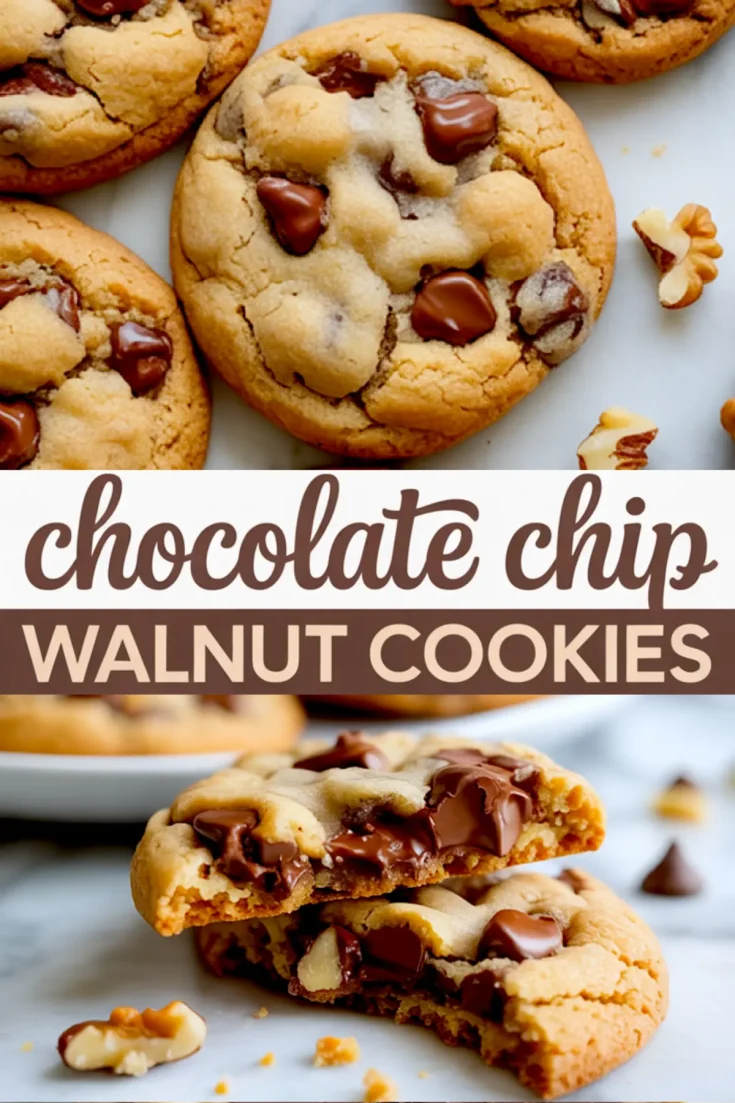
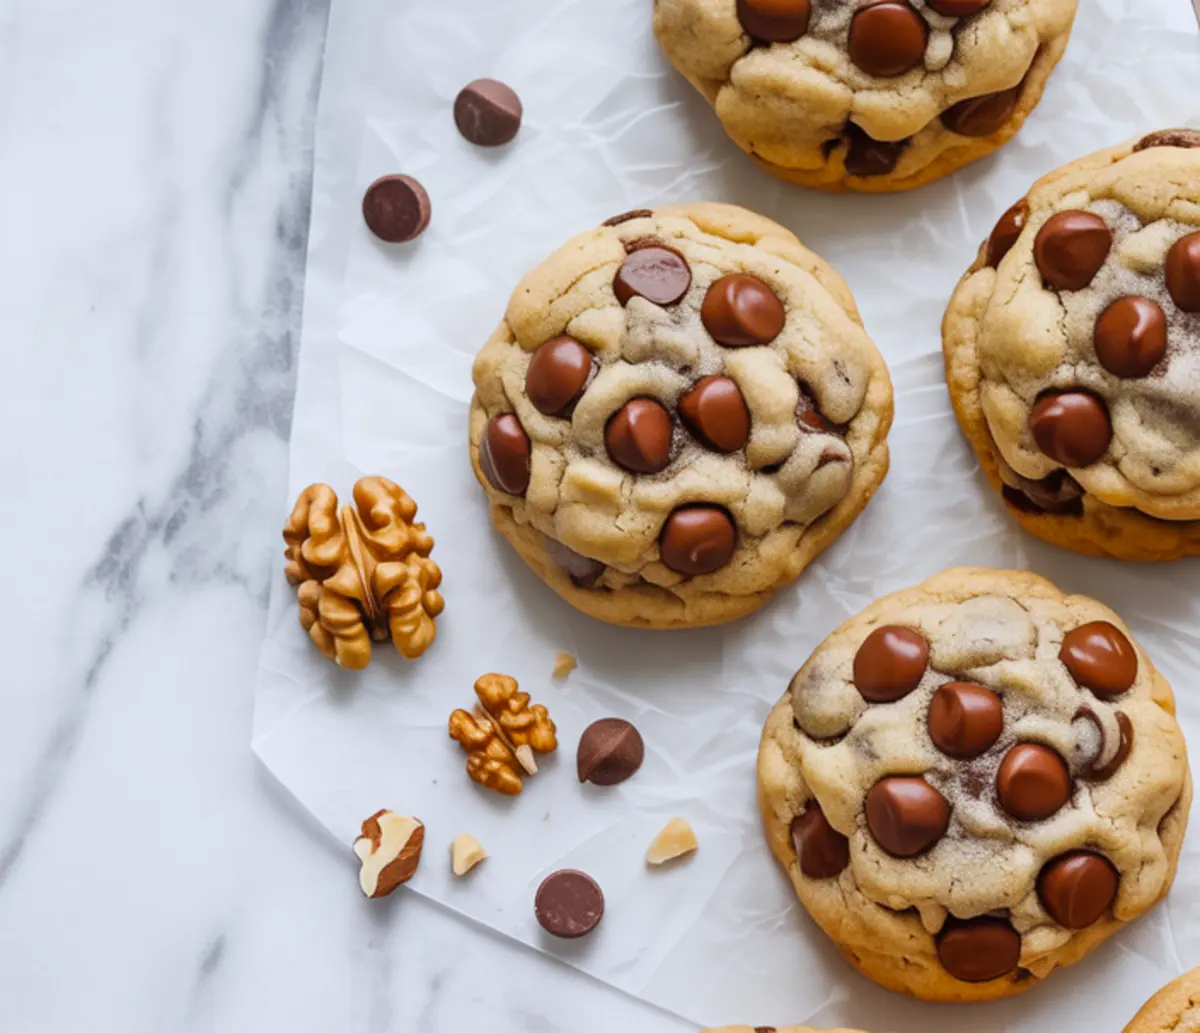
Chocolate chip walnut cookies bake up with crisp edges, soft centers, and plenty of toasted walnuts in every bite. I start with a simple chocolate chip cookie base and stir in a generous handful of chopped walnuts for extra crunch. This chocolate chip walnut cookies recipe leans chewy, and it holds its shape without spreading too much. I’ve made a lot of chocolate chip and walnut cookies over the years, but this batch feels like the one I come back to every fall. If you’re working through walnut recipes or need new ideas for walnut desserts, this one delivers. I use it for bake sales, late night cravings, or casual weekends. Add it to your list of chocolate chip recipes and homemade chocolate walnut cookies to try.
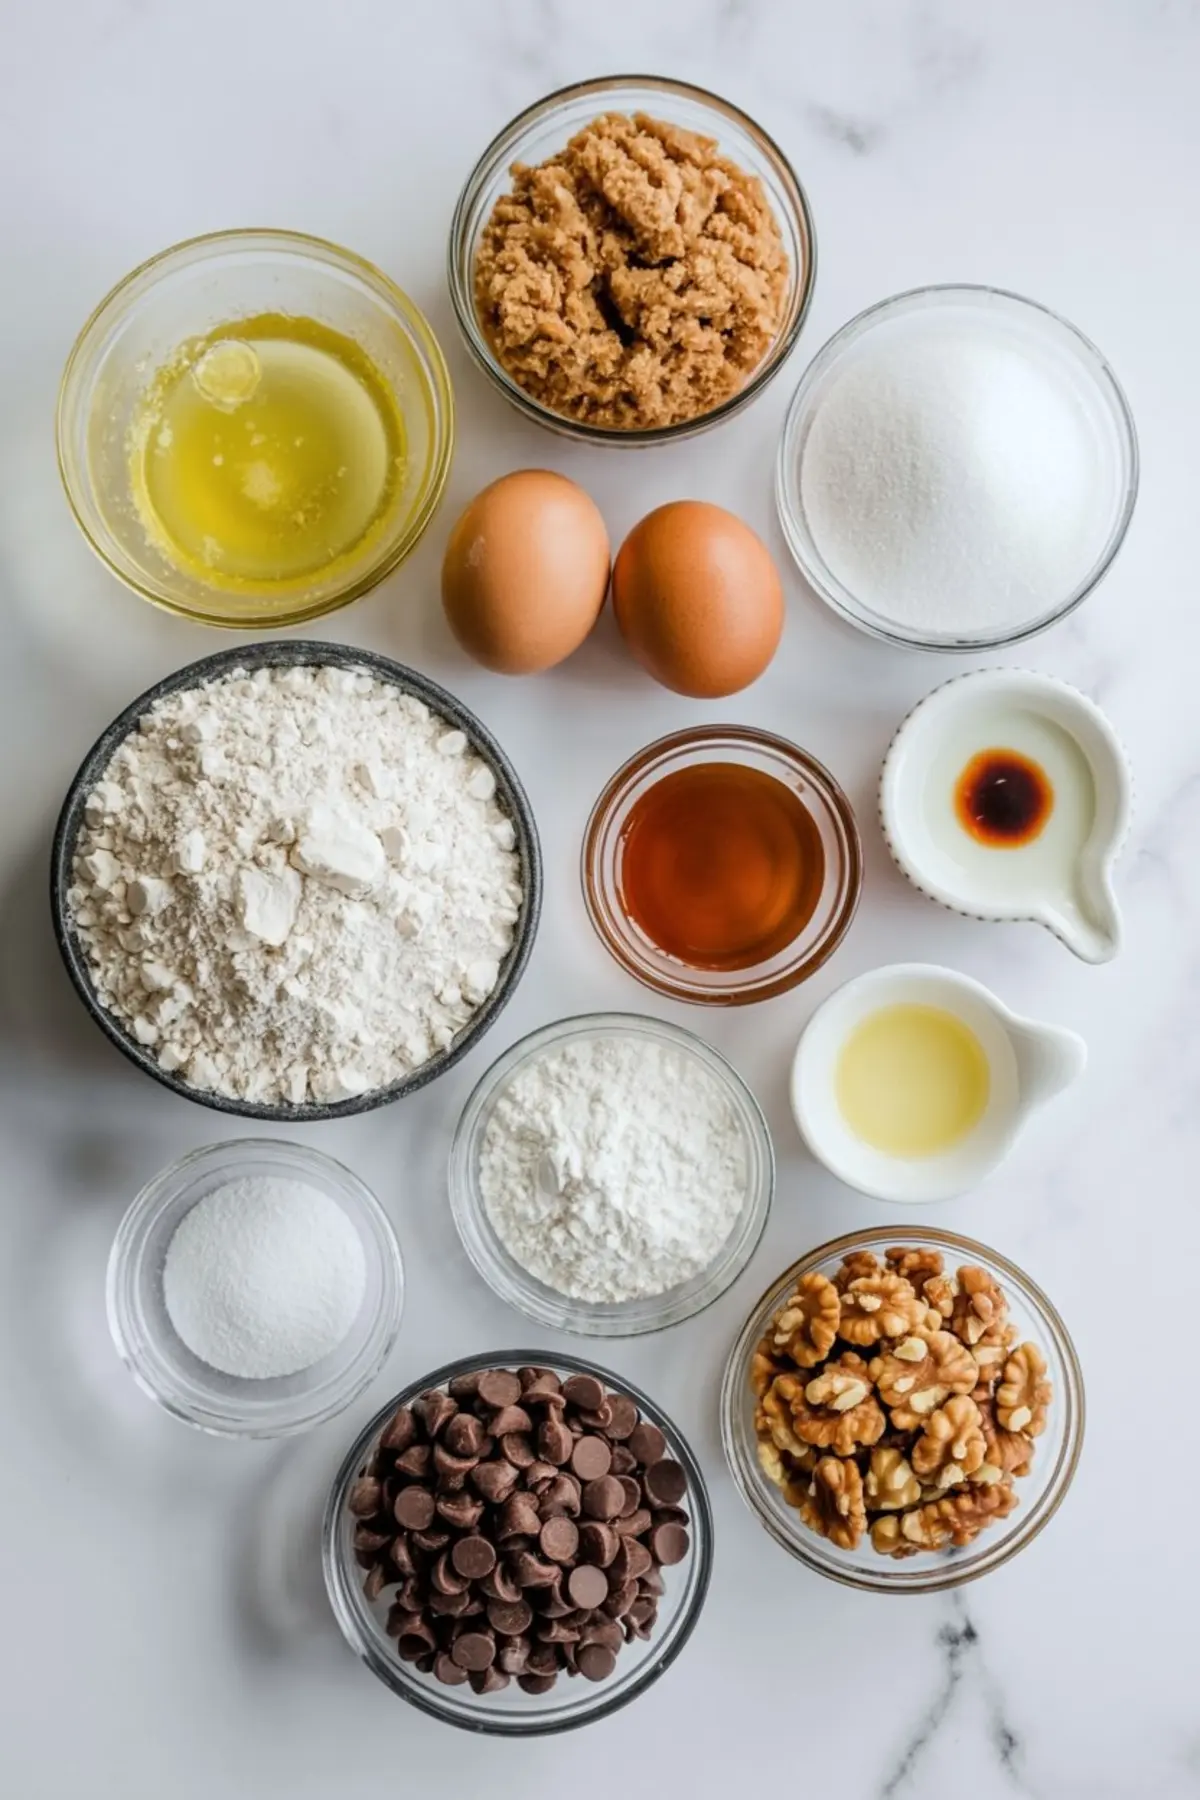
Ingredients
- 1 cup (227g) unsalted butter
- 1 cup (200g) light brown sugar, packed
- ½ cup (100g) granulated sugar
- 2 large eggs
- 2 teaspoons vanilla extract
- 2¾ cups (345g) all-purpose flour
- 1 teaspoon baking soda
- ½ teaspoon baking powder
- ¾ teaspoon salt
- 1½ cups (270g) semi-sweet chocolate chips
- ½ cup (90g) milk chocolate chips (optional)
- 1 cup (100g) chopped walnuts, lightly toasted
Instructions
- BROWN THE BUTTER: In a medium saucepan over medium heat, melt the butter and continue cooking, stirring often, until it turns golden brown and develops a nutty aroma. Immediately remove from heat and let cool for 10–15 minutes before using. If you prefer not to brown the butter, simply melt and cool slightly.
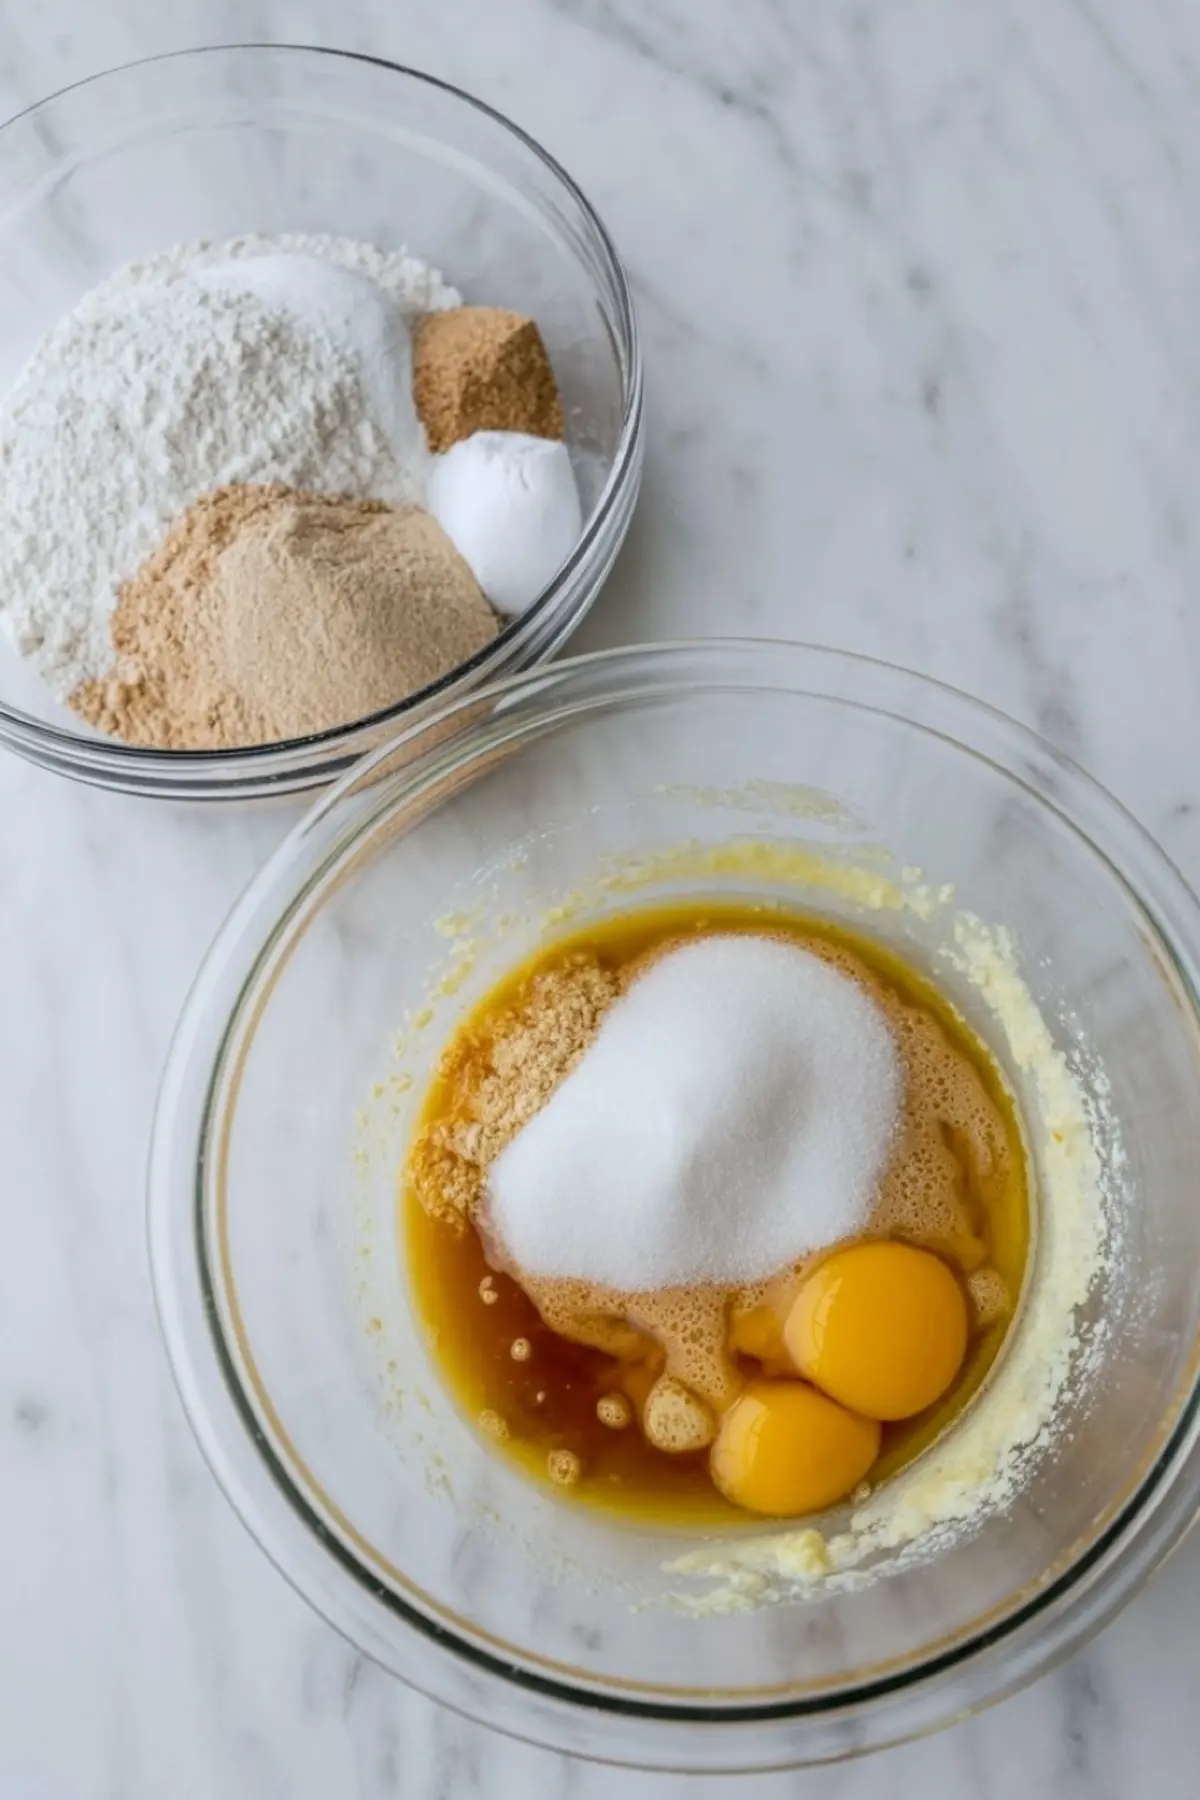
- MIX WET INGREDIENTS: In a large mixing bowl, whisk together the browned butter, brown sugar, and granulated sugar until the mixture is smooth. Add the eggs and vanilla extract, and continue whisking until the mixture is creamy and slightly lighter in color.
- COMBINE DRY INGREDIENTS: In a separate bowl, whisk the flour, baking soda, baking powder, and salt until well combined. Gradually add the dry ingredients to the wet ingredients, mixing on low speed or with a spatula just until no streaks of flour remain.
- ADD CHOCOLATE AND WALNUTS: Fold in the semi-sweet chocolate chips, milk chocolate chips (if using), and chopped toasted walnuts. Cover the bowl and chill the dough for at least 1 hour or up to overnight for best results.
- BAKE: Preheat the oven to 350°F (175°C). Line a baking sheet with parchment paper. Scoop dough into 2–3 tablespoon portions and place them 2 inches apart on the prepared baking sheet. Bake for 10–12 minutes, or until the edges are golden and the centers are just set.
- COOL AND SERVE: Allow the cookies to cool on the baking sheet for 5 minutes before transferring them to a wire rack. Serve warm for soft, melty centers or let cool completely for a chewy texture.
Notes
For best results, use a cookie scoop for even sizing. Chilling the dough improves flavor and texture but is optional if you are short on time. Toasting the walnuts before adding enhances their flavor and crunch.
Nutrition Information
Yield
24Serving Size
1Amount Per Serving Calories 99Total Fat 2gSaturated Fat 1gTrans Fat 0gUnsaturated Fat 1gCholesterol 17mgSodium 140mgCarbohydrates 18gFiber 1gSugar 7gProtein 2g