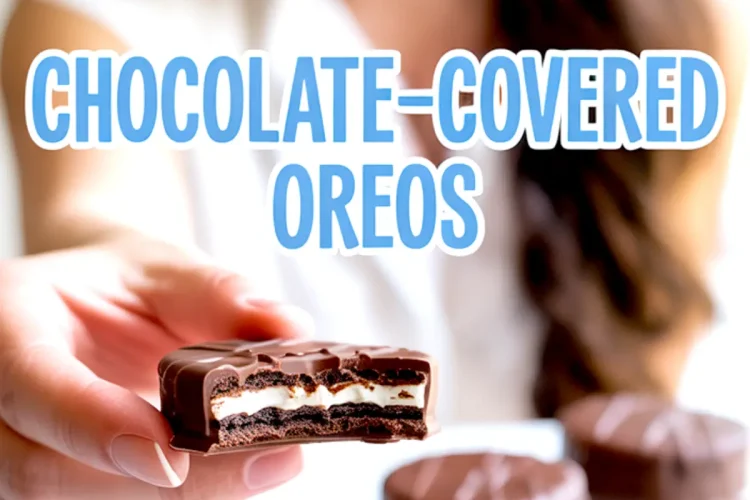
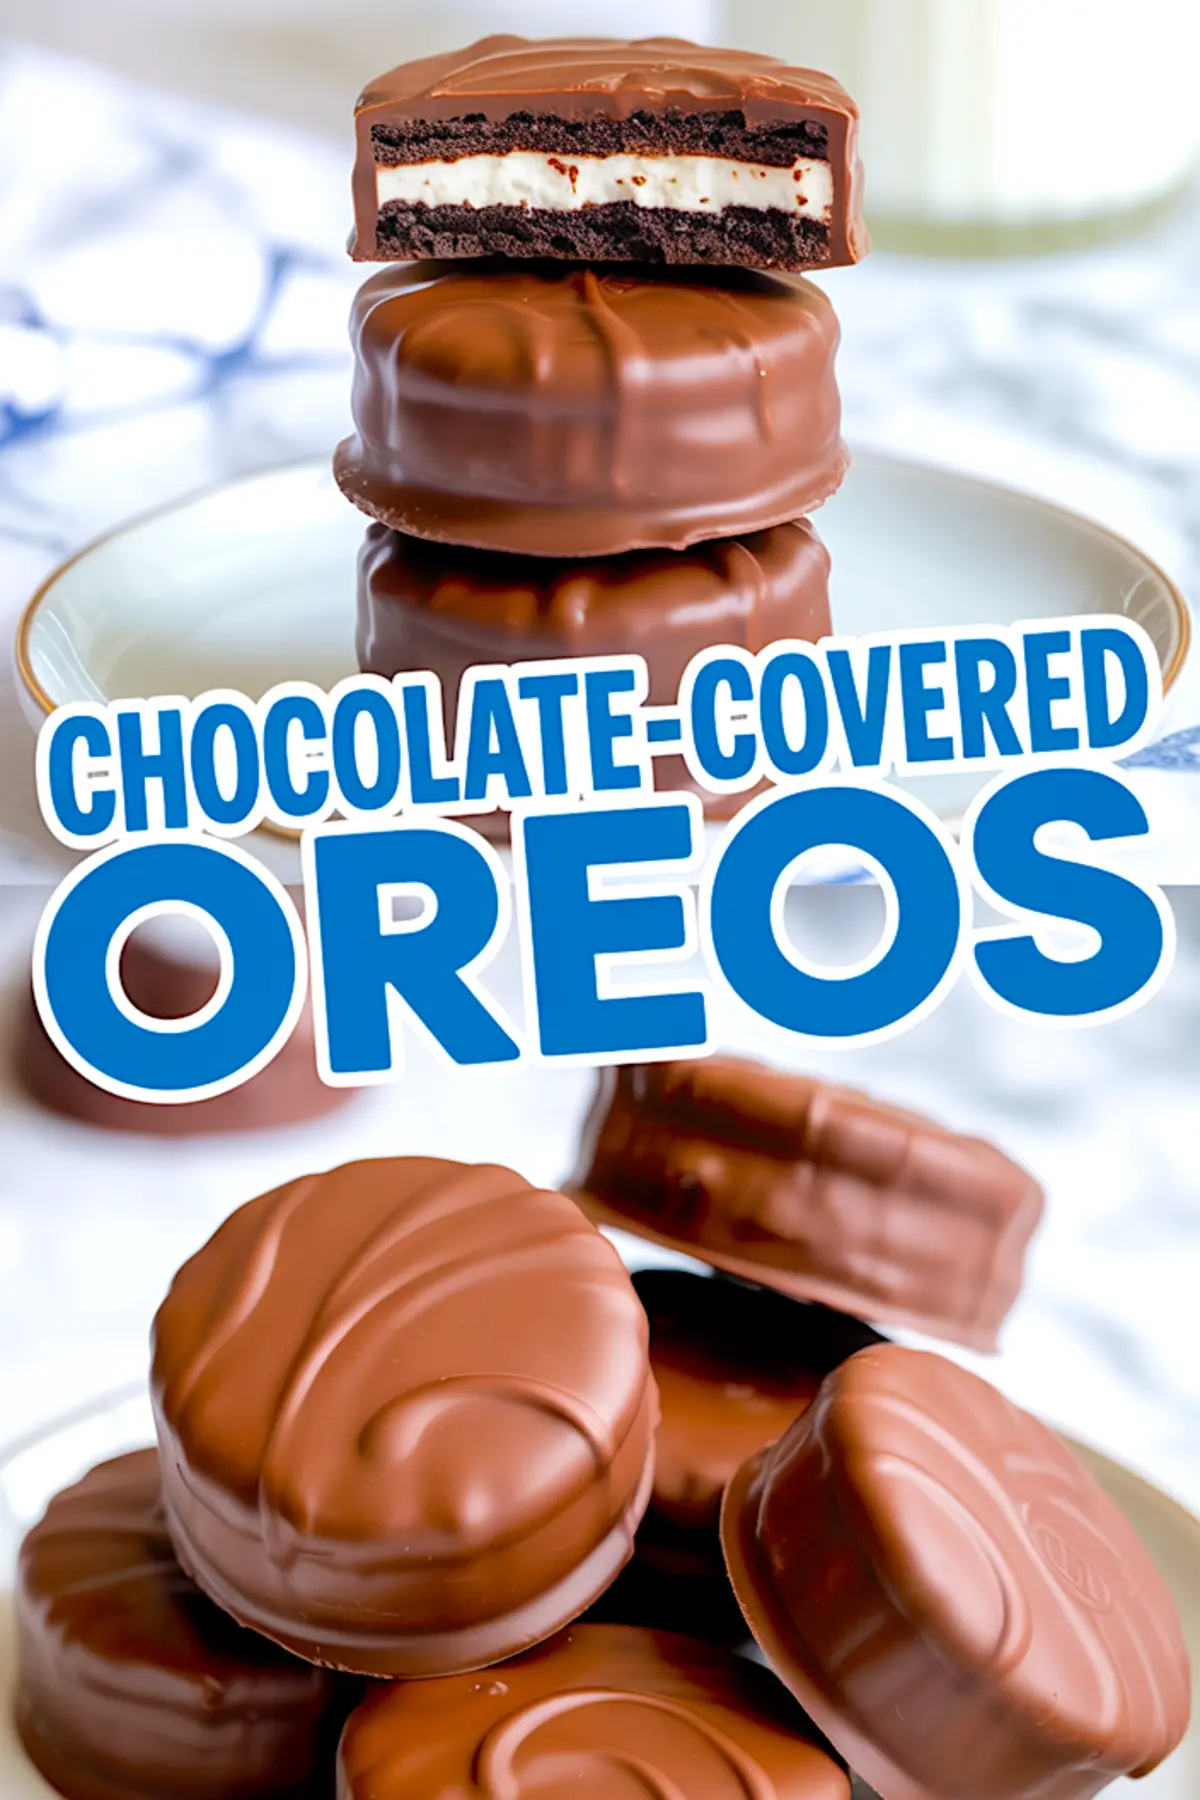
There’s something oddly satisfying about the snap of chocolate over an Oreo. Not melted to oblivion. Not overly sweet. Just that clean break between shell and cookie. If you’ve tried making chocolate covered Oreos before and ended up with either waxy coating or sticky bottoms, this version changes that.
You’ll learn how to temper texture and flavor so each bite holds up, nmot only in your hand, but in storage.
This is a reliable way to coat cookies cleanly, decorate with intention, and store without smudges.
These are also easier than chocolate covered strawberries or even chocolate fondue, which I often make for special occasions. You’ll spend 30 focused minutes and have something giftable, snackable, and shelf-stable.
Following a special diet?
Every recipe on this site can be converted to gluten-free, vegan, dairy-free, keto, nut-free or egg-free with adjusted ratios so nothing falls flat.
Try the Recipe Converter →Why Chocolate Dipped Oreos Deserve a Spot in Your Rotation
This recipe works because the balance between chocolate and cookie stays clean. You don’t lose the Oreo crunch. You get a bite that finishes with a snap. The key is using chocolate that melts smoothly but sets firm. I’ll show you how.
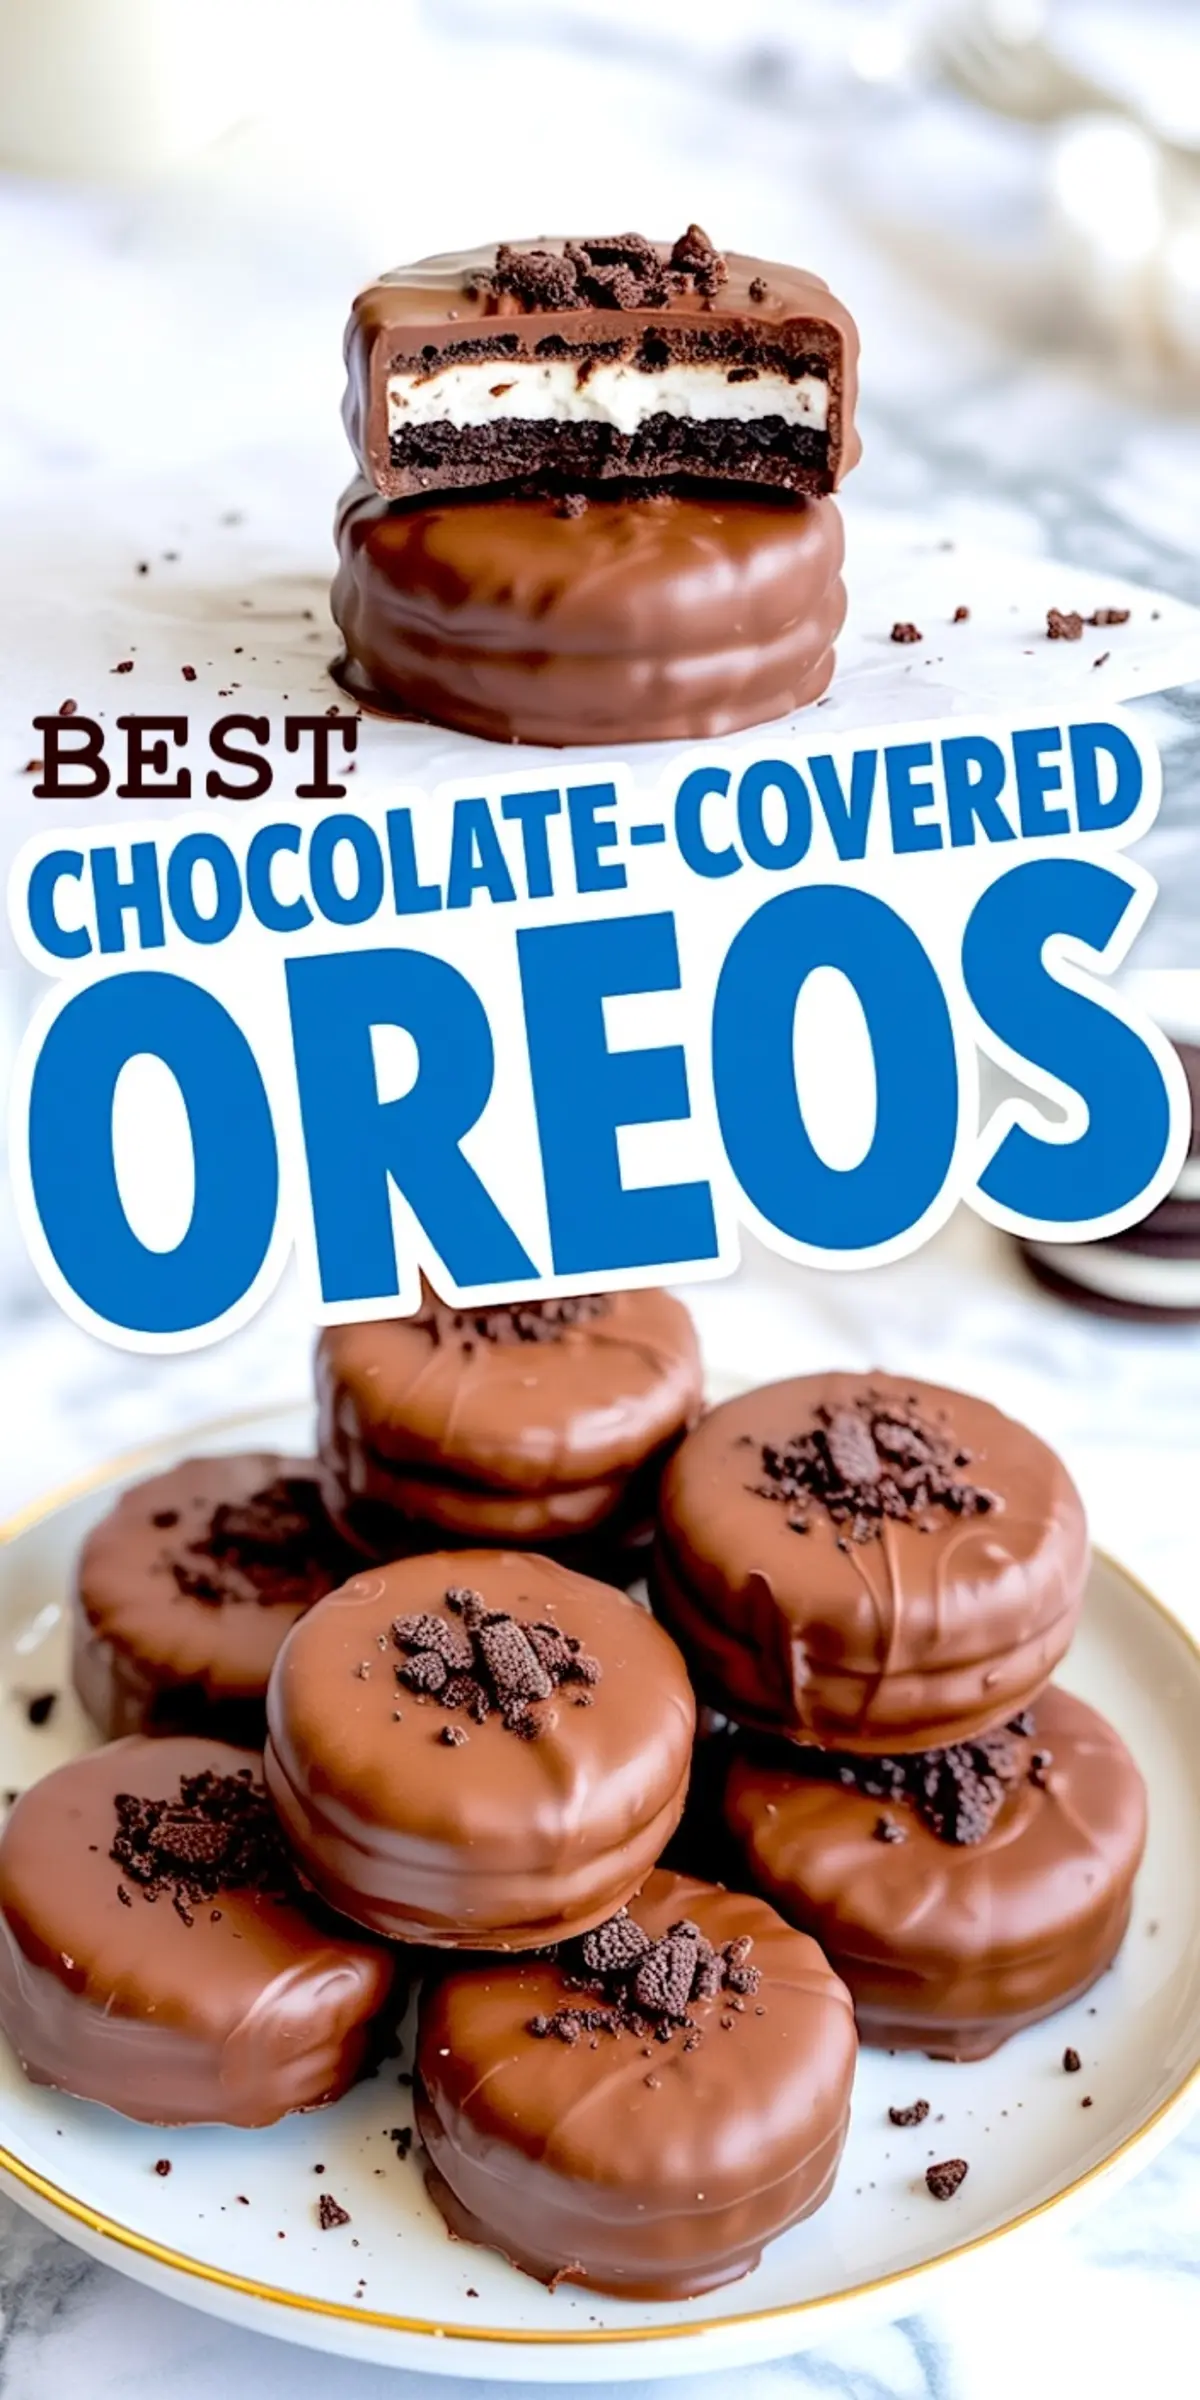
You’ll also see how adding toppings like crushed espresso beans or shaved chocolate changes the flavor without crowding it. Each one adds texture, not clutter.
And these aren’t just for holidays or gifting. They store easily, pack well, and improve after resting a day. That makes them different from chocolate covered marshmallows, which can soften too quickly or lose their shape.
Ingredients That Make or Break Your Finish
I’ve tested both semi-sweet and milk chocolate chips with this recipe. Semi-sweet wins every time for clean setting and a more balanced flavor.
Milk chocolate tends to bloom faster in warm rooms, especially if you’re skipping the coconut oil.
If you want a smoother melt, that teaspoon of coconut oil makes a big difference. It adds shine without changing the flavor.
Toppings should stay dark or neutral. Crushed chocolate wafer cookies stick well and don’t interrupt the profile. Espresso beans add crunch and a bitter balance that pairs beautifully with the chocolate shell.
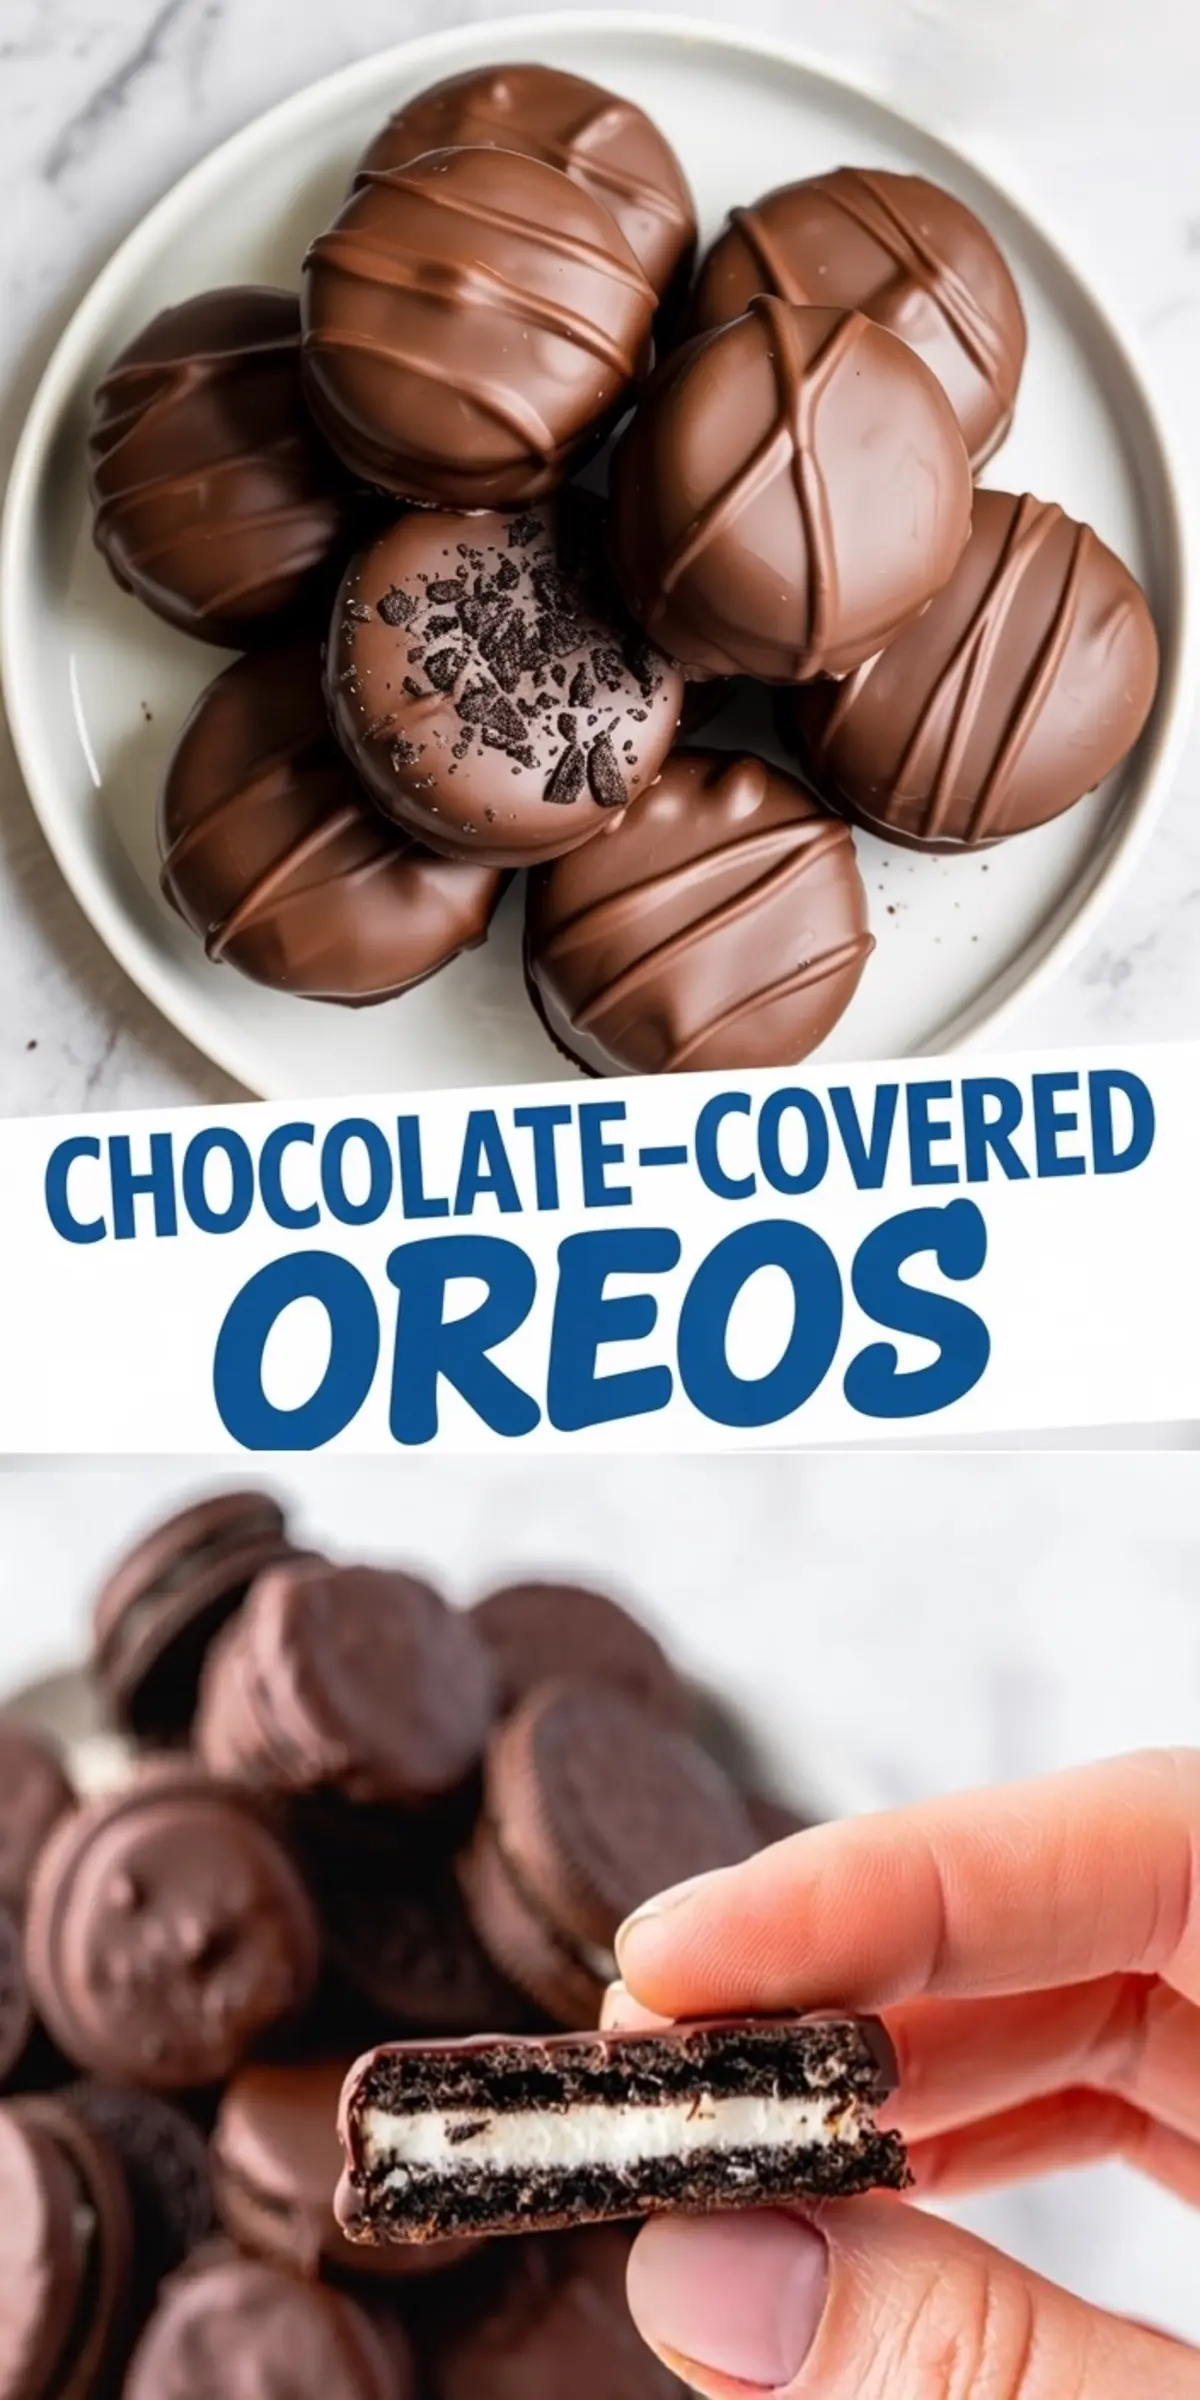
If you’ve got time, drizzle melted dark chocolate over the top. It not only looks polished but lets you layer the chocolate without overcoating.
How to Dip Oreos in Chocolate Without Making a Mess
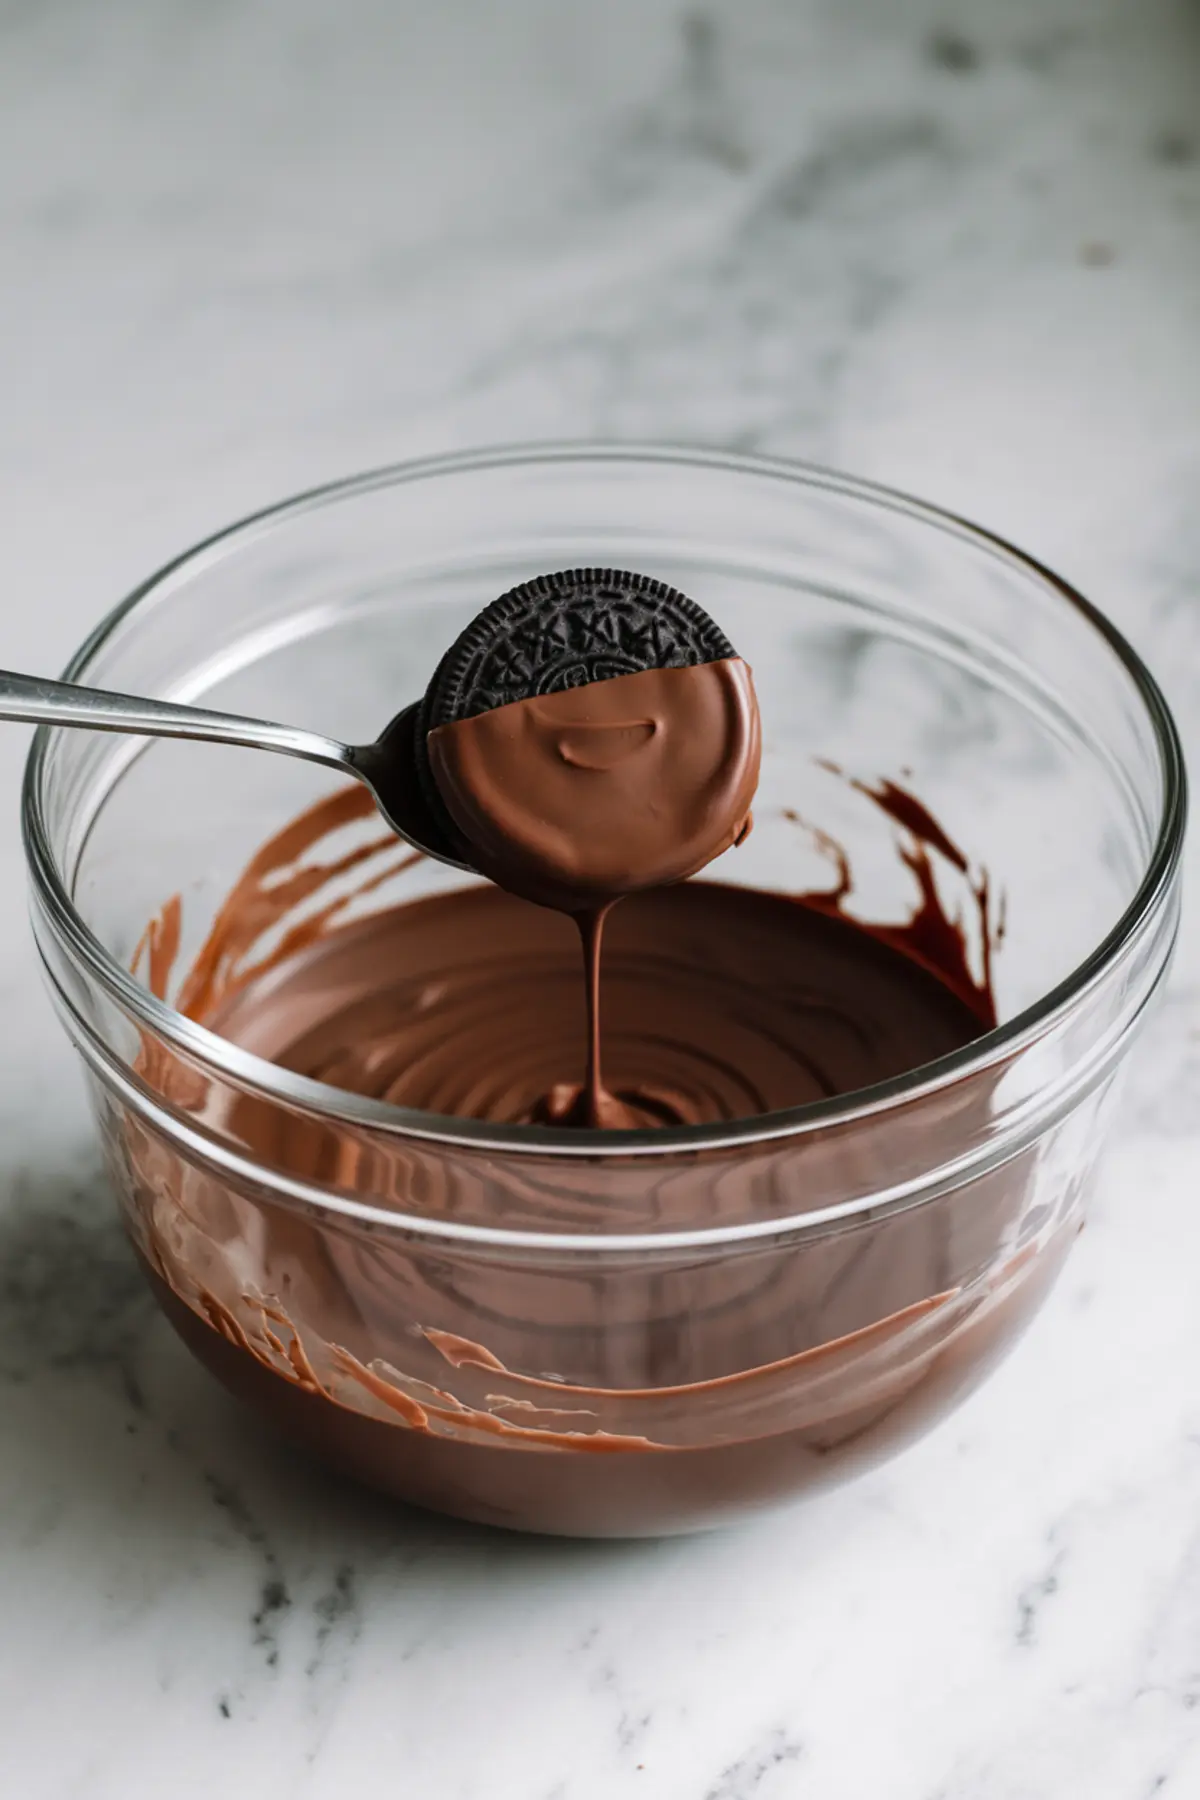
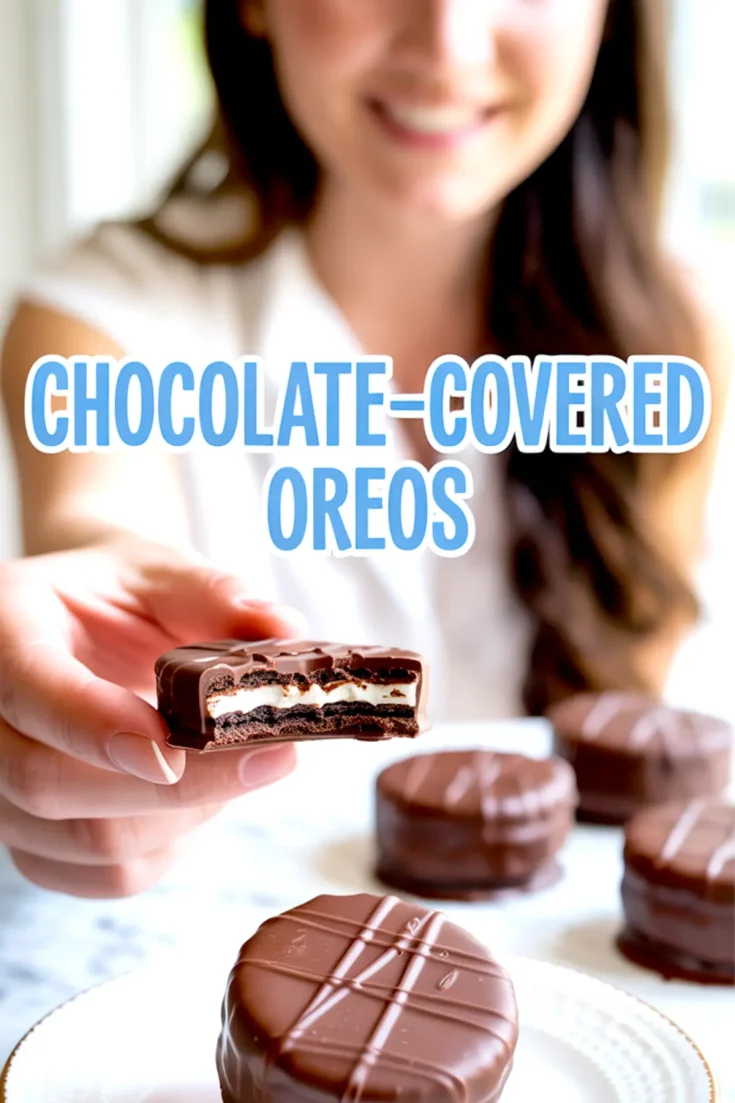
Use a fork, not your fingers. I can’t stress this enough. It lifts the cookie just high enough to let the excess drip off, and you avoid fingerprints.
Don’t dunk too fast. Let the cookie sit in the melted chocolate a beat before flipping it gently. This gives you even coverage and avoids exposed cookie edges.
Lay dipped Oreos on parchment or a silicone mat, not a plate or foil. You’ll get clean edges and no peeling.
Top them while wet. Crushed toppings stick best before the chocolate sets. If you wait too long, the surface hardens and the toppings slide off.
Comparing Chocolate Choices: Semi-Sweet vs. Milk Chocolate
I’ve made dozens of batches using both types. Here’s what matters.
Semi-sweet chocolate firms up faster, especially at room temperature. It also holds its finish better under storage and gives a sharper break.
Milk chocolate has a smoother, sweeter flavor, but it can smudge in warmer kitchens unless you refrigerate it immediately.
If you’re gifting or serving at room temp, go with semi-sweet. If it’s for kids or you’re serving them right away, milk chocolate works fine.
How to Store and Serve Chocolate Covered Oreos
Let them sit out for an hour to harden fully. If you’re in a hurry, chill them for 15 minutes.
Once set, store them in a single layer in an airtight container. Use wax paper between layers if you stack.
I keep mine at room temperature for a week, but they last two weeks in the fridge without losing crunch.
If you’re serving them at an event, plate them cold and let them come to room temperature. The snap returns once they’ve rested 10 minutes.
For gifting, I wrap them in parchment and stack in clear cello bags. Add a label and you’re done.
For dessert platters, pair them with chocolate covered strawberries or chocolate covered pretzels to give more texture variety.
Using These as a Base for Other Chocolate Treat Ideas
These chocolate dipped Oreos also serve as a gateway for more decorated Oreos.
You can also turn them into pops—just insert a stick before dipping and let them dry upright.
For themed toppings, go with crushed nuts, toasted coconut, or even edible glitter for a birthday tray.
They also work well as mix-ins for dessert boards alongside chocolate fondue. You get the same chocolate profile but a much longer shelf life.
Final Notes and Reader Tips
Once you’ve made one batch, it becomes muscle memory. You can switch chocolates, toppings, even cookie flavors.
I’ve tried mint Oreos and peanut butter Oreos, both coated in semi-sweet. The mint pairs best with dark cocoa drizzle, while the peanut butter version stands on its own.
Every time I make a new batch, I scribble notes in the margin of my recipe binder.
That’s how I learned that storing them on wax paper prevents condensation. Small detail, big difference.
TIP: If your kitchen is warm, refrigerate dipped cookies for 10 minutes before topping with a drizzle. It gives a cleaner contrast.
Save This for Later and Let Me Know How It Went
Go ahead and pin this post to your Dessert Board so you can find it easily later. If you try these or put your own spin on them, I’d love to hear how they turned out.
Leave a comment below and share your favorite topping combos or any questions you have. Let’s make this space helpful for everyone dipping cookies this season.
Chocolate-Covered Oreos Recipe
Chocolate-covered Oreos combine smooth melted chocolate with the crunch of a classic cookie. They're easy to make and great for gifting or snacking. You can customize the look and flavor with dark toppings like espresso beans or chocolate shavings for added texture and contrast.
Ingredients
- FOR THE CHOCOLATE-COVERED OREOS
- 1 package Oreo cookies (36 cookies)
- 12 oz semi-sweet chocolate chips (or milk chocolate, if preferred)
- 1 tsp coconut oil or vegetable shortening (optional, for smoother melting)
- Parchment paper or silicone baking mat
- FOR OPTIONAL DARK BROWN TOPPINGS
- Crushed chocolate wafer cookies
- Crushed espresso beans
- Dark cocoa powder dusting (light sprinkle)
- Melted dark chocolate (for drizzling)
- Crushed dark chocolate chips or shaved dark chocolate
Instructions
- PREP YOUR STATION: Line a baking sheet with parchment paper or a silicone baking mat and set aside.
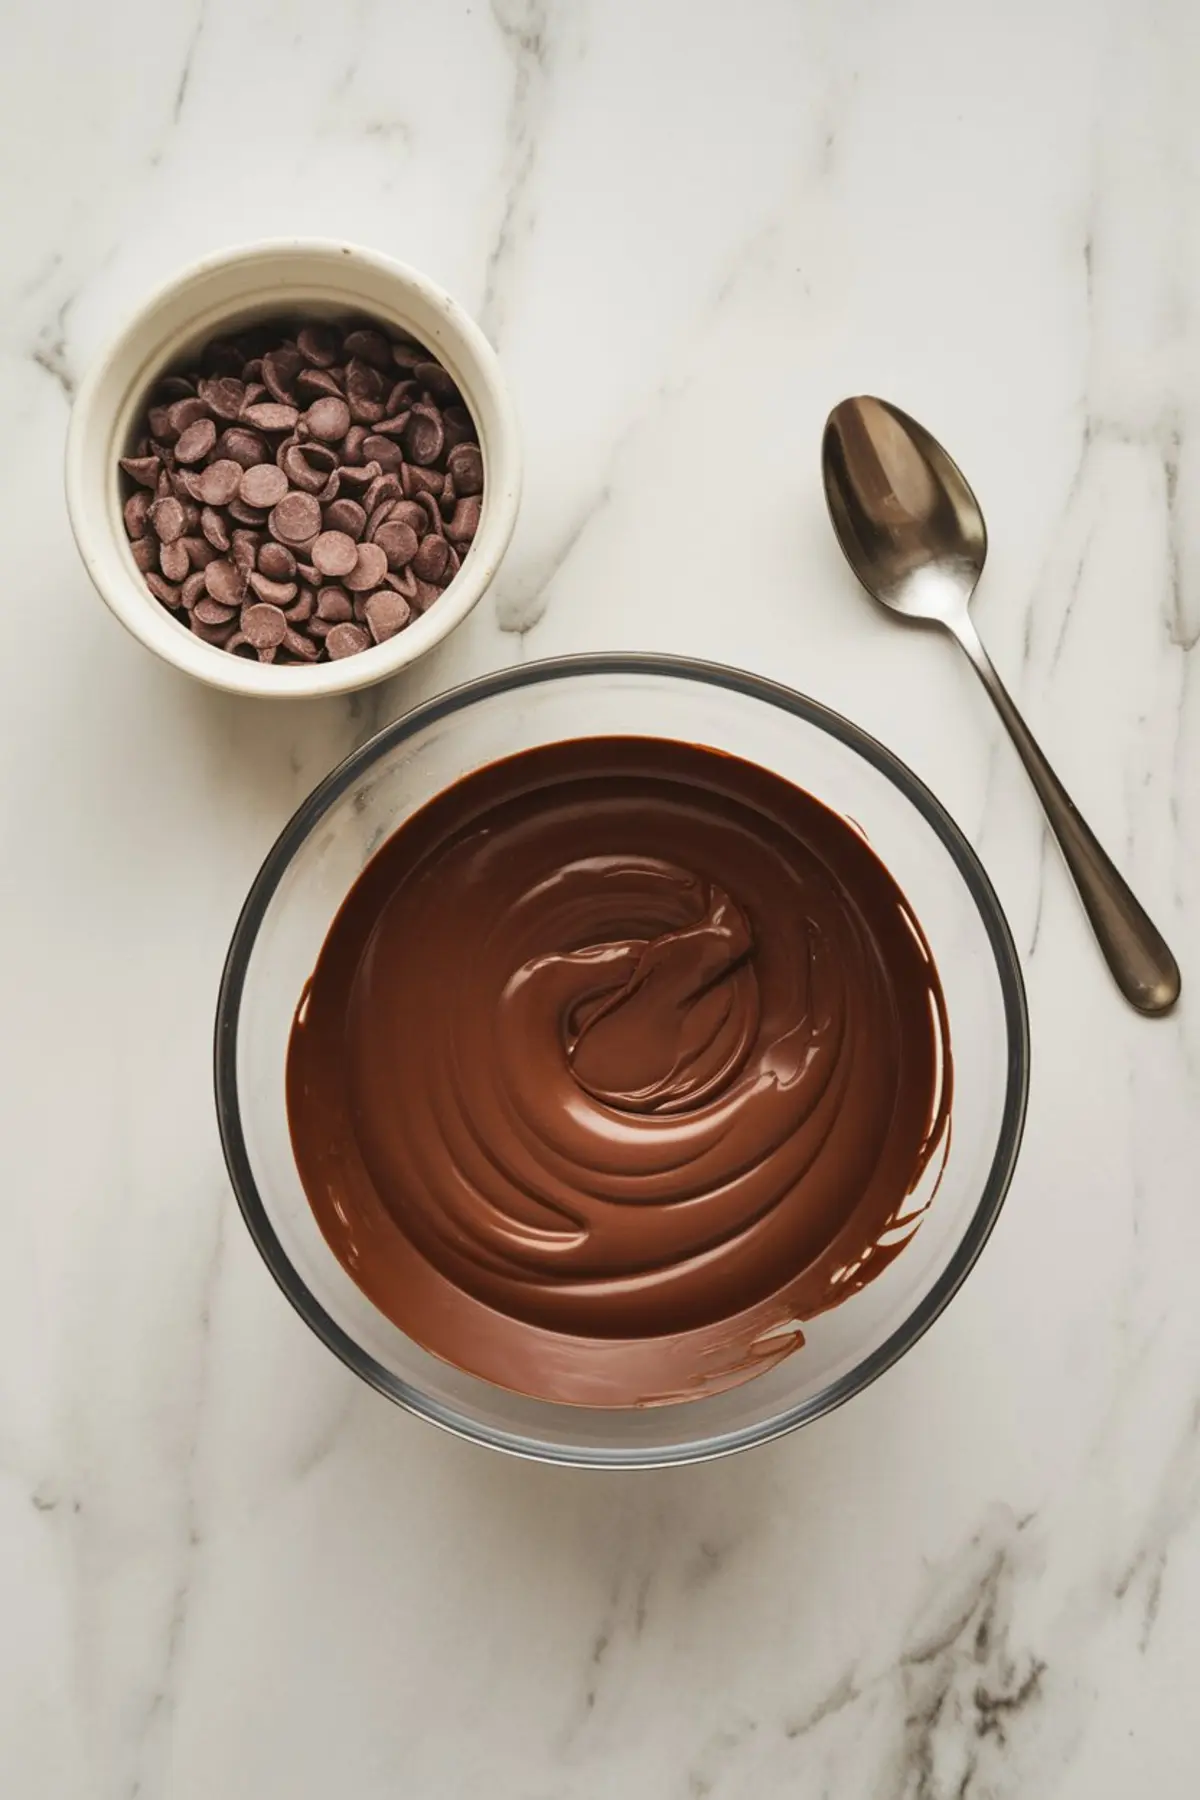
- MELT THE CHOCOLATE: Place the chocolate chips and optional coconut oil in a microwave-safe bowl. Microwave in 30-second intervals, stirring after each round, until the mixture is fully melted and smooth.
- DIP THE OREOS: Using a fork or dipping tool, submerge one Oreo into the melted chocolate. Turn it over to ensure full coverage, then lift it out and gently tap it on the side of the bowl to let excess chocolate drip off.
- PLACE TO SET: Lay the chocolate-covered Oreo on the prepared baking sheet. Repeat the dipping process with the remaining cookies.
- ADD TOPPINGS (OPTIONAL): While the chocolate is still wet, sprinkle crushed cookies, espresso beans, or chocolate shavings over the top. For a drizzle, melt 2 oz of dark chocolate and use a spoon or piping bag to create thin lines over the coated cookies.
- LET THEM SET: Allow the cookies to cool and harden at room temperature for 1 hour, or chill in the refrigerator for about 15 minutes to speed up setting.
Notes
Store in an airtight container at room temperature for up to one week, or refrigerate for longer shelf life. Toppings should be added while chocolate is still soft for best adhesion.
Nutrition Information
Yield
36Serving Size
1Amount Per Serving Calories 84Total Fat 5gSaturated Fat 3gTrans Fat 0gUnsaturated Fat 2gCholesterol 0mgSodium 36mgCarbohydrates 11gFiber 1gSugar 8gProtein 1g