
I got the idea of the raspberry meringue cookies at a small bakery. As you might already know about my sweet tooth, I fell in love with the cool crunch and subtle tang that hit my tongue. I still recall the warmth of that tiny shop and the scent of sugar wafting through the air.
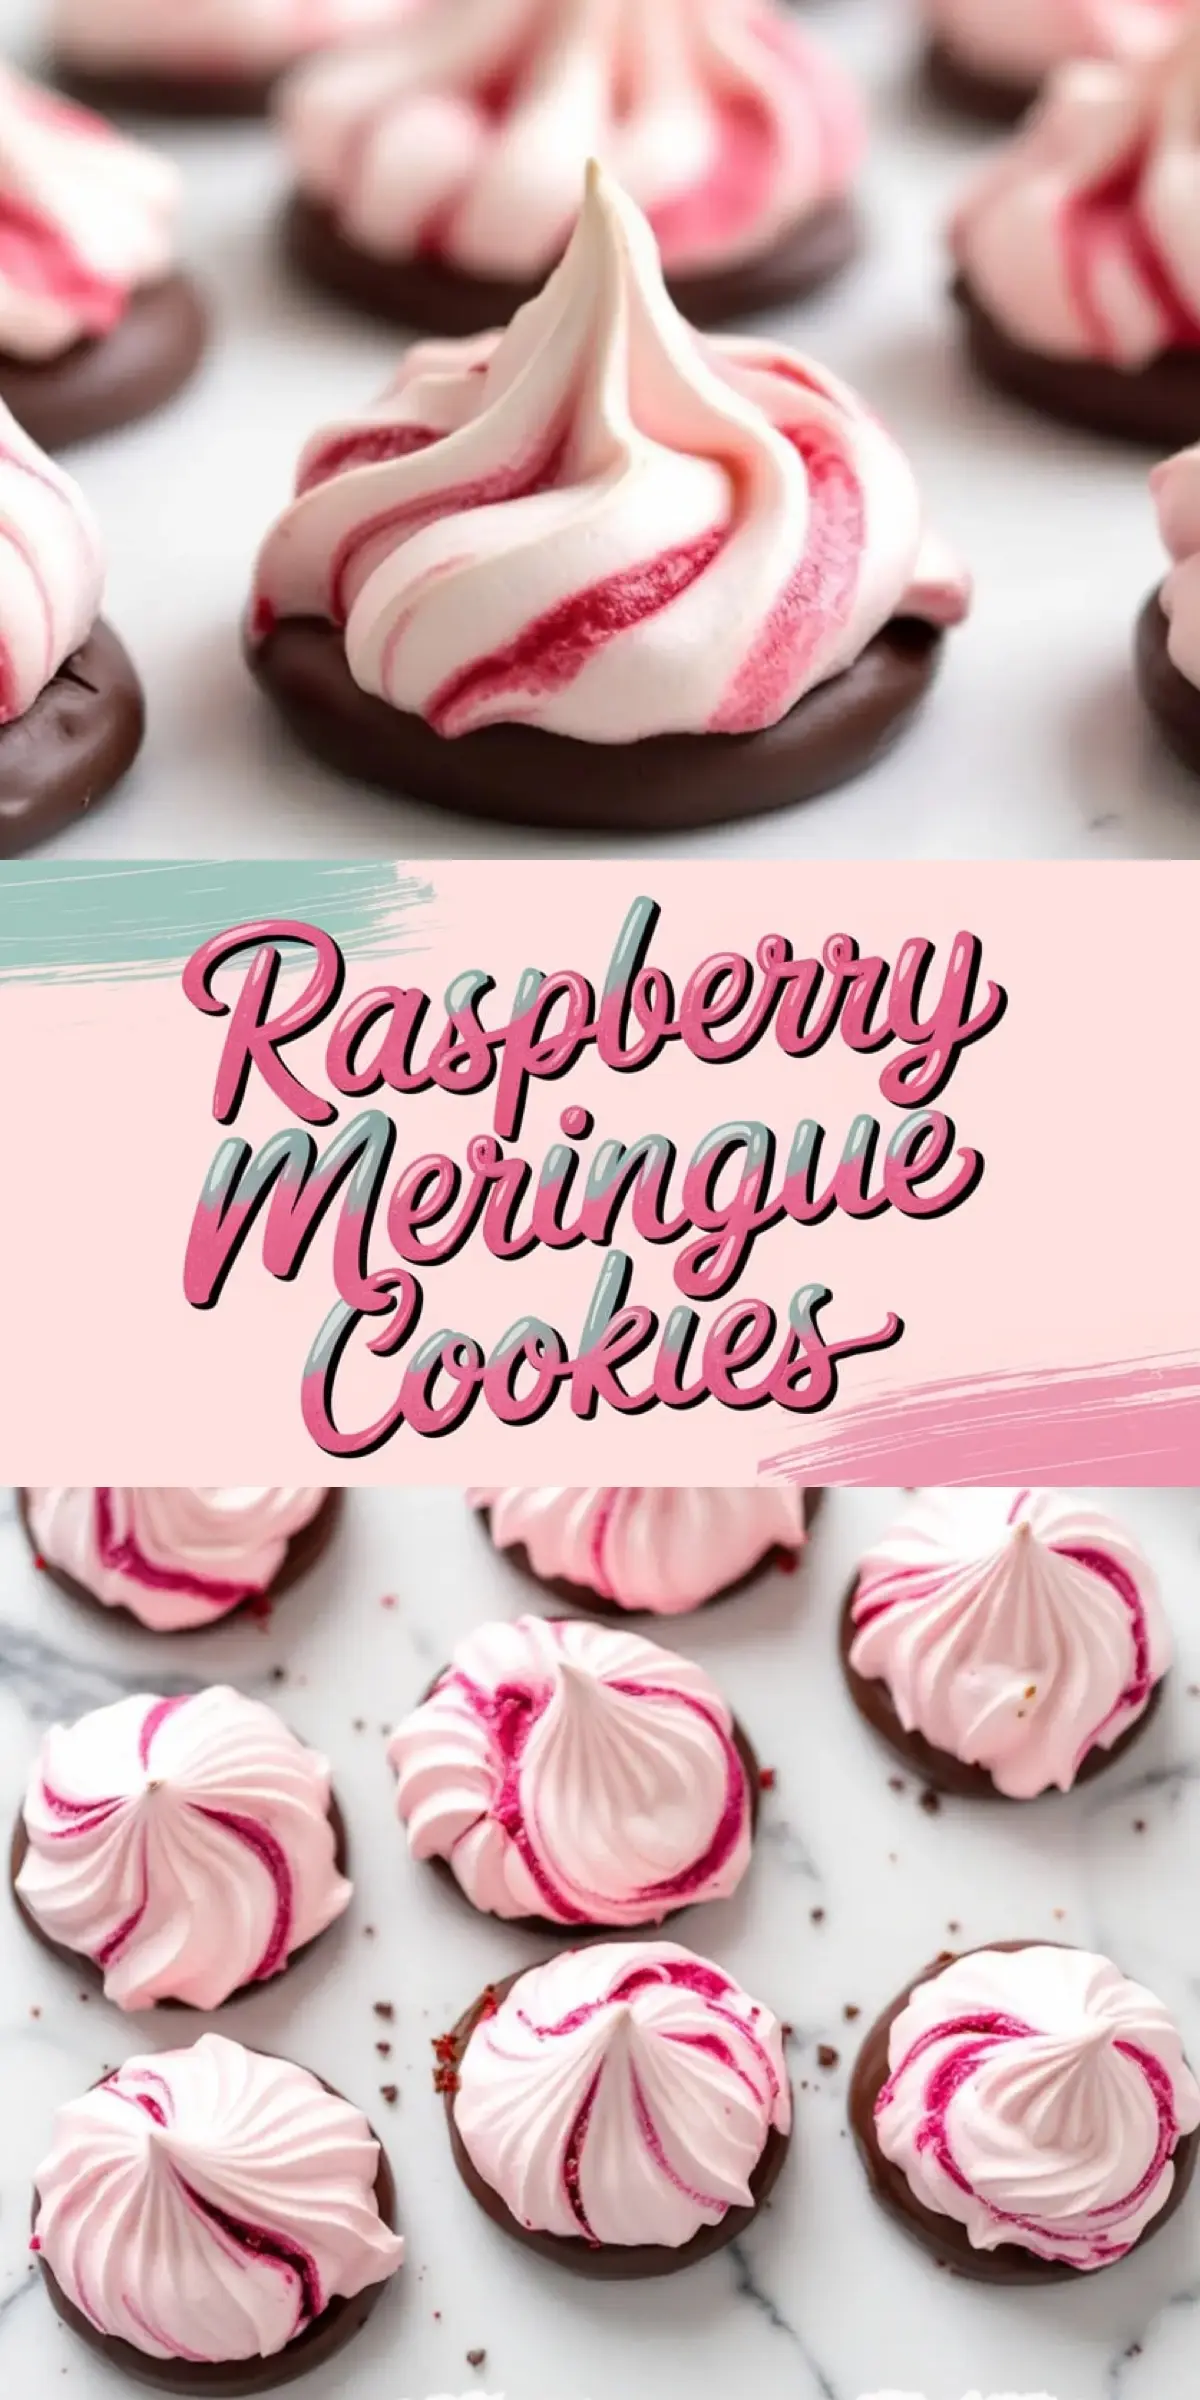
I like to bring those memories to my own kitchen whenever I whip up these Chocolate-Covered Raspberry Meringue Cookies. I treasure the contrast of crisp meringue and a thin layer of chocolate that melts so easily. I hope you find a little nostalgia here, too, and feel right at home making this dessert.
Following a special diet?
Every recipe on this site can be converted to gluten-free, vegan, dairy-free, keto, nut-free or egg-free with adjusted ratios so nothing falls flat.
Try the Recipe Converter →Gather the Ingredients for Raspberry Meringue Cookies
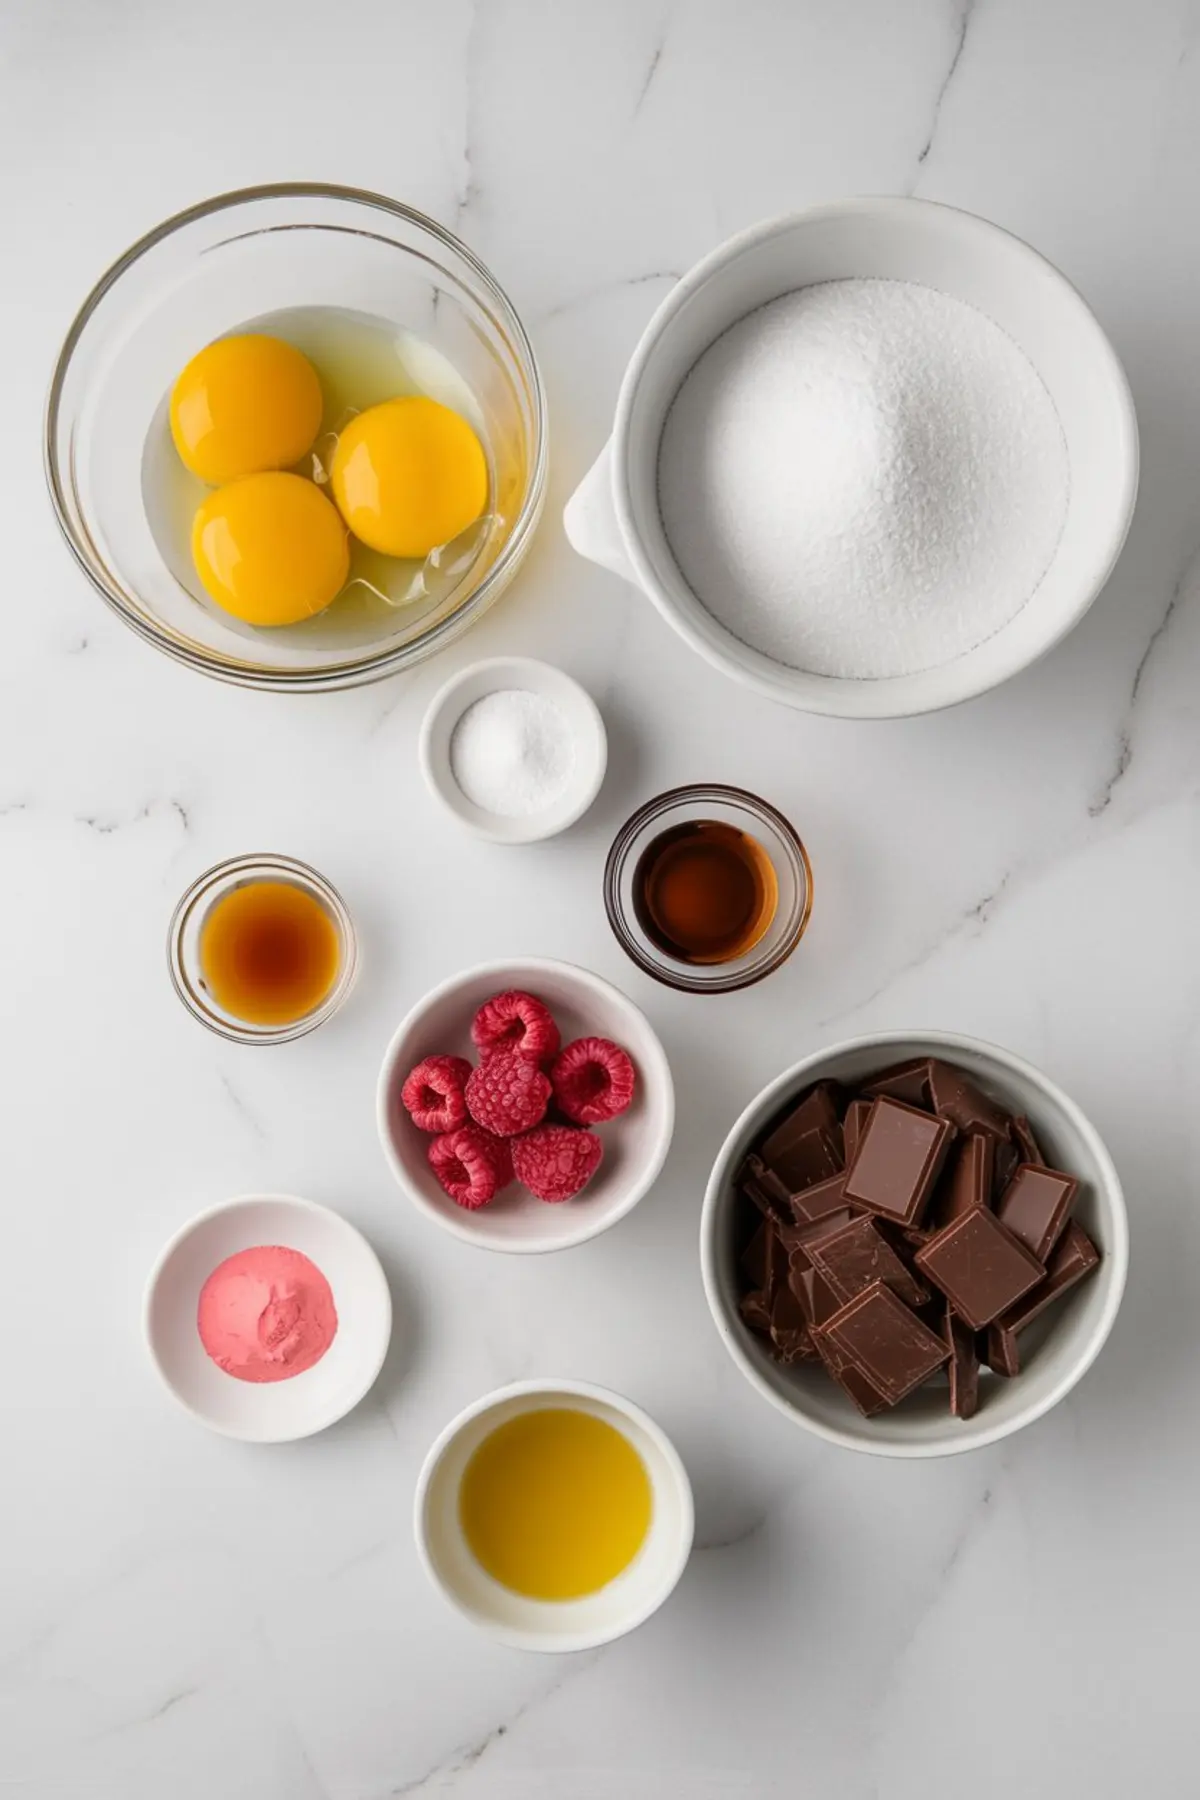
You should organize your counter first. You need egg whites, sugar, cream of tartar, vanilla extract, and raspberry extract or freeze-dried raspberry powder for that subtle fruit note.
You might choose pink gel food coloring if you want a playful touch. You also need a bit of coconut oil or shortening and some chocolate chips or chopped chocolate. You should keep everything at room temperature, which helps your egg whites whip nicely.
Mix the Meringue and Shape the Cookies
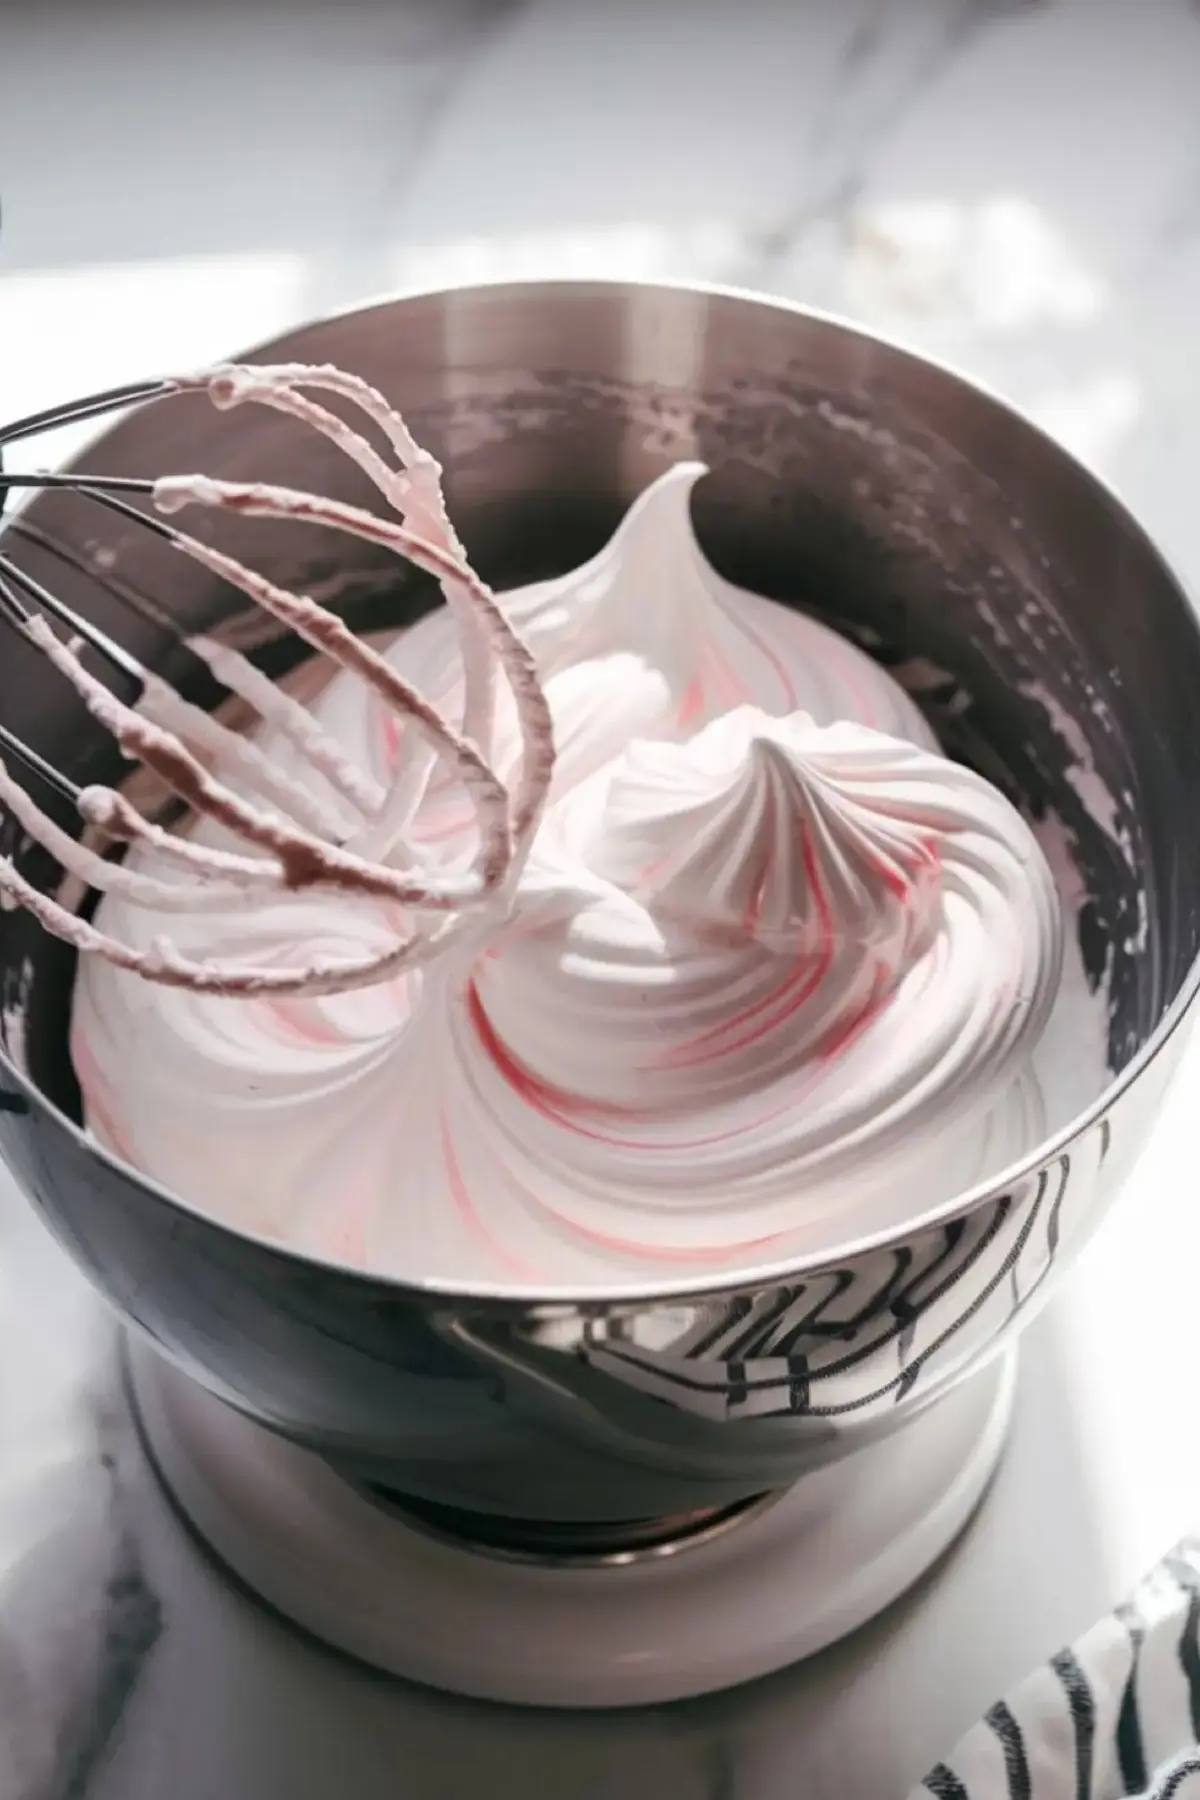
You begin with a clean mixing bowl because even a small speck of grease can defeat your meringue. You beat the egg whites until they turn frothy, and then you sprinkle in cream of tartar to stabilize them.
You trickle in sugar one spoon at a time while increasing the mixer speed, which helps form stiff peaks that shine under the kitchen light. You add vanilla and raspberry extract for flavor, giving each swirl a sweet, fruity aroma. You can drop in a tiny swirl of pink gel color if you like a cheerful hue.
Bake and Cool the Meringue Cookies
You set your oven to 200°F (95°C). You line a baking sheet with parchment paper so the meringues release without fuss.
You pipe or spoon the meringue in small shapes, leaving a little space between each cookie. You place the tray in the oven for about 90 minutes, allowing slow and steady drying. You then turn off the heat and let the cookies rest in the warm oven for an extra hour.
Create the Chocolate Coating
You chop your chocolate into small pieces. You place them in a microwave-safe bowl or a double boiler and add a teaspoon of coconut oil or shortening.
You melt the chocolate in gentle intervals, stirring in between to prevent scorching. You observe a silky shine that signals you’re ready to dip your cooled meringues. You catch a whiff of that deep cocoa scent and feel the sweet anticipation.
Dip and Set the Cookies
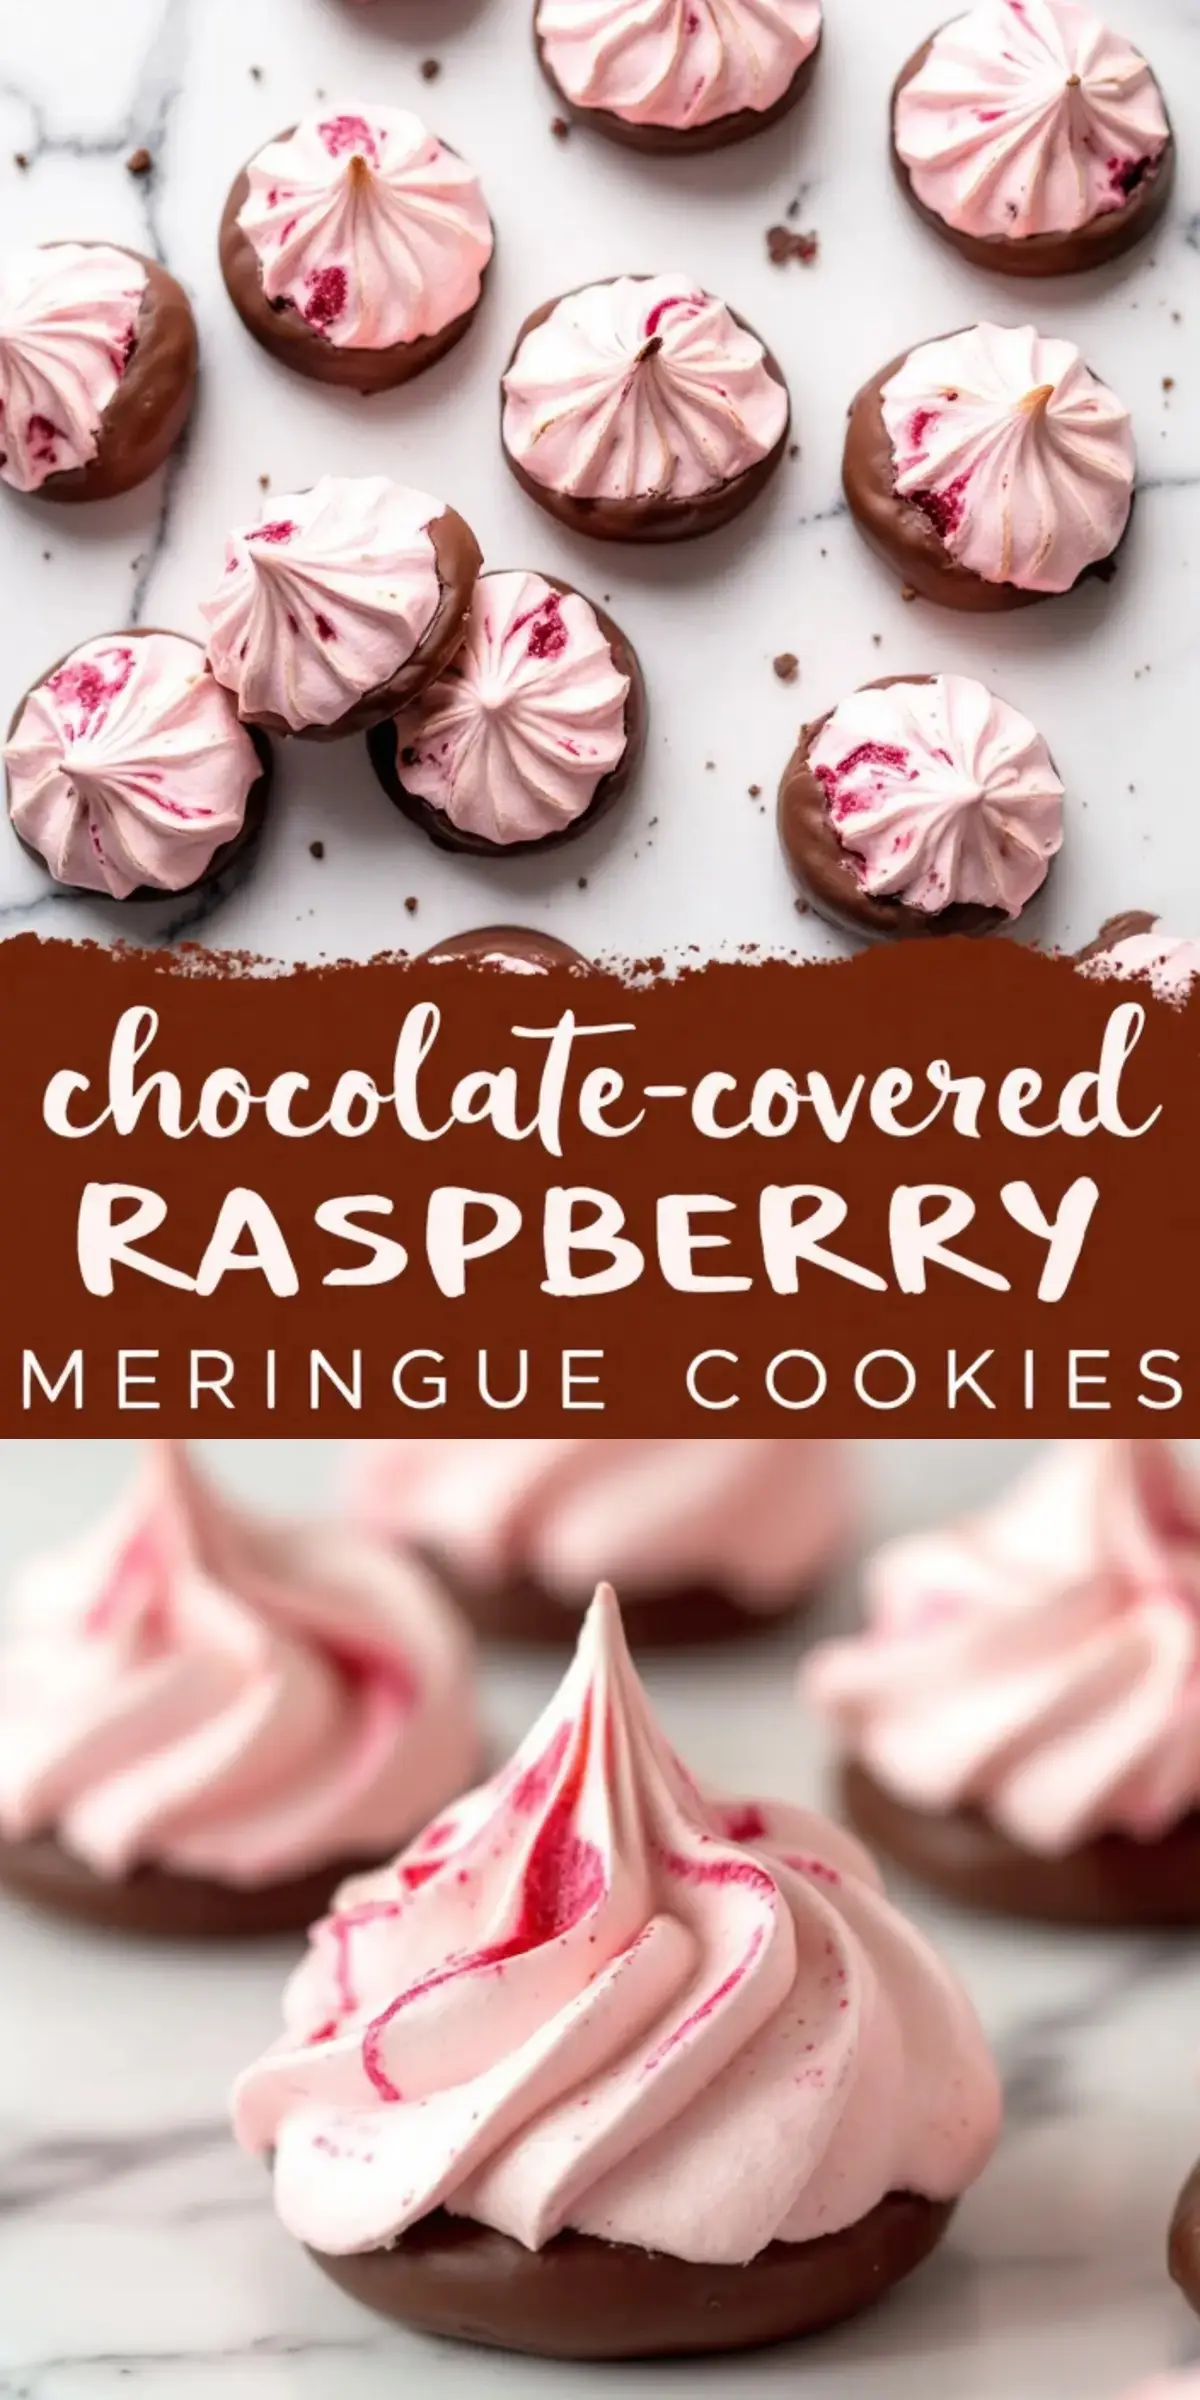
You take each meringue and dip the bottom carefully into the melted chocolate. You let the excess drip off so you don’t create a puddle.
You place the dipped cookies back on parchment and either let them set at room temperature or slide them into the fridge for a few minutes. You try one once the coating has set, and you sense that perfect crunch followed by the taste of smooth chocolate. I sometimes grin because it feels like a tiny celebration in every bite.
Storage of Your Chocolate-Covered Raspberry Meringue Cookies
You store them in an airtight container. You avoid refrigerating them because they can absorb moisture and lose their crisp texture.
You keep them on the counter for up to five days. You pop one in your mouth whenever you crave a light, sweet treat. I do that too, especially in the afternoon when I need a cheerful pick-me-up.
Personal Tip and Story
I have tried making these on rainy days, and they always need extra drying time. I remember a humid summer afternoon when my meringues took a bit longer in the oven, but the end result was still delightful.
I now choose days with lower humidity if I can, but if the weather doesn’t cooperate, I keep the oven closed a bit more. I love how these cookies still reward my patience, crisp and sweet as ever. I also keep a small stash of them on hand for friends who drop by unexpectedly.
I also enjoy experimenting with more fruity cookie ideas. My Strawberry Kiss Cookies bring a playful twist that pairs strawberries with classic sugar dough.
Sometimes I crave a richer taste, so I make the Fudgy Chocolate Cookies with Raspberry for a deeper cocoa blast. On days I want something simple, my Strawberry Sugar Cookies feel just right. I like to keep these favorites bookmarked because variety keeps my baking spirit happy.
Why This Recipe Fits My Kitchen Routine
I like a dessert that doesn’t feel too heavy. I enjoy the light nature of these meringues, which still give me a sweet chocolate hit.
I find them easy to whip up, and I appreciate their bright color if I use the pink gel. I feel a sense of comfort every time I nibble on one. My nephew even calls them “little clouds in chocolate hats,” which always makes me chuckle.
I believe chocolate pairs well with many fruits, but raspberry has a special place in my heart. I taste the sweet tang of berries that balances the richness of chocolate.
I sometimes imagine a small fruit orchard in each bite, bright and soothing. I’m sure you’ll taste it too, especially if you appreciate that balance of crisp shell and velvety coating. My approach is simple, and I hope it inspires you in your baking journey.
Texture Tips for Success
I always remind myself that meringues are delicate. I keep the mixer on a moderate speed until the foam forms, then I gently increase to high.
I never rush the sugar addition because this stage makes or breaks the crispness. I pipe the swirls at a consistent size so they bake evenly. I also try not to open the oven door too much because sudden temperature changes can affect the texture.
I sometimes swirl pink food coloring with a toothpick to create a fun design. I also dust a bit of freeze-dried raspberry powder on top when I want extra flavor.
I enjoy noticing these small details because they add color and conversation to my snack table. My family especially loves the bright, playful look. I think these little touches make any day feel special.
Enjoy Them Year-Round
I find these cookies easy to adapt for different seasons. You can skip the color if you want a pure white meringue, or you can use a deeper hue for festive occasions.
I’ve seen pink or red for Valentine’s Day, pastel for spring, and no color for winter gatherings. You can add edible sprinkles if you like more decoration. I keep them plain most of the time, but it’s fun to mix it up now and again.
Frequently Asked Thoughts
I sometimes hear people say they worry about whipping egg whites or dealing with humidity. I assure them that practice makes it simpler, and even if they crack a bit, the taste remains sweet and crunchy.
I also mention that you can let the cookies dry a little longer if your kitchen feels damp. A few trials will boost your confidence. I remember my earliest tries, and I learned with each batch.
Save This Pin and Share Your Baking Story
I love seeing how you personalize my recipe. Pin this for later on your cookie board so you can make these treats any time you feel inspired.
I would enjoy hearing from you in the comments. Let me know how your batch turned out, or ask any question you have. I can’t wait to discover your spin on these bright, chocolate-dipped delights.
Chocolate-Covered Raspberry Meringue Cookies Recipe
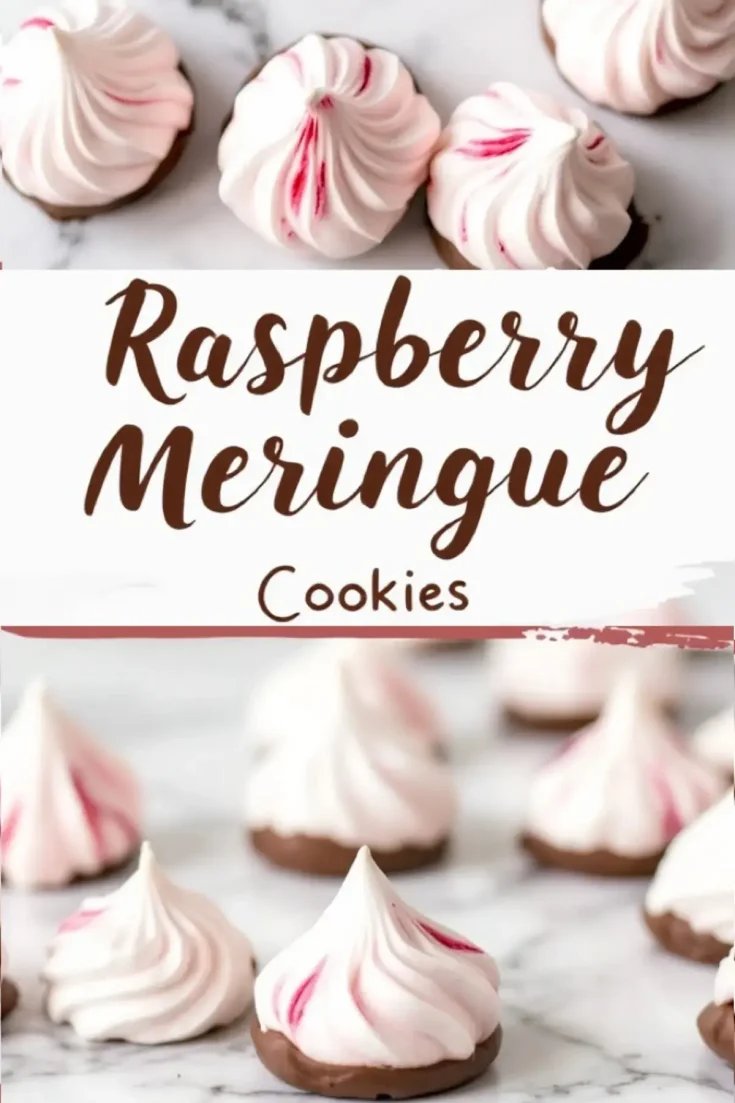
Meringue cookies have a crisp, airy texture with a hint of raspberry flavor. A smooth chocolate coating adds a rich contrast. These cookies are light yet satisfying, making them a great treat for any occasion.
Ingredients
- FOR THE MERINGUE COOKIES
- 3 large egg whites, at room temperature
- ¾ cup (150g) granulated sugar
- ¼ teaspoon cream of tartar
- ½ teaspoon vanilla extract
- ½ teaspoon raspberry extract (or 1 tablespoon freeze-dried raspberry powder)
- Pink gel food coloring (optional)
- FOR THE CHOCOLATE COATING
- 6 oz (170g) semi-sweet or dark chocolate, chopped
- 1 teaspoon coconut oil or vegetable shortening
Instructions
- PREPARE THE BAKING SHEET: Preheat the oven to 200°F (95°C). Line a baking sheet with parchment paper and set aside.
- WHIP THE MERINGUE: In a clean, dry mixing bowl, beat the egg whites on medium speed until frothy. Add the cream of tartar and continue beating until soft peaks form. Gradually add the sugar, one tablespoon at a time, while beating on high speed. Continue beating until stiff, glossy peaks form, about 5 minutes. Beat in the vanilla extract and raspberry extract or powder until fully incorporated.
- ADD COLOR AND PIPE: If using food coloring, dip a toothpick into the gel color and swirl it into the meringue to create a marbled effect. Transfer the meringue into a piping bag fitted with a star tip. Pipe small swirls or kisses onto the prepared baking sheet, spacing them about an inch apart.
- BAKE THE MERINGUES: Place the baking sheet in the preheated oven and bake for 90 minutes. Turn off the oven and let the cookies cool inside with the door slightly open for at least 1 hour to allow them to dry out completely.
- MELT THE CHOCOLATE: In a microwave-safe bowl, melt the chopped chocolate and coconut oil in 20-second intervals, stirring between each, until smooth. Alternatively, melt the chocolate over a double boiler on the stovetop.
- DIP AND SET: Dip the bottom of each cooled meringue into the melted chocolate. Place them back onto the parchment-lined baking sheet to set. Let them sit at room temperature until the chocolate hardens, or refrigerate for 15 minutes to speed up the process.
Notes
For best results, use room-temperature egg whites to achieve maximum volume when whipping. Ensure the mixing bowl and beaters are completely clean and free from any grease, as even a small amount can prevent the meringue from forming stiff peaks. If the environment is humid, the meringues may take longer to dry. Store in an airtight container at room temperature for up to 5 days. Avoid refrigeration, as moisture can cause the meringues to soften.
Nutrition Information
Yield
24Serving Size
1Amount Per Serving Calories 18Total Fat 1gSaturated Fat 1gTrans Fat 0gUnsaturated Fat 0gCholesterol 0mgSodium 8mgCarbohydrates 1gFiber 0gSugar 1gProtein 1g