
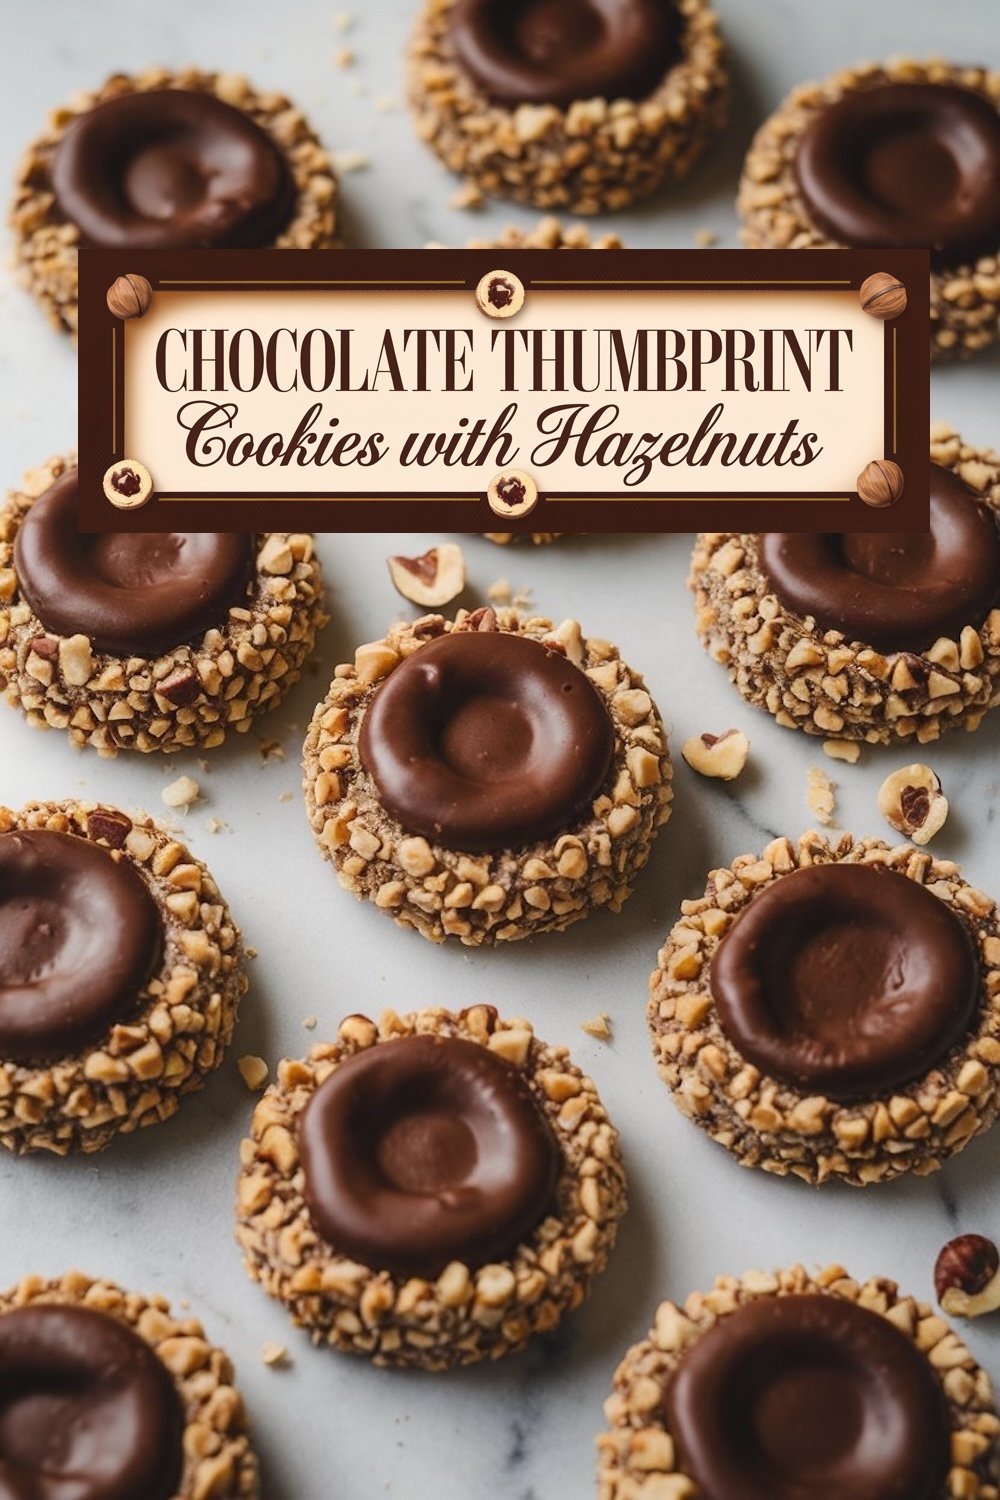
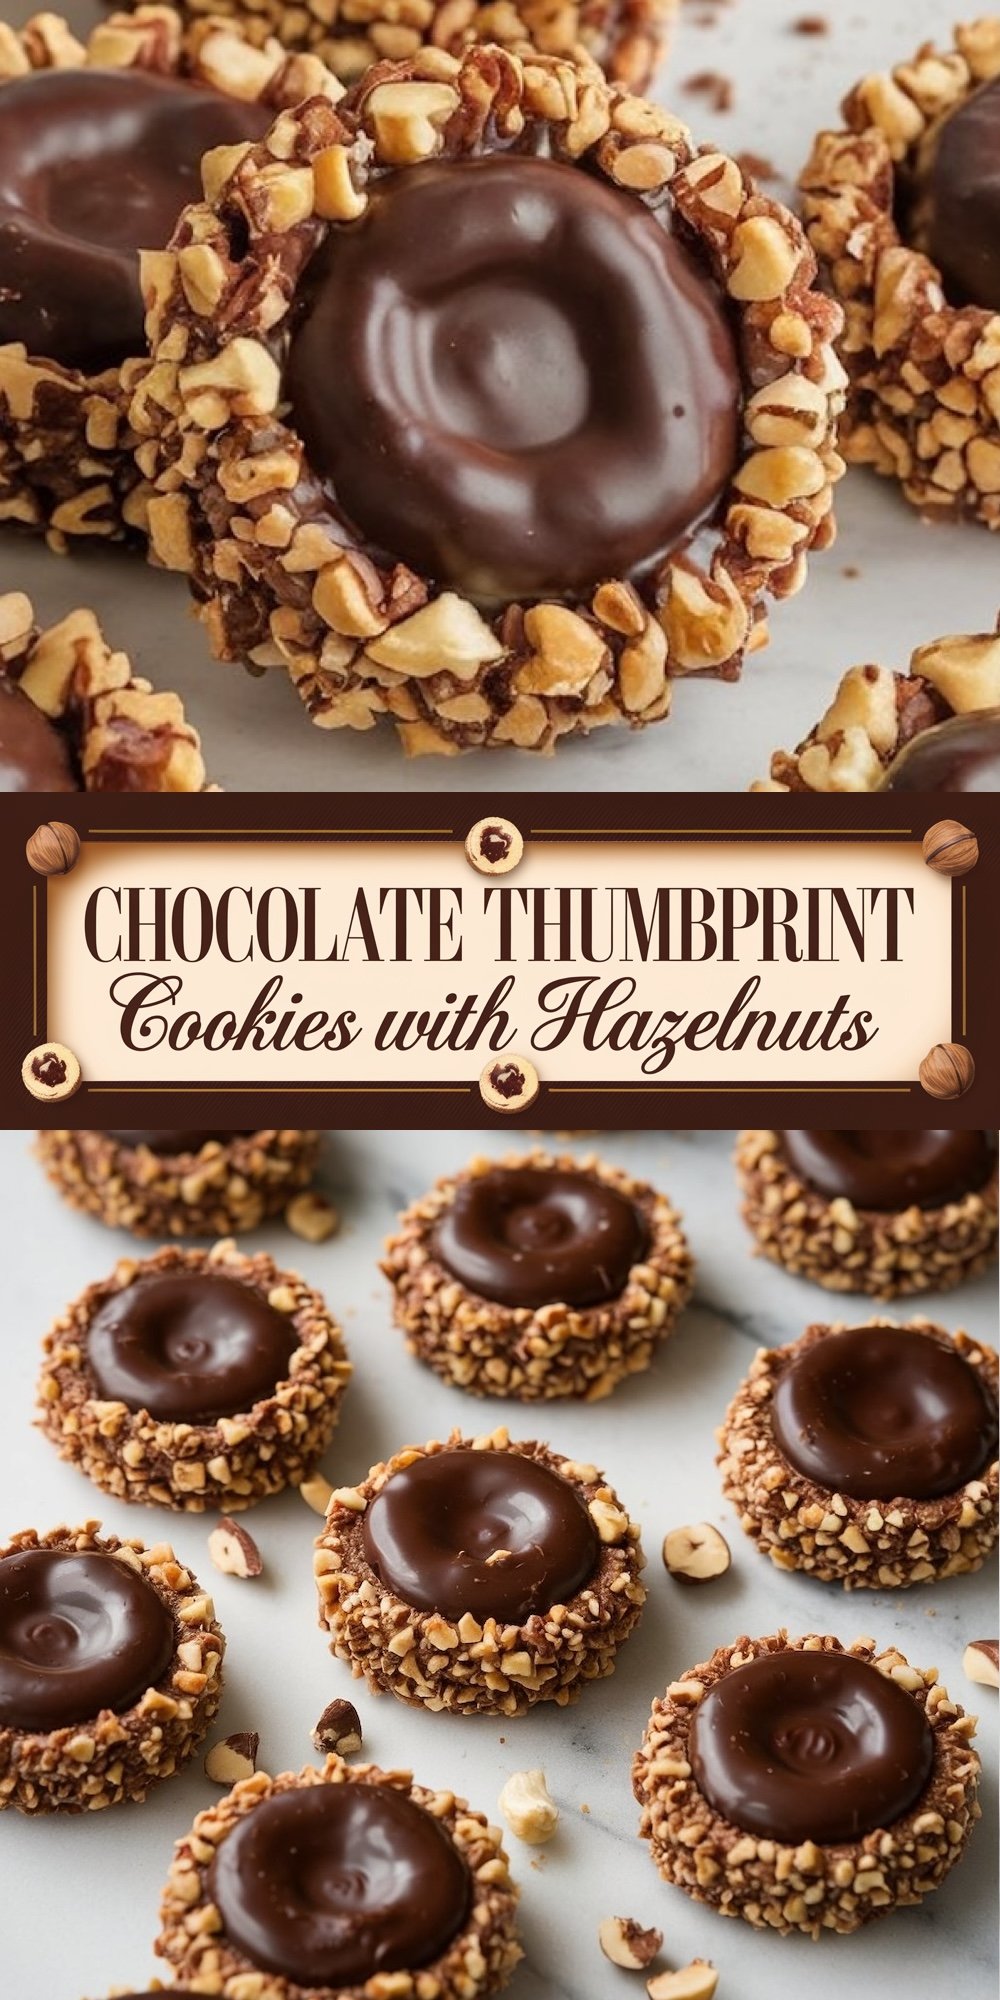
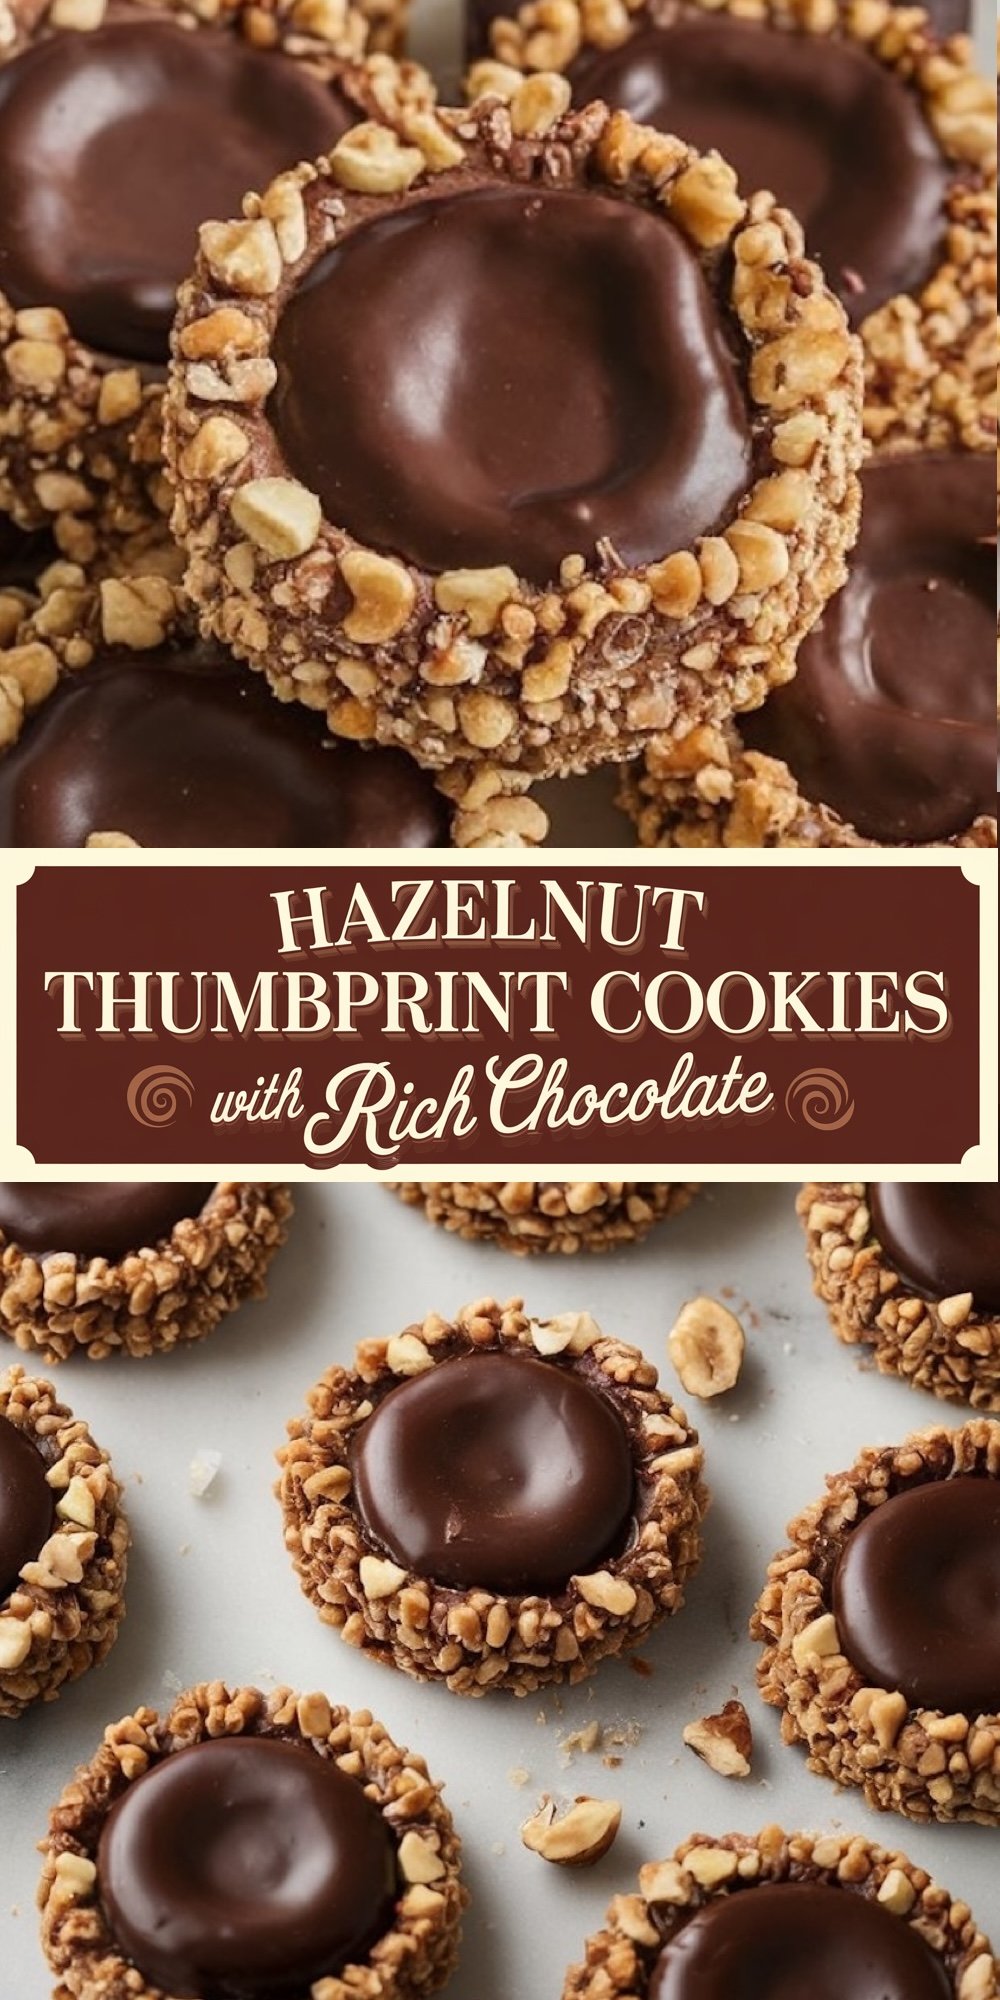
The combination of chocolate and hazelnut has been a beloved flavor duo for centuries, and these Chocolate Hazelnut Thumbprint Cookies deliver that pairing in every bite. A buttery, cocoa-infused dough, rolled in crunchy hazelnuts, encases a rich chocolate hazelnut spread center, offering a balance of sweetness and texture that is irresistible. These cookies are not only delicious but also visually appealing, making them perfect for special occasions or even as an everyday indulgence.
Following a special diet?
Every recipe on this site can be converted to gluten-free, vegan, dairy-free, keto, nut-free or egg-free with adjusted ratios so nothing falls flat.
Try the Recipe Converter →What Makes Chocolate Hazelnut Thumbprint Cookies So Special?
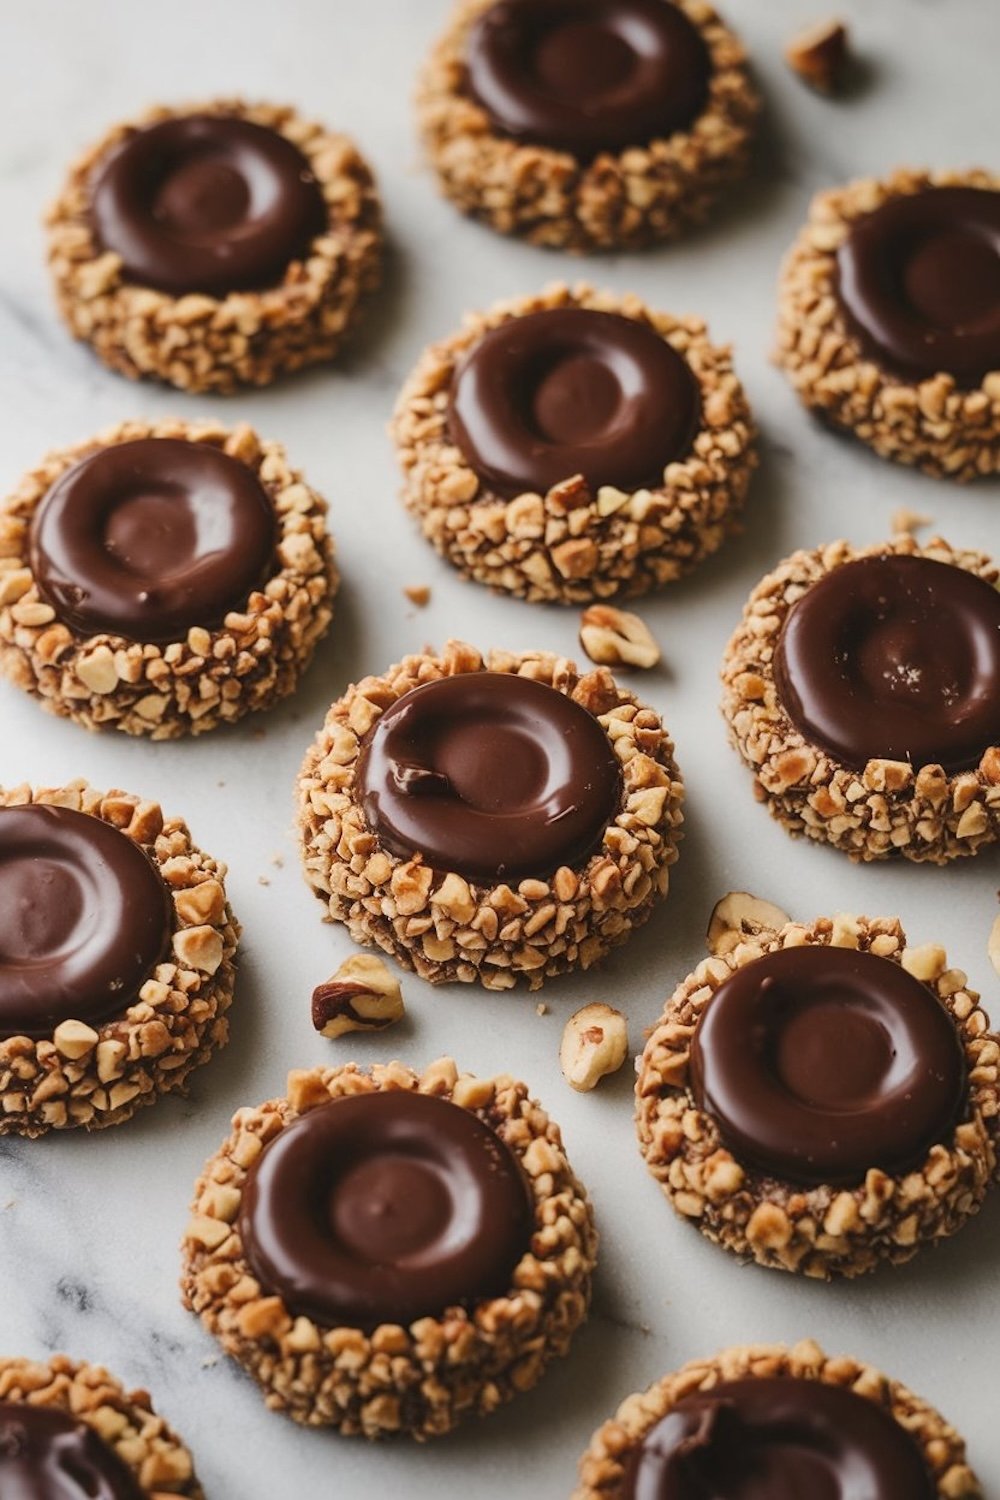
Chocolate Hazelnut Thumbprint Cookies are a crowd-pleaser due to their unique combination of flavors and textures. The richness of the cocoa in the dough complements the creamy hazelnut spread, while the chopped hazelnuts add a satisfying crunch. The thumbprint design, which holds a decadent filling, makes these cookies stand out on any dessert table.
While these cookies are especially popular during the holiday season, their appeal goes beyond any specific time of year. They make a great homemade gift, are perfect for cookie swaps, and can even be an elegant addition to a dessert platter at weddings or showers. The versatility of the flavor and the beauty of the final product make them a staple in many bakers’ repertoires.
How to Make Chocolate Hazelnut Thumbprint Cookies?

Pro Tips for Making the Perfect Thumbprint Cookie
How to Achieve the Best Texture?
The key to the perfect thumbprint cookie lies in balancing the ingredients. Using softened butter ensures the dough is pliable and easy to shape, while the combination of cocoa powder and flour creates a rich base. Make sure the dough is firm enough to hold its shape when you roll it into balls, but not too dry, as this can lead to crumbly cookies.
When it comes to rolling the dough in chopped hazelnuts, try to chop the nuts finely so they adhere well to the dough. This coating not only enhances the flavor but also adds texture that contrasts beautifully with the soft, chocolate-filled center.
Mastering the Thumbprint Technique
Creating the signature “thumbprint” indentation is simple but important for the success of the recipe. If you want uniform cookies, consider using a rounded measuring spoon or a small melon baller to create the indentation. This method ensures a more professional appearance than simply using your thumb.
Additionally, re-pressing the indentations after baking, while the cookies are still warm, can help achieve a clean and deep pocket for the chocolate hazelnut spread. This prevents the filling from overflowing and ensures each cookie has the perfect balance of dough and filling.

Creative Twists and Customizations
While chocolate hazelnut spread is a classic filling, there are many ways to customize these thumbprint cookies to suit different tastes. For those who love fruit, raspberry or strawberry jam can be used as a filling instead, creating a tart contrast to the sweet dough. For a more luxurious option, try caramel or dulce de leche in the center, topped with a sprinkle of sea salt for a gourmet twist.
If you’re looking for a festive presentation, dust the cookies with powdered sugar before adding the filling or drizzle melted white chocolate over the top for an elegant finish. These little touches can transform a simple cookie into a show-stopping treat.

For Nut Lovers
For those who love hazelnuts, consider pressing a whole hazelnut into the chocolate filling once the cookies have cooled slightly. This adds a beautiful garnish and an extra crunch with each bite. You can also substitute the hazelnuts with almonds or walnuts for a different flavor profile. Toasting the nuts before rolling the dough balls in them will bring out their natural oils and deepen their flavor, elevating the cookies even further.
Storage and Freezing Tips
One of the best things about these cookies is how well they store. If you’re planning to make them ahead of time, you can store the baked cookies in an airtight container at room temperature for up to a week. The cookies will maintain their fresh, buttery flavor, and the hazelnut spread filling will stay soft.
For longer storage, these cookies freeze beautifully. After baking and cooling, lay the cookies in a single layer on a baking sheet and place them in the freezer until solid. Then, transfer them to a freezer-safe container or bag. They can be frozen for up to three months. To enjoy, let the cookies thaw at room temperature before serving.
Pairing Ideas: What to Serve with Chocolate Hazelnut Thumbprint Cookies
These cookies are versatile enough to be served with a variety of beverages, making them perfect for different occasions. For a casual snack, enjoy them with a cold glass of milk or a steaming cup of coffee. Their chocolatey richness pairs beautifully with the bitterness of coffee or the sweetness of milk, making them a great mid-afternoon treat.
For more formal gatherings, consider serving these cookies alongside a selection of other desserts, such as fruit tarts, chocolate truffles, or macarons. Pairing them with a glass of dessert wine or a rich, creamy hot chocolate can also create a luxurious dessert experience. These cookies are equally suited to casual family get-togethers or upscale events, adapting to any setting with ease.
Why These Cookies Make a Great Gift
If you’re looking for a thoughtful homemade gift, Chocolate Hazelnut Thumbprint Cookies are an excellent choice. Pack them in a decorative tin or box with tissue paper for a beautiful presentation. The cookies travel well, making them ideal for mailing or gifting to friends and family during the holiday season or on special occasions.
Their homemade appeal, coupled with the gourmet flavors of chocolate and hazelnut, makes them a thoughtful and delicious gift that anyone will appreciate. Plus, since they stay fresh for several days, they’re the perfect cookie to bake in advance and give as a gift when you need a homemade treat that’s as beautiful as it is delicious.
Dear Reader
In every bite, Chocolate Hazelnut Thumbprint Cookies offer a combination of flavors and textures that few other cookies can match. From their buttery, cocoa-flavored dough to their smooth, creamy filling, they deliver an indulgent experience that is sure to satisfy any sweet tooth. Whether you’re baking for the holidays, a special occasion, or simply to enjoy at home, these cookies are a delicious and impressive addition to any dessert repertoire.

Chocolate Hazelnut Thumbprint Cookies Recipe
Course: Cookies20
servings30
minutes40
minutes300
kcalIngredients
1 cup (2 sticks) unsalted butter, softened
2/3 cup granulated sugar
2 teaspoons vanilla extract
2 cups all-purpose flour
1/2 cup cocoa powder
1/2 teaspoon salt
1/2 cup hazelnuts, finely chopped (for rolling)
1/2 cup chocolate hazelnut spread (such as Nutella)
Extra whole hazelnuts for garnish (optional)
Steps
- Preheat the Oven and Prepare Baking Sheets:
Preheat your oven to 350°F (175°C). Line two baking sheets with parchment paper. - Cream the Butter and Sugar:
In a large mixing bowl, use an electric mixer to cream together the butter and granulated sugar until light and fluffy. Mix in the vanilla extract. - Combine the Dry Ingredients:
In a separate bowl, whisk together the all-purpose flour, cocoa powder, and salt. - Mix Dry Ingredients into Butter Mixture:
Gradually add the dry ingredients to the butter mixture, mixing until well combined. The dough should be firm and pliable. - Shape the Cookies:
Roll the dough into balls, each about 1 inch in diameter. Roll each ball in the finely chopped hazelnuts until coated. Place the balls on the prepared baking sheets, spaced about 2 inches apart. - Create Indentations:
Use your thumb or the back of a small spoon to press an indentation into the center of each cookie ball. - Bake the Cookies:
Bake in the preheated oven for about 12-14 minutes. The cookies should be set but not hard. - Add Chocolate Filling:
Once the cookies are removed from the oven and still warm, re-press the indentations if they’ve puffed up. Spoon about a teaspoon of chocolate hazelnut spread into the center of each cookie. Optionally, press a whole hazelnut into the spread for added crunch and decoration. - Cool and Serve:
Allow the cookies to cool on the baking sheets for 5 minutes before transferring them to a wire rack to cool completely.
Does this not need any baking powder/soda? How many should a batch make?
Hi Casandra, thank you for your question! This particular cookie recipe doesn’t require baking powder or soda, as it relies on the butter and sugar creamed together to give it the right texture. A batch should make about 20 cookies. I hope you enjoy baking them!
Hi there, how many cookies is “4 servings”?
Hello Brooke, thanks for reaching out! The ‘4 servings’ was actually a mistake—it should be 20 cookies per batch. I’ve updated the recipe now. Happy baking!
How do I print the recipe so I don’t have to deal with the multitude of pop up ads? I get that you need the ads to support your page, but when it interferes with your customers being able to read what they came to your site for, seems to defeat the purpose. Sorry for being negative. I would like to make these but I can’t seem to get to a clear version of the recipe.
Hi Beth,
I activated the print button. You can go ahead and print it 🙂
Hi Emma this recipe doesn’t have any eggs?
Cathy, this dough stays egg free by design 😊
The structure comes from the butter, flour, and cocoa. The texture lands closer to a shortbread, which holds its shape without eggs. I use this base when I want a tender cookie that supports a rich center without spreading.
Seems tempting, do we need to freeze the dough before baking?
Hey there! Freezing the dough isn’t required for this recipe, but chilling it for about 15–20 minutes can help if your kitchen is warm or if the dough feels too soft to shape. I’ve baked these straight after mixing and they still hold their shape well, but a short chill can make the thumbprint part a little easier to press in without sticking. Totally up to you and how the dough feels on your end 😊
Mi piacerebbe molto prepararli,ma non riesco con le dosi “tazza”
I understand what you mean 😊 Many people find cup measurements tricky.
Here are the approximate conversions for this recipe:
1 cup all-purpose flour = 125 g
½ cup unsalted butter = 113 g
½ cup granulated sugar = 100 g
½ cup chopped hazelnuts = 60 g
½ cup chocolate hazelnut spread (like Nutella) = 150 g
If you’re using a kitchen scale, these amounts should help make things easier. Let me know if you need help with any of the steps